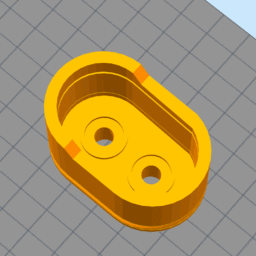
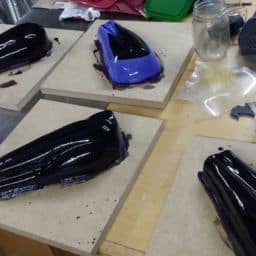
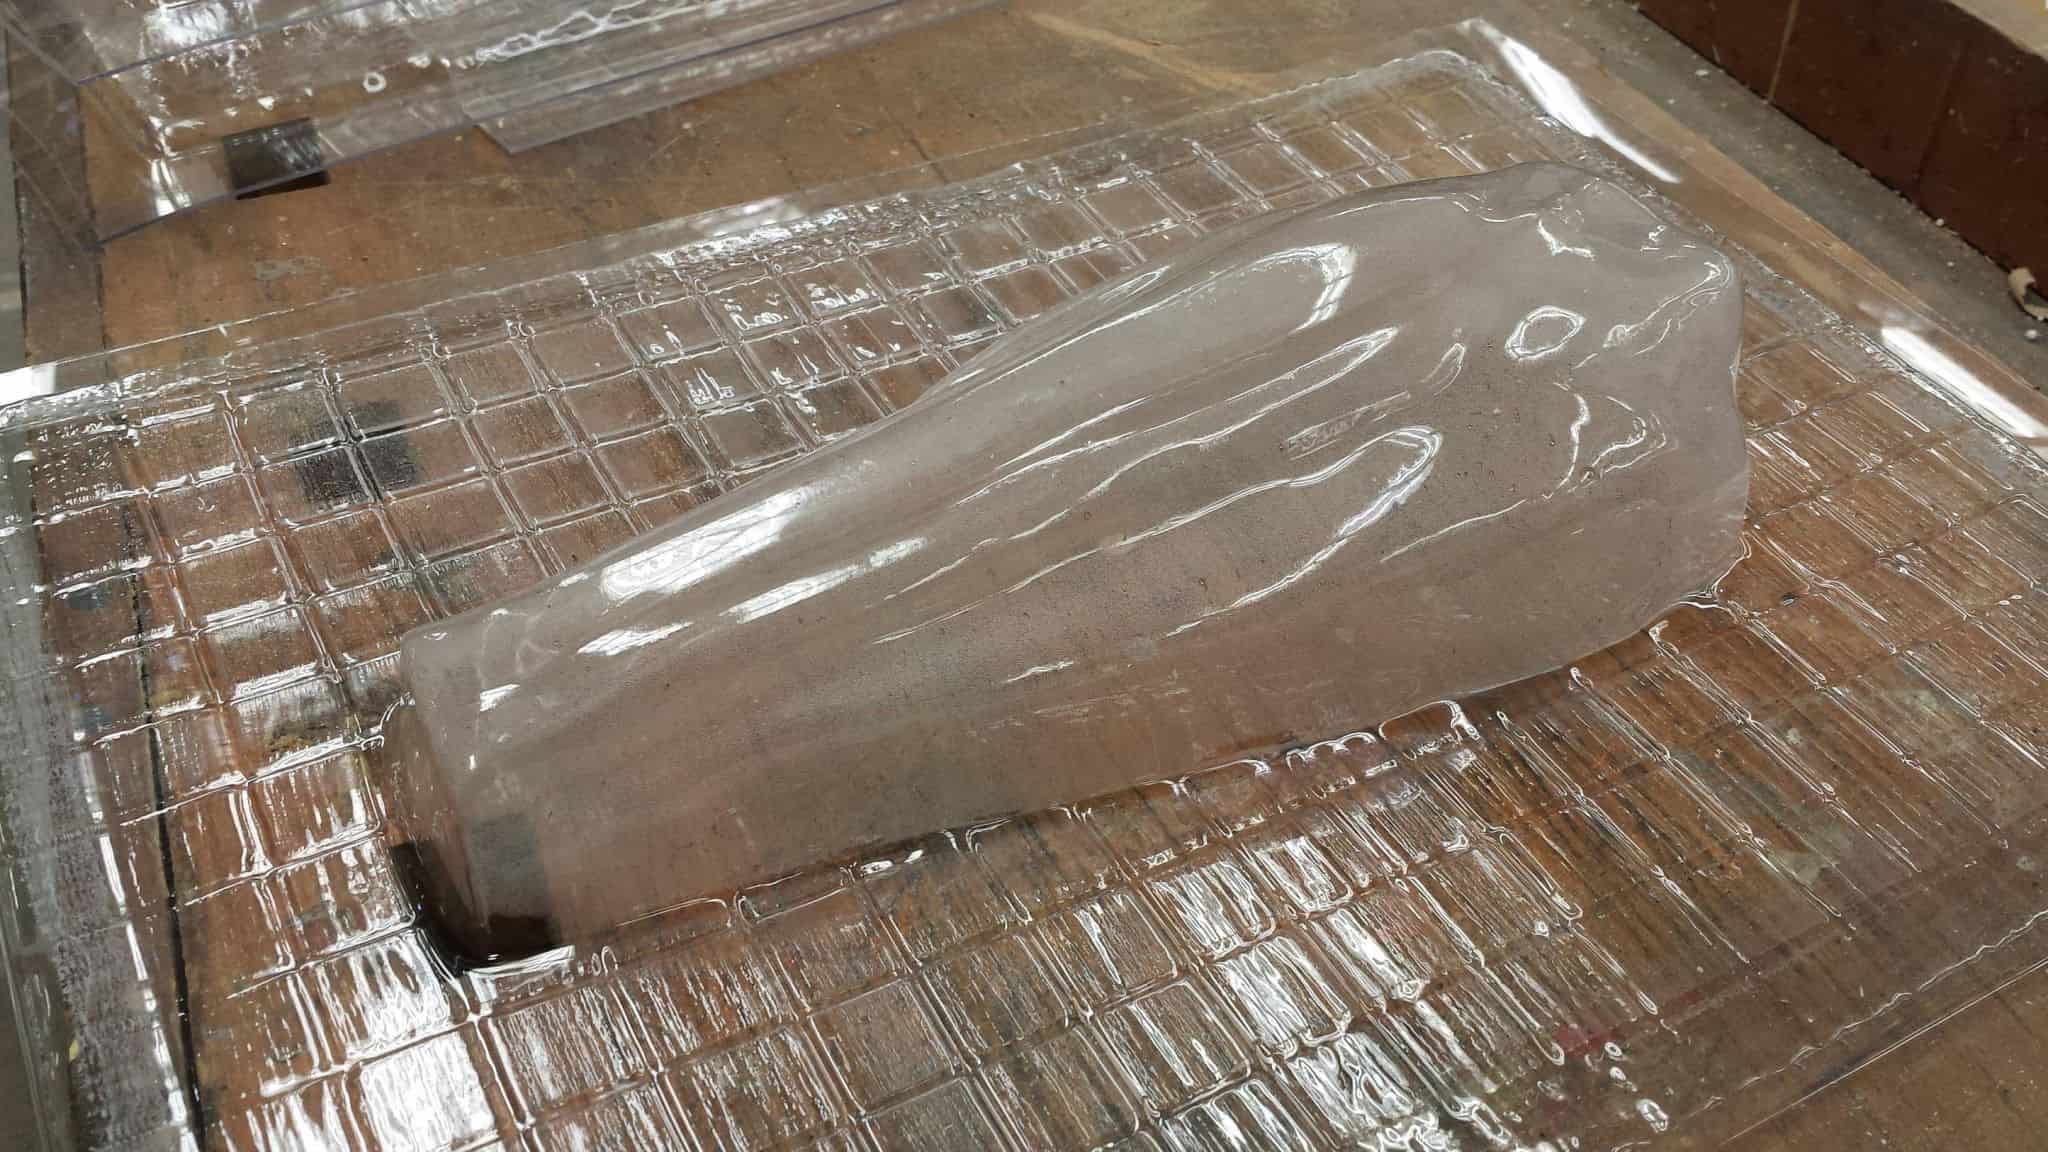
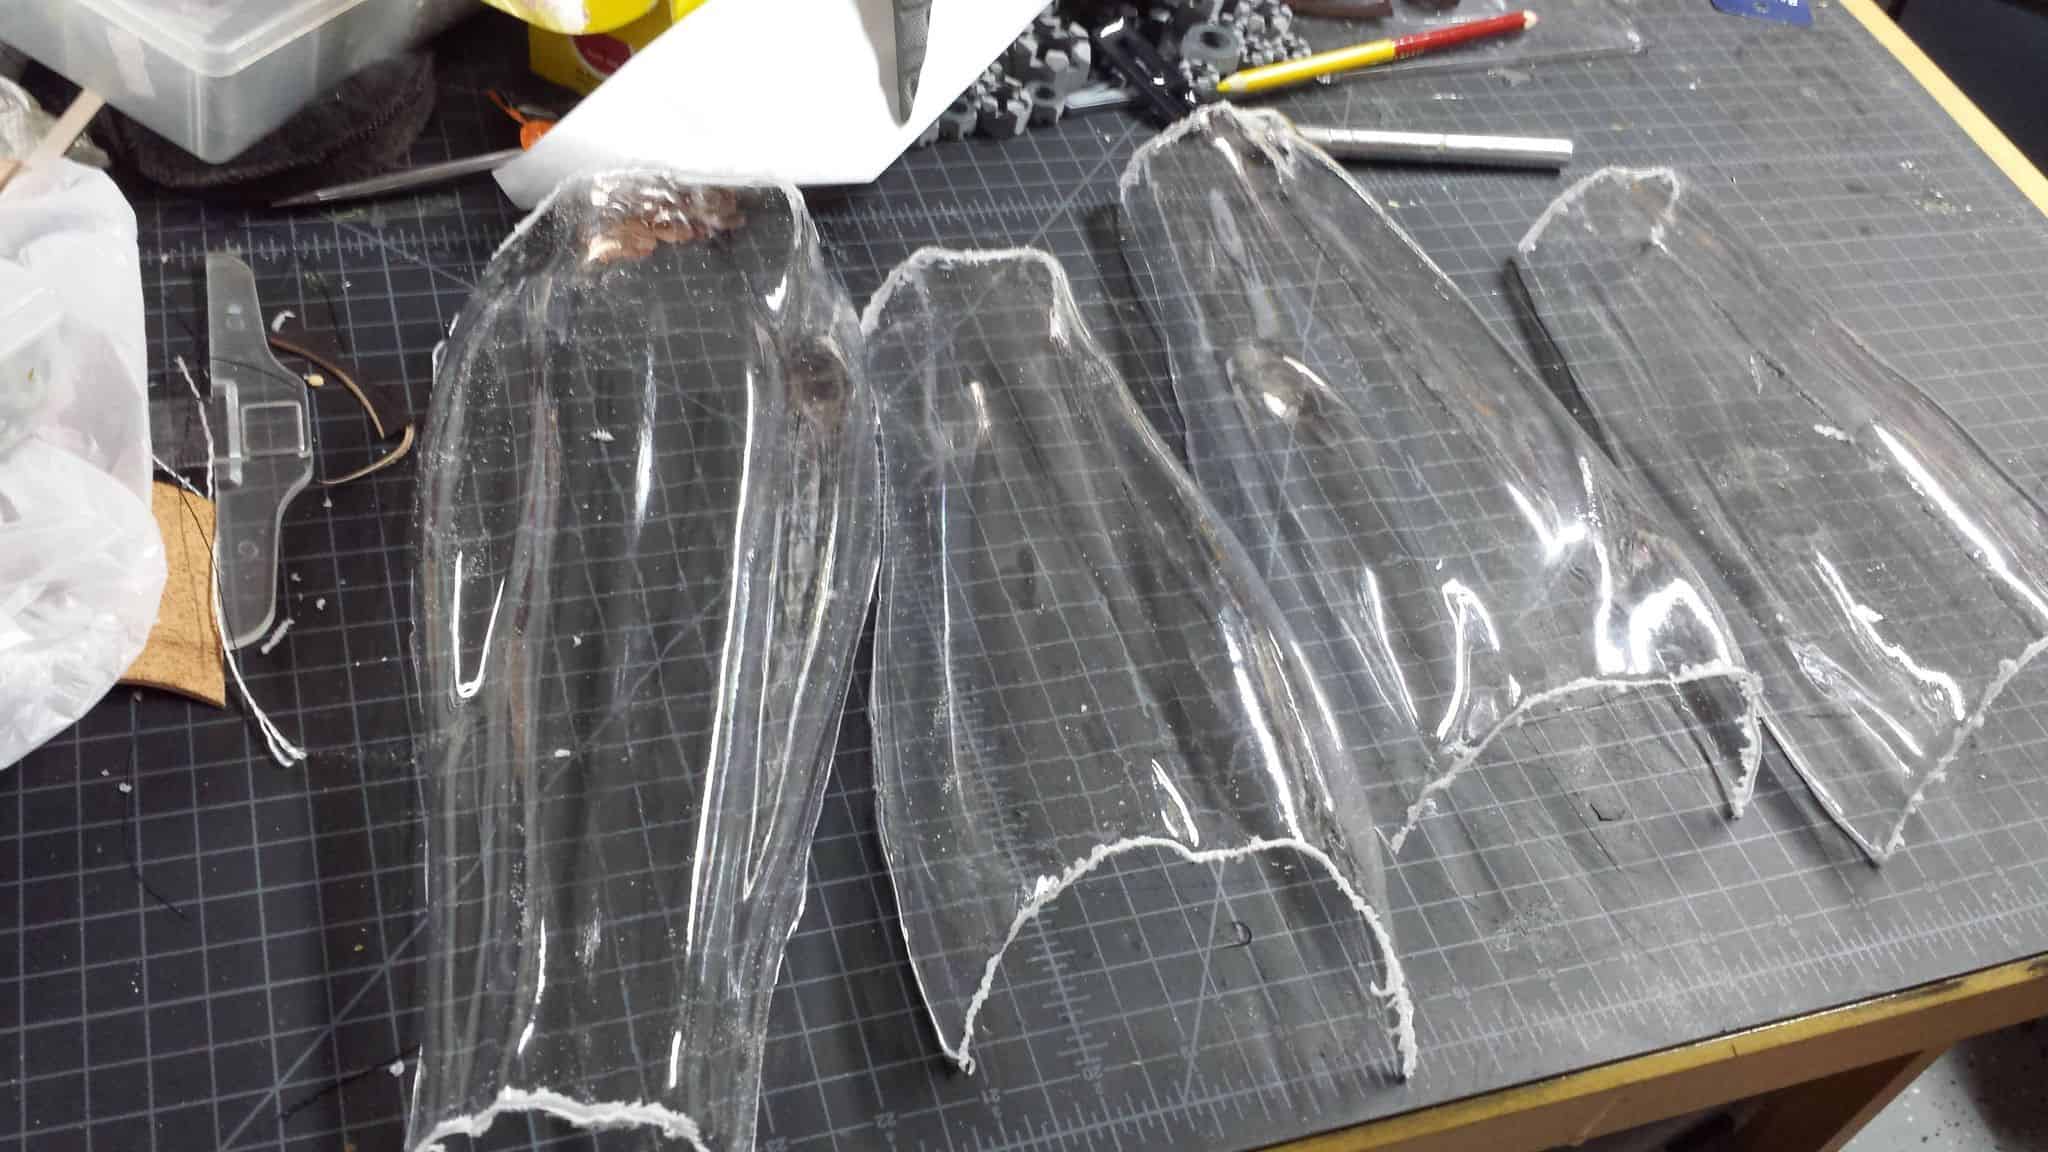
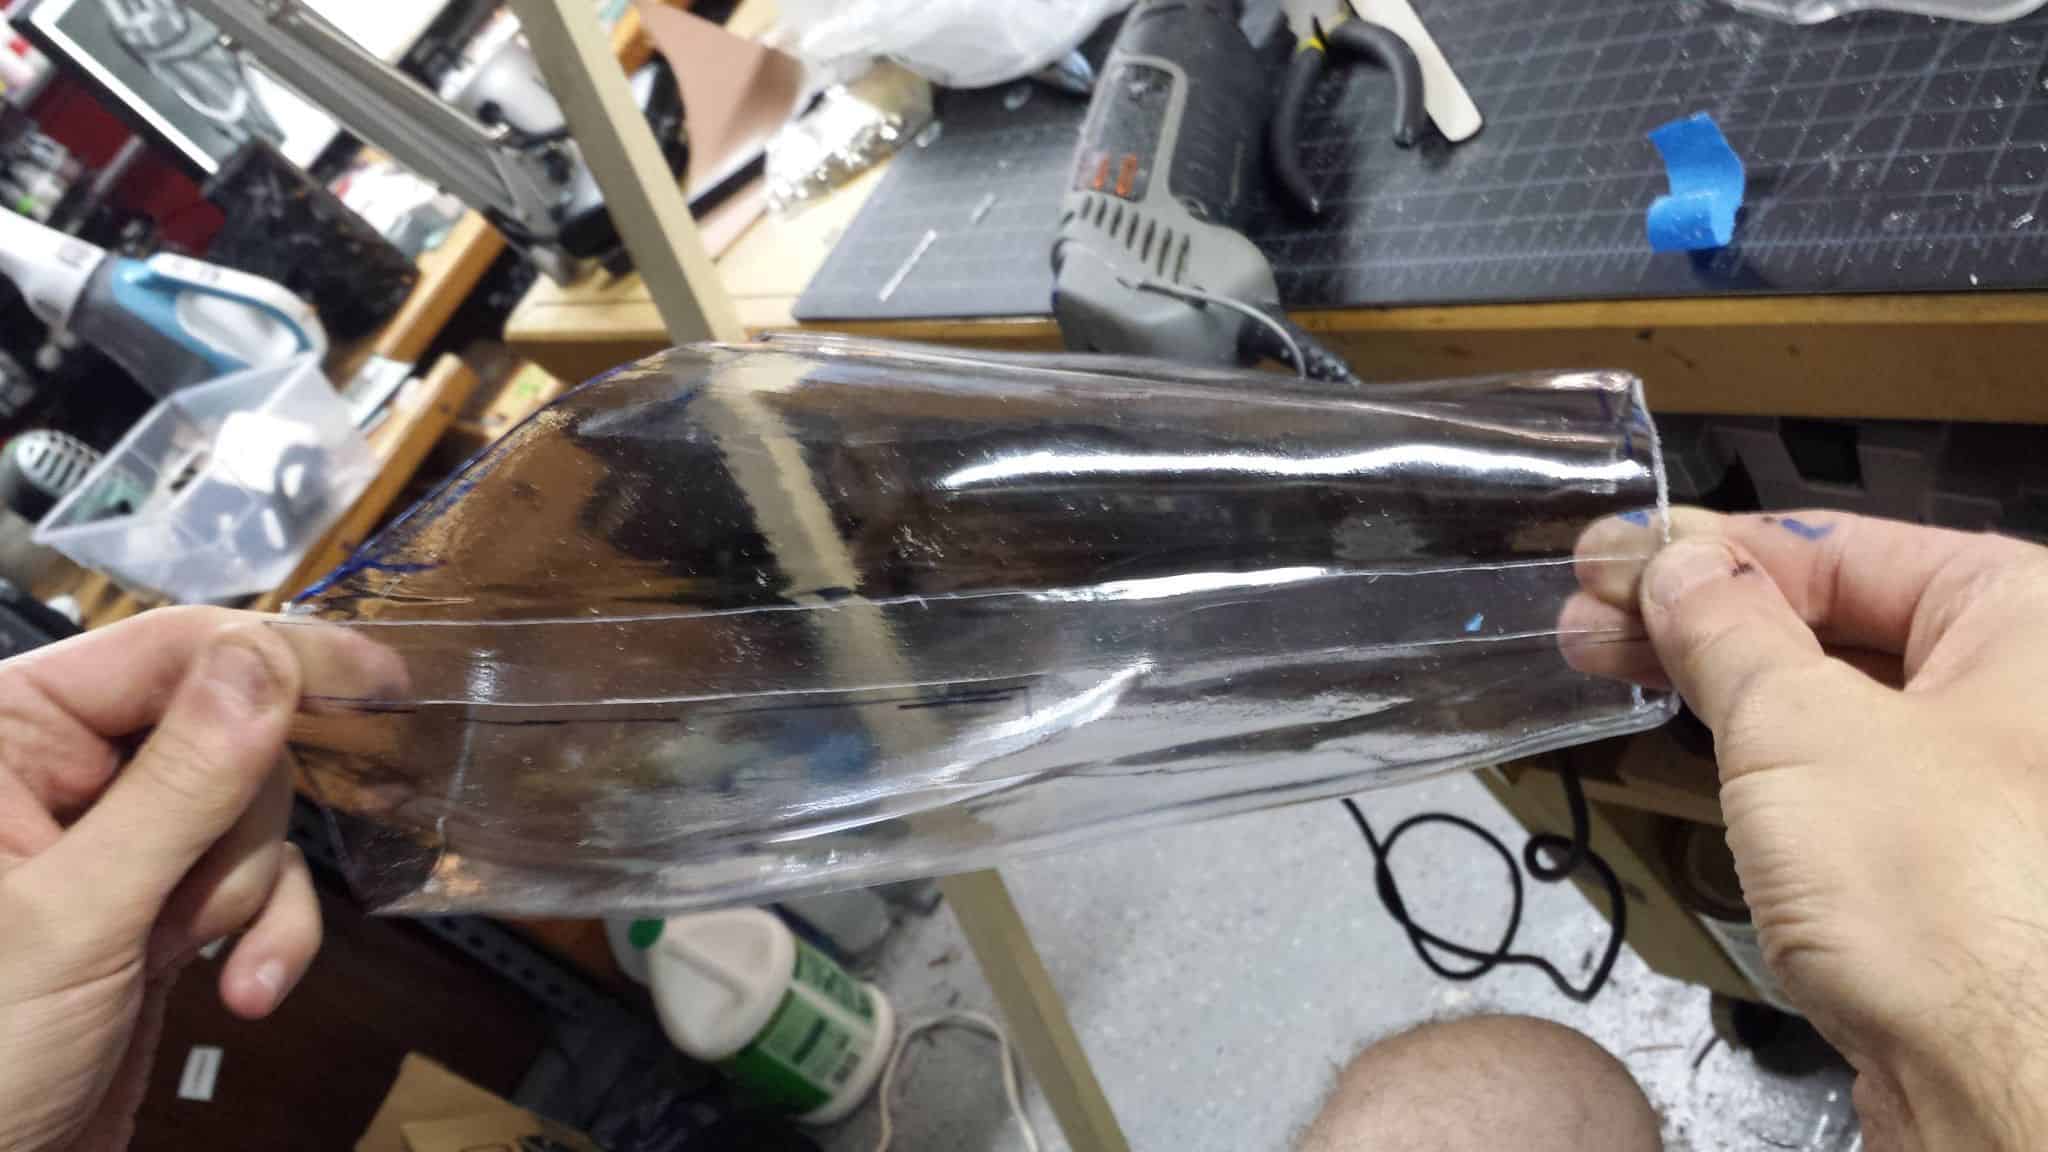
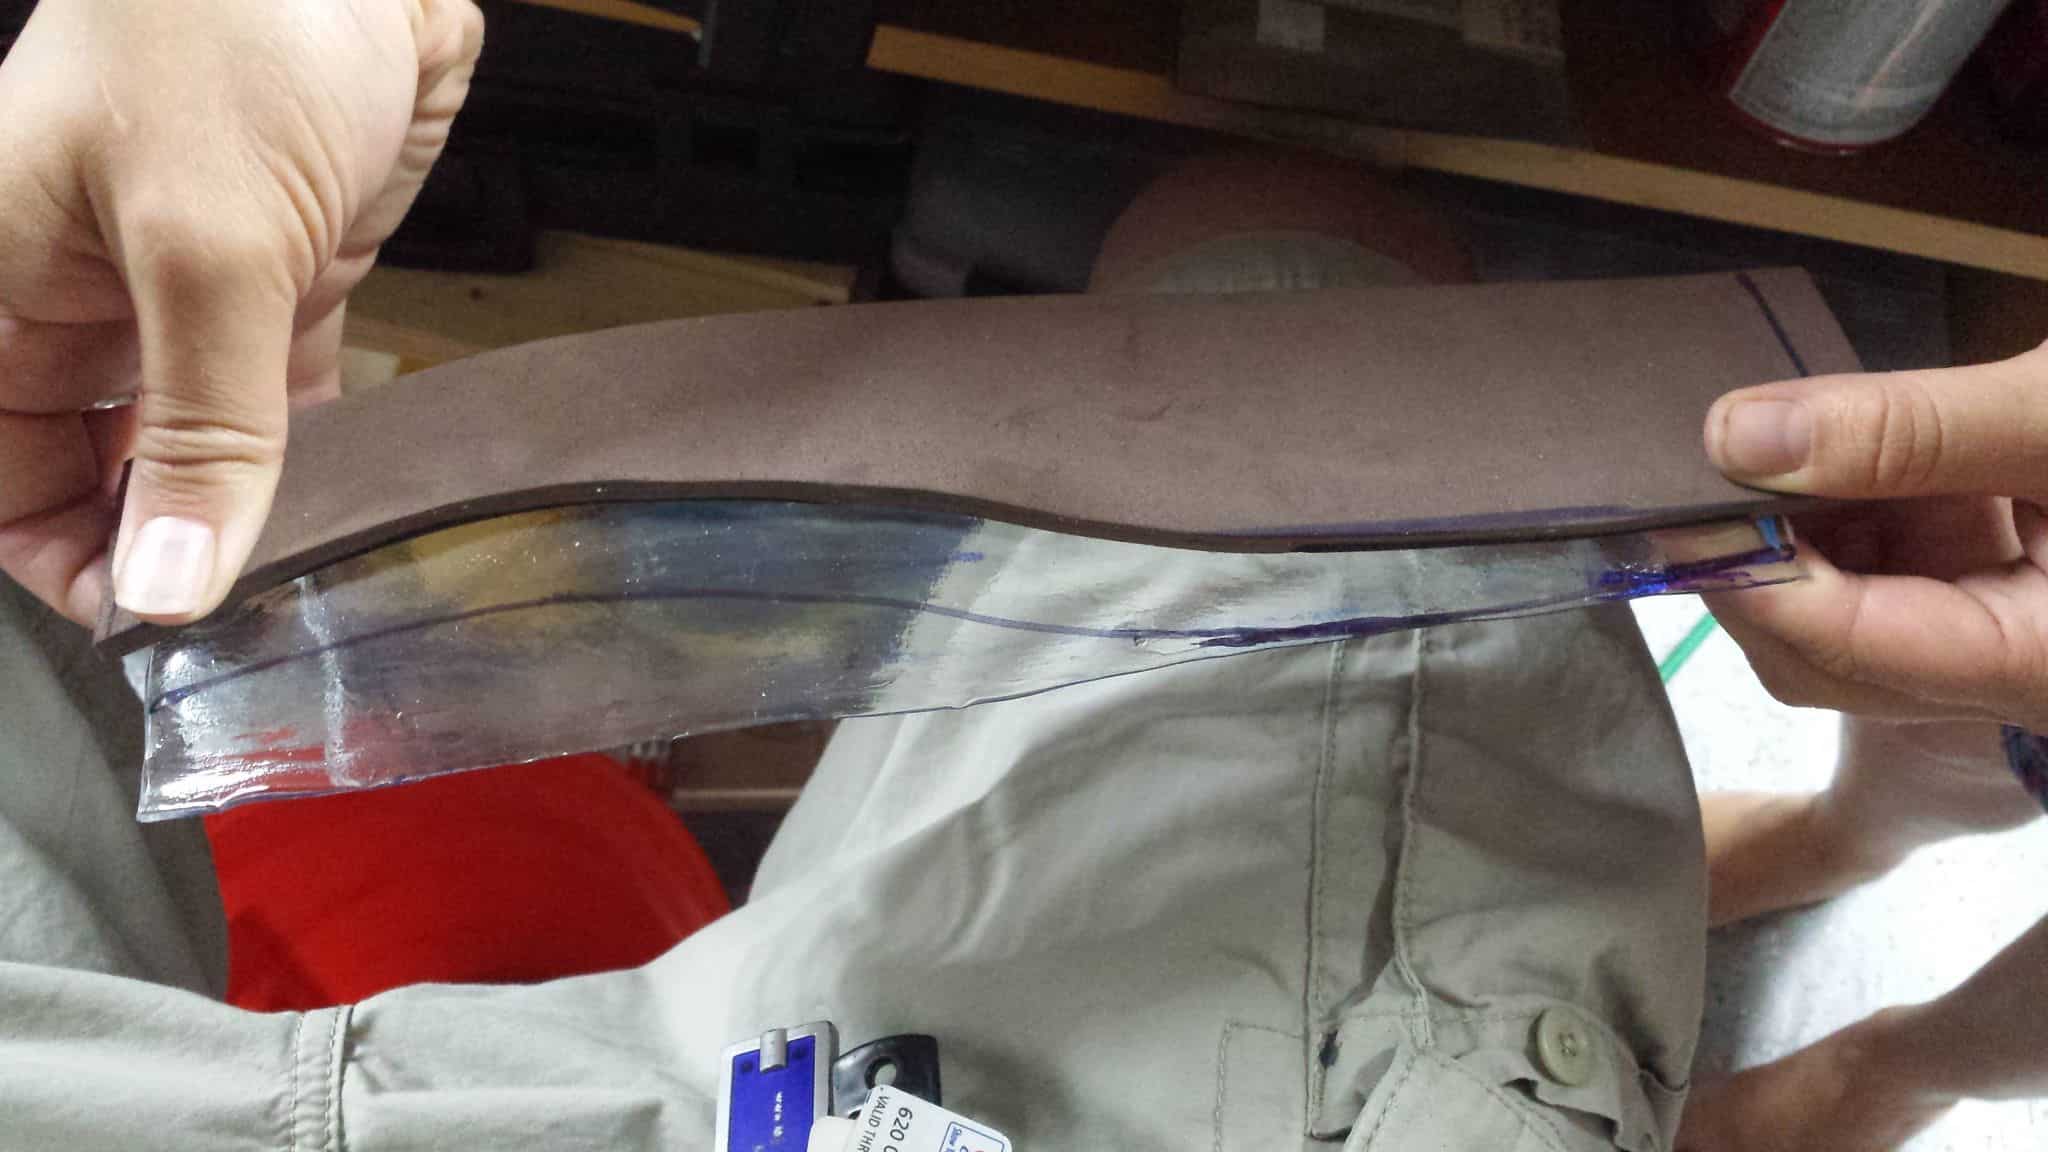
We did the arm armor up, and since we might be offering pulls of the things up for sale to folks who are interested I figured I’d do a very quick write-up on how these work. These are my parts after the initial pull. This one’s a little fogged up by condensation, but it actually helps to the extent that you can see the shape easier when it’s opaque.
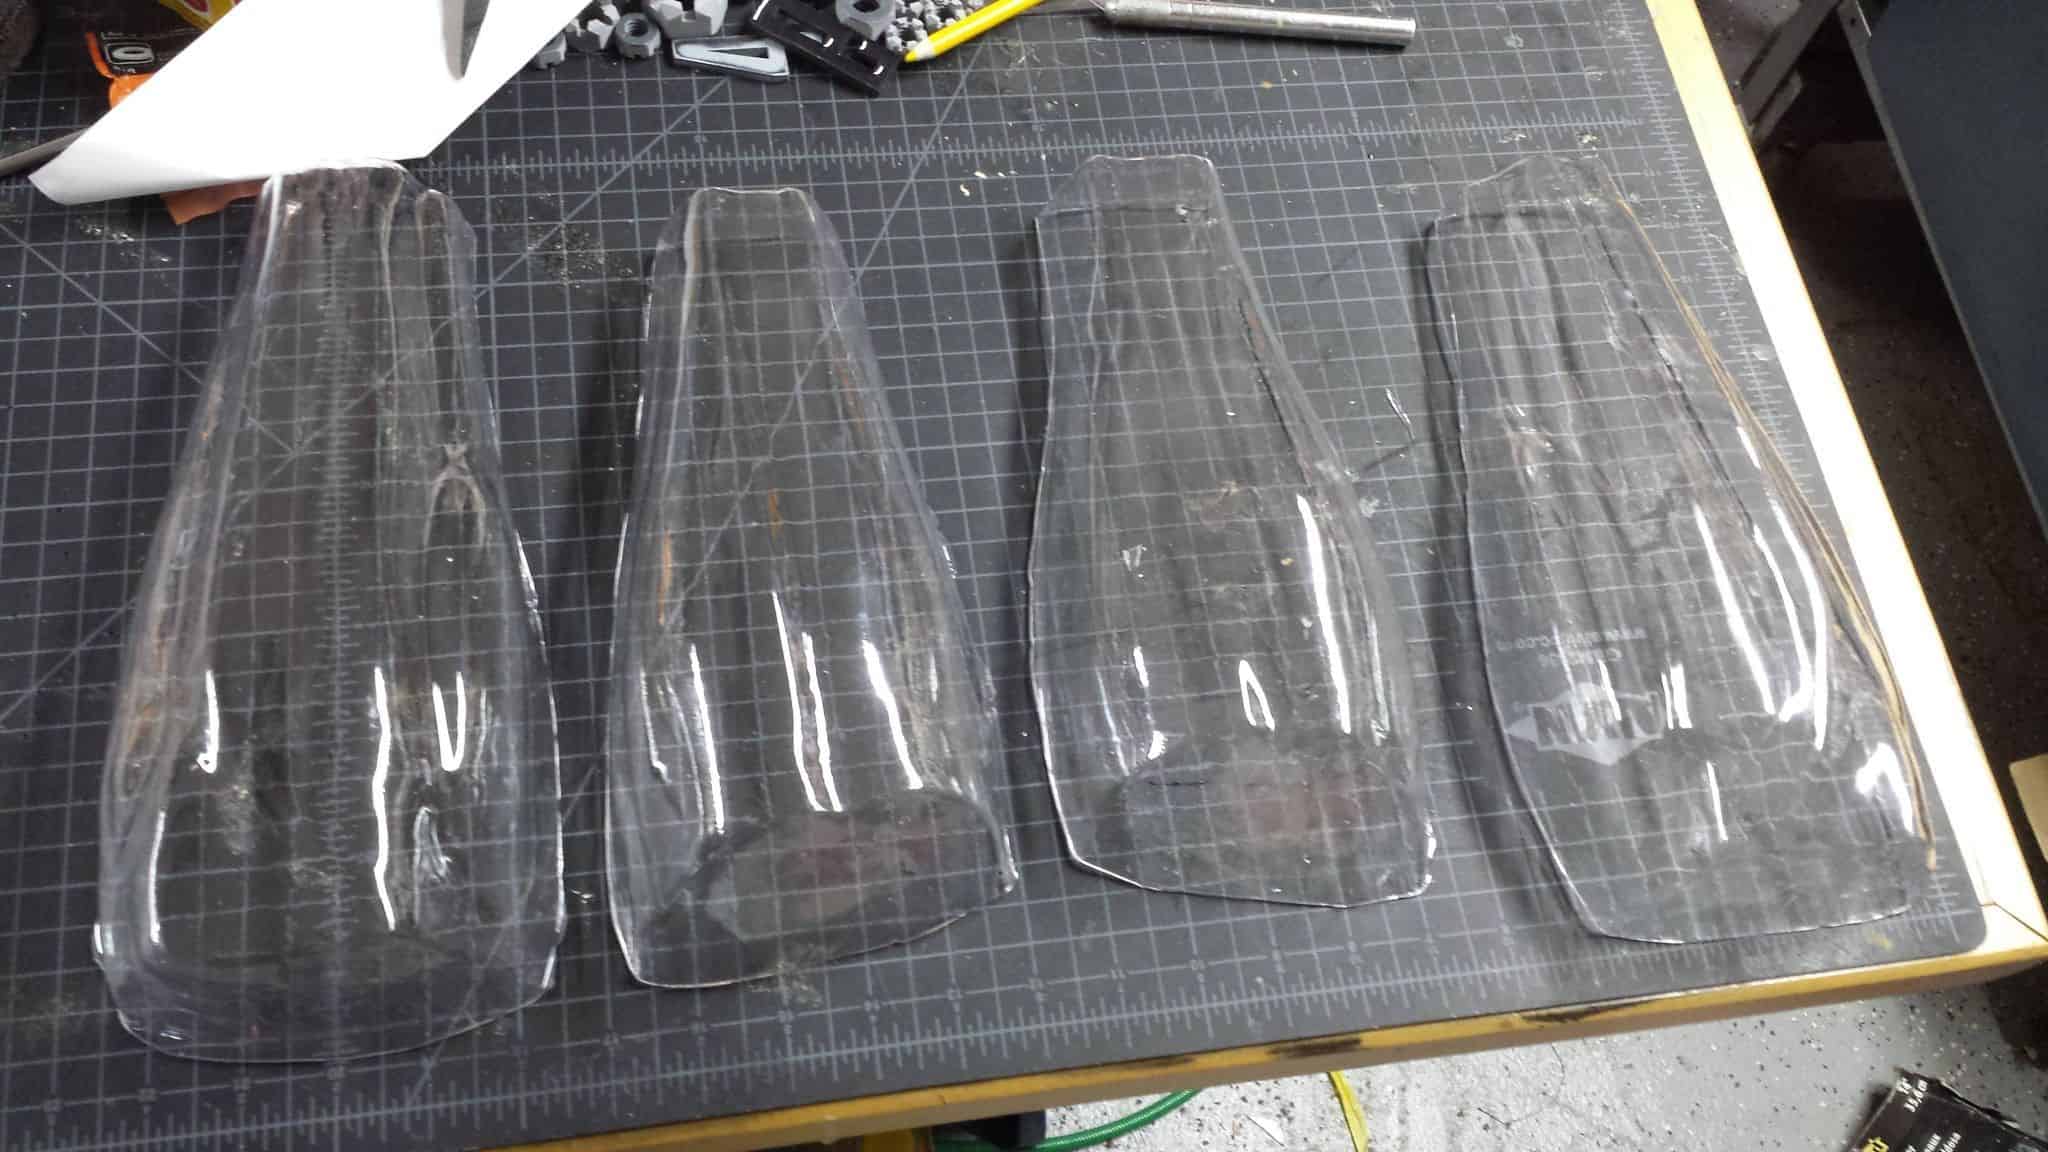
These are the parts after they have been knifed out of the plastic they’re pulled from. I left a lot of extra height on each part so that when time came to remove them, I could just knife horizontally around the base of the part and pop them off. They come off pretty easily and cleanly if you use a new, sharp Xacto knife blade.
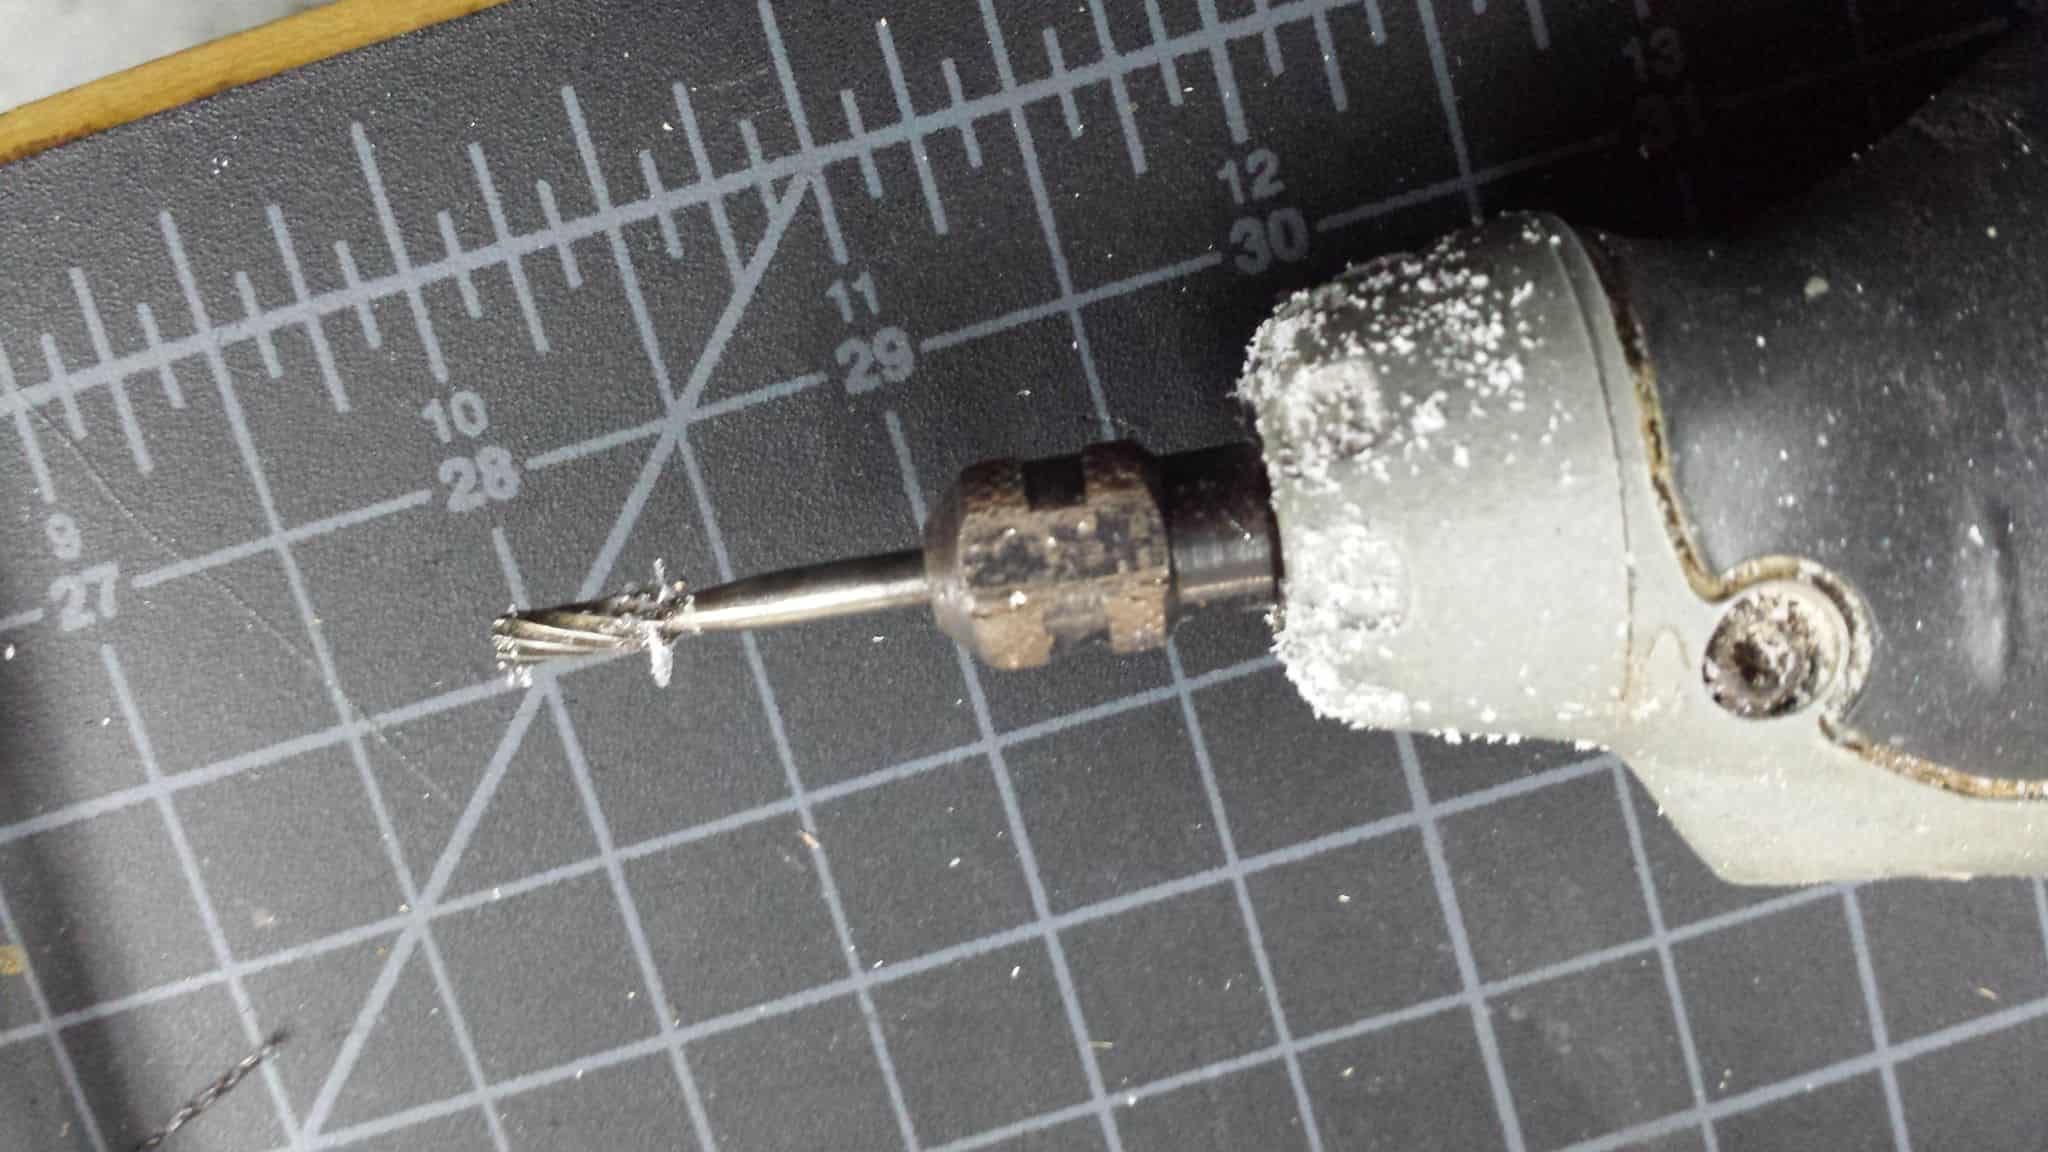
Then we whip out the dremel. I tried a bunch of different ways of cutting this PETG material; I assumed that a sanding drum might be one of the better ways to remove excess material. Truth is, it melts under the drum too easily and then you just get clogged, crappy plastic all over everything. Best cutting bit in my arsenal has turned out to be this small toothed bit.
With it, you can easily remove the end caps from each arm piece.
There’s a little excess plastic melted back at the edge but you can trim that up with a sharp knife very easily.
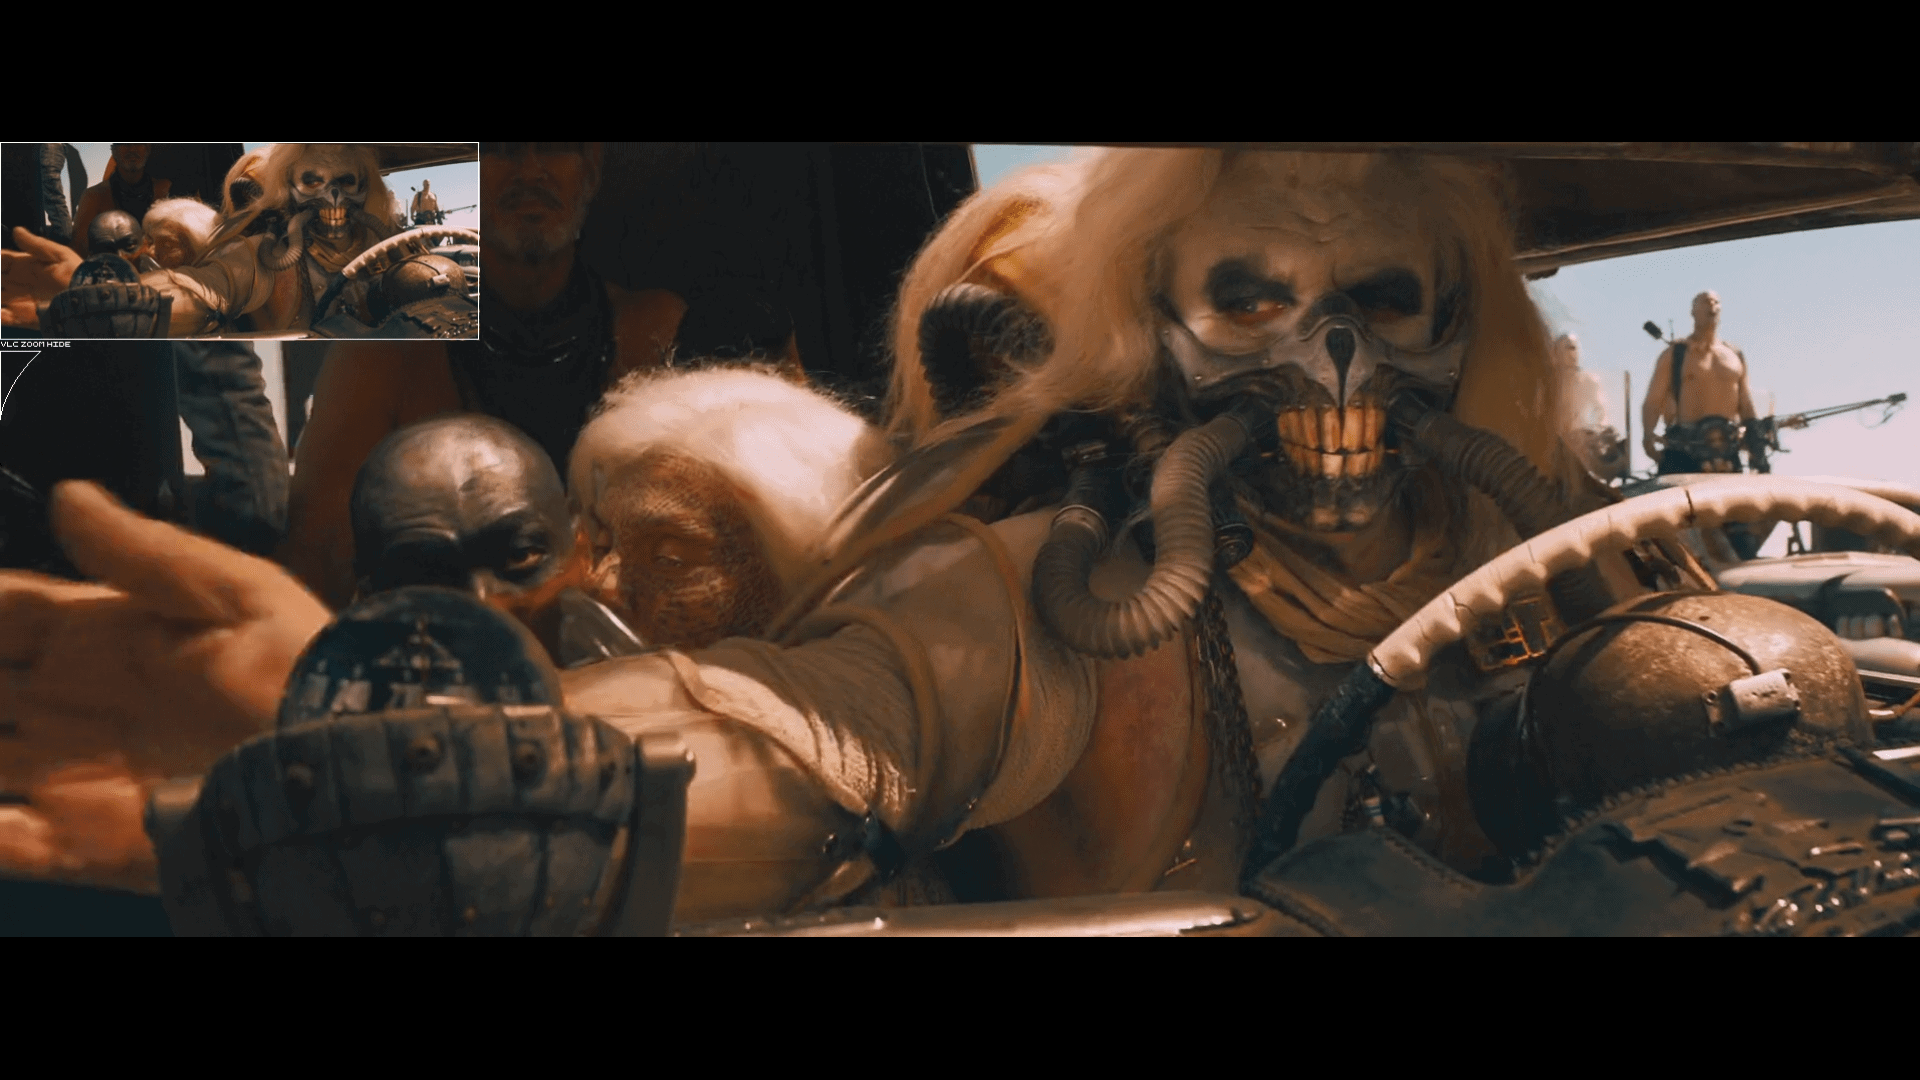
Anyway, we brainstormed a bit about how to put this together. I assumed that it was like the torso armor – a front half, a back half, padded edges all around each part, then just secured together at the edges. After poring over the research material, I realized this was not the case.
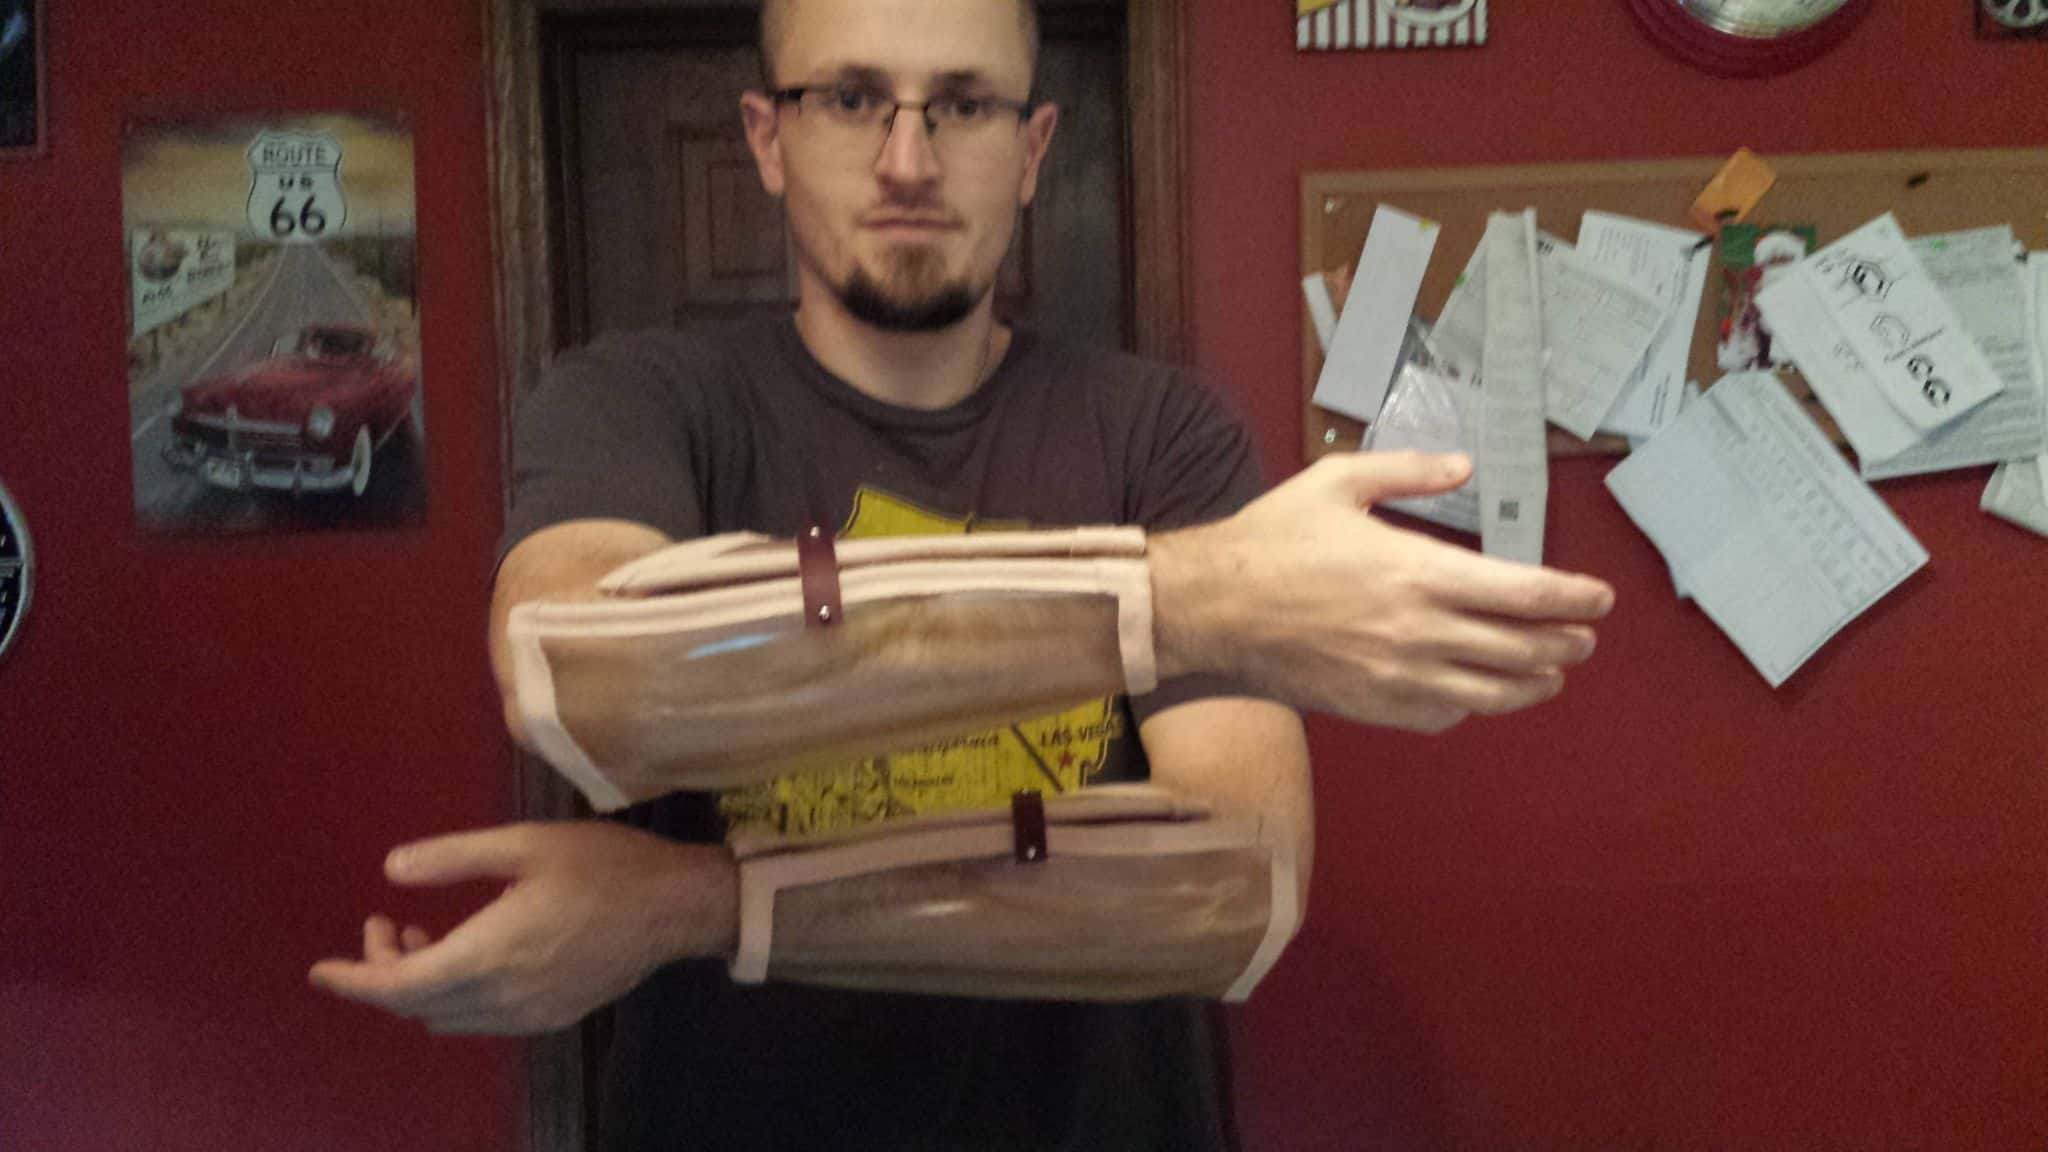
Definitely only one padded seam length-wise down the arm. So, we figured the best thing to do would be to overlap the back edges of each arm and rivet them together like so:
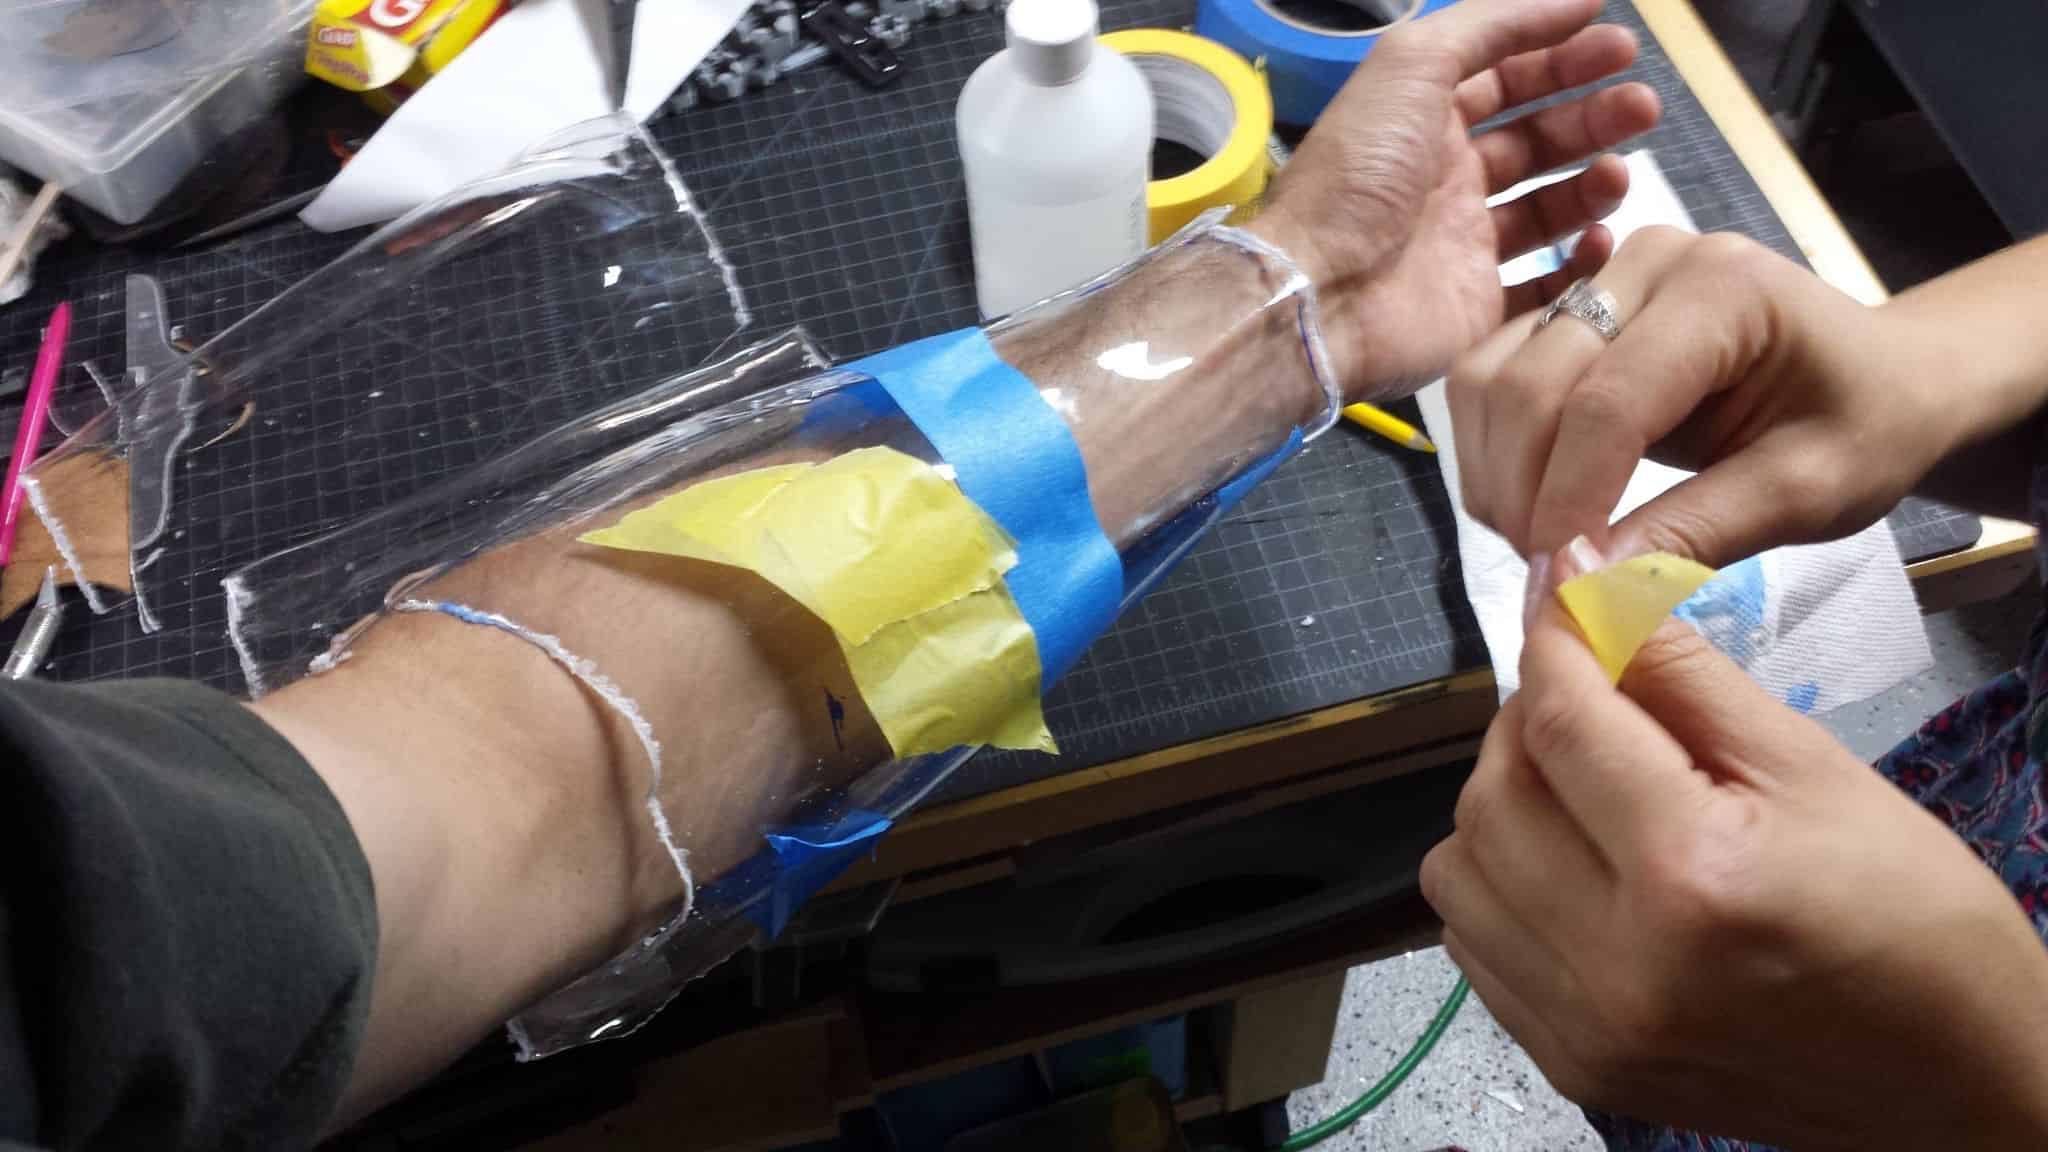
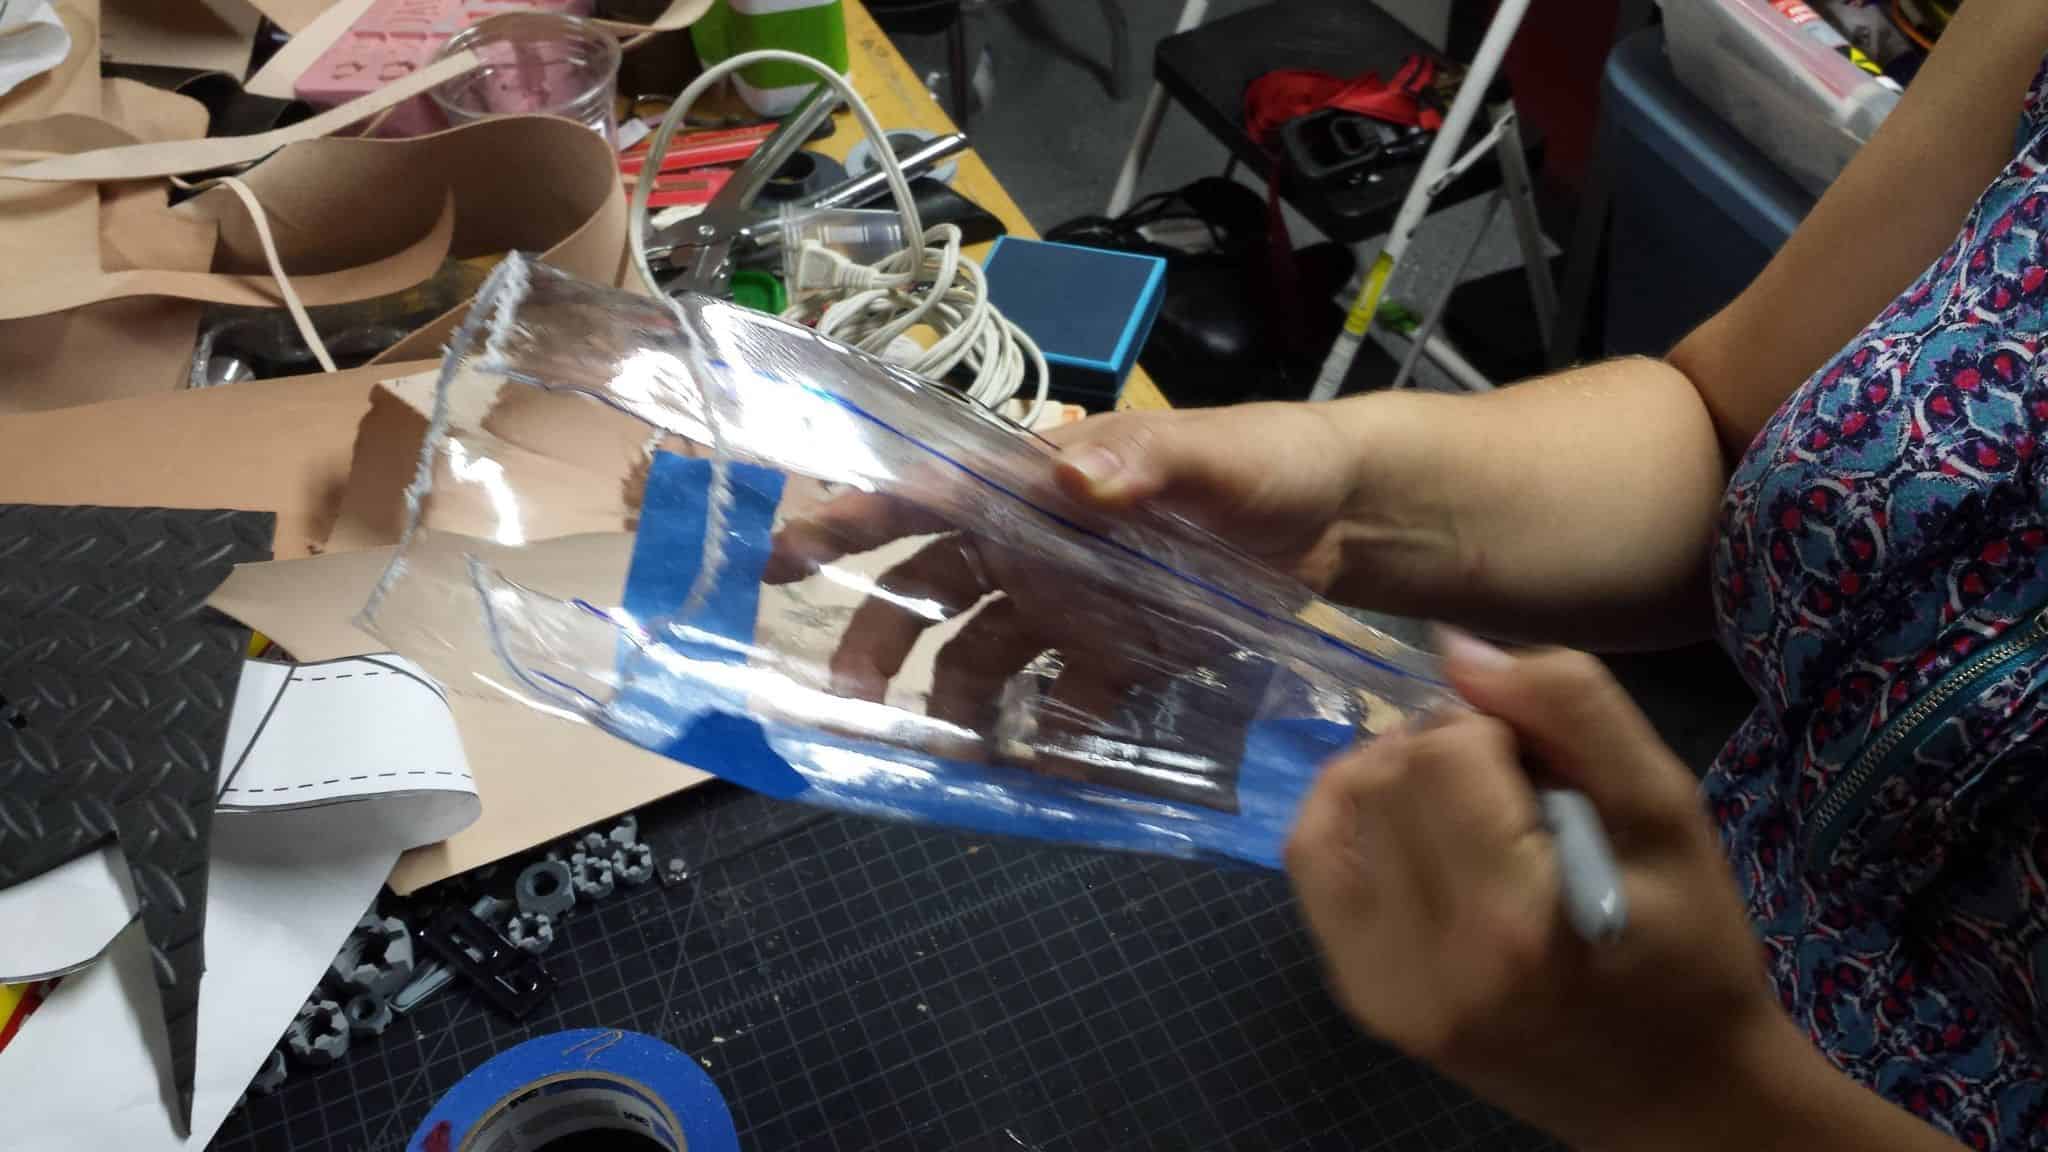
Protip, you can draw all over these things with permanent marker for drafting. A bit of rubbing alcohol on a paper towel cleans them right up and makes the lines wipe off. Between that and a bit of painter’s tape we did some test fits and started figuring out where our cuts needed to be.
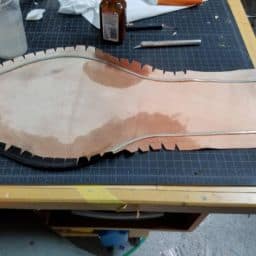
One other thing we noticed is that the seamed edge of the arm has a kind of S-curve to it, rather than joining straight with the other half. To get these symmetrical across each piece, we drew the shape out onto some craft foam, cut it out, and then used that as a template. We could then flip it over or around to get the lines we needed to cut on each arm, front and back.
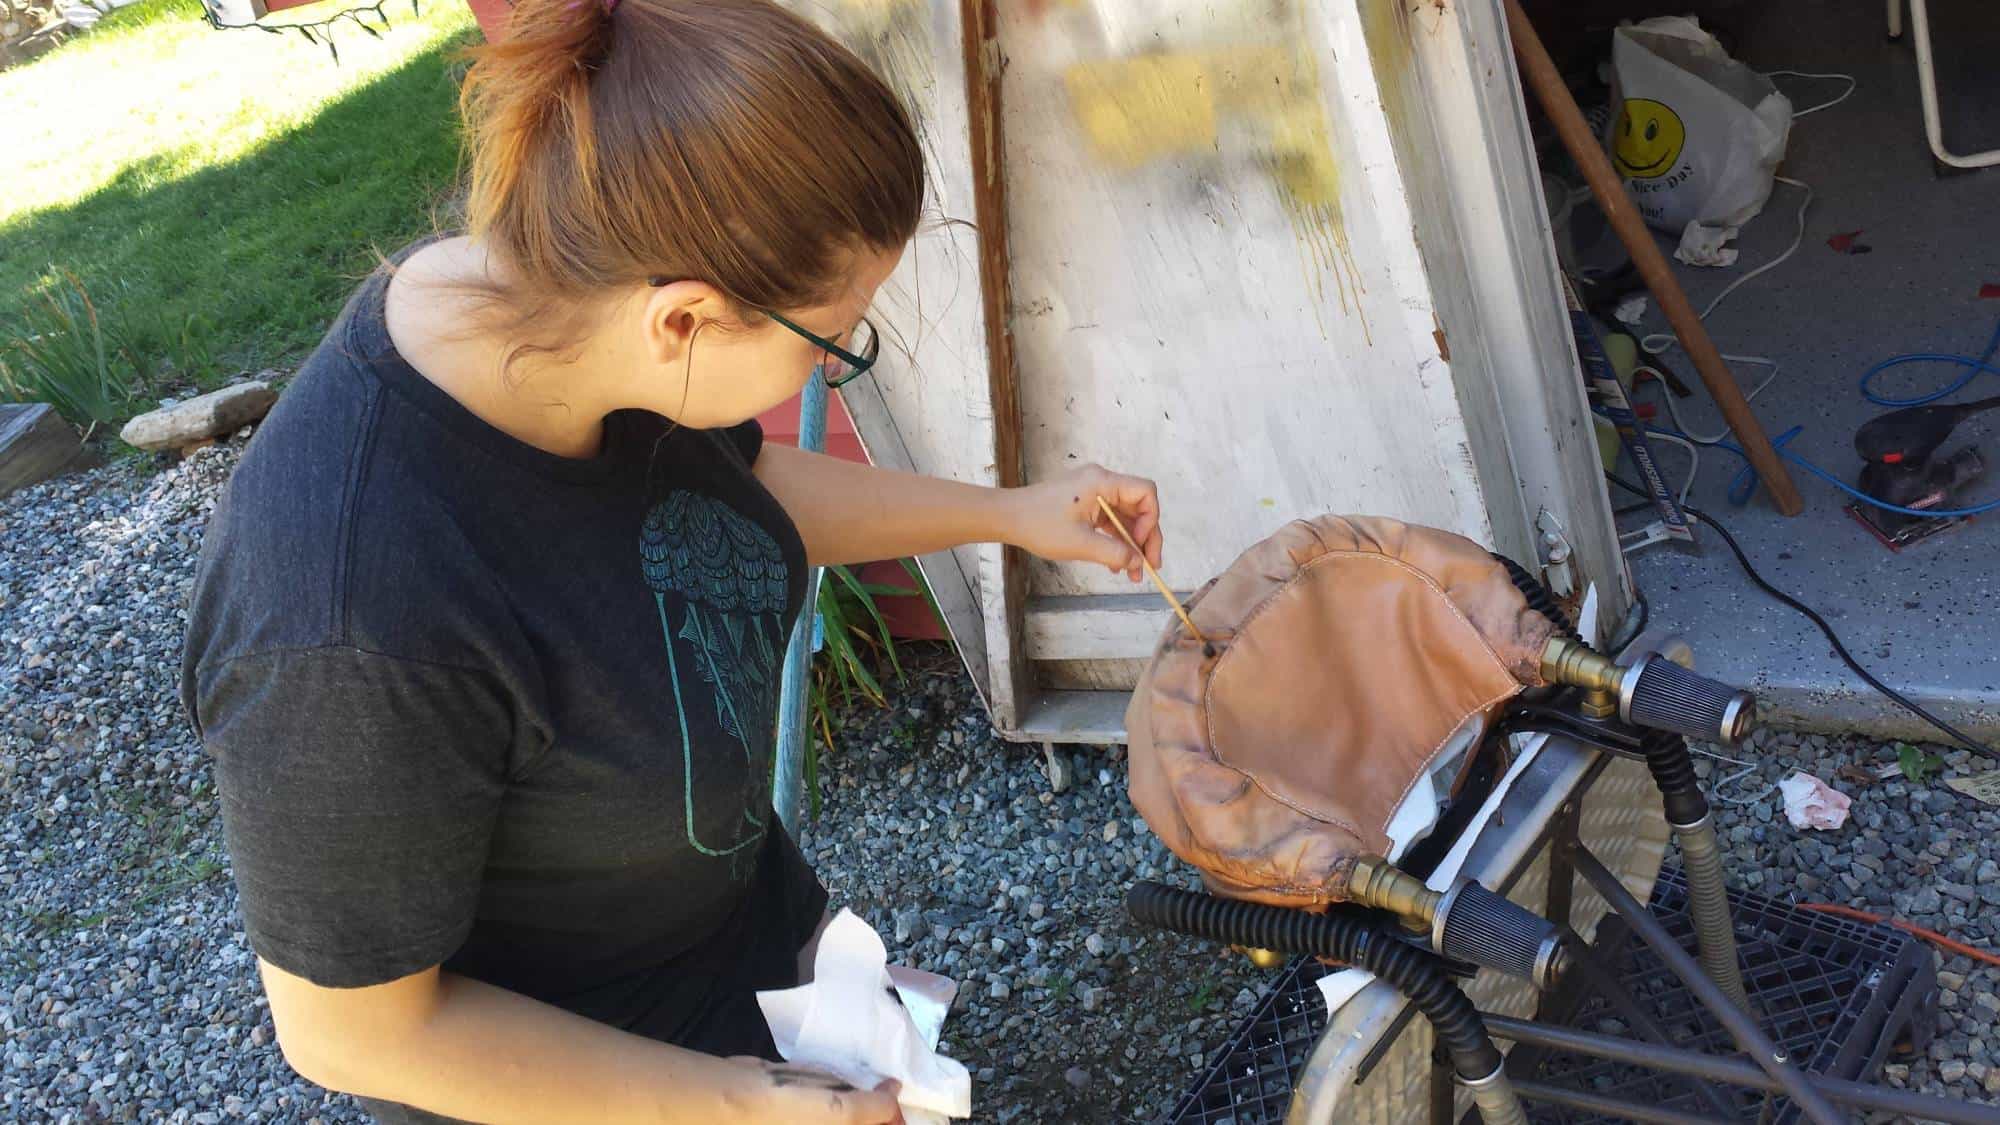
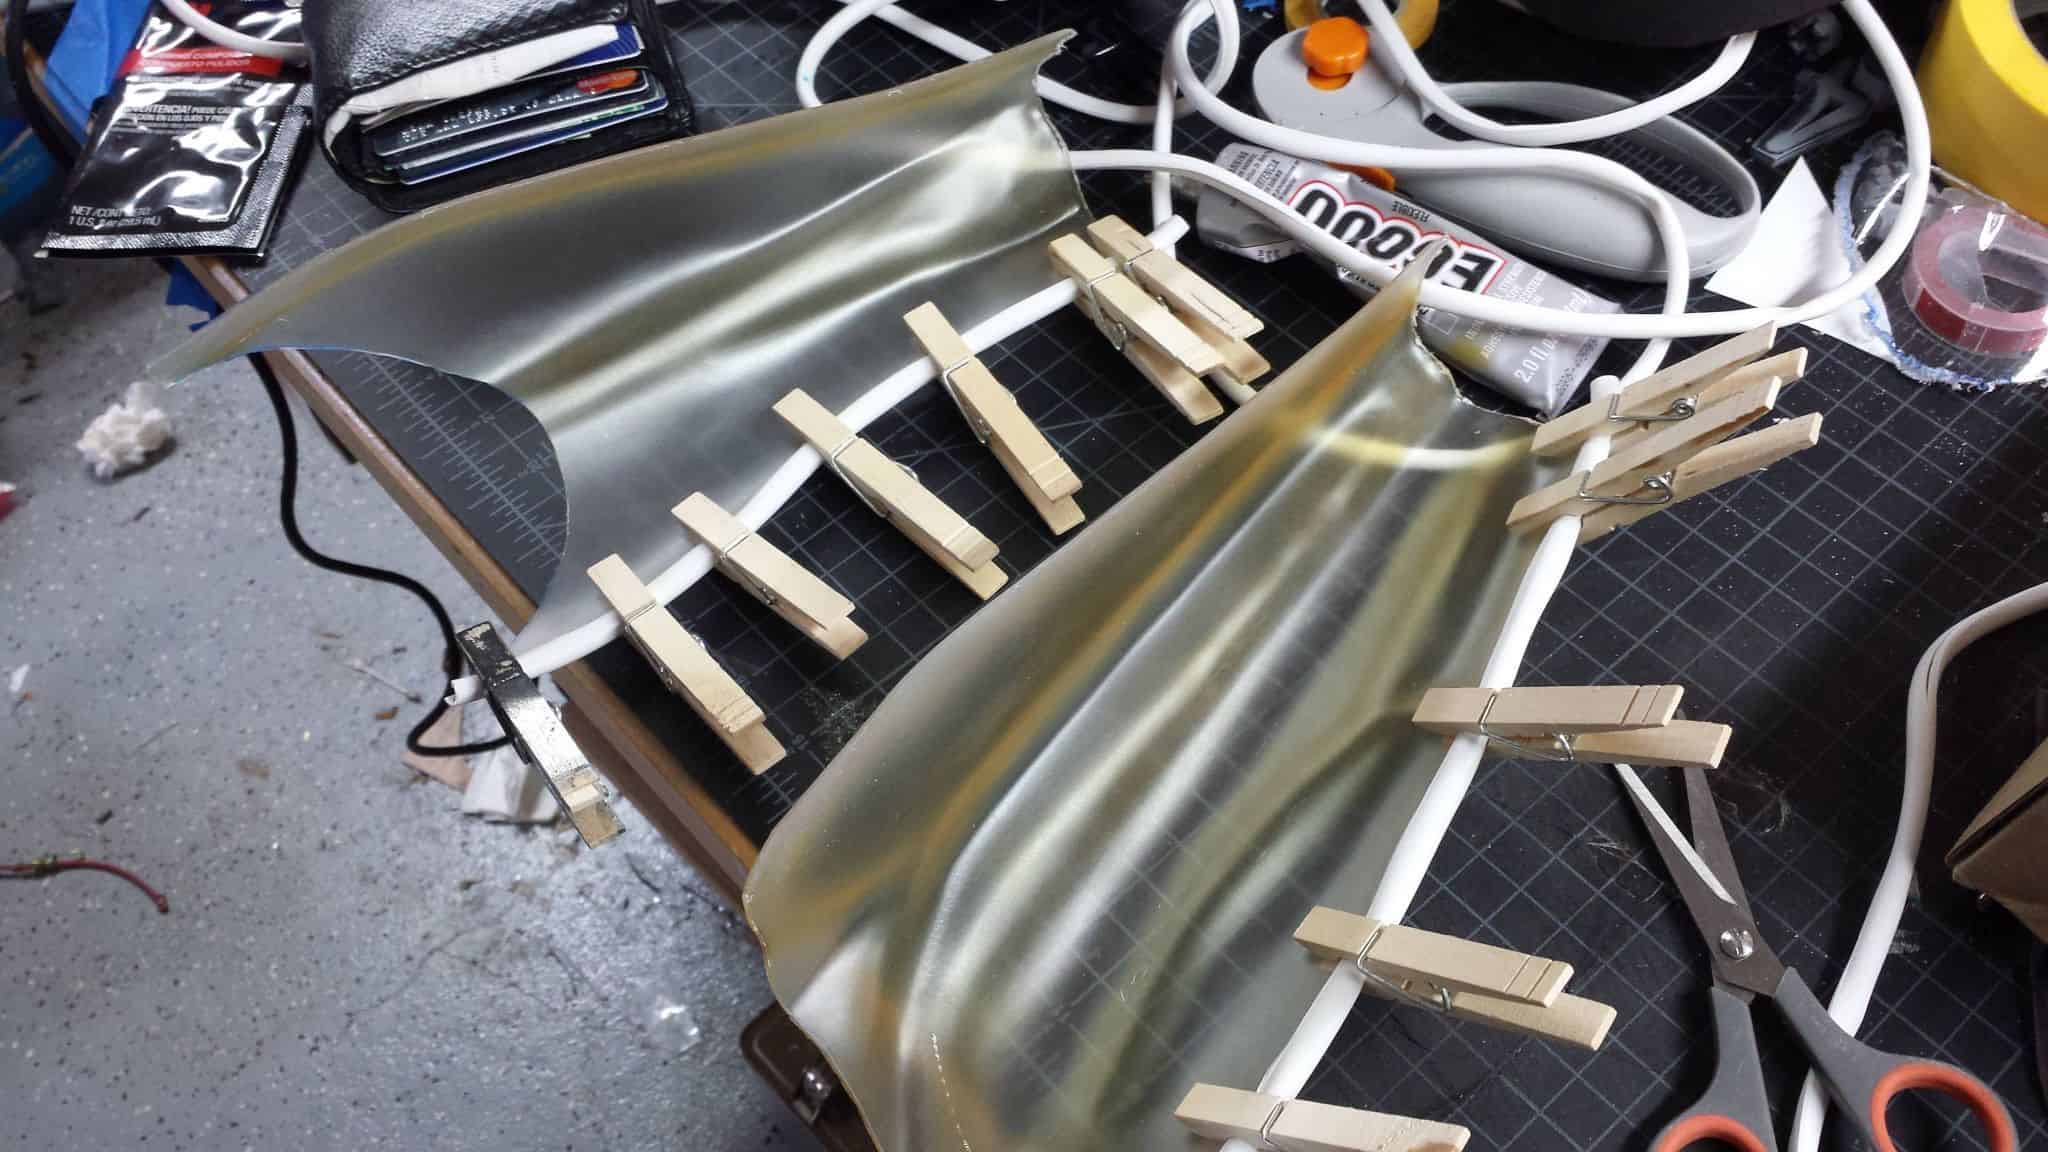
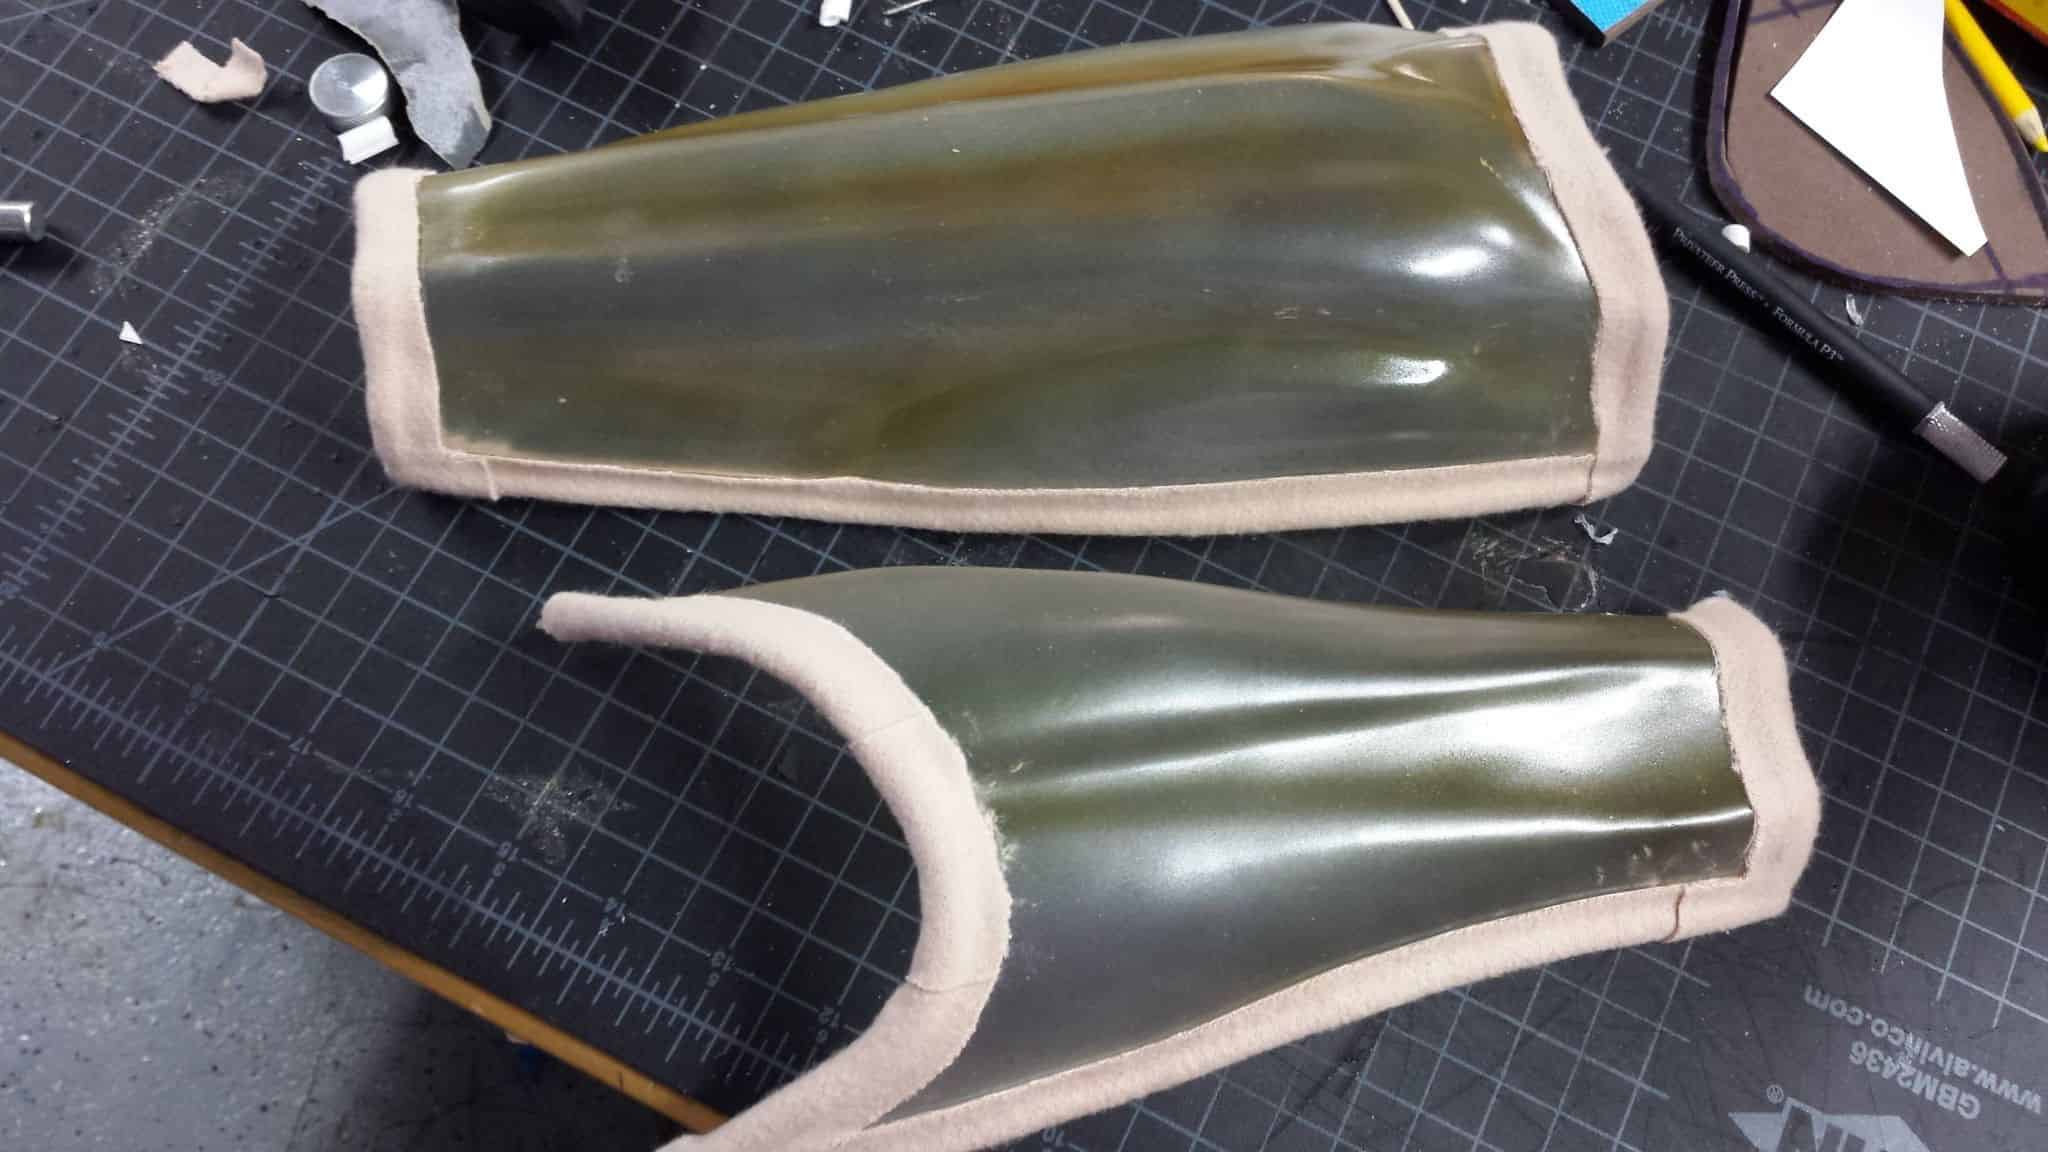
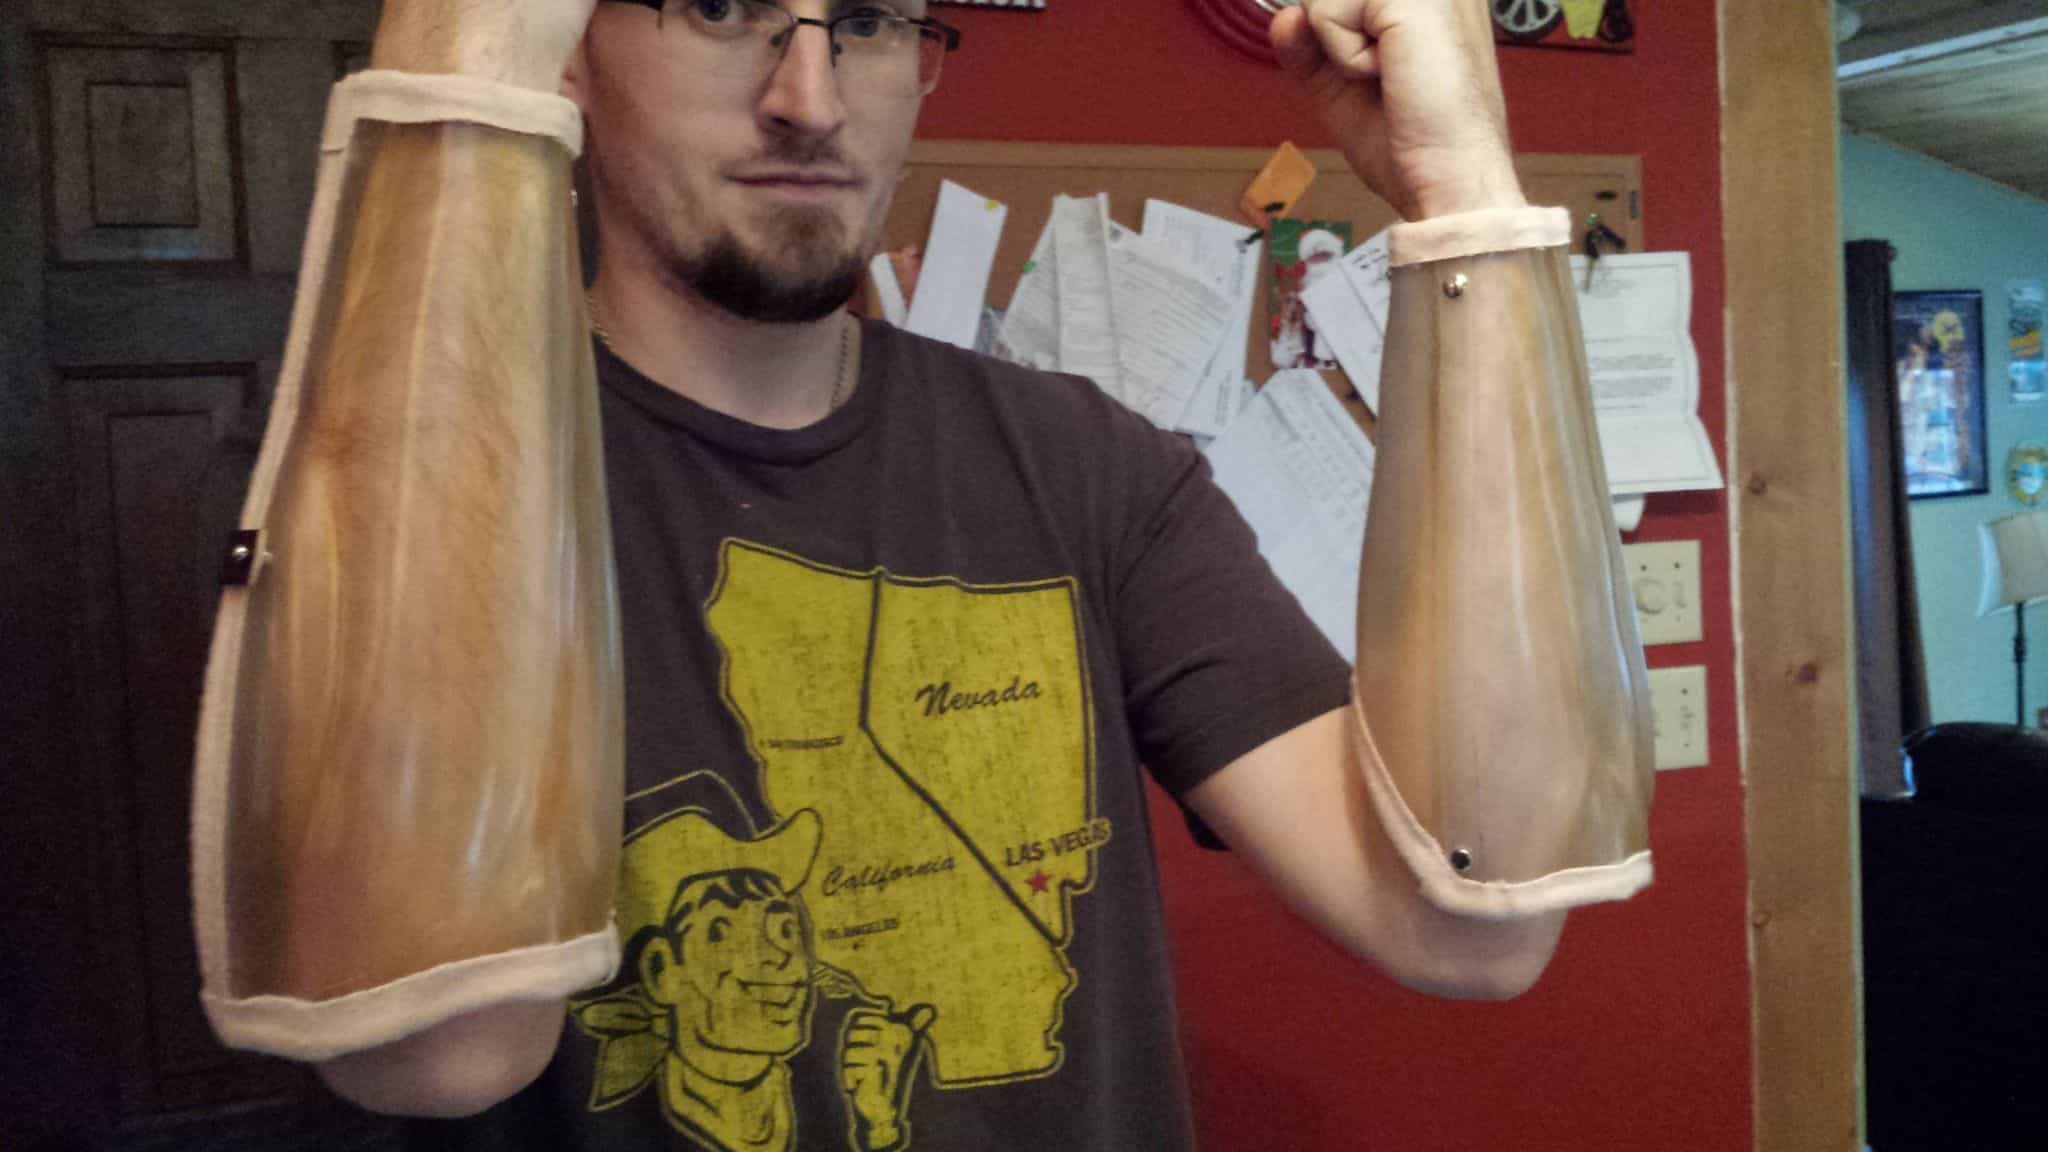
Once the parts were cut out, we had the task of painting the arm itself. We loaded up an airbrush with a bit of gross reddish-brownish-yellowish mixture that we used on the torso armor and sprayed it down to make the recessed musculature line on the armor pop a bit. They were then frosted up the same way as my torso armor – a matte spray went on the inside to give it a bit of foggy opacity, while a gloss clearcoat was laid down on the outside to protect our airbrushing work. Once that all dried, I set about gluing and attaching my vinyl edging to protect my arms a bit.
The E6000 clear glue sets up pretty quickly, and then it’s just a matter of wrapping it with moleskin tape and cutting the tape down. As before, I used my purpose-designed Xacto knife cutting guide to make sure I knifed an even trim all the way around the part from the edge. The trim was left off the final edge of the parts where they would overlap. I also measured and marked some holes for the rivets to join the halves of the armor together…
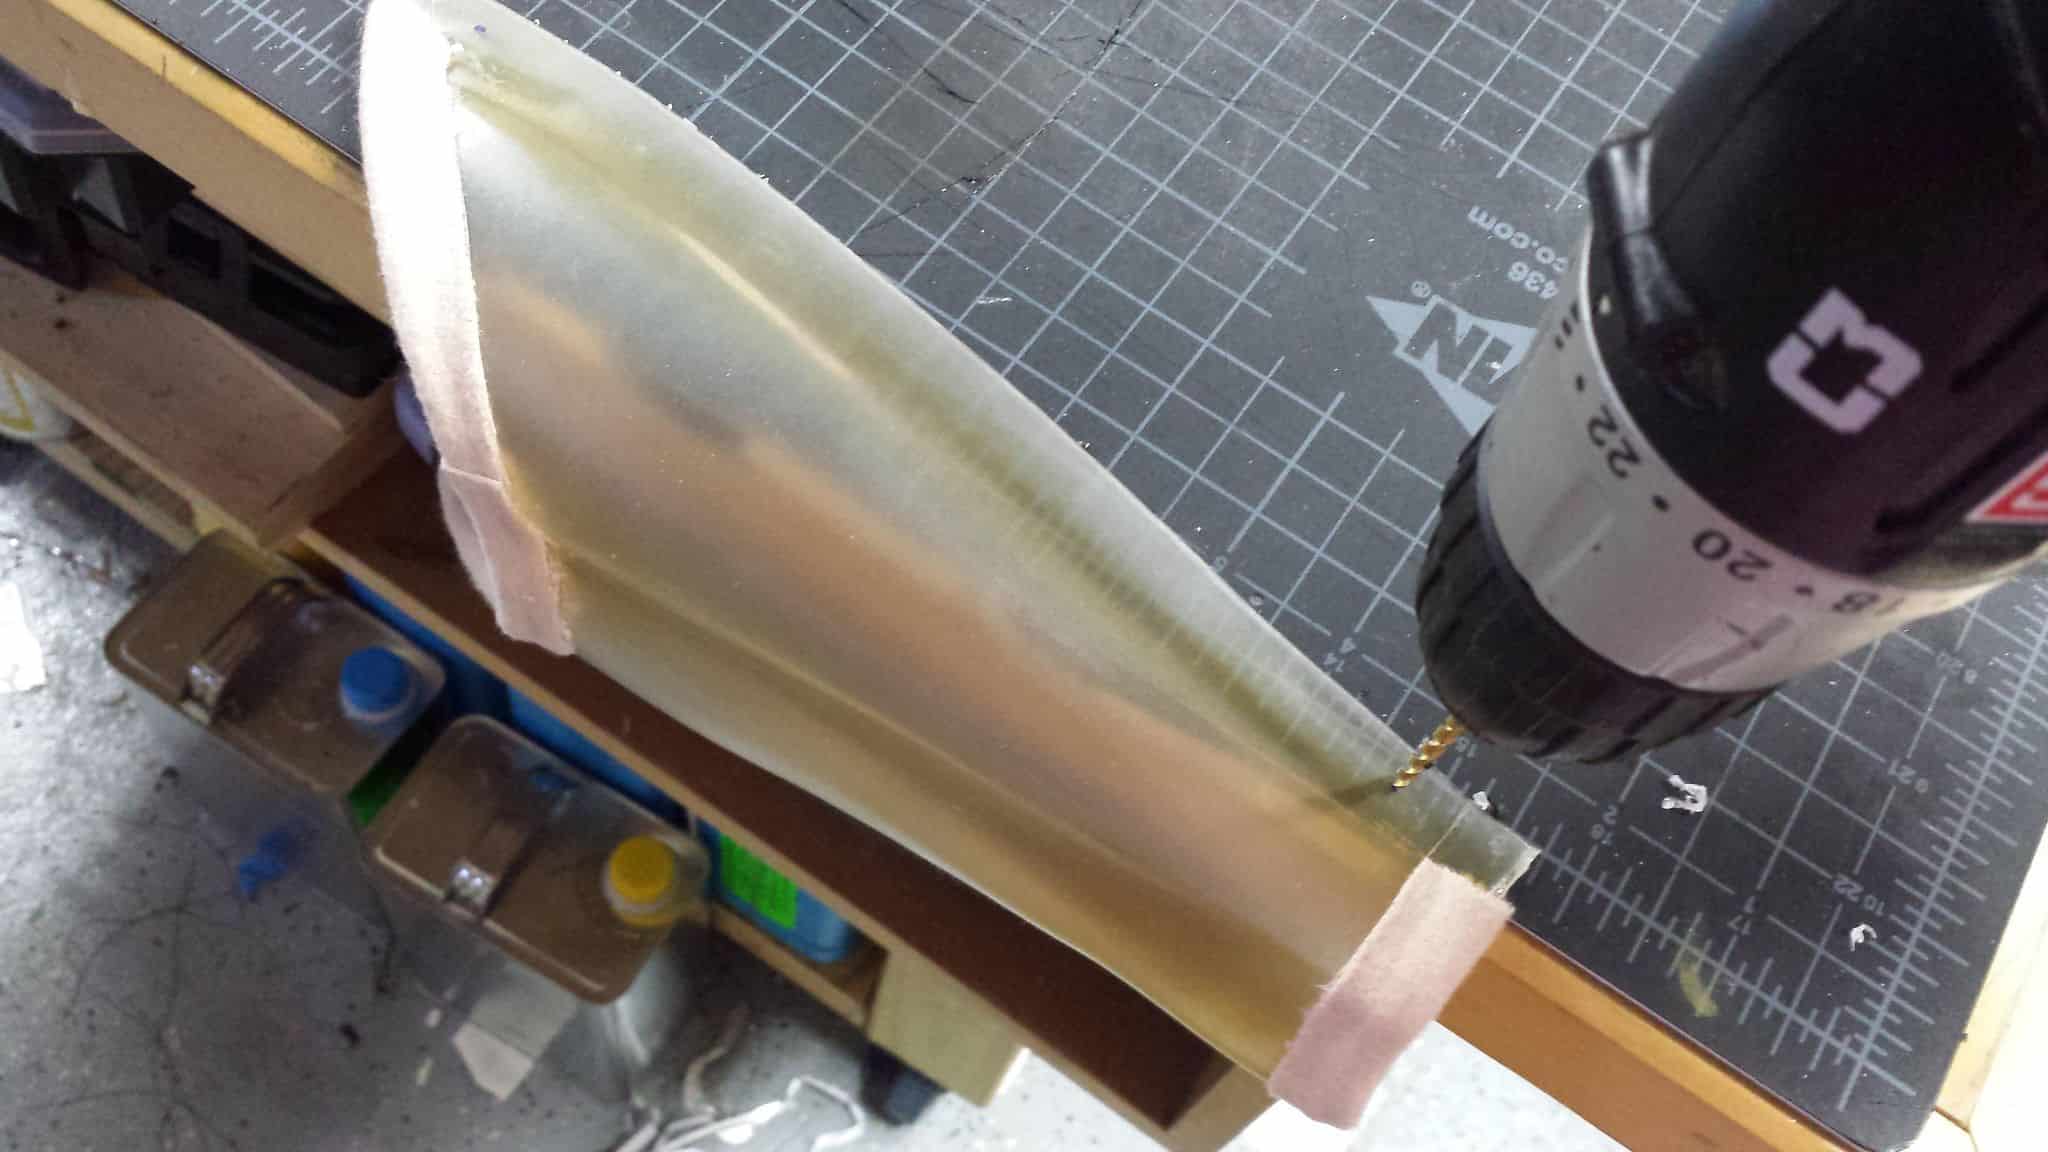
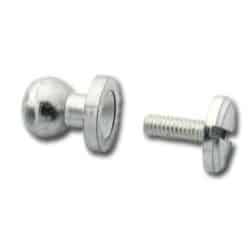
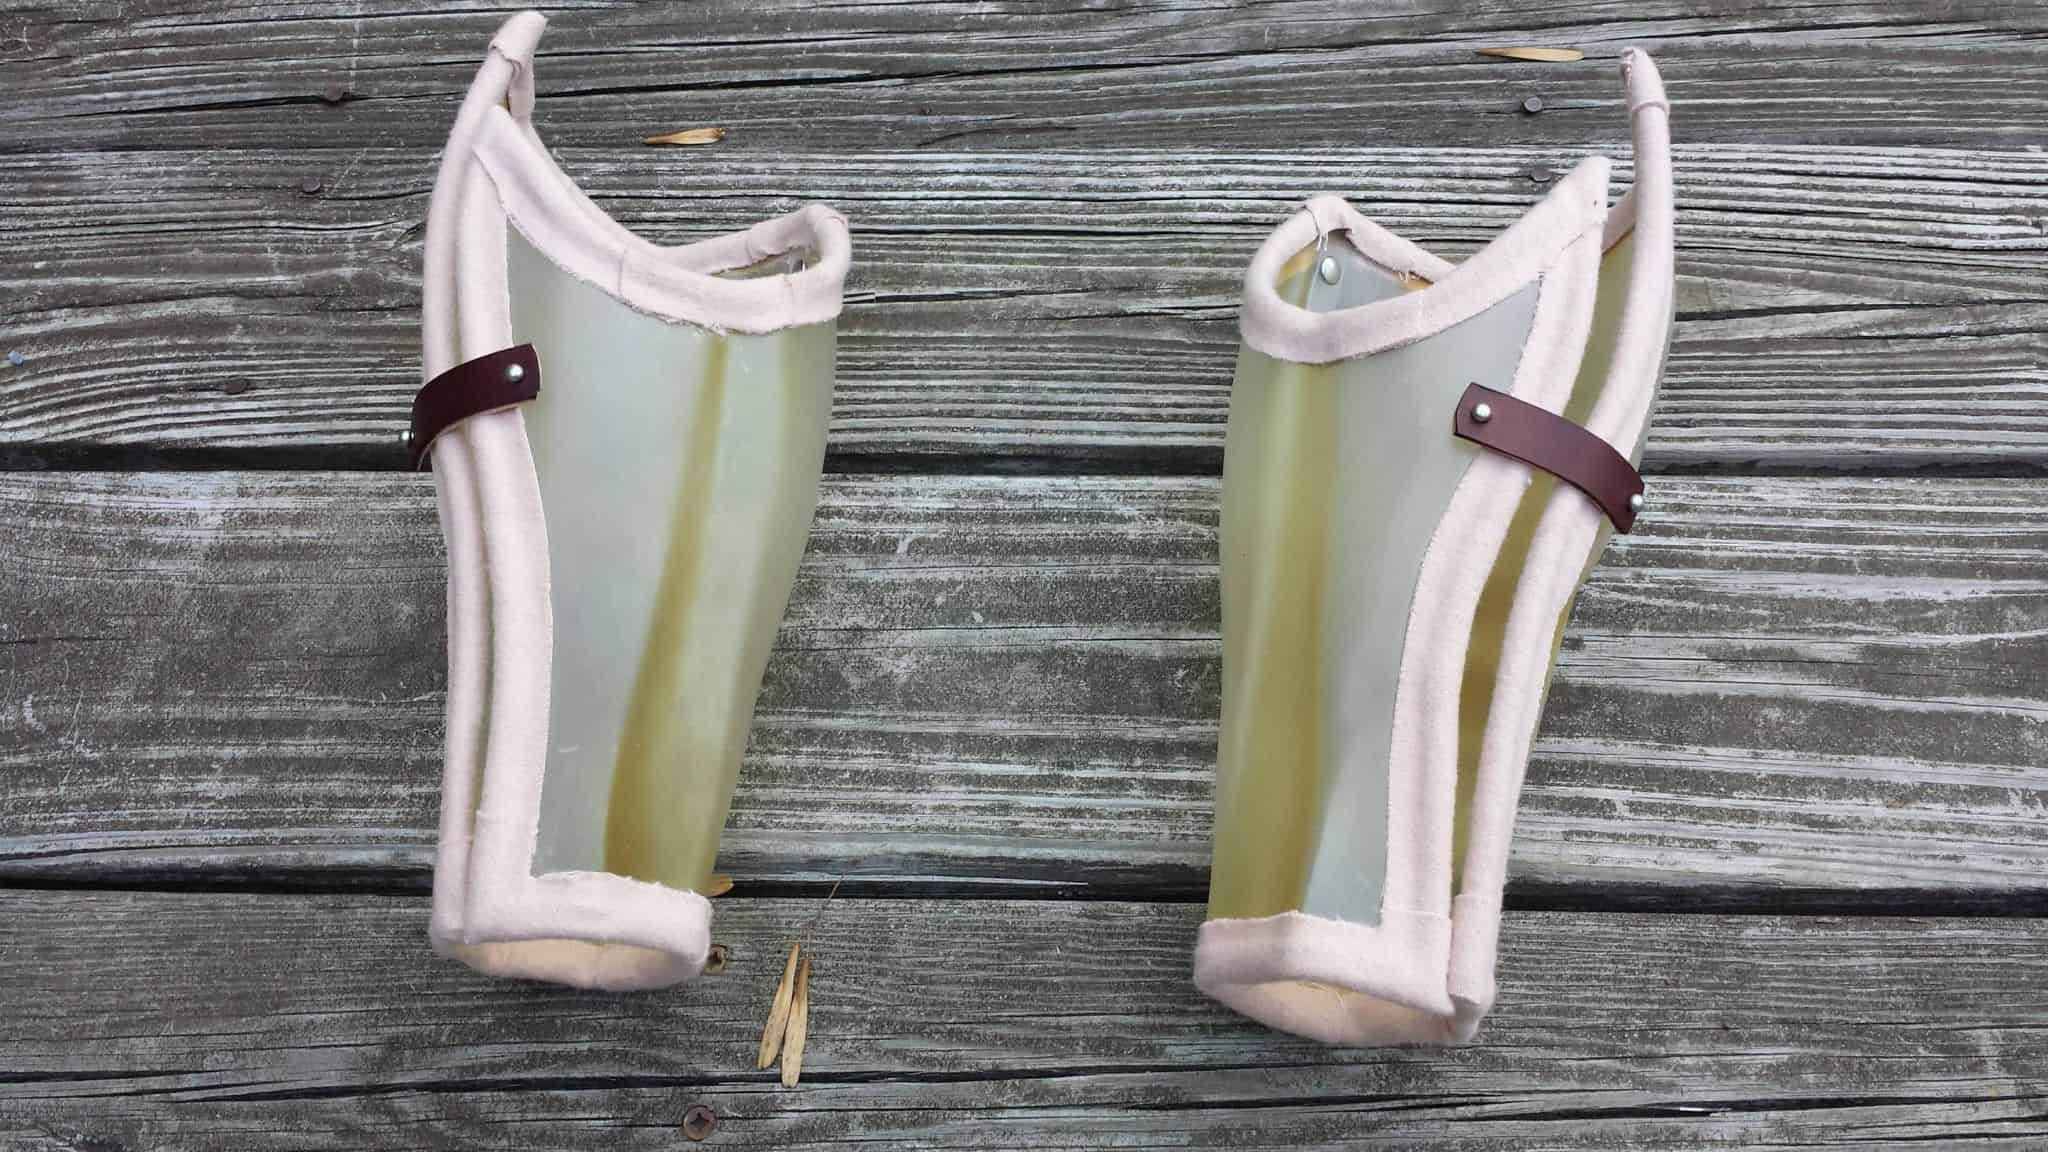
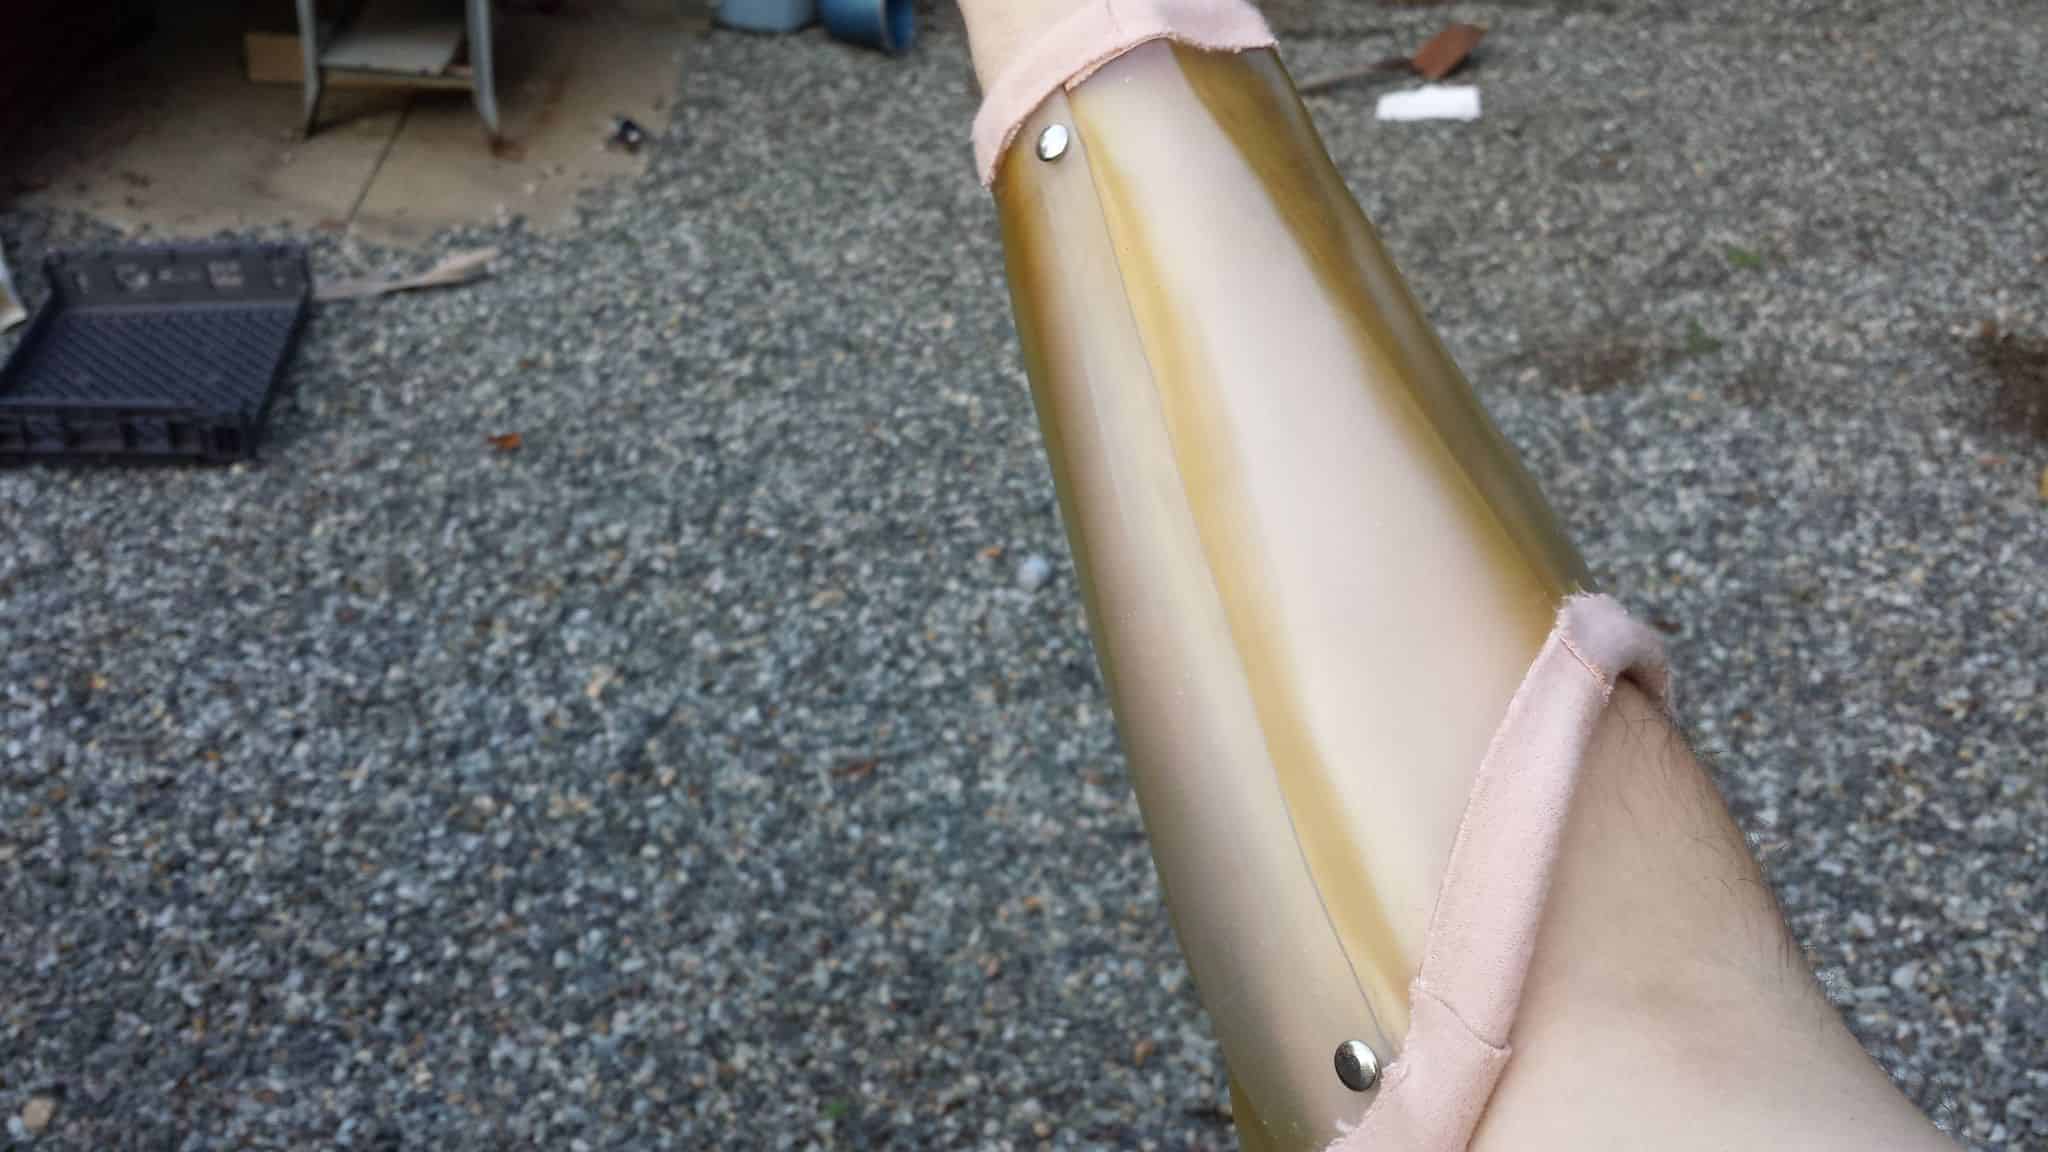
… and riveted them, then covered the bare edge at the wrist and elbow with the necessary moleskin tape to finish the trim. They sit a bit ‘open’, with the S-curve edges pretty far apart in their default position, but that’s actually okay because I need that bit of flexibility to slide my arm in and out of the armor. Easiest way to address that is to add the strap of leather they have on the screen armor to close it up. I have a few leather button studs from an older project that I figured would do the job nicely.
Just a matter of drilling some small holes, screwing them in place, and punching holes out of a strip of leather, et viola!
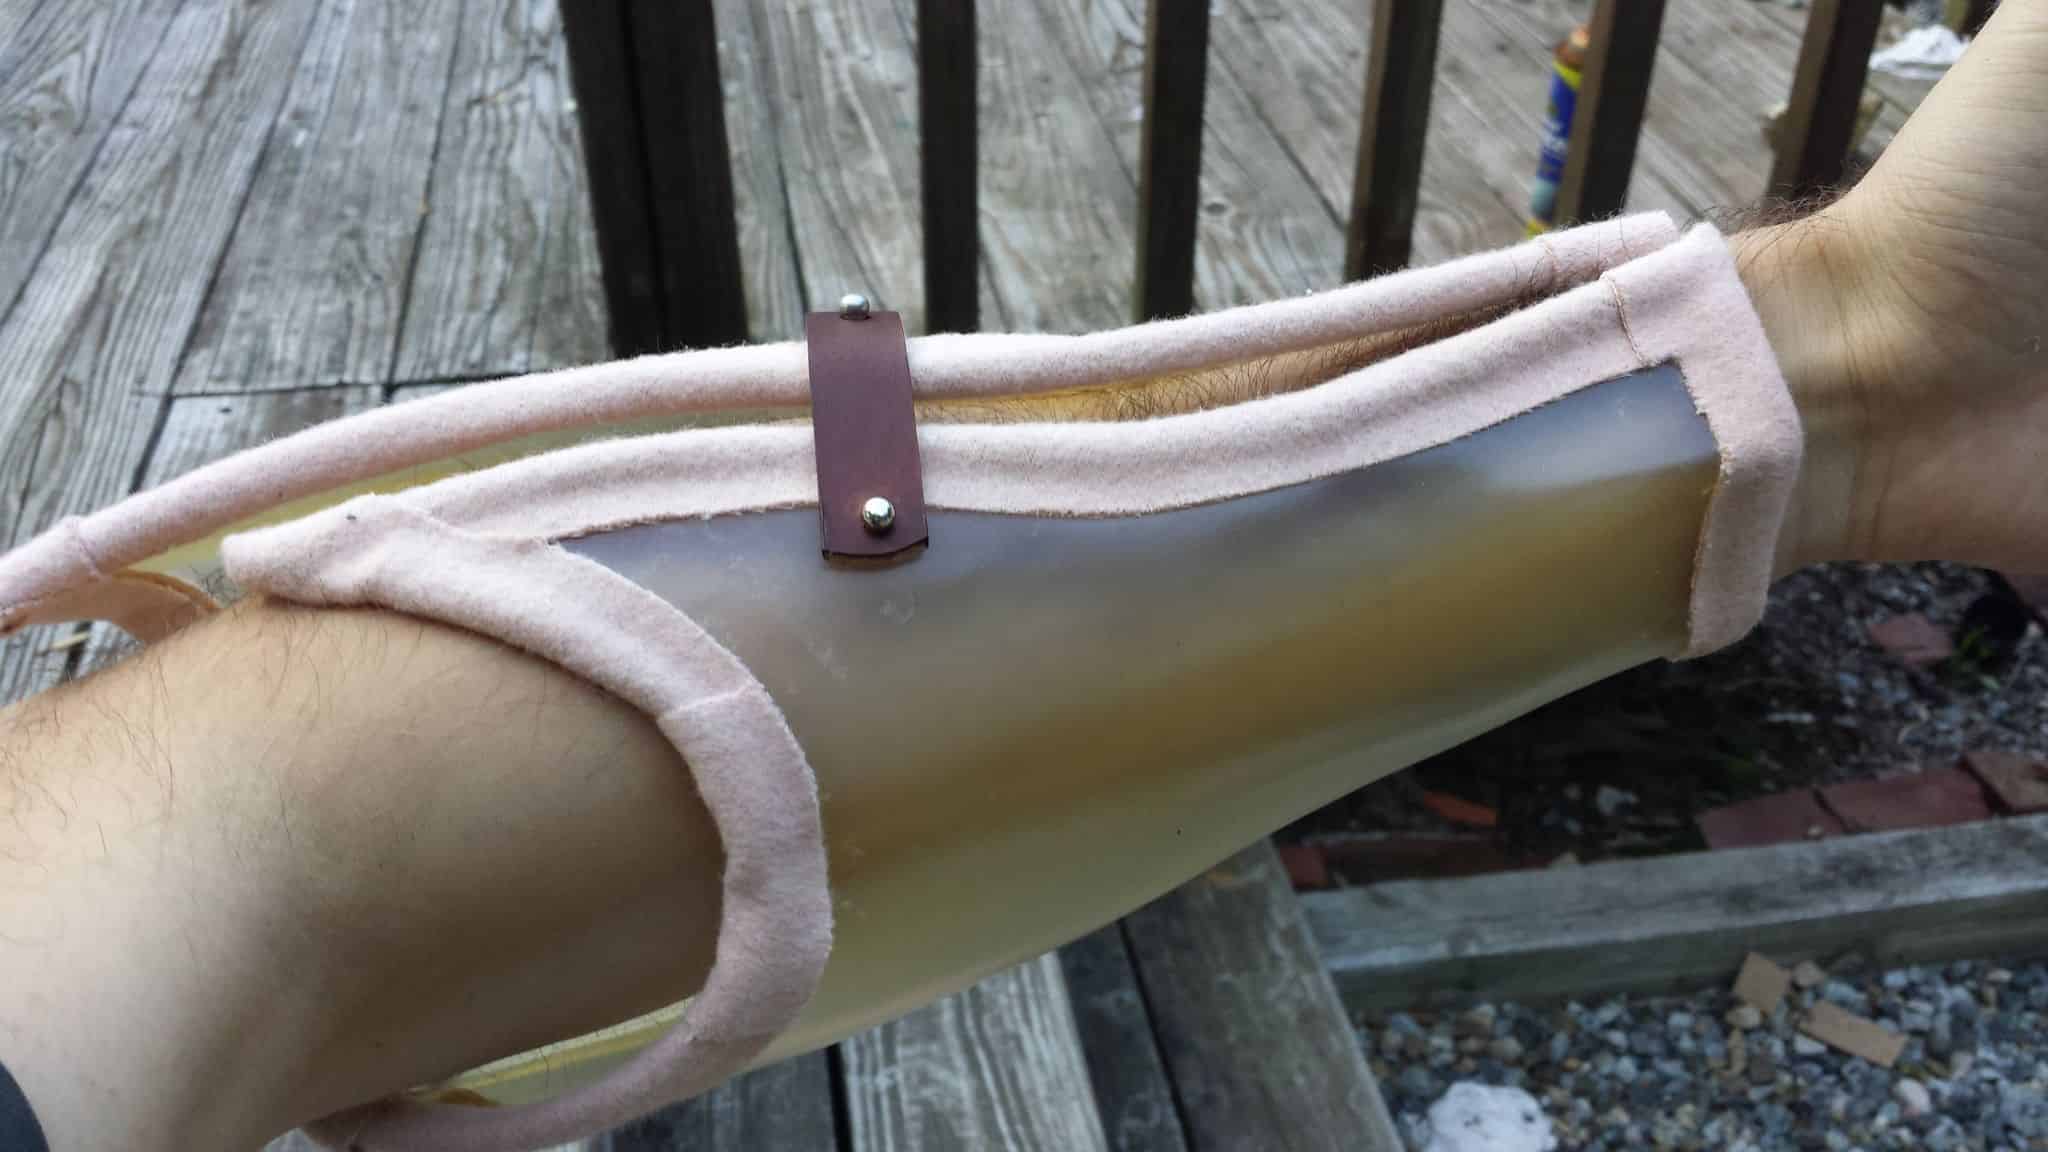
Fits decently enough. I actually don’t want the seam to be flush because I will be wrapping my arm in muslin and other fabric like Joe does to protect his joints from the edges of the armor. That said, the vinyl gasket glued to every edge under the moleskin does a great job of padding the things and making them comfortable.


