Anatomy of a Warlord
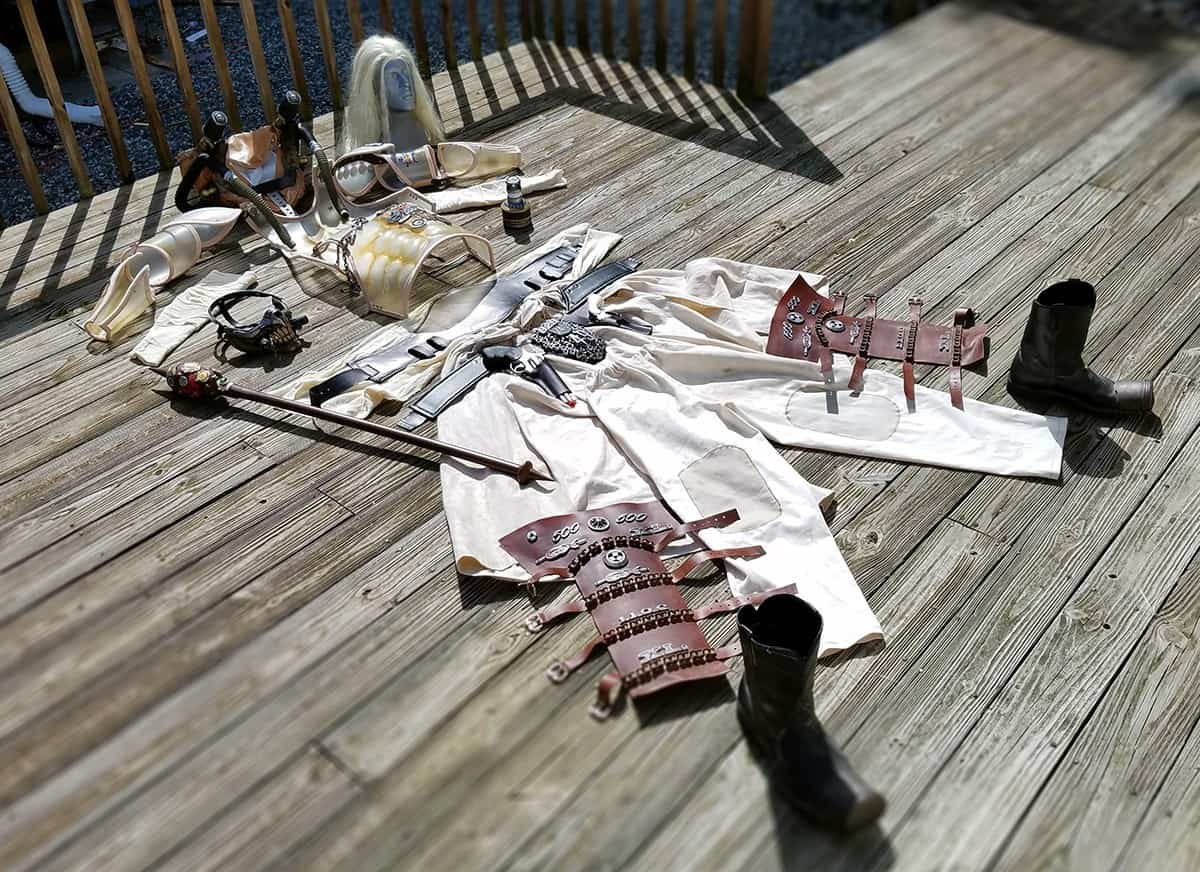
This costume still requires a significant amount of weathering and wear to be added, but I needed to take a large number of reference images of my own costume for submission into the NYCC 2016
This costume still requires a significant amount of weathering and wear to be added, but I needed to take a large number of reference images of my own costume for submission into the NYCC 2016
Been super busy lately with work, but I did get the chance to make my biceps up. I actually had to try a couple iterations of it to get something that looked proportionate with
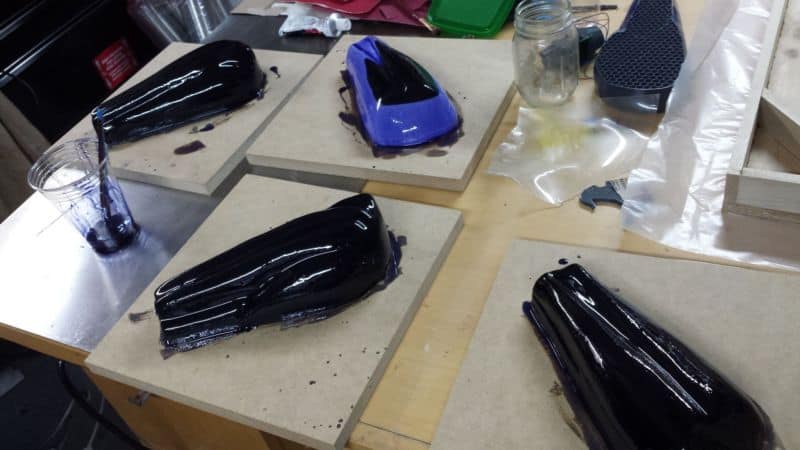
We did the arm armor up, and since we might be offering pulls of the things up for sale to folks who are interested I figured I’d do a very quick write-up on how
The printed right-angle pipe fitting seems to have worked out pretty well, all things considered! I need to sand it a bit, glue the parts together, then XTC-3D the whole thing to give it
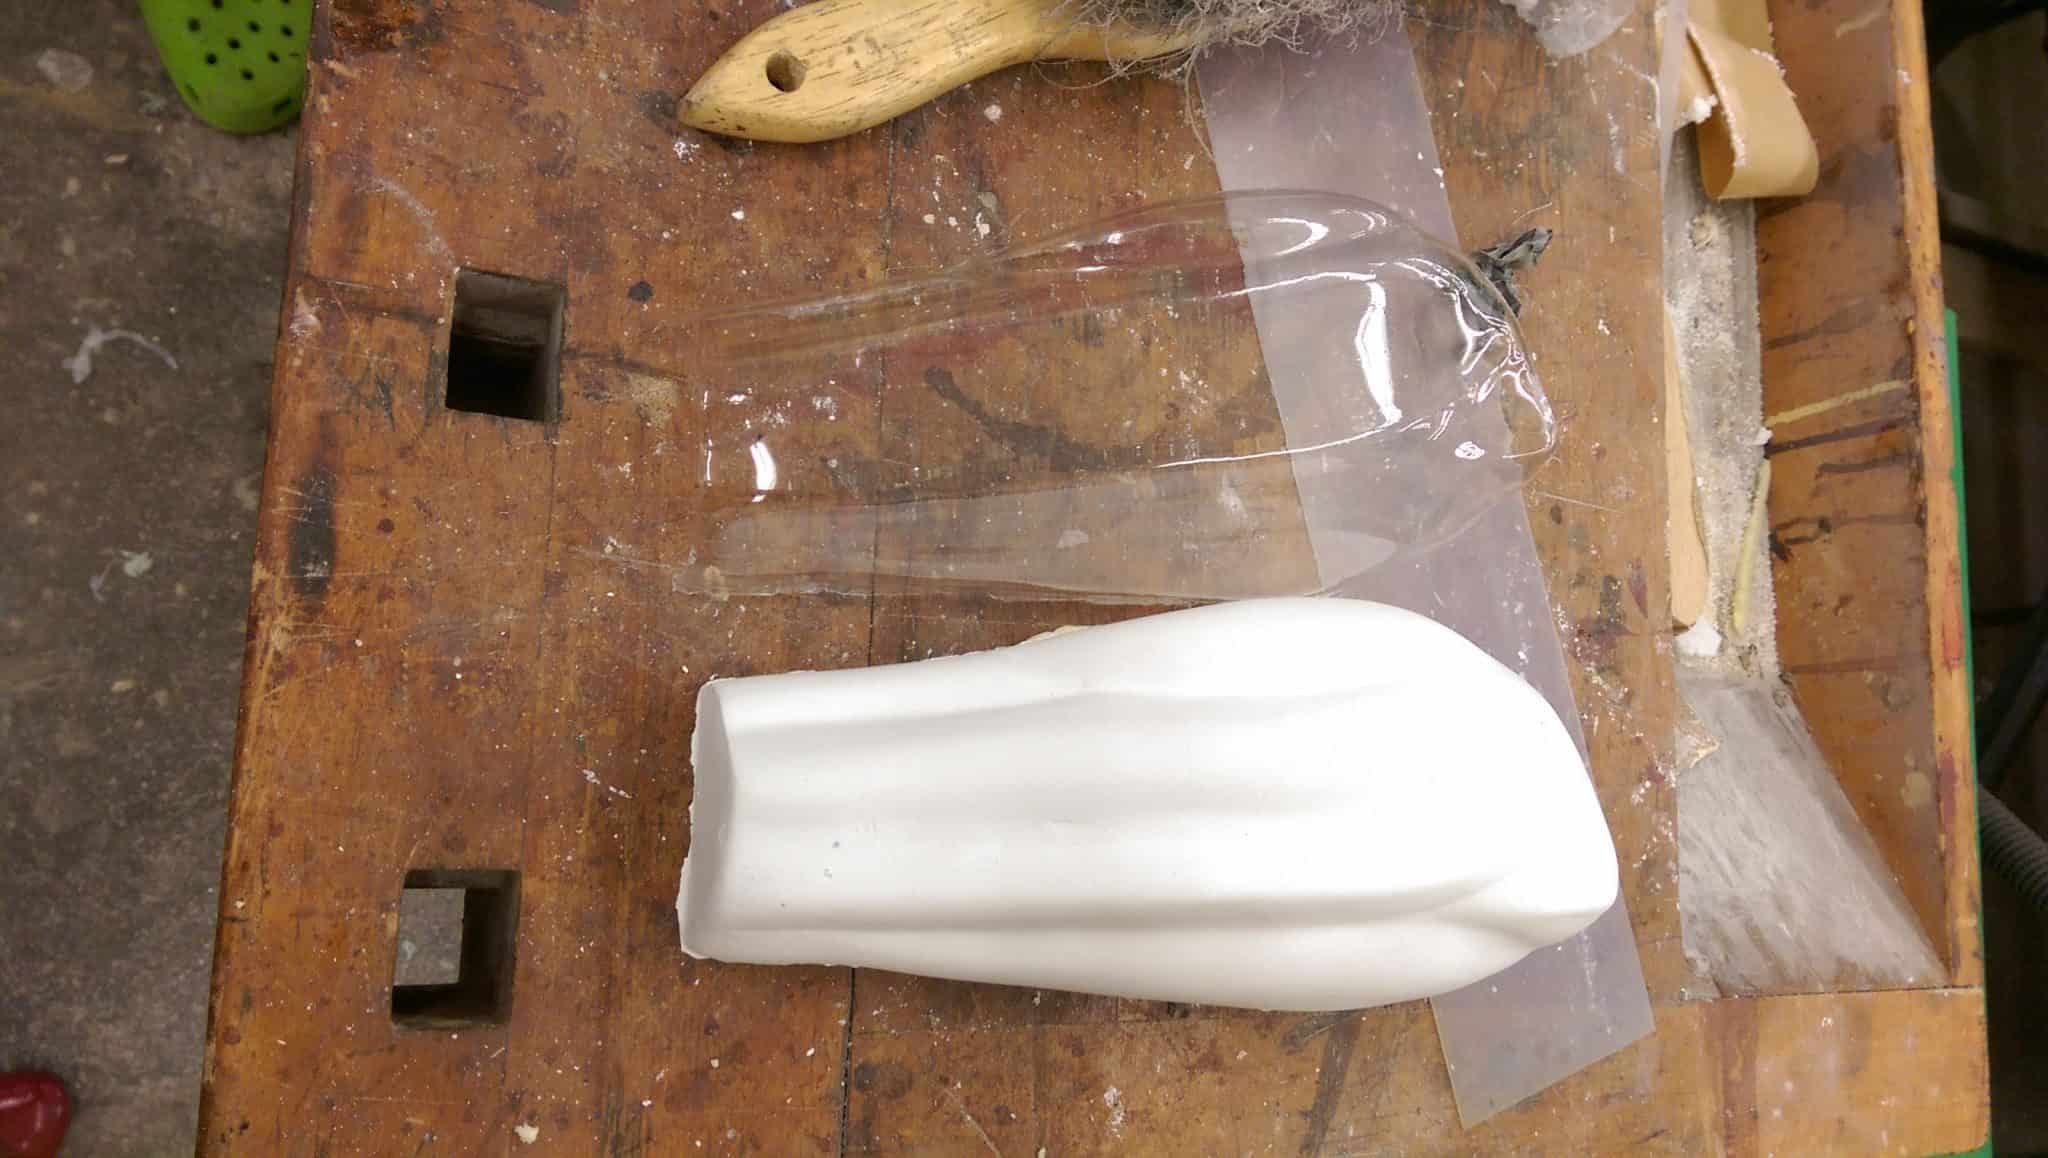
Overall results look good so far. We did a little experiment today – I made a rubber mold of one of the arms, then made a hydrocal copy of the original 3d printed part.
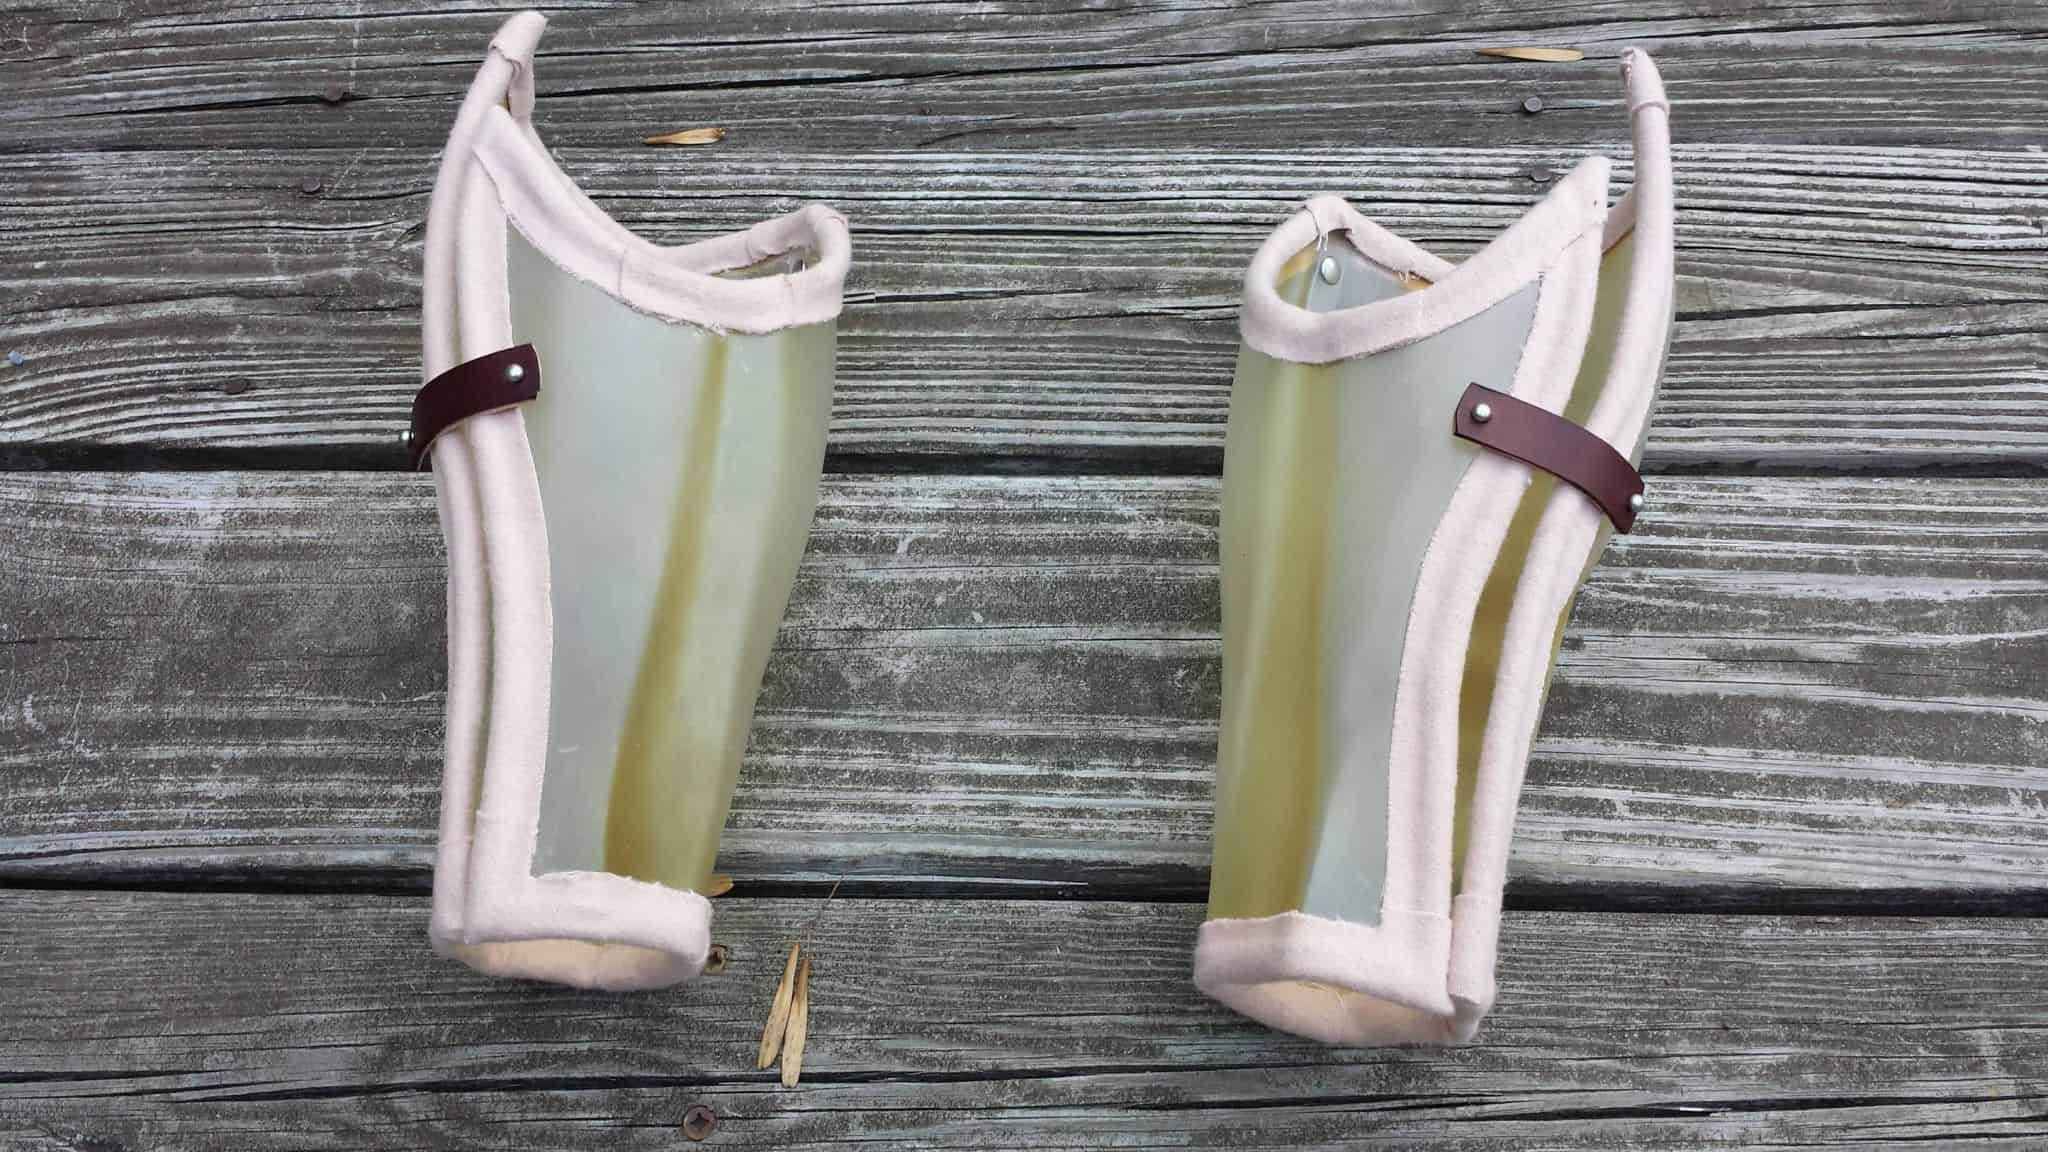
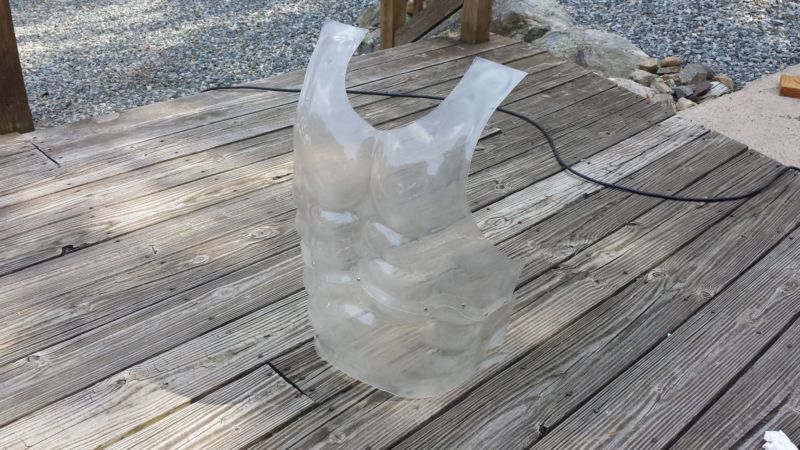
One of the things we’ve been working on in the background is the rest of the armor that has to be heat-formed. The bicep armor looks pretty straightforward, as it’s basically a tube, but
Torso armor’s underway properly now! I used a headlight polishing kit to slightly frost the PETG I had heat-formed because it needed a bit of definition behind the armor. Only scuffed up the back

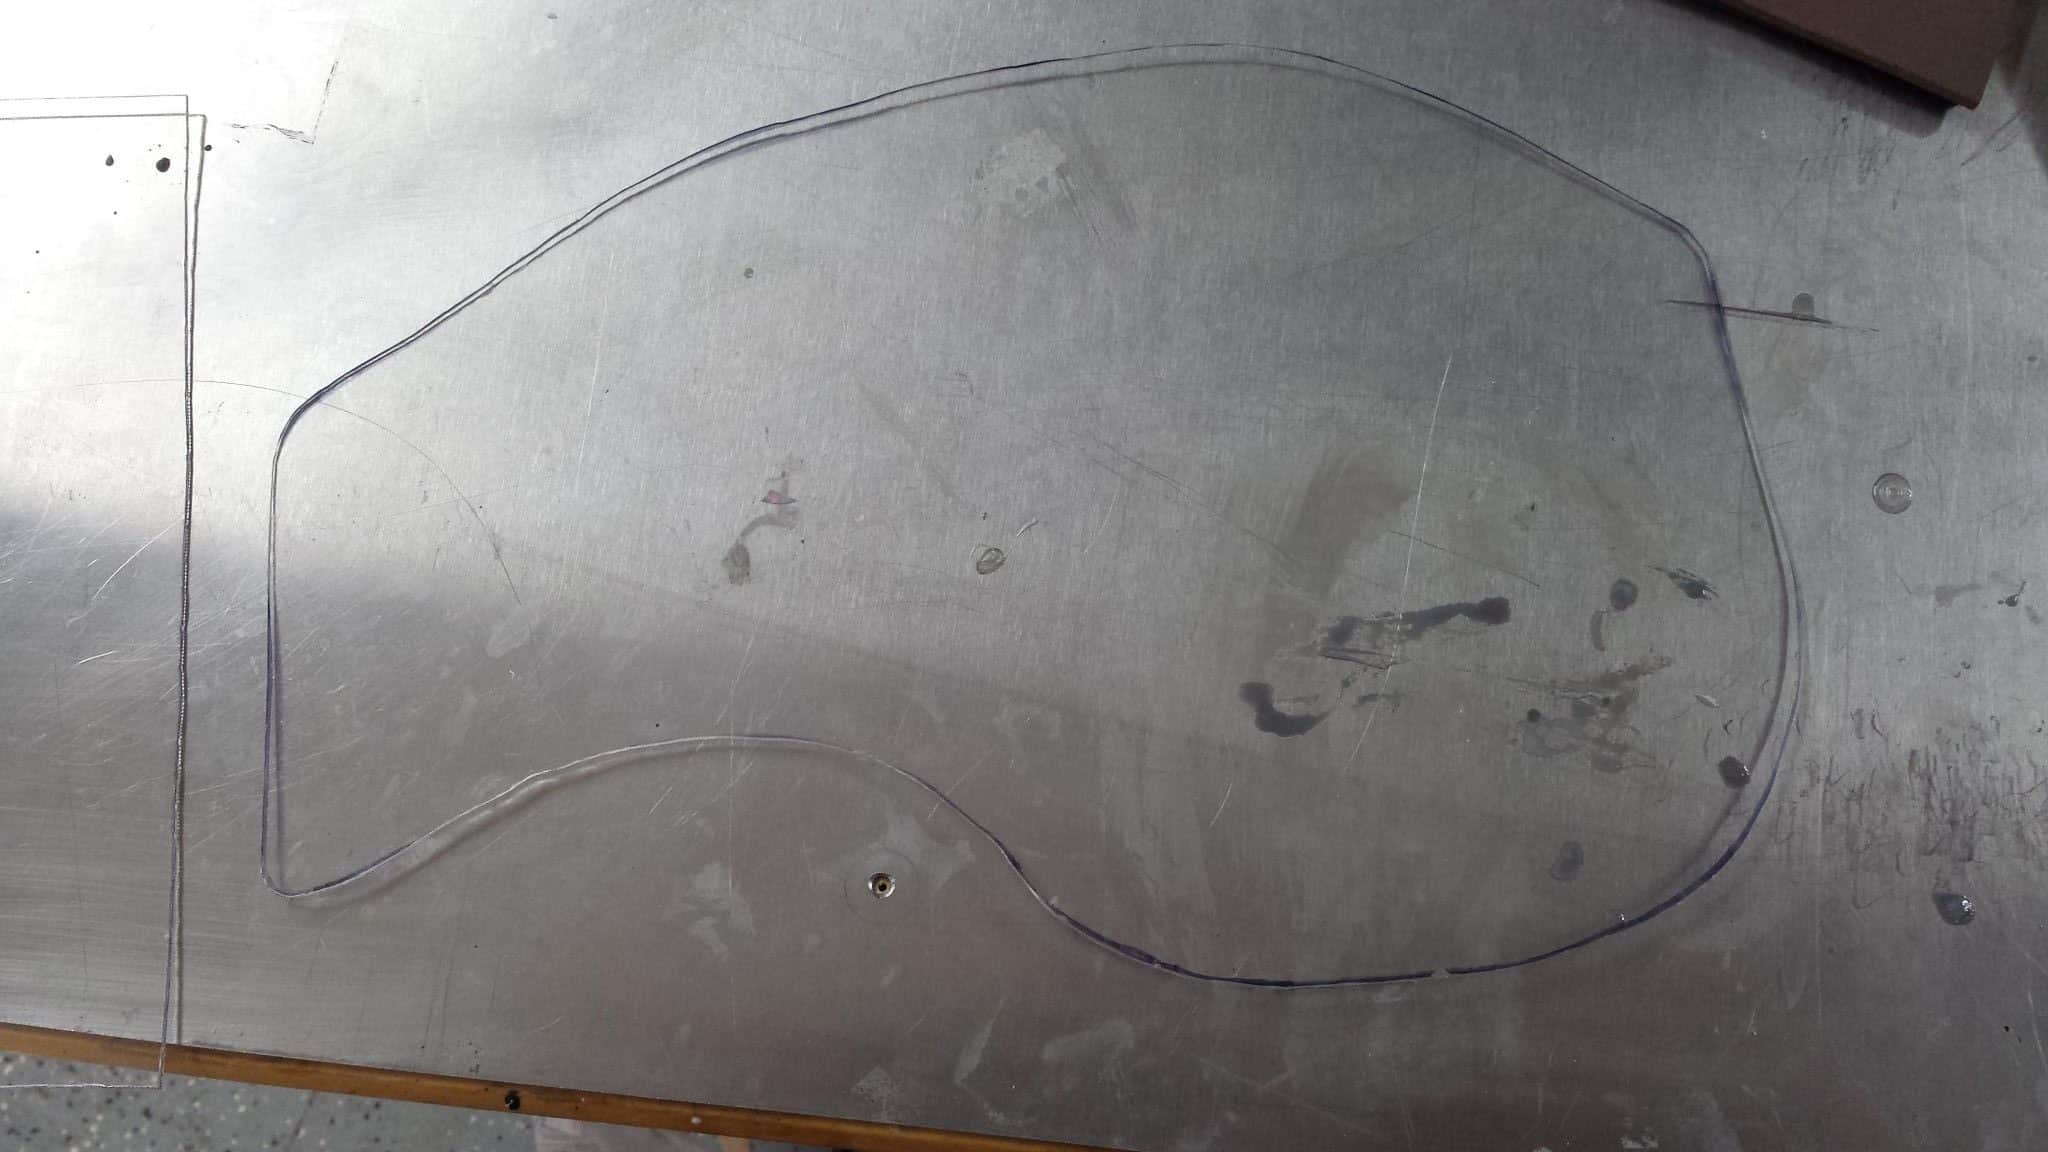
Finally made forward progress on the breastplate that wasn’t super duper frustrating. So I am using PETG sheeting in 1/16″ thickness. That’s .060″ thick, for reference. I saw TheRPF.com forums user Hamsterstyle was doing his in