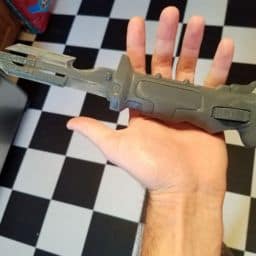
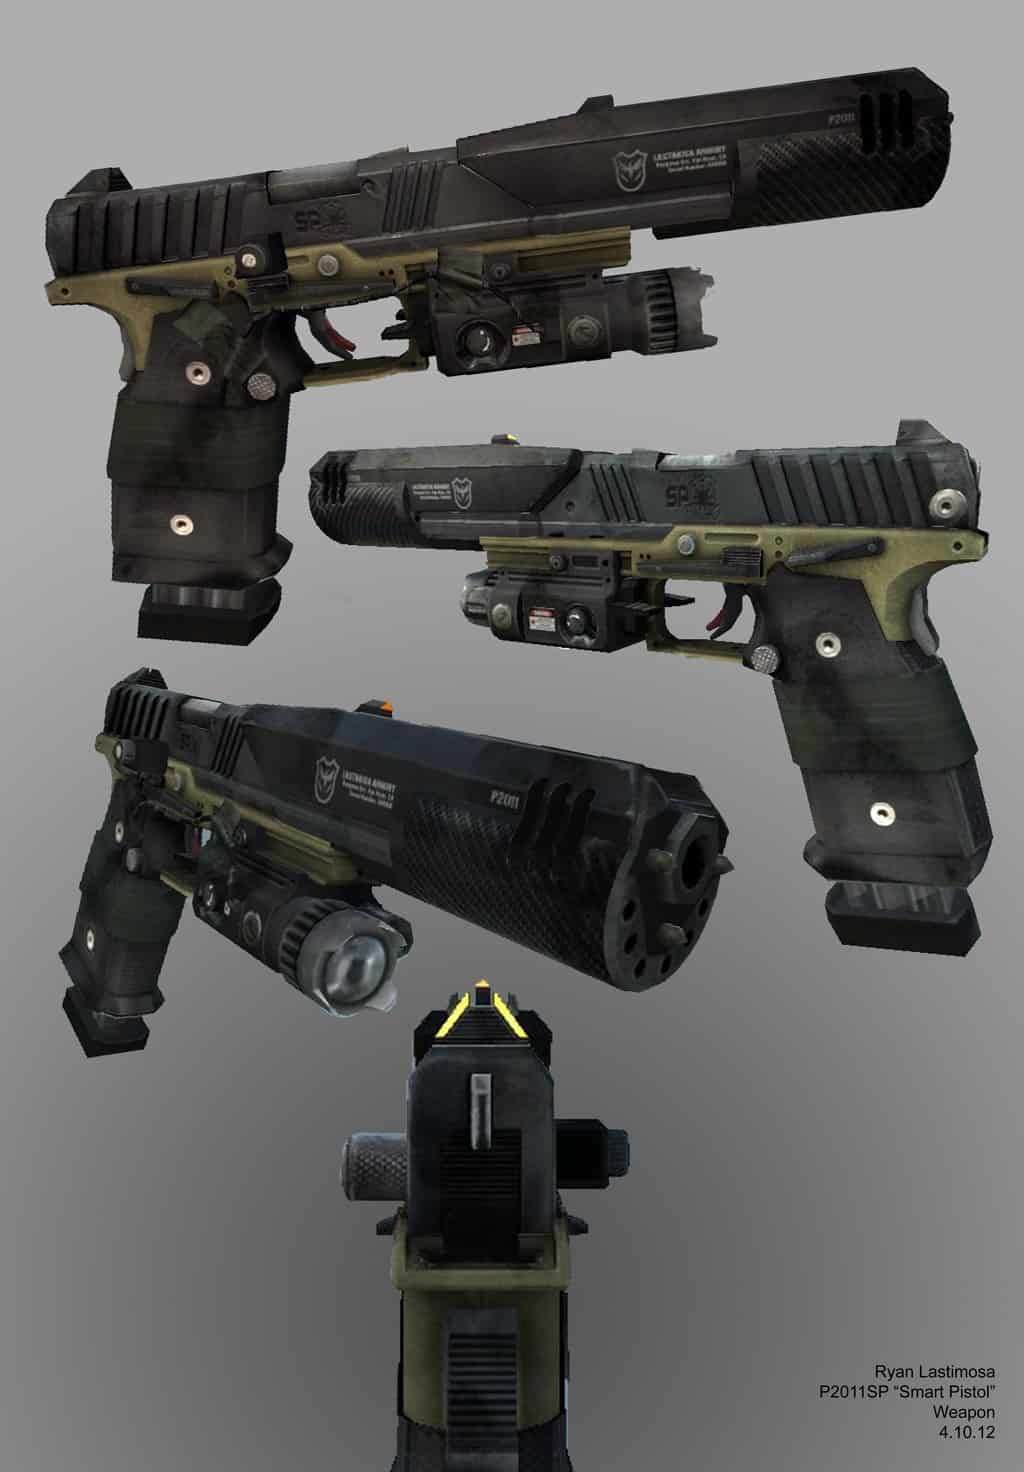
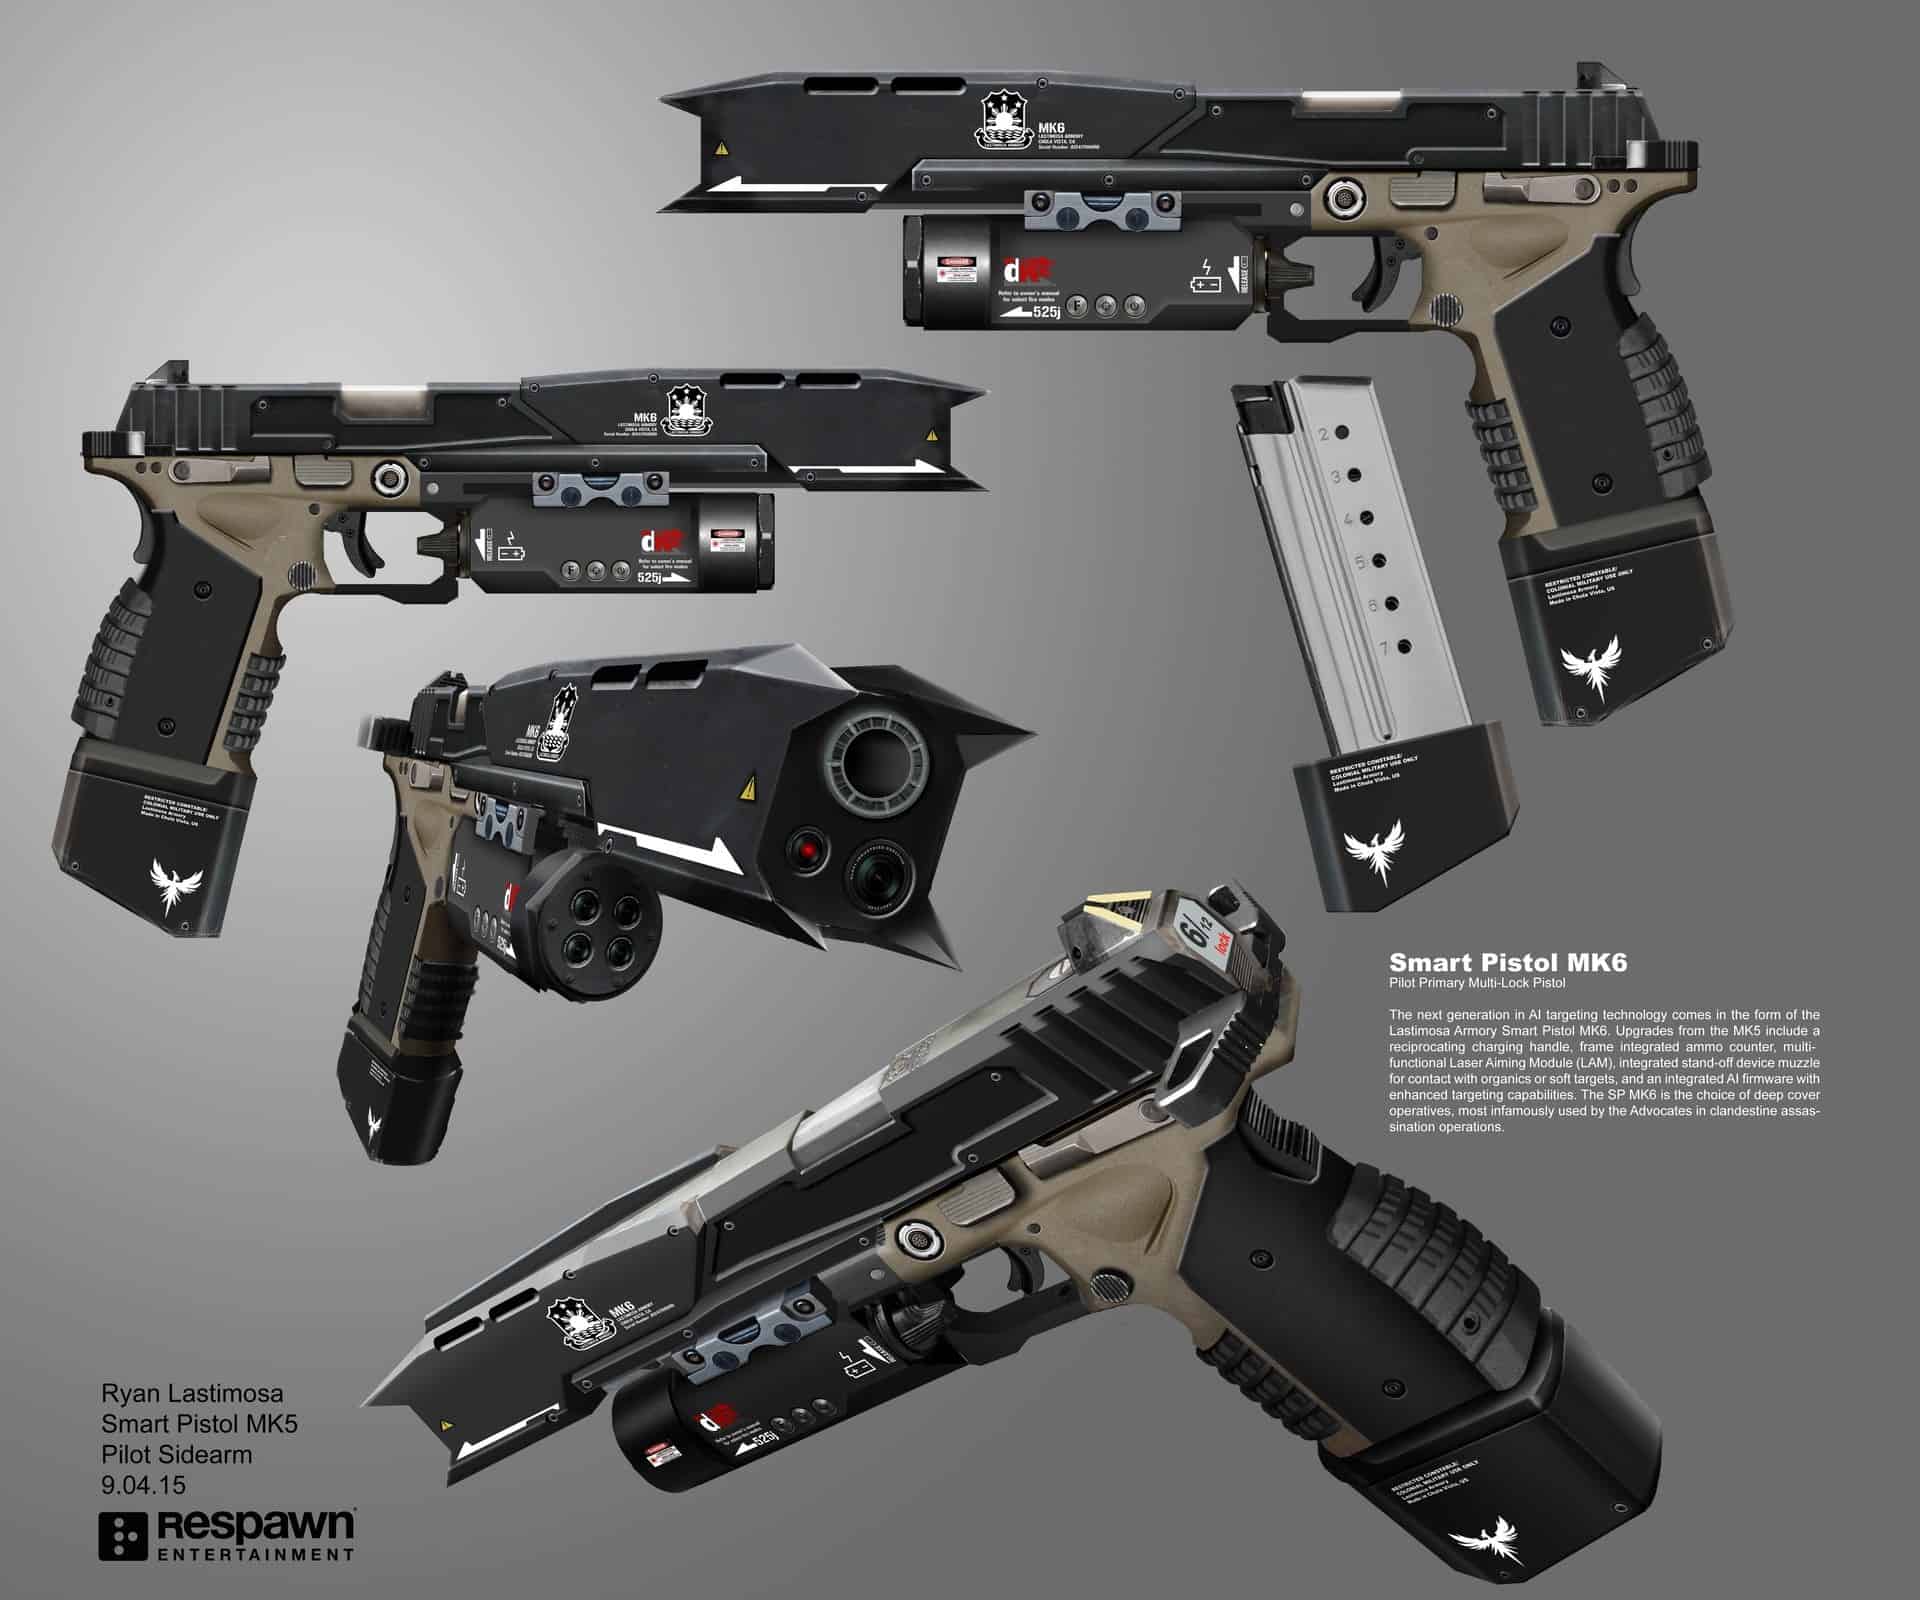
So one of the absolutely iconic pieces of Titanfall hardware is the Smart Pistol – a handgun that fires target-seeking bullets. If you’ve ever played Titanfall 1 or 2, you know just how infuriating (and fun!) the gun can be to have in a game. I would be remiss in doing a pilot costume if I did not try to tackle this as a prop. Fortunately, Titanfall’s art director, Ryan Lastimosa, has an ArtStation page chock-full of concept art, renders, and other visualizations of Titanfall’s equipment. There’s two versions of the Smart Pistol – the MK5, from Titanfall 1, and the MK6, from Titanfall 2.
For what it’s worth, I substantially prefer the MK5. The MK6 has a weird angular design aesthetic that I don’t really like, while the MK5 looks like battle-worn hardware. An Etsy user named SlukaIndustries has actually modeled the Titanfall 2 Smart Pistol for 3d printing, which you can find here, but I was not satisfied with going that route. I wanted the Titanfall 1 pistol, and I wanted to add electronics into the mix.
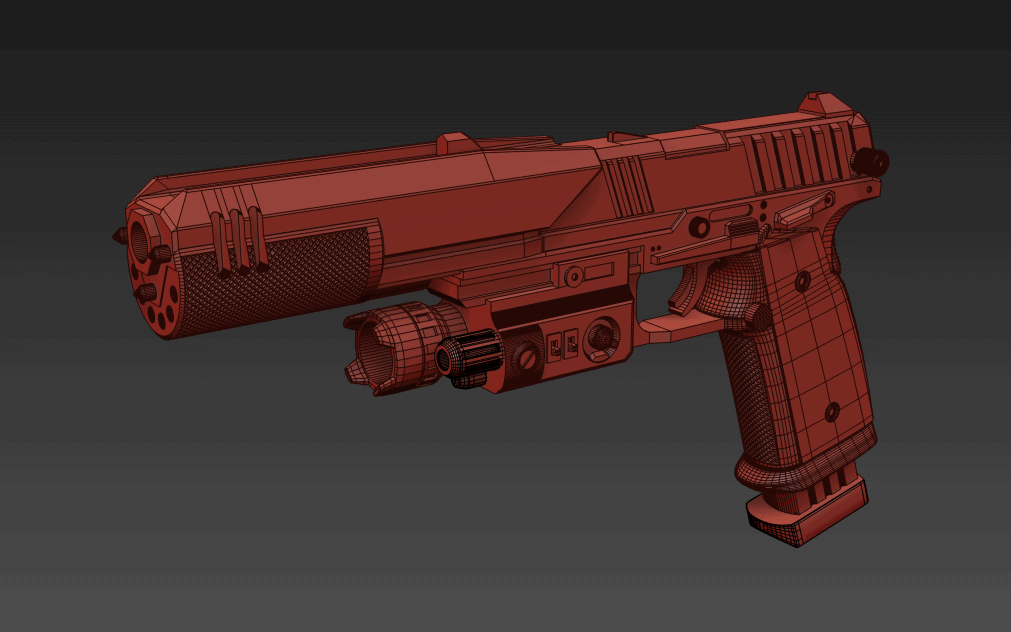
Using the excellent references from Lastimosa’s ArtStation page, I set about making a base model for the Smart Pistol, intending initially to make a very basic prop with a few LEDs. I spent about a week of my free time modeling the gun up, and in the course of doing so, the scope of the gun got more and more complicated. I just… kept adding to it. The final feature list contemplated for my ‘advanced’ version of the Smart Pistol is as follows:
- Working safety paddle on side of gun to turn electronics components on and off.
- Working audio effects via a speaker embedded in the barrel.
- Working trigger to activate audio effects and other lights.
- Illuminated sights and screens.
- Easy battery operation, access, and replacement.
- Working flashlight mount.
- Working laser mount.
For a time, I considered trying to make the slide-action work on the gun, or adding a vibration motor to simulate the gun ‘kicking’ when firing, but I had to draw the line somewhere.
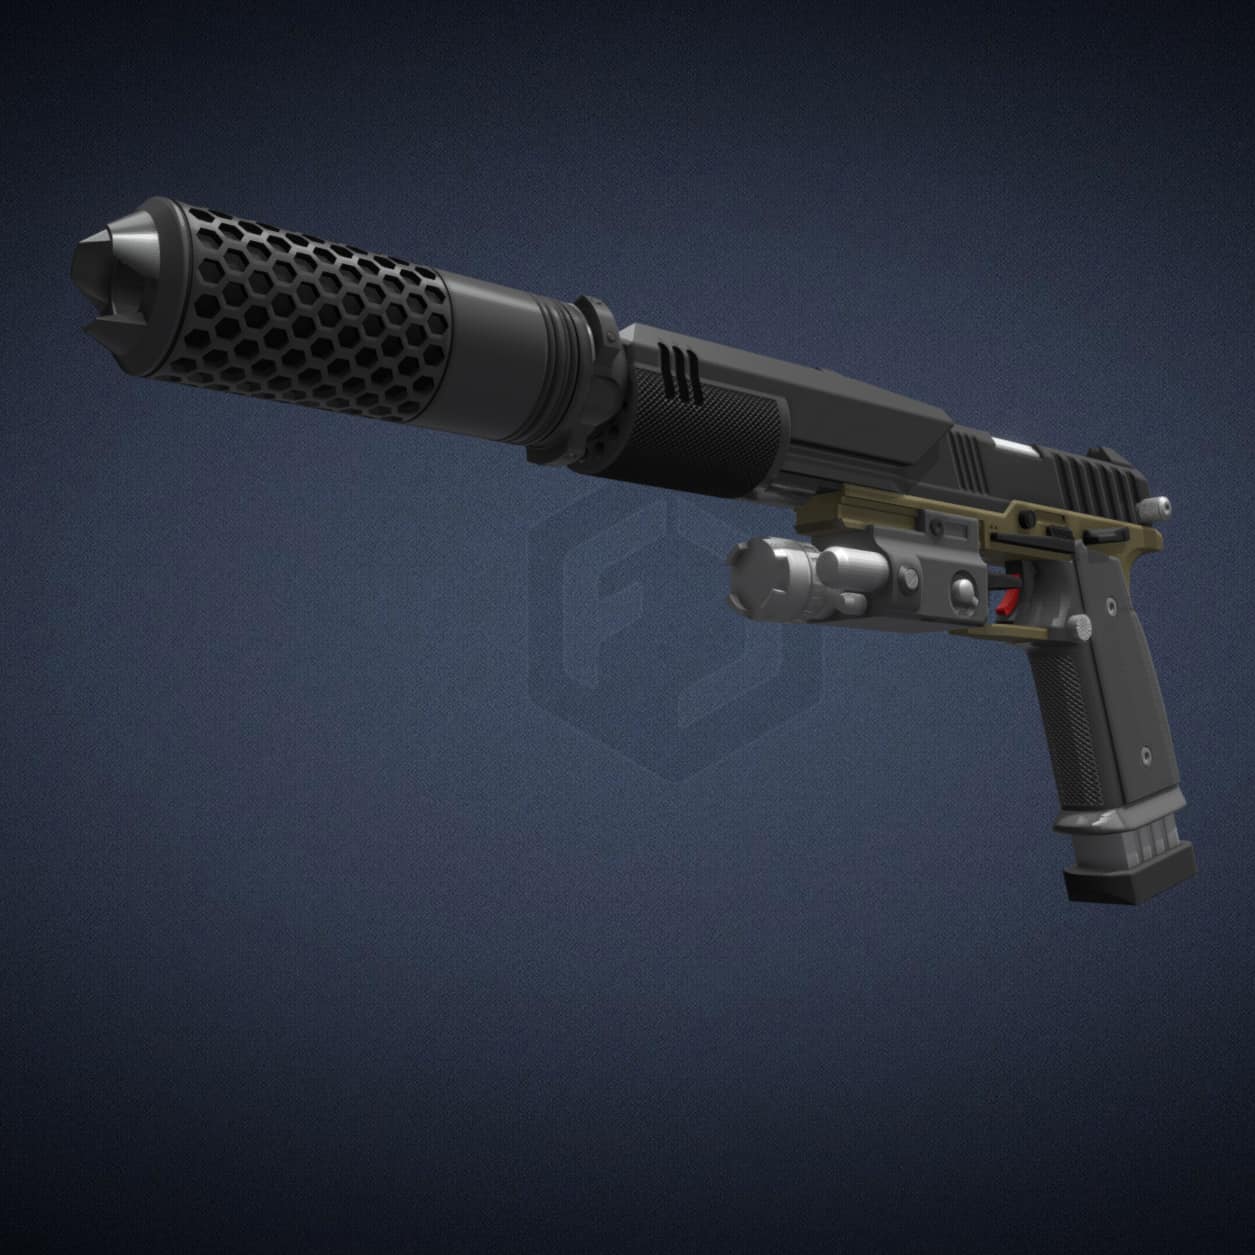
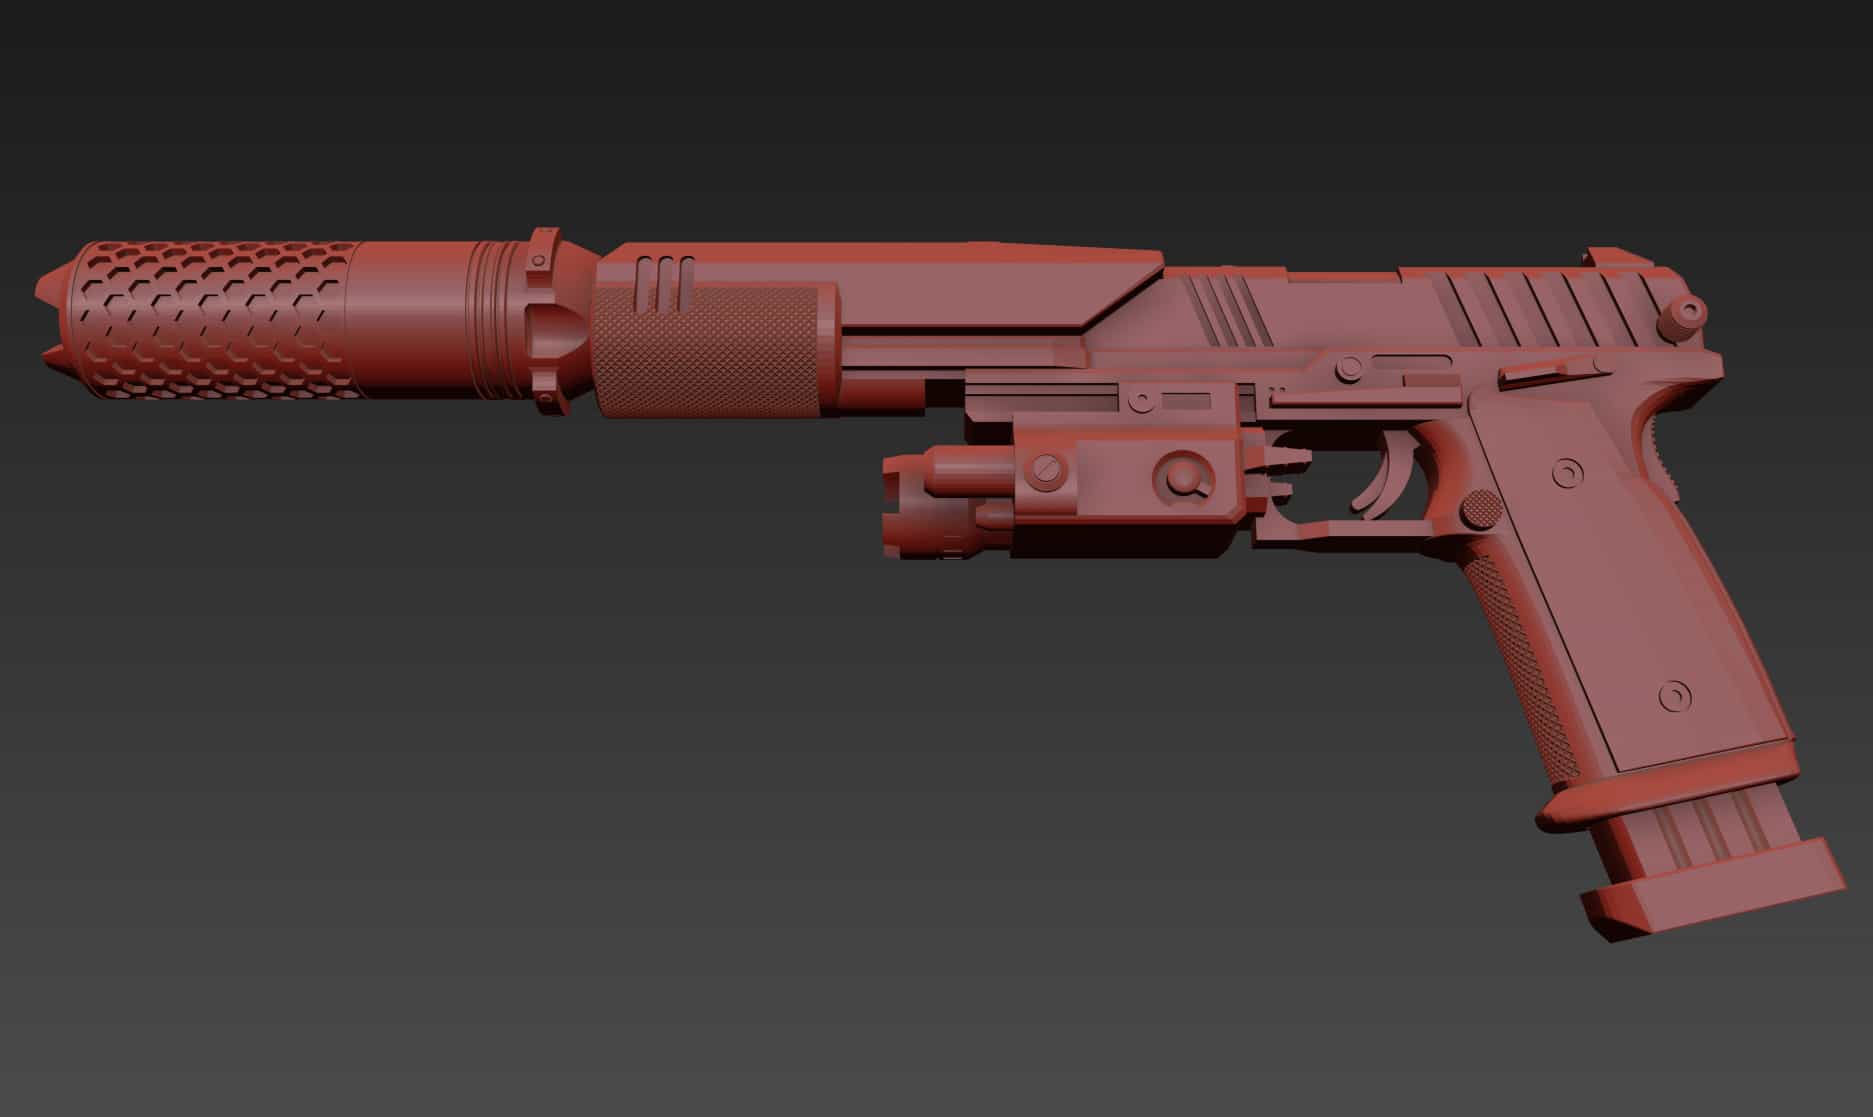
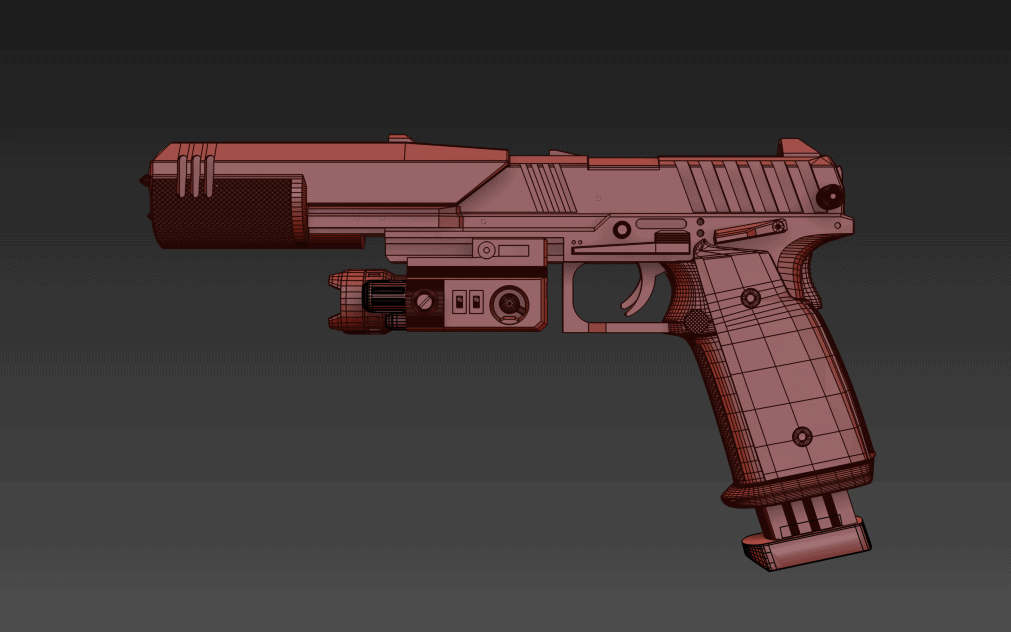
So, with that said, lets get to the meat of it – the actual model.
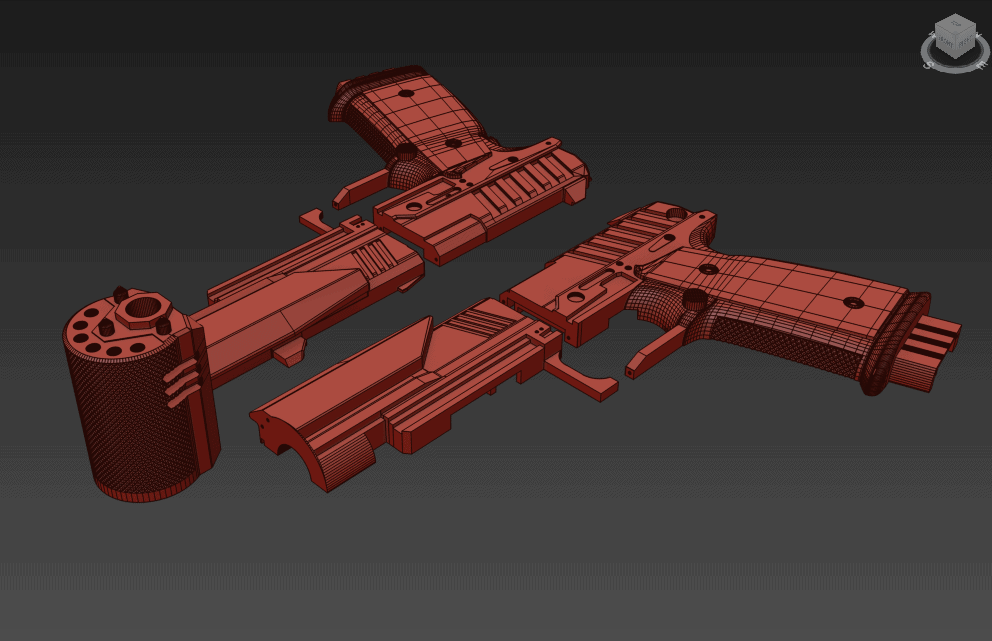
The gun breaks into five ‘main’ exterior shell components, with a number of other small, extra interior parts. This was built this way to make printing easier, so I could orient flat sides down onto my print bed and section it into smaller parts that would fit in my machine.
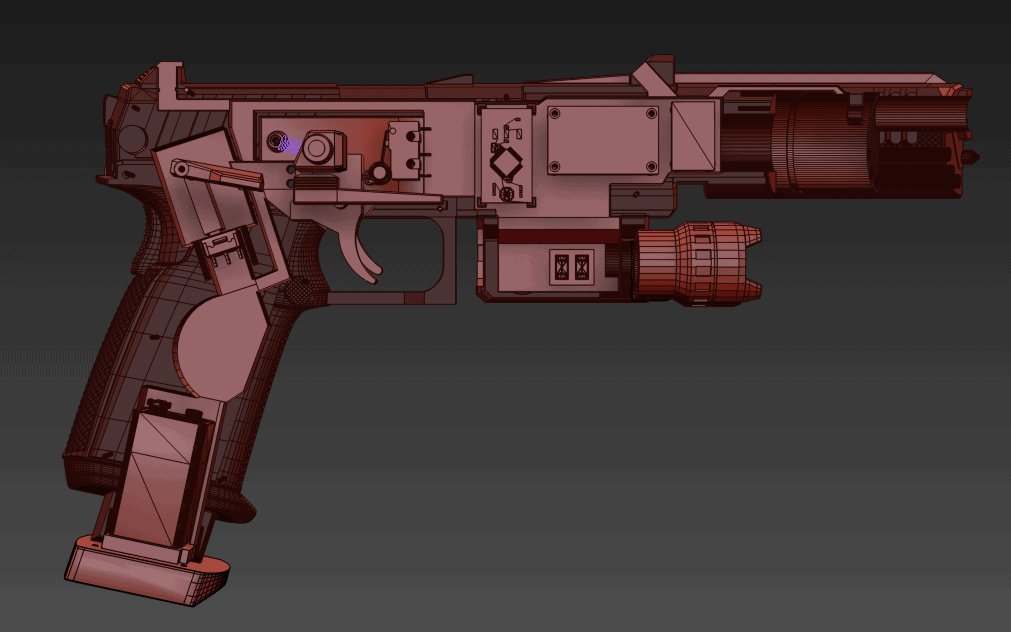
If we dig into the cross-section of the gun, you will see that there have been a number of interior channels hollowed out to accommodate the electronics I have planned.
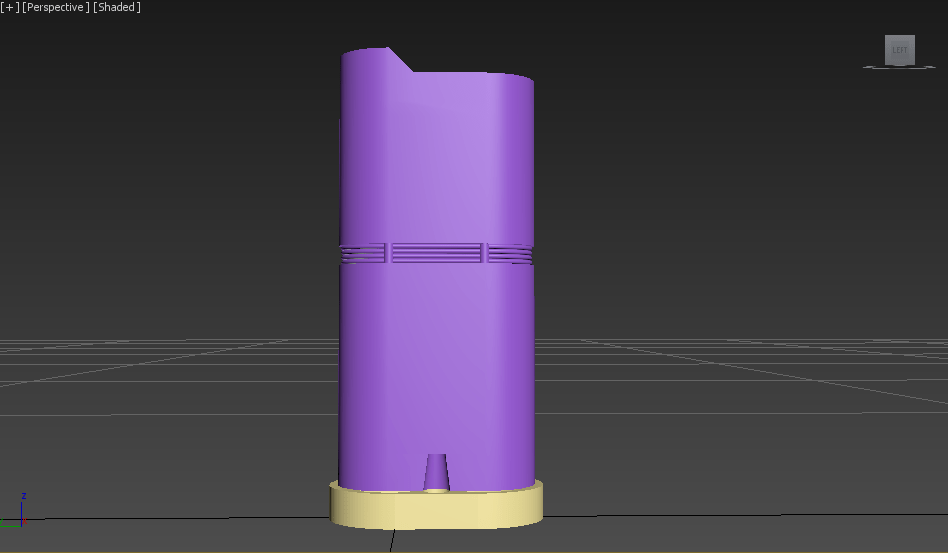
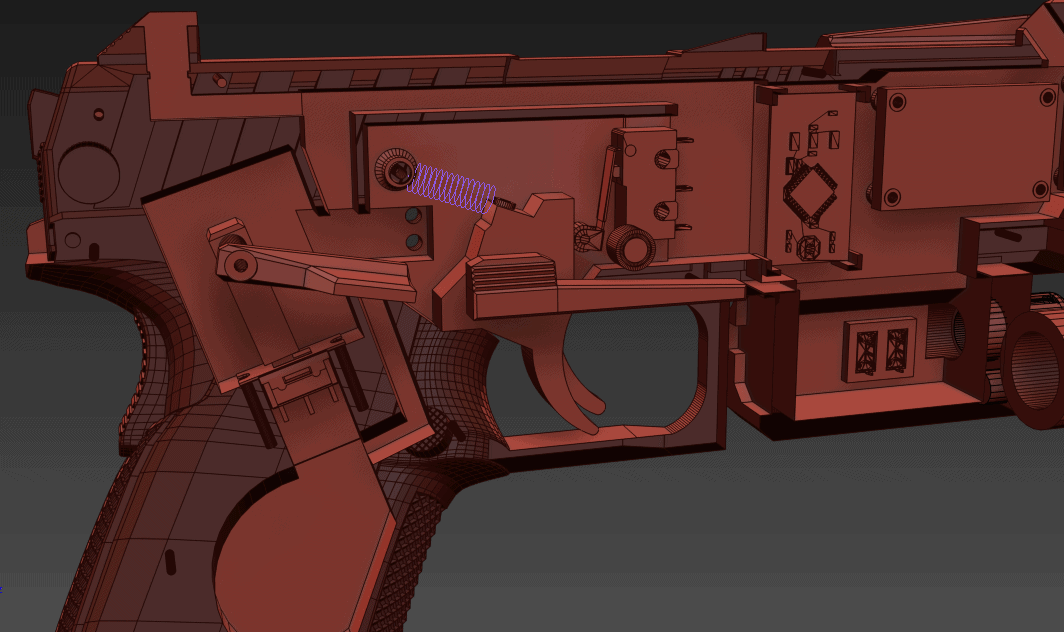
The safety was the biggest head-scratcher. I wanted to be able to use the paddle like an actual safety on a real gun to engage the power from the 9v battery in the handle, but that requires either a rotary switch that only moves, like, 10 degrees, or some other way of doing it. After a while of brainstorming, here’s a look at the safety action I’ve come up with.
The slide switch used in this instance is the MS12AFW01, which just so happened to have a 3d model available which made the job a little easier. I’m not sure if the switch resistance is going to be enough, by itself, to keep the safety in a fixed position, but I’ll engineer something if I have to tweak it.
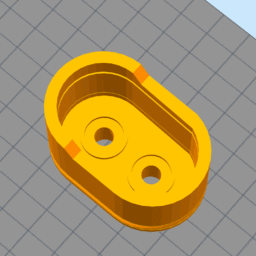
The trigger, on the other hand, uses a snap-action switch I had lying around, and a 10mm spring.
The flashlight mount has been hollowed out so I can hopefully build a ‘flashlight’-esque assembly with a lens and an ultra-bright white LED, while the ‘laser’ module has been hollowed out to accommodate a red laser diode from Adafruit.
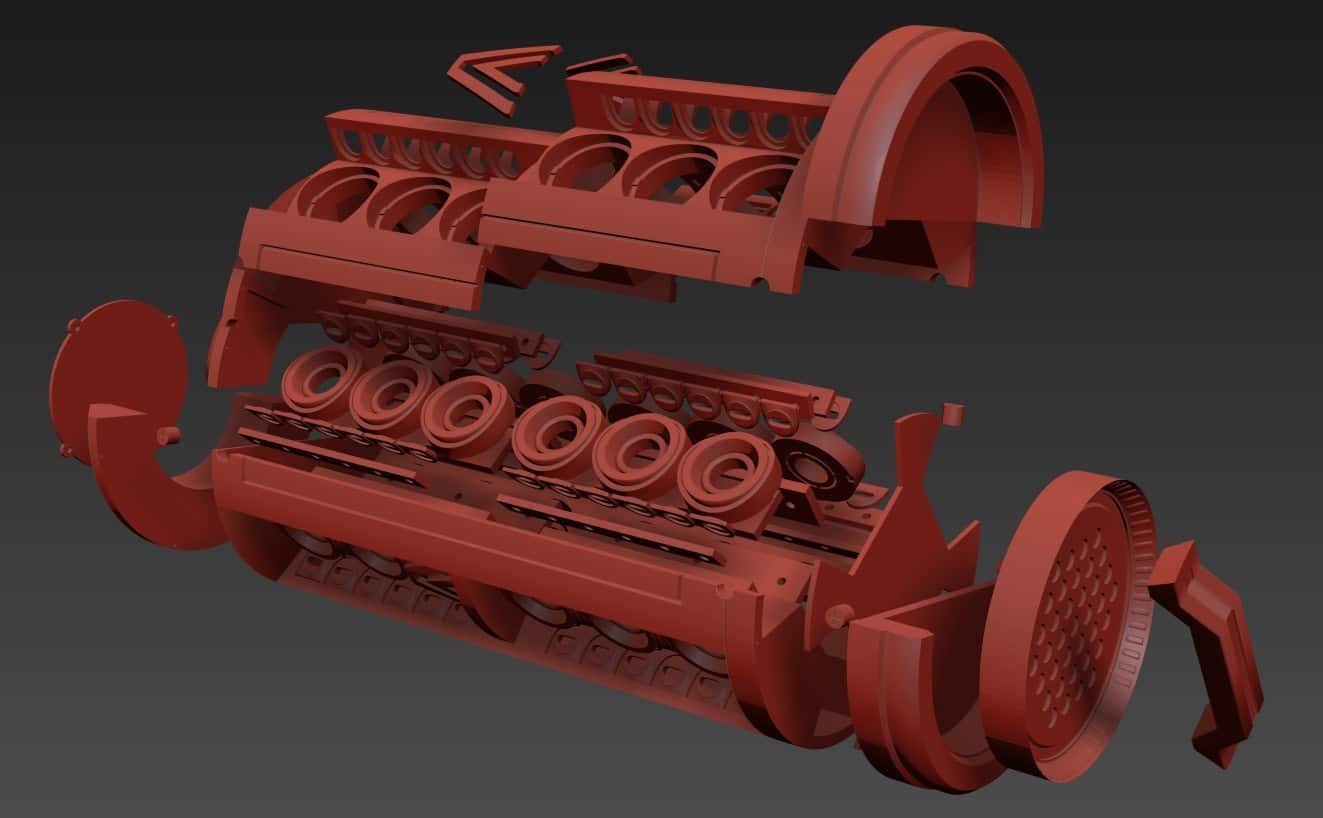
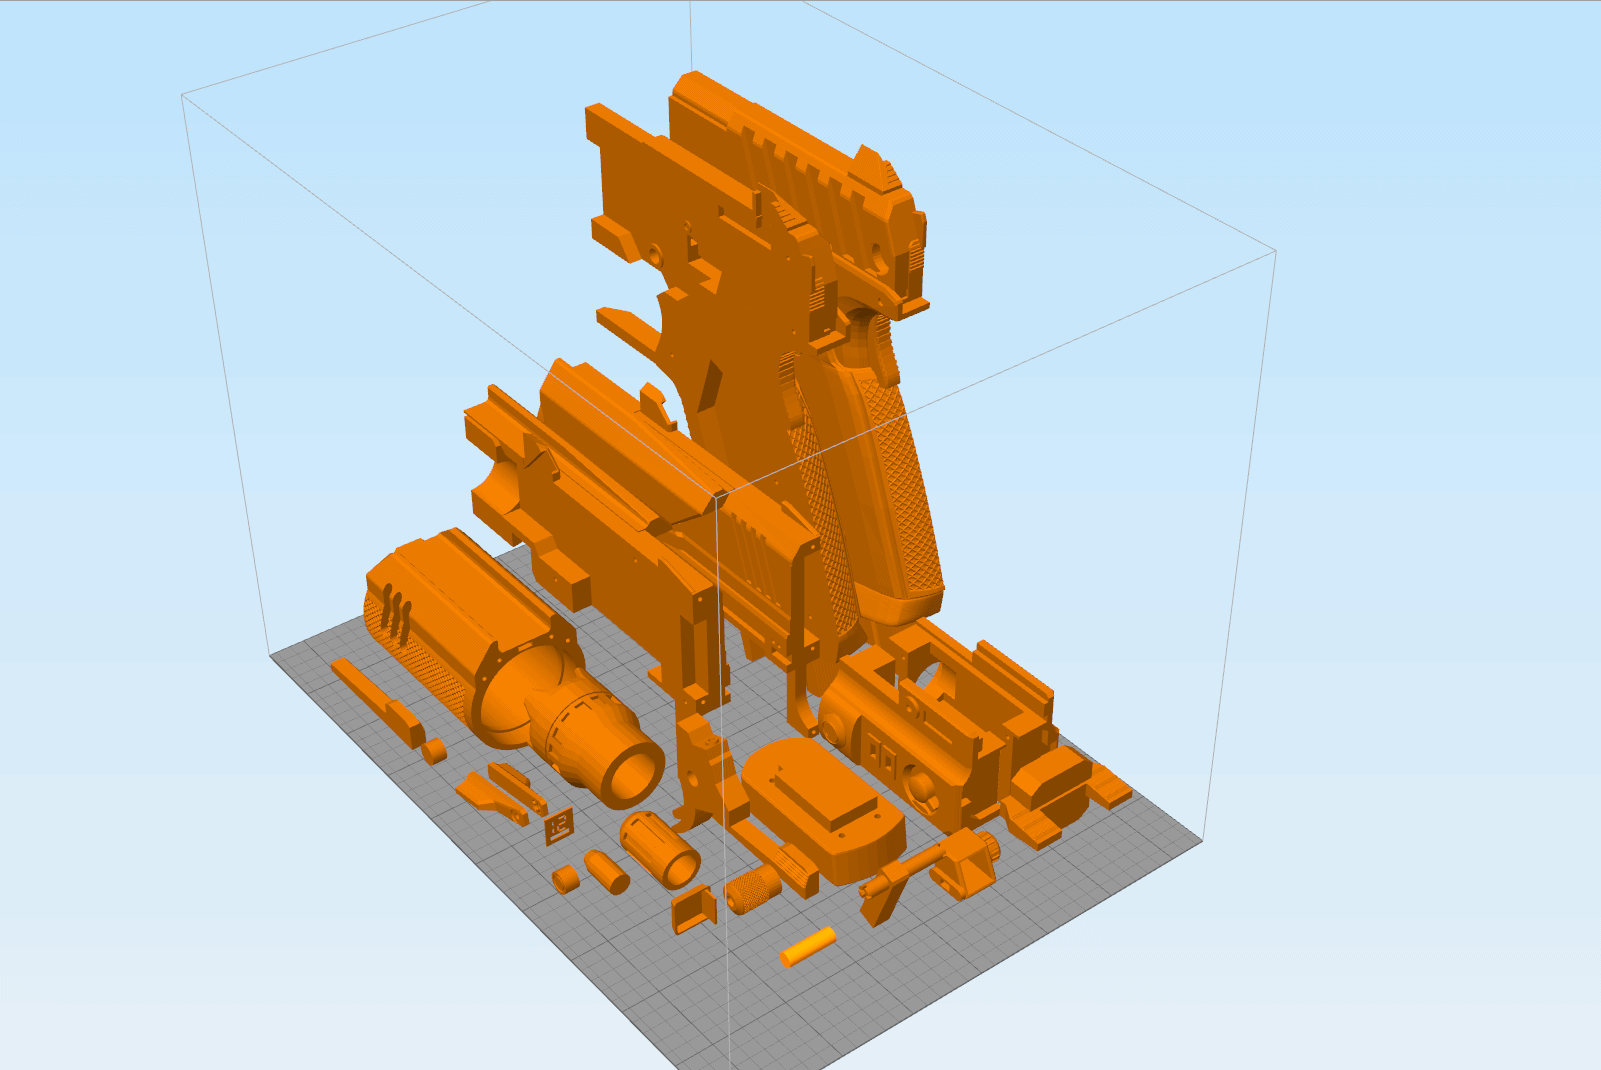
Here’s a more exploded view of all of the gun’s components sectioned out for printing.
For the sake of being thorough, here’s a comprehensive list of parts I believe will be required:
- Adafruit 5mW 650nm Red Laser Diode
- 8 Ohm 1W 30mm Magnetic Speaker (subject to change depending on performance)
- Cool White Ultrabright 5mm LED x2
- Flashlight Lens with Holder – “Dragon” Lens
- MS12AFW01 SPDT Slide Switch
- Mini Microswitch with Roller Lever
- OS102011MS2QN1 SPDT Slide Switch x2
- Adafruit Mono 2.5W Class D Audio Amplifier
- Adafruit Audio FX Mini Sound Board – 2MB Flash
- Arduino Pro Mini – 5V
- WP1043YD LED Bar Single x4
- 3x 3mm Green LEDs
- 2x 3mm Red LEDs
- Retraction spring, 5mm diameter, 10mm length
- 121-0624/I-GR “I” 9v Battery Snap Contact
- 9v Battery
- An assortment of M2 screws of different lengths, between 8mm and 20mm long.
While I can gladly go on at length with images of how the gun’s designed to operate, I felt it would be easier (and more instructive) to record a brief video doing exactly that.


Hello, I am very interested in making one but I know nothing about coding do you have the code to release. Please it would be greatly apprisiated