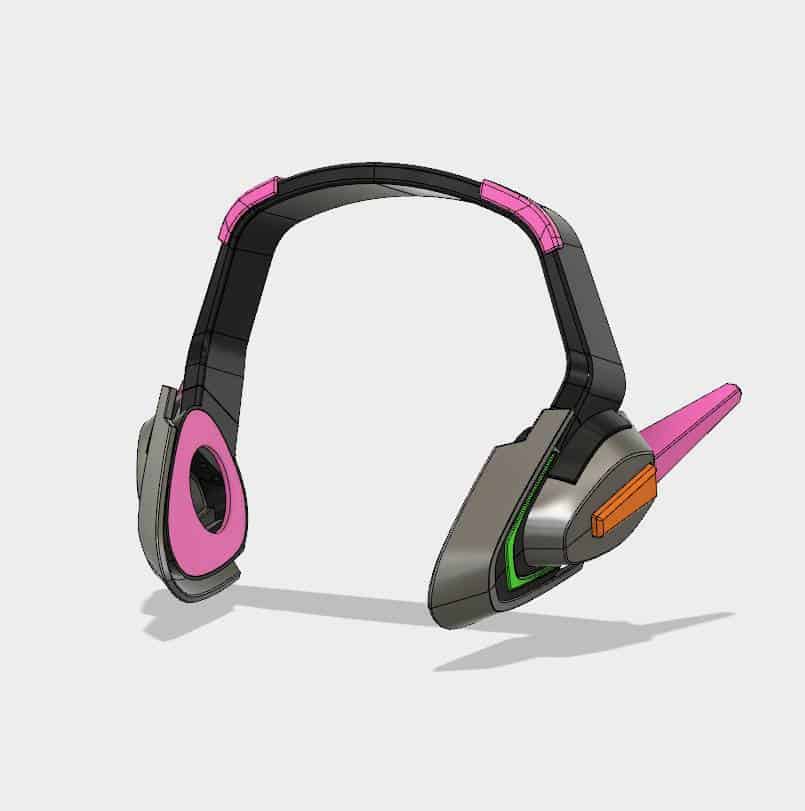
One of our friends was bound for Blizzcon and was initially going there as a World of Warcraft Shaman. Was. About two weeks ago, they sent us a message letting us know that they had changed their plans, and now she and two of her friends were headed for the festivities dressed as Overwatch character D.Va – in three different color schemes. She wanted to have us make the necessary headsets for the costumes quick enough to have them ready. In order to simplify the process, she had already bought files for 3D printing from Shopitat on Etsy.
We’re not ones to back down from the challenge, so we set about printing the parts right away. Given the size of the components, each headset took about 3 to days of printing, which cut into a lot of otherwise precious time to get these things done. I usually print at 100 micron layers, but for this I cranked it up to 200 to cut down on printing time, figuring I’d address any issues with the post-printing sanding.
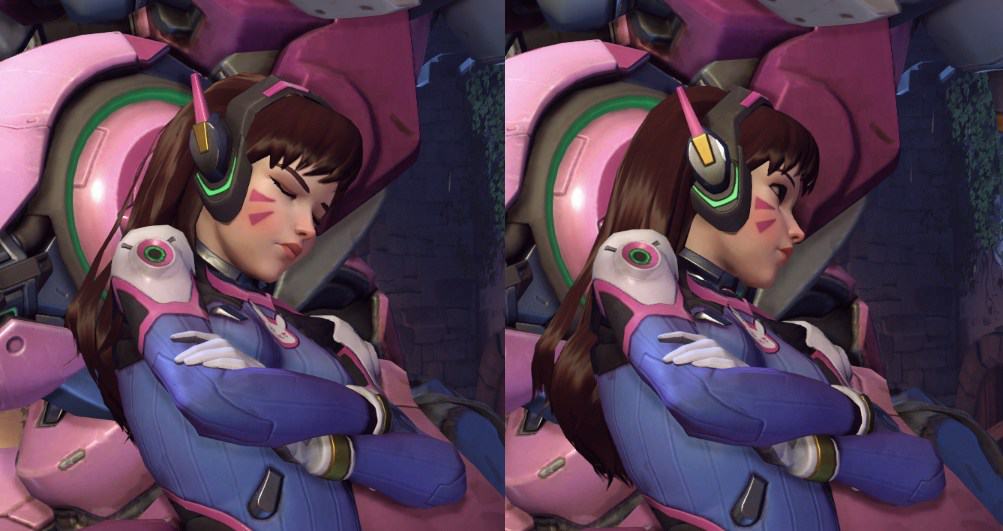
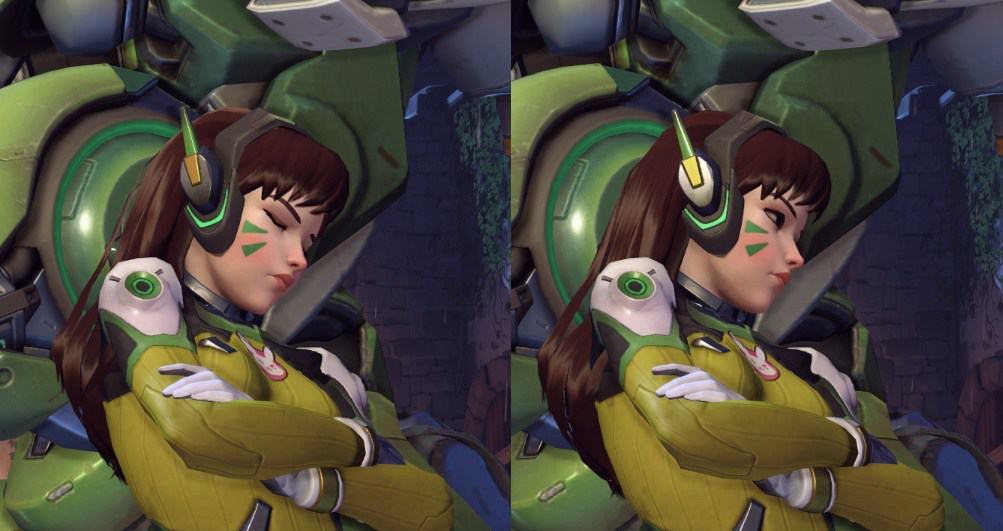
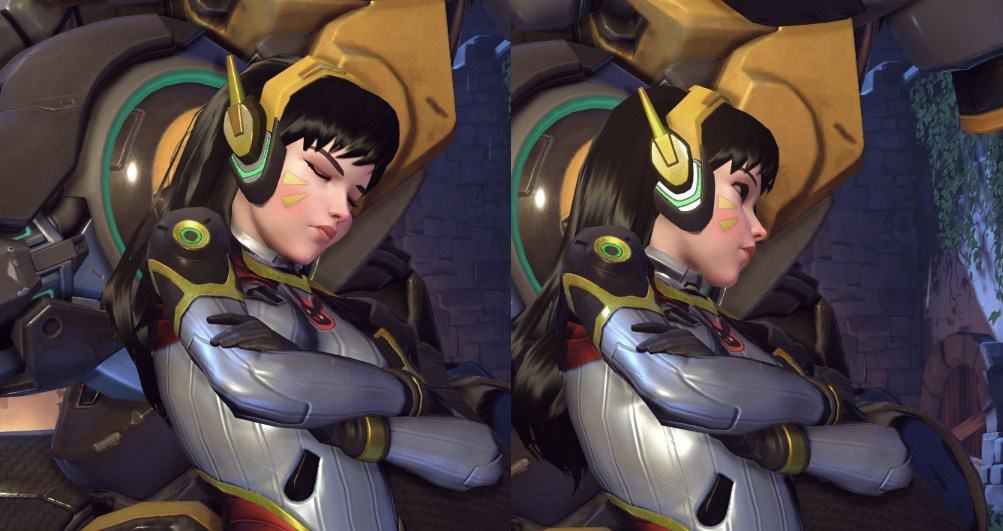
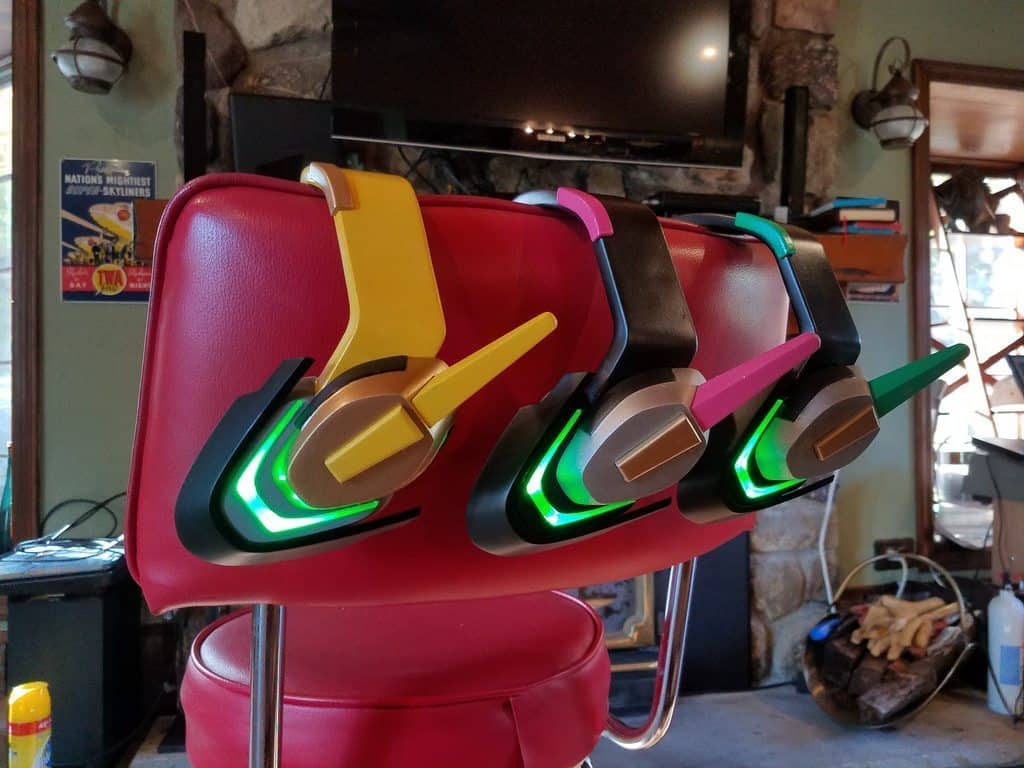
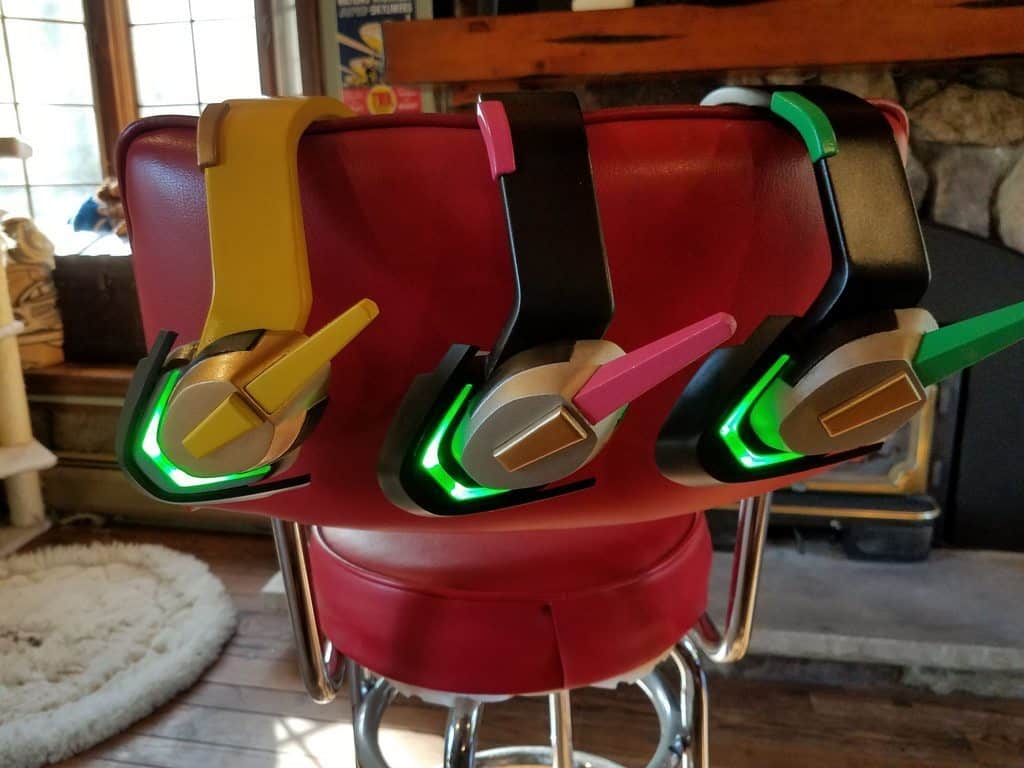
Our specs were to make three differently-painted headsets for three of D.Va’s different skins: “lemon-lime”, “carbon fiber”, and “original”. I hopped into the game (after updating it, because I haven’t actually played Overwatch in about a year) and snapped some quick reference images of the color schemes in questions.
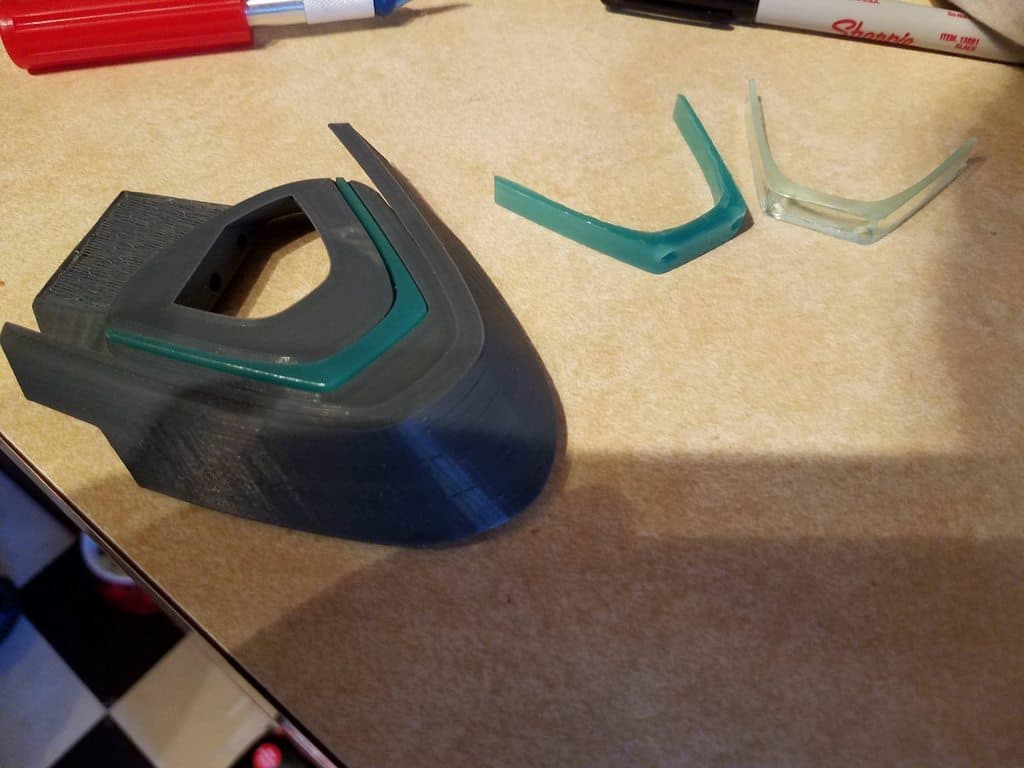
I don’t usually work with files prepared by others – I prefer to design my own components – but there was simply no time for that this time around. The files from Etsy were an interesting and mixed bag – they were smartly designed with channels for routing wiring over the bridge of the headset, and cutouts for 3mm LEDs to allow for illumination on each ear cup. On the other hand, I found it frustrating that very little attention was paid to how the antennae and outer ear cup details attached to the headset itself. Simply gluing the parts together works, but the antennae in particular represent a fragile point of failure on the headset given how they protrude. I would have liked to see some thought given to a post-and-hole sort of design that would hold these parts on a bit more snugly, or screwholes, or something. Truthfully, I only discovered the issue after the parts had been printed, and I didn’t have enough time to go back and revise things or I probably would have.
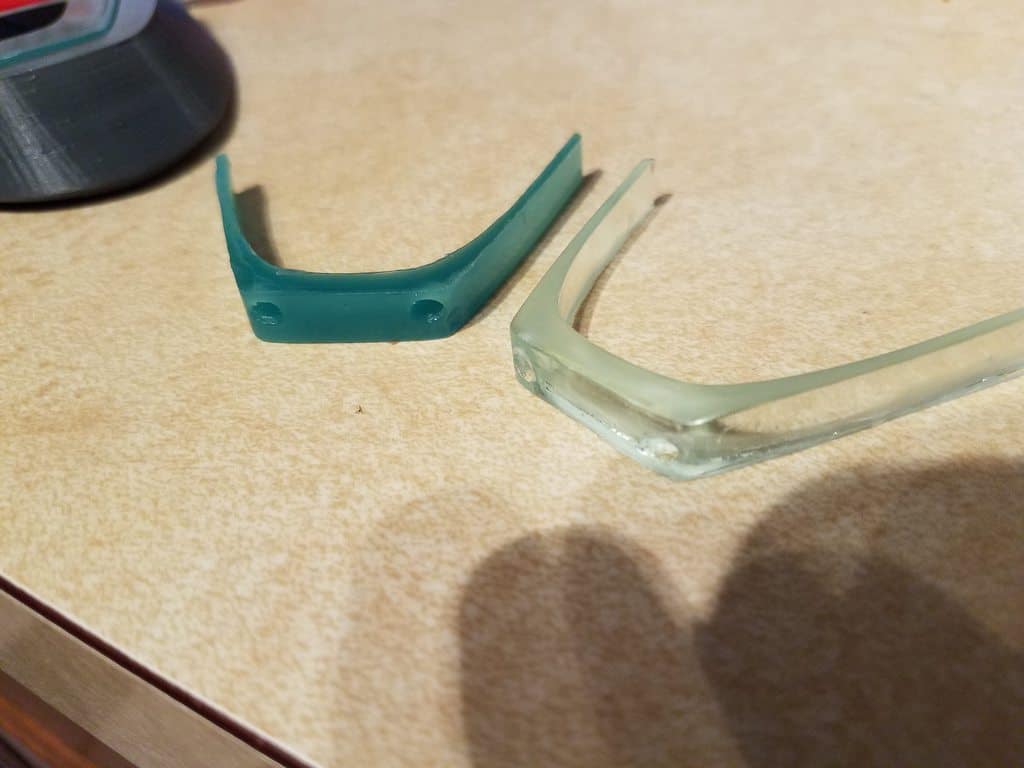
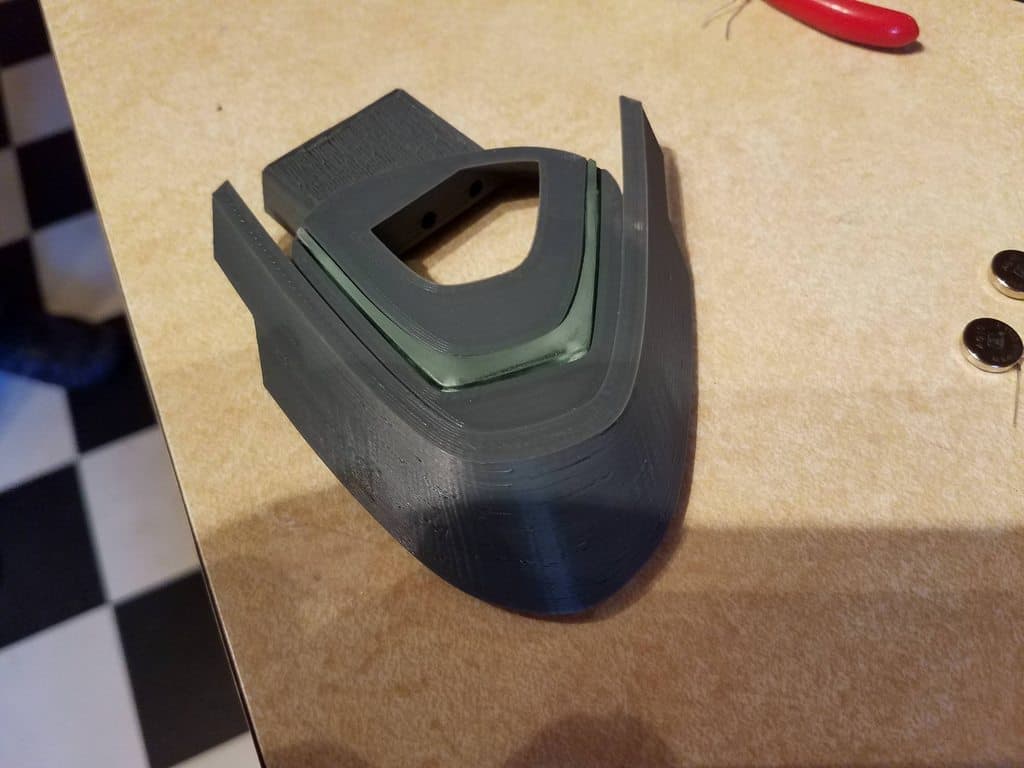
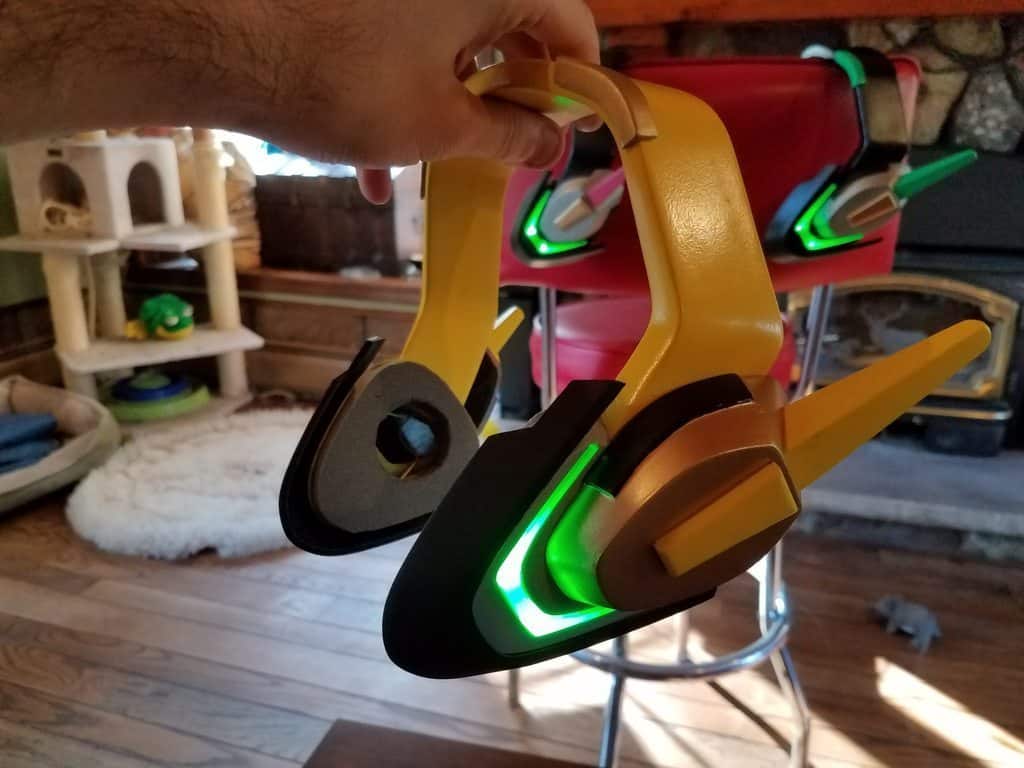
The lighting was a fun part to work on. Each ear cup had a cavity with a pair of holes to aim an LED inside. I printed an ‘insert’ piece designed to represent the glowing element and made a very quick rubber mold of the part. I then cast a couple copies in clear resin.
I experimented with differing levels of green pigment to see what sort of different lighting effects I could come up with. I liked the look of the darker green inserts when the LEDs were off, but the additional pigment changed the lighting characteristics of the resin; instead of diffusing the light throughout the whole piece, it concentrated it in ‘hot spots’ around the LEDs themselves.
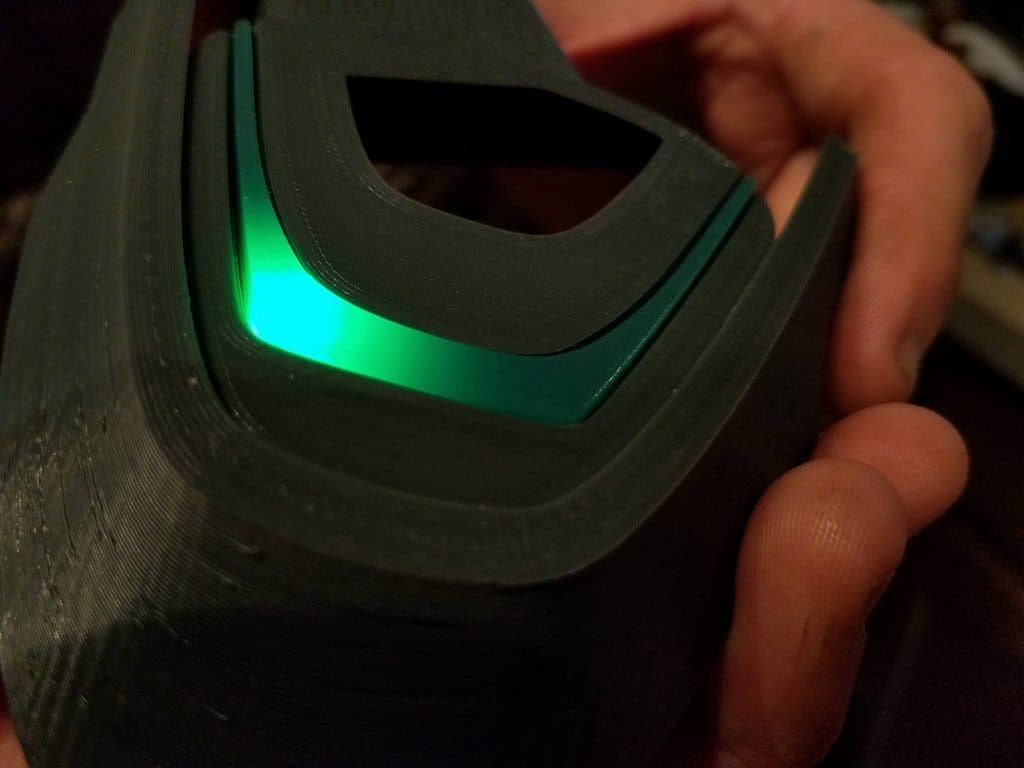
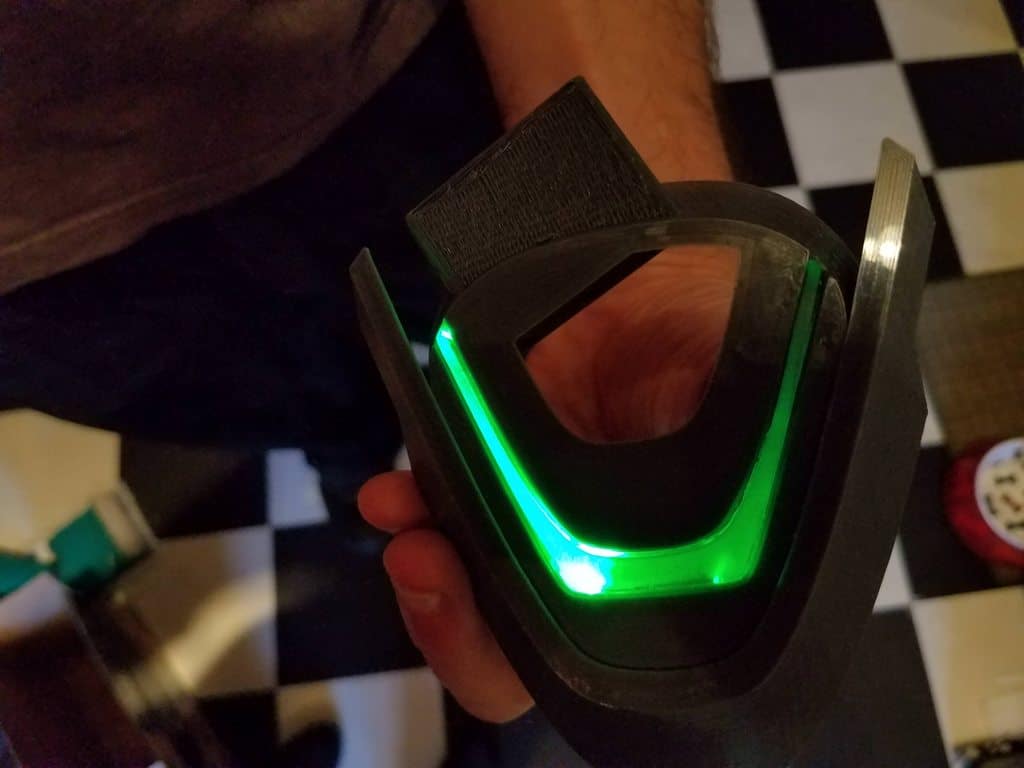
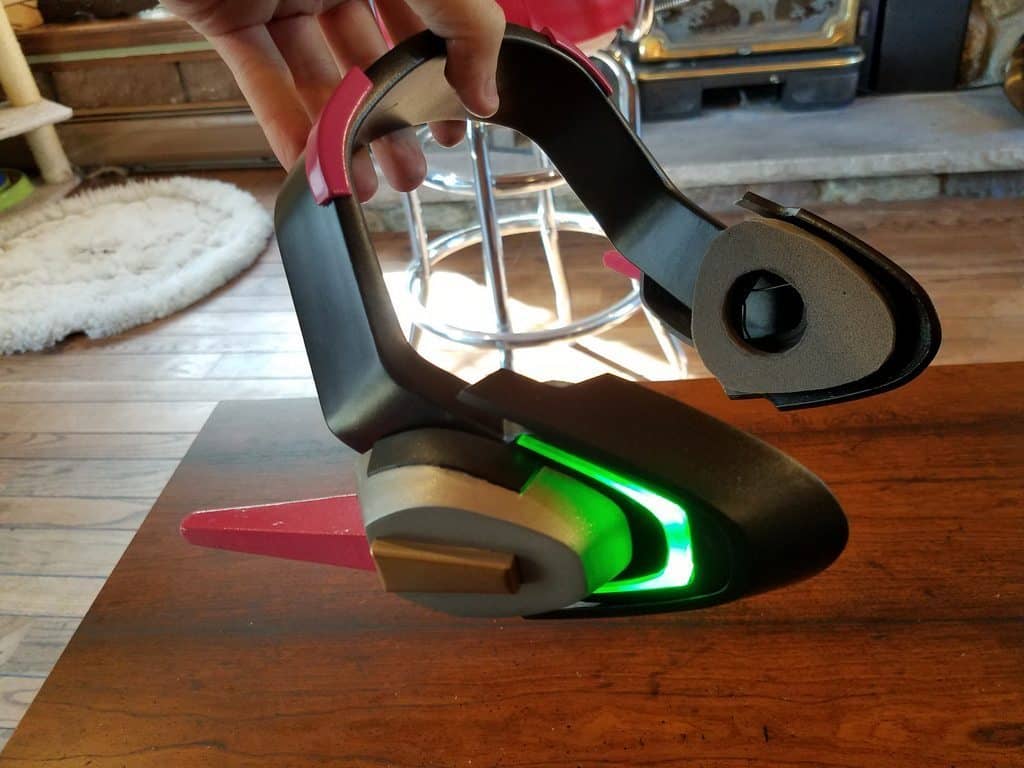
I tried a couple of alternatives. The clearer the resin, the less the ‘hot spot’ effect was evident, but you also need a bit of diffusion in the material in order to have a radiant effect. Sanding the top (exterior) surfaces of each piece with 400-grit sandpaper also did a pretty decent job of helping even out the glow. I showed our client a few of the options and let her pick, and she ultimately resolved on a mostly-clear option shown below due to how it carried the light.
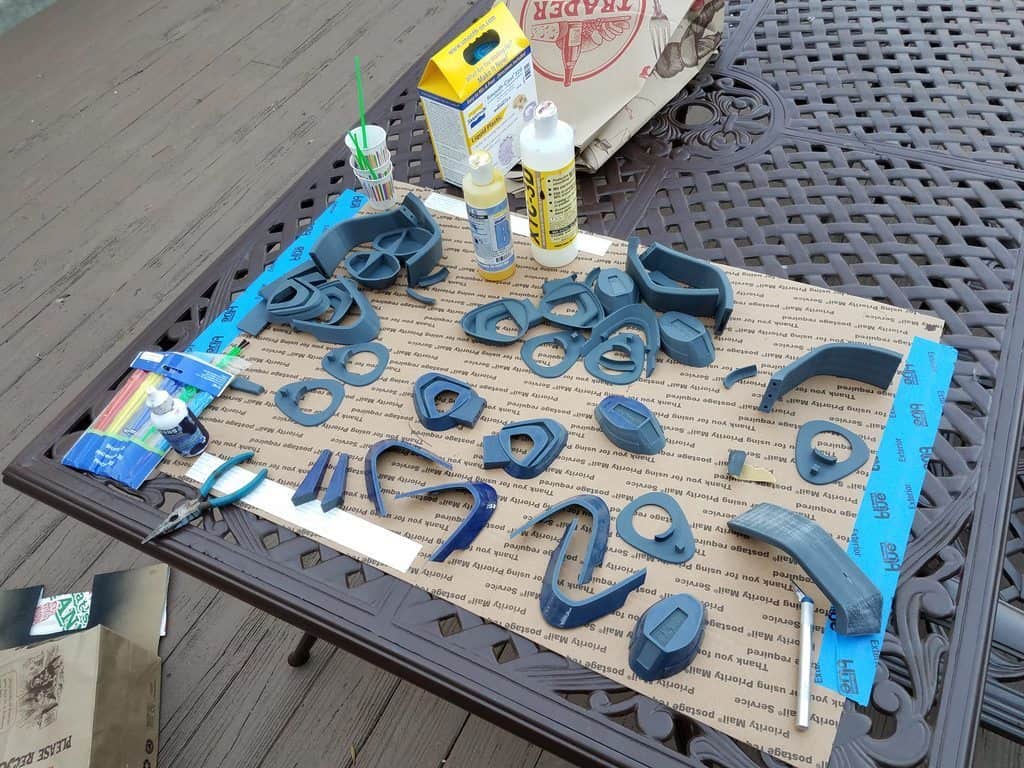
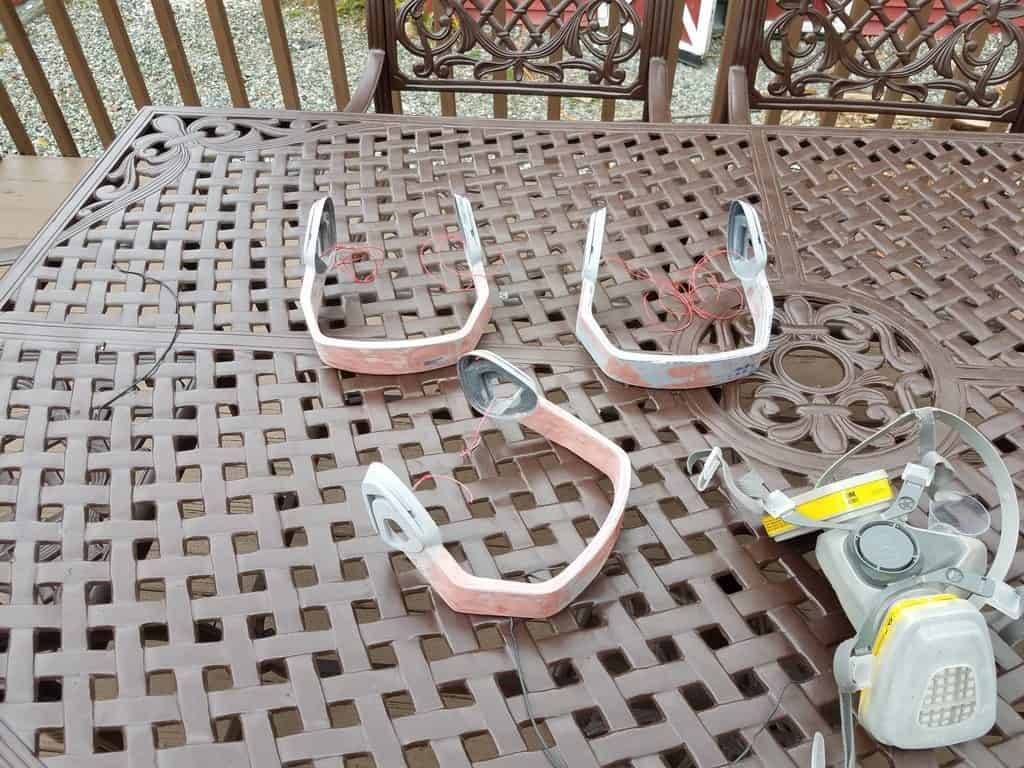
Once all the parts had been printed, we arrived at the ‘fun’ part of post-processing all the prints. I started by applying XTC-3D, which is a brush-on epoxy coating, to try and smooth the parts out. The pieces were then sanded down, primed with filler primer, sanded again, then surfaced with Bondo glazing putty to try and fill in any imperfections.
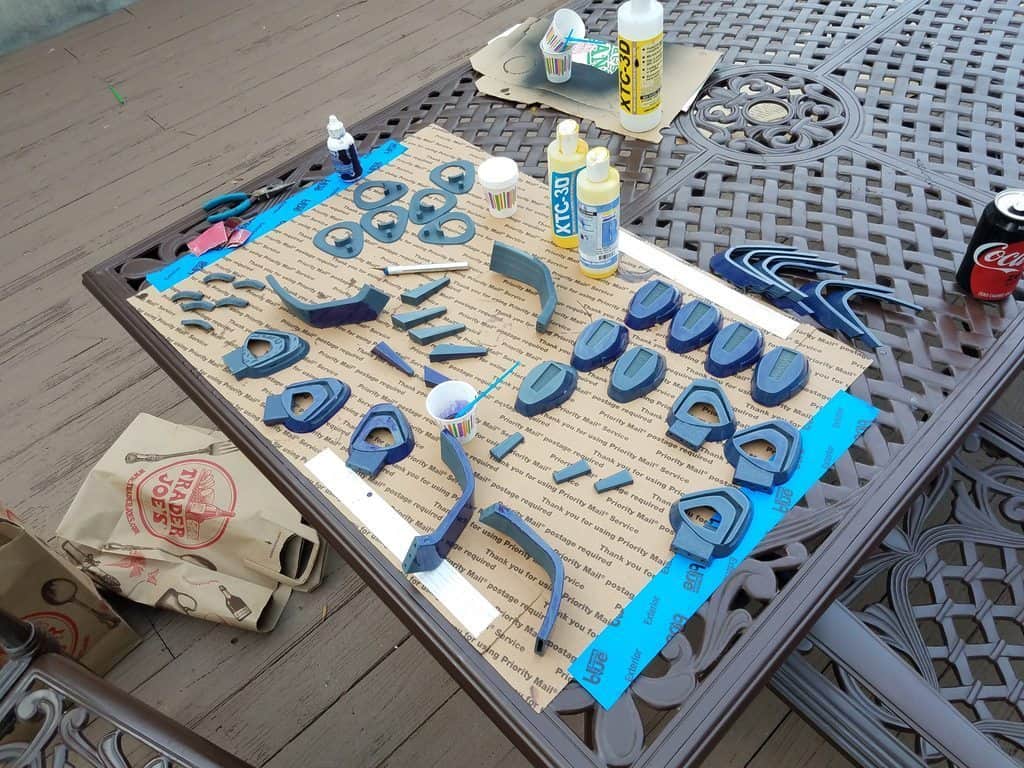
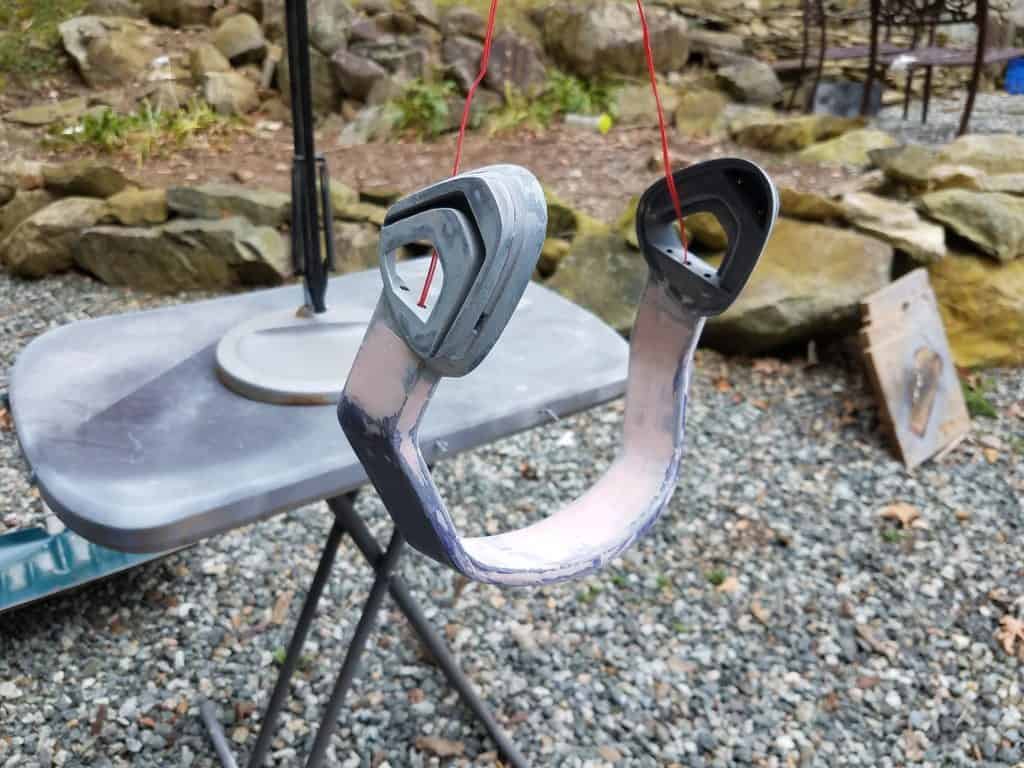
The Bondo and XTC rendered the headsets a bit less flexible than I would have wanted, but I couldn’t be too choosy due to the time constraints. I primed all of the headsets – two of them with a black, and one gray with the expectation of eventually hitting that one with a yellow coat.
The other parts quickly got painted to suit the schemes of each headset respectively. I used off-the-shelf spraypaints from the Hardware store, which worked reasonably well but also took forever to dry. This ended up getting us into a bit of a time crunch, but was still easier than some of the alternatives.
I was reasonably confident the LEDs would work out well based on our earlier tests, but a big concern I had was whether or not I could rig something up that would last an entire day at a convention. Using something like my regular coin cells would be out of the question, as they’d have to be changed every hour or so; I wanted something that would go for an eight to ten hour stretch of continual use.
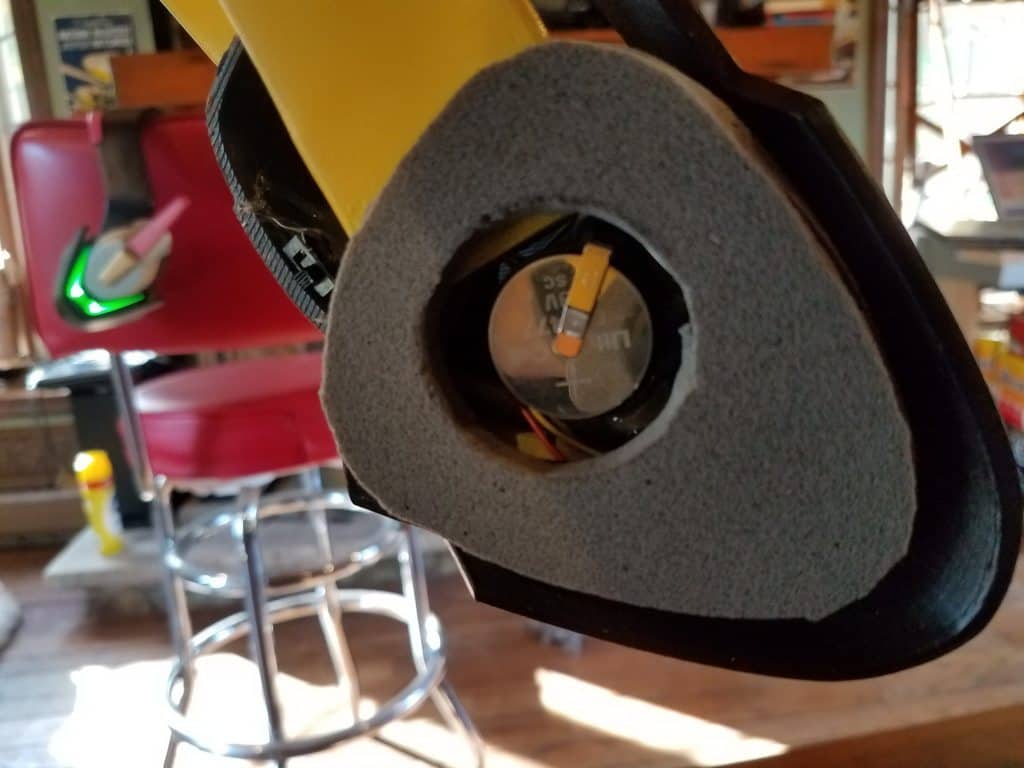
I ended up discovering a sort of “super coin cell” battery in the form of the CR2477 battery. These things are about the size of a quarter, and about as thick as three quarters stacked together. Not a tiny package, but it puts out 3V, which is enough to drive most green LEDs, and has between 900 and 1,000 mAh. If we estimate that each green LED draws about 20 mA per hour, that amounts to an 80 mAh draw for the four lights on each headset, which conservatively gives us about 11 or 12 hours of use. In practice it will be less than that, as the power curve on the battery won’t stay at a constant 3V, but will slowly decline over use. Lithium batteries (such as these ones) actually have a reasonably flat power curve, and the specs for the CR2477 look pretty decent.
Because of the size of the coin cells, it was a bit tricky to track down a convenient holder. I ended up grabbing a couple of these BH1000G battery clips off DigiKey to make sure the cells could be replaced easily enough. These batteries and the holders had a slim enough profile to fit inside one of the ear cups, but I added some rough padding on each ear anyway to make sure the wearer had a bit of protection.
The padding was something I grabbed from a military surplus store and had adhesive backing on it already. I tried cutting it with my laser cutter initially, but that did not go well. The foam reacted very poorly to the heat and basically crumbled into dust. Had to make do with a box cutter and some angry words.
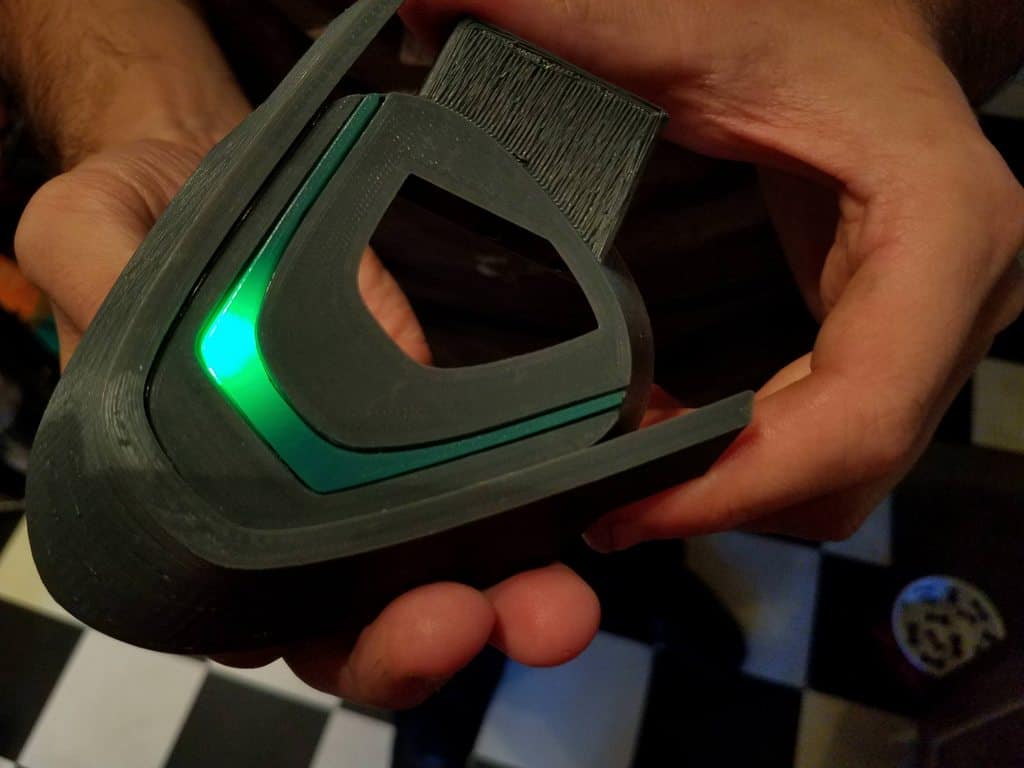
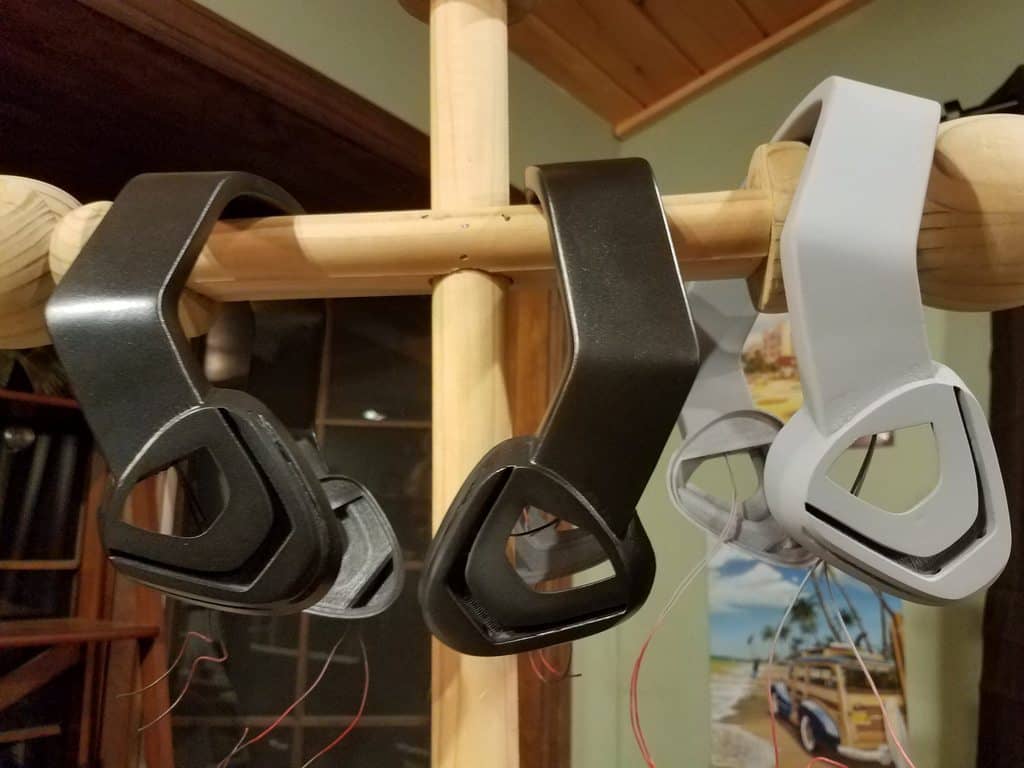
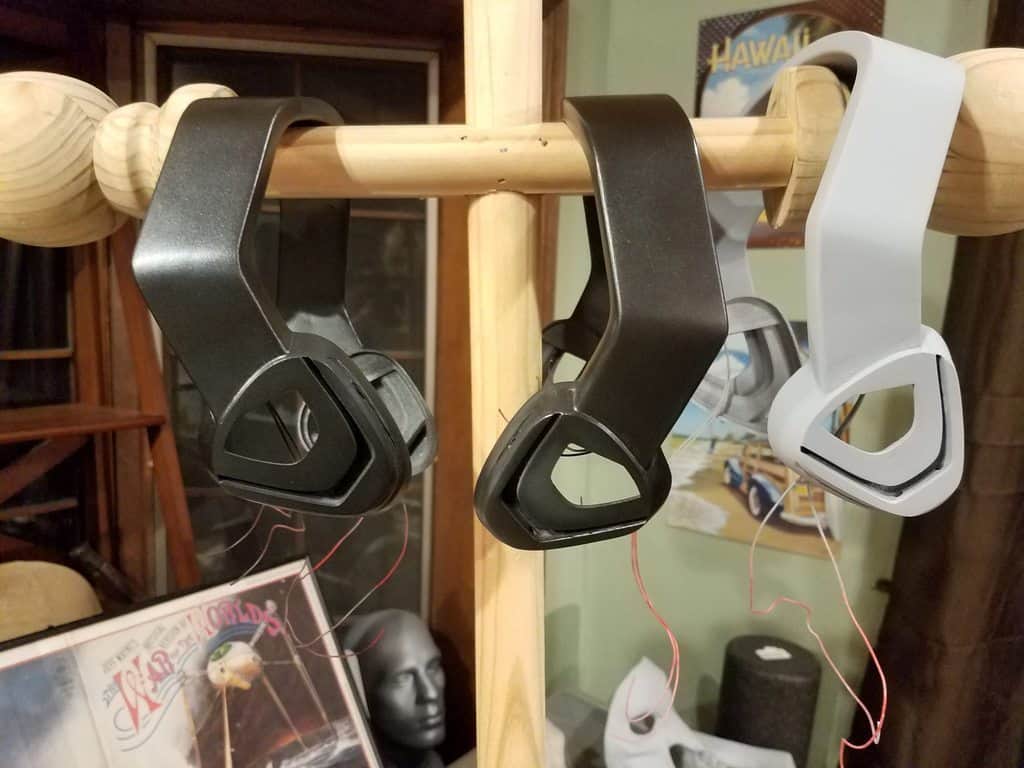
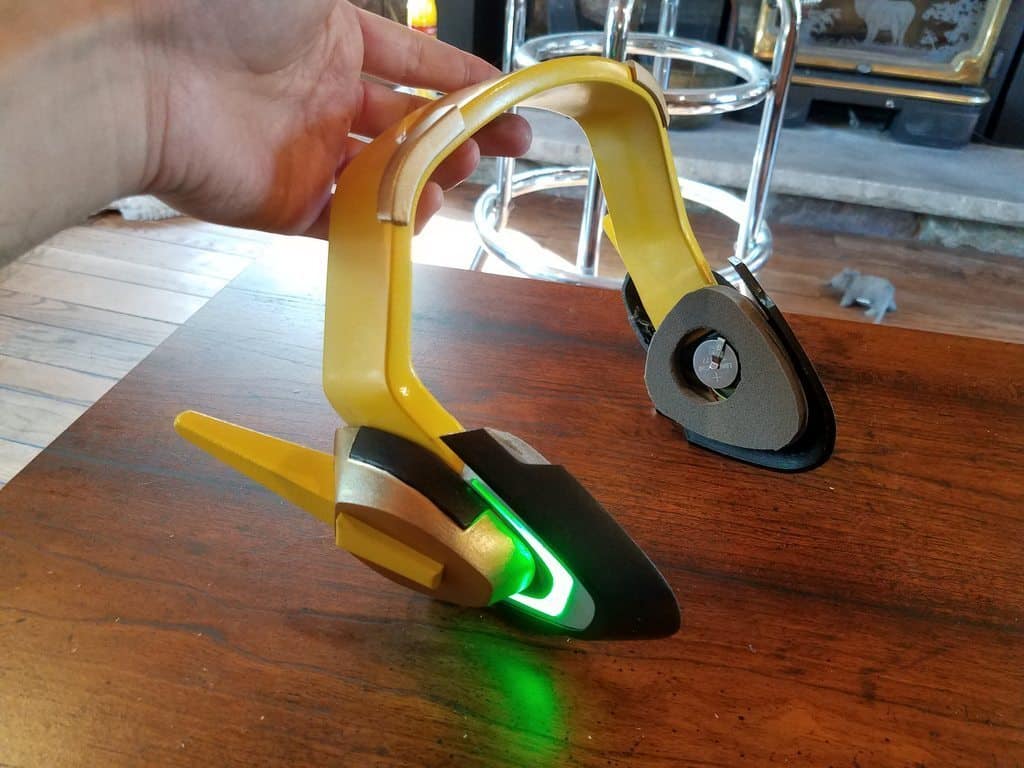
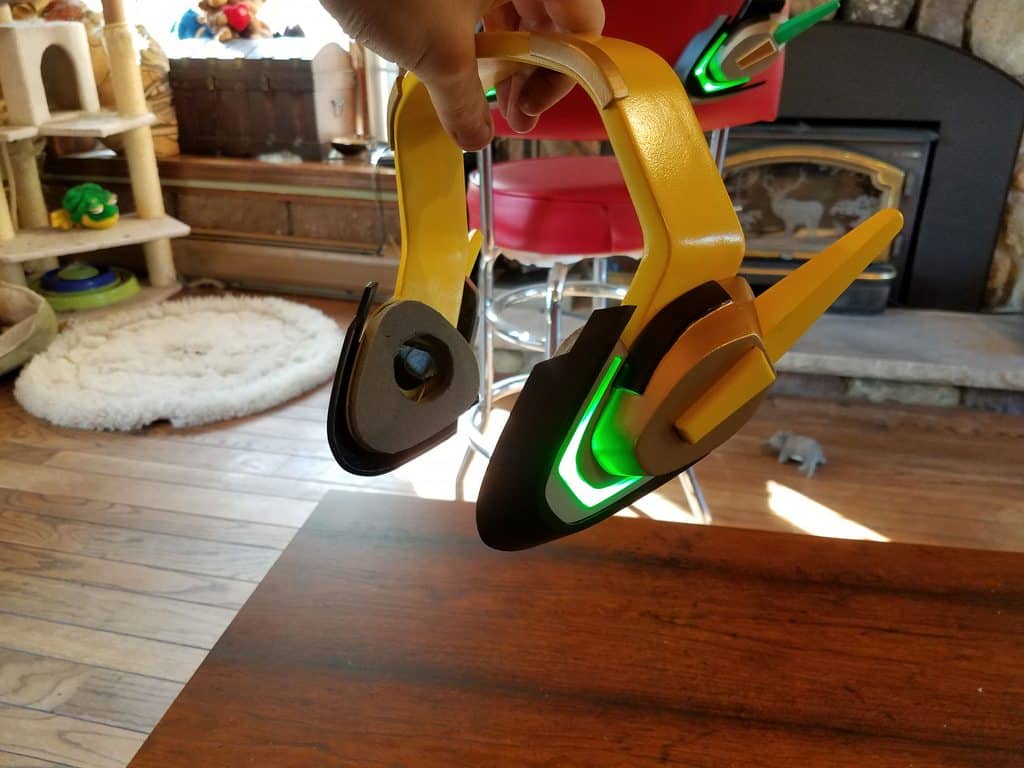
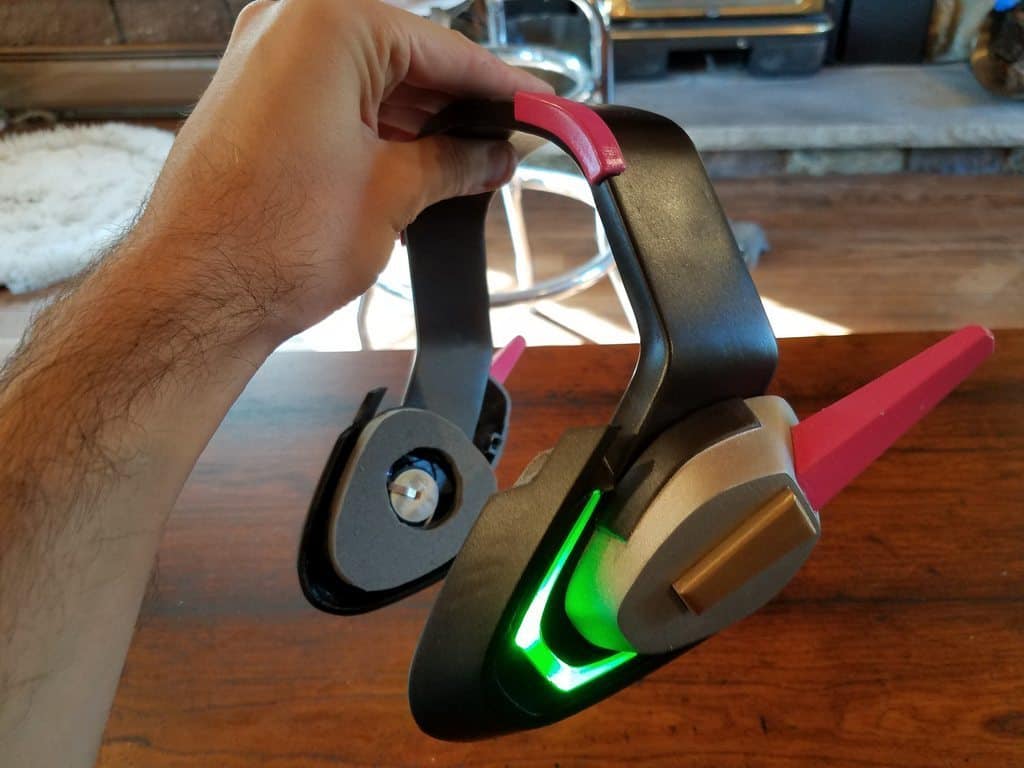
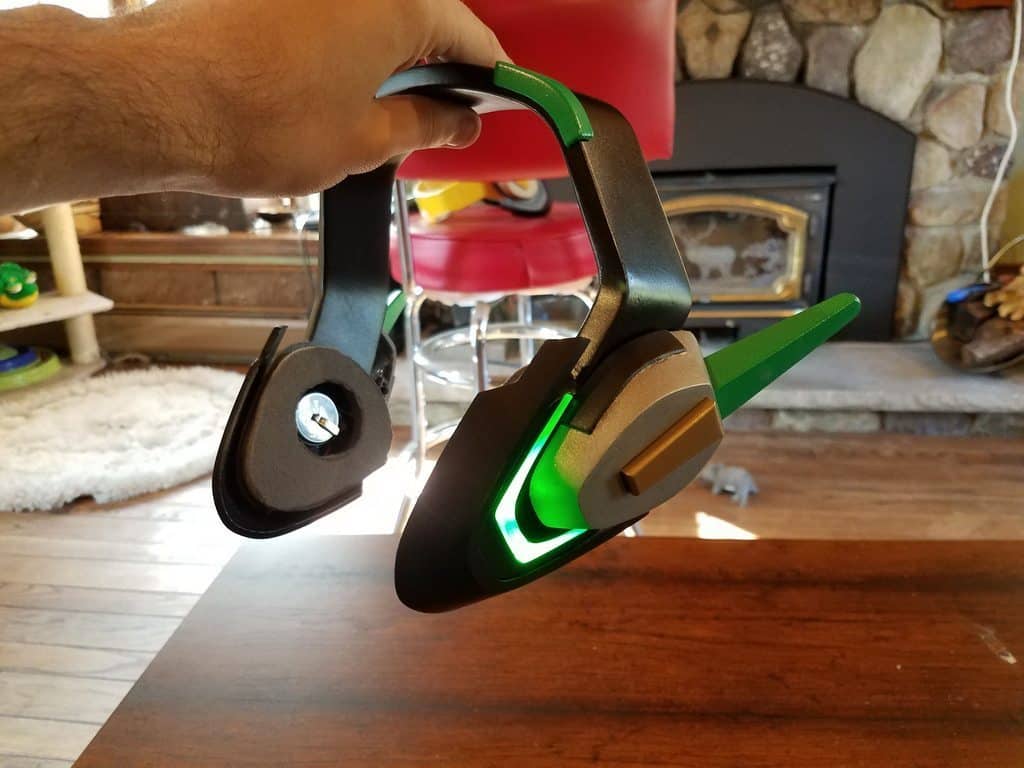
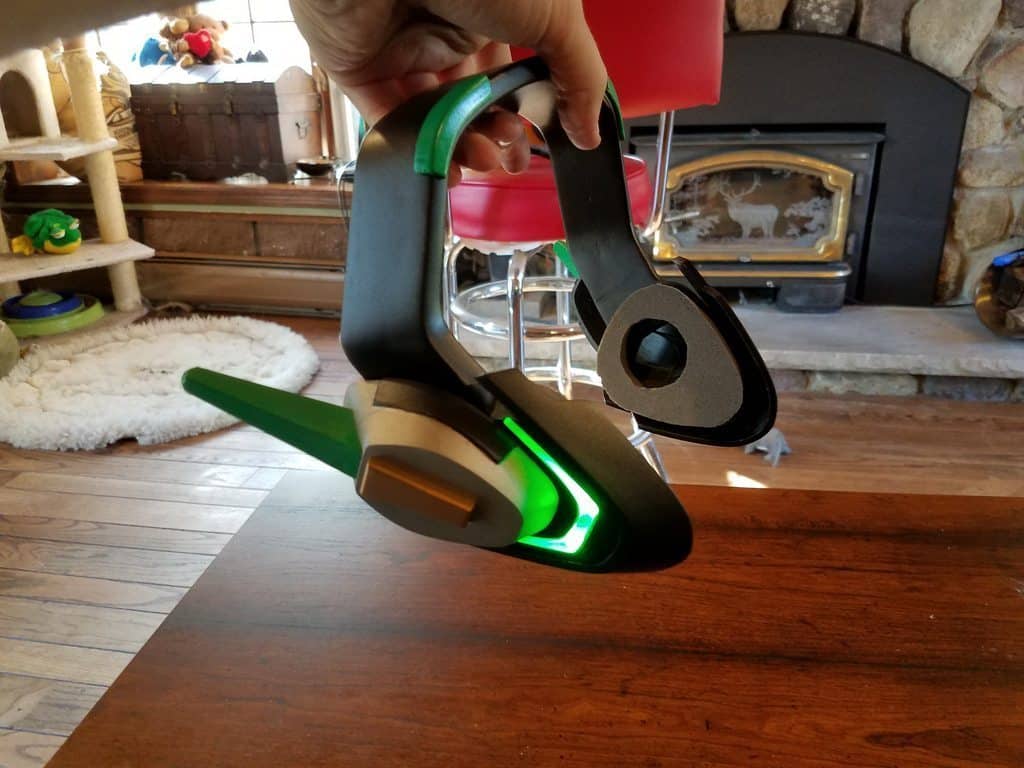
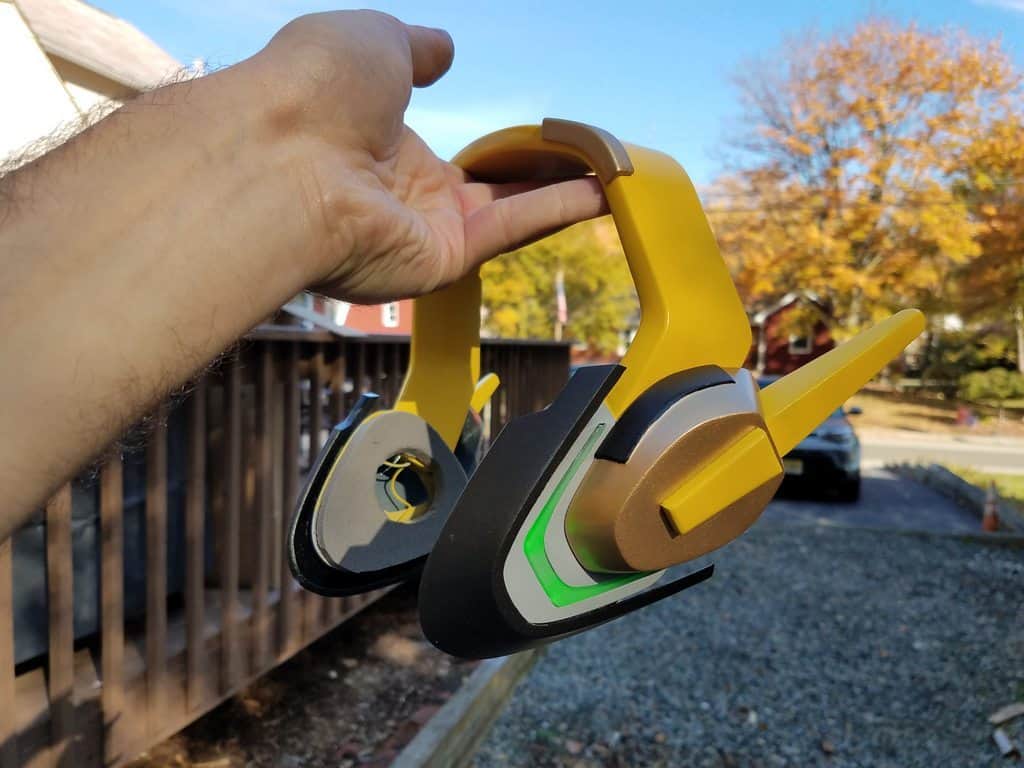
We cut the deadline pretty close, but by the end of last week we had everything painted, wired up, and glued together!
I was fairly pleased to see that the LEDs were bright and visible even in daytime conditions.
We managed to get these mailed out to their new owners with a day or two to spare. I wish I had a bit more time, as it probably would have been best to print and prep one single, nice headset, make a mold of everything, and then set the clients up with wearable resin copies. I think that would probably end up more flexible and wearable, albeit a bit heavier than the 3d printed versions. Still, given the time constraints, I’m reasonably pleased with what we got together.
I’ve asked the clients to hopefully send me some pictures of their finished costumes. If I get some, I’ll add them here after this year’s Blizzcon!
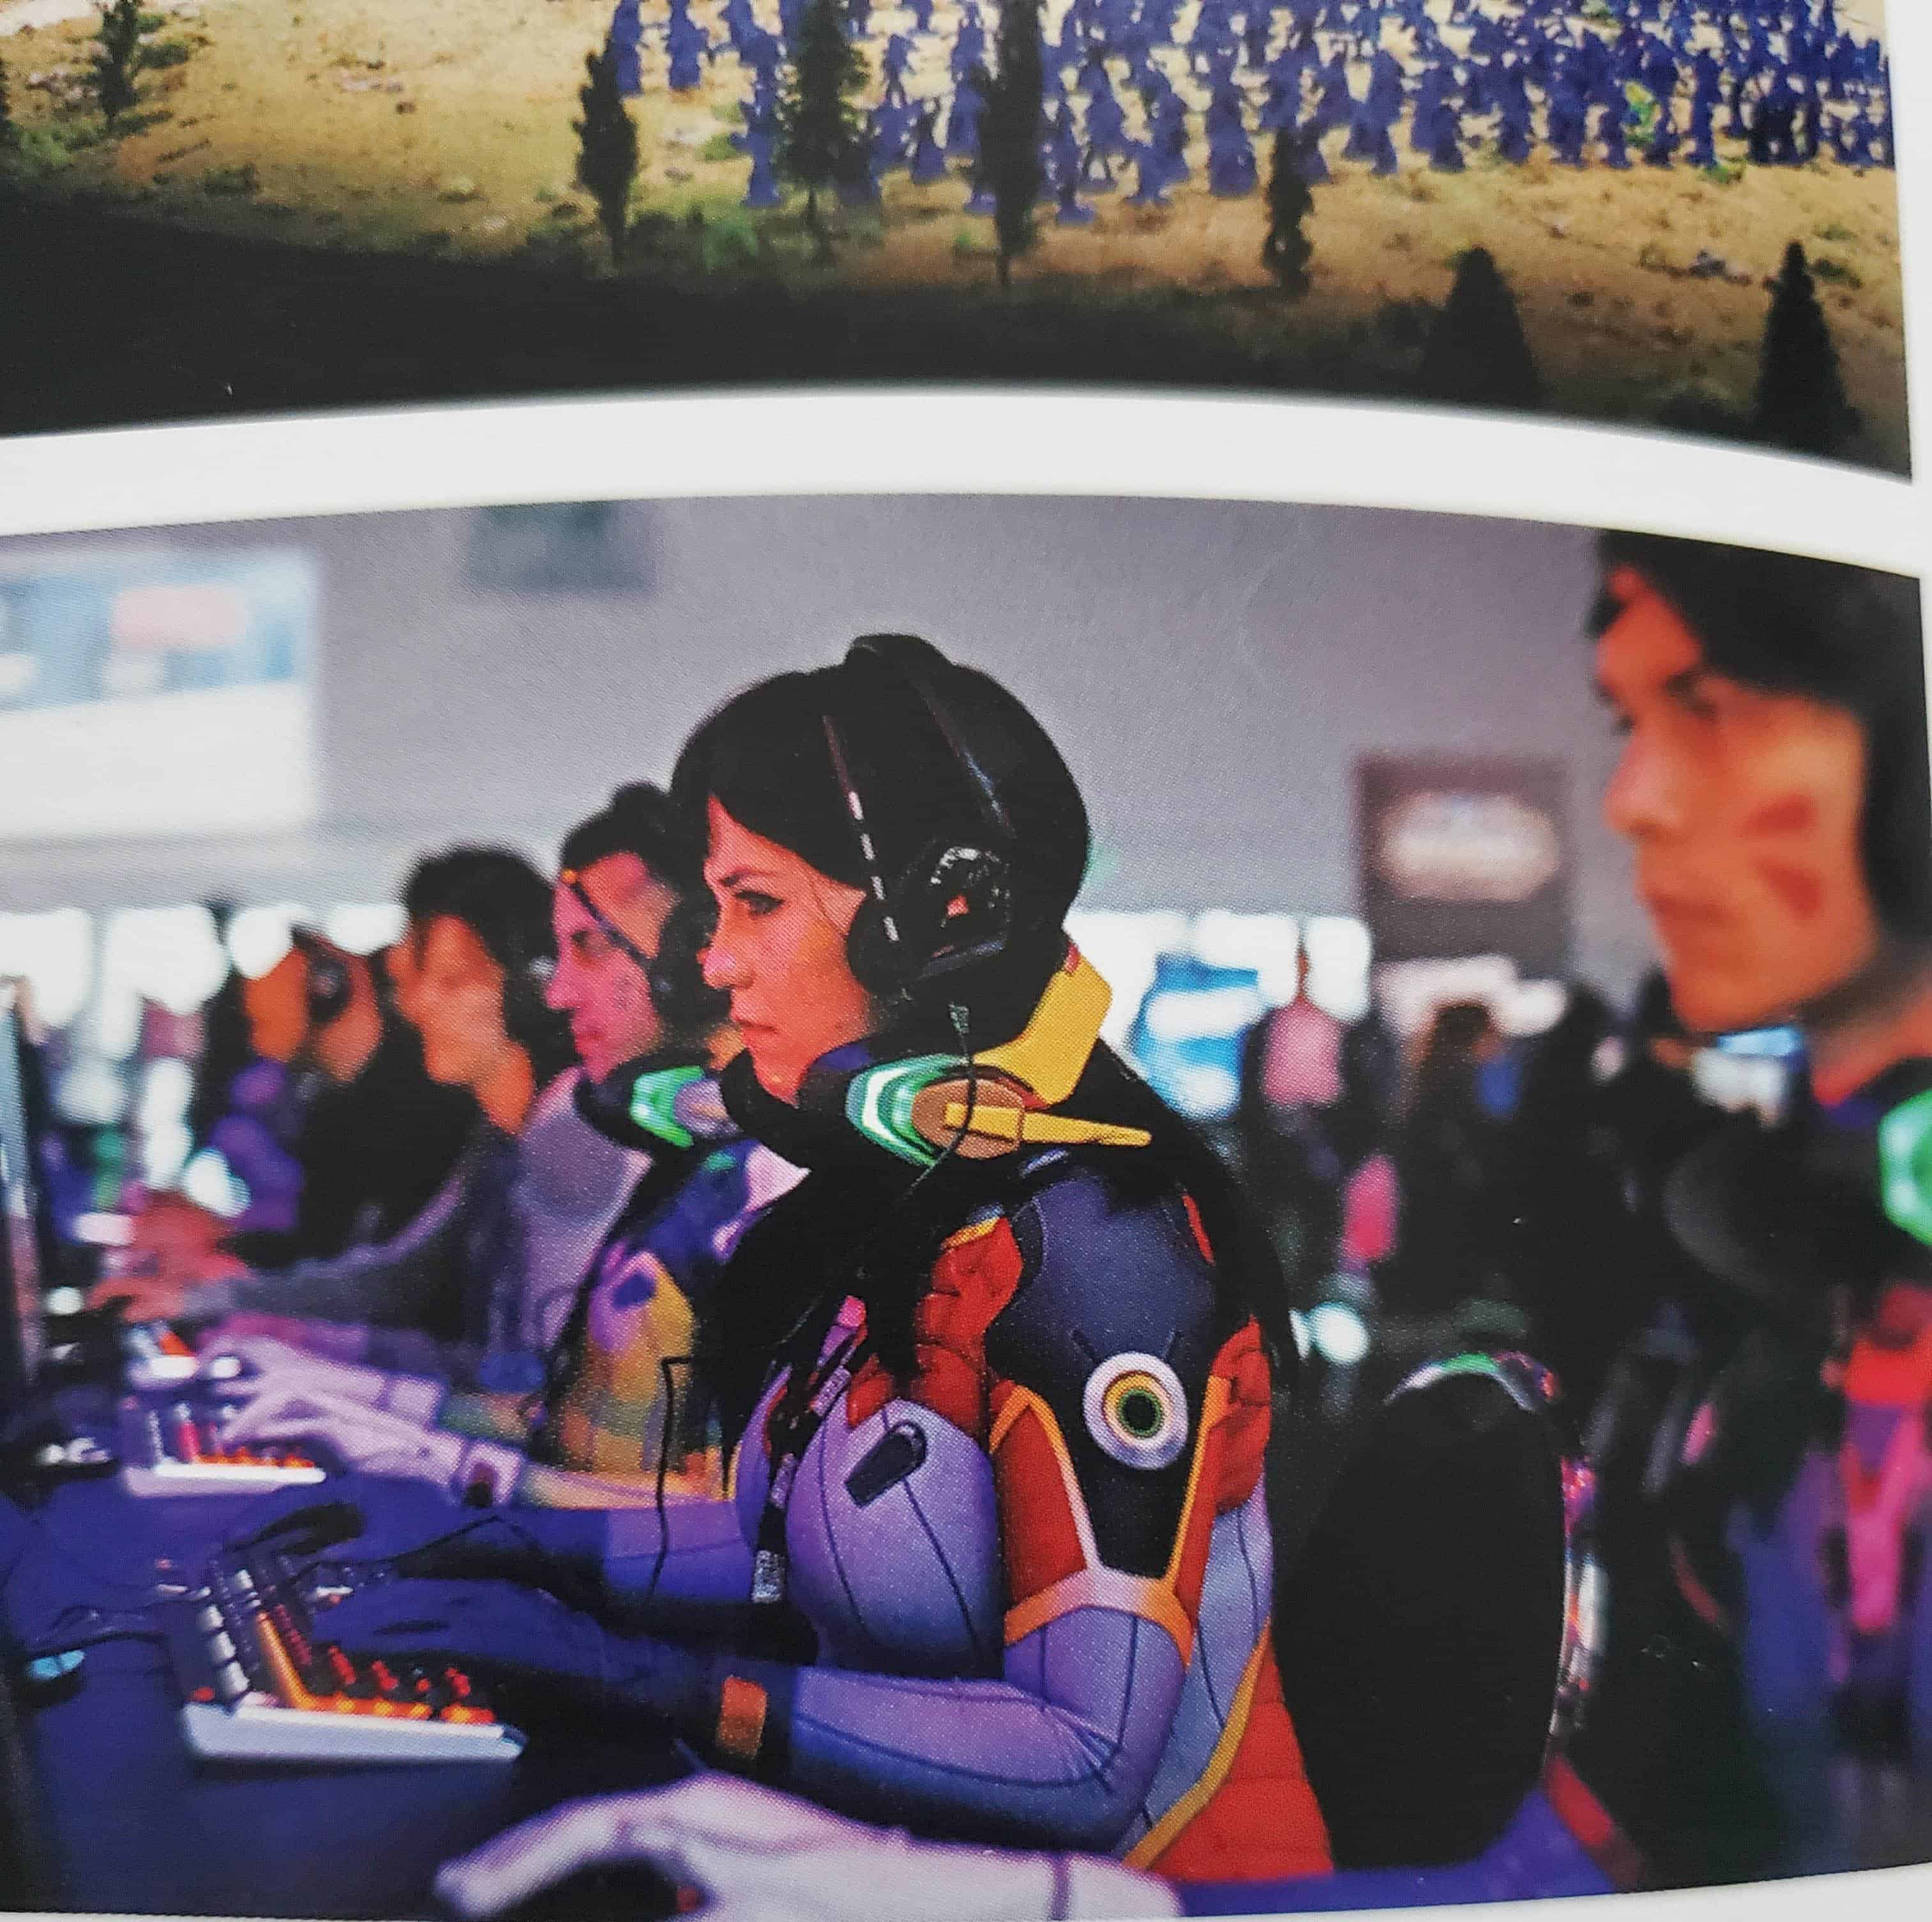
UPDATE: I did, in fact, get a photo from the clients post-Blizzcon. Apparently they were photographed during a game and the photo made it into one of Blizzard’s promotional materials afterwards, which I have a slightly fuzzy photo of.