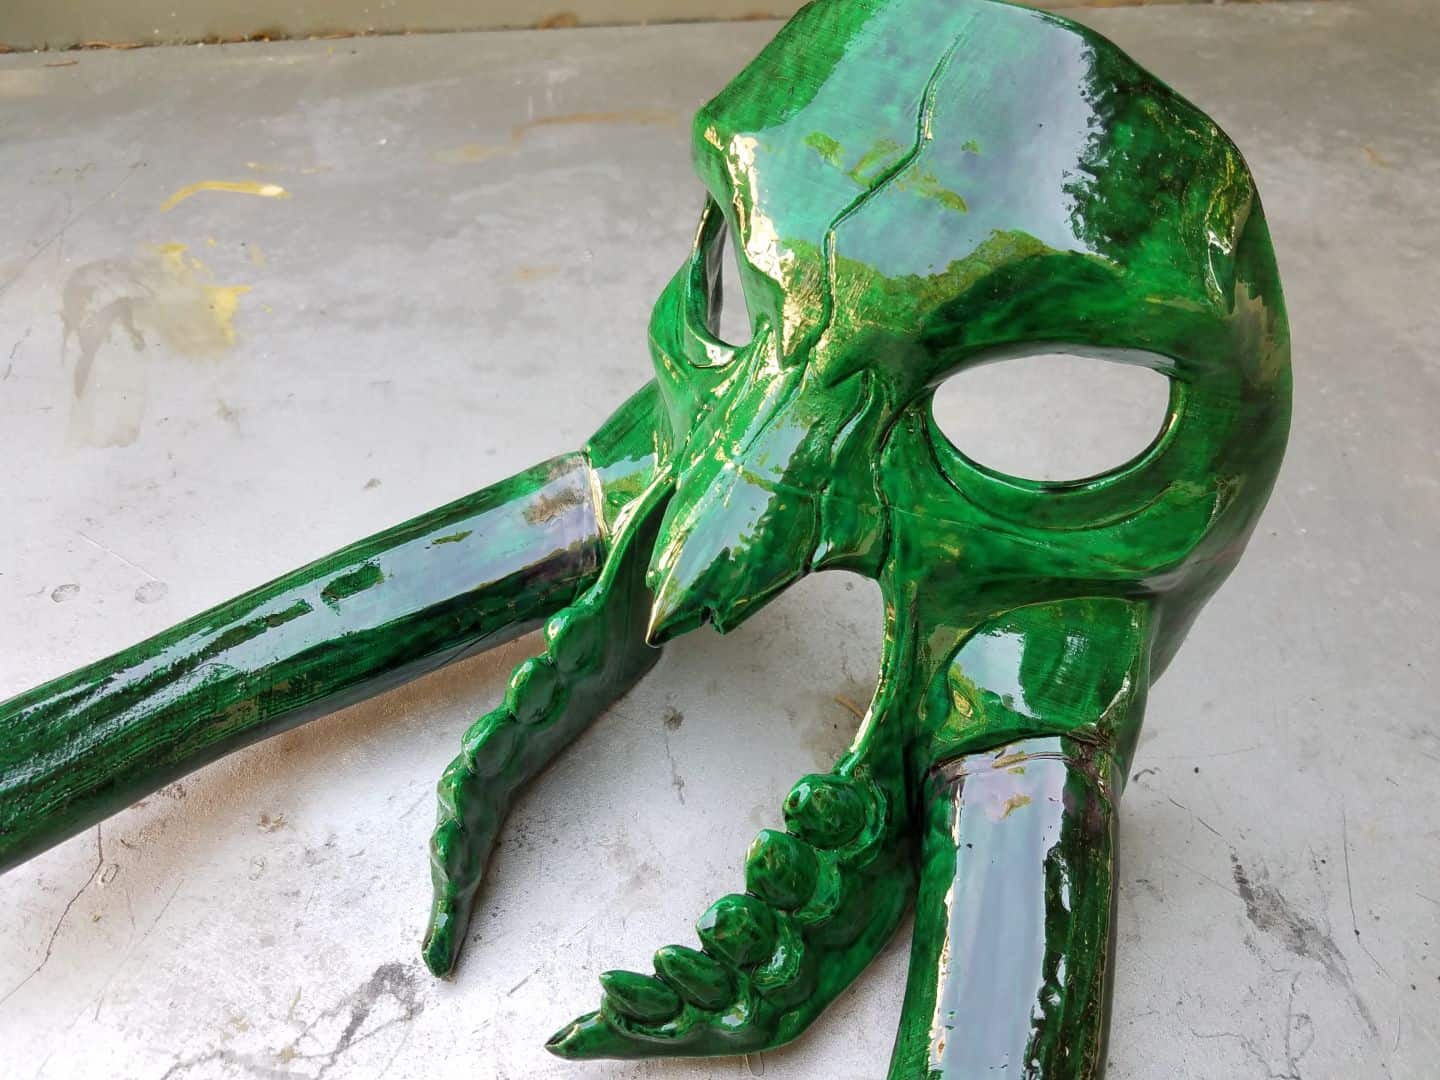
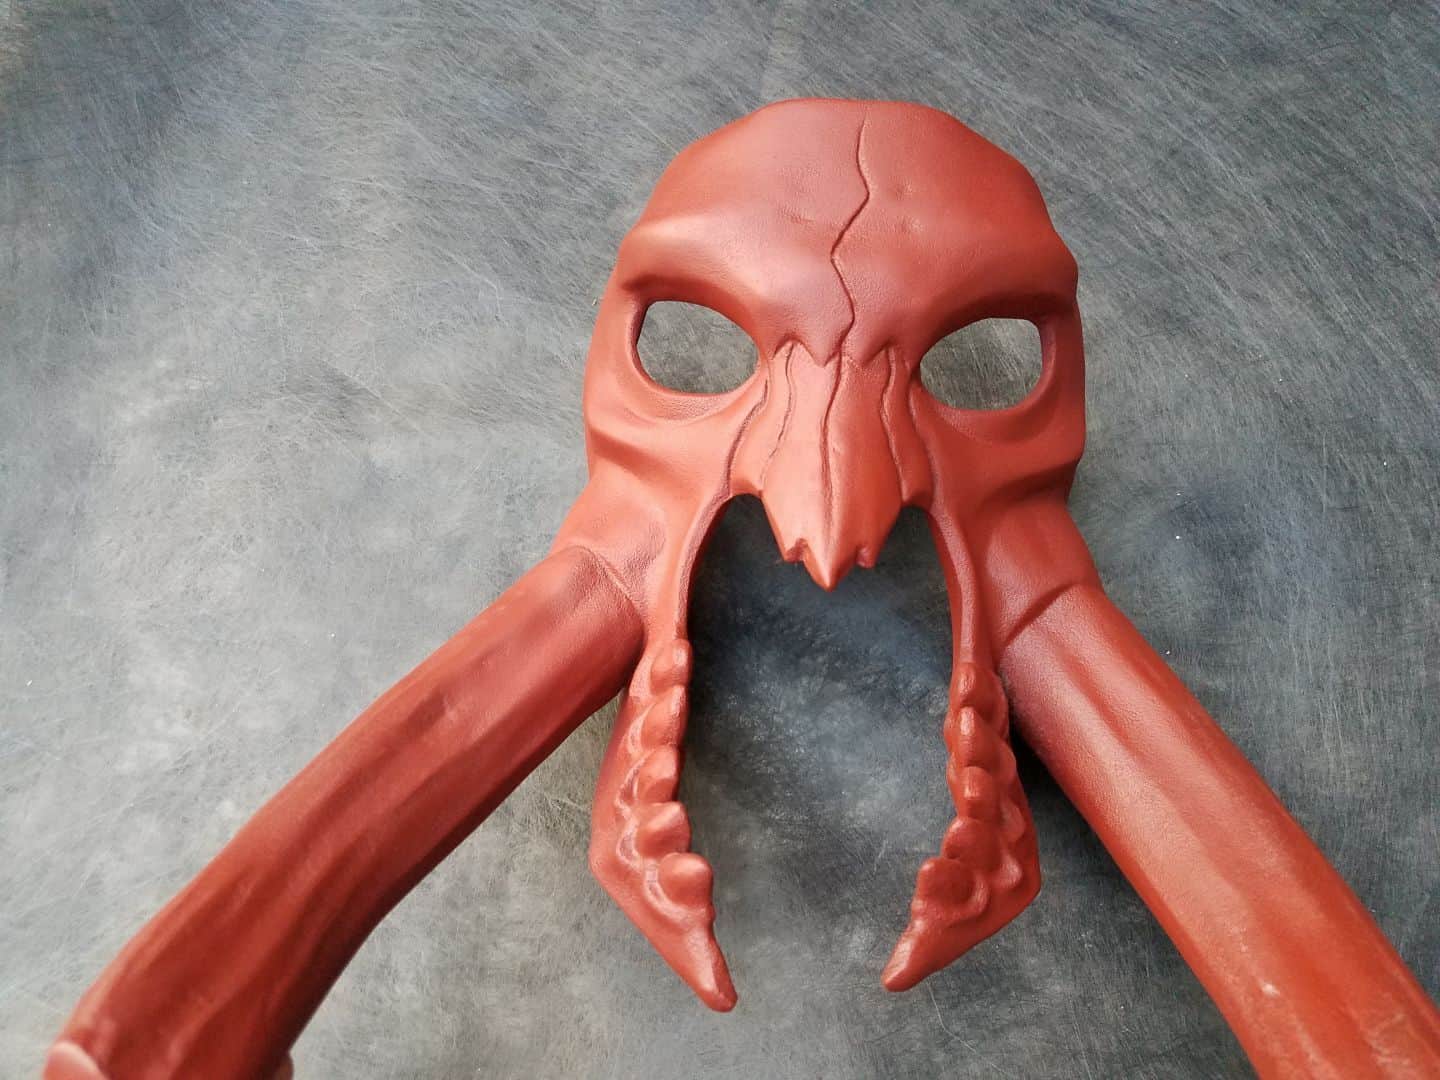
The initial dry-fit went together nicely, so I started the process of sanding and smoothing the print. I decided to use some XTC-3D![]() to coat the exterior surfaces. A little of this stuff goes a long way! We had specifically made a lot of the groove lines and other details just a little bit deeper with the XTC in mind, as the self-leveling resin would inevitably fill in some of the gaps, grooves, and cracks. A bit of careful application lets you push the material around with a brush as it starts to set up and pull it away from detail areas that it might otherwise ruin.
to coat the exterior surfaces. A little of this stuff goes a long way! We had specifically made a lot of the groove lines and other details just a little bit deeper with the XTC in mind, as the self-leveling resin would inevitably fill in some of the gaps, grooves, and cracks. A bit of careful application lets you push the material around with a brush as it starts to set up and pull it away from detail areas that it might otherwise ruin.
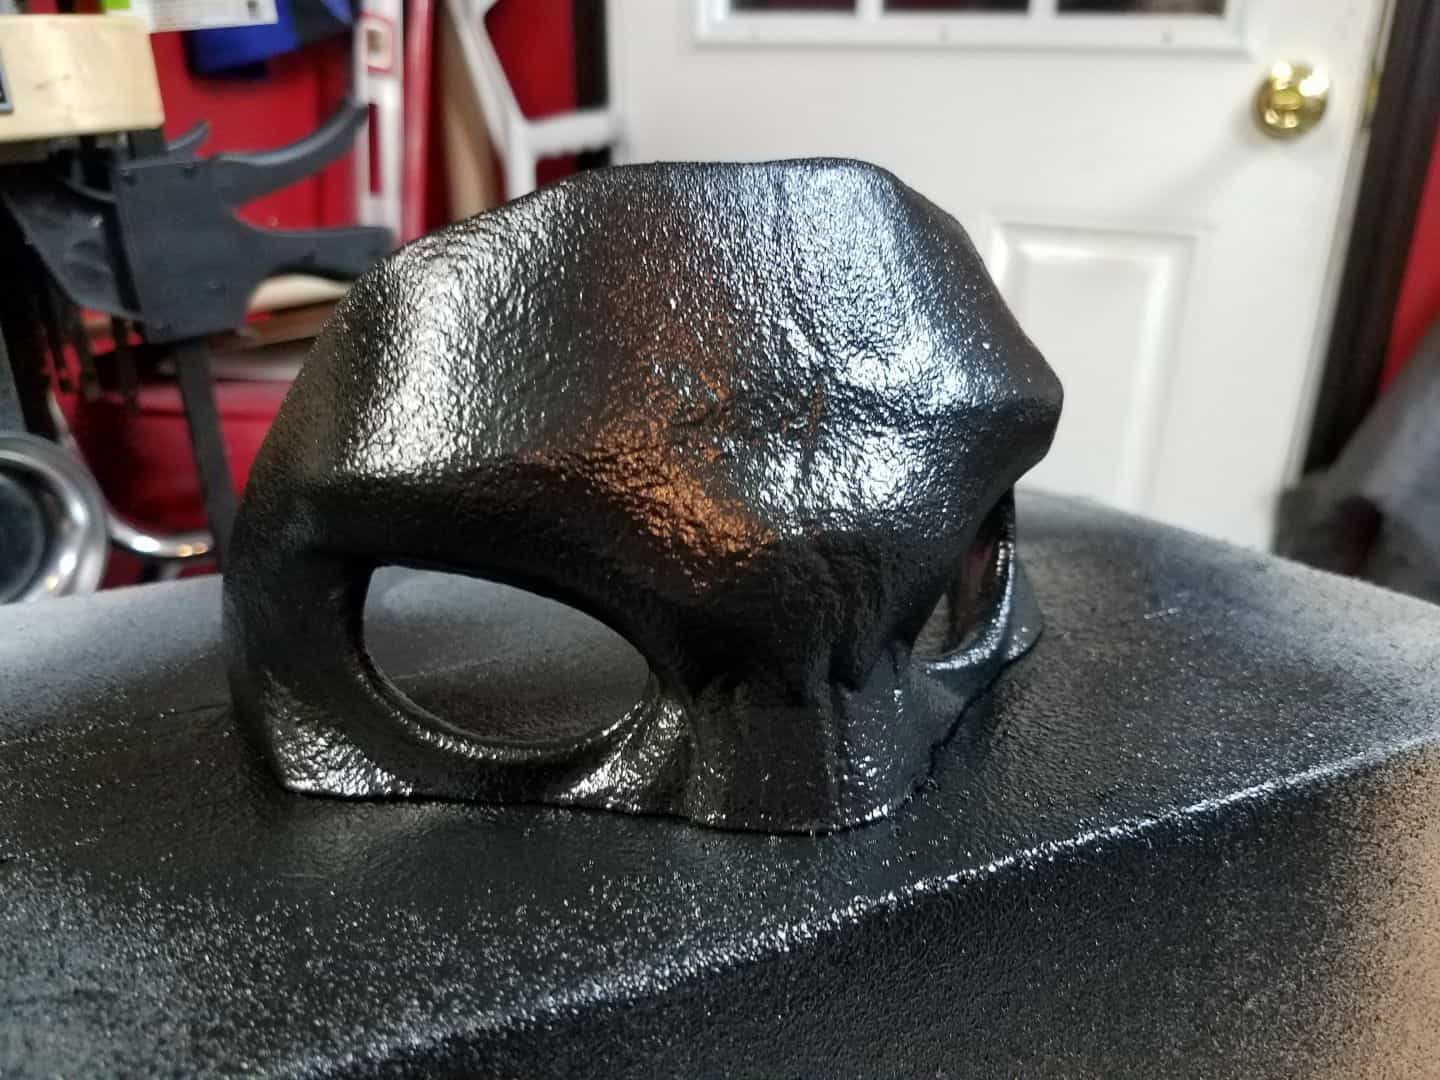
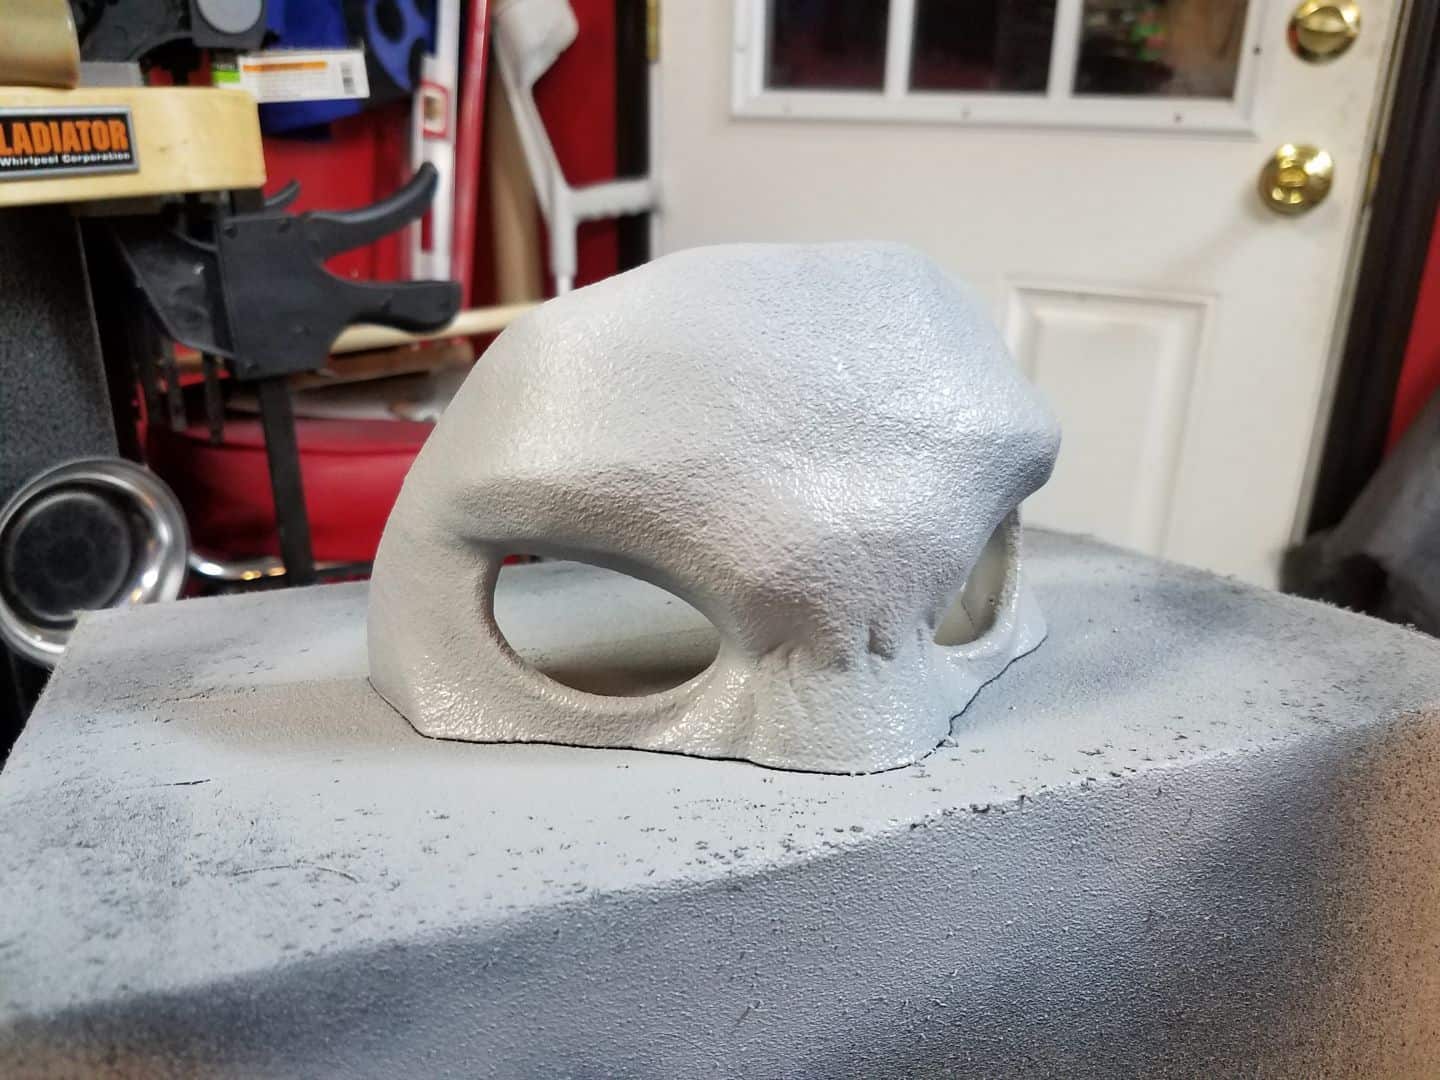
I wanted to get a bit of organic texture back on the model at this point, as it was a bit too glossy and smooth to really look like bone. Decided to experiment a little bit with spray-on options. My local auto store had a can of Dupli-Color Truck Bed Coating Aerosol![]() that I picked up for another project that seemed like a reasonable place to start, so I took a spare print of the forehead as a test piece and sprayed things down. I hit it almost immediately after with a coat of grey primer just so I could see the contrast a little easier.
that I picked up for another project that seemed like a reasonable place to start, so I took a spare print of the forehead as a test piece and sprayed things down. I hit it almost immediately after with a coat of grey primer just so I could see the contrast a little easier.

