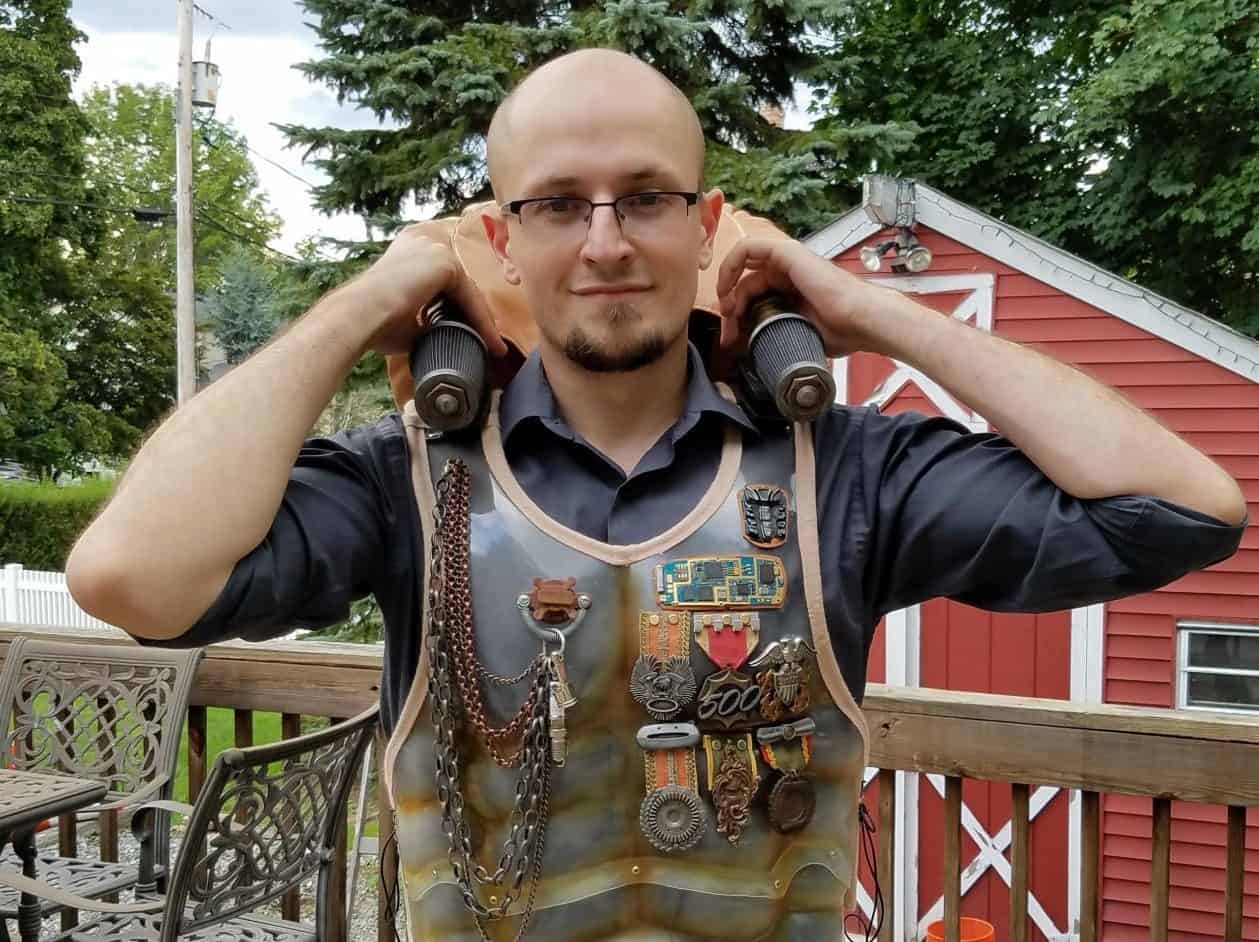
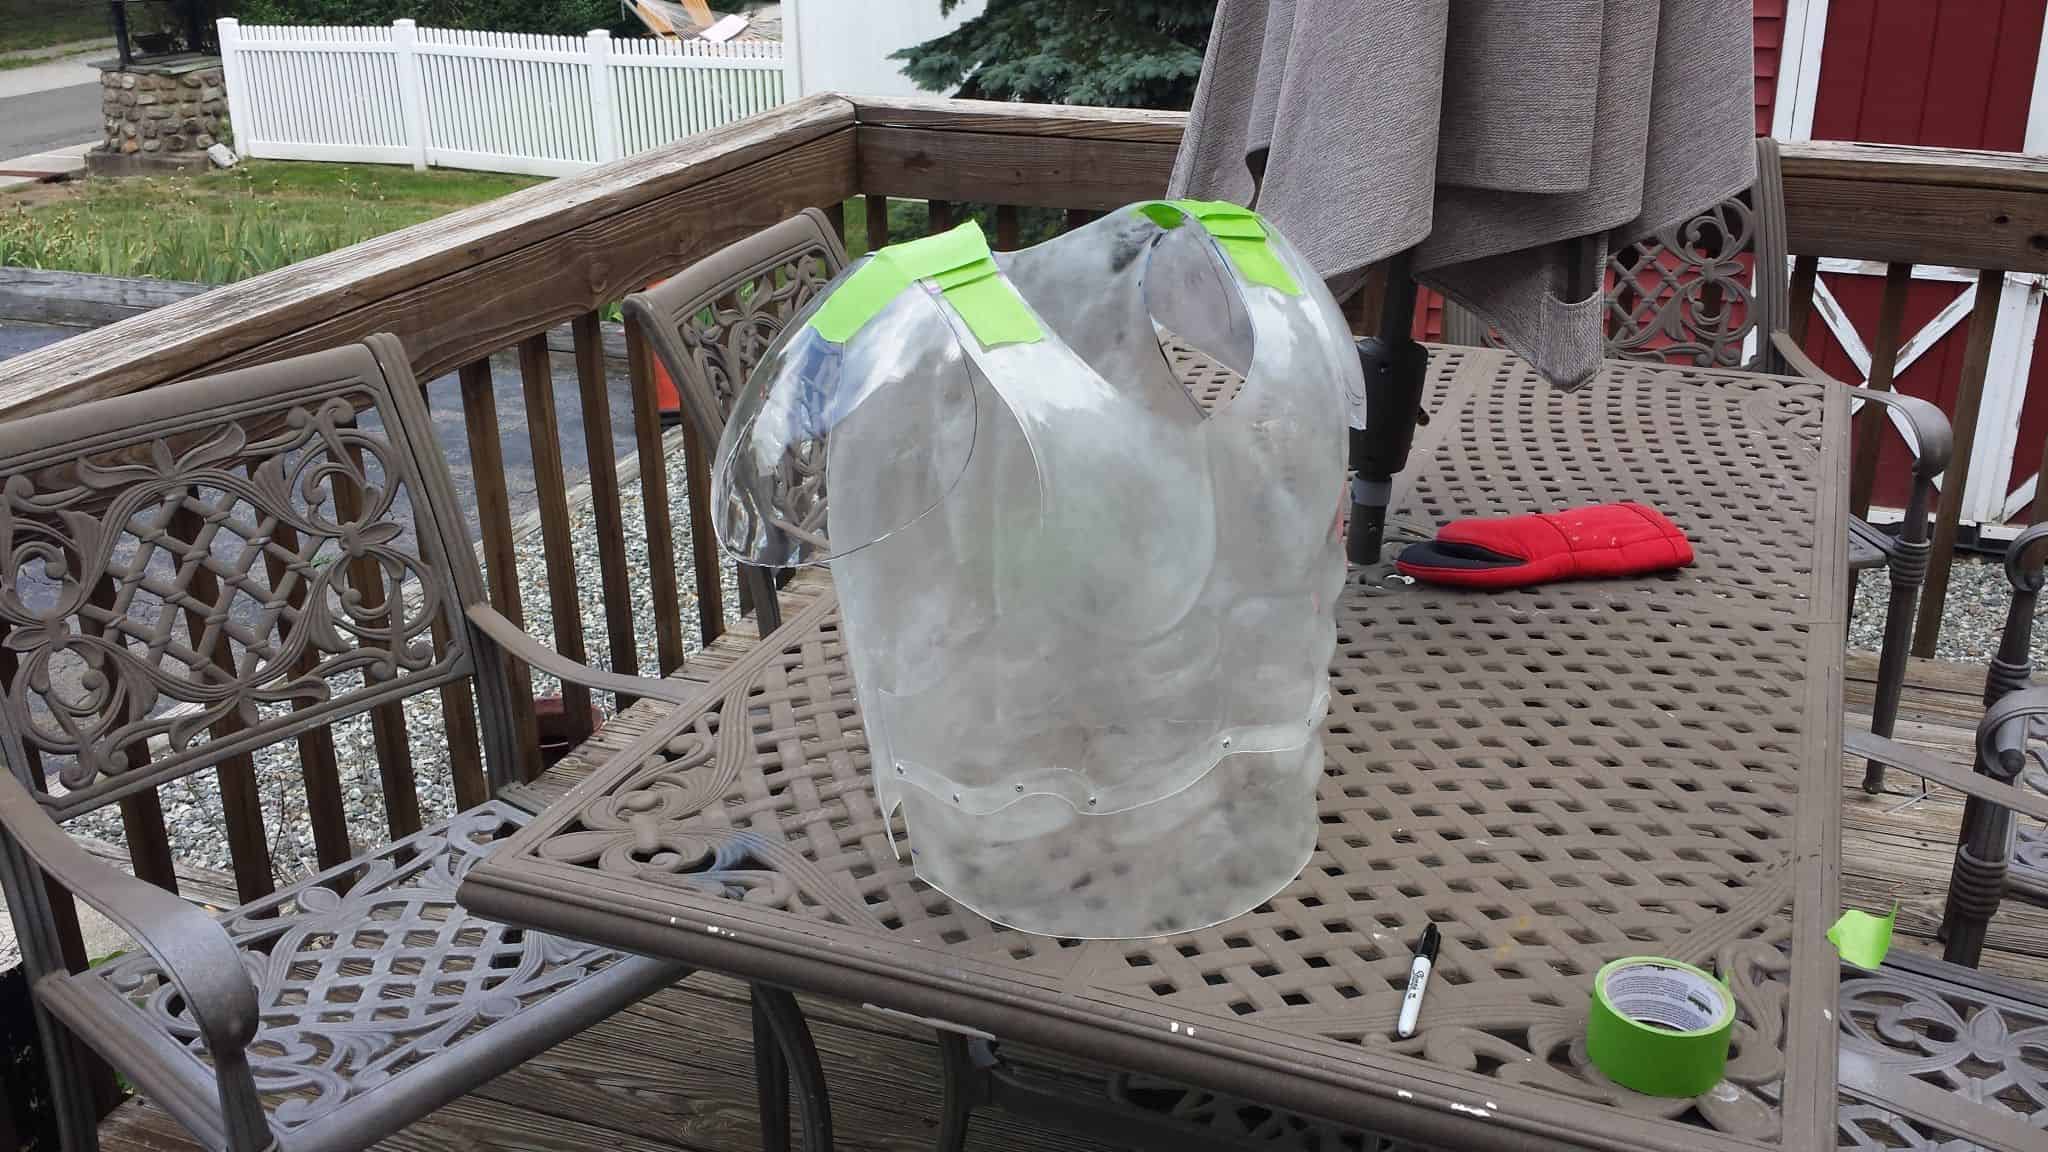
I spent a bit of time tidying up the torso sections of my armor so that I could get ready to trim them. Bought moleskin tape, but I’m practicing trying to shape it around a curve before I go crazy on the armor.
I hate that I don’t have a vacuum forming rig. Honestly, even if I had the time to sit down and build one, I wouldn’t have the space – my workshop is a glorified shed. Because of that, the thought of trying to shape something like the complex curves on the shoulders was agitating me, because I knew that trying to do it manually was going to be an invitation to wrinkling plastic and frustration. That, or I’d have to make a significant go of making a buck out of MDF or something that wasn’t heat-sensitive to try and make pulls off of.
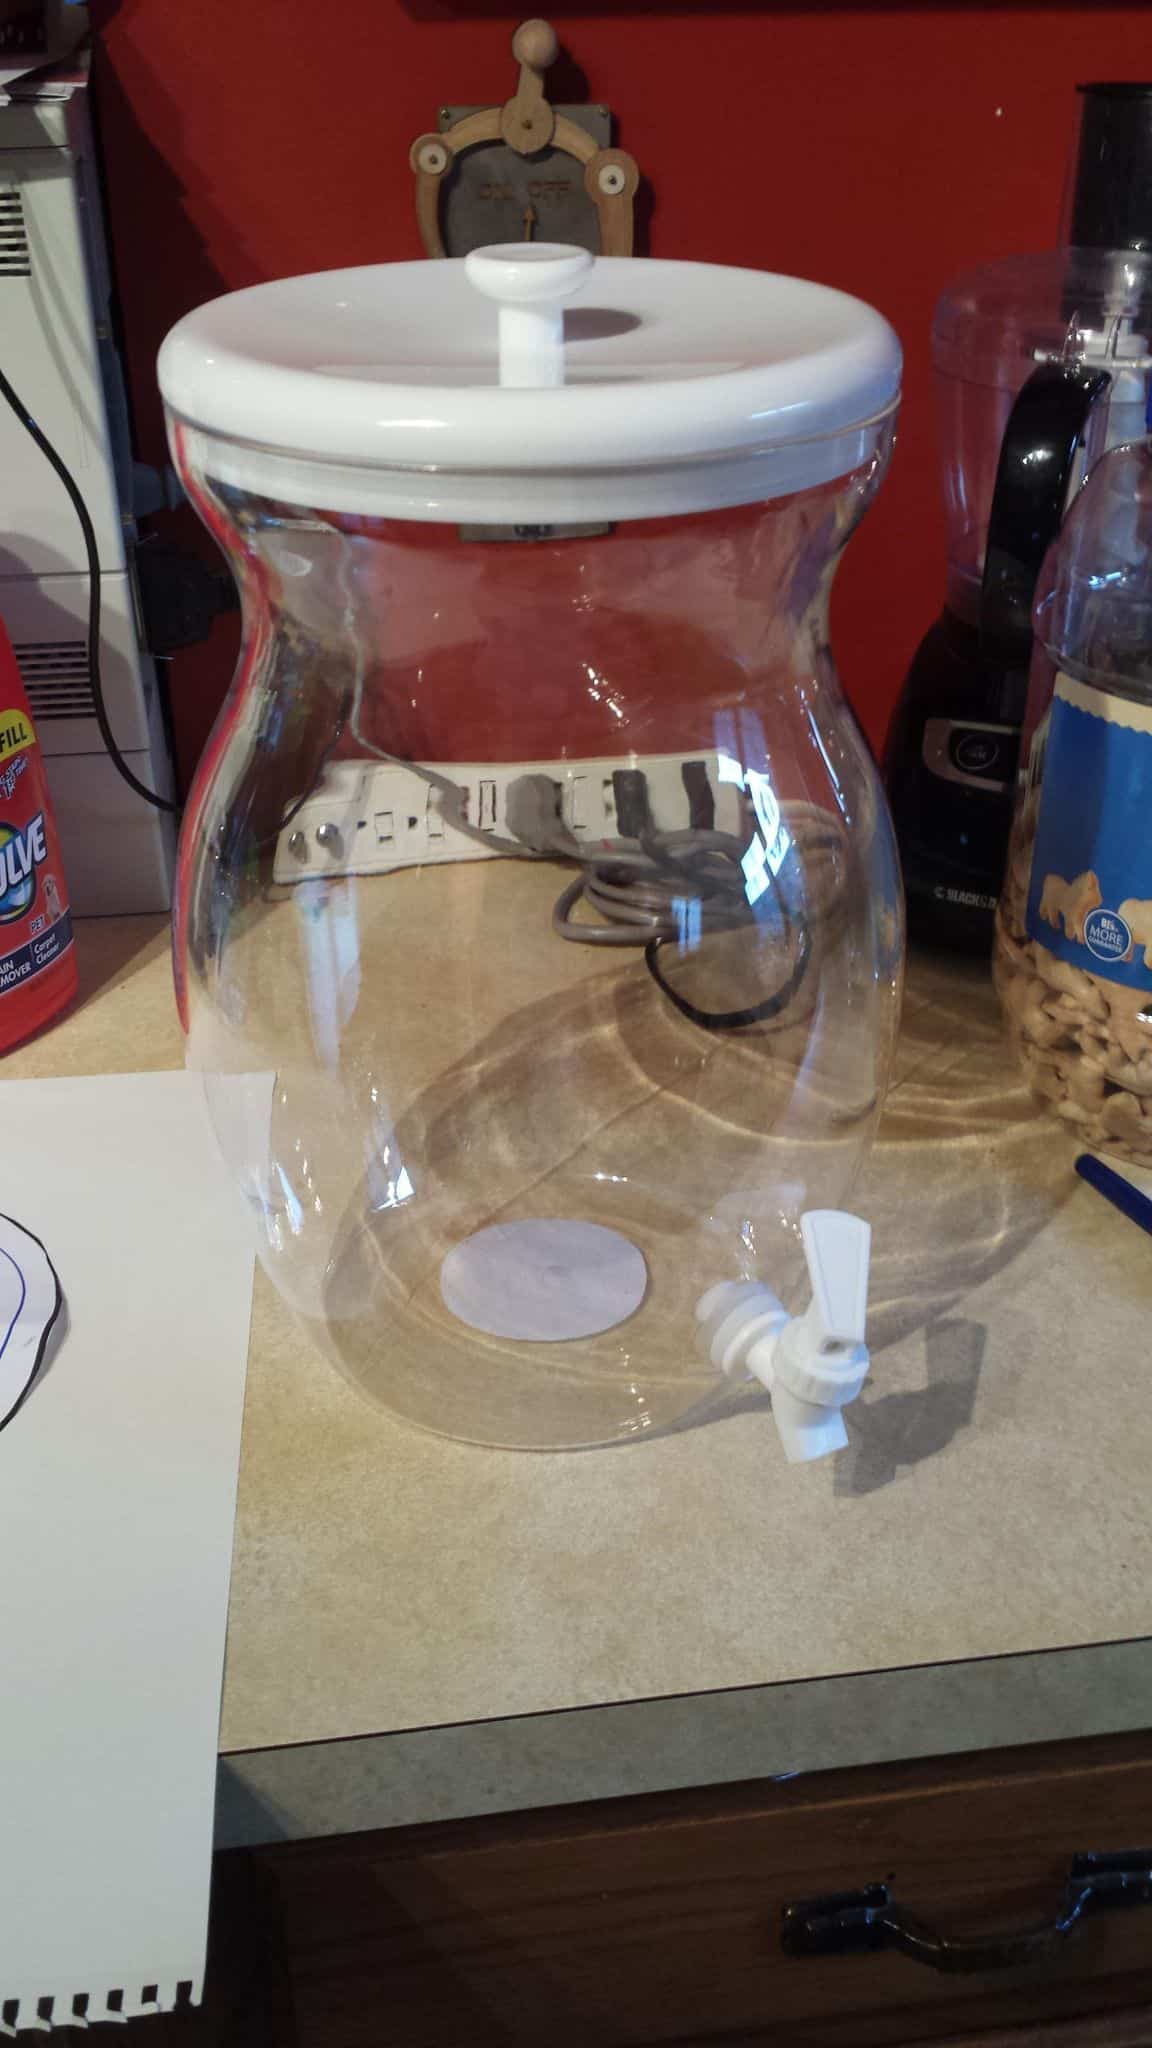
Fortunately, I may have found an accidental solution at my local Party City this afternoon in the form of a 2.5 gallon Beverage Dispenser. It’s marked as “Amscan 410020.86” and cost me twenty bucks. It looks to be acrylic, and fairly thick – thicker than the PETG I used for the breastplate armor – but workable.
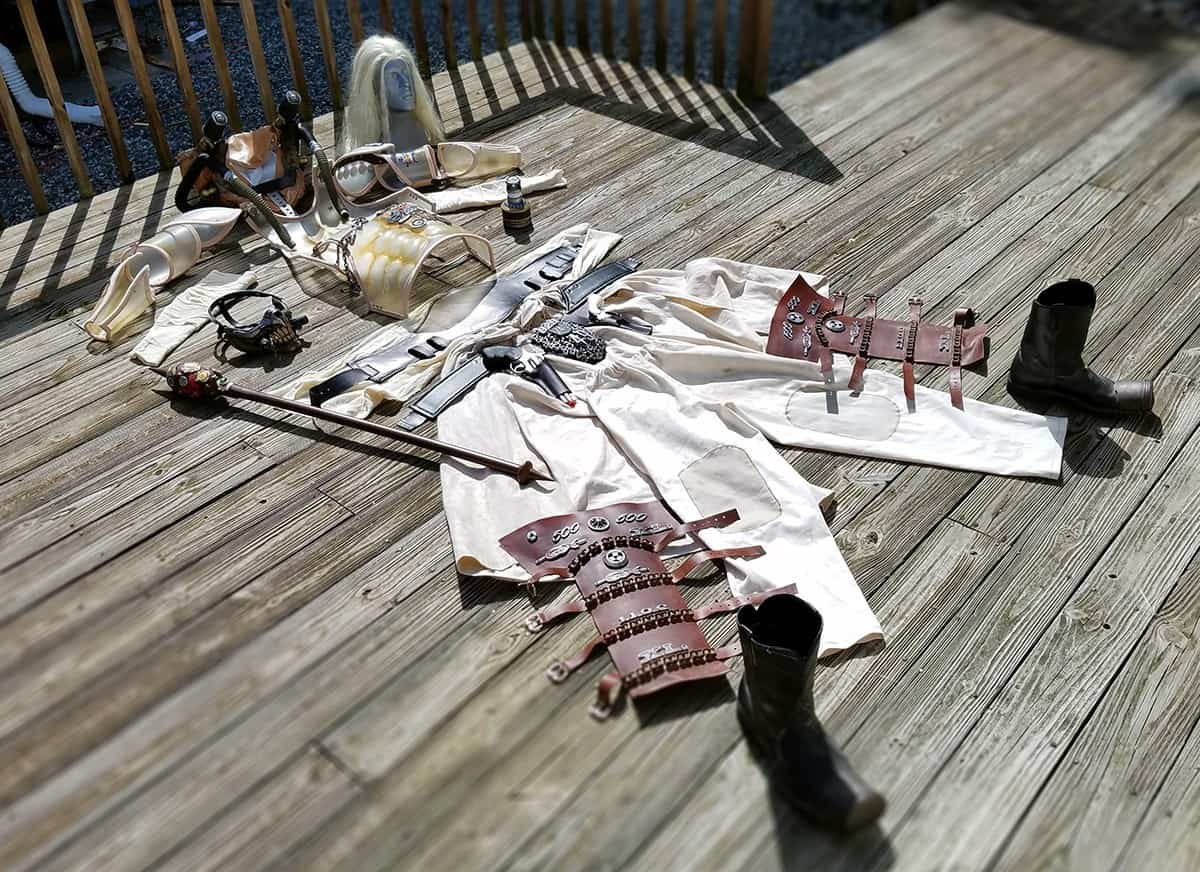
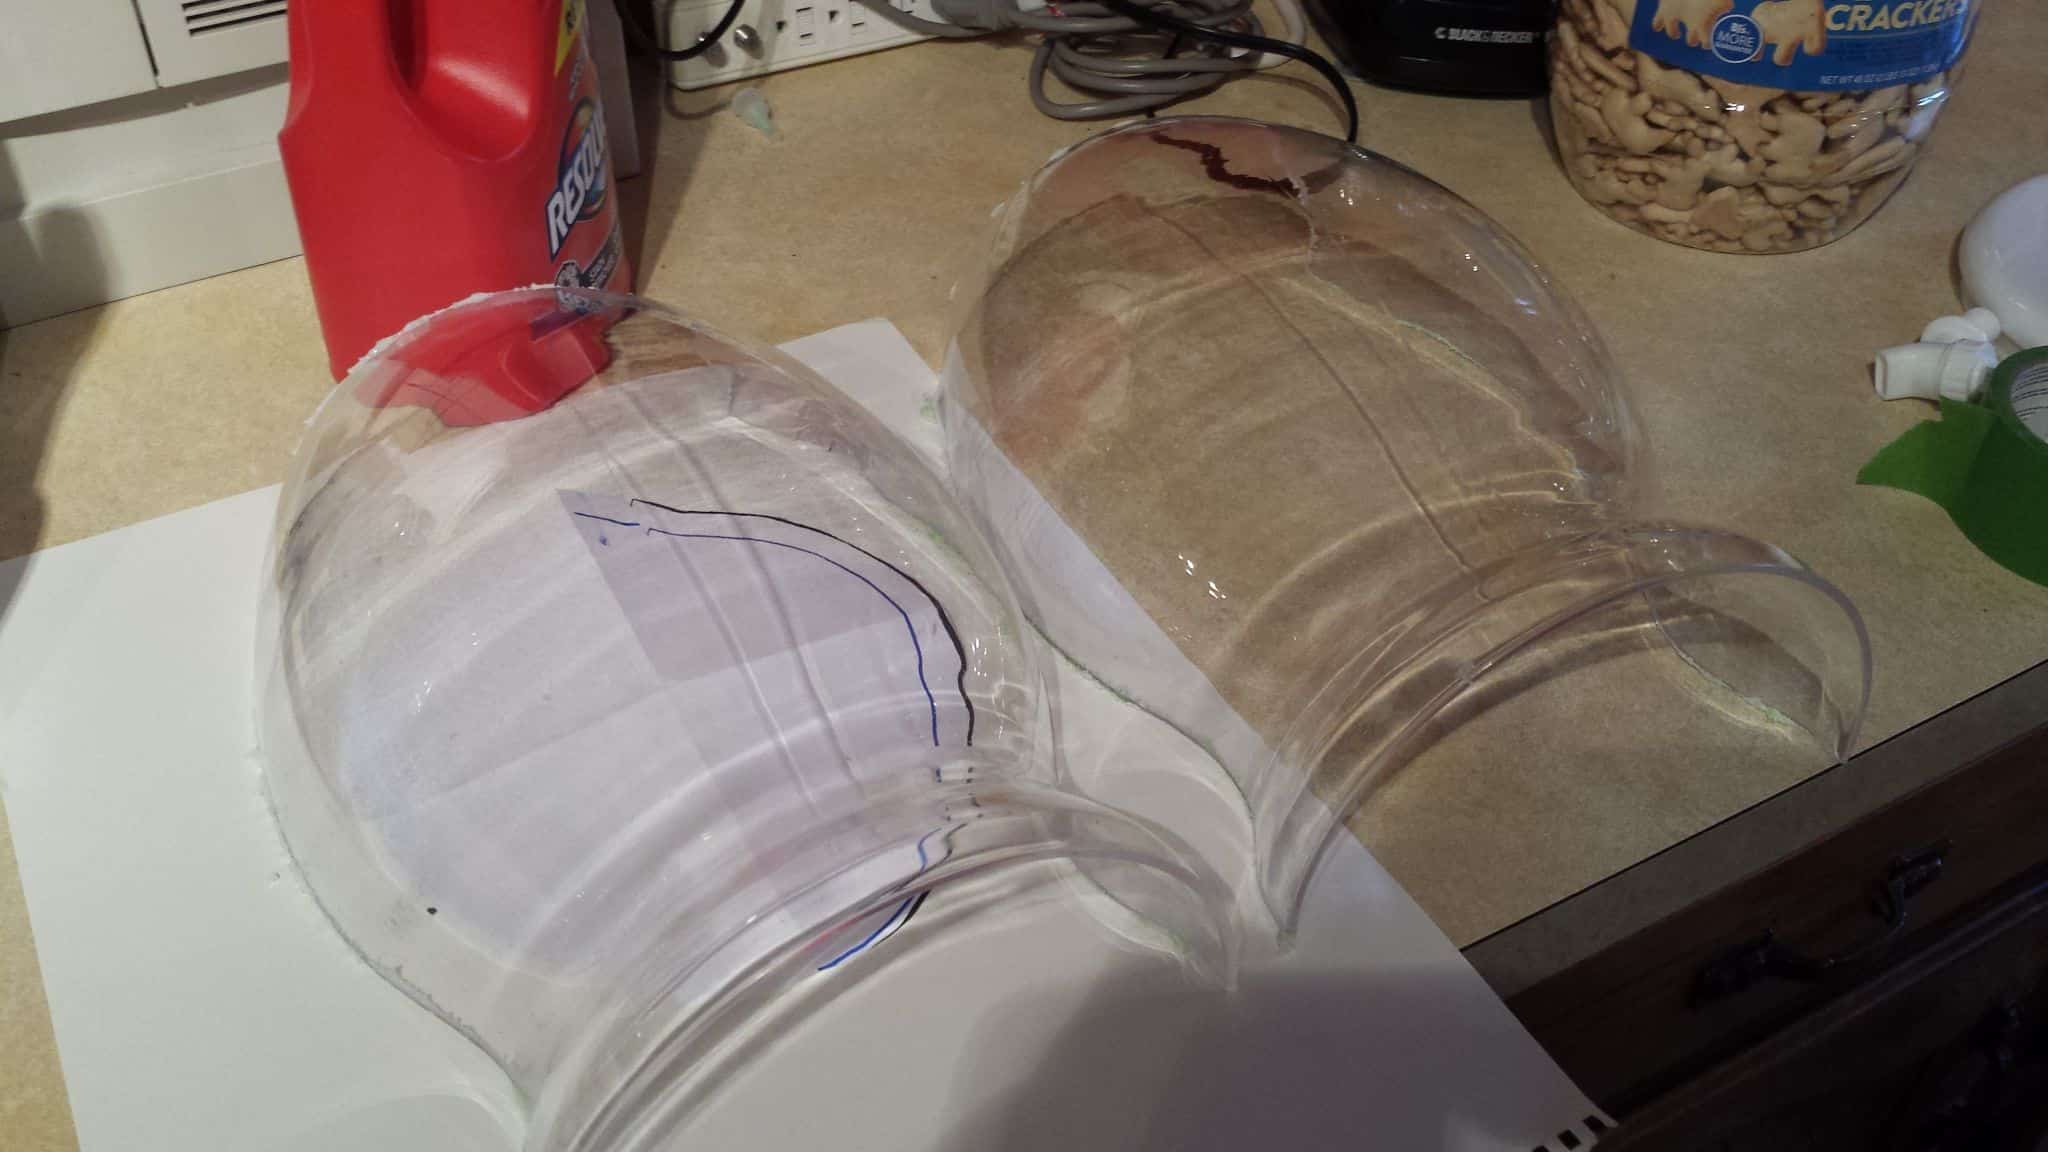
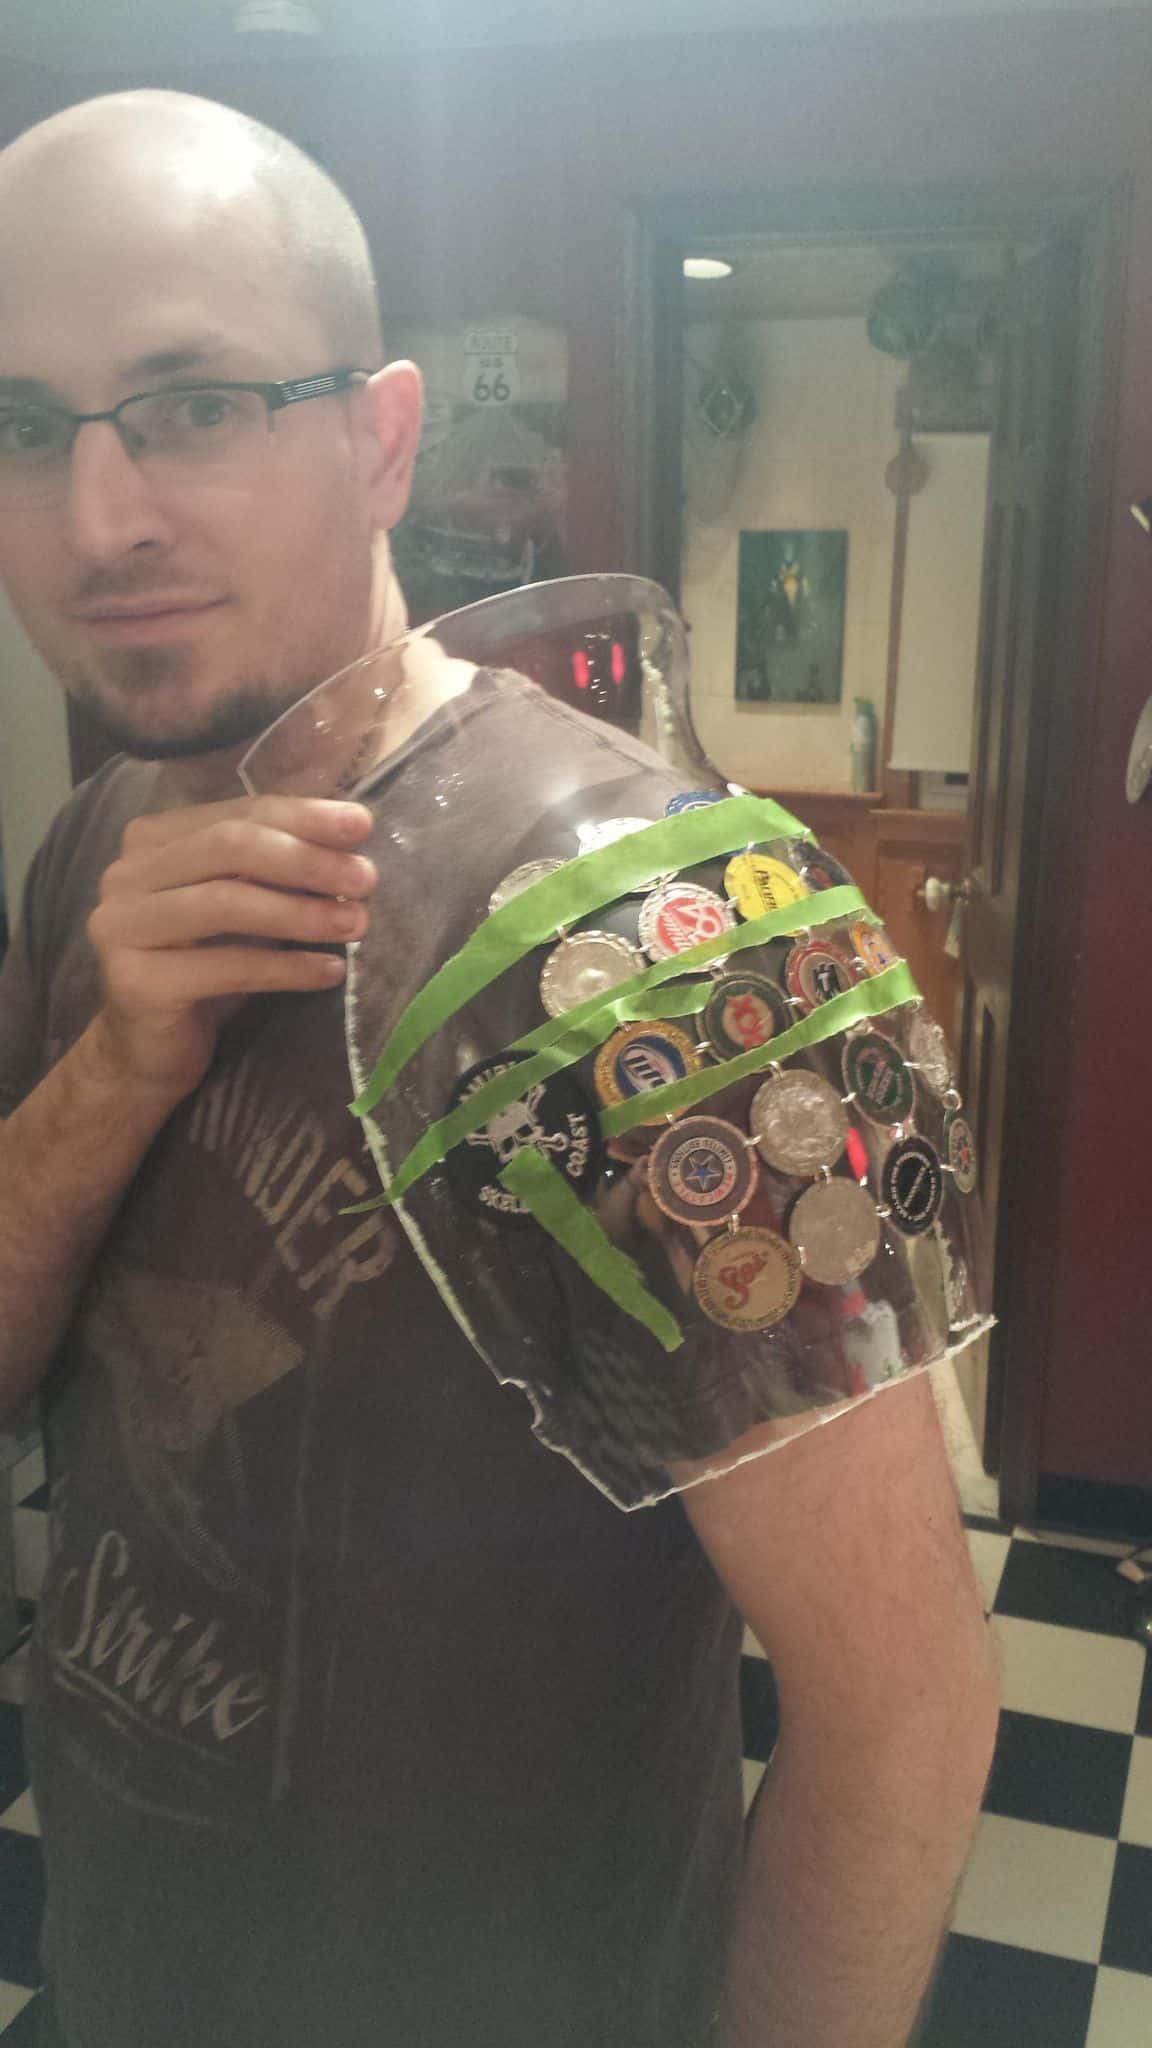
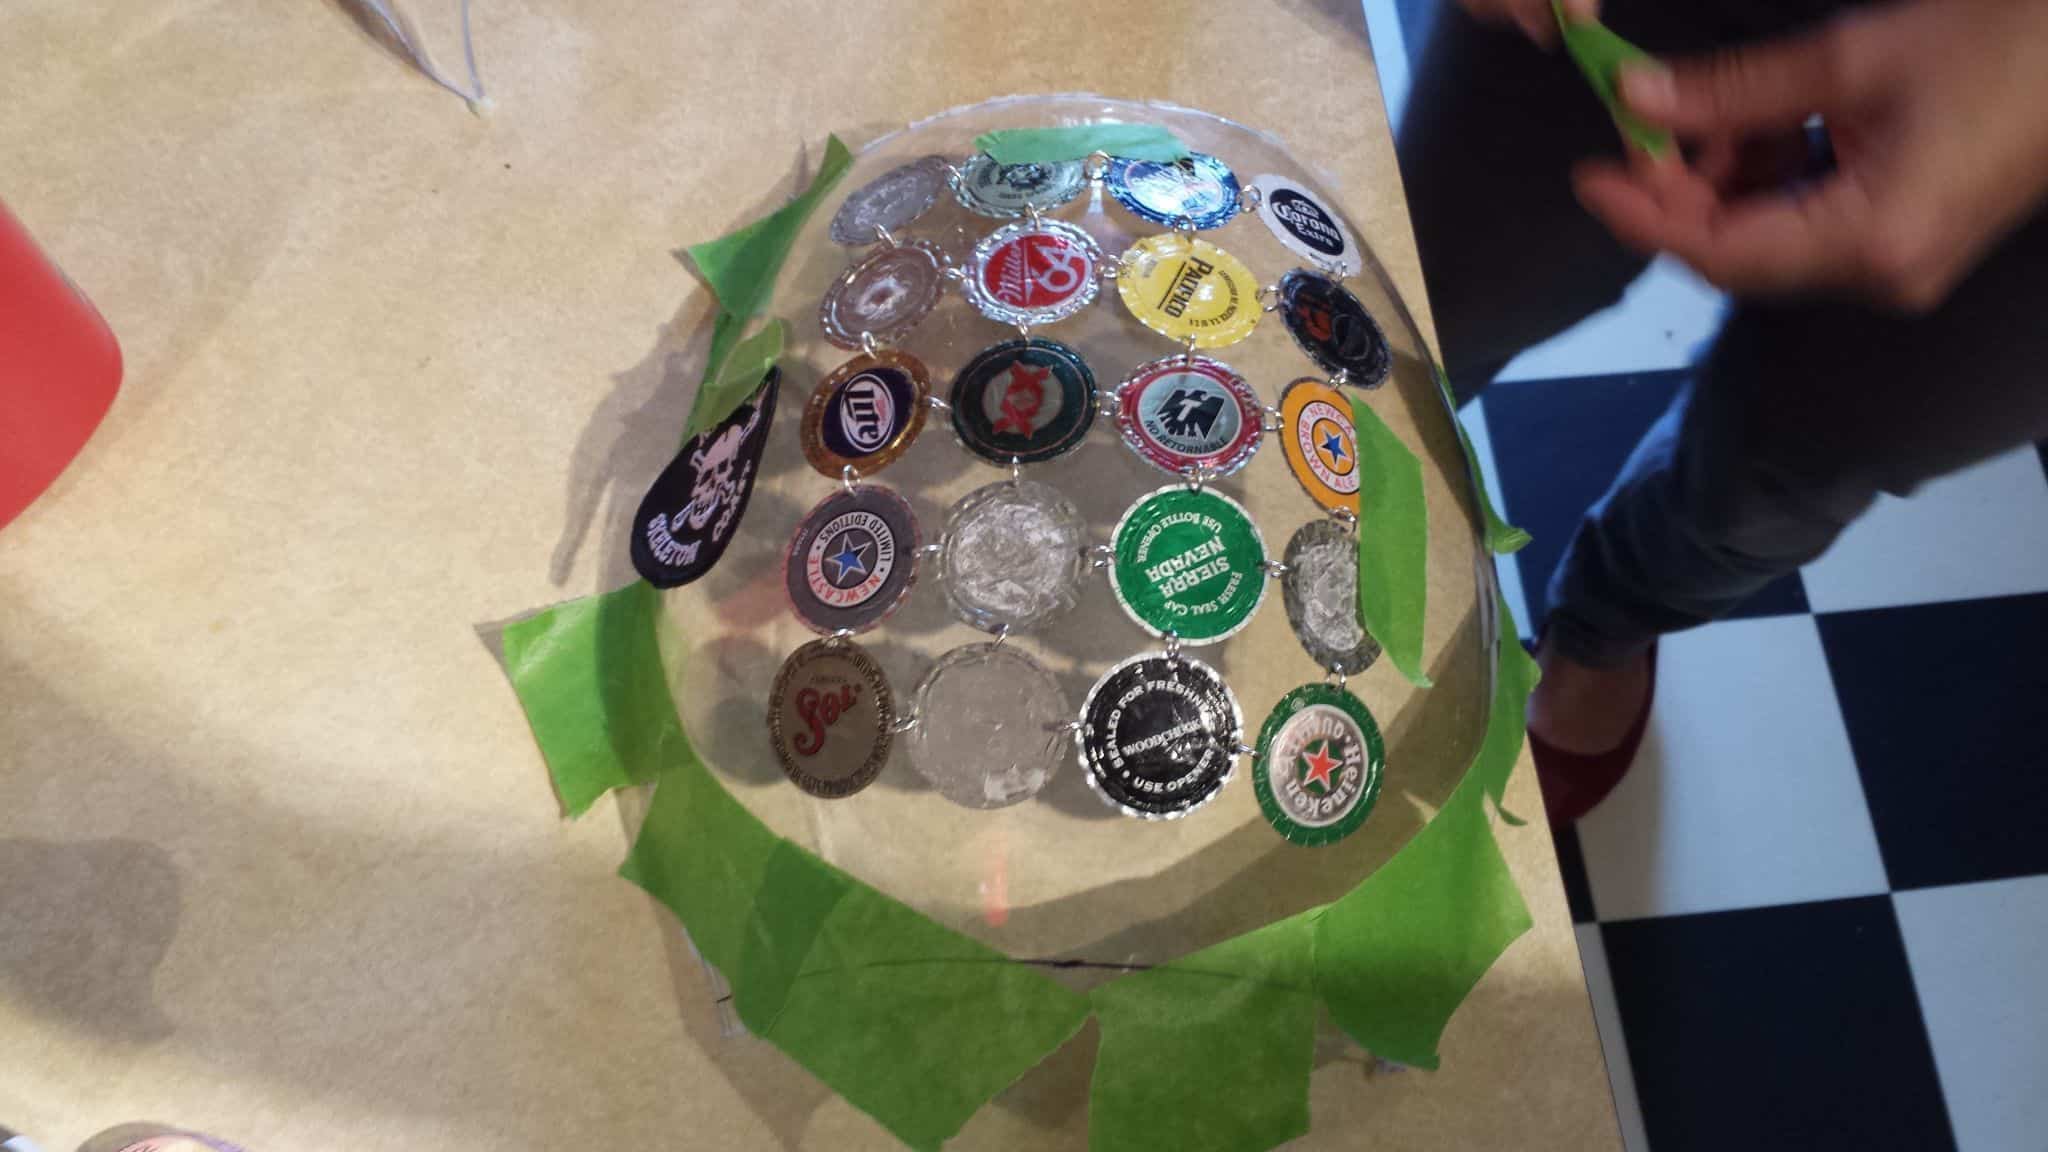
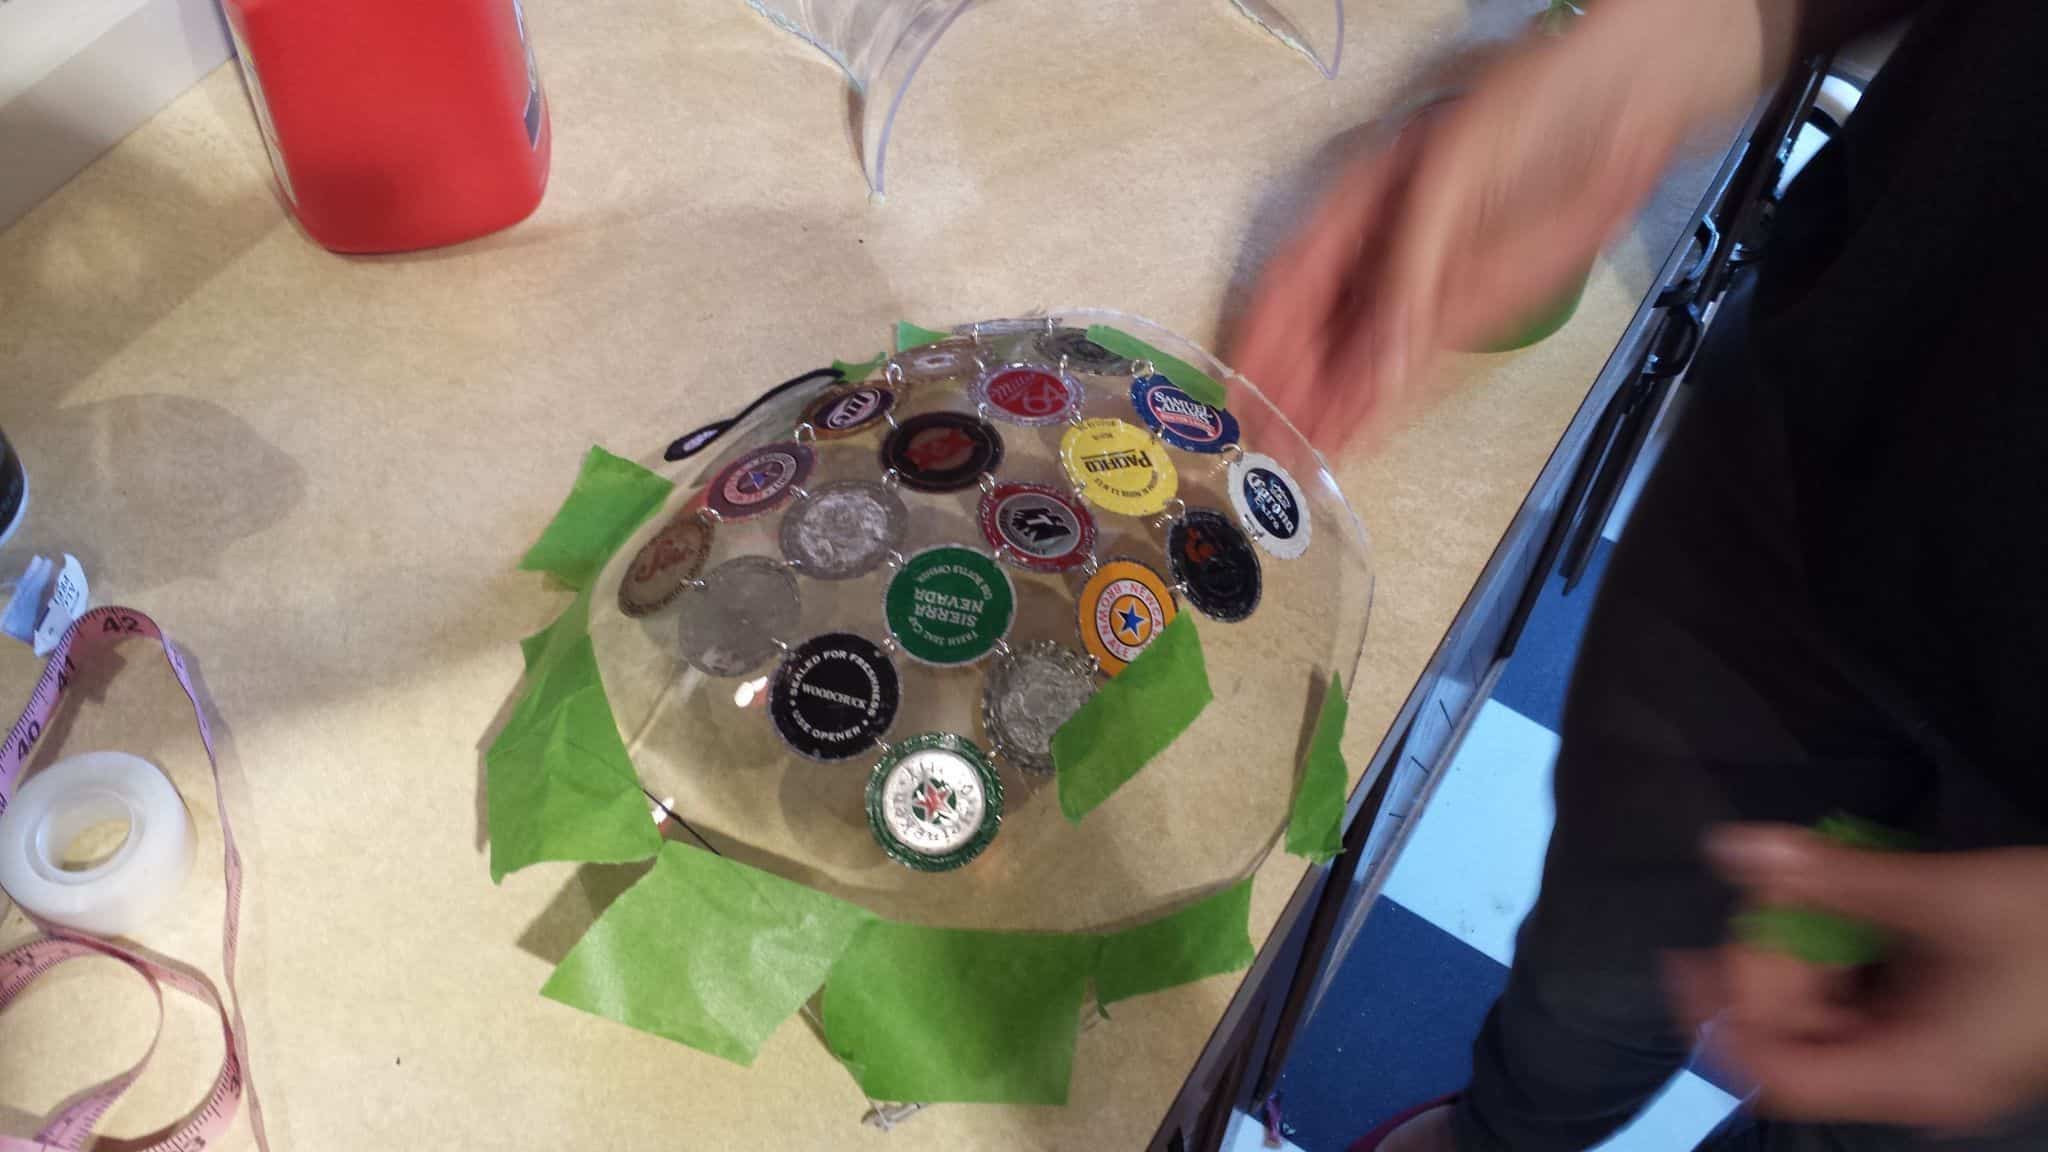
I used a dremel with a cutting wheel to take the bottom of the dispenser off, then cut it up each side to divide it into the two halves for each shoulder. I think it’s a pretty good size – actually a fair bit bigger than I need, but fortunately I can cut it down into a pretty good egg shape to fit around my arm. I hammered out the bottlecaps and arranged a patch on my workspace so I have a good idea of exactly how much room I’ll need on my shoulder to fit everything.
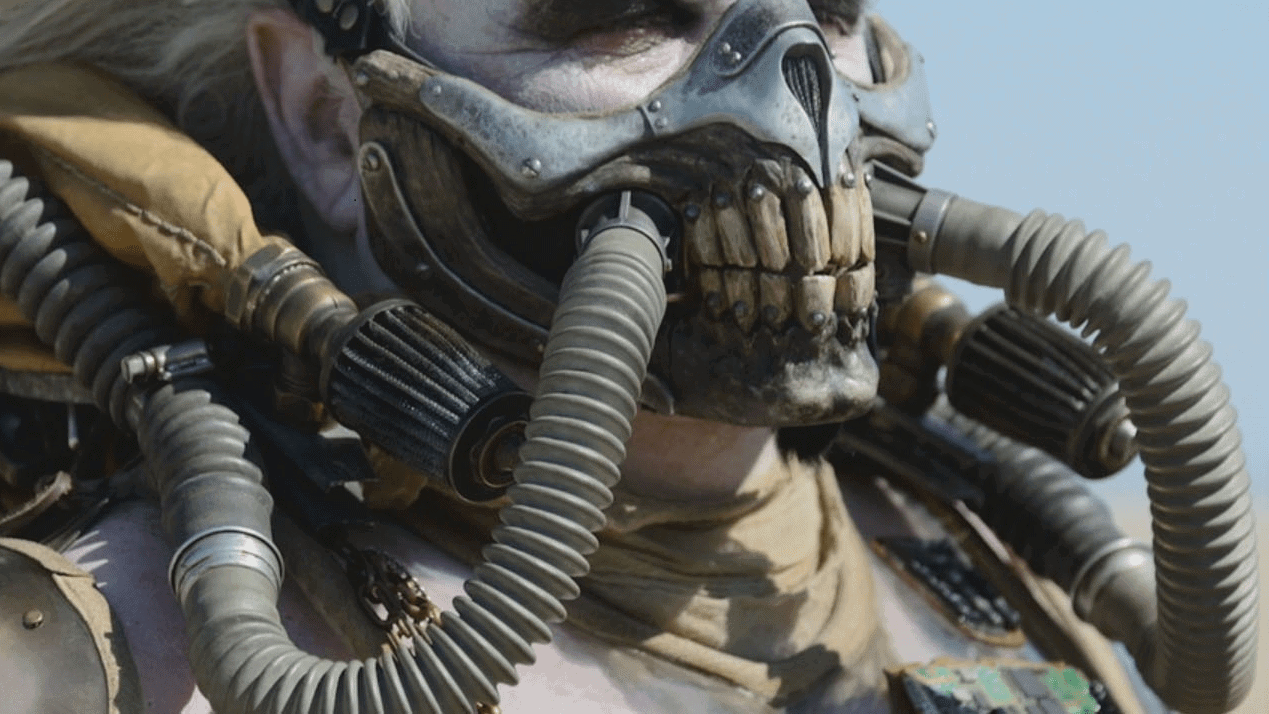
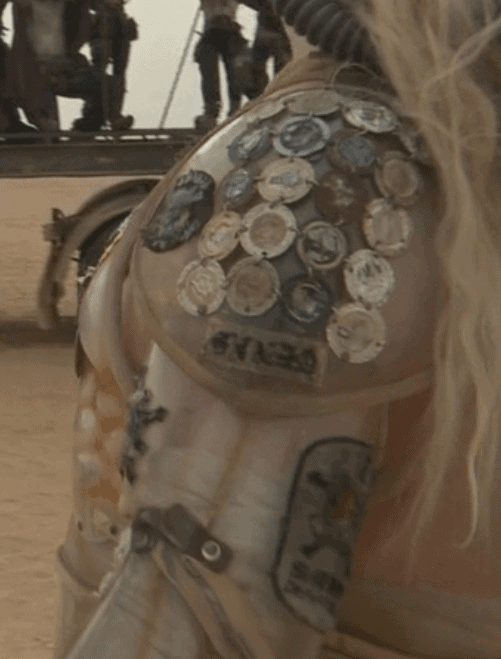
I figured I’d get the bottlecaps for the shoulder done and out of the way so I had them to use as a scale reference against a side-on photo I found of Joe’s costume. After mocking it up, I have to say… I’m 6’2″… but holy hell, Hugh Keays-Byrne must be a monster of a man to have armor that size.
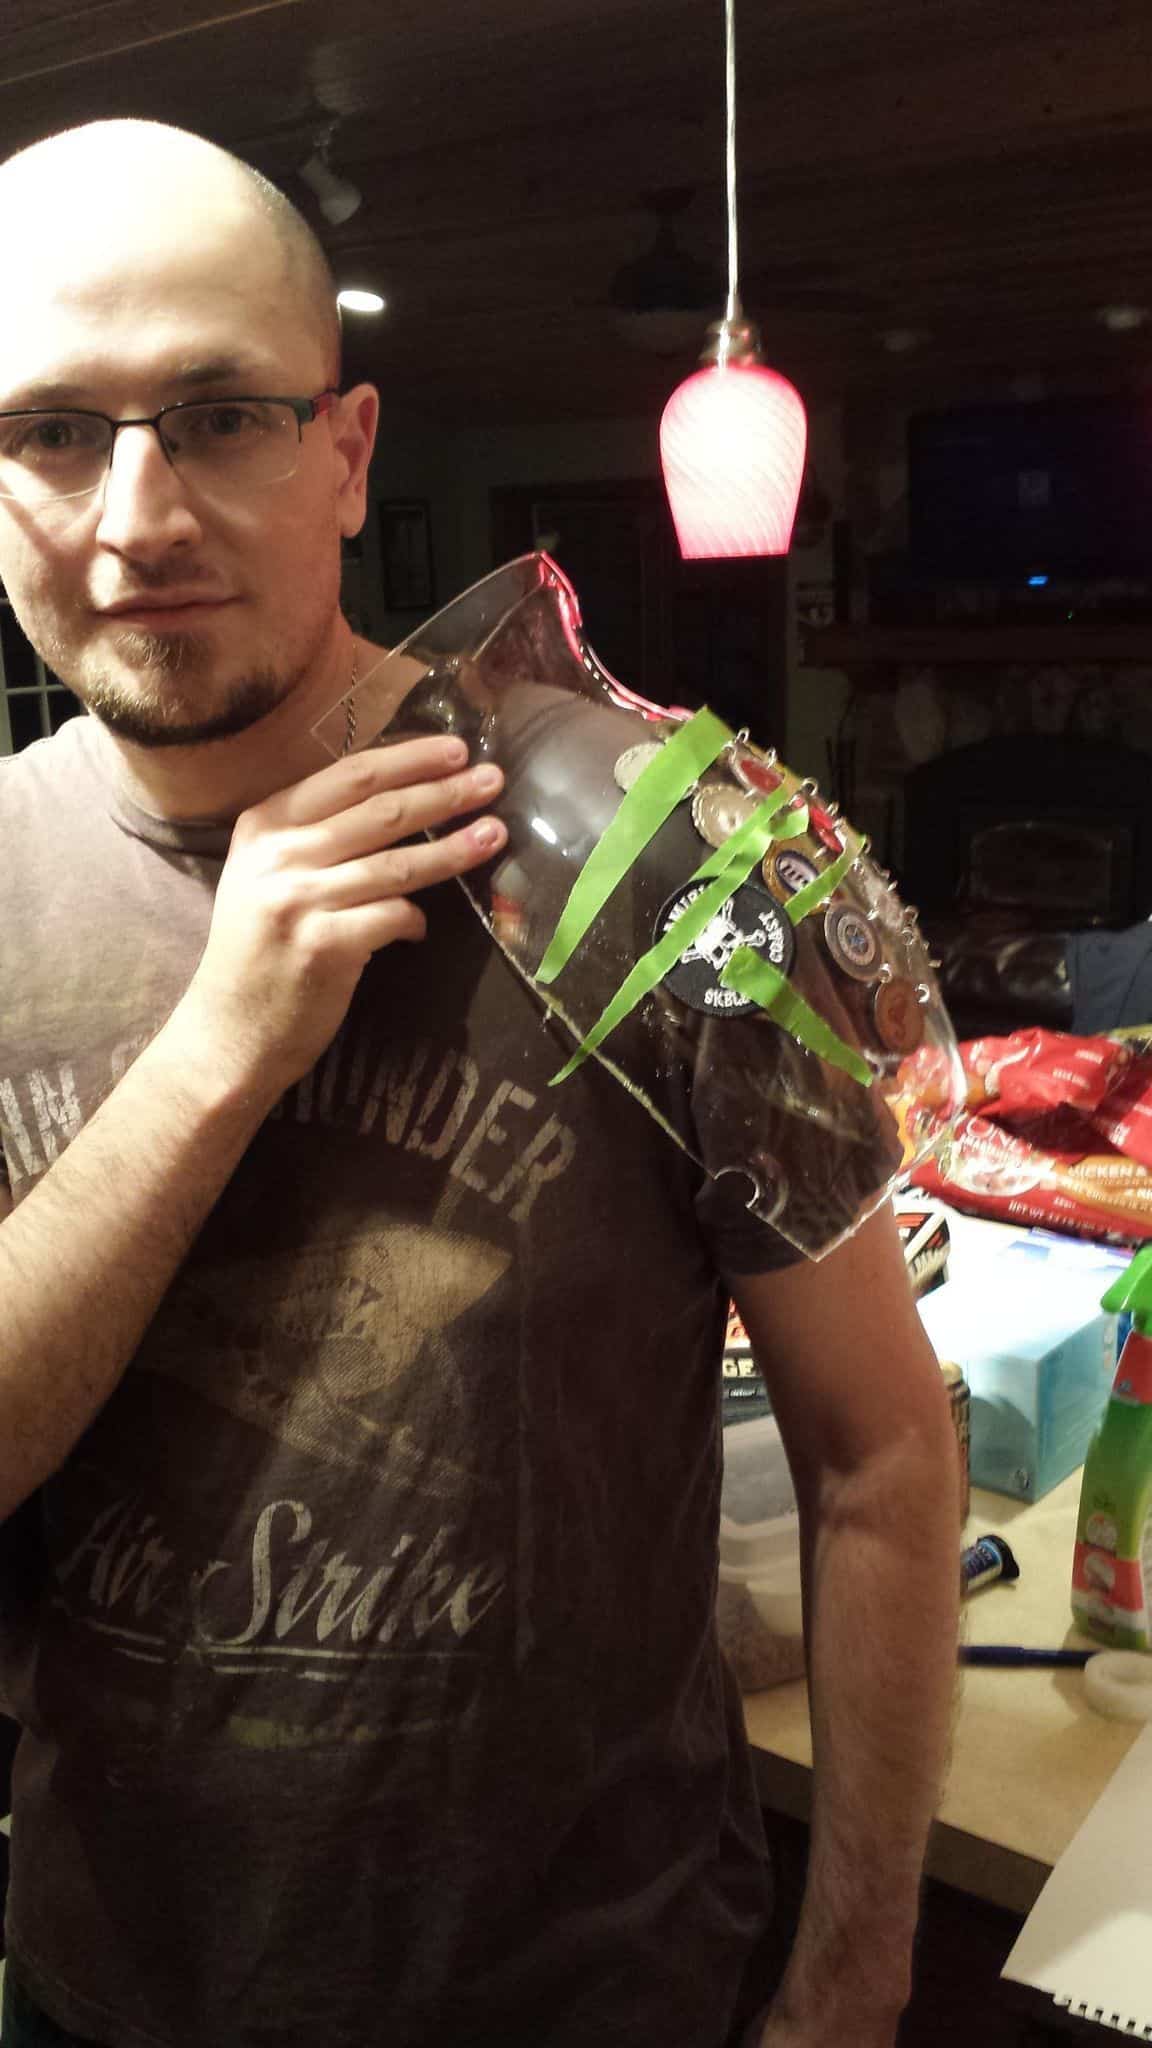
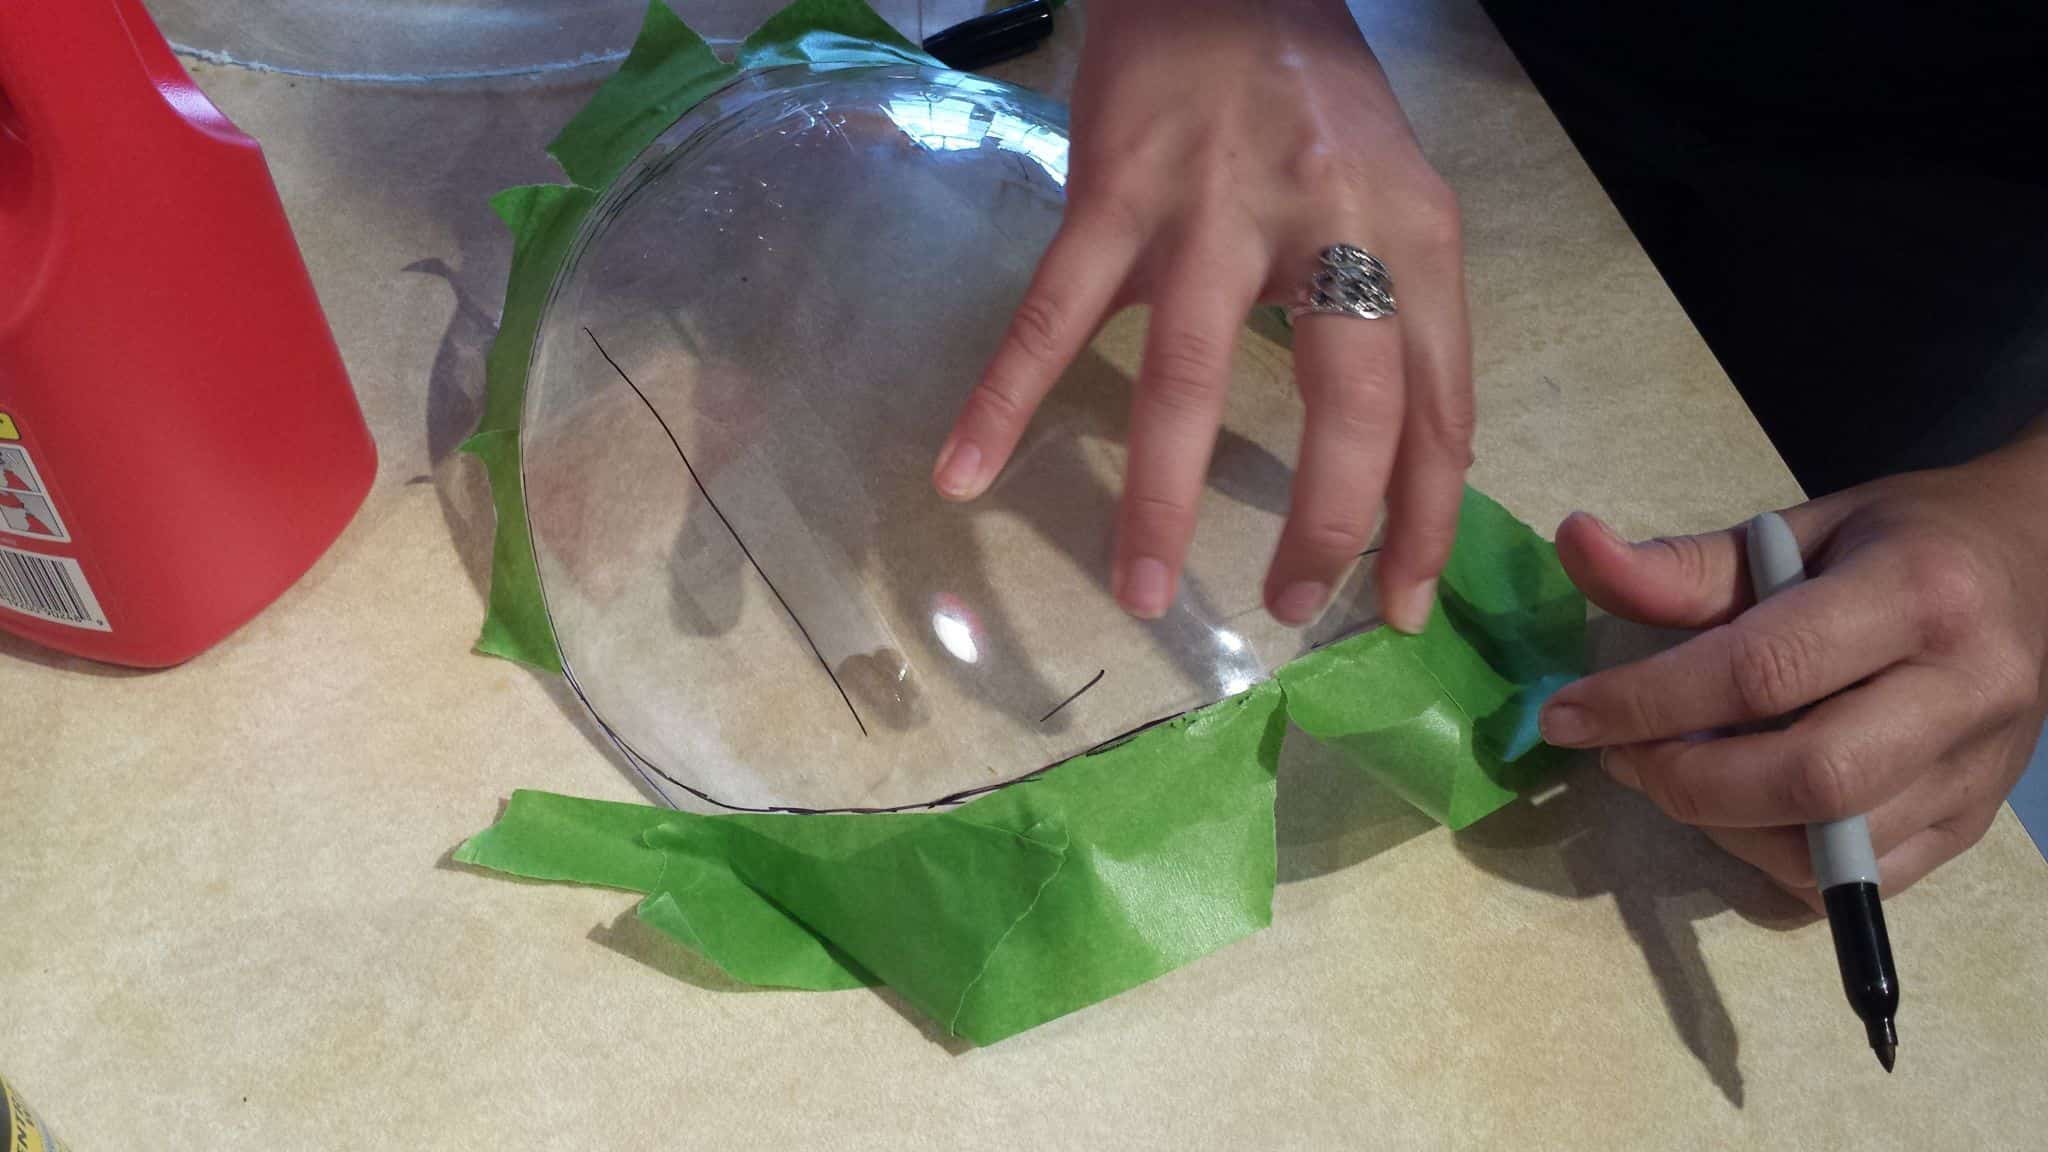
I could have spent a lot of time coming up with a pattern to make sure everything was symmetrical and even… but that sounded annoying, so I decided we’d just eyeball things and do the best we could. Started by masking the approximate curves of the shoulder out with some tape for guides and then drawing marker lines on.
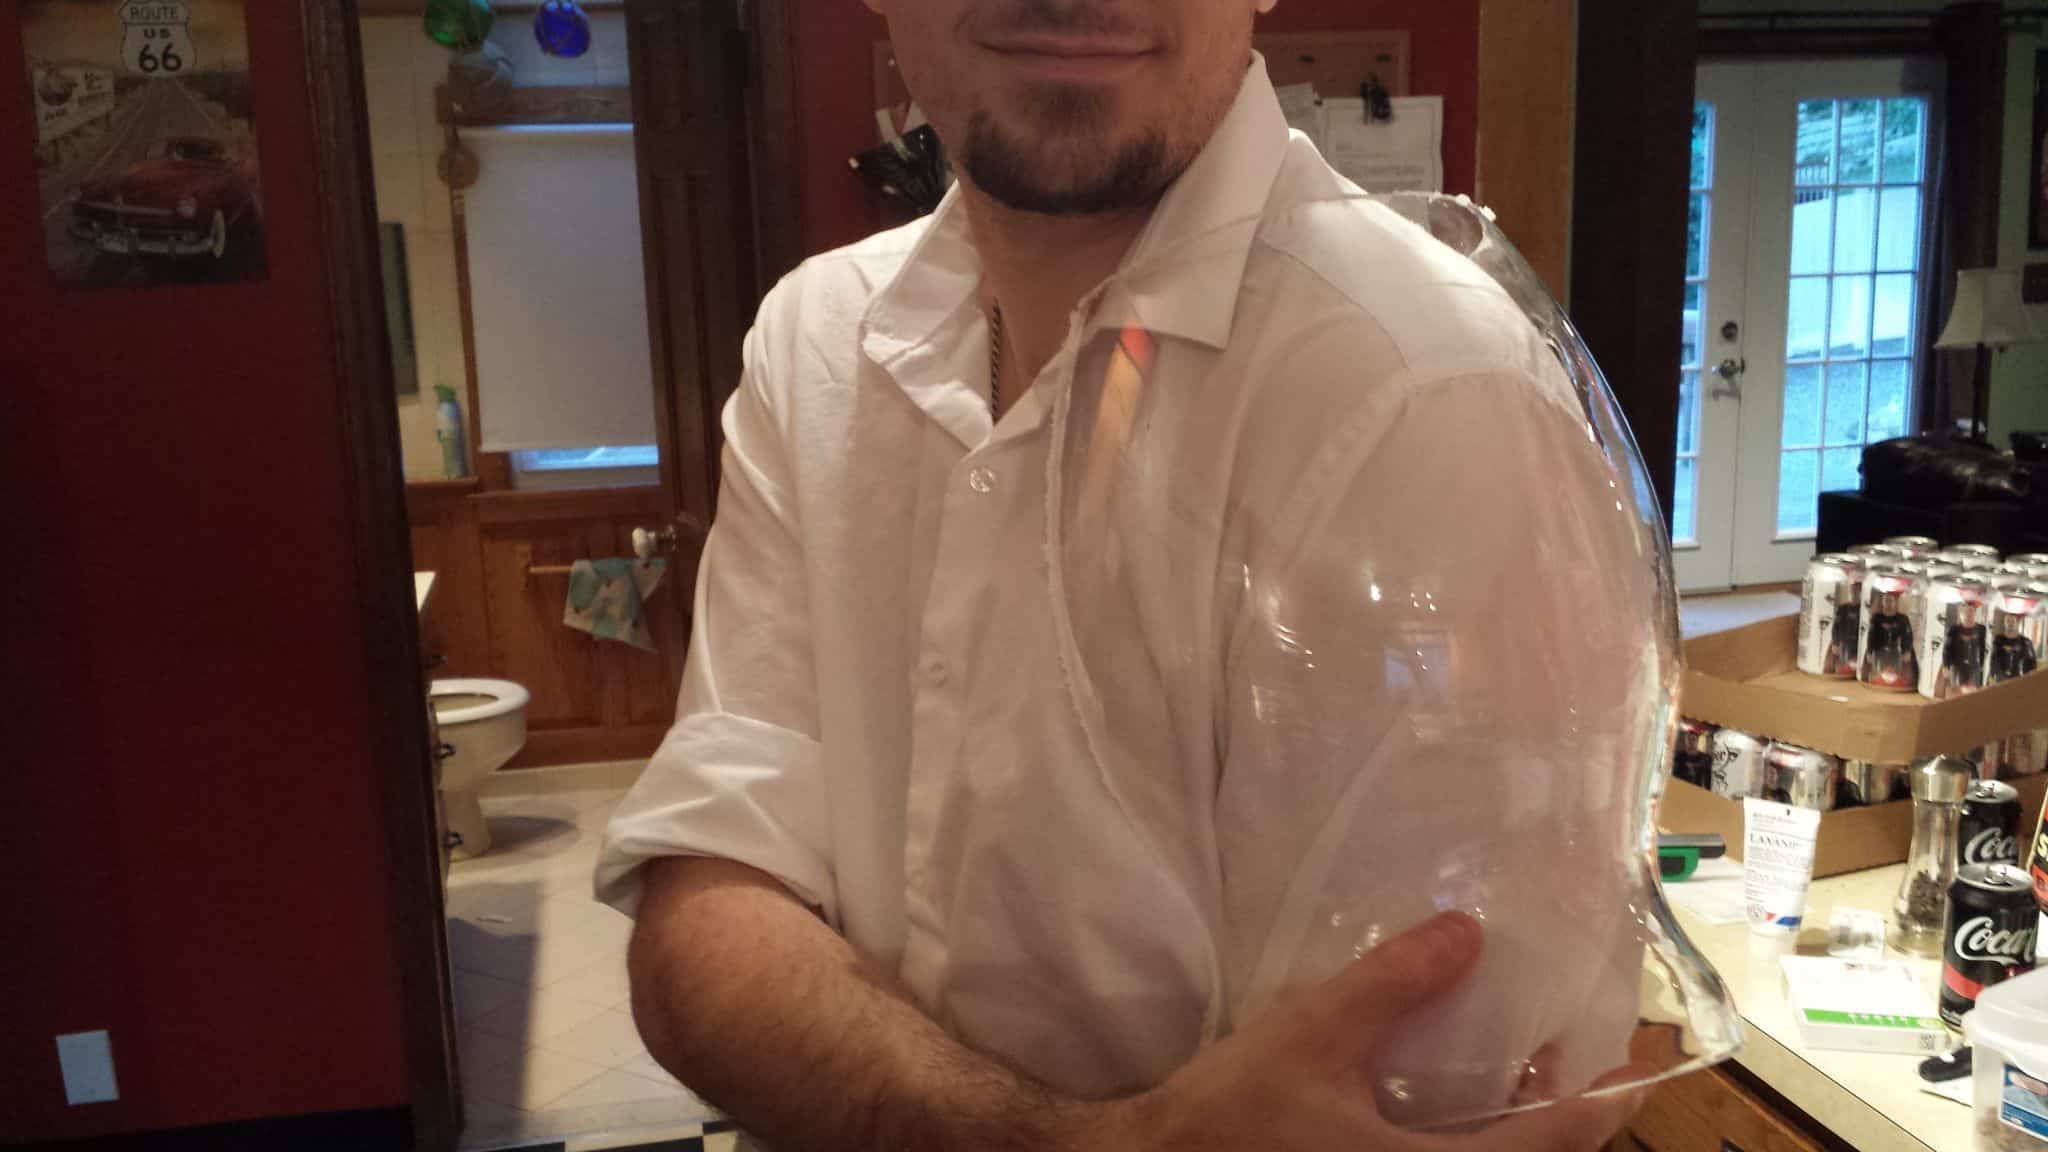
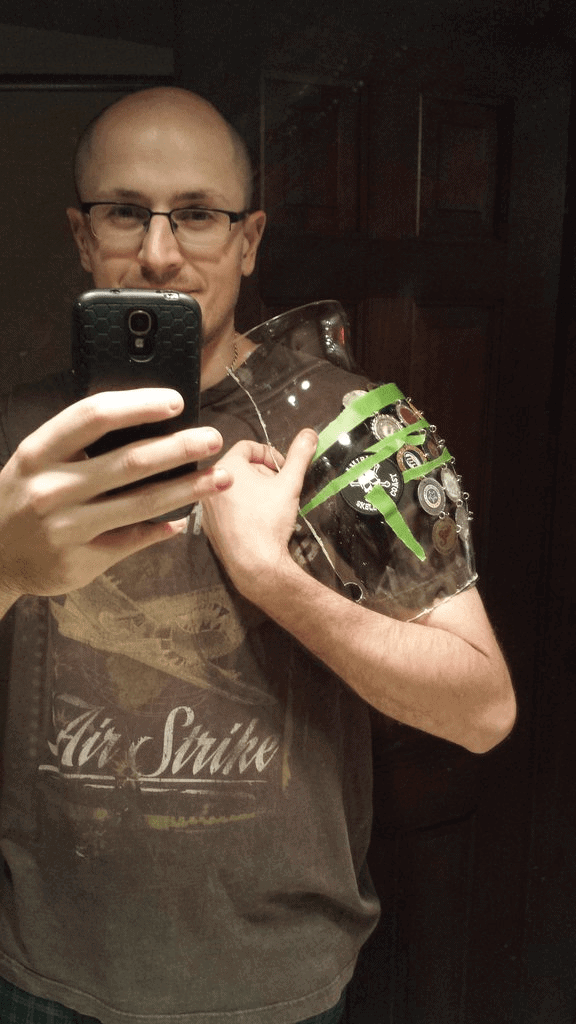
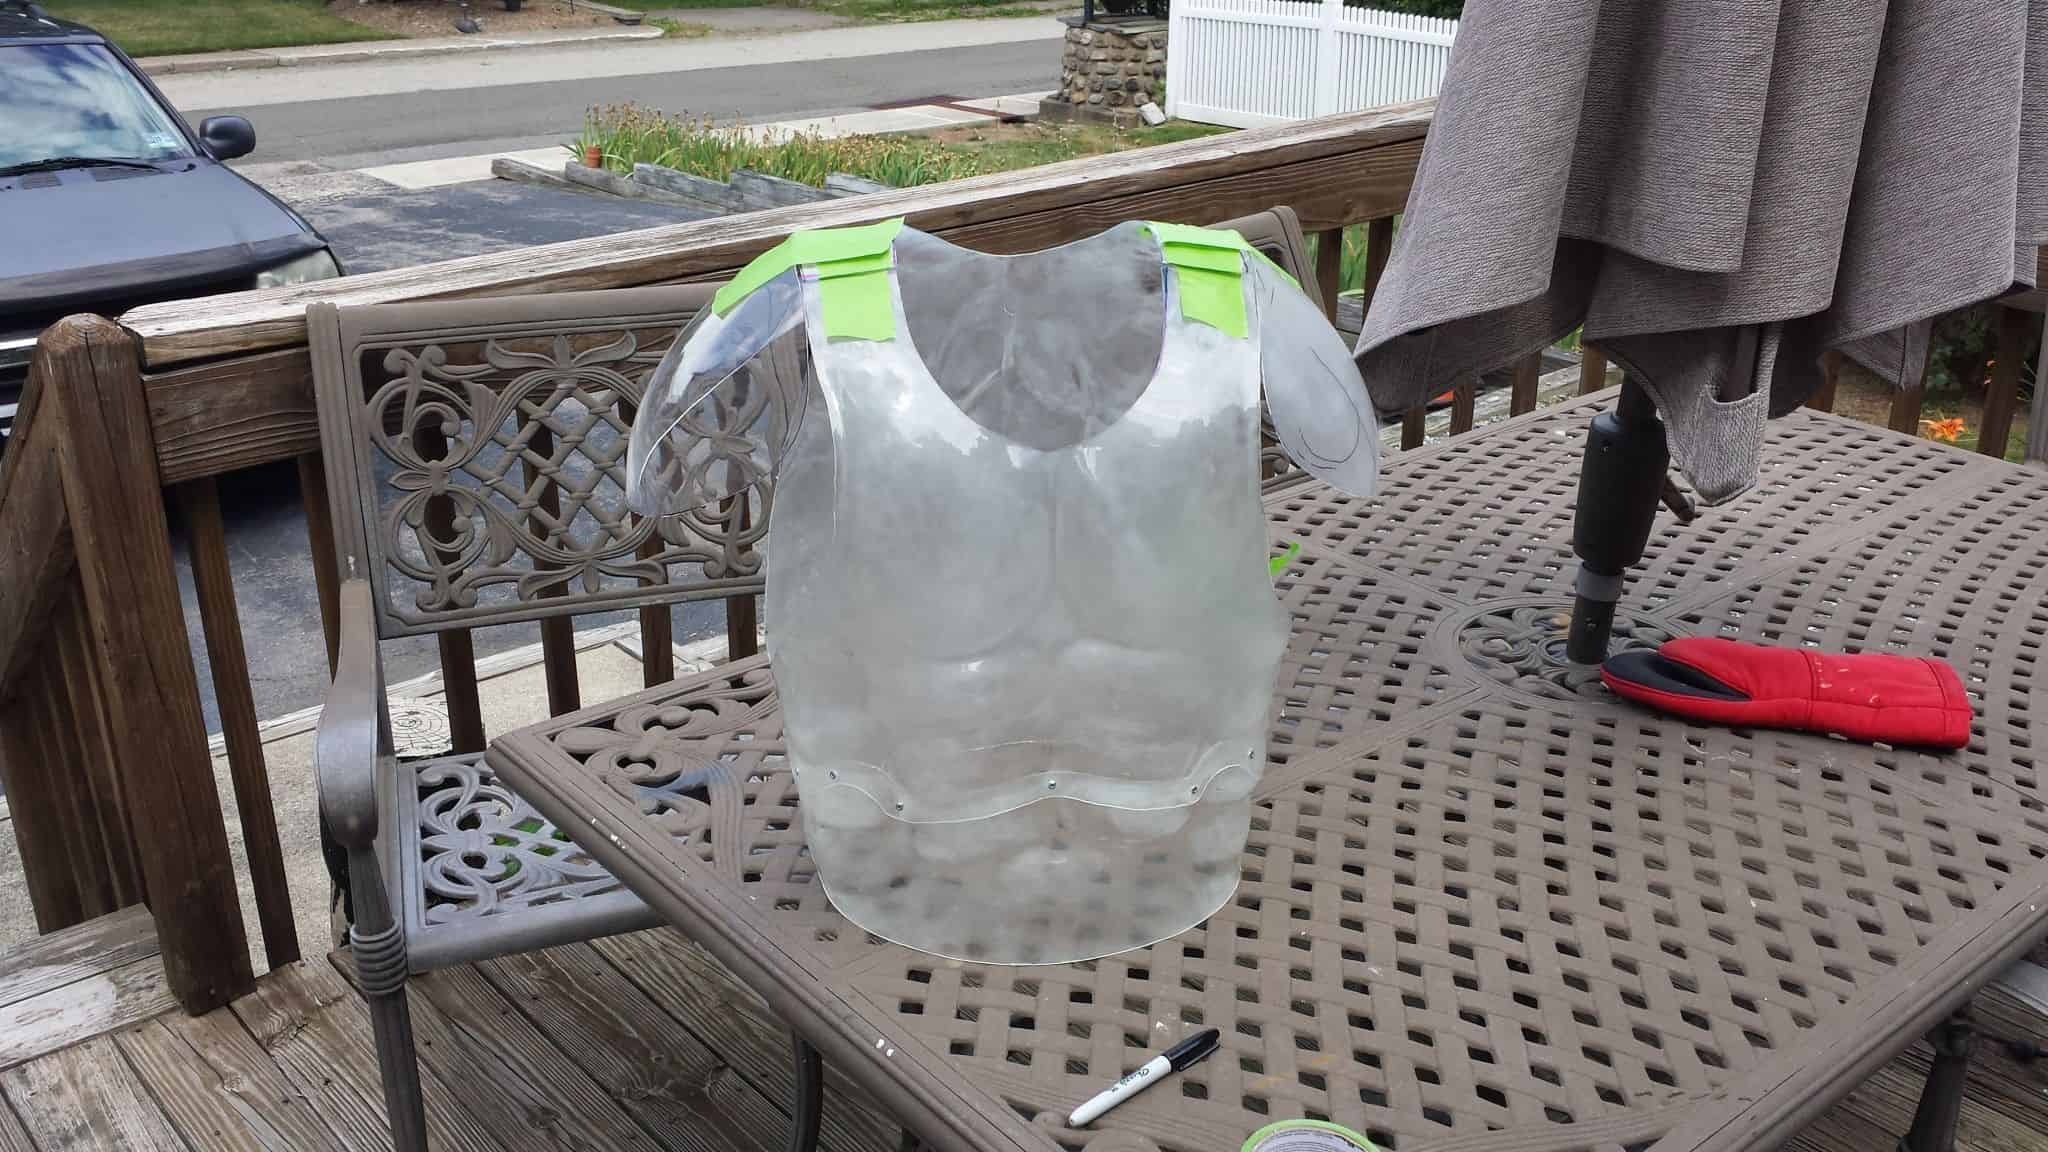
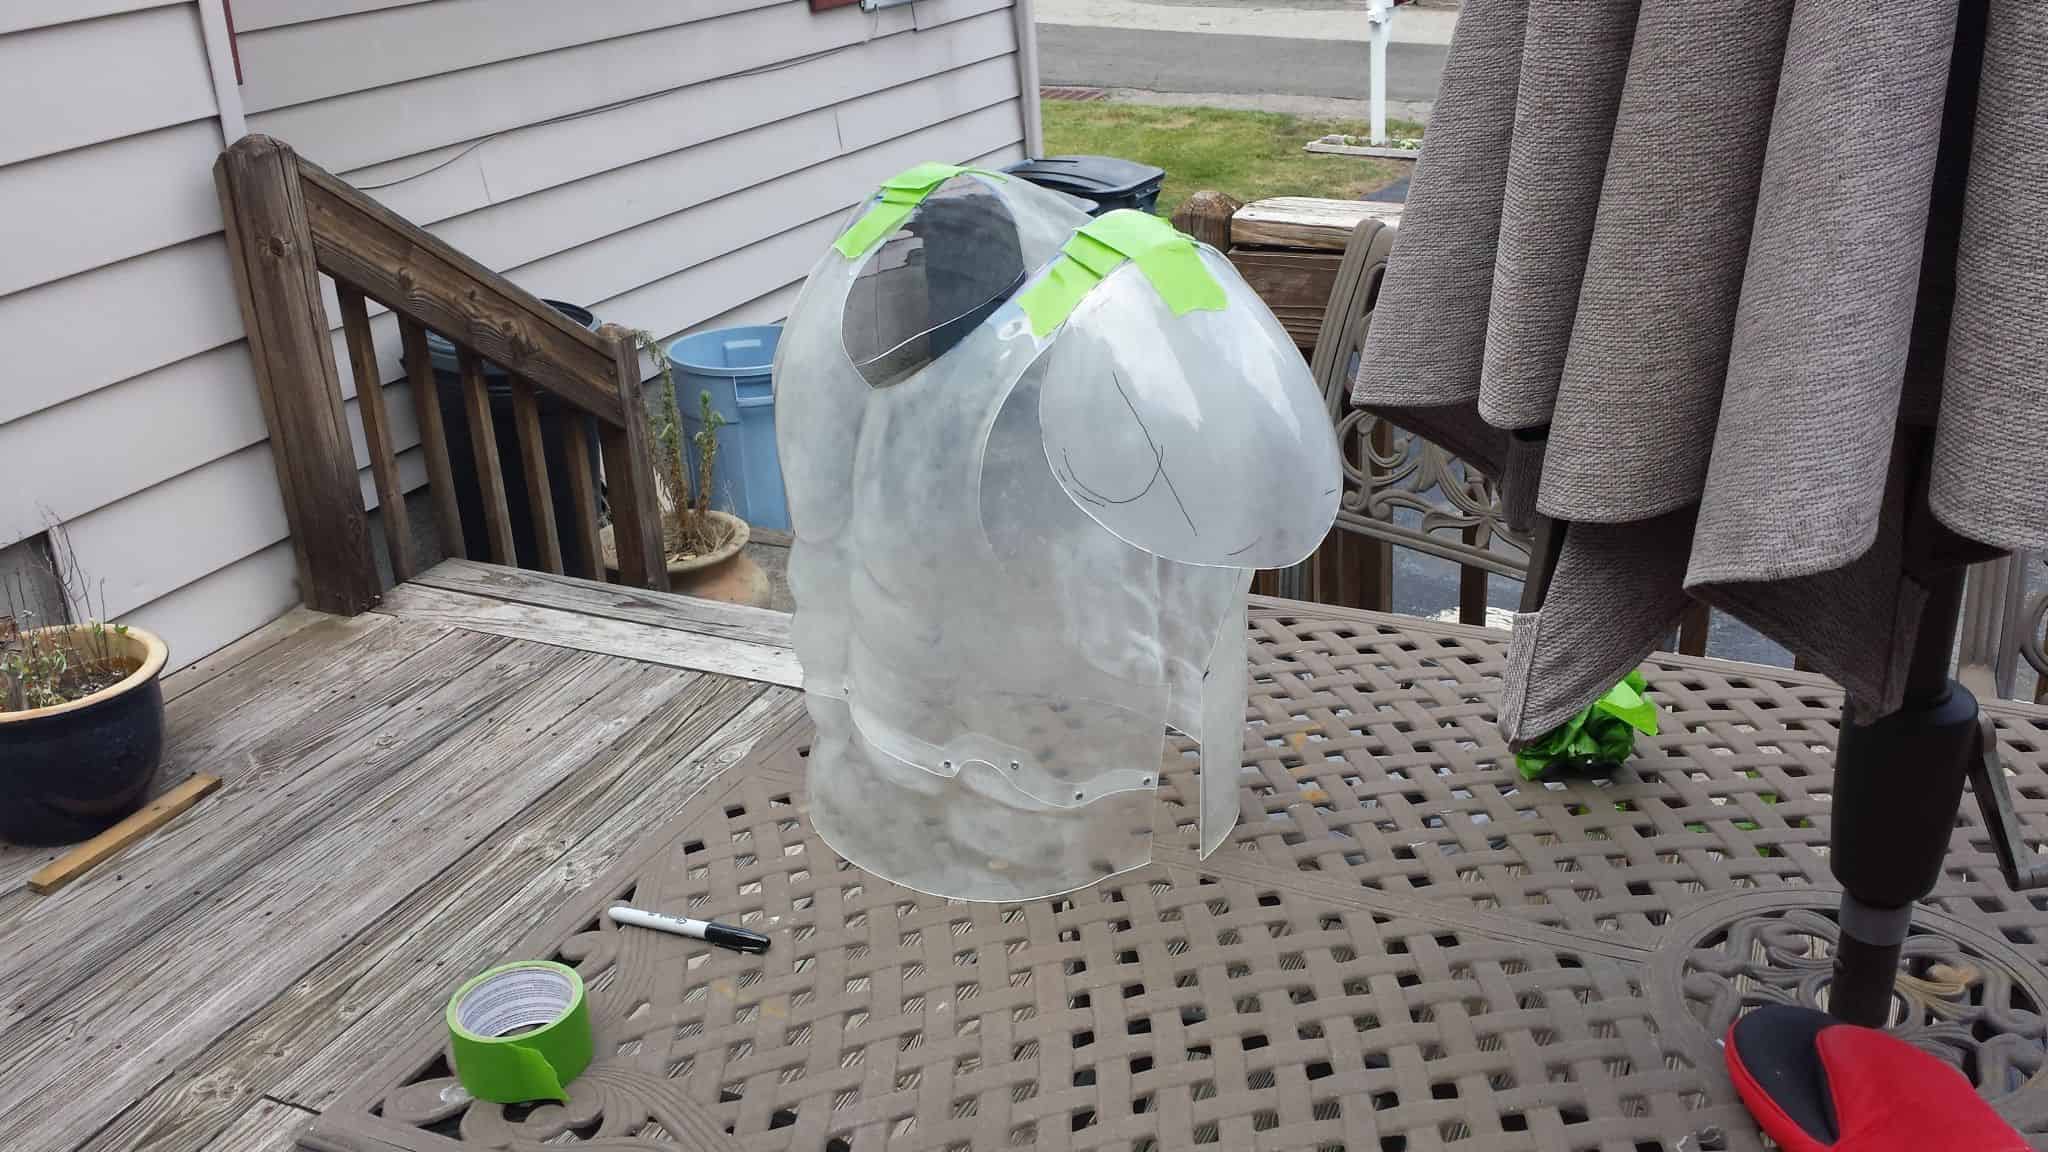
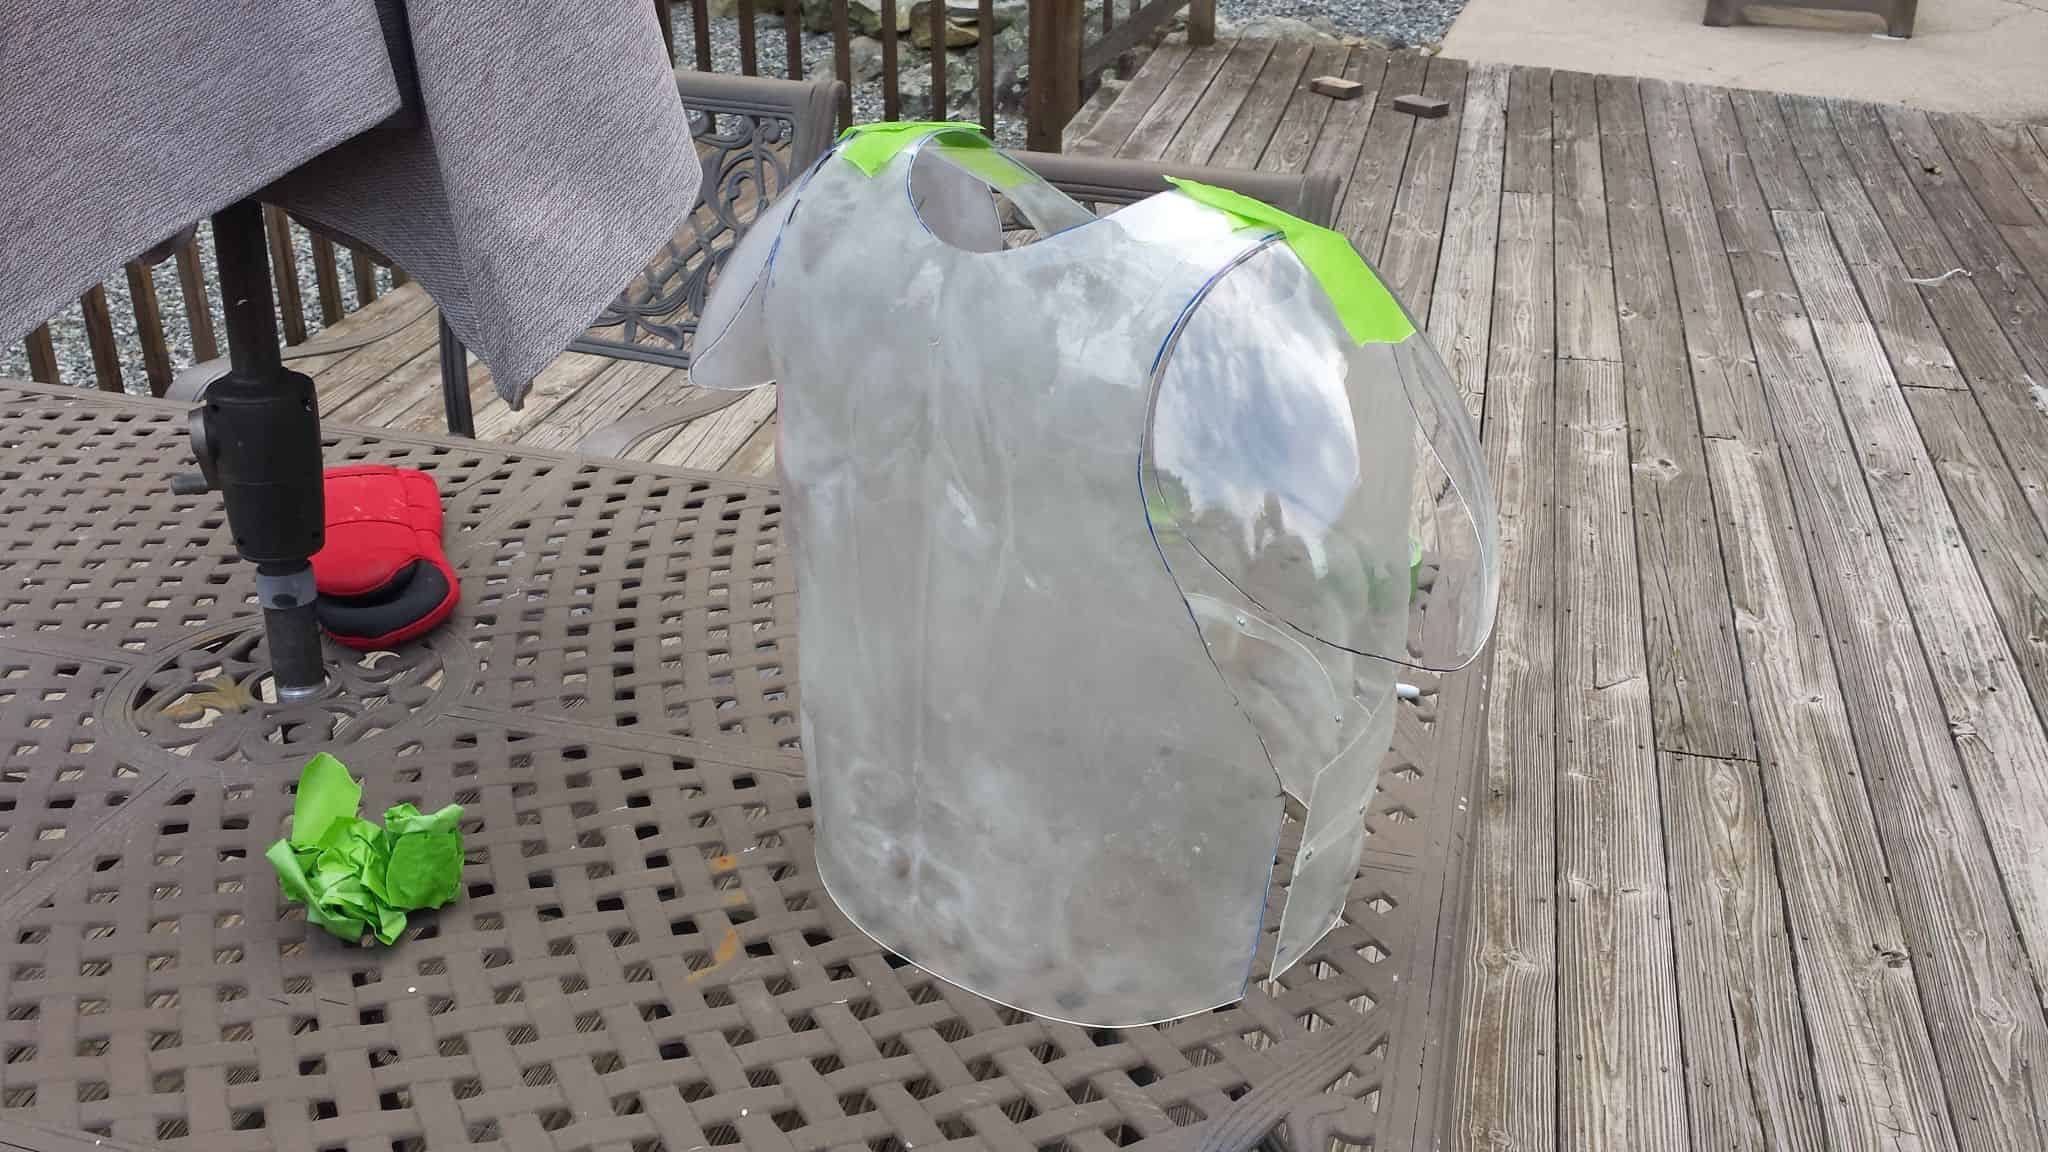
Having the medals and patch draped over the shoulder helped keep things roughly the right size. I took the parts out and used a cutting wheel to get the rough shape, then a sanding drum to slowly work my way in to the marked lines. Once it all got done…
I need to spend some time figuring out how the front and back torso plates are going to connect before I get the hardware installed to hold the shoulders, too. It also still needs some more demelling and cleanup, but I think this is actually coming together pretty reasonably!