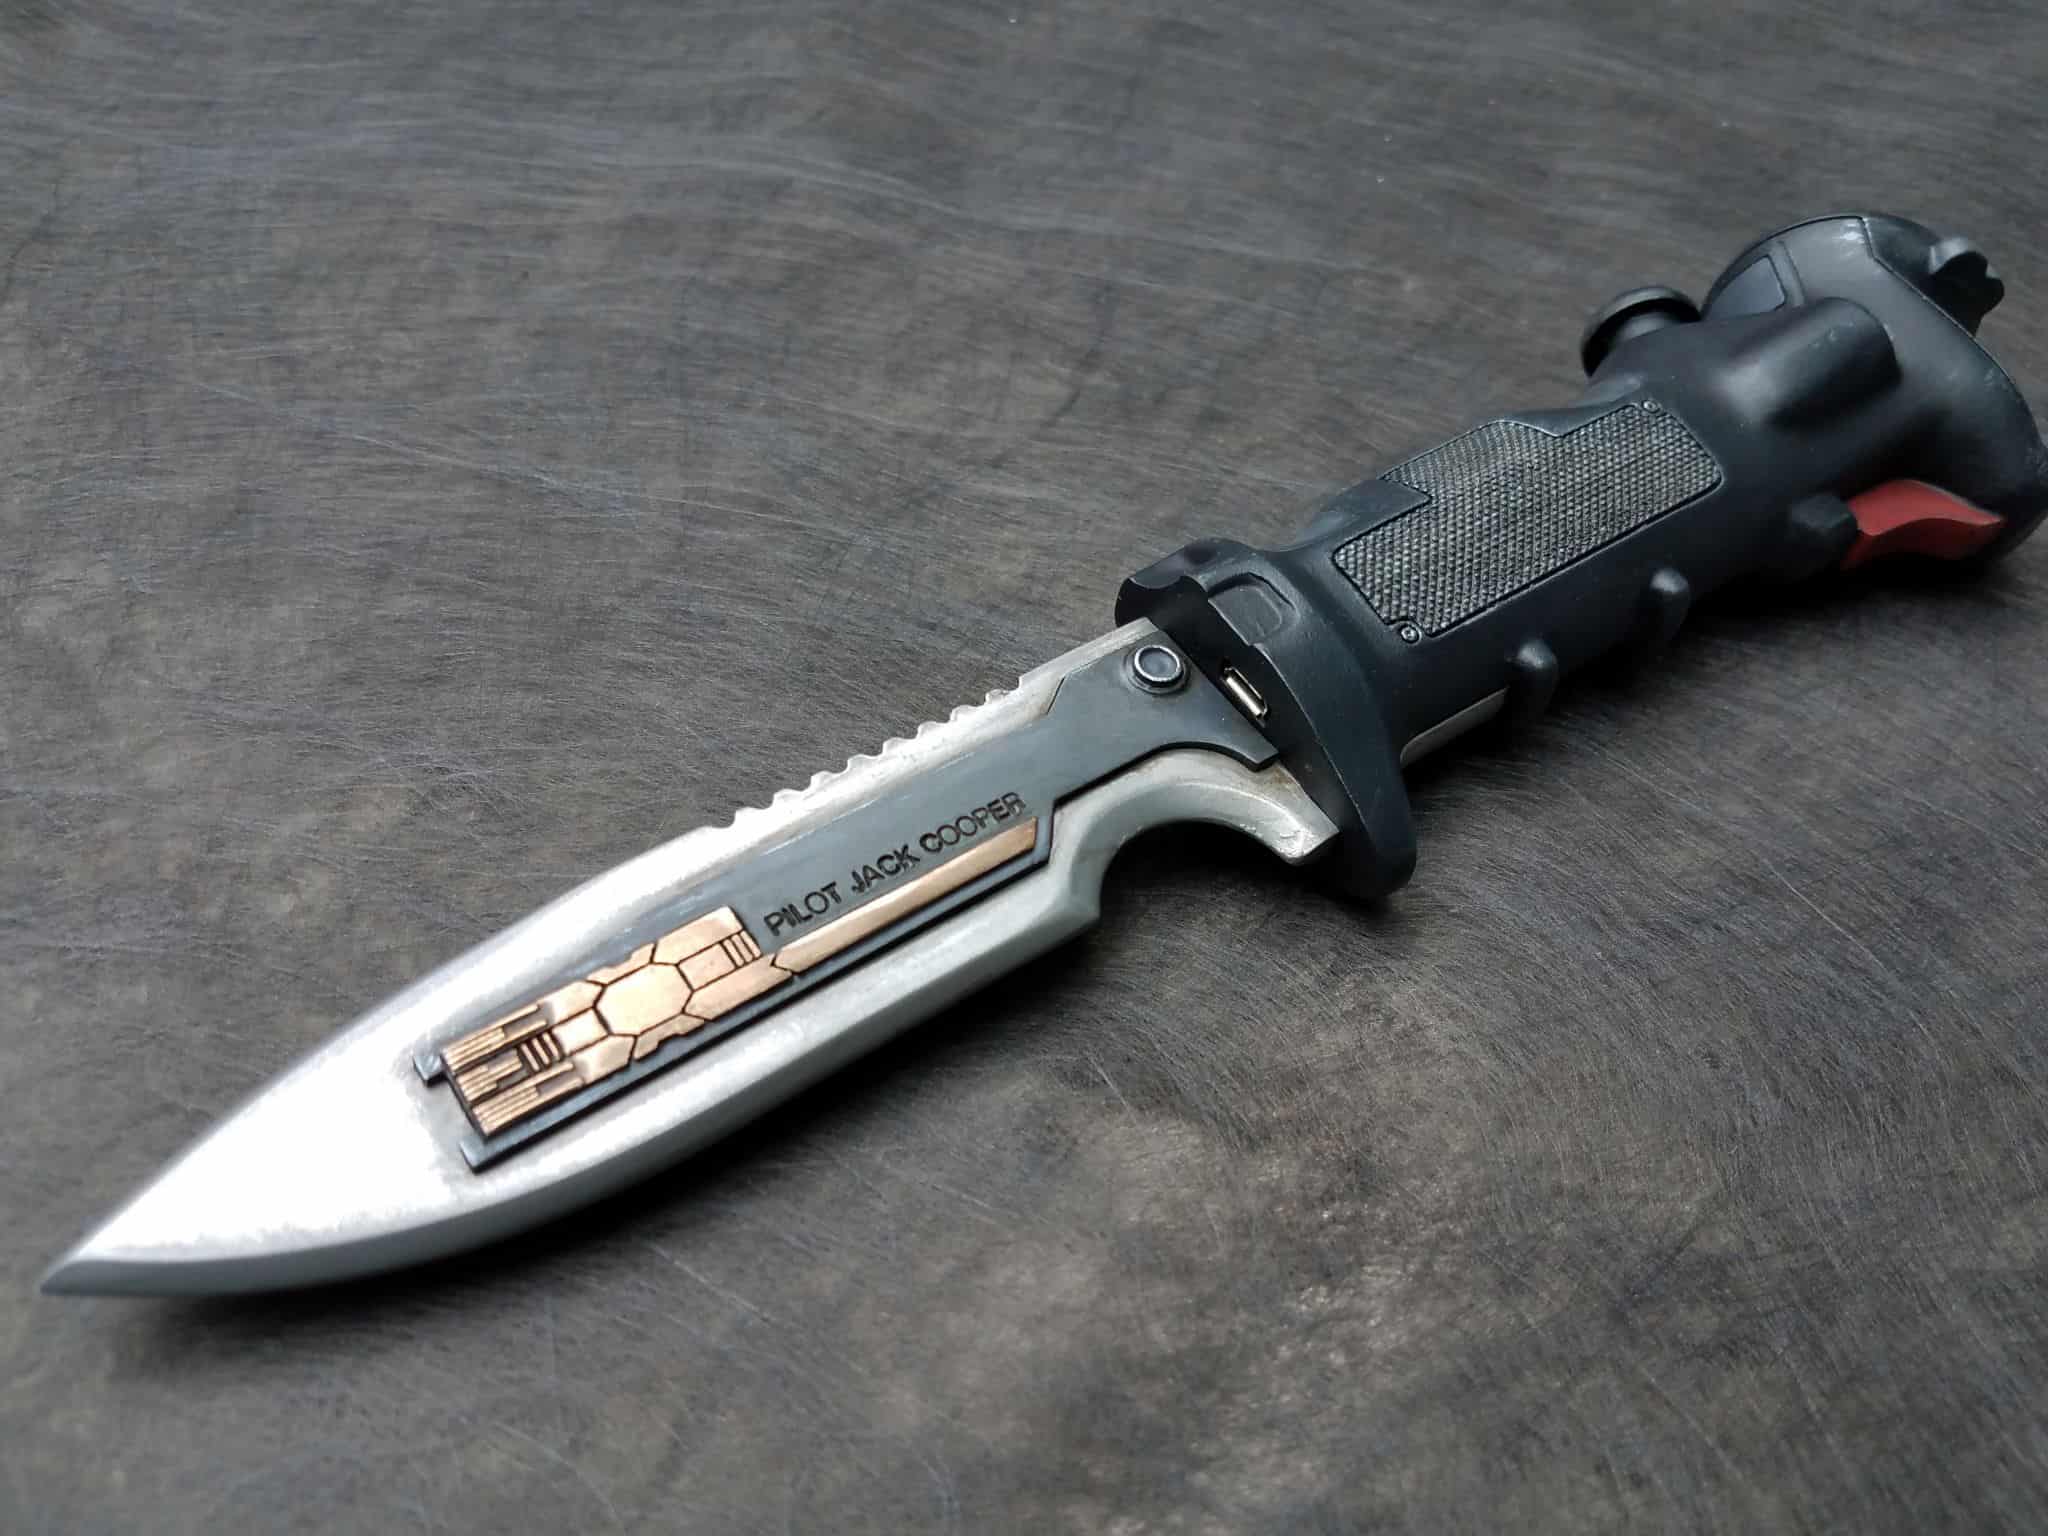
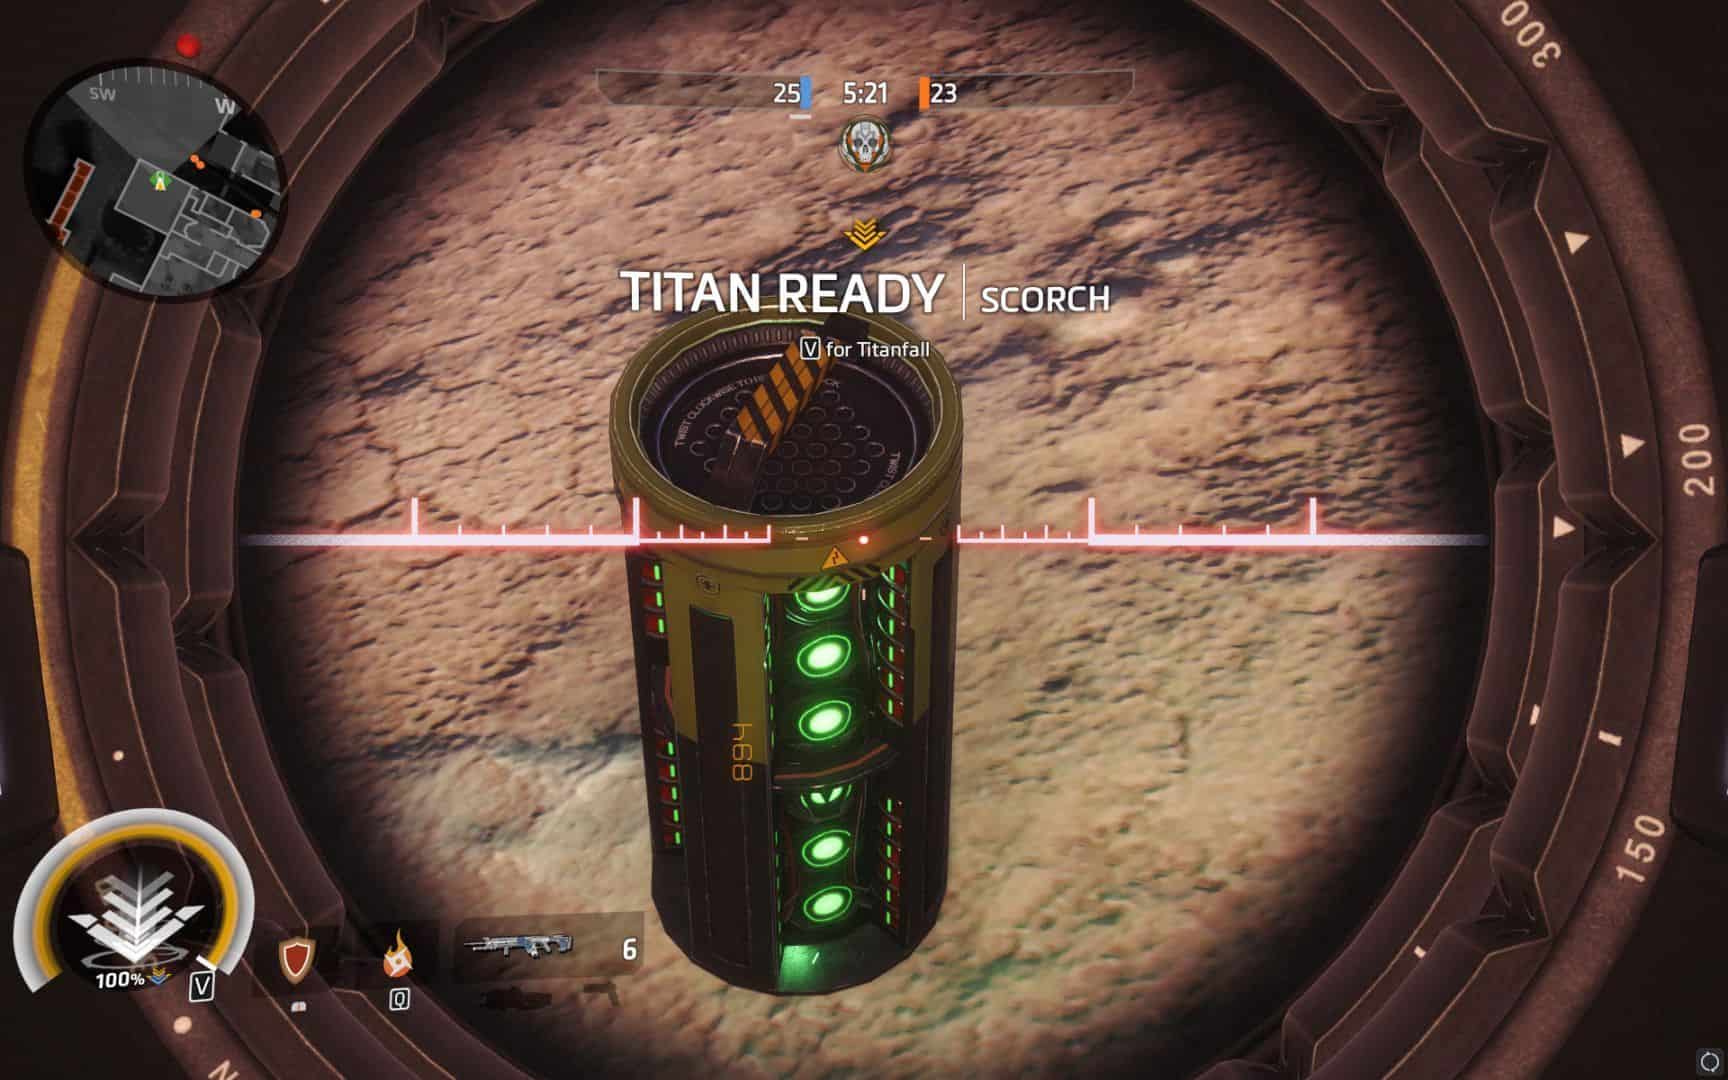
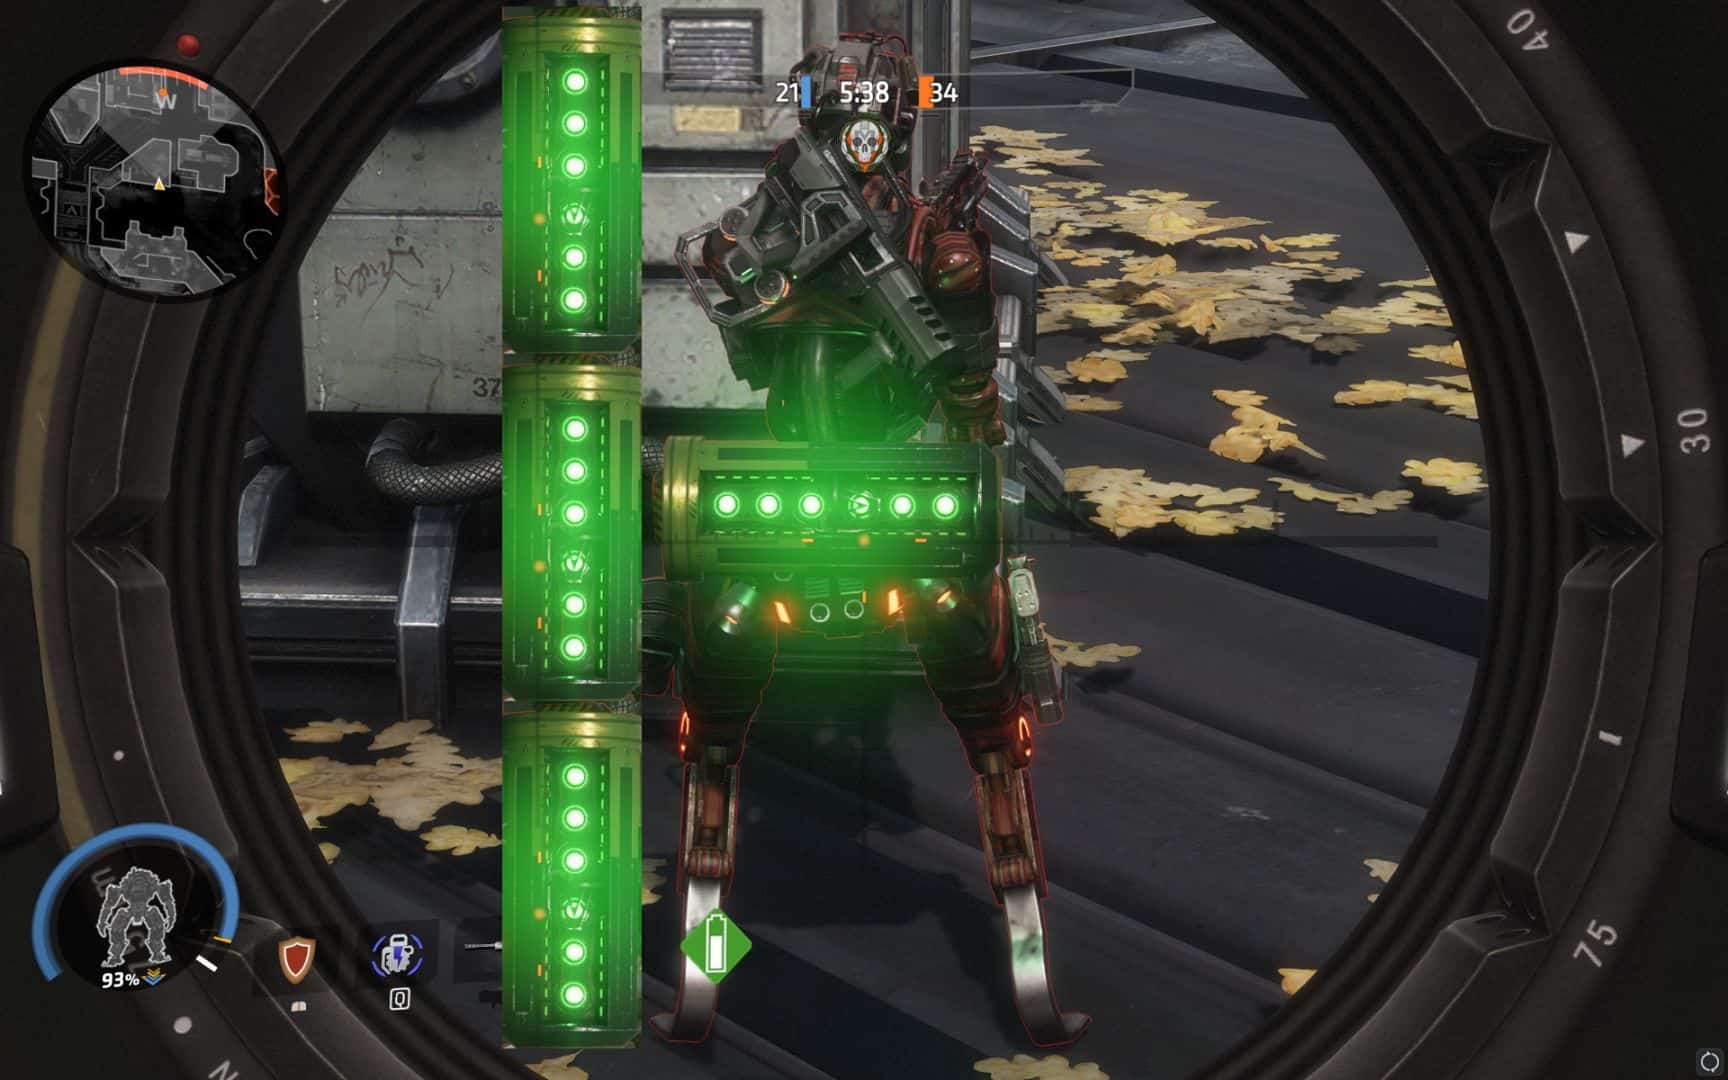
I had a few requests to model up the Pilot battery from Titanfall and figured I’d take a crack at it, so I’ve been working on this in my spare moments for the last week. To start with, I took a ton of reference images inside the game to work from.
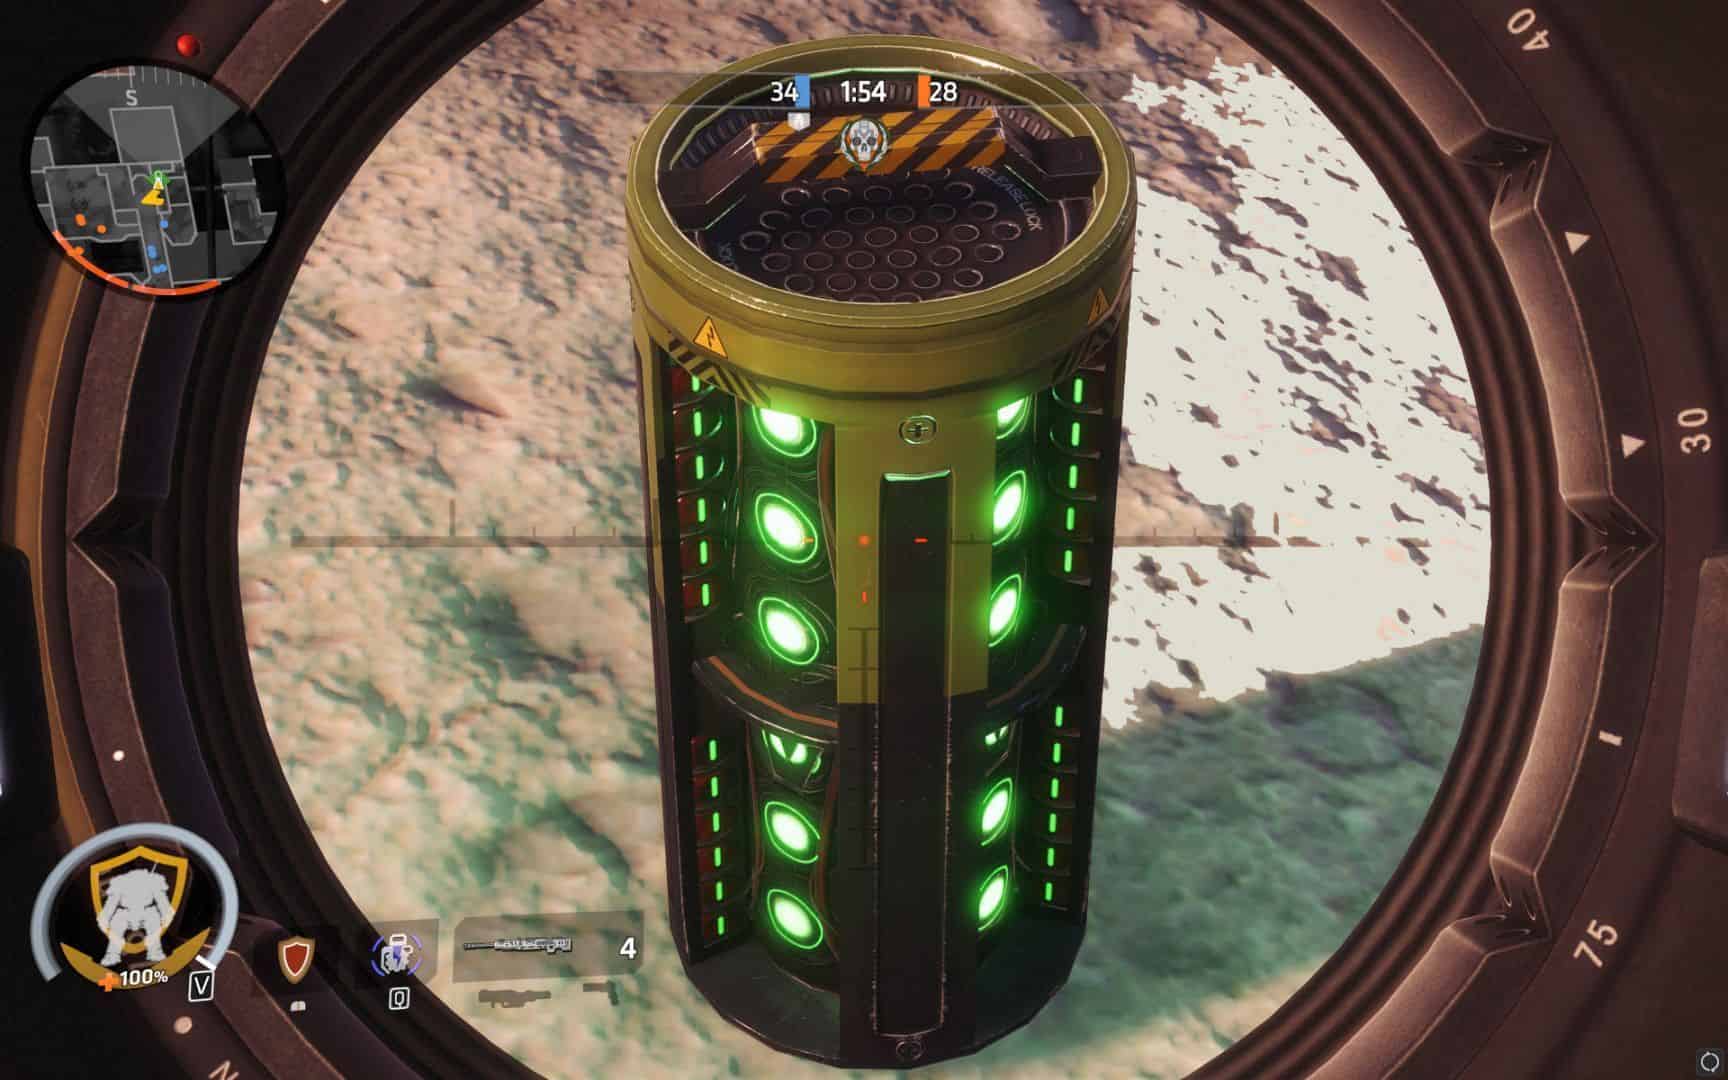
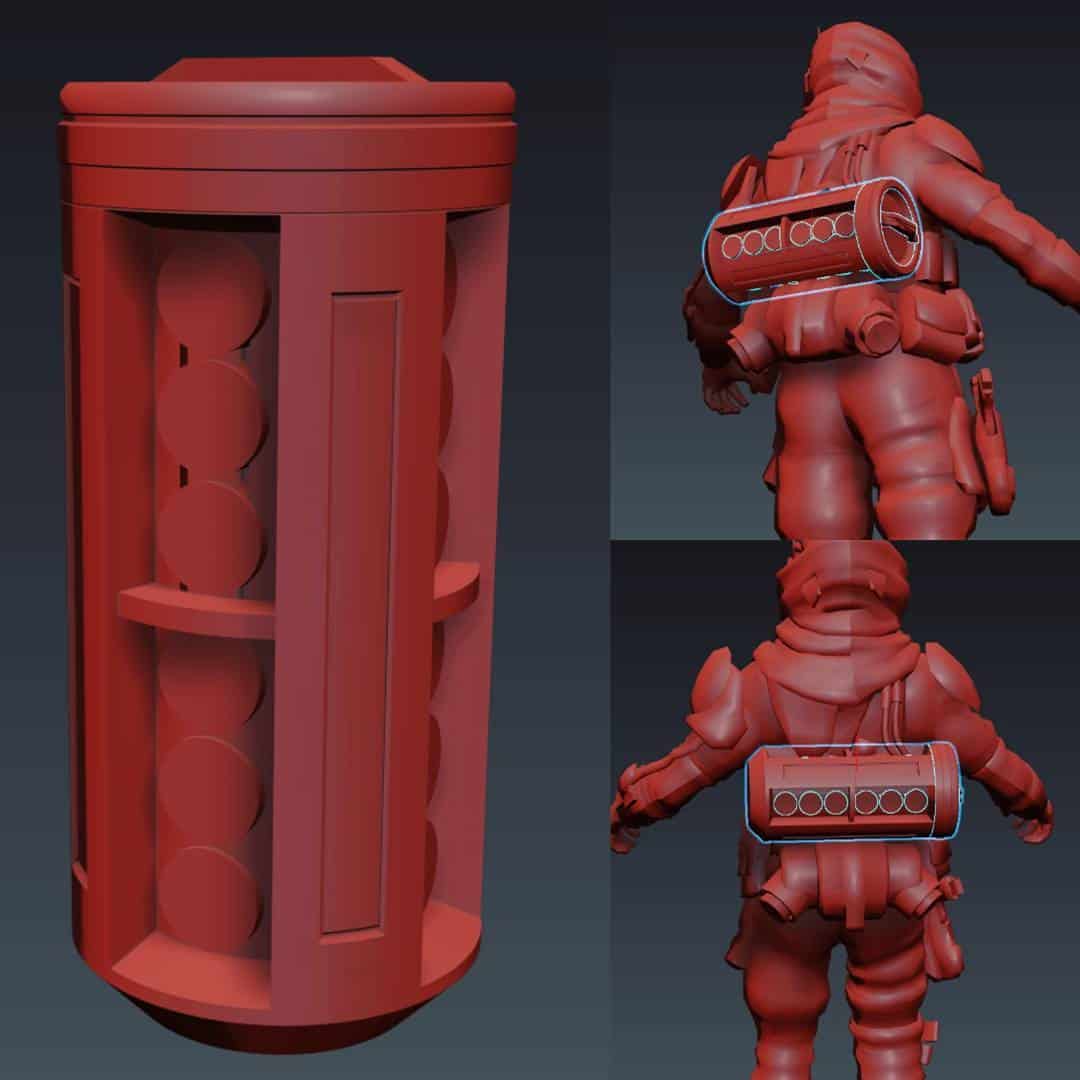
Biggest issue at the start was simply determining scale correctly. As best as I could tell, the pilots are approximately six feet tall, and looking at the battery, it looked to be about 1/3 the pilot height, suggesting it was around 24″ tall.
As a practical matter, this starts bordering on huge. My own model is instead around 18″ tall. I didn’t like the idea of trying to carry a two-foot tube around on my back, and after comparing it to my body scan, 18″ seemed more than fair. Here’s an 18″ basic version scaled against a 6-foot-tall pilot model for comparison. Like I said, seemed more than sufficient. I suspect the batteries change sizes during gameplay anyway, as they look like they are a different scale during the rodeo insertion animation into the top of a titan.
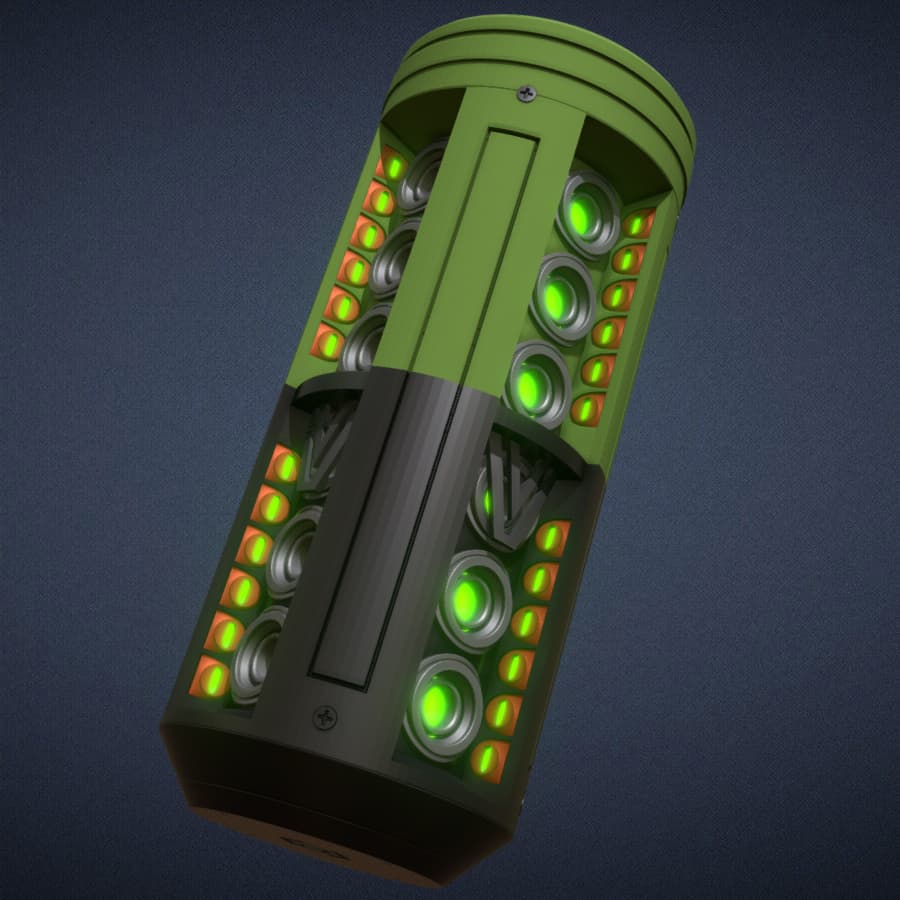
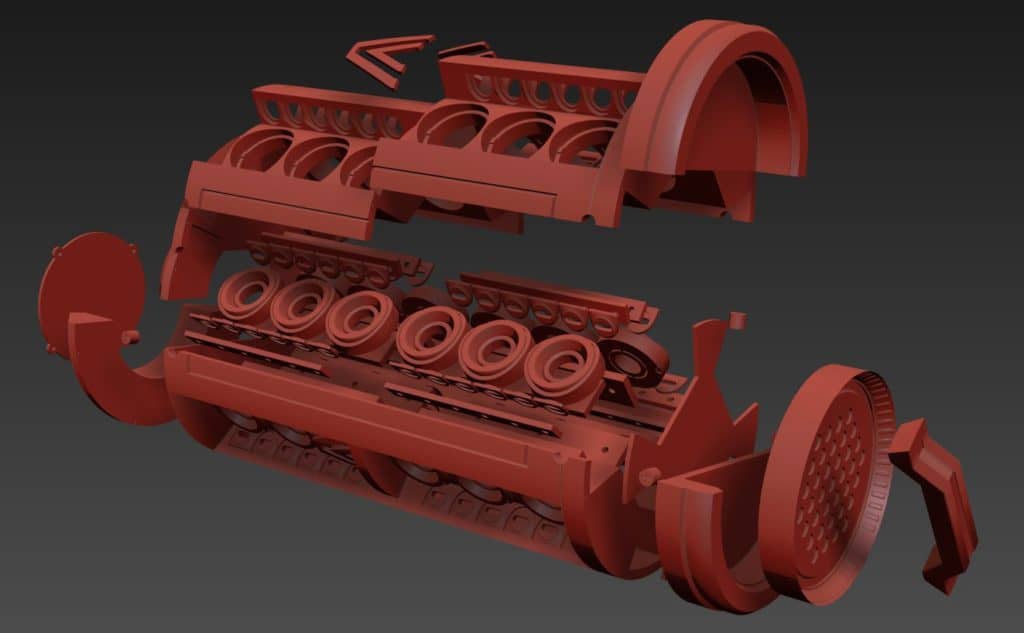
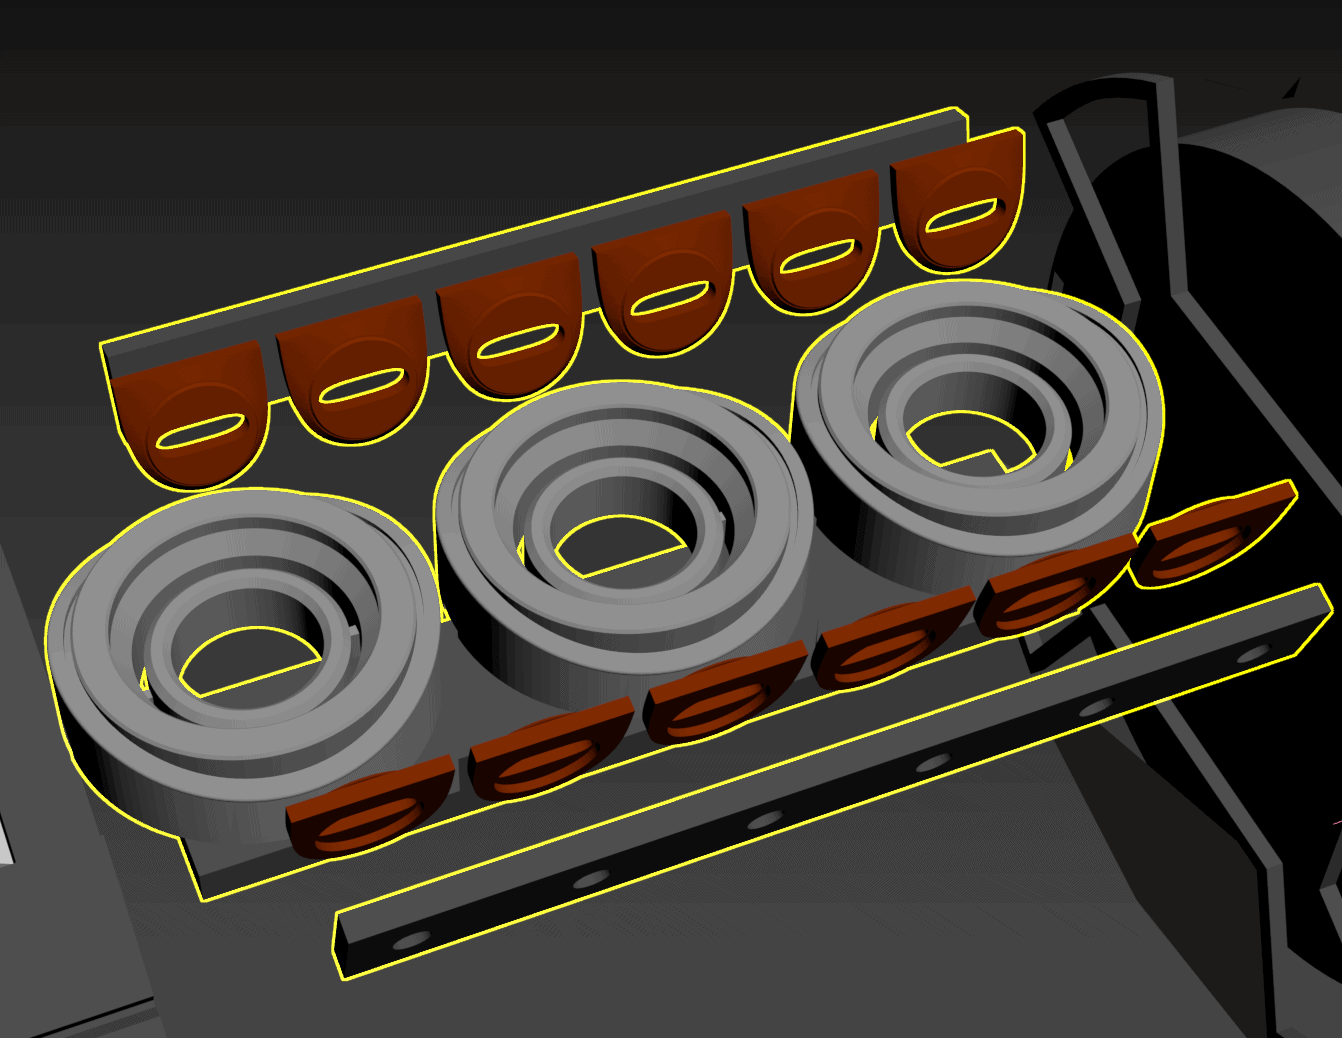
This battery is designed to accommodate 120 5mm LEDs in total. The battery can be thought of in quadrants – it has four sides, each of which have 30 lit elements, so each side has been designed with 30 LED receptacles. Six of these LEDs are mounted behind the big inset circles on the sides; 24 of them are mounted behind each of the smaller side discs. I tried to model all of the parts to print individually, and also tried to design them with flat faces so that they could be oriented to print easily.
The idea for the LEDs here is that each of the individual parts can be printed, sanded, cleaned up, then glued into place on the battery housing in their respective slots. Then, each part is designed to have a piece of acrylic inserted behind it. The acrylic should be cut to cover the holes where the lights come through, and sanded so that they diffuse the LED illumination properly. The LEDs themselves are all installed into printed strips that hold them in the correct positions and orientations on the inside of the body of the prop, and the strips themselves mount into holes or recesses to ensure they are aligned correctly. With all of that said, you could also totally just go ahead and use cheap LED strip lighting on the inside of the battery instead of what I designed this for. You’d probably just stick it to the printed LED strip mounts, instead of pushing the LEDs through each 5mm diameter hole.
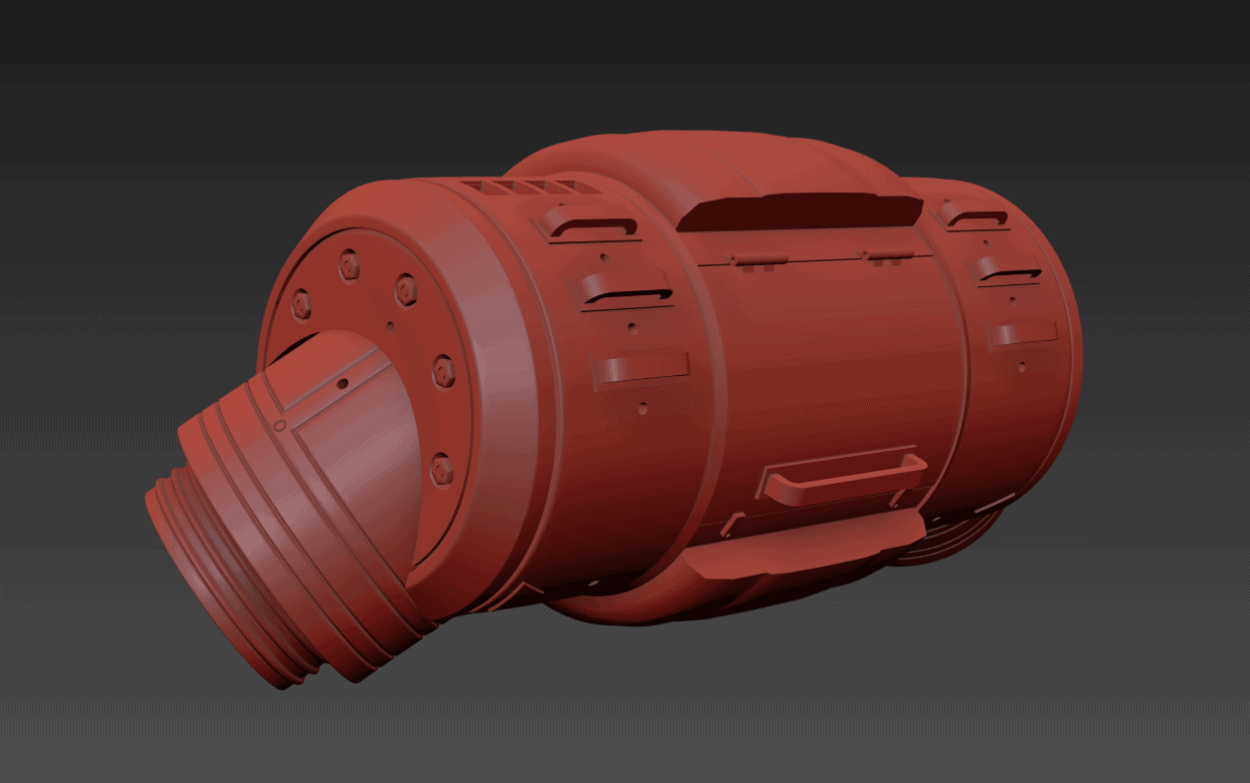
The bottom of the battery has a hollow chamber that I designed to be big enough to fit whatever power source you decide to go with. I’m envisioning using C-cell batteries wired to all of the LEDs in parallel. Alternatively, you could use an arduino or other microcontroller to animate the LEDs – make them dim, glow, or otherwise do neat electrical effects. There is a ‘hatch’ that fits into a recess in the bottom of the battery that can be secured with 4xM4 screws, just to give you an easy way to secure everything in place.
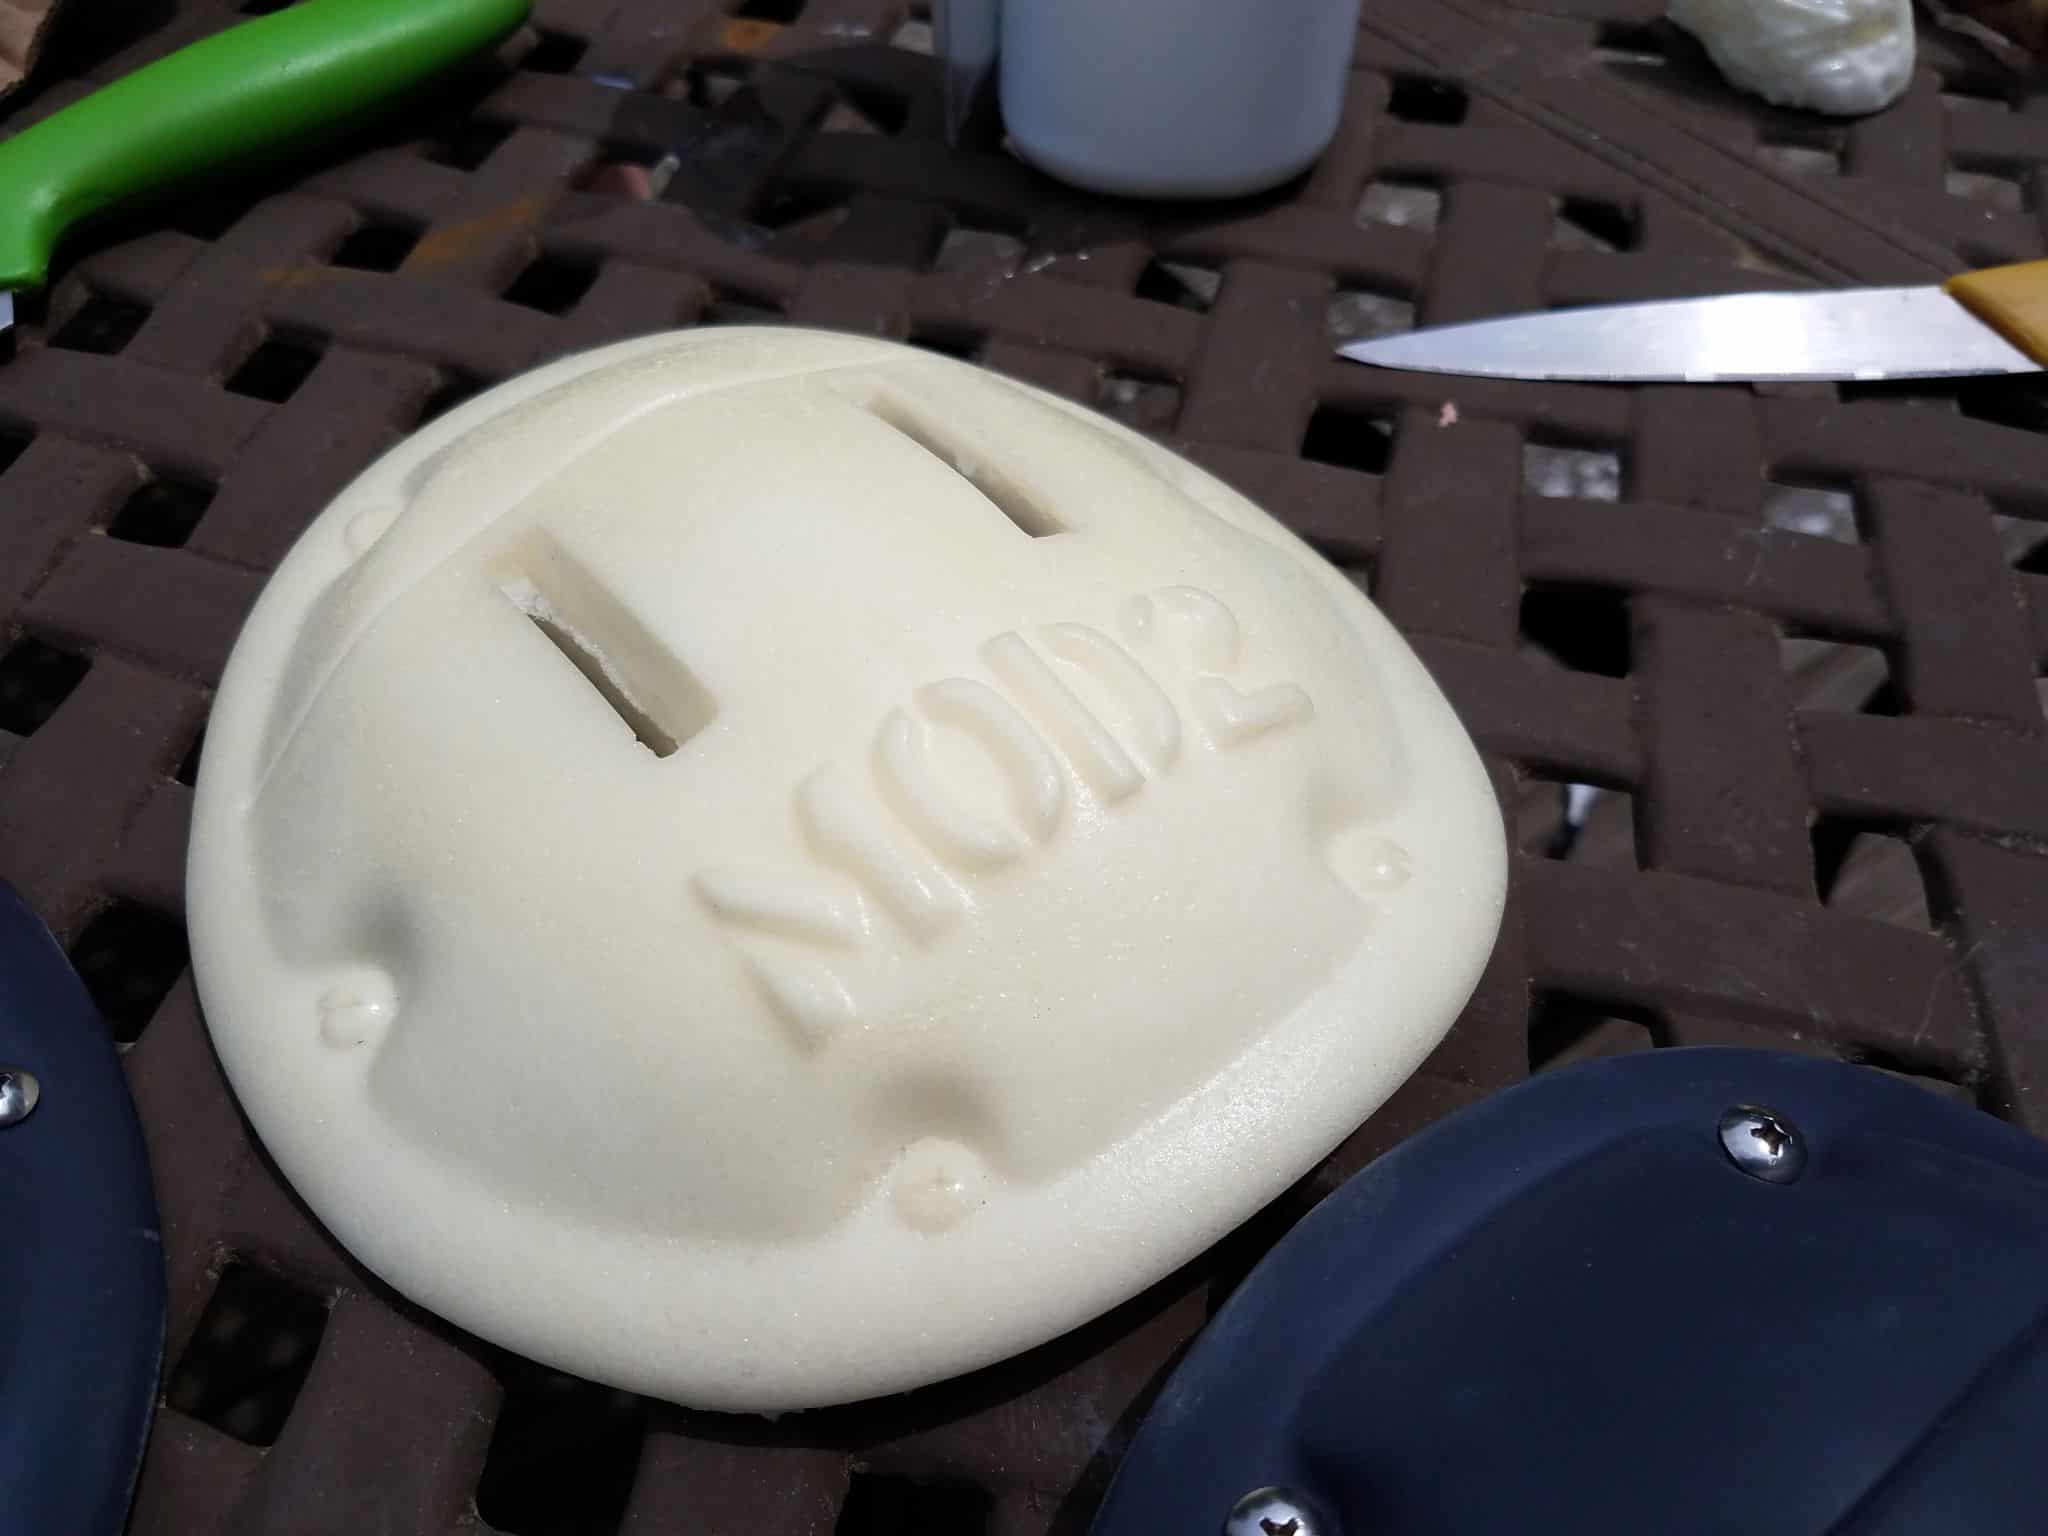
The handle at the top of the battery has been designed in two separate pieces with a hollow channel on the inside, mostly for the purpose of facilitating whatever wiring you might need. I figured I’d build some kind of on-off switch into the underside of the handle, but I didn’t get too particular about it while designing this. You can always just grab a Dremel and carve out the necessary holes for a switch or to route additional wires.
Almost all of the parts have had small holes built into them for the purpose of alignment during assembly. These have been sized for 1.5mm brass rod, which I have in abundance in my workshop. Simply put a dab of glue on the rod, slide it into one hole on a part, cut it short so a few millimeters stick out, and then use that to glue it to the part on the opposite side.
This thing is probably hundreds of hours of printing work, minimum, but I will try to make time for it in the days to come so I can get it from digital to physical.