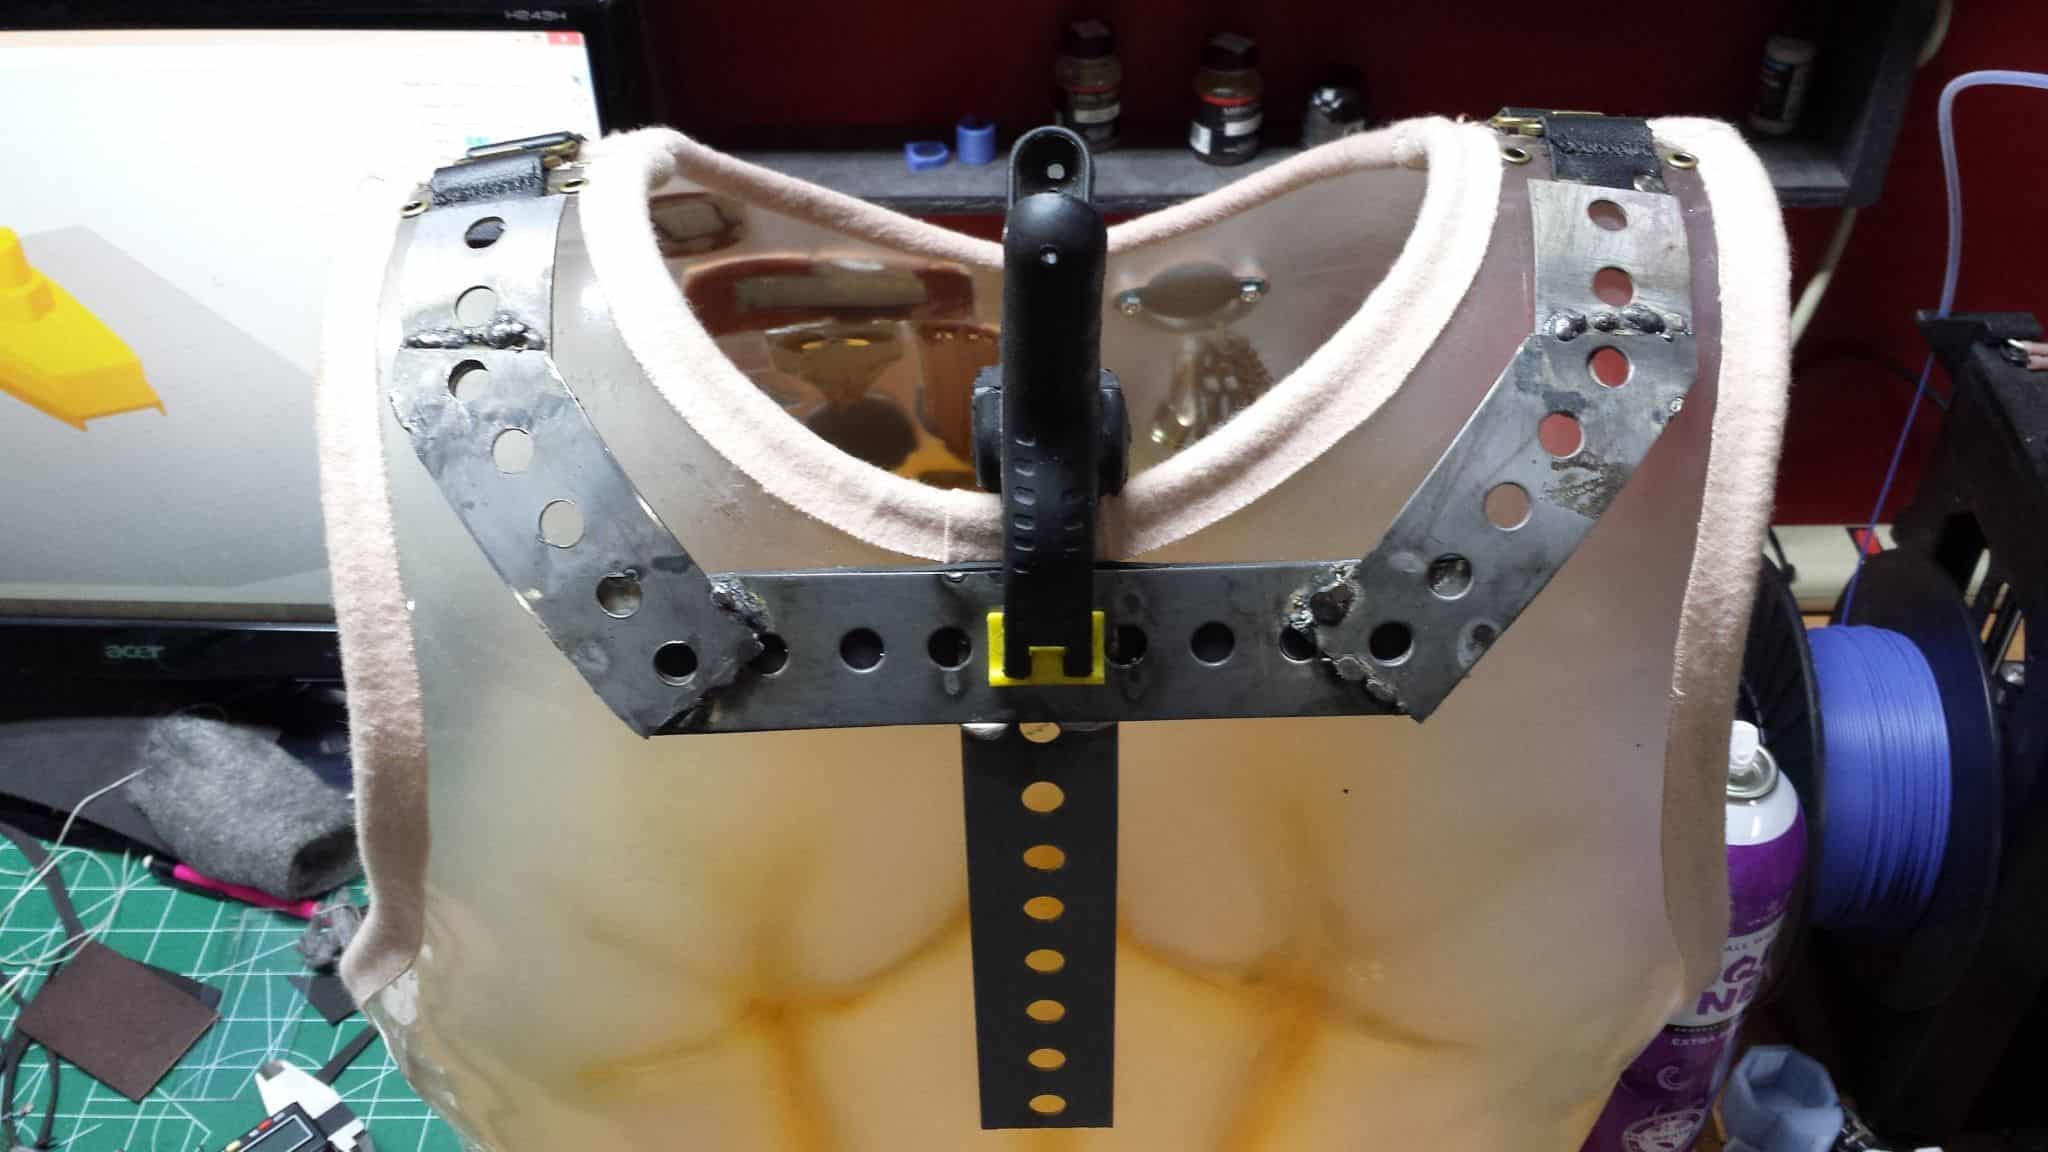
I should say that while I have a poor-quality Harbor Freight MIG welder, I also have hardly any idea how to weld or use that machine properly. However, that did not stop me from making an ugly yet functional welded frame for the airbag!
This weird Y-shape is hopefully going to be a secure mounting point for all the extra crap I want to add including the airbag itself, battery, fans, and maybe even a speaker if I can budget the space. Part of it will be visible beneath the airbag, since that seems to be how the screen one is designed.
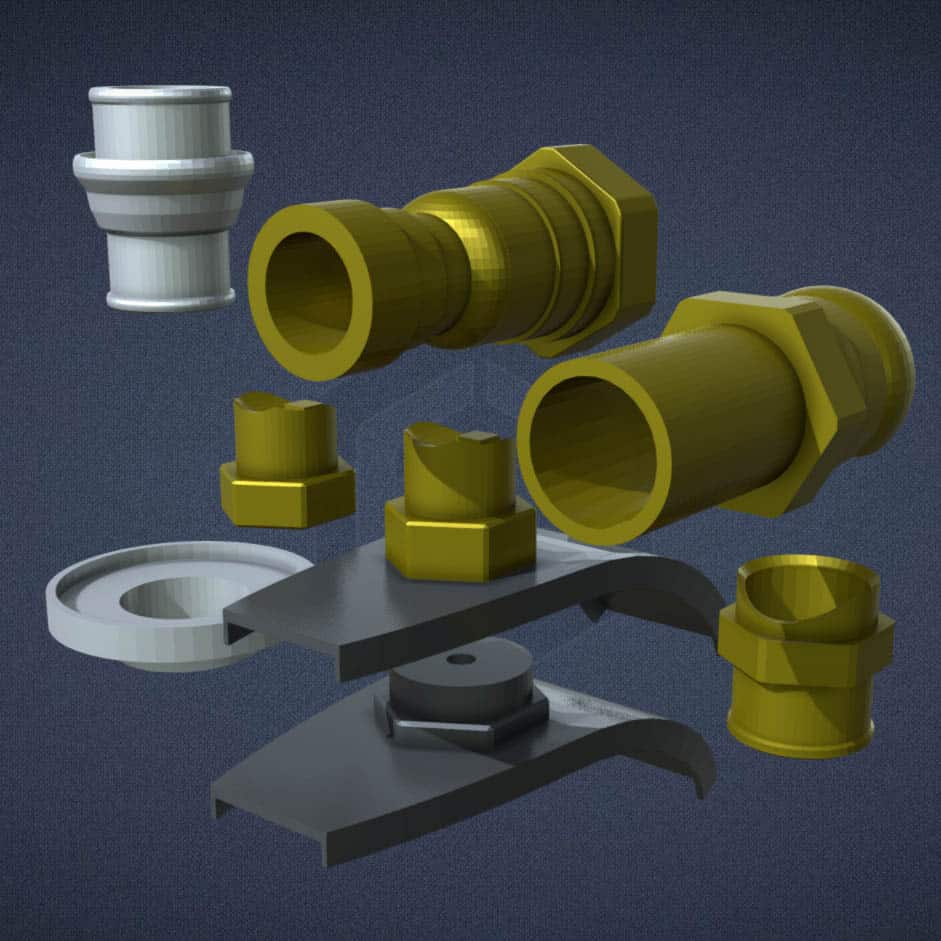
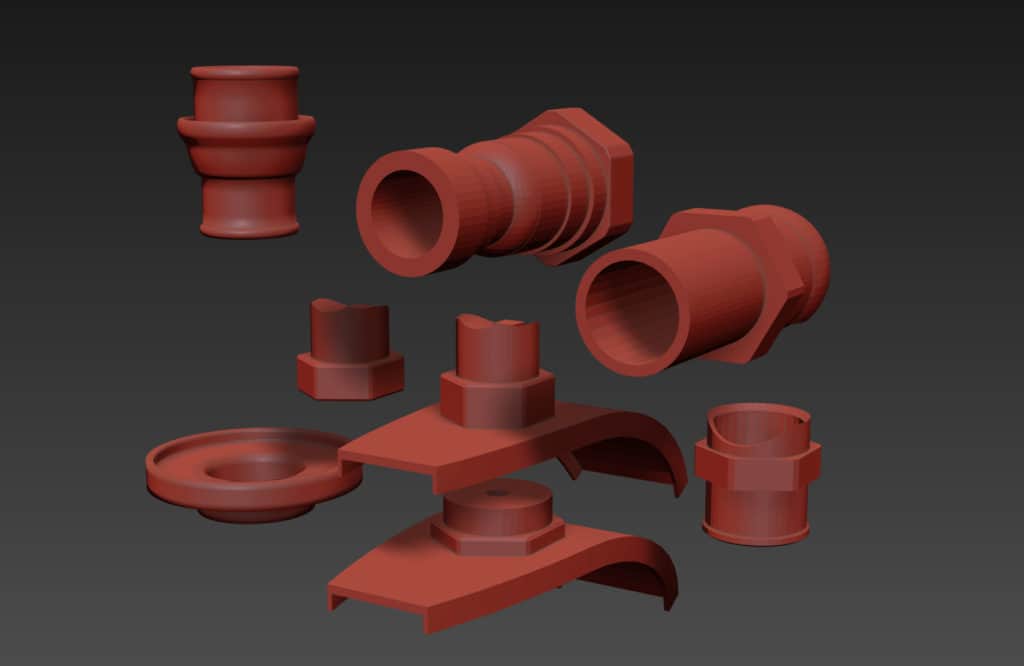
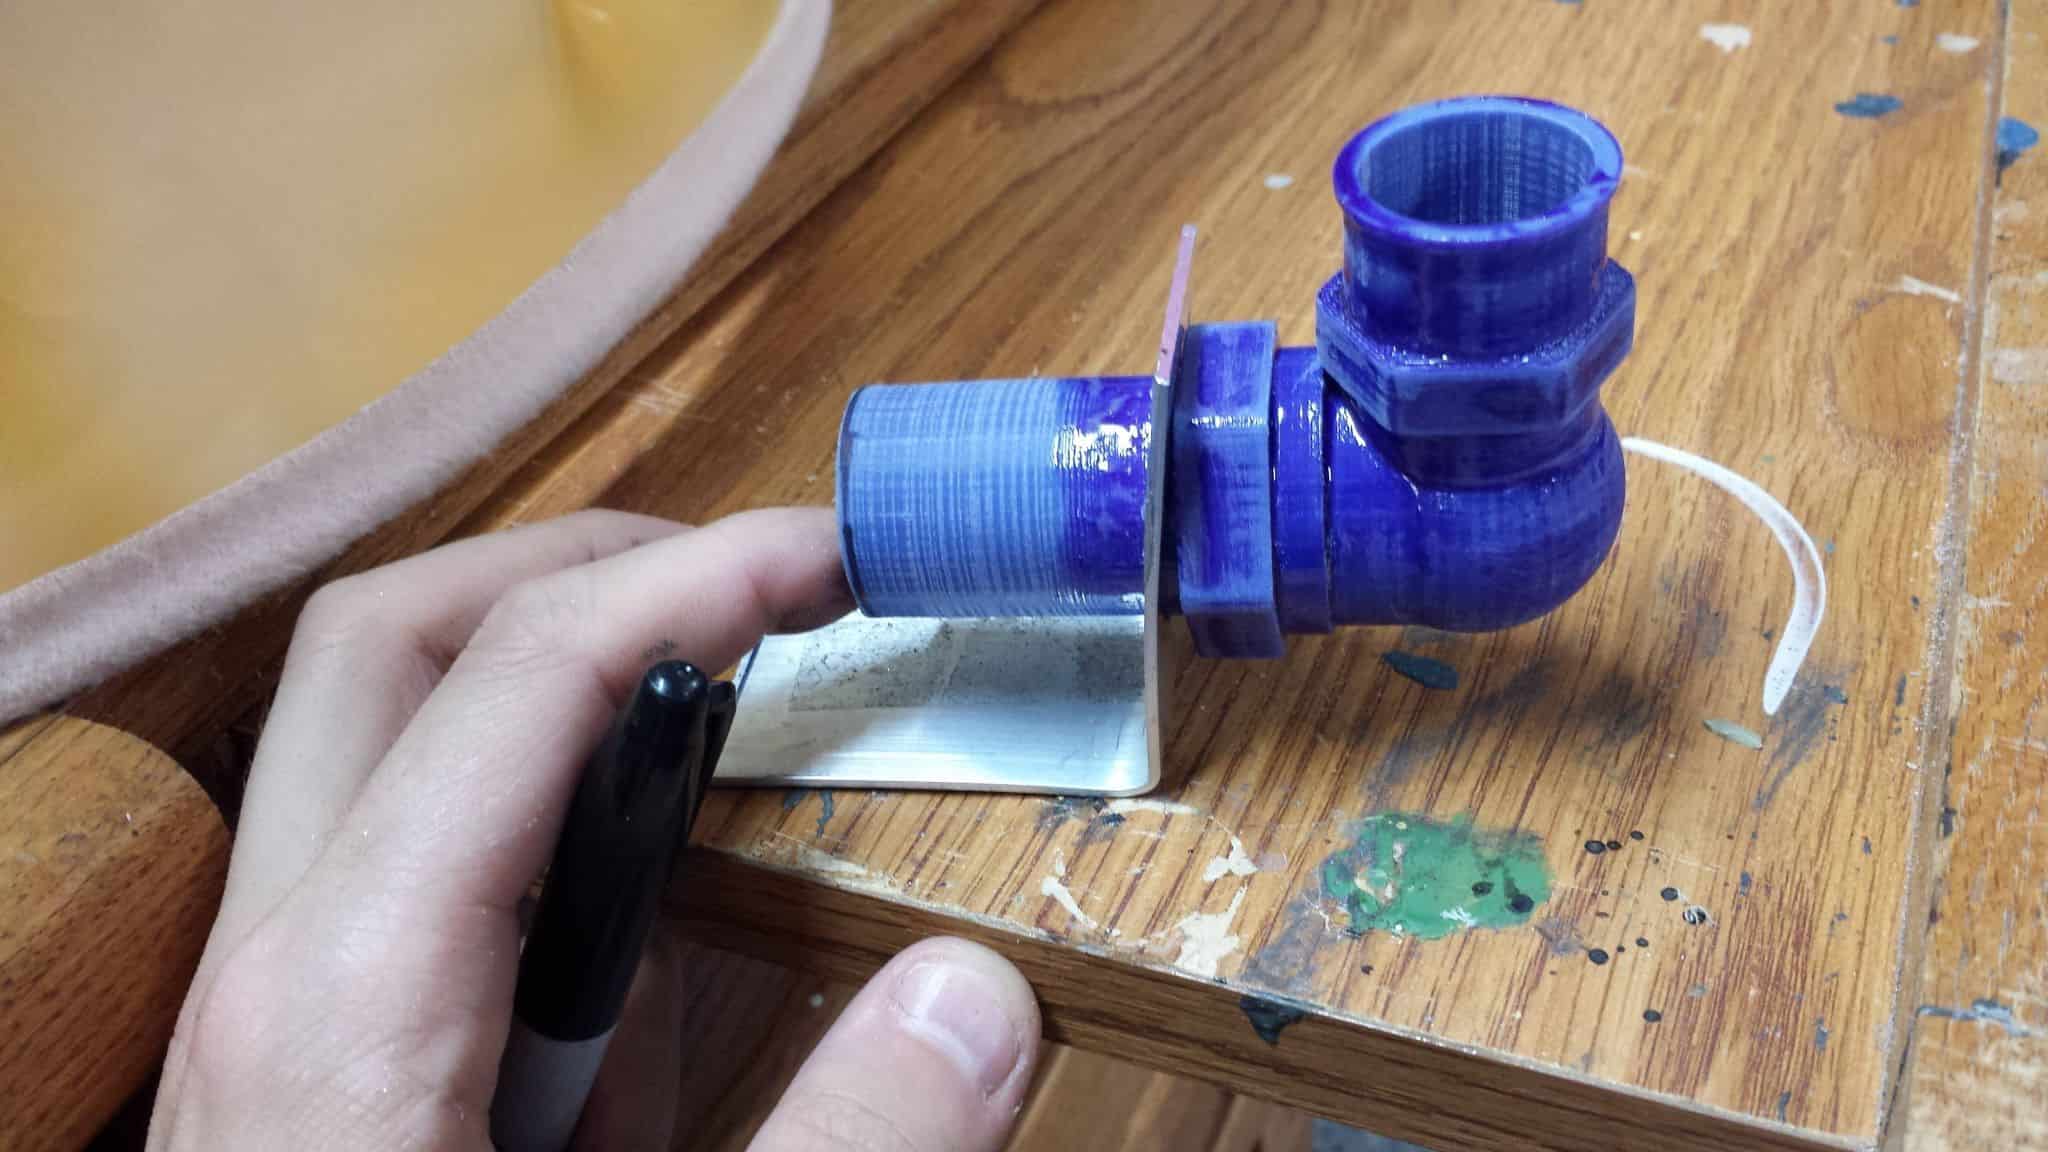
The frame is made of steel, but I also made some aluminum L-brackets to hold my fake 3d printed right angle air hose fittings.
Welding aluminum to steel is not happening with the welder I have available, so I’m going to have to settle for drilling some holes and securing these brackets to the frame with regular ol’ nuts and bolts.
Anyway, I am hoping that the frame I’ve made will be removable from the armor through three wing nuts (the one visible one mid-back, and two on either side of the “Y” shape under the airbag).
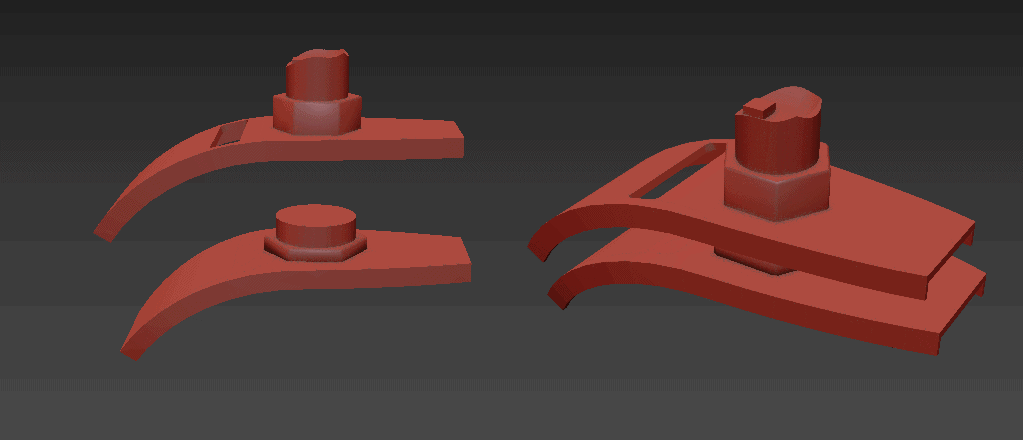
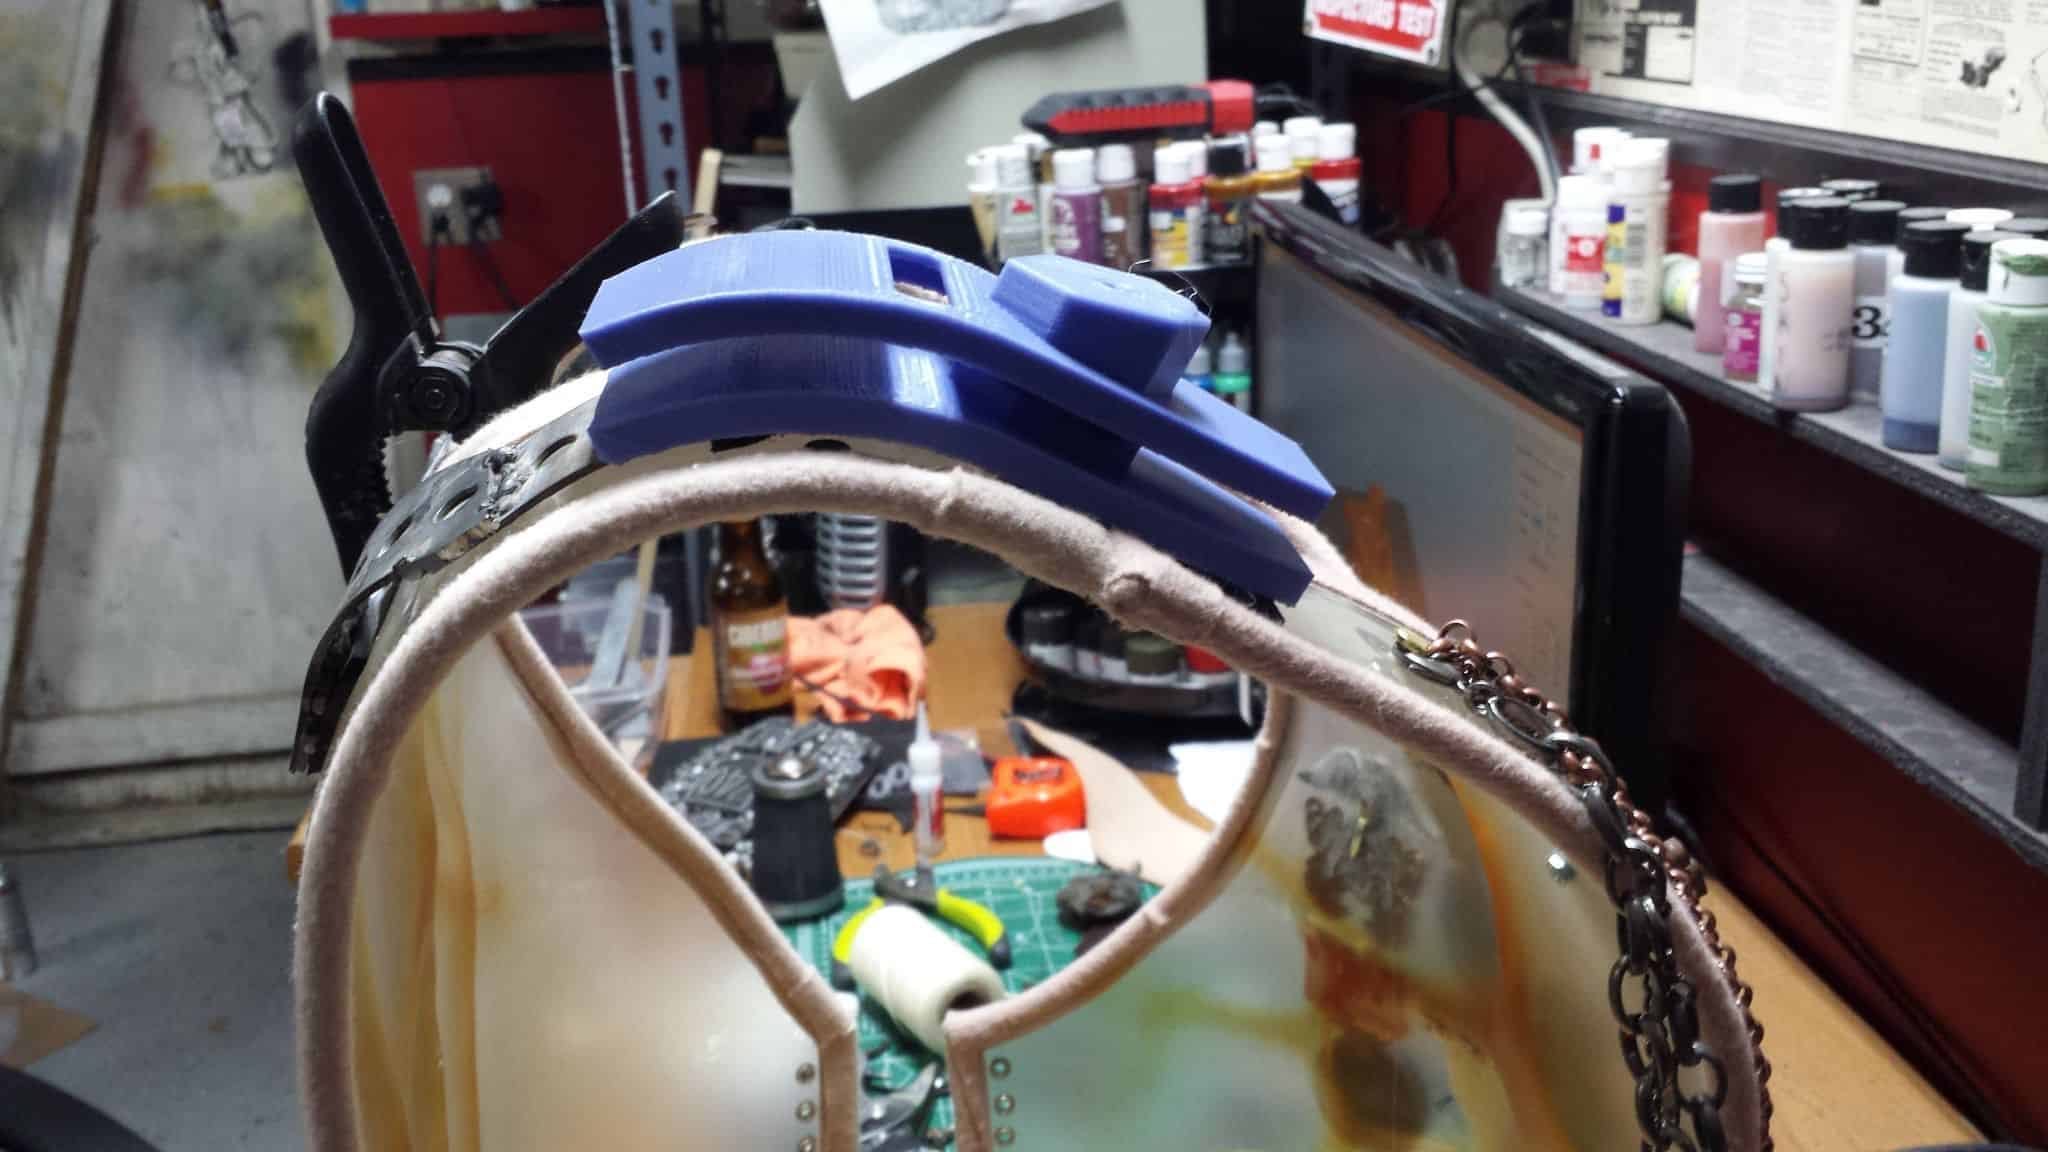
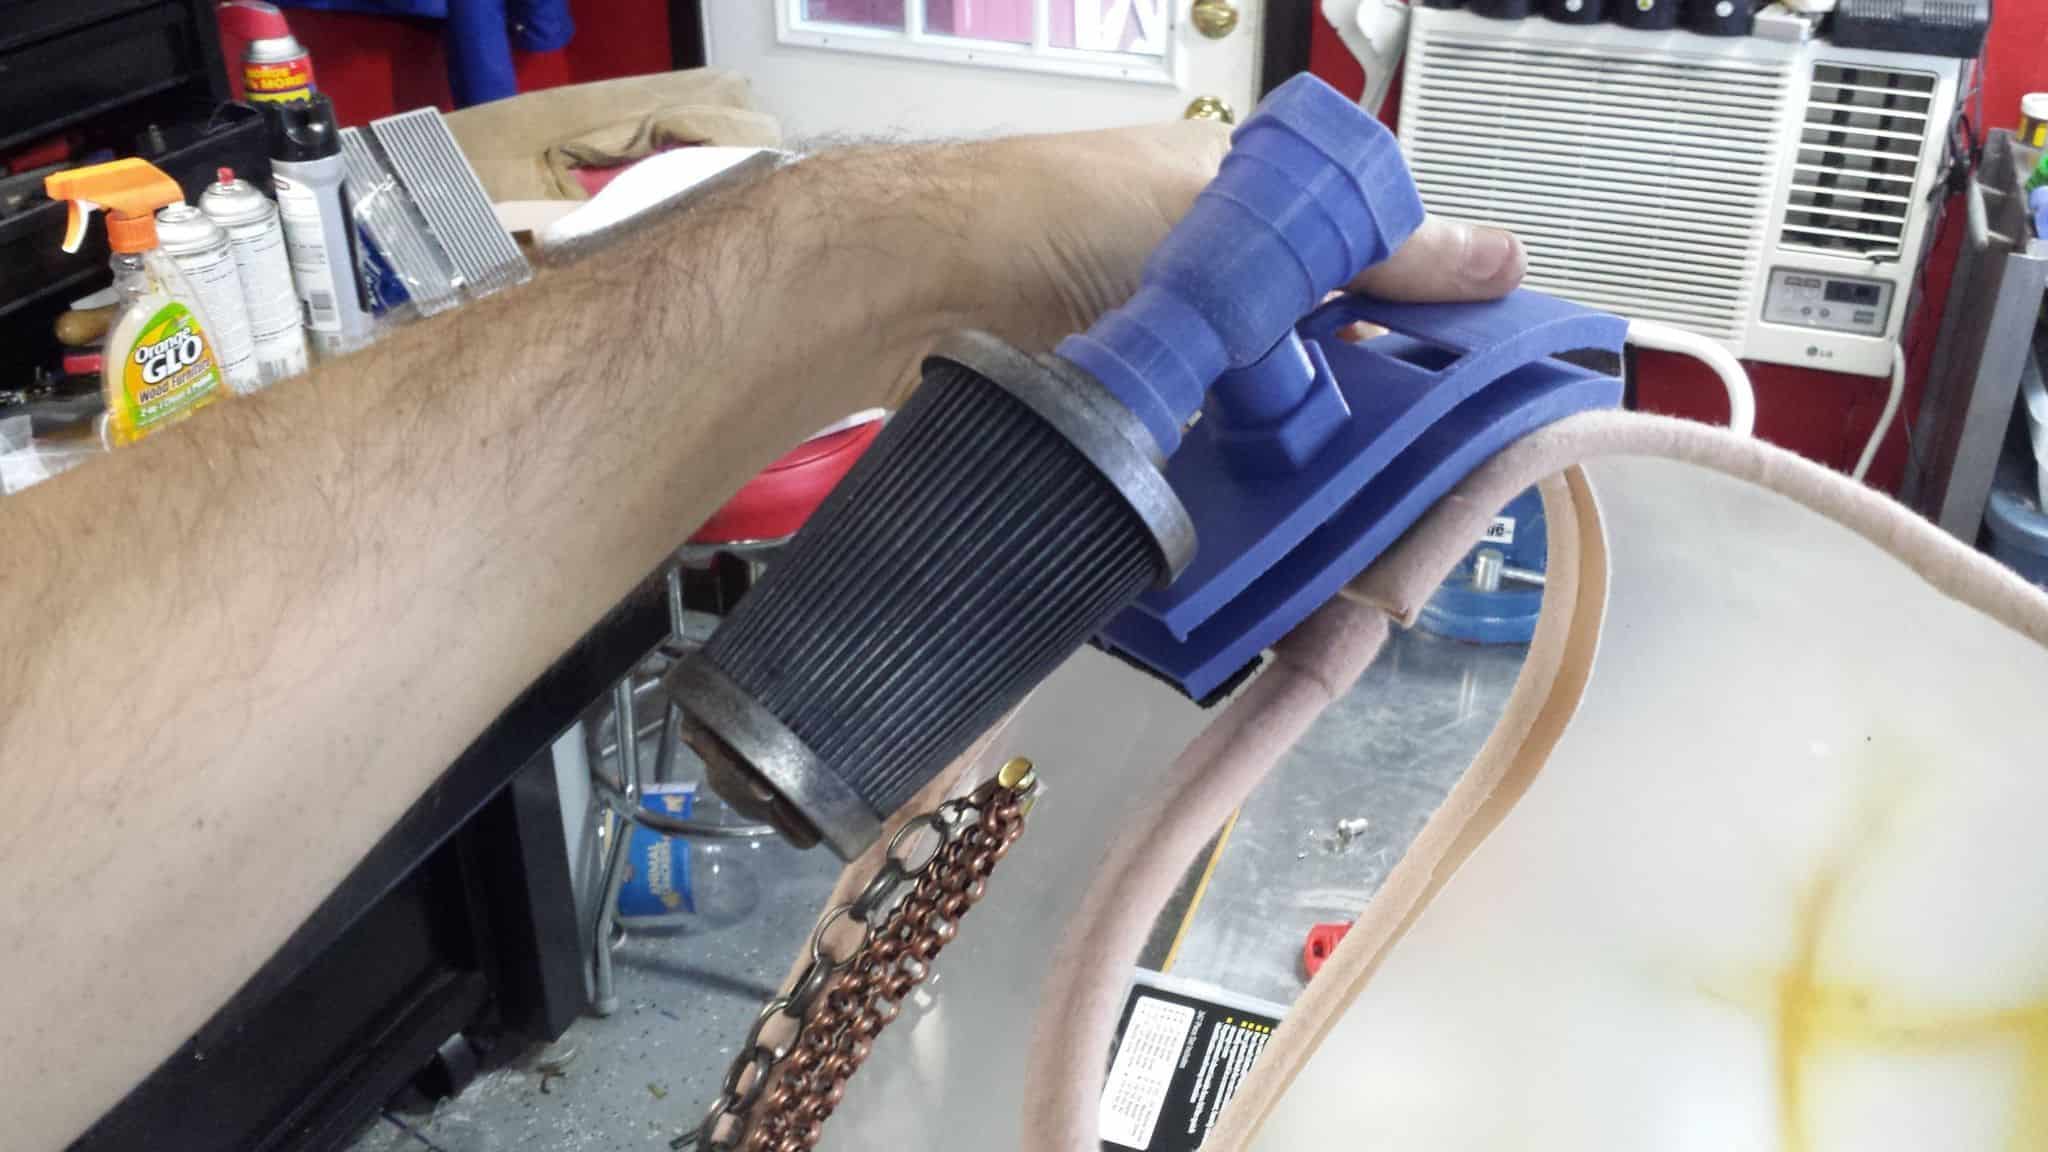
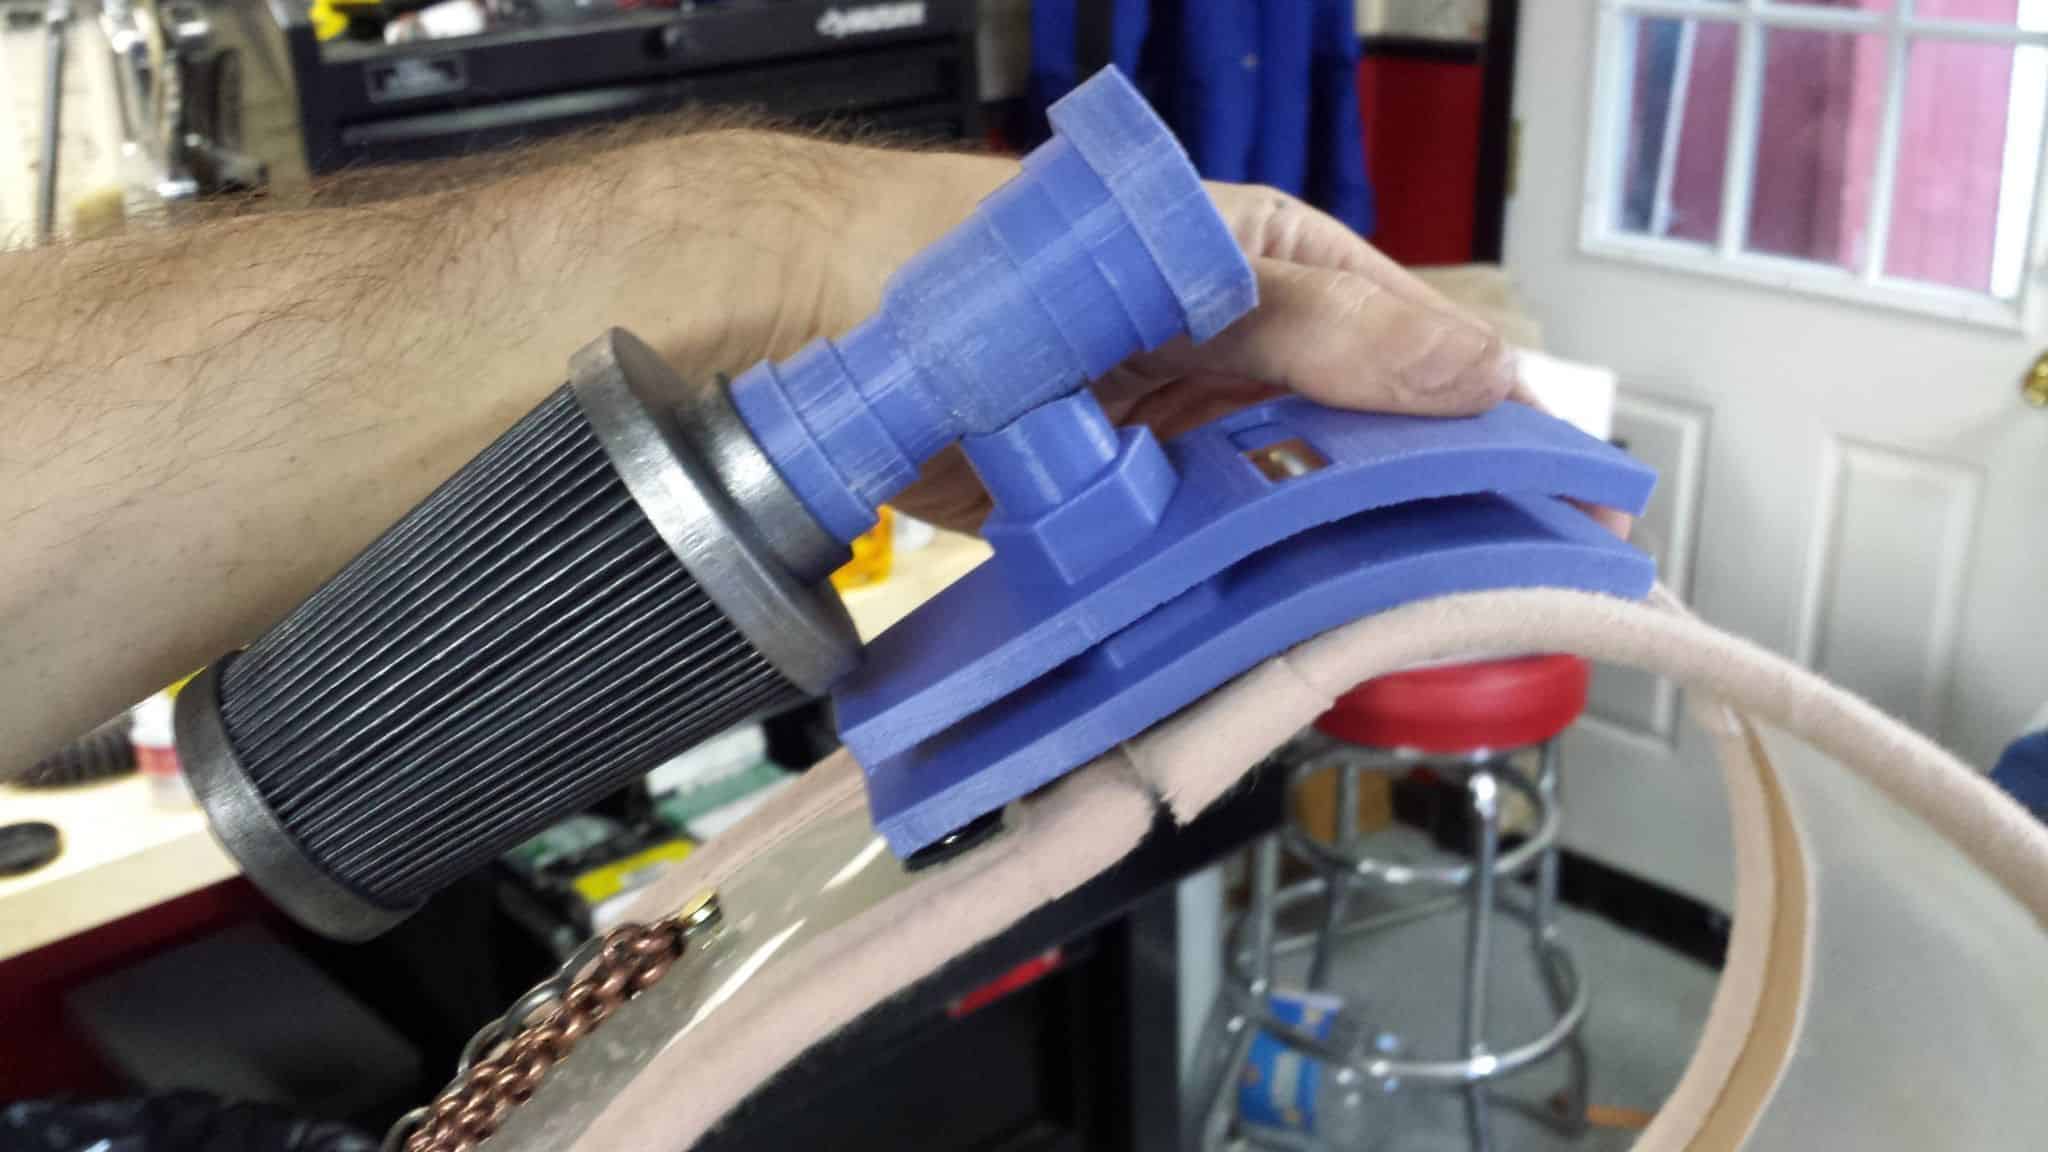
With the frame kinda roughly in the position I want it, my next problem was figuring out how to tackle the shoulder mounts where the air filter and front connectors sit. After debating a couple of ideas, I decided my best bet would be to use the crutch of 3d printing to solve the issue.
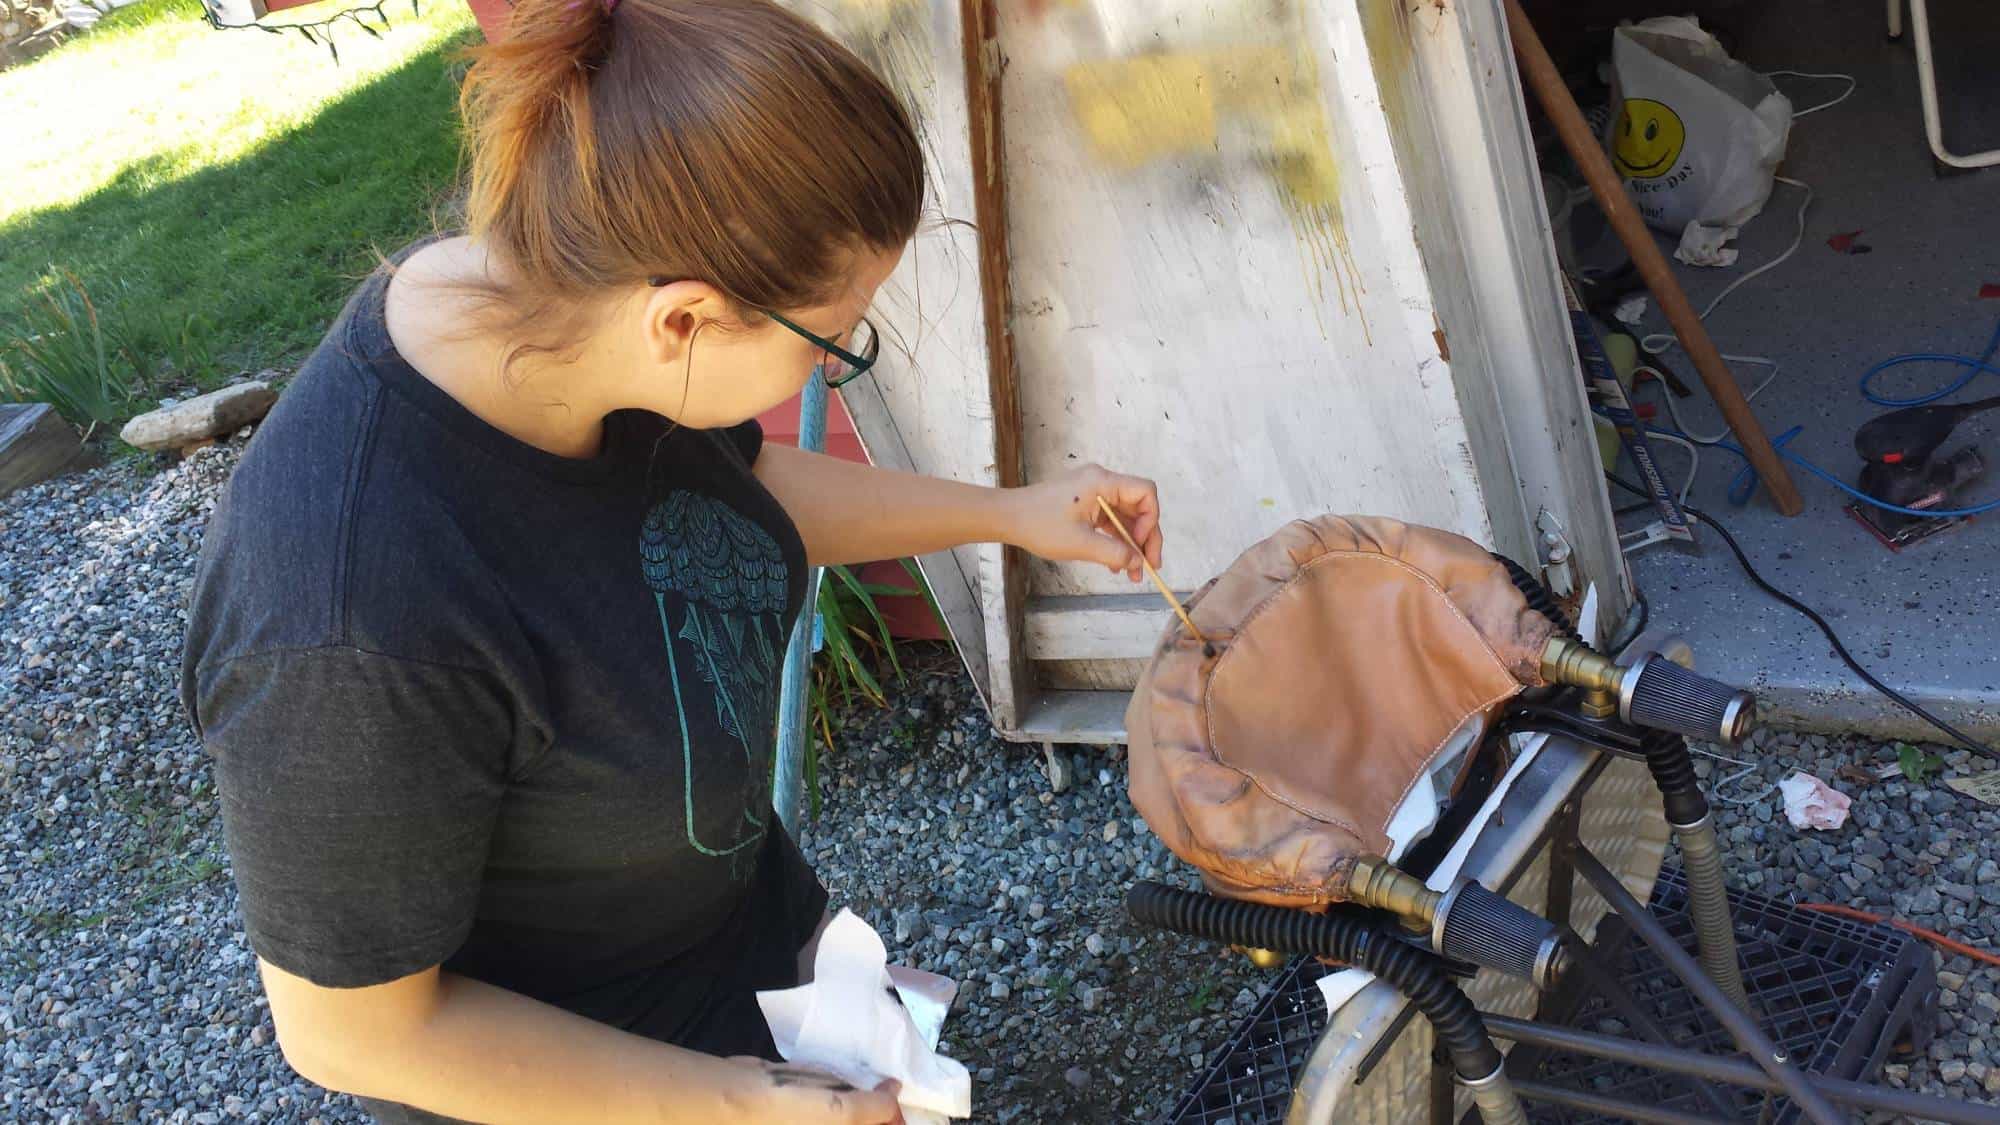
I designed these in quick-and-dirty fashion to solve the angles I had to cover, and printed them at rough resolution just to prototype things. The gap in the top plate behind where the pipe protrudes is designed to hopefully accept a hose clamp that will hold the gas mask hose against the part. The front air filter is just loosely friction-fitted onto the hose part for now, but it gets the point across.
Basically, I’m hoping this can be permanently attached to each prong of the Y-frame and serve as a stable mount to hang the extra weight of the bag and other necessary hardware. Since it’s such a simple part, I may just sand these rough-printed pieces a bunch, XTC-3D them, and paint them up as-is. More work to be done on this part in the next few days!
