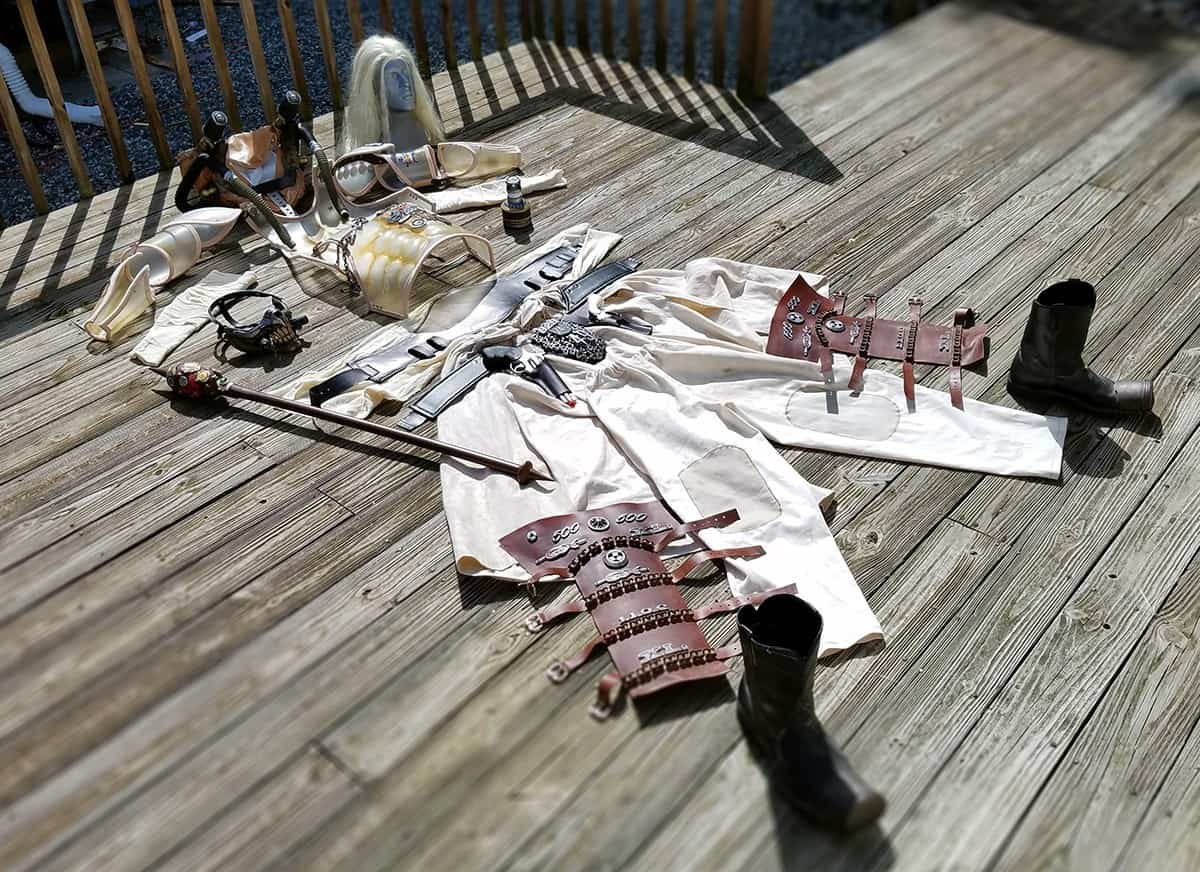
Finally made forward progress on the breastplate that wasn’t super duper frustrating.
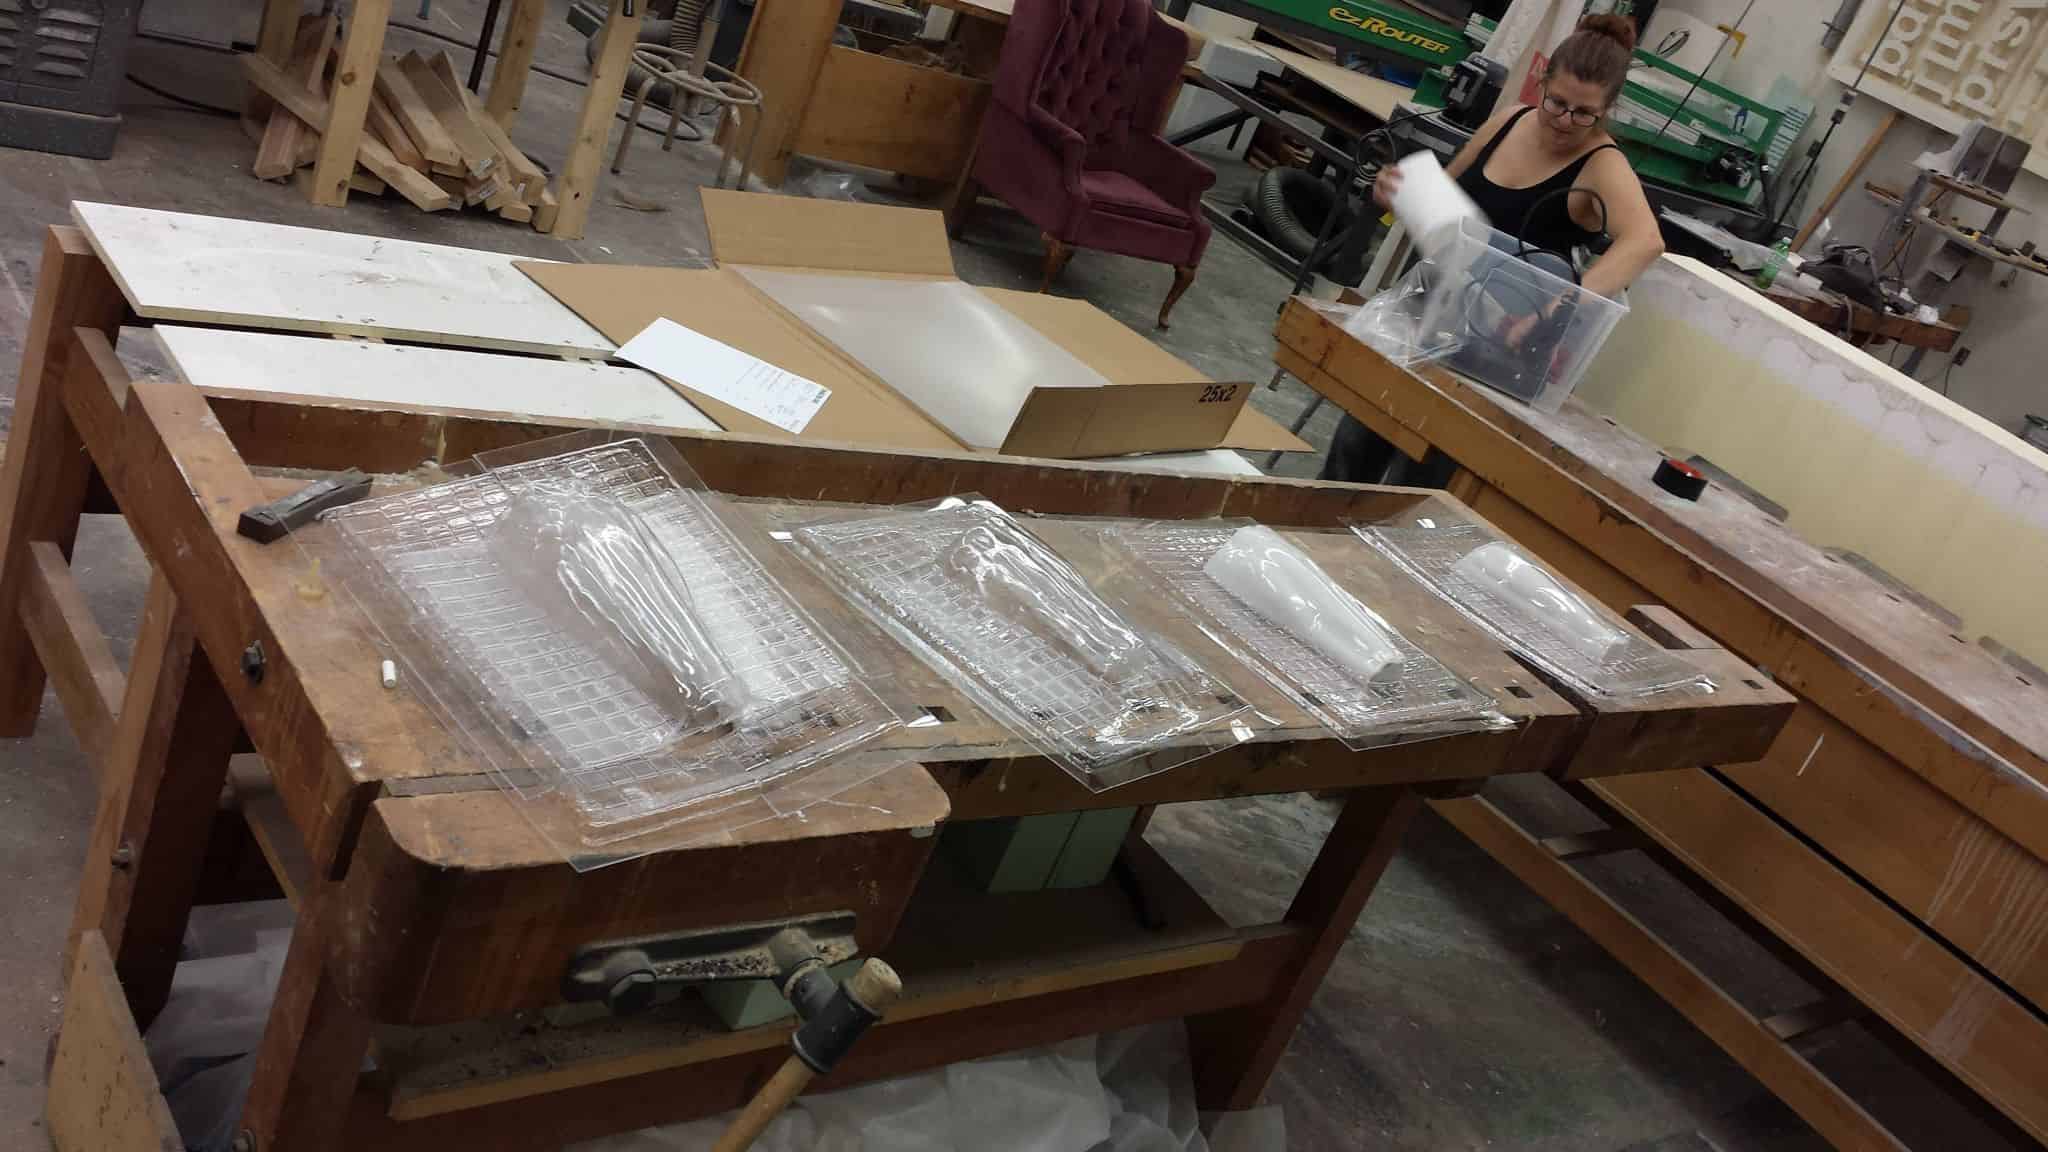
So I am using PETG sheeting in 1/16″ thickness. That’s .060″ thick, for reference. I saw TheRPF.com forums user Hamsterstyle was doing his in .040″ thickness, but McMaster Carr sells PETG sheeting for relatively cheap in 24 x 24″ sizes and with next-day shipping included, because they are an industrial supplier. Pretty rad stuff, in my opinion!
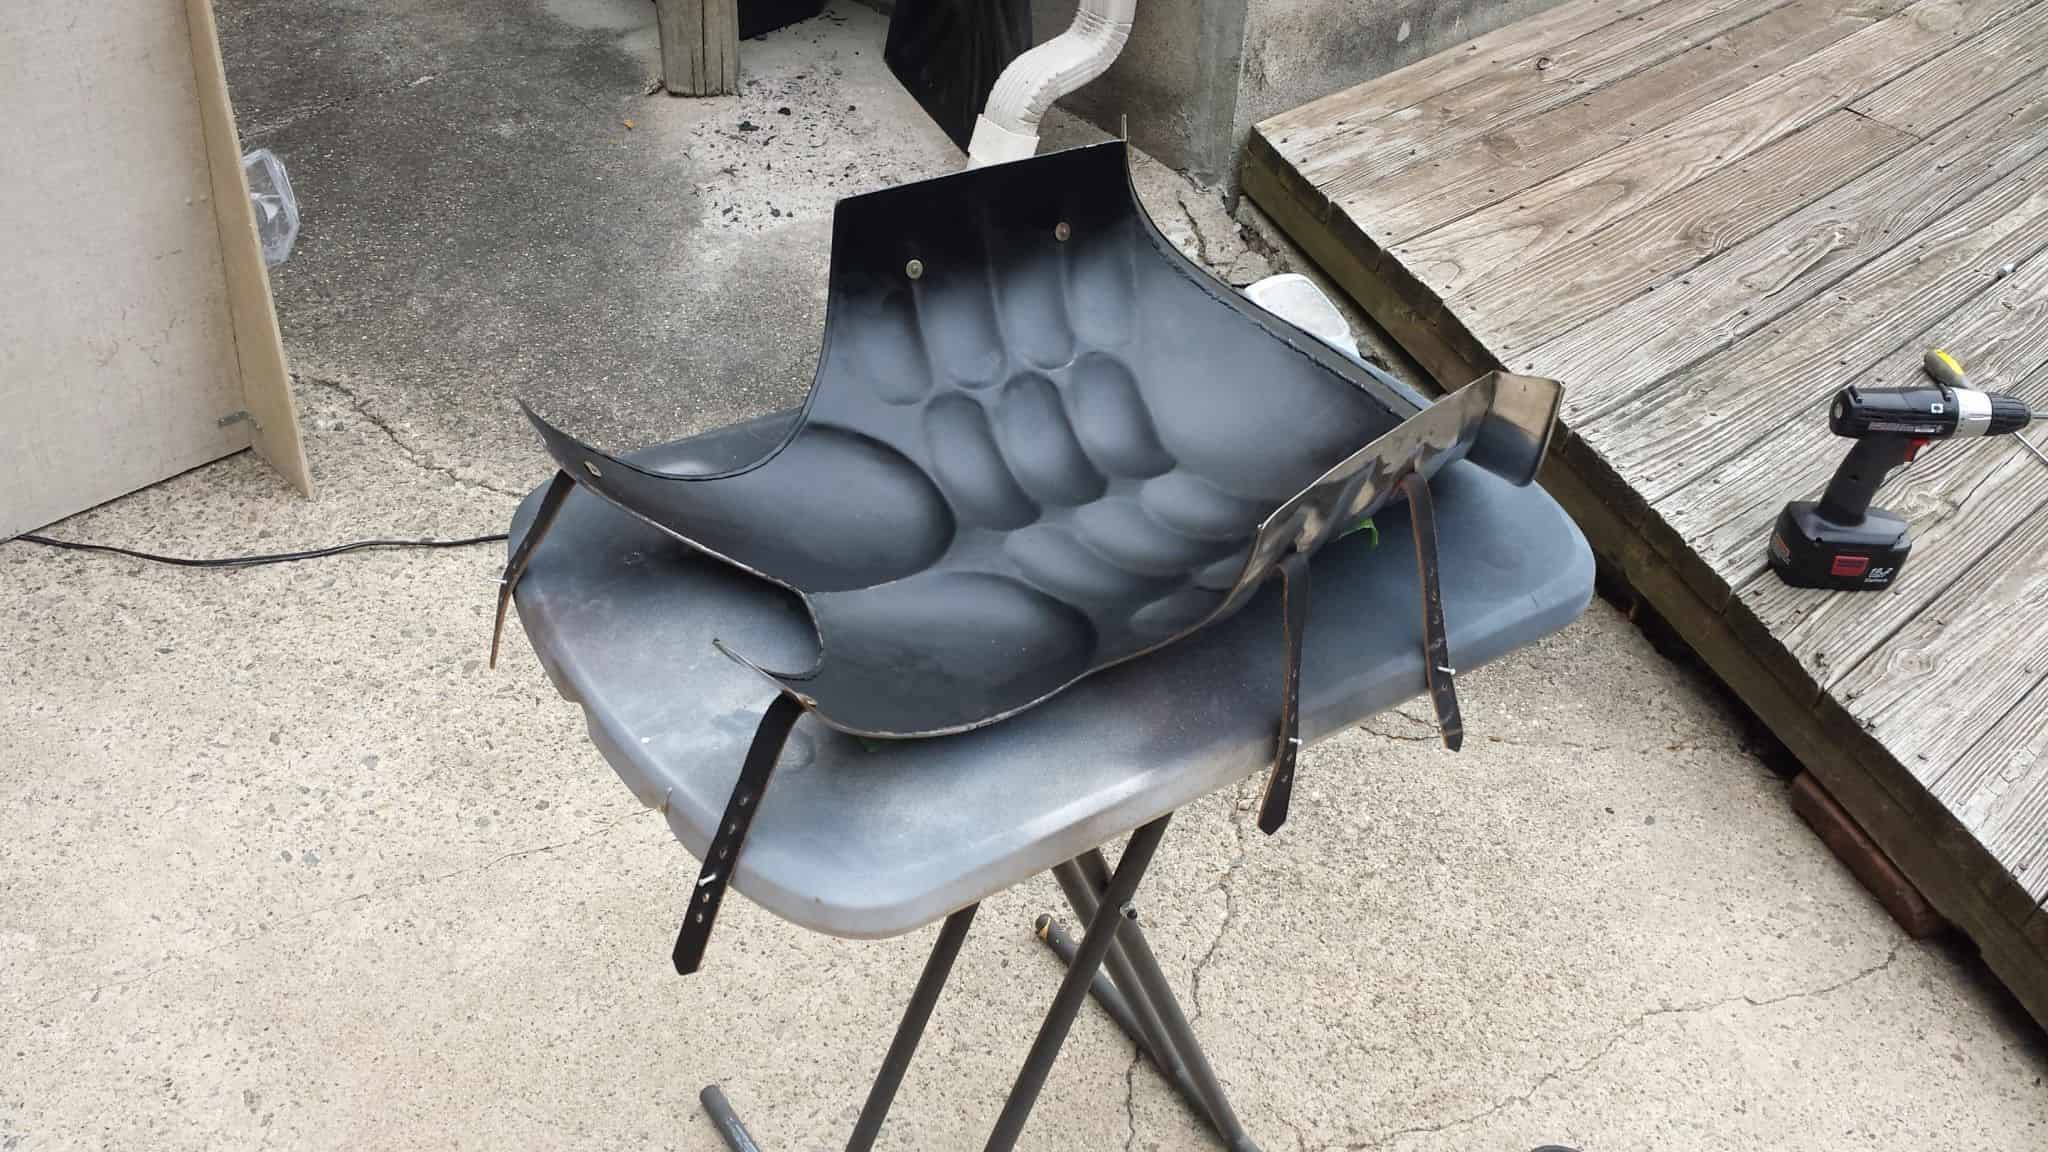
We tried forming the PETG by hand with a heatgun initially over Roman Muscle Armor we picked up off Amazon. This stuff ain’t exactly screen-accurate musculature (and I have a plan for redoing the breastplate down the line in a more screen accurate fashion) but for our immediate purposes it works okay as a buck. We immediately had an awful time trying to form the complex curves on the breastplate by hand – things kept folding over, creasing, and generally being a monstrous pain to work with and get a clean finish.
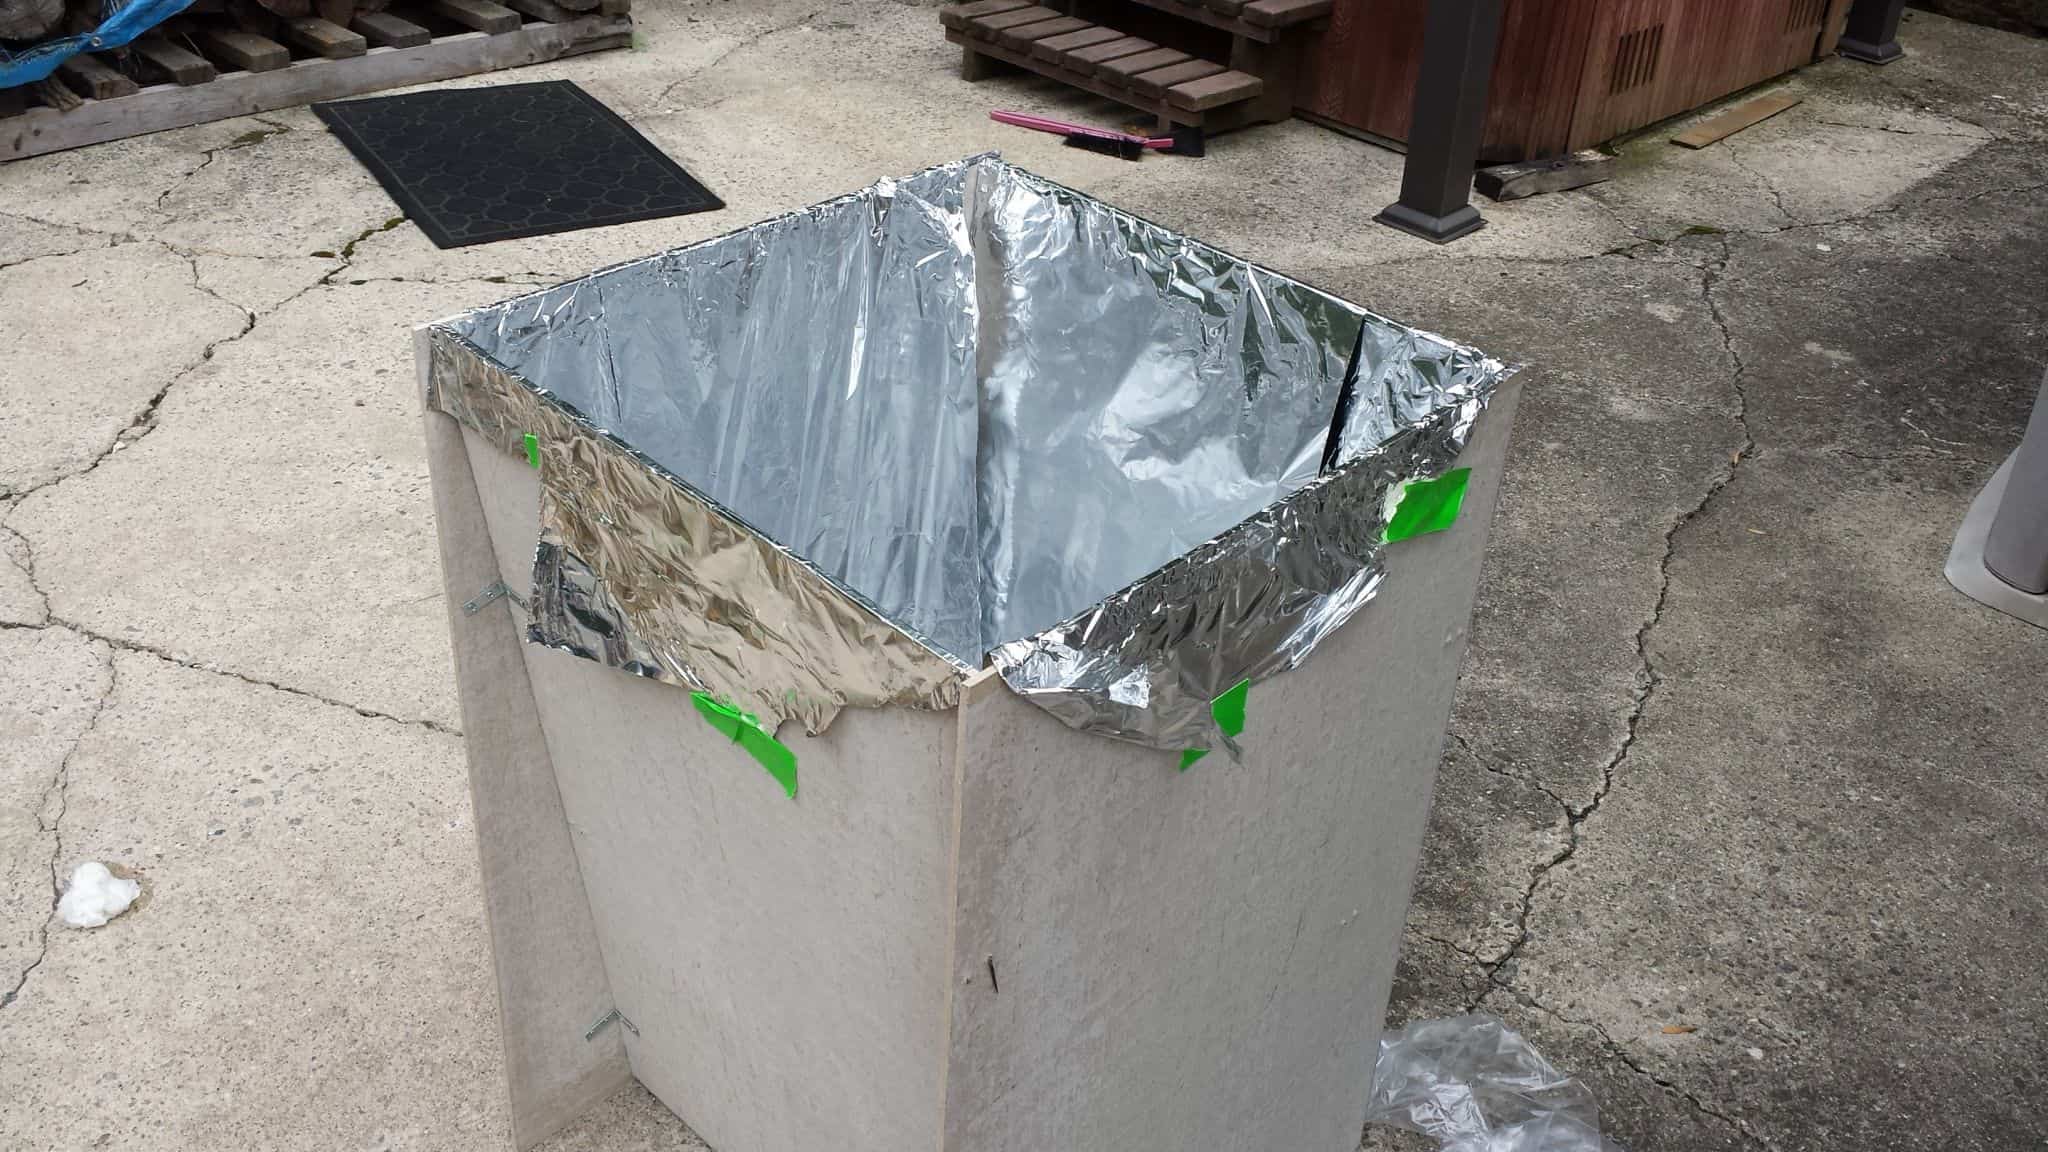
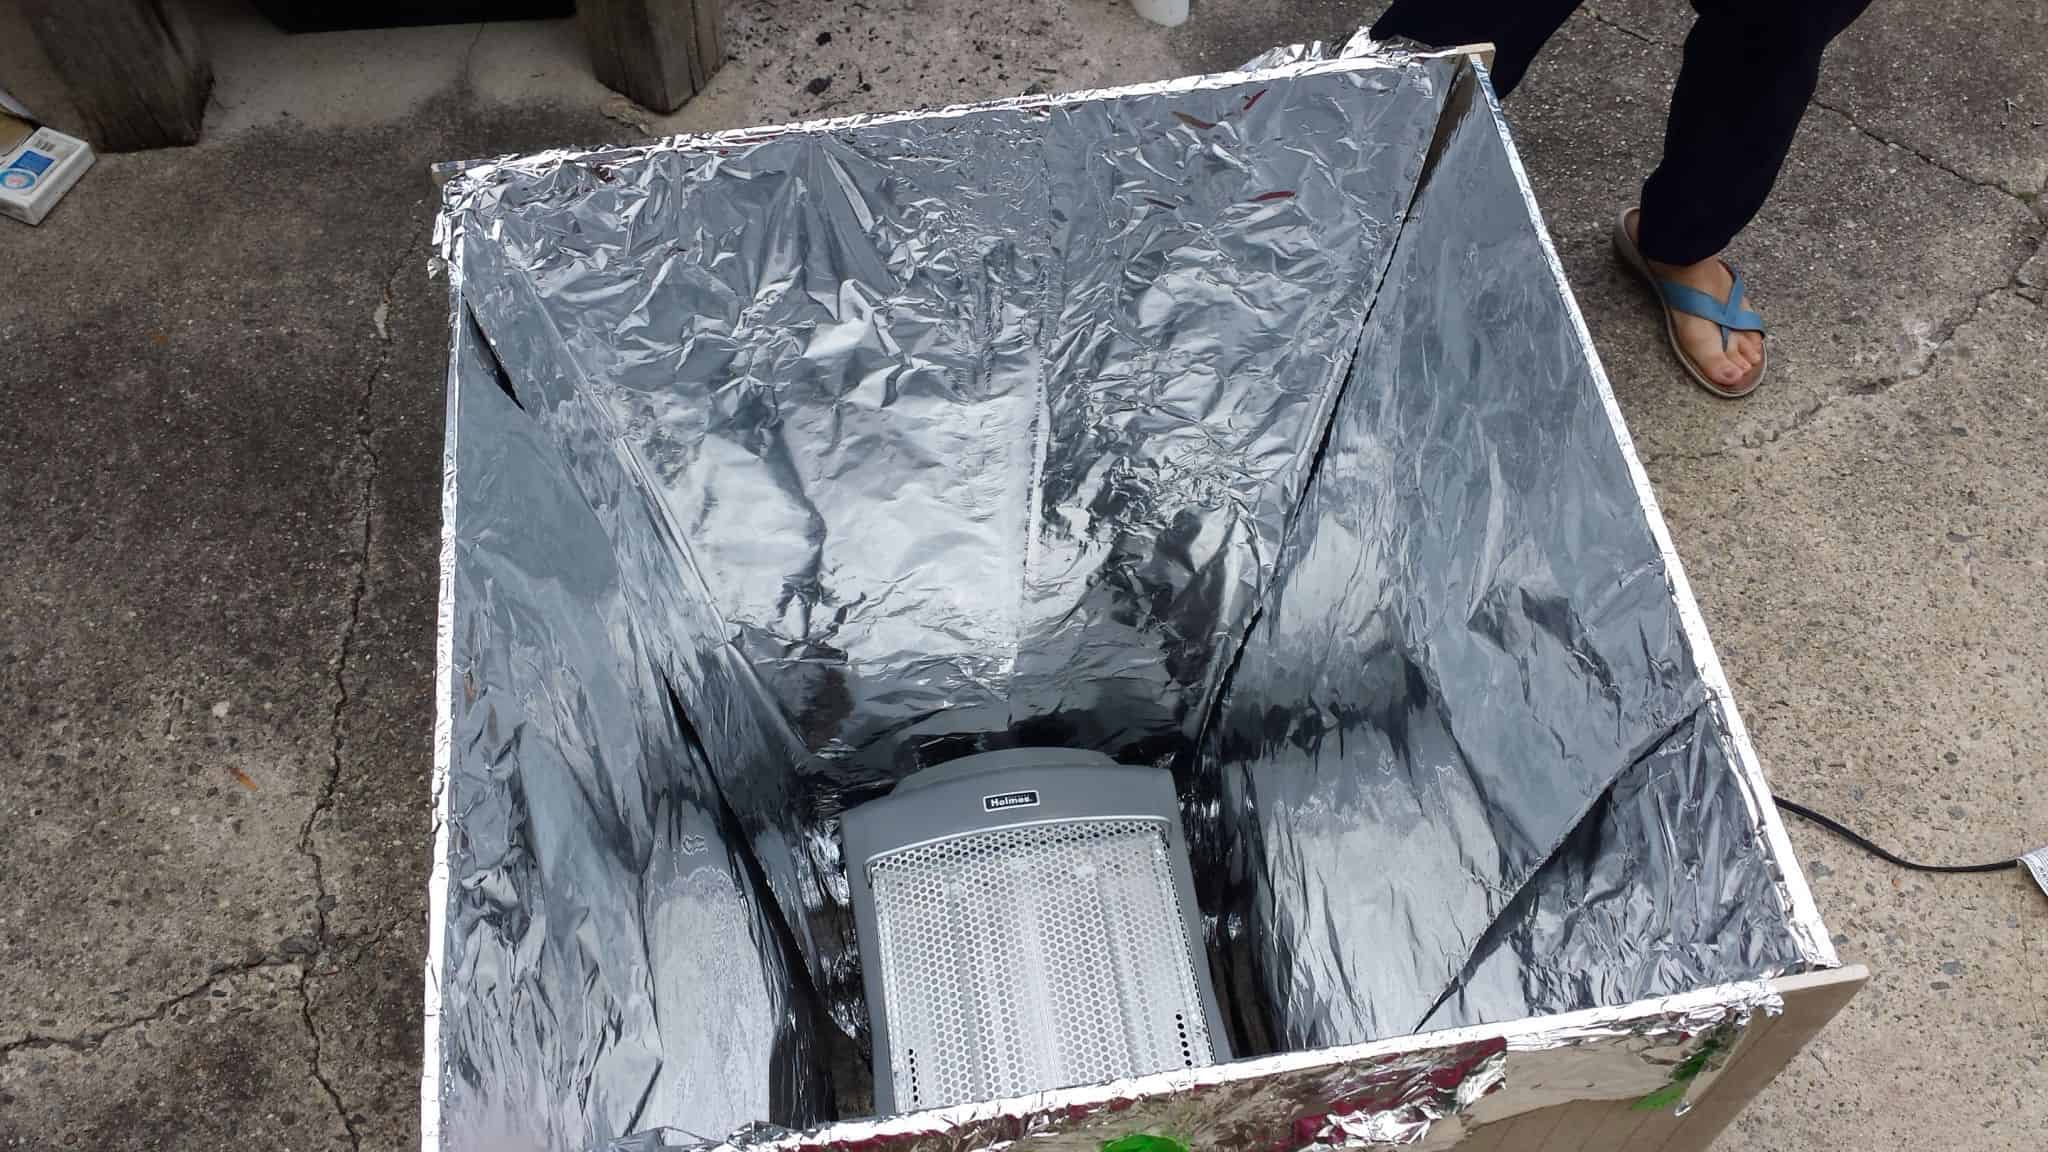
I had a lot of the 1/16″ PETG around and it seemed unworkably thick, but I had an idea to try and salvage it borrowed from a rather clever video I had seen Xrobots.co.uk put up about vacuforming. Specifically, he made a sort of homemade oven with an indoor quartz home heater, tin foil, and some hardback. I made a quick run to the hardware store, bought some HardieBacker cement board, and built up a quick… funnel? Kinda. I then lined it in tin foil and chucked a desk heater I had in the attic into the bottom and… well, ta-da! Quasi-vacuform oven.
I actually had to disassemble the heater first, because it has sensors inside to detect if it has fallen over and shuts itself off to prevent a fire. The tinfoil lining is, in theory, to make sure the heat is redirected up onto the plastic. I built the opening at the top as a 23″ x 23″ square so I could just tape the plastic down over the edges and let it warm up. The theory behind this is hopefully straightforward – I wanted to heat the plastic, let it develop a droop or sag, then plunk it down into the armor quickly and shape the large complex curves out while it was still hot. If that worked, I could then heatgun the individual muscle outlines and develop the rest by hand.
I used the straps from the roman armor to basically vivisect the thing down to the table and got to work while the plastic was heating.
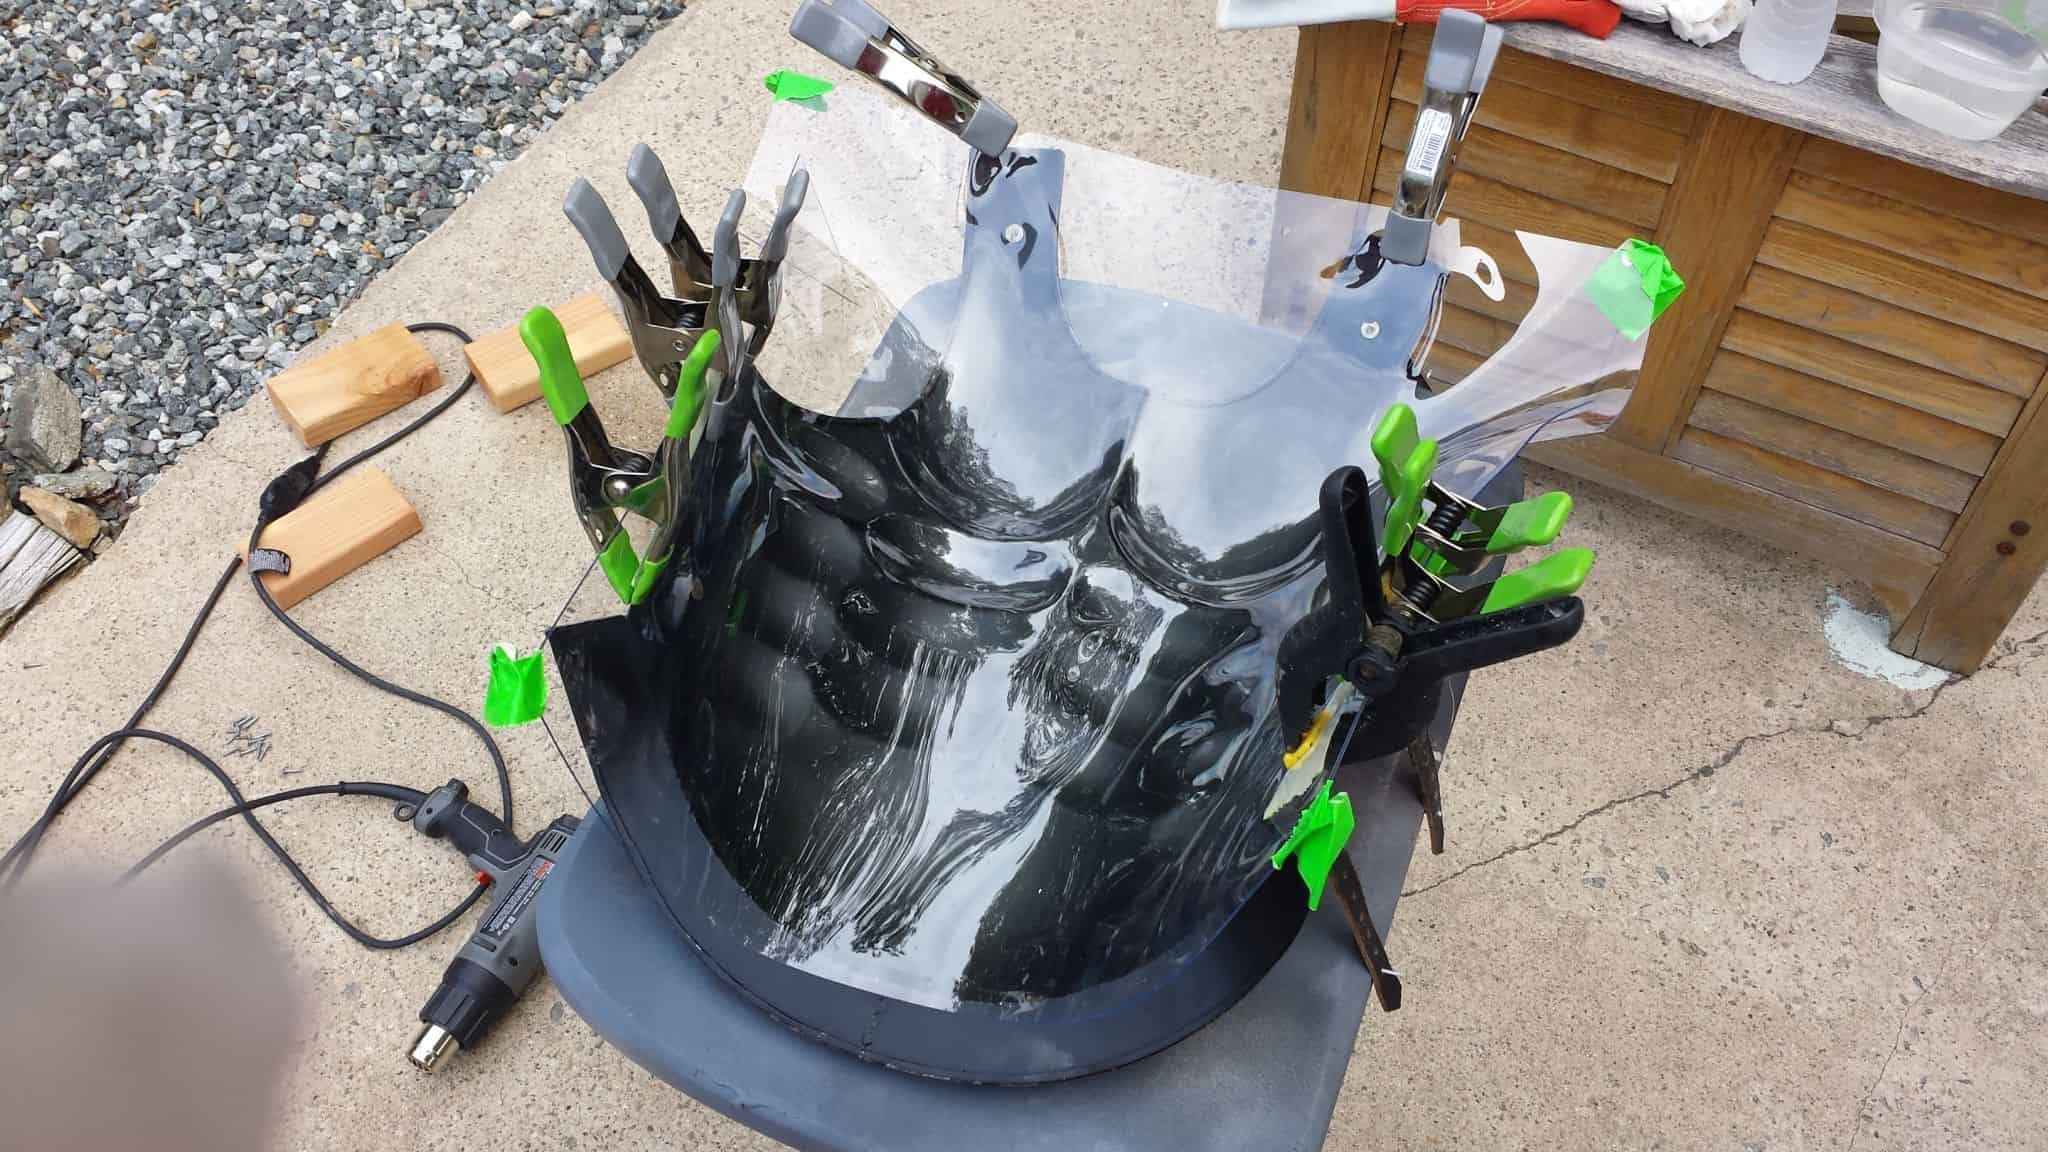
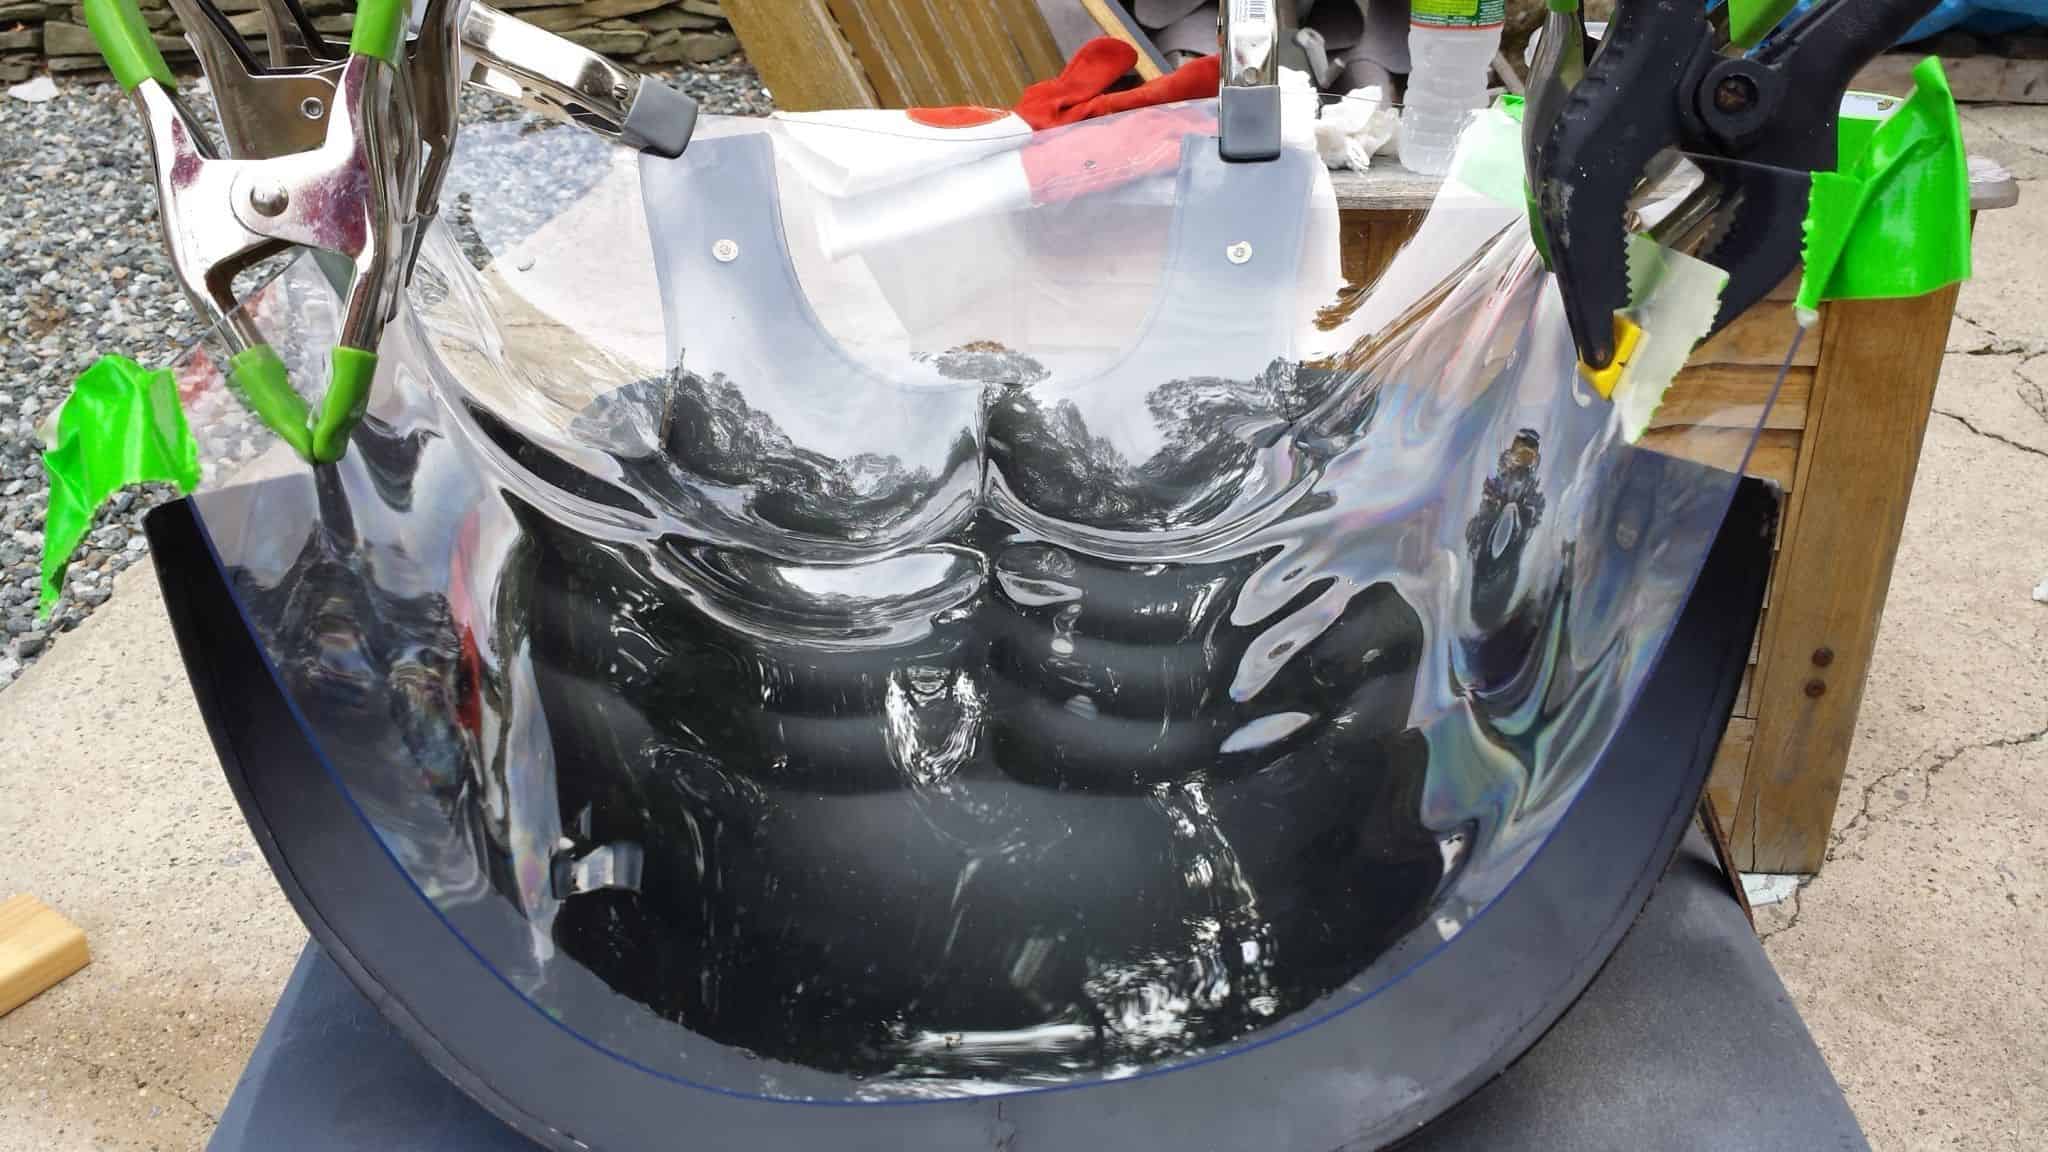
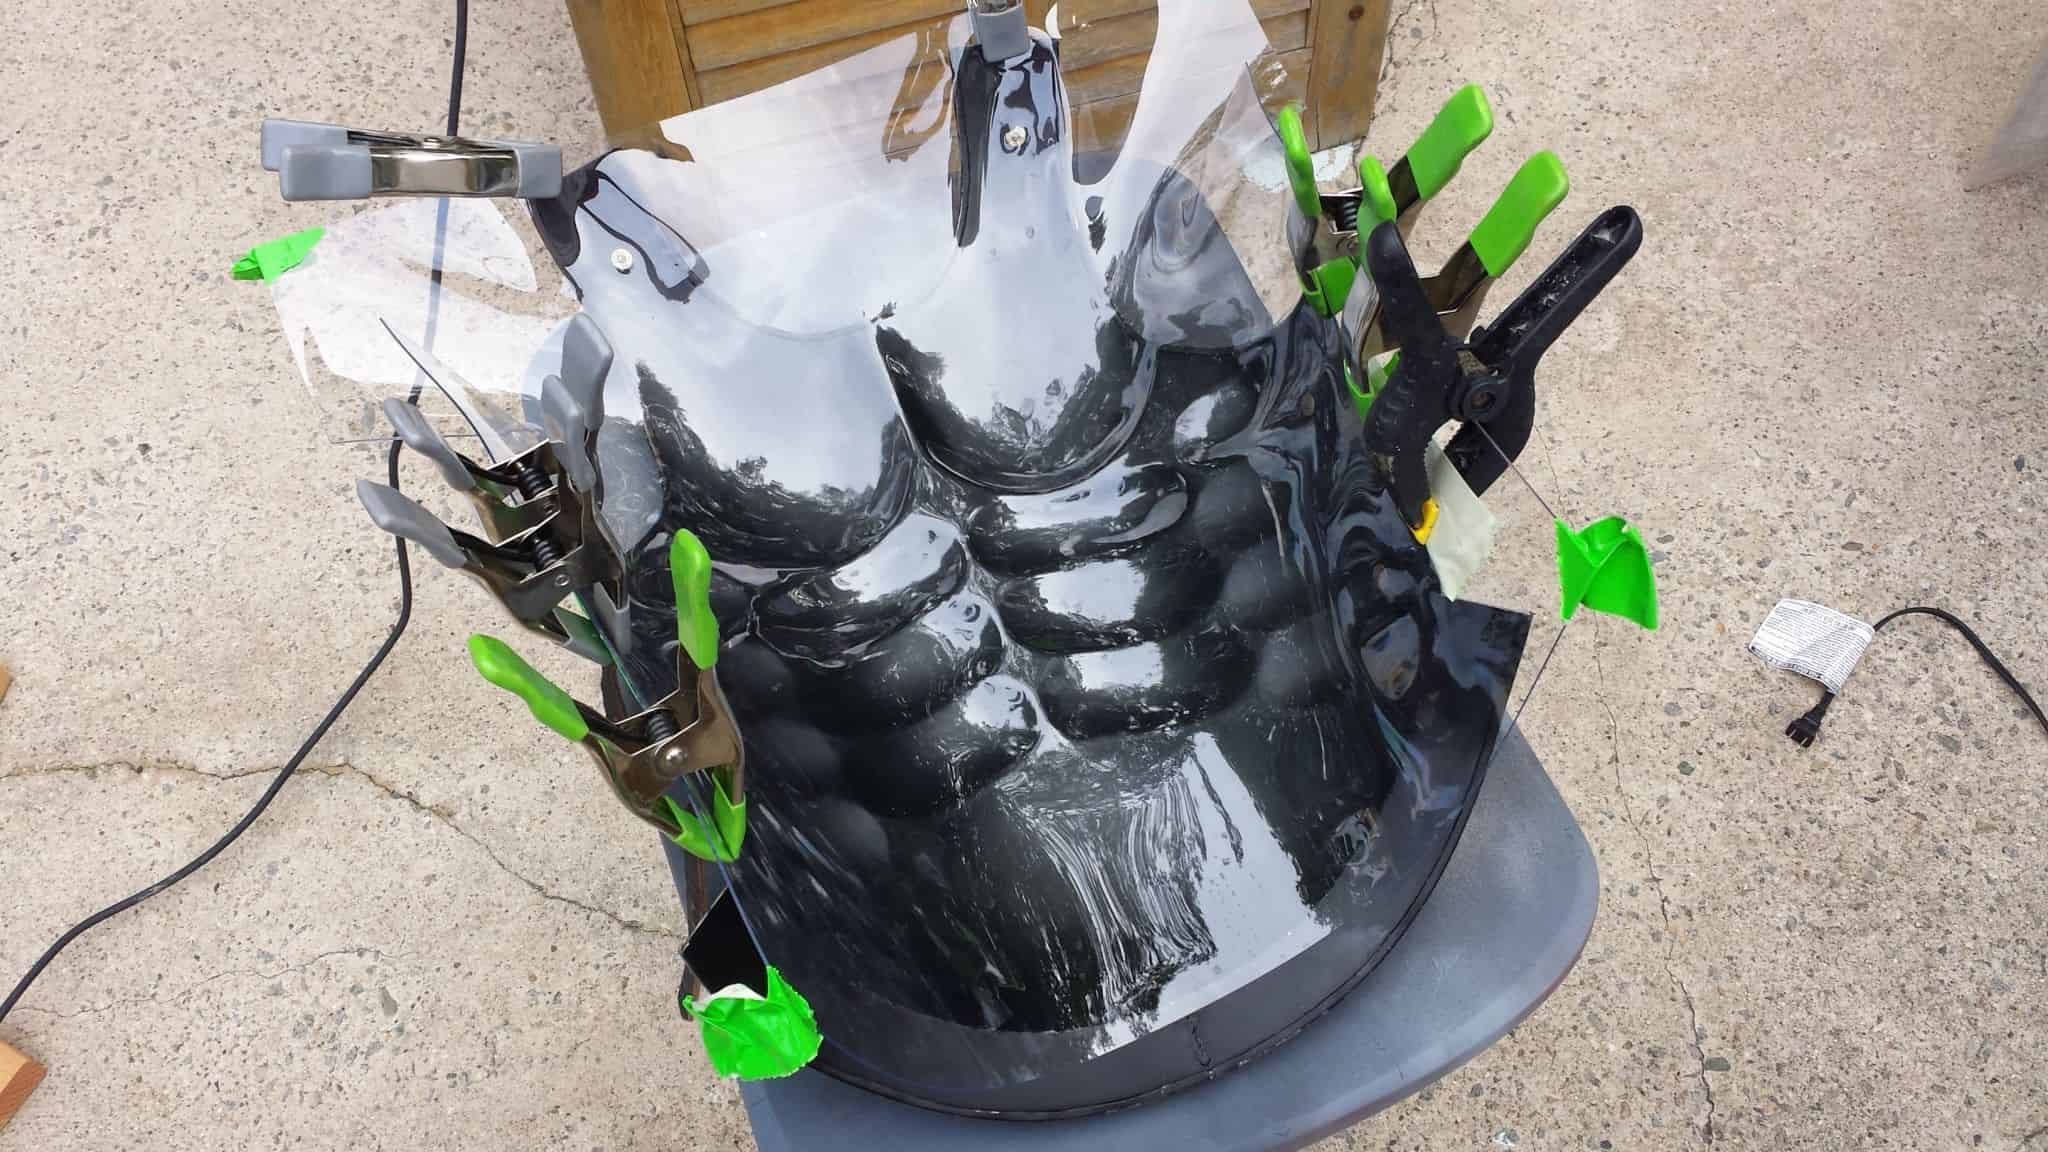
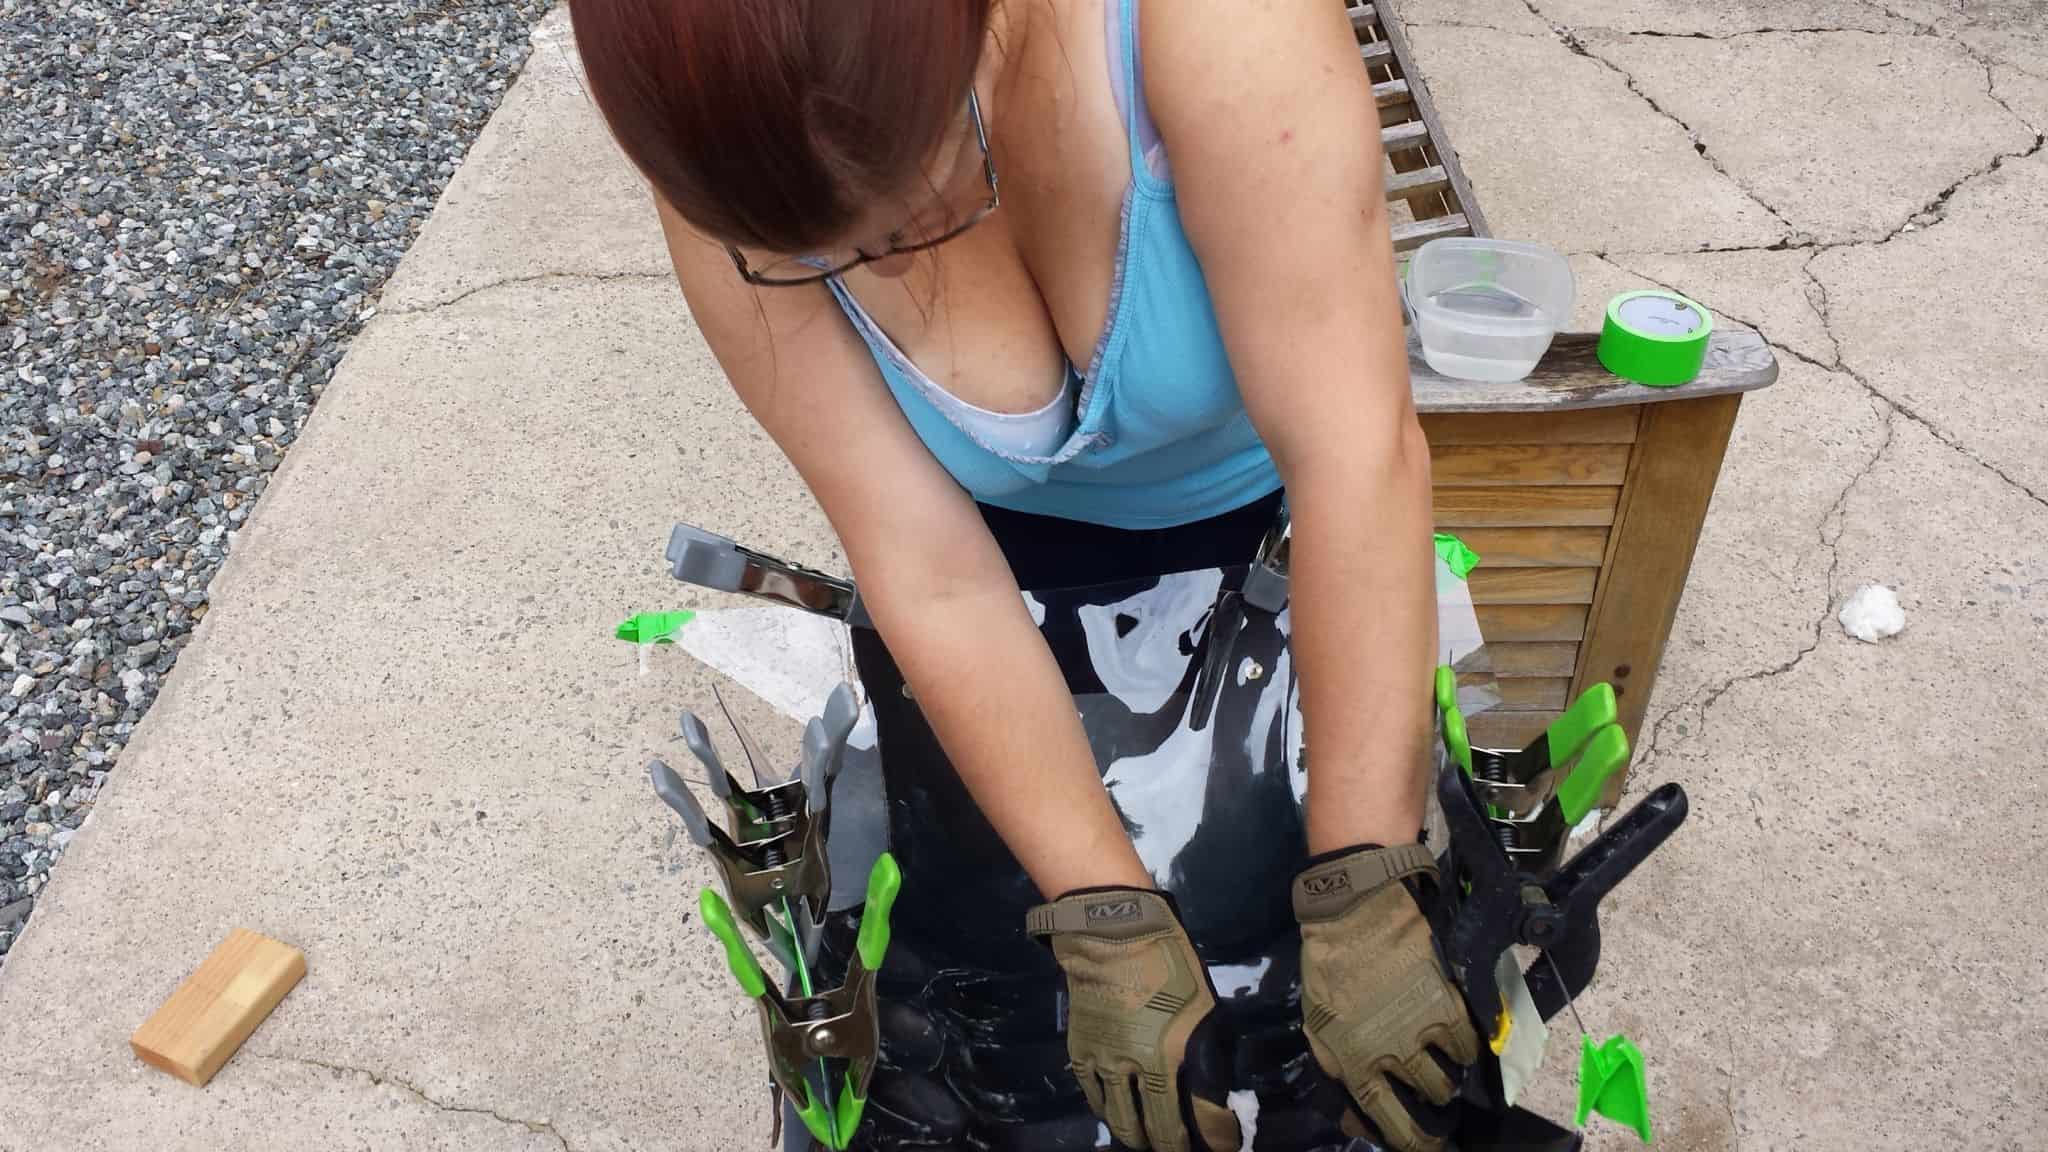
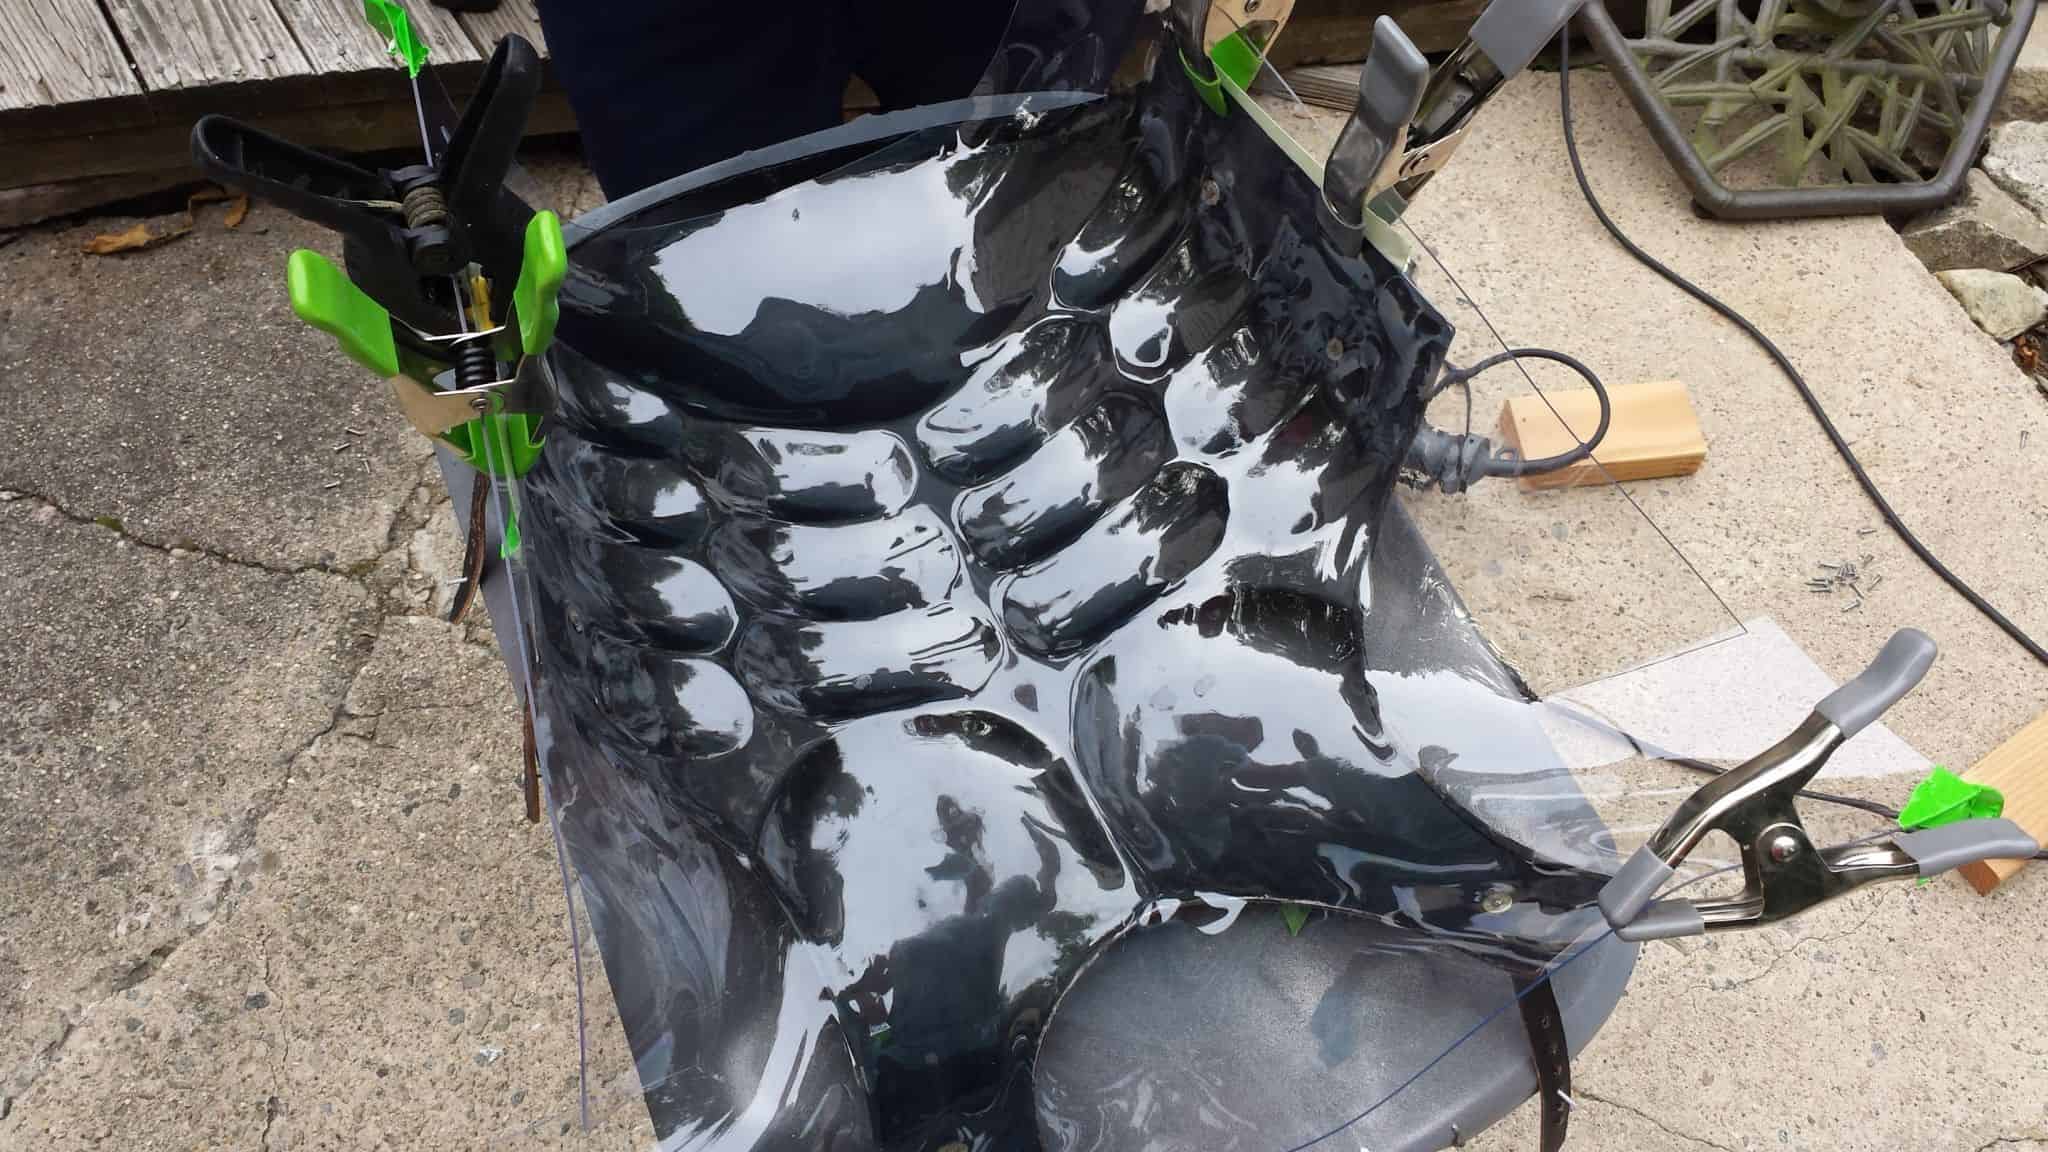
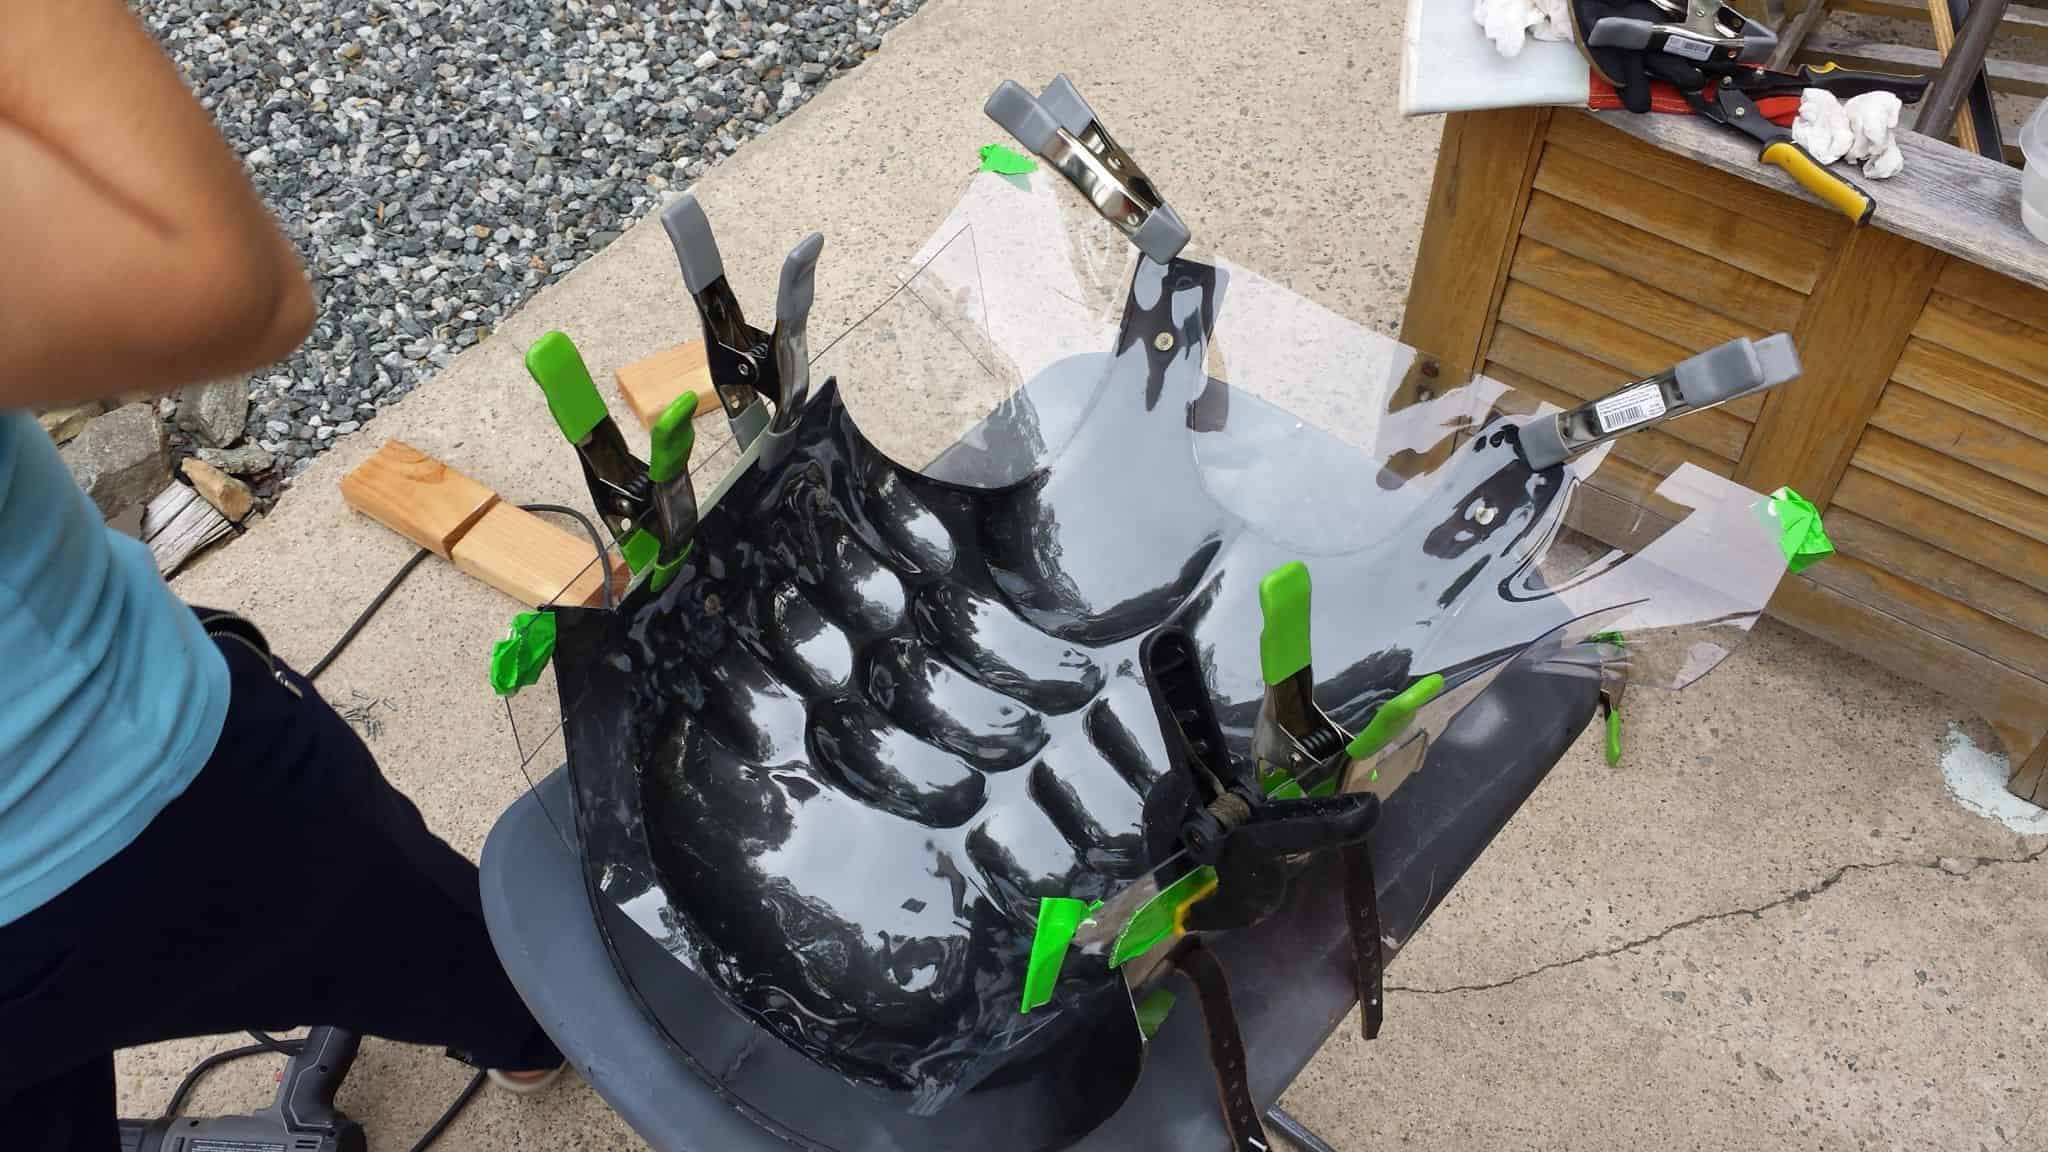
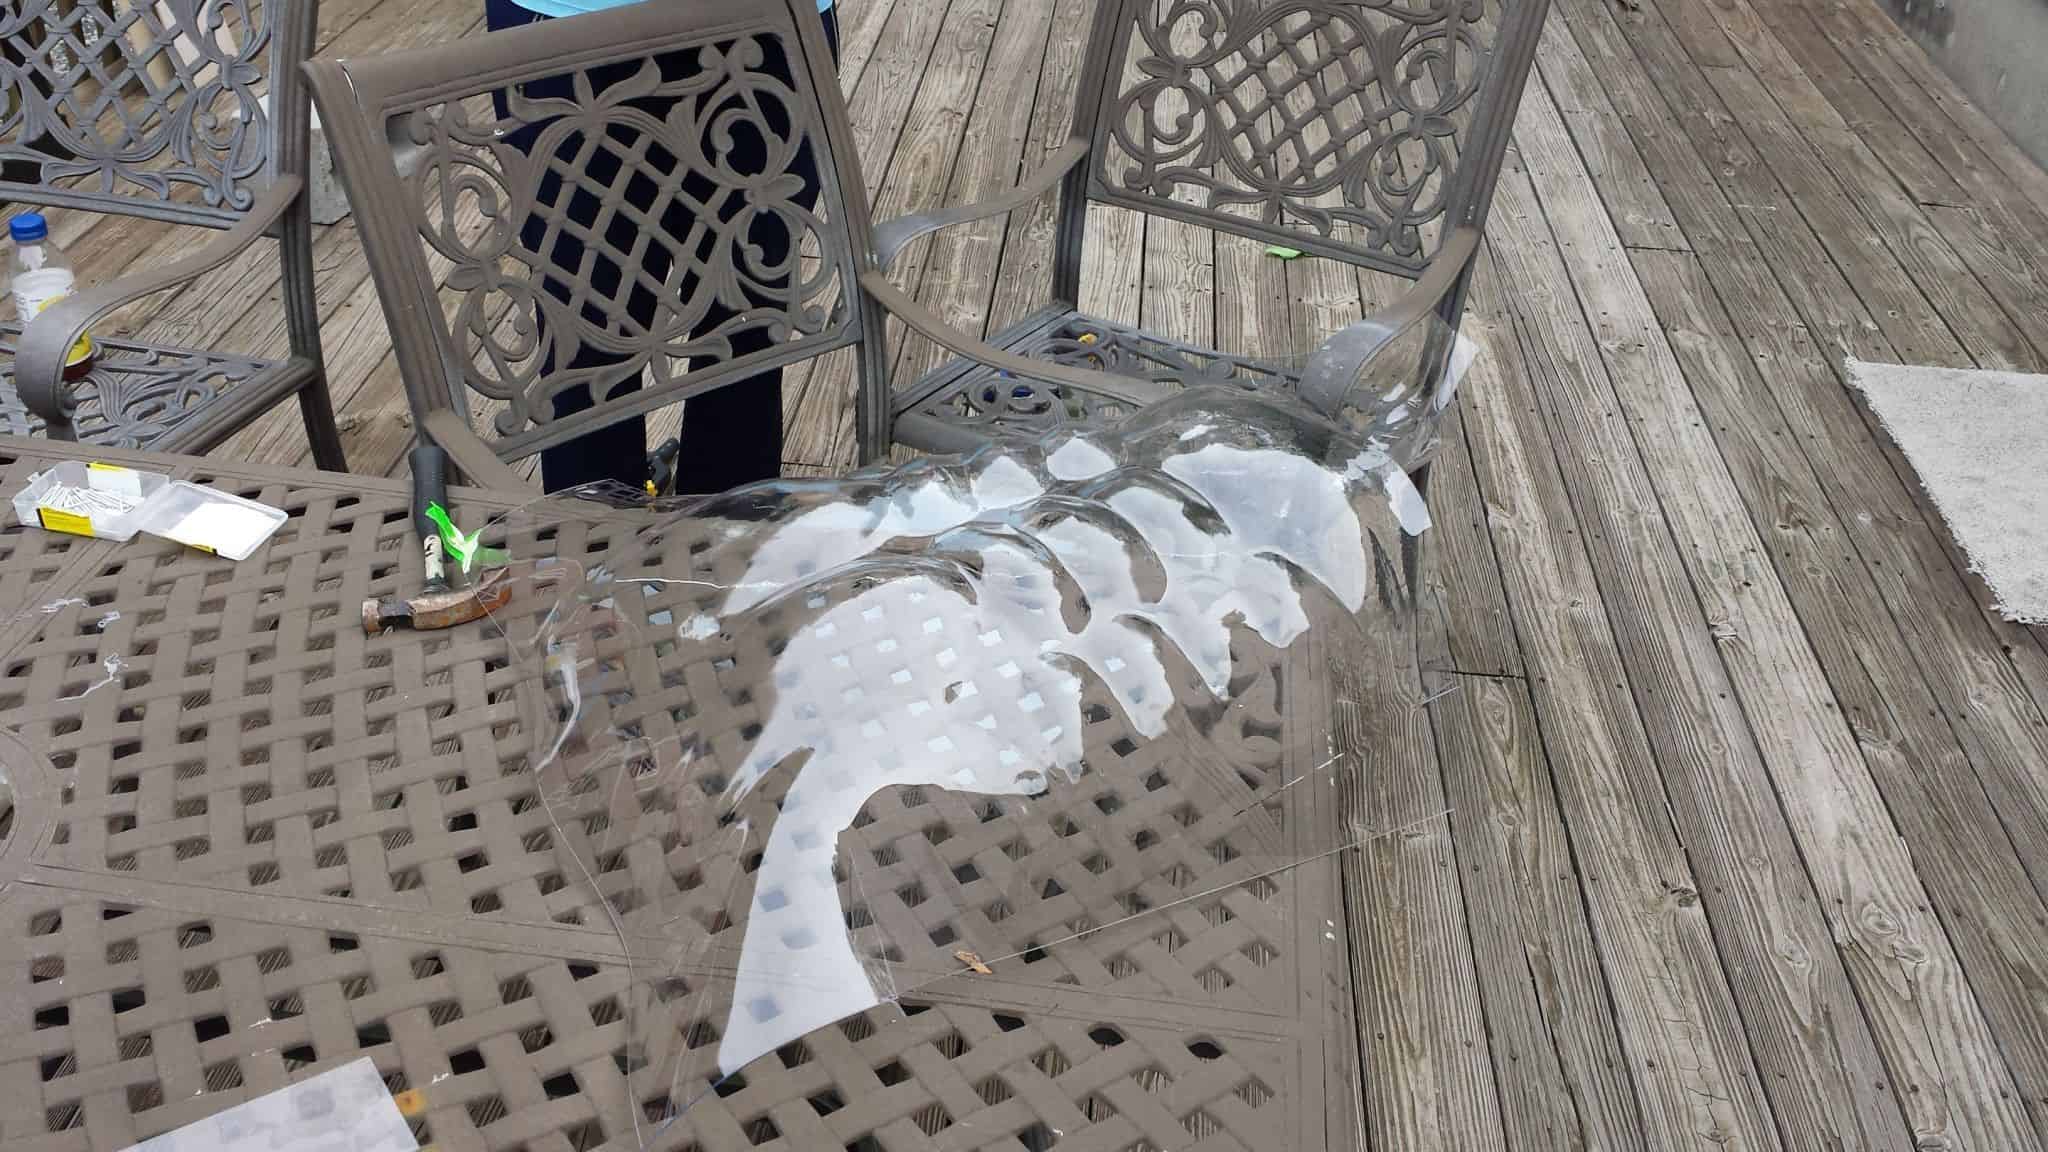
I didn’t get a lot of photos of the next step here, and I apologize, but we were trying to move fairly quickly. We were able to drop the thing into place and using welding gloves and wet paper towels we started roughly smoothing the whole piece of plastic into the complex curves we needed. Then I clamped the edges of the plastic to the armor, and we started heatgunning the piece, working from the top down and an ab at a time. Wet paper towels were pretty fantastic at keeping the surface smooth and shiny and giving us the ability to shape the plastic against the form.
Very hard to photograph the clear armor while it is being formed! I actually took a pair of tin snips during this process and cut a few points as ‘stress relief’ on the plastic, to keep it from fighting us quite so hard while we were trying to shape things. This allowed the plastic to overlap a bit in places on the edges and give us a better fit against the armor.
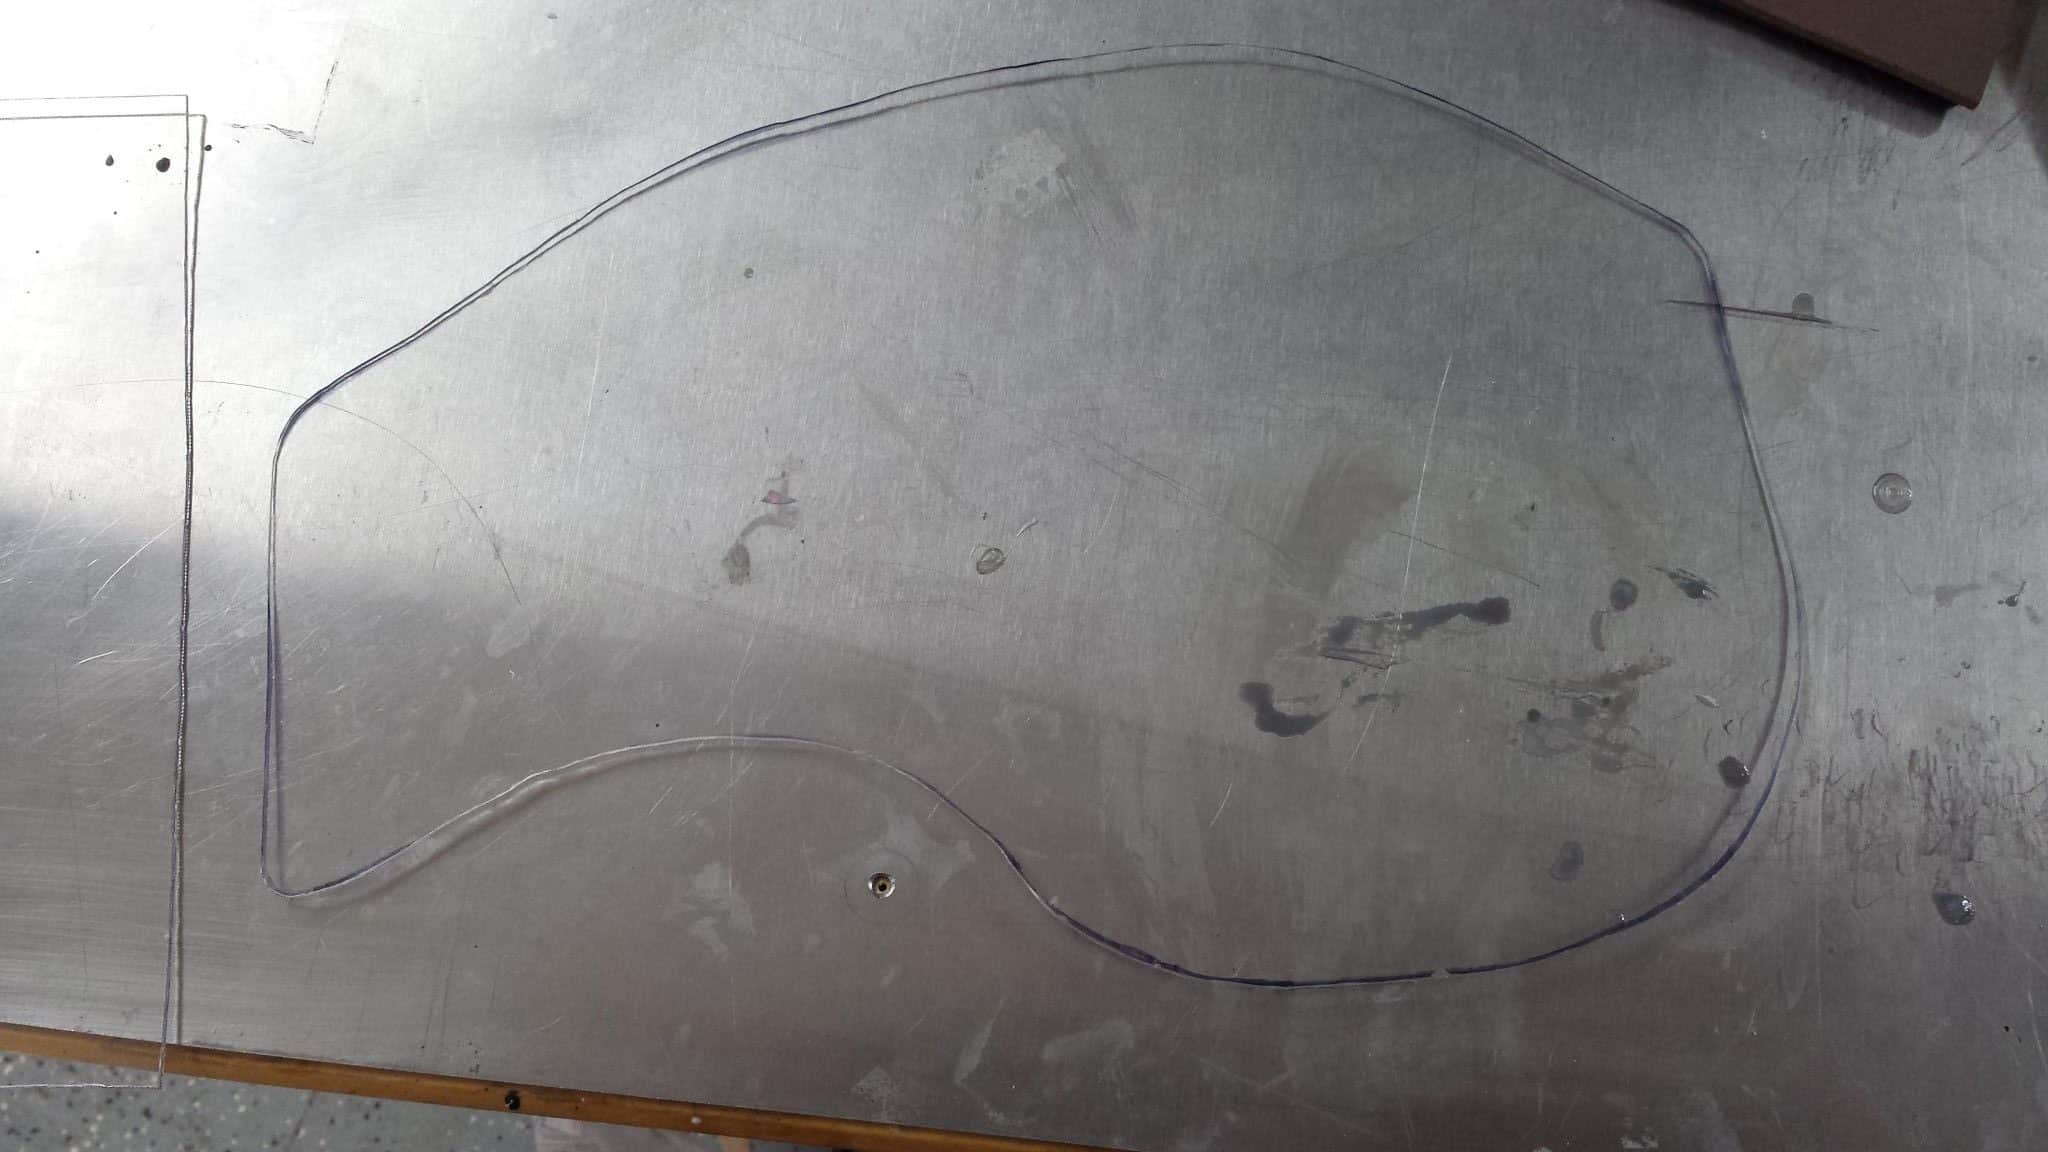
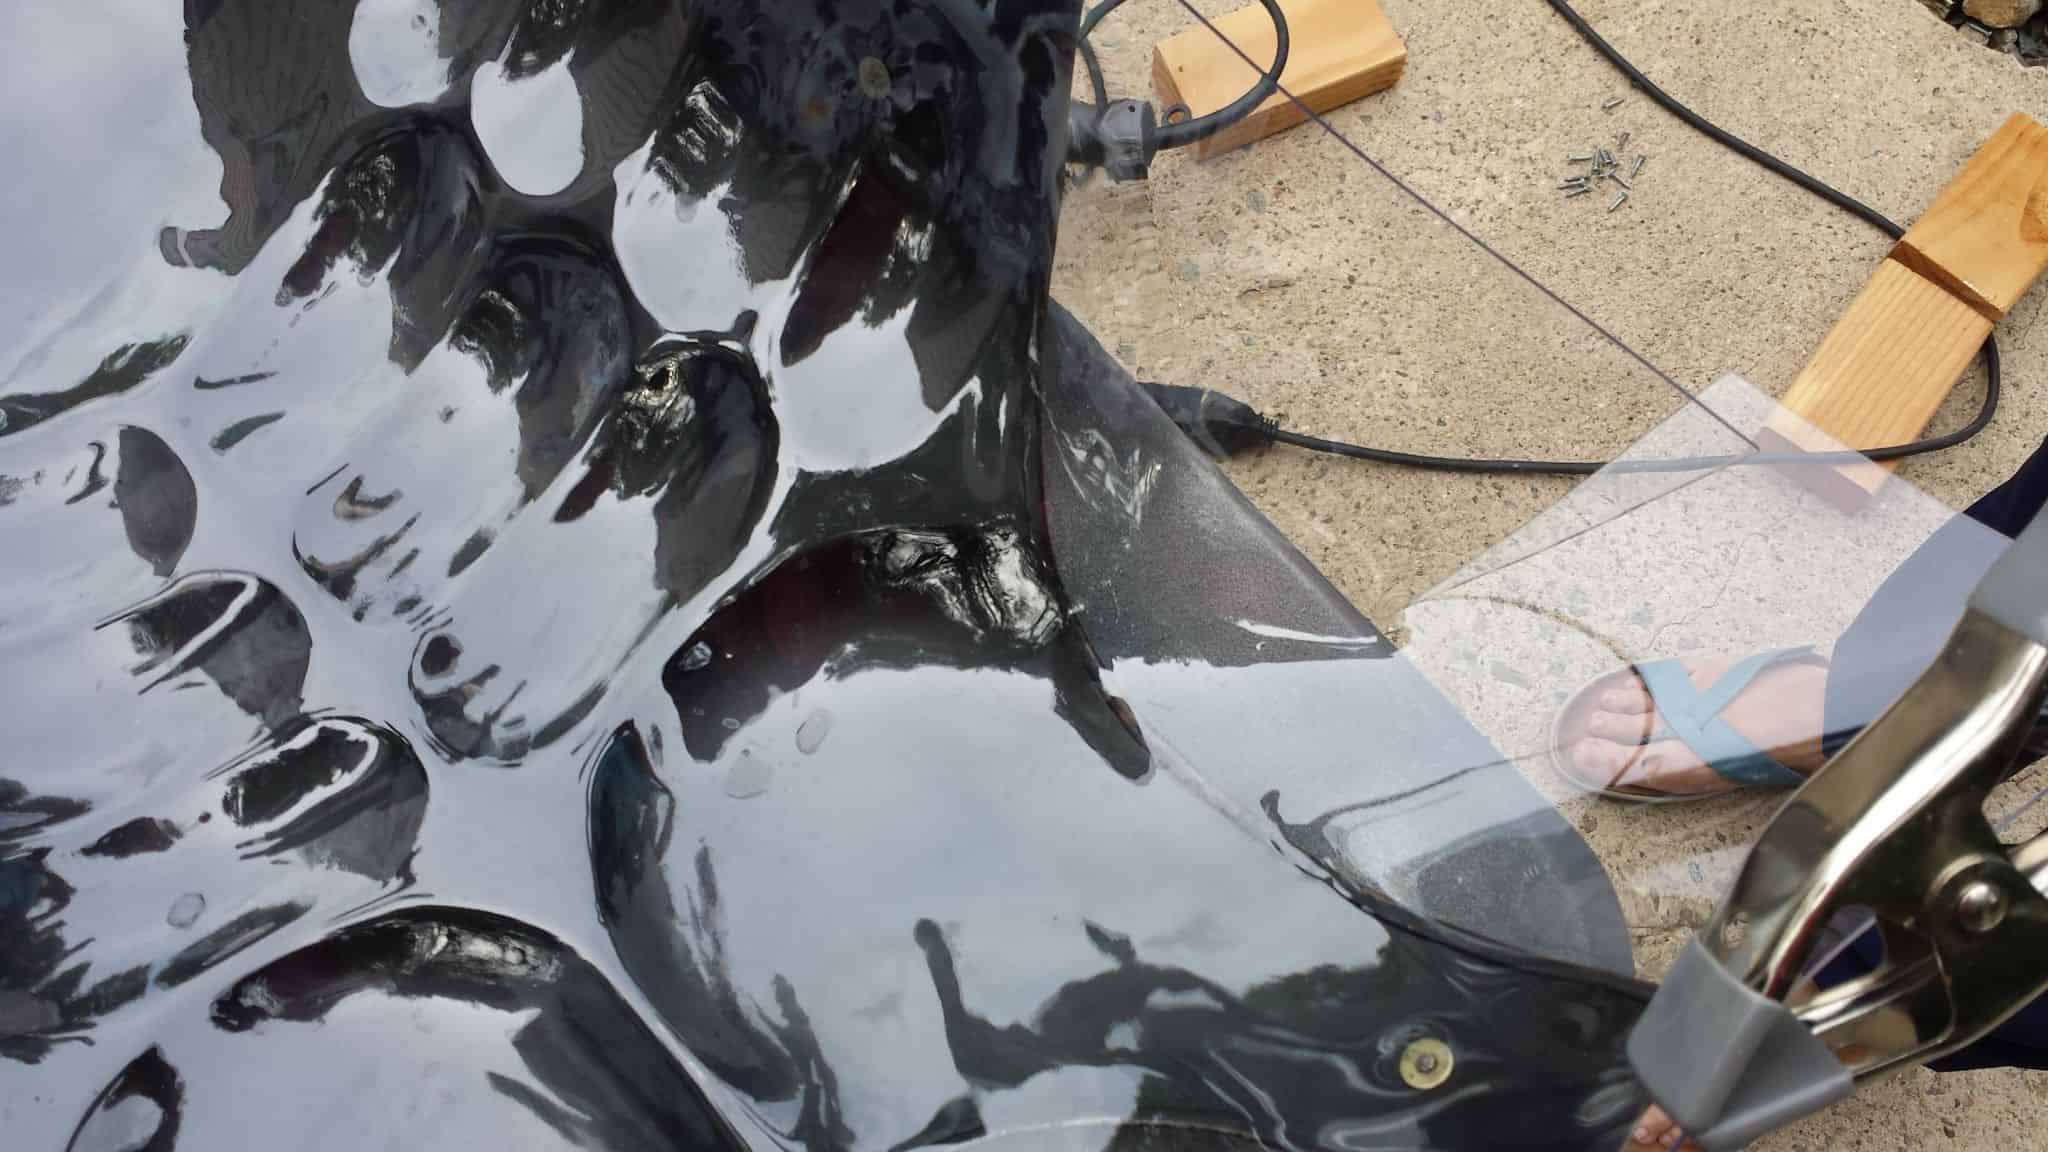
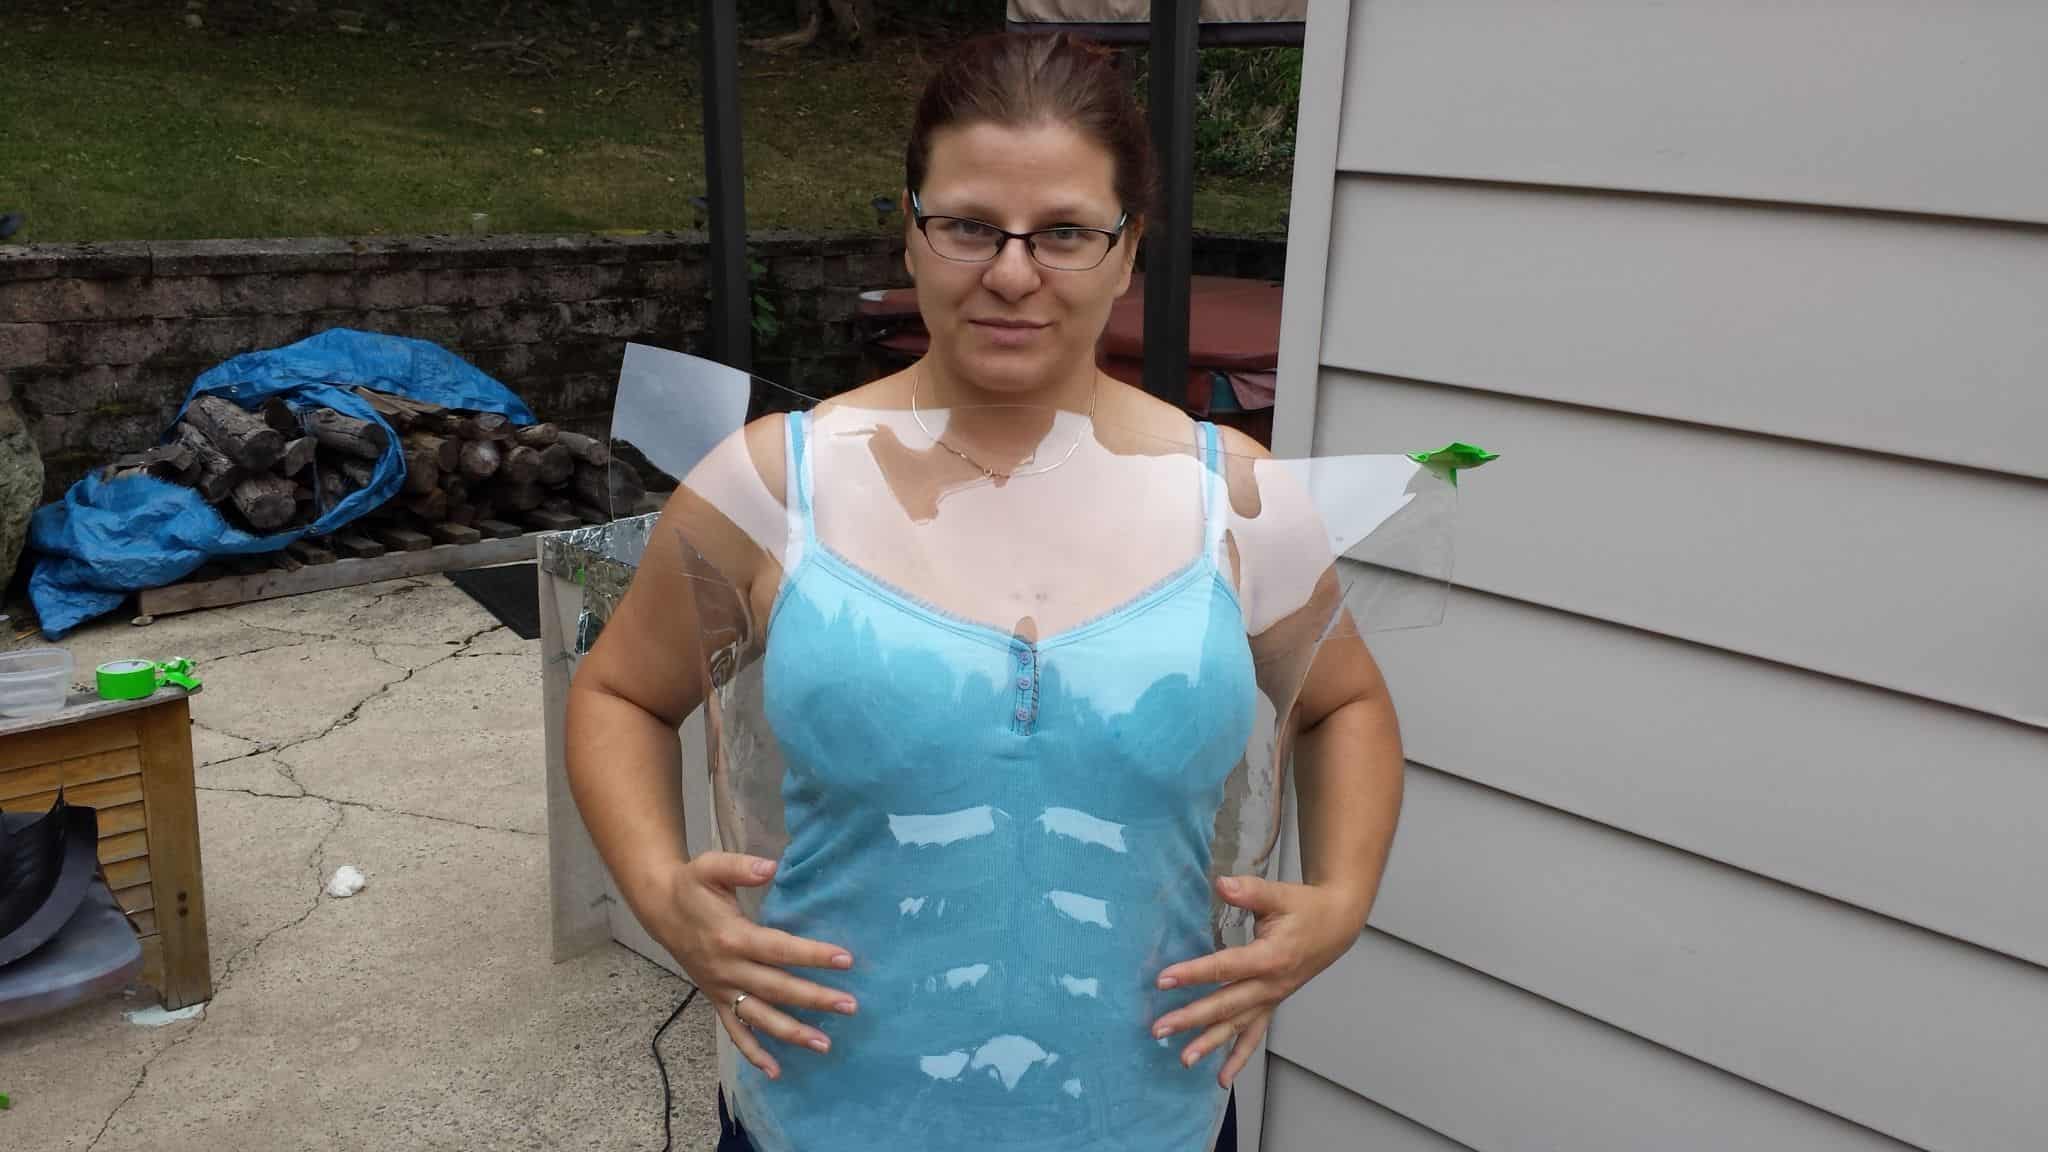
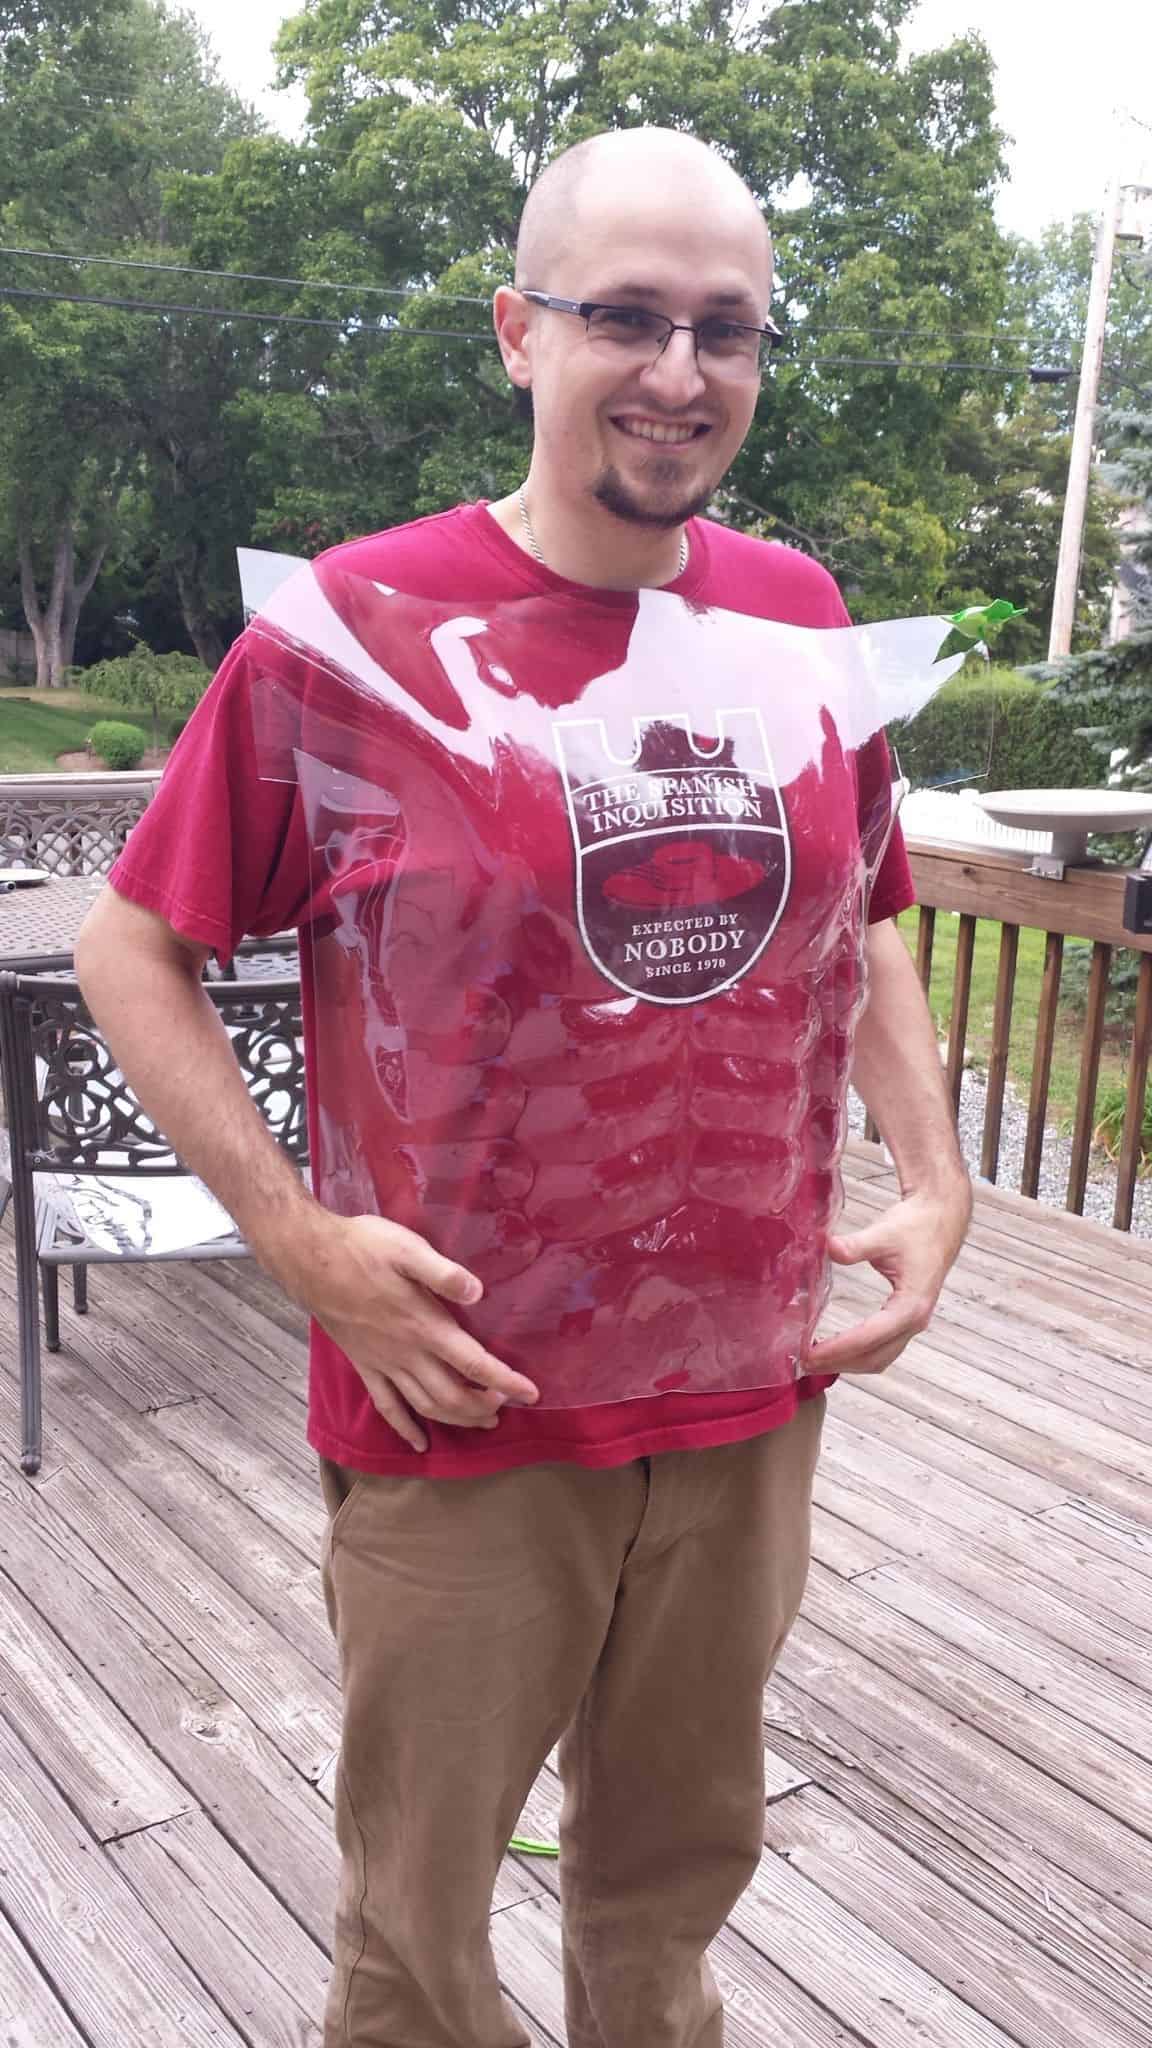
Popped the thing off and moment of truth…
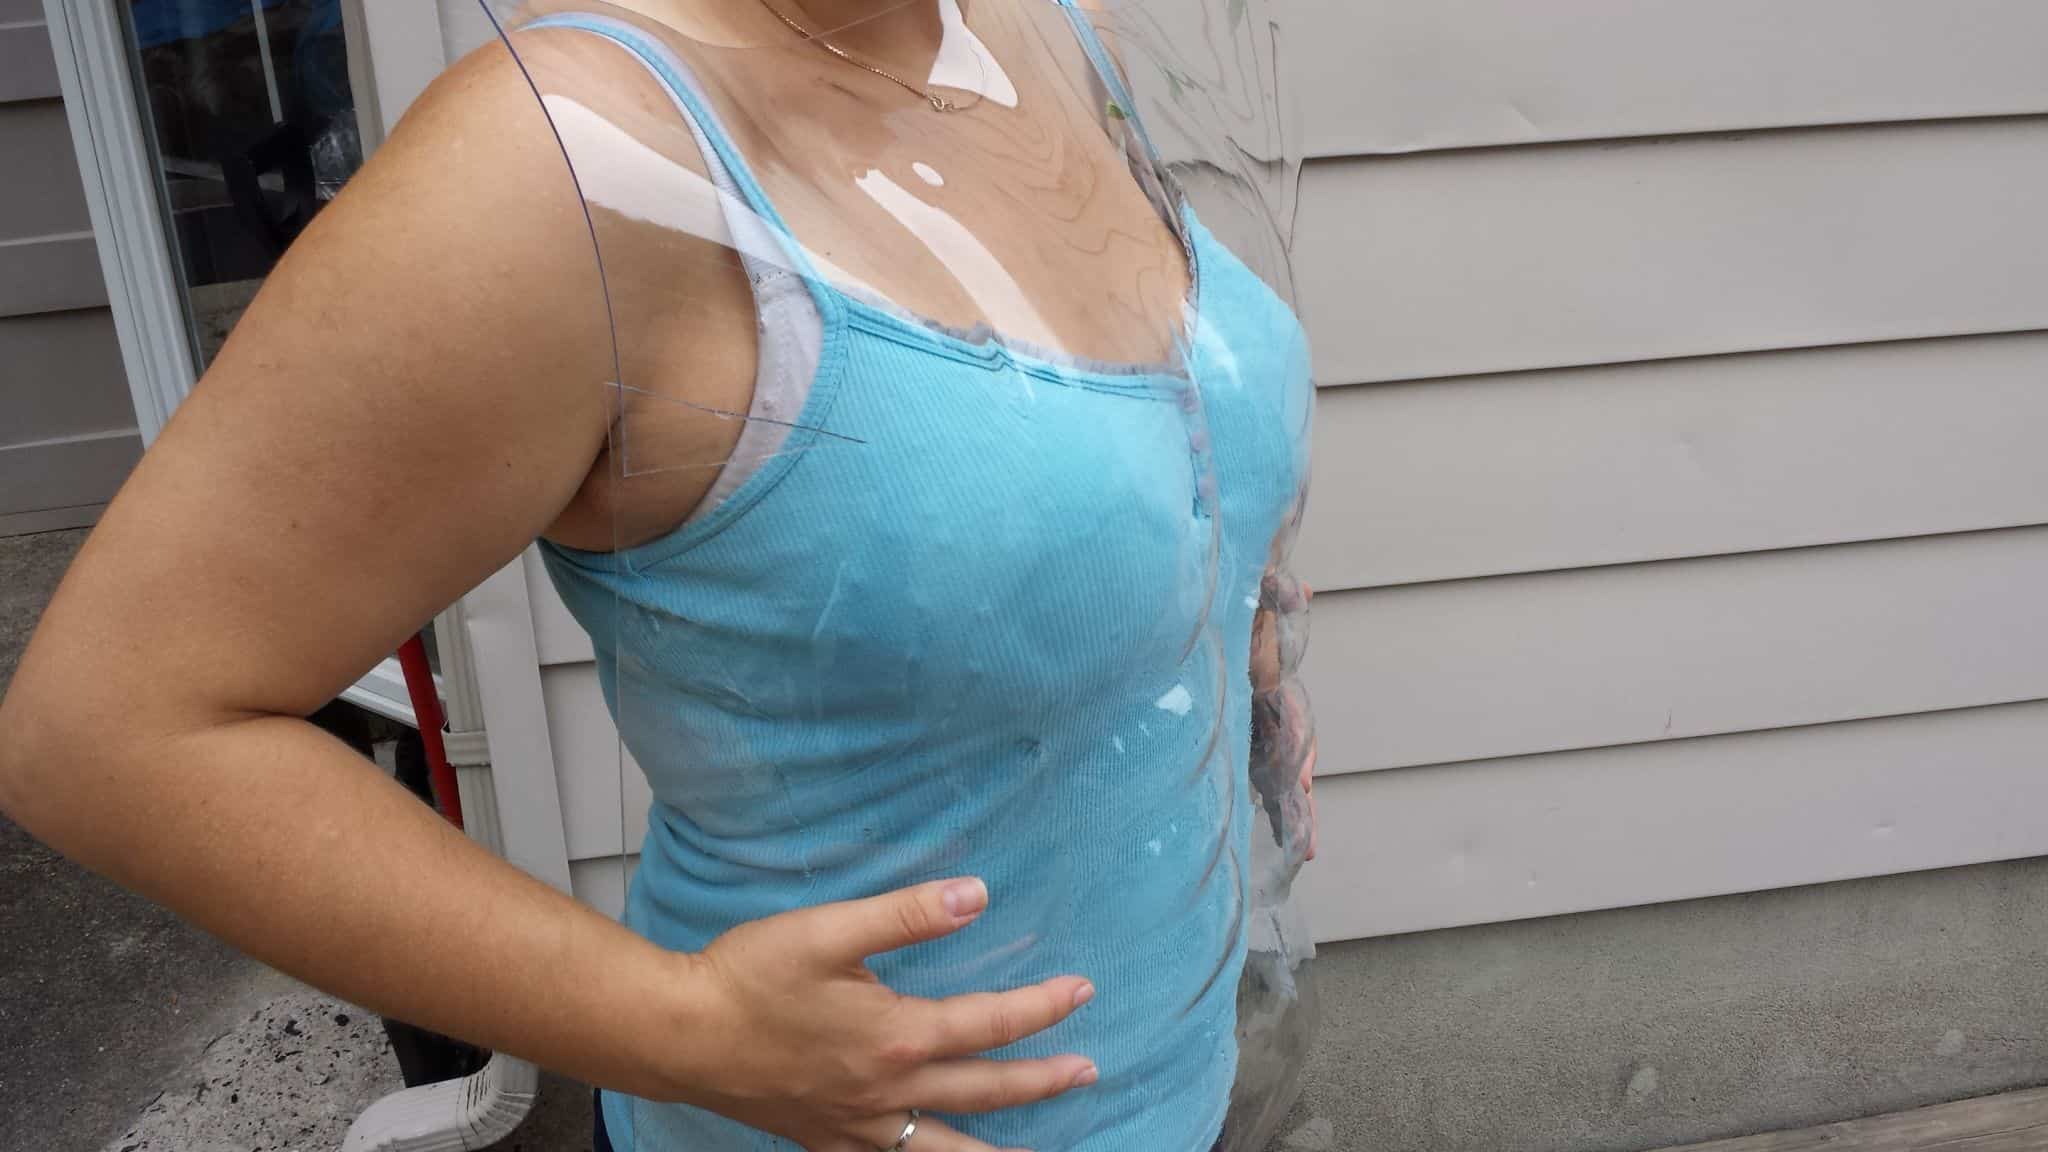
Woohoo! Pretty workable results here. The .060″ thickness of the plastic makes it feel like legitimate armor. I love it – in the behind-the-scenes featurettes they discuss Joe’s armor as possibly being a repurposed riot or bulletproof shield and this stuff is so much more satisfying than the vinyl-esque worbla. . I might have to use the heatgun to gently widen the area around the waist a bit, as I suspect I’ll have issues wearing the holster belt and other robes unless it’s a bit wider.
I’m going to do the lower ab section a second time on a separate piece so I can overlap and rivet the armor properly like Joe’s does.