I decided this project was going to be something I finished for NYCC, and it is warm enough that I don’t mind dusting off my workspace again, so I’m chugging through getting the rest of this done.
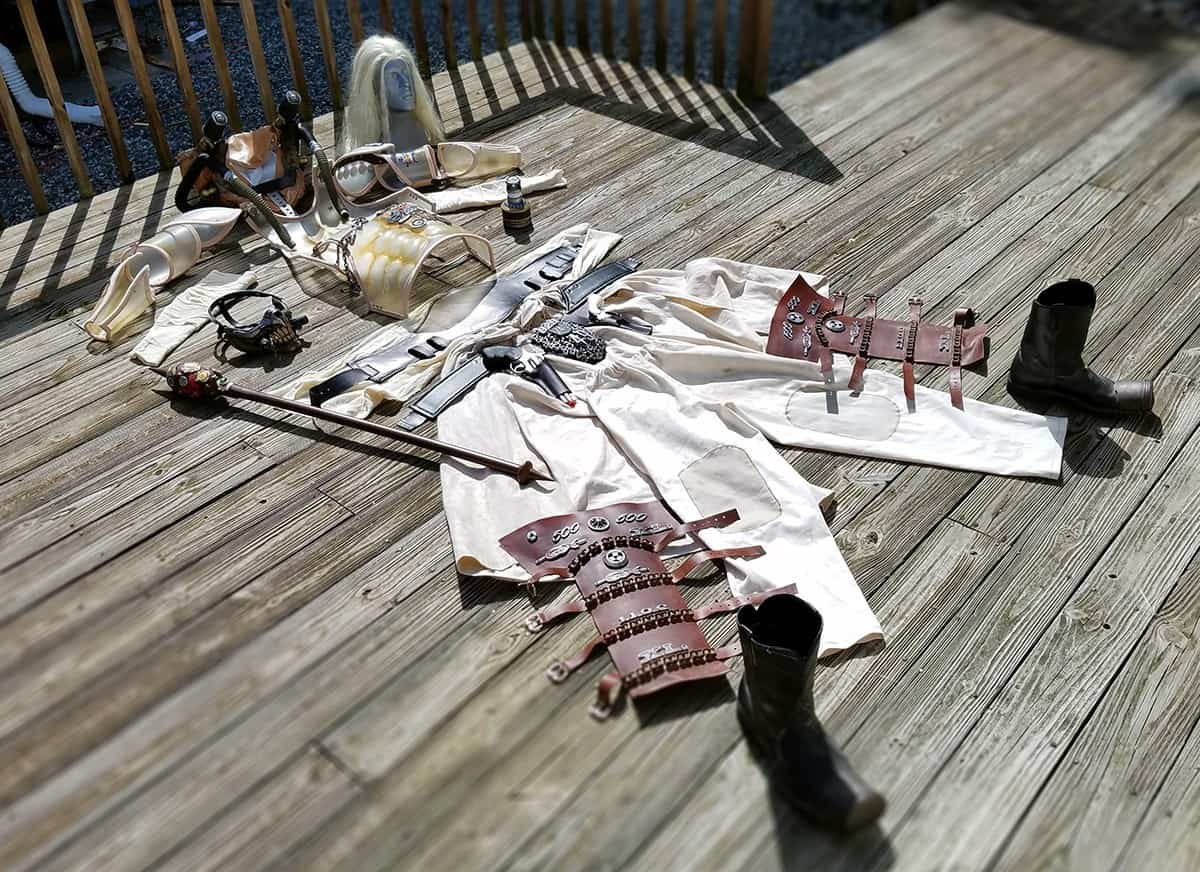
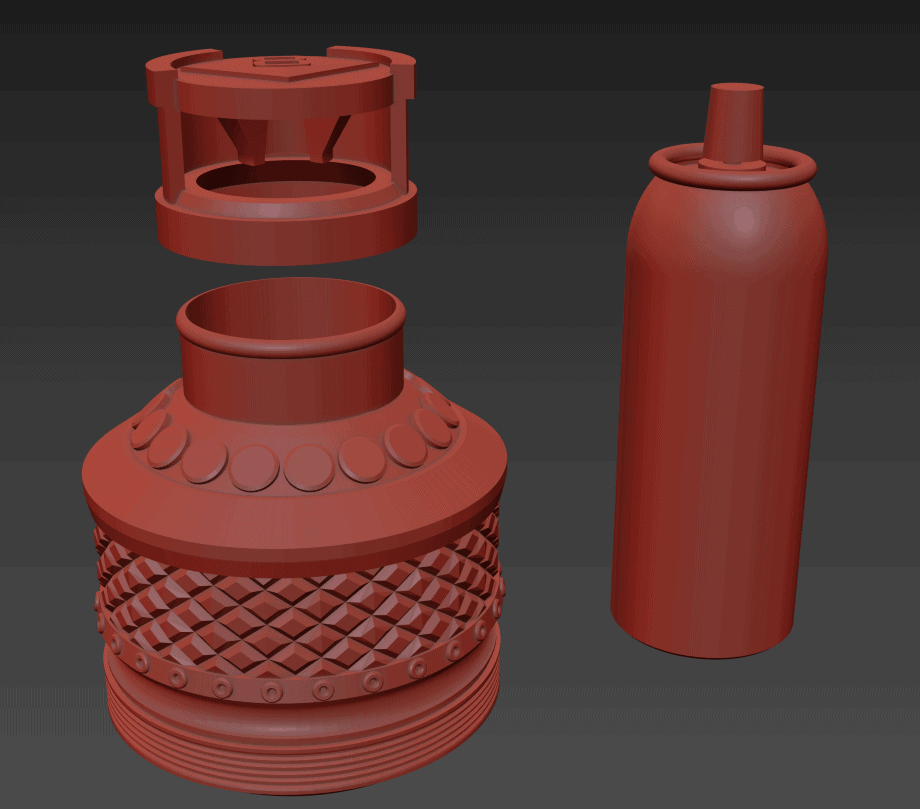
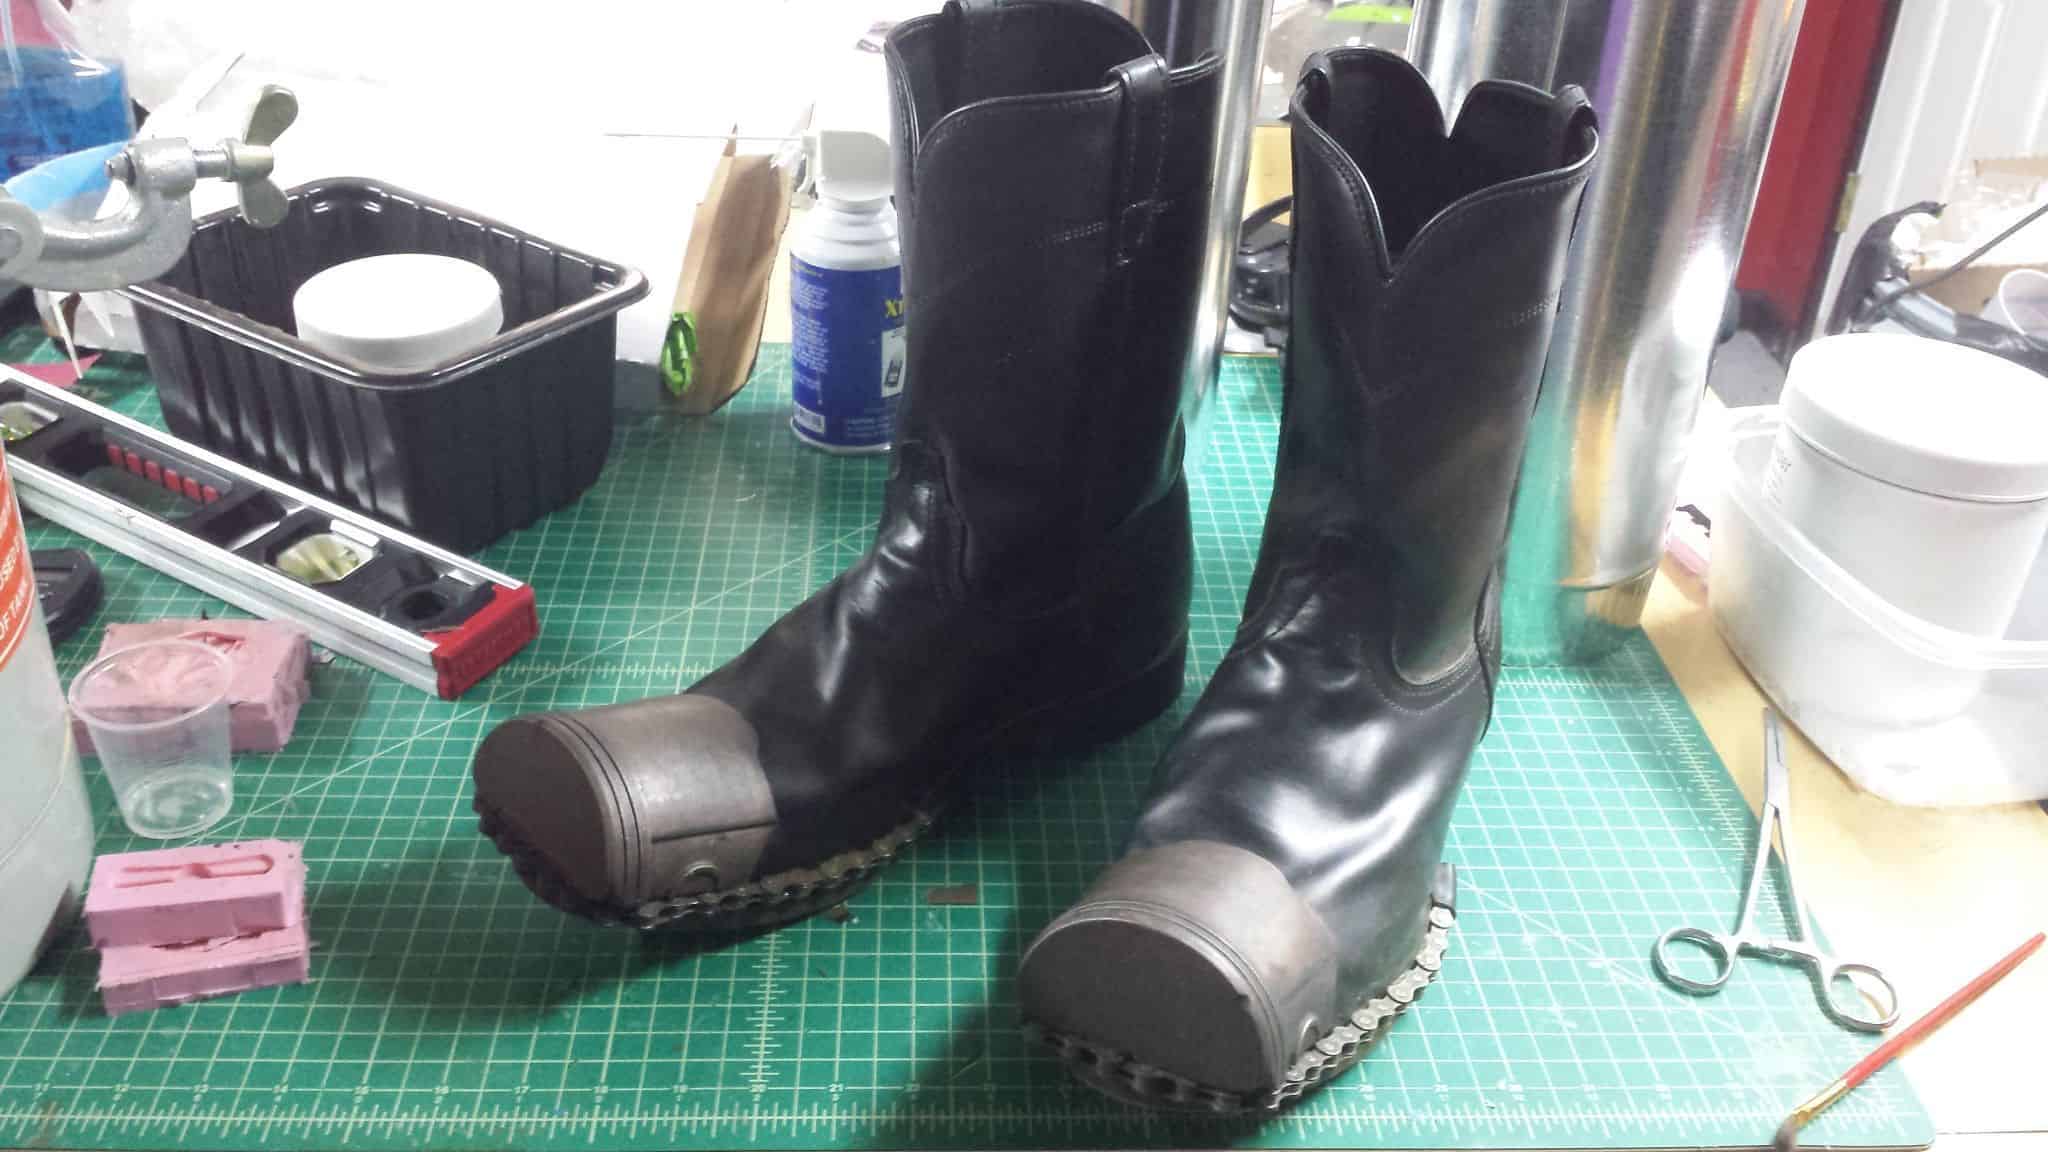
I got my boots done with the 3d printed toe caps and bike chain that I salvaged from a bike that my neighbor was throwing out.
Both the toe cap and bike chain were attached pretty securely with E6000 adhesive (in black) and in the interest of screen accuracy I actually hand-sewed some leather straps over the ends of the bike chain. It’s not 100% right, but it’s close enough.
I’m actually a little concerned that the bike chain will prevent the boots from being easy to walk in, as they prevent the toe from flexing over the bridge of the foot mid-stride, but I’m sure I’ll get used to walking with a bit more Frankenstein in my gait.
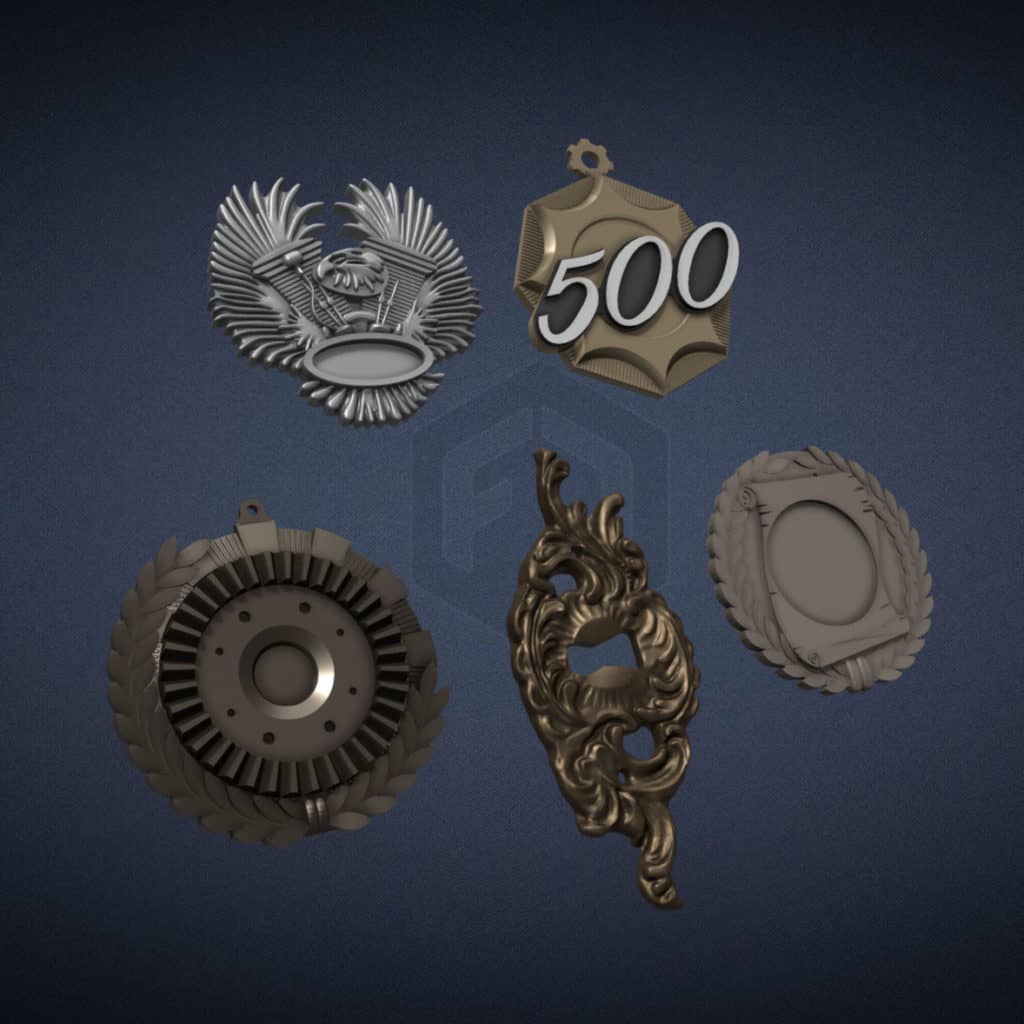
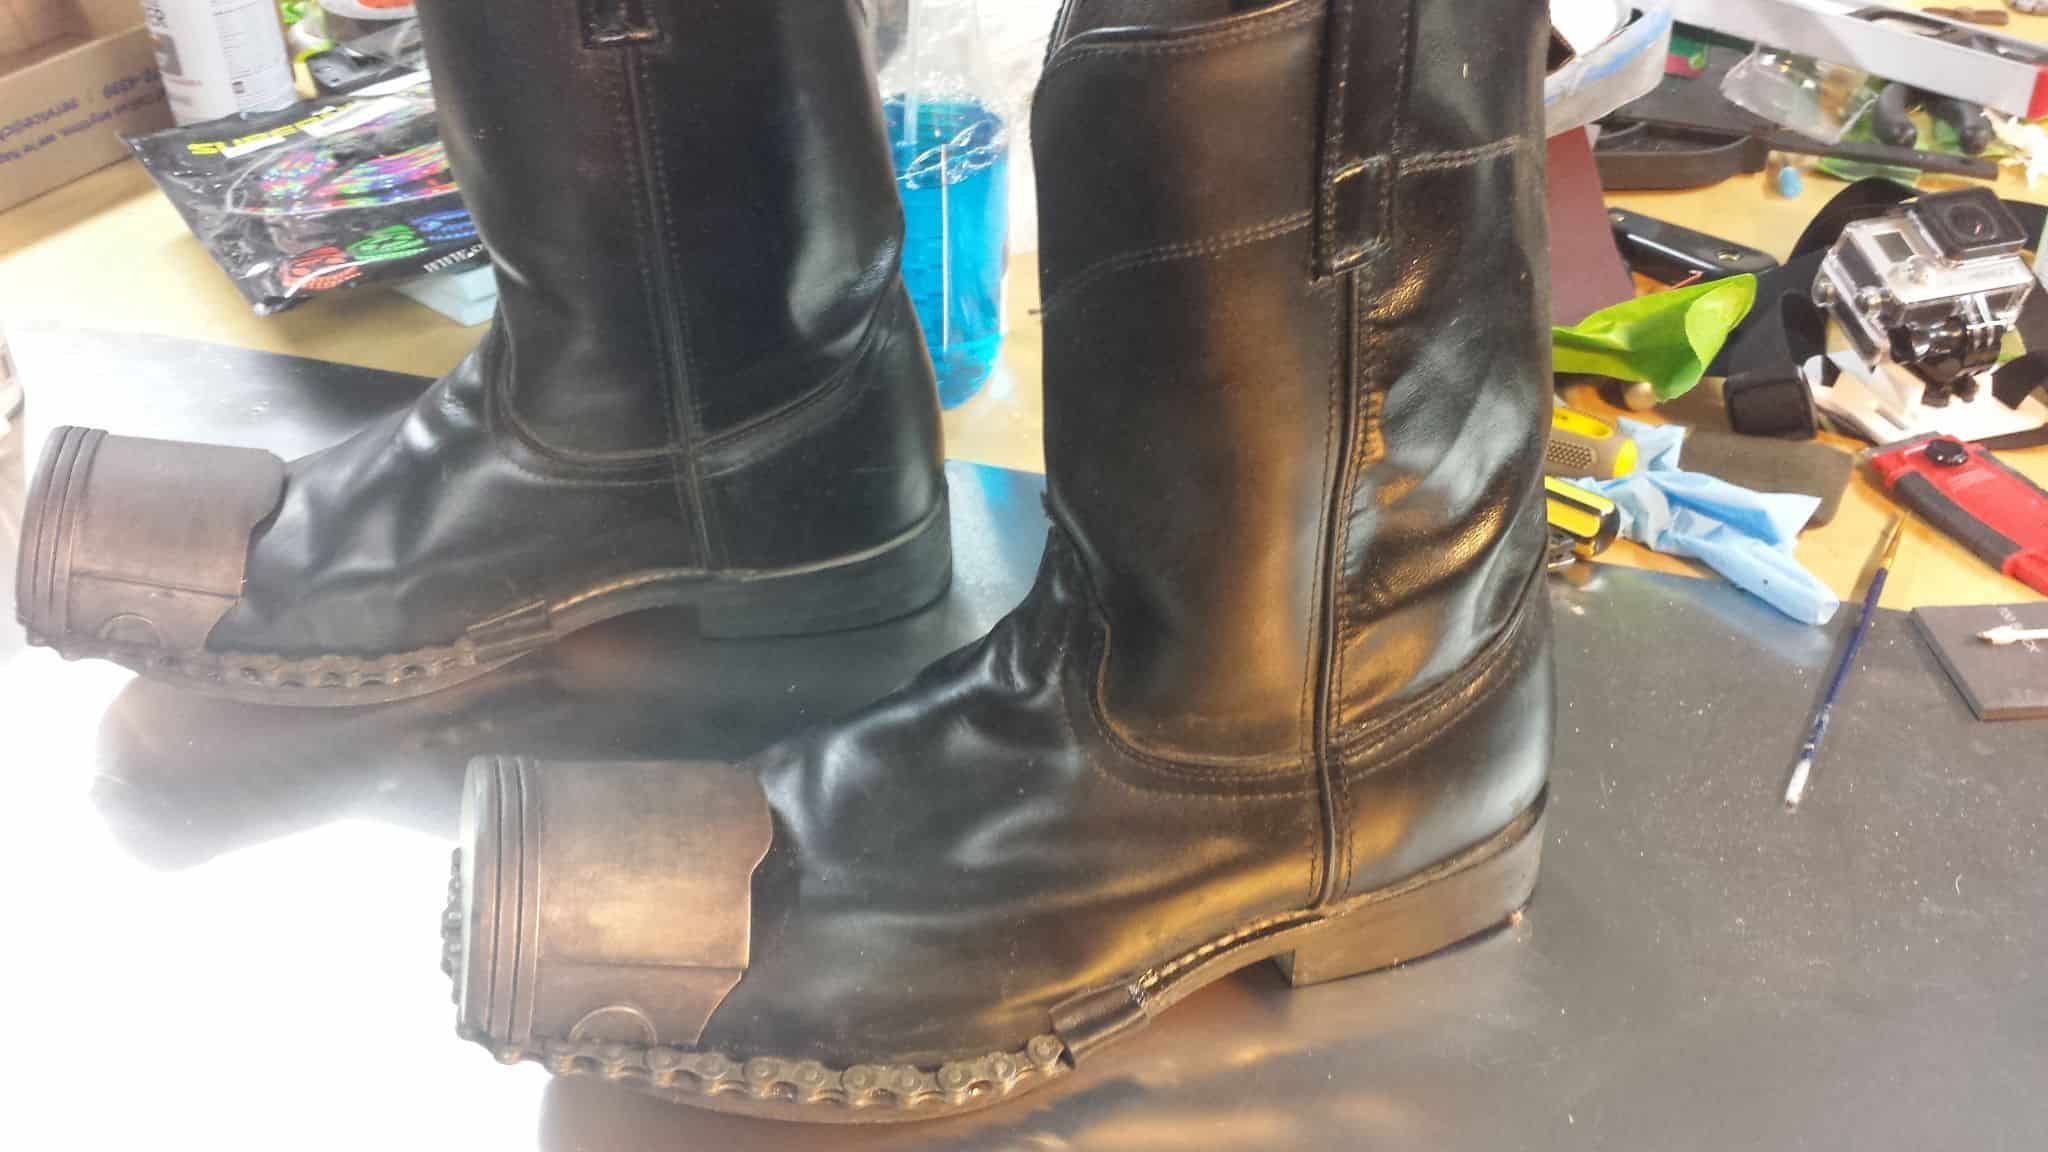
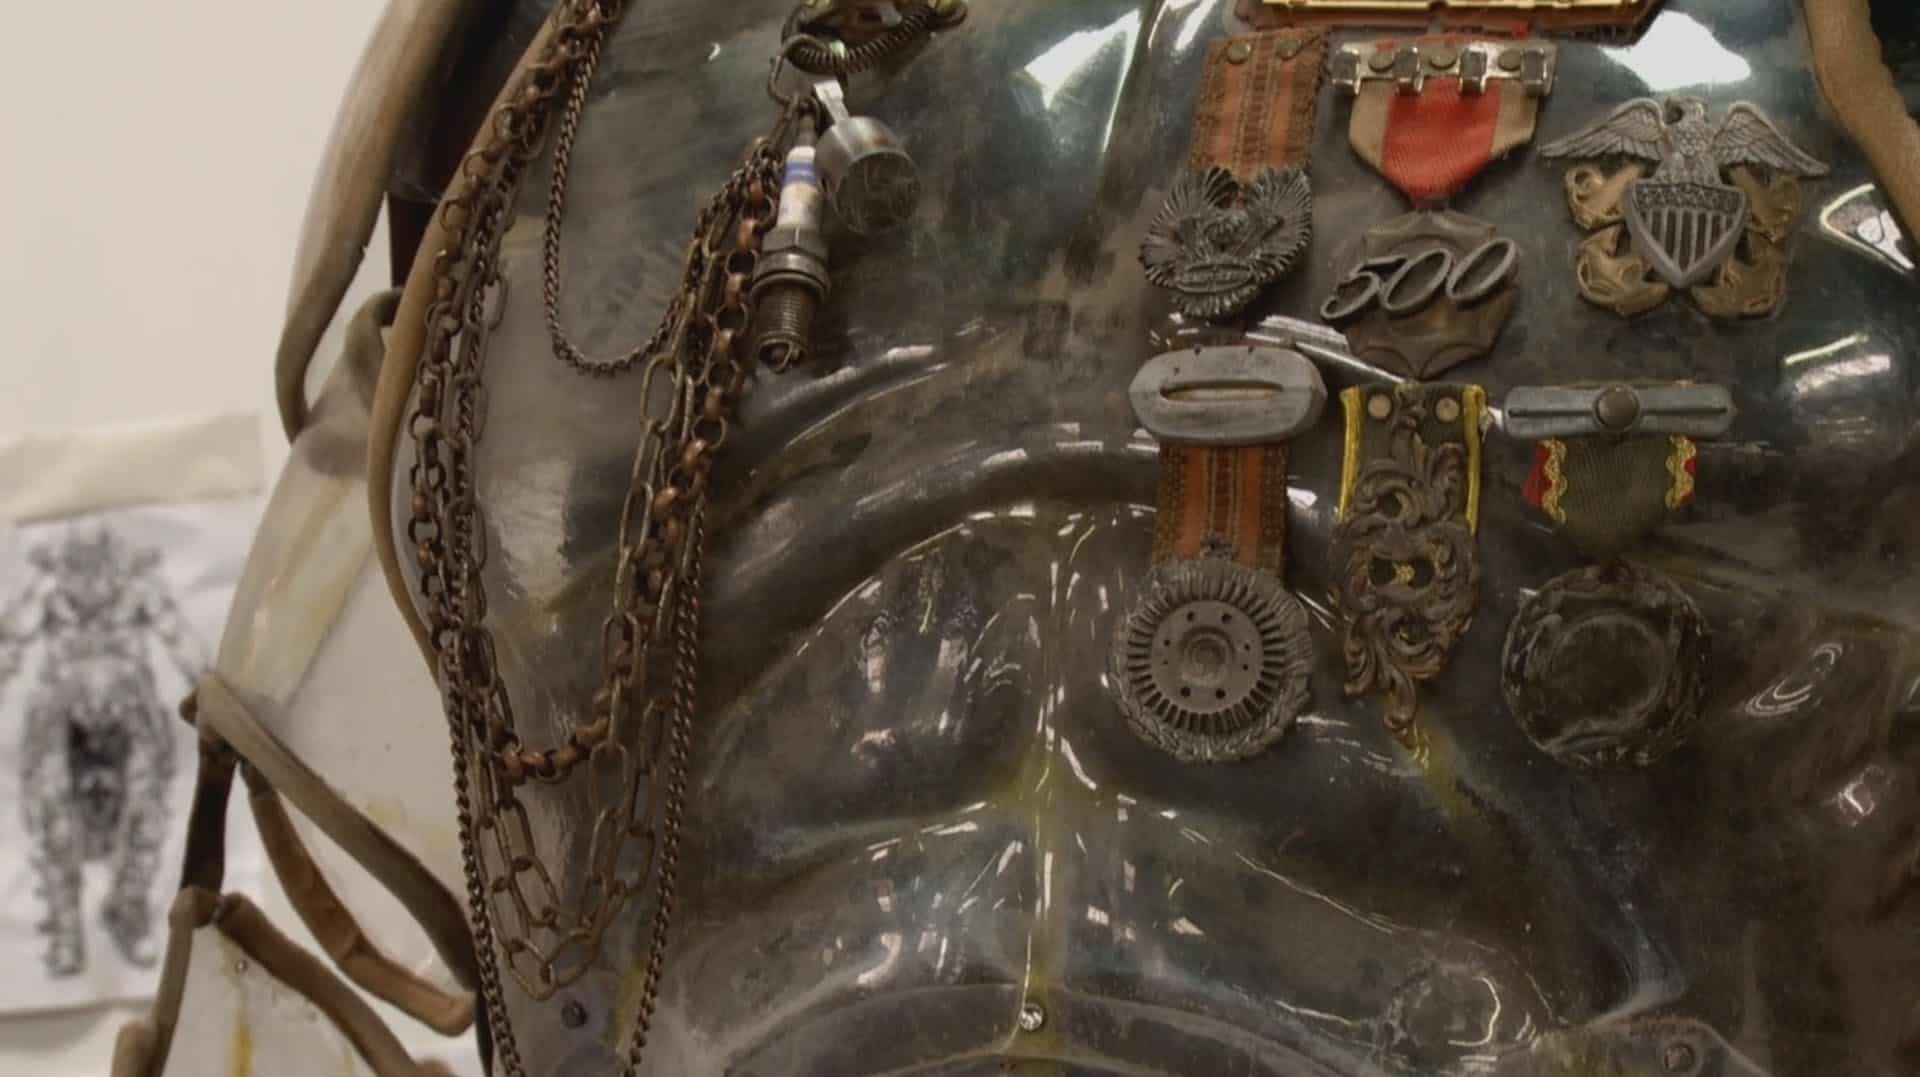
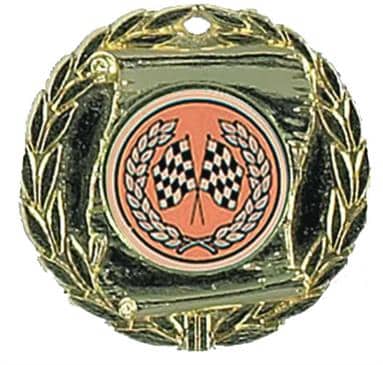
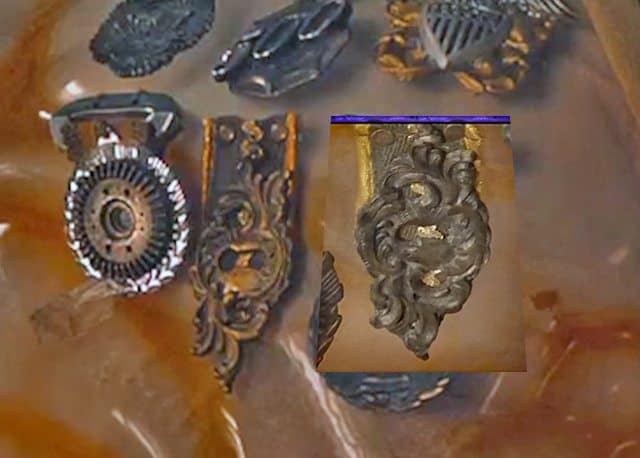
I also started working on some of the emblems for Joe’s chest armor after tracking down a pretty solid reference image for all of them that I could work from.
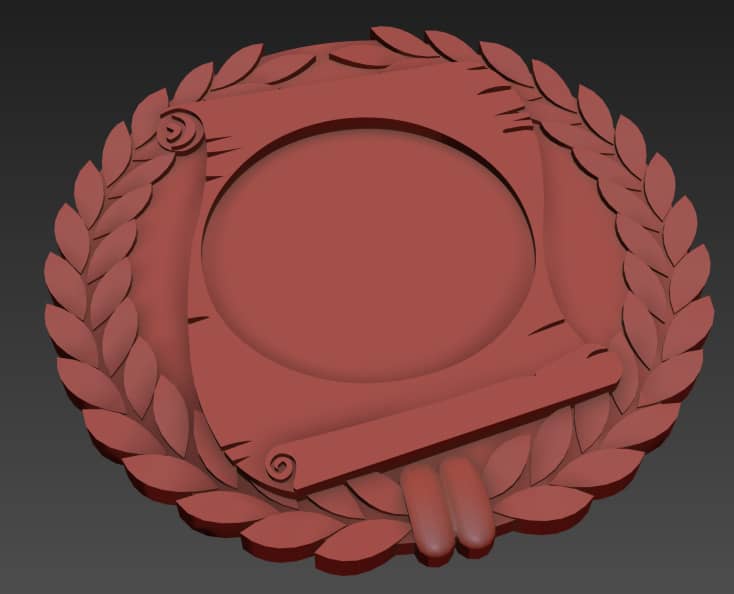
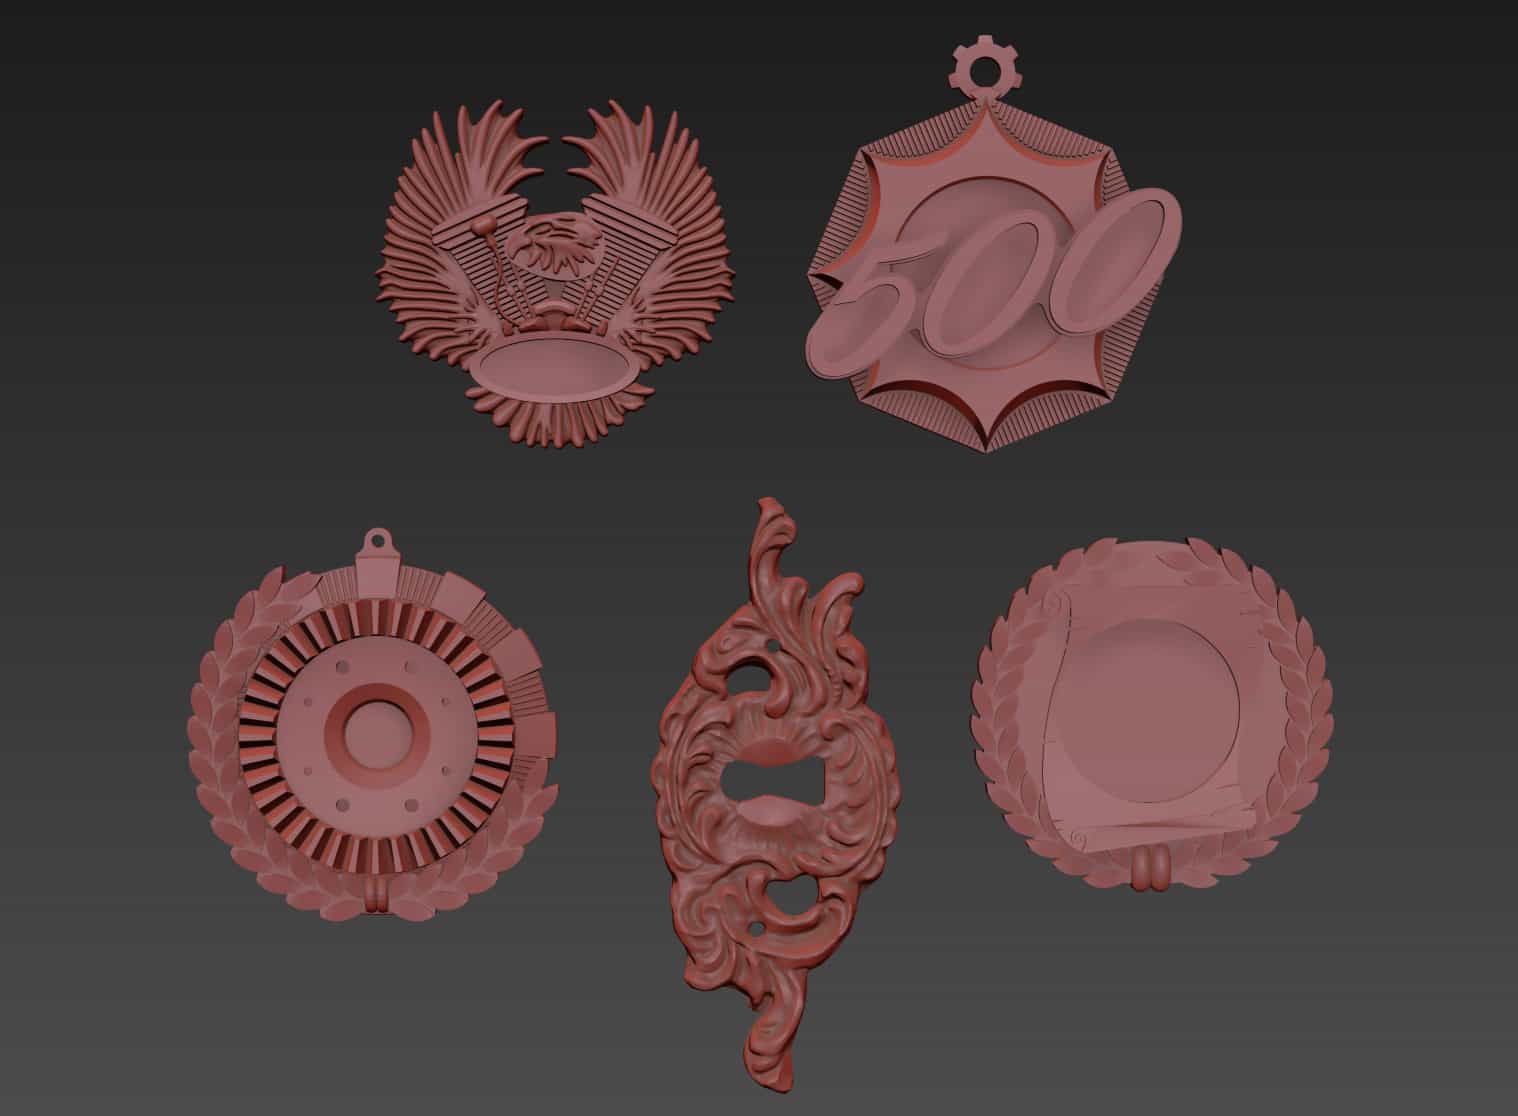
After some study, I whipped up 3D models for both the medals and the top bars. In some cases, I was actually able to track down the originals, which helped me make sure the details were correct. It took a lot of digging and honestly defied probability, but I actually found the origins of the medal on the bottom-right in the form of a Racing Medallion in the UK. Since it’s a racing medallion, that makes a fair bit of sense. Unfortunately, it was only distributed in the U.K., so I decided I’d just go ahead and model the damn thing up anyway.
The Eagle badge reads “Easyriders” and seems to be a pewter keychain from a motorcycle riding club. I found a grainy, low-res image from eBay of the medal in question that had rulers in-frame, which helped establish a scale for me to make a new model from. I didn’t put the text on my version because I didn’t think it’d come out very cleanly on an FDM printer, but it’s more than enough to get the idea across.
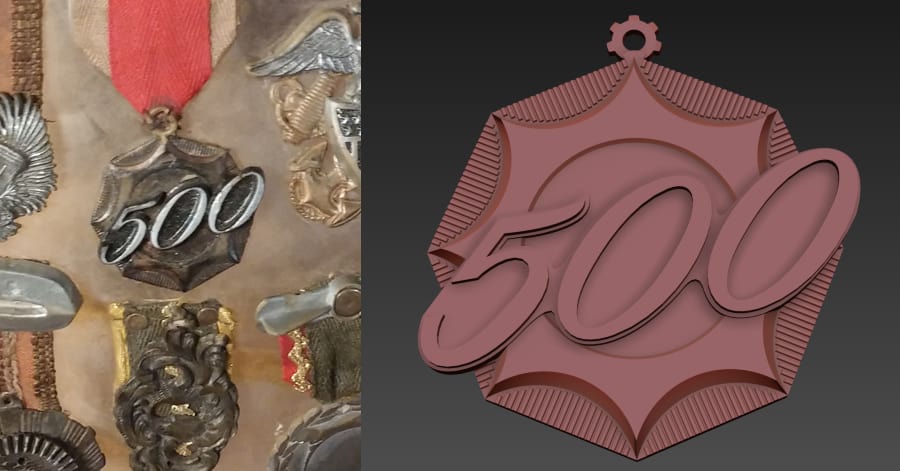
I never did track down what the “500” badge was from, but I had clear enough images to make it all the same. I remade the font as close to accurately as I could.
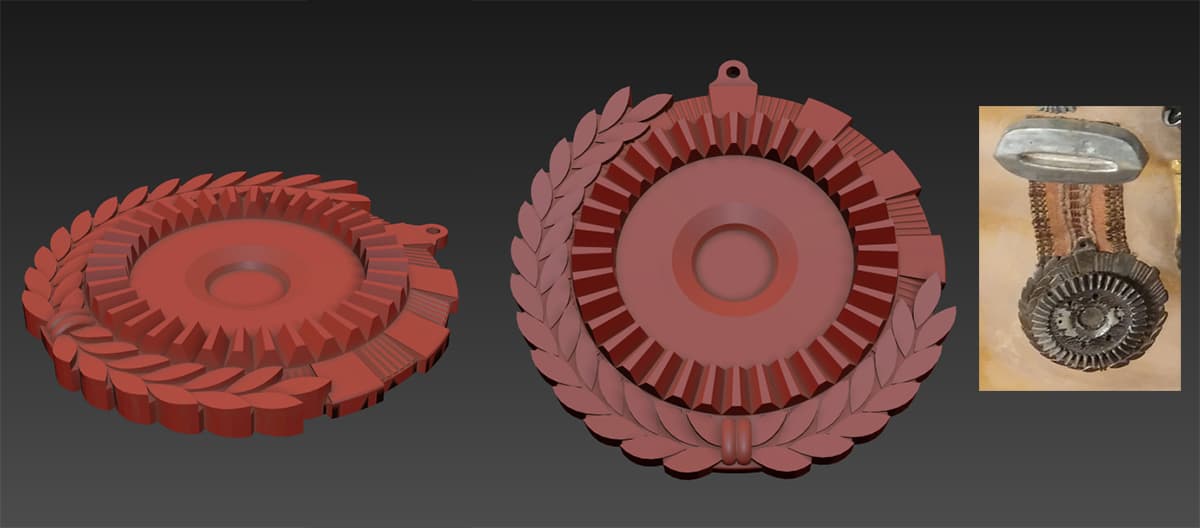
Same thing with one of the other badges that I started calling the “Grinder” badge for lack of a better name. It looked like it was probably a combination of some old soviet medal and a bevel gear?
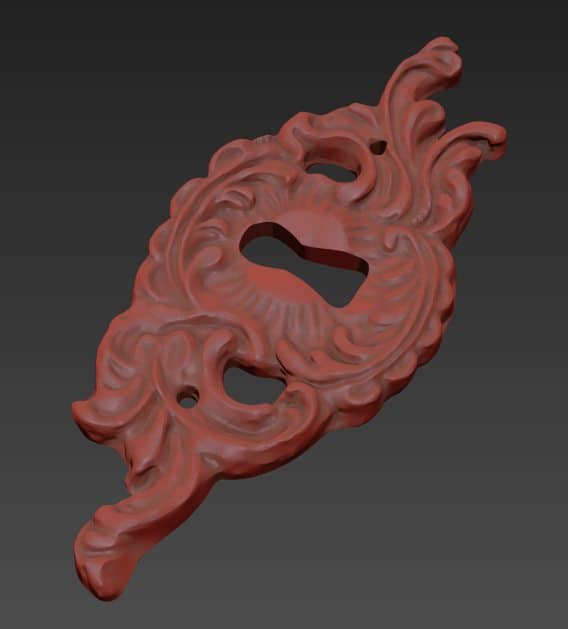
The “keyhole” badge was named such because, well, a close analysis showed that it was actually a keyhole plate. Go figure. I did a rough model of this for printing, but actually ended up finding a pretty close match for the screen-used one at a hardware store afterwards. For future reference, searching “antique brass escutcheon” is pretty fruitful on this one.
The last one was a Navy’s Officer Cap Emblem Badge. I didn’t really want to take a stab at reproducing official, existing US Navy medals because I felt like that might invite trouble, but thankfully these were not that rare online.
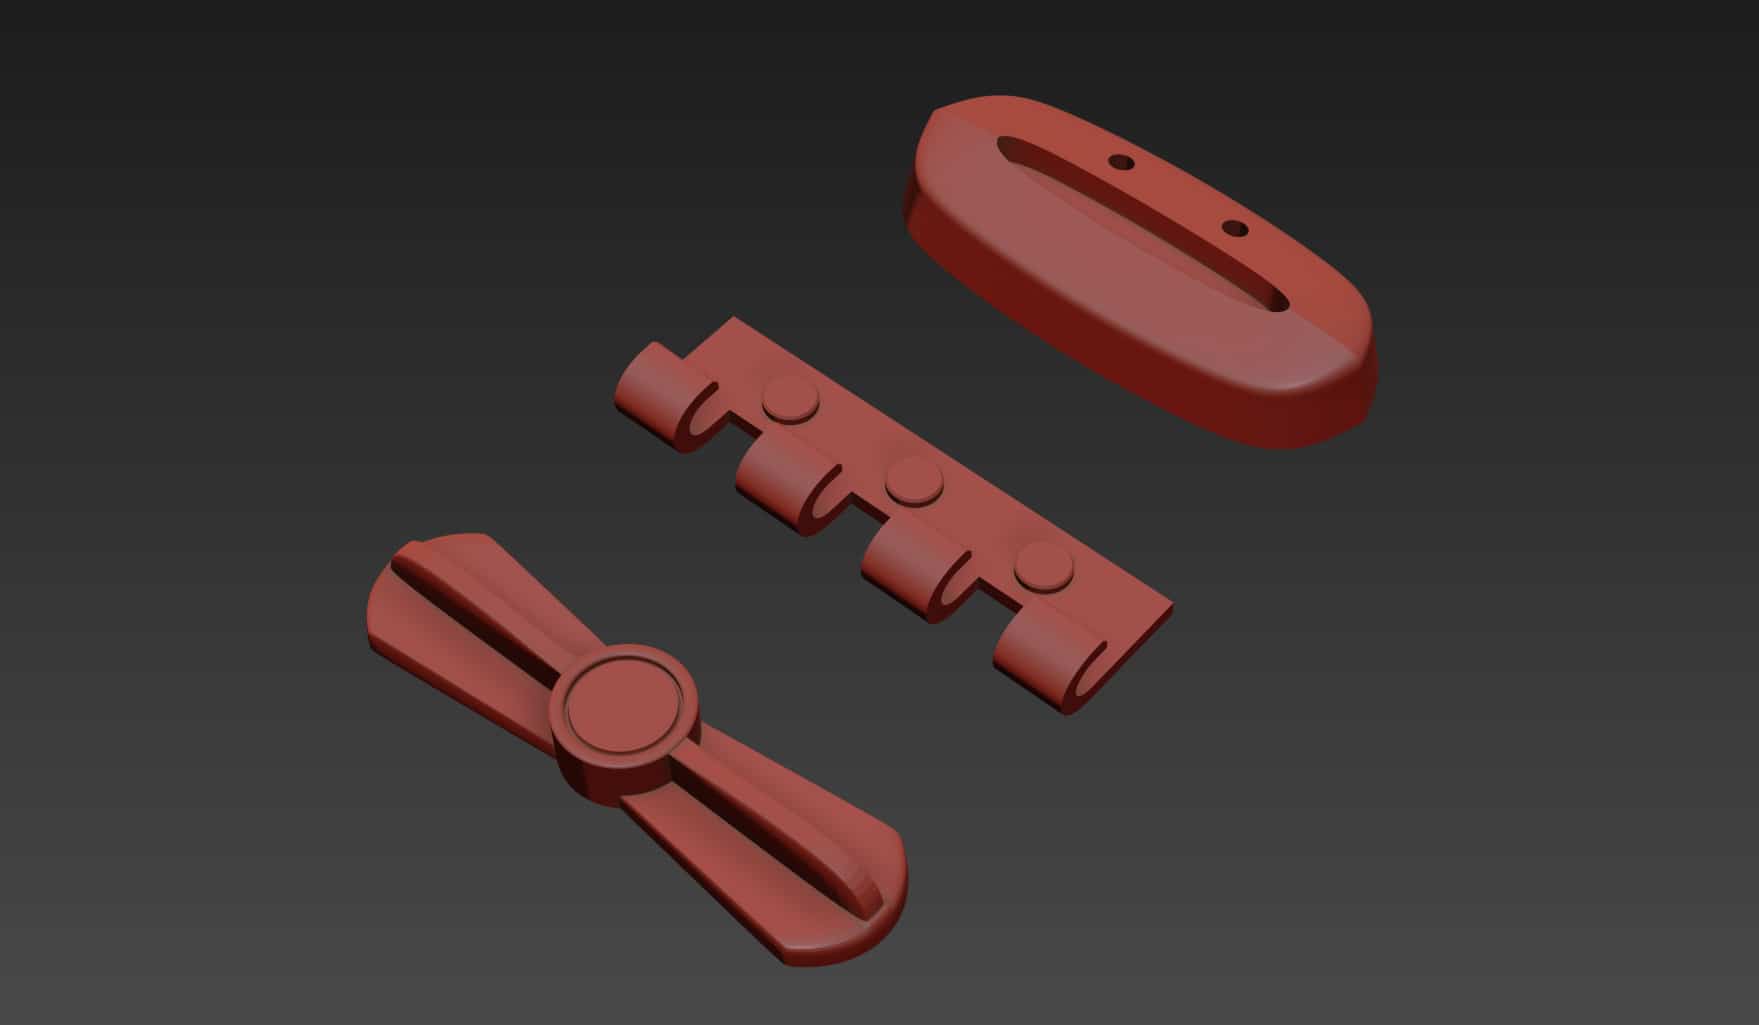
I also modeled and printed the top bars for the medals that required them to finish out the whole set.
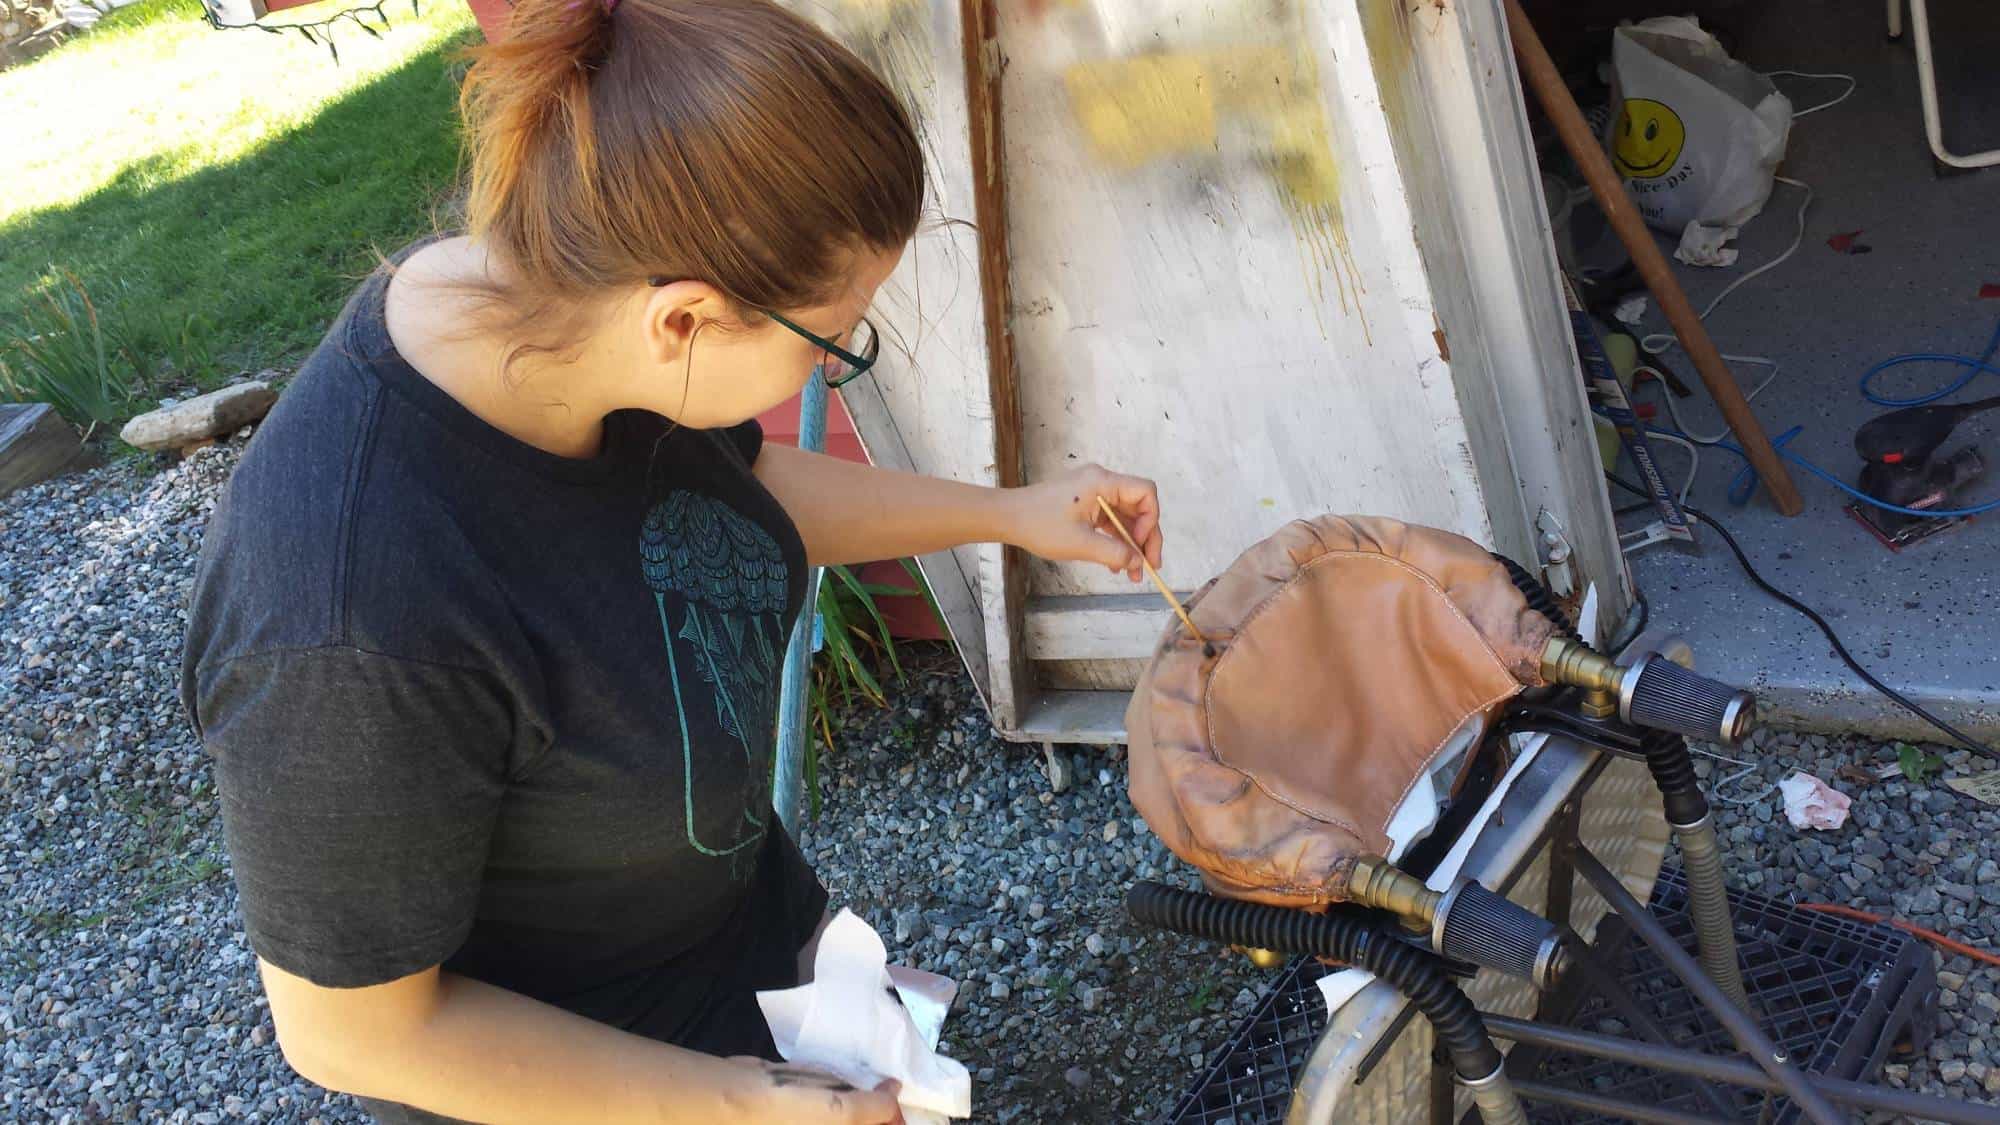
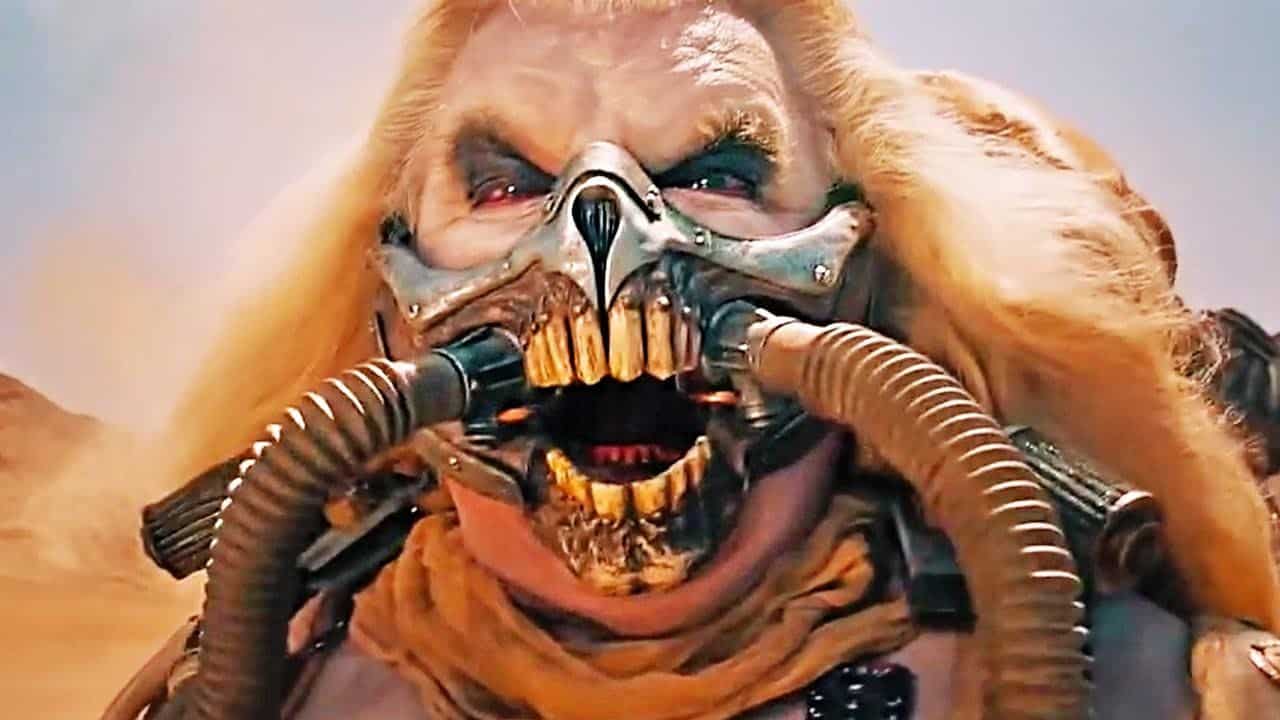
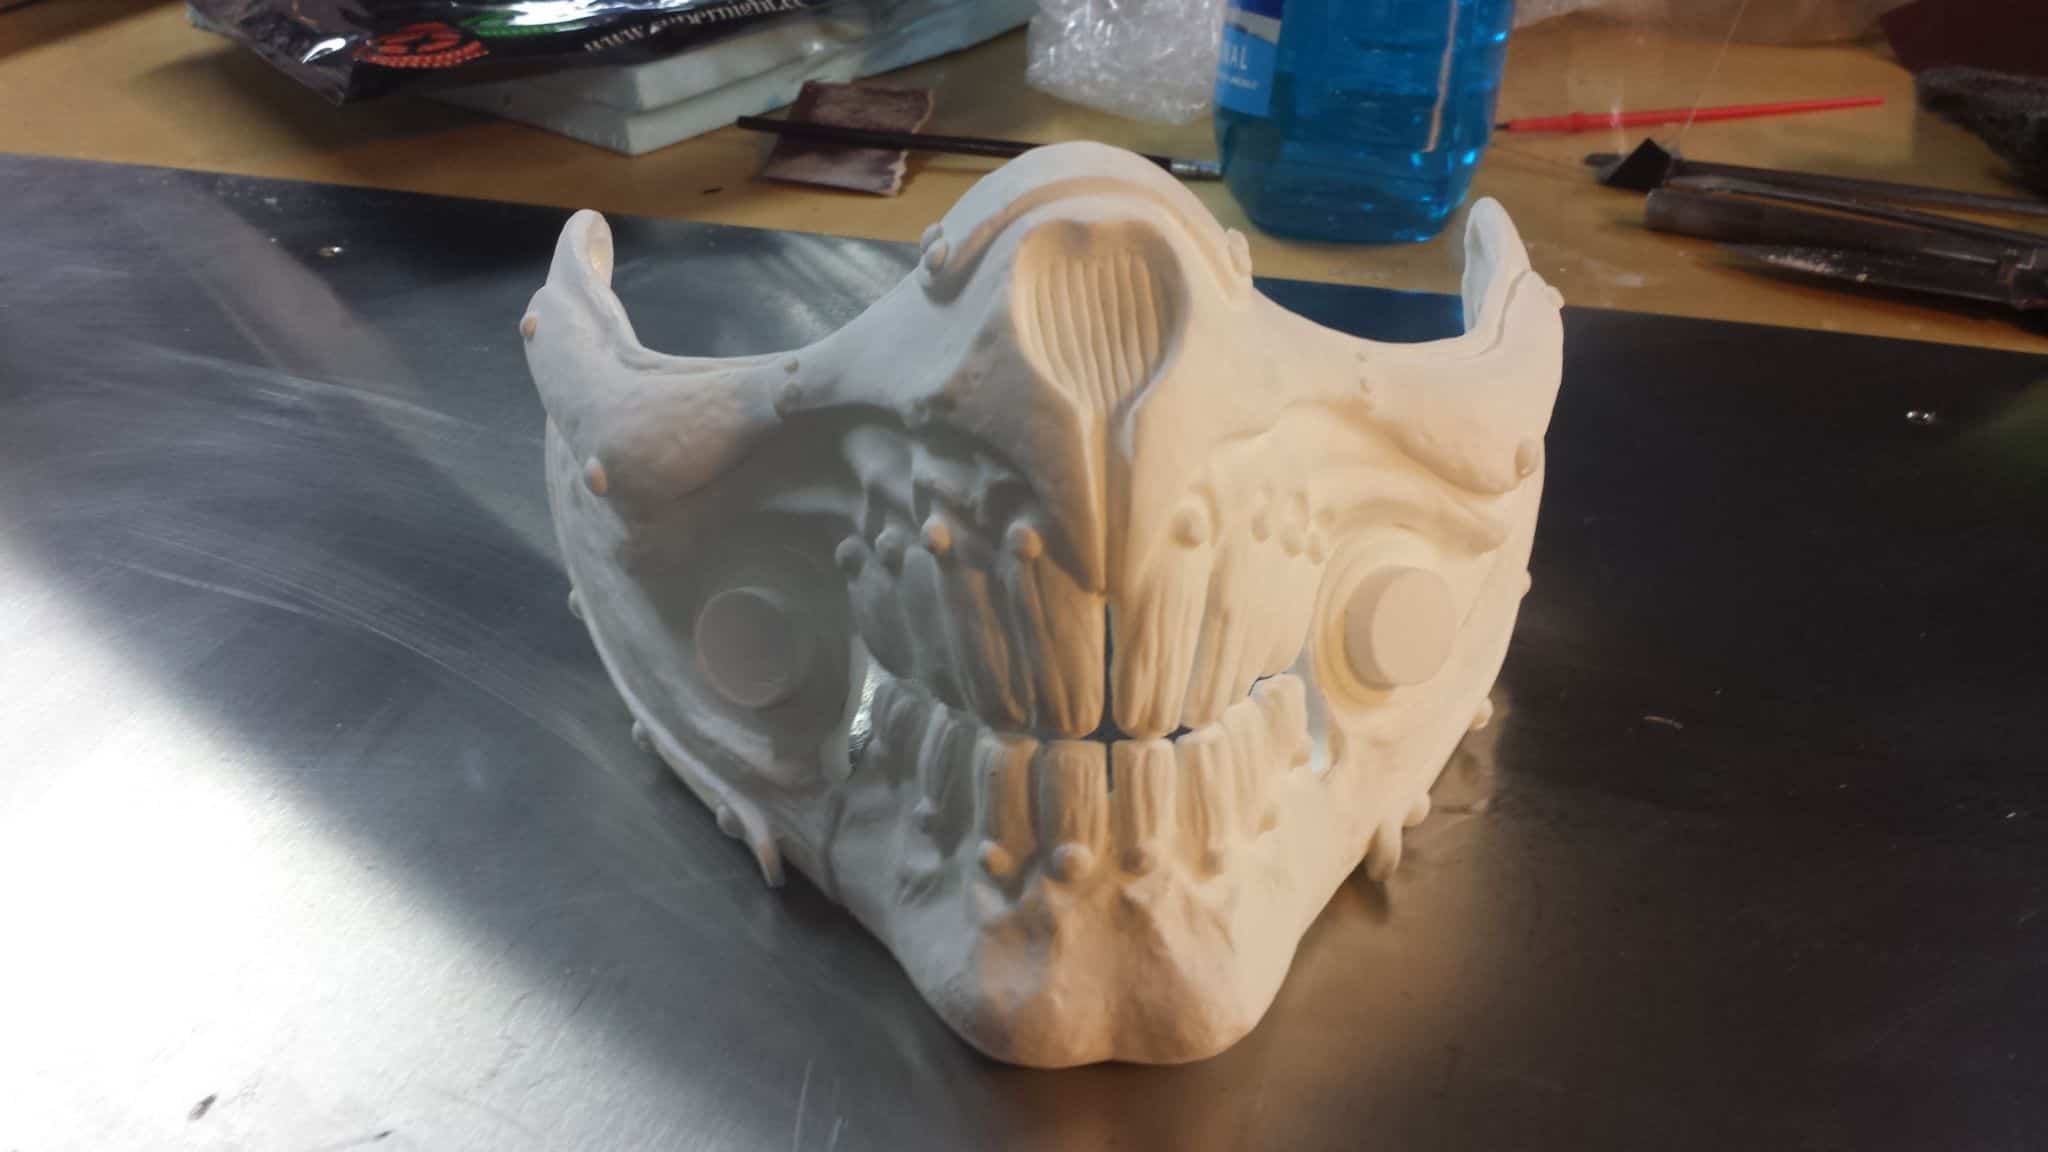
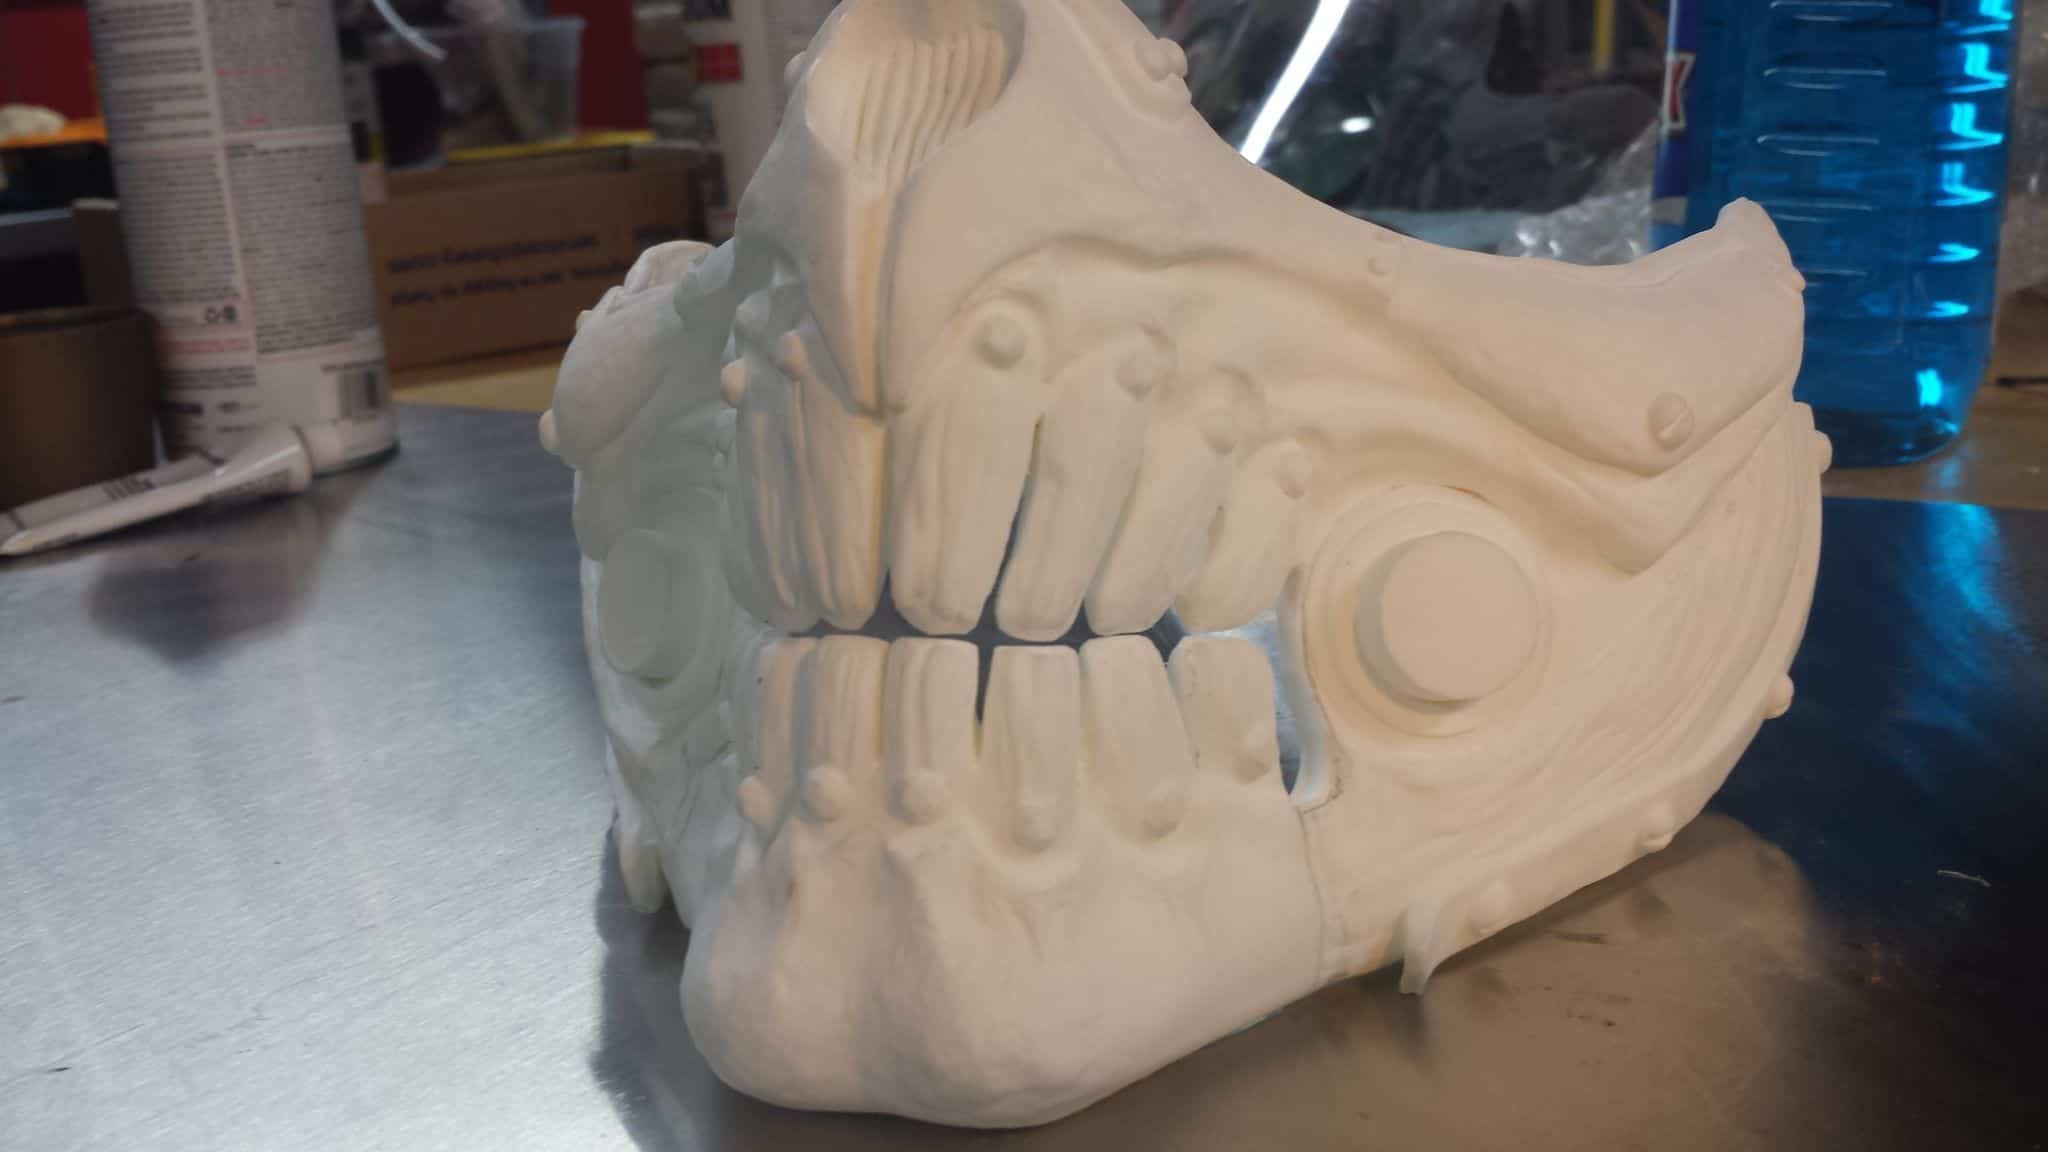
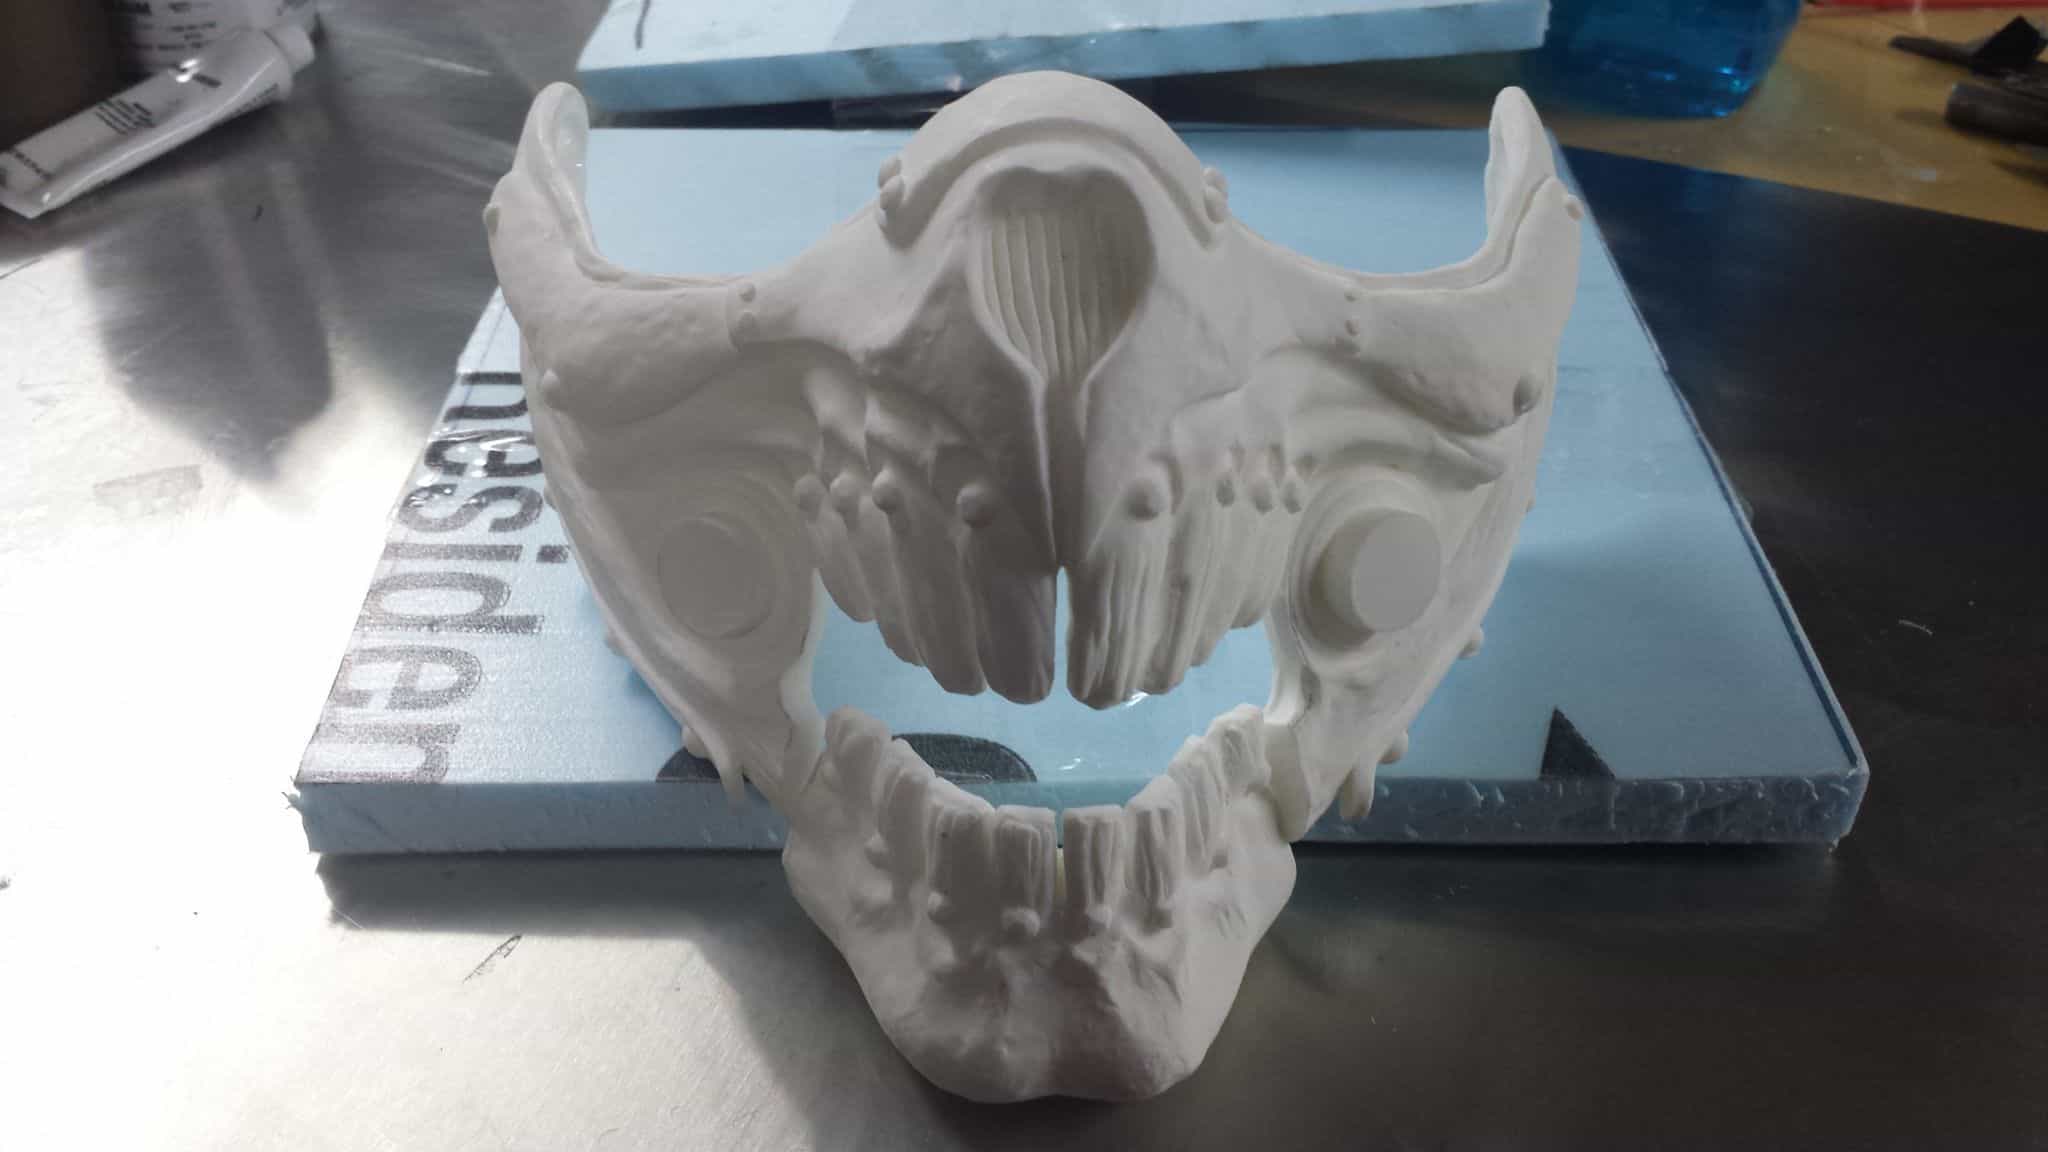
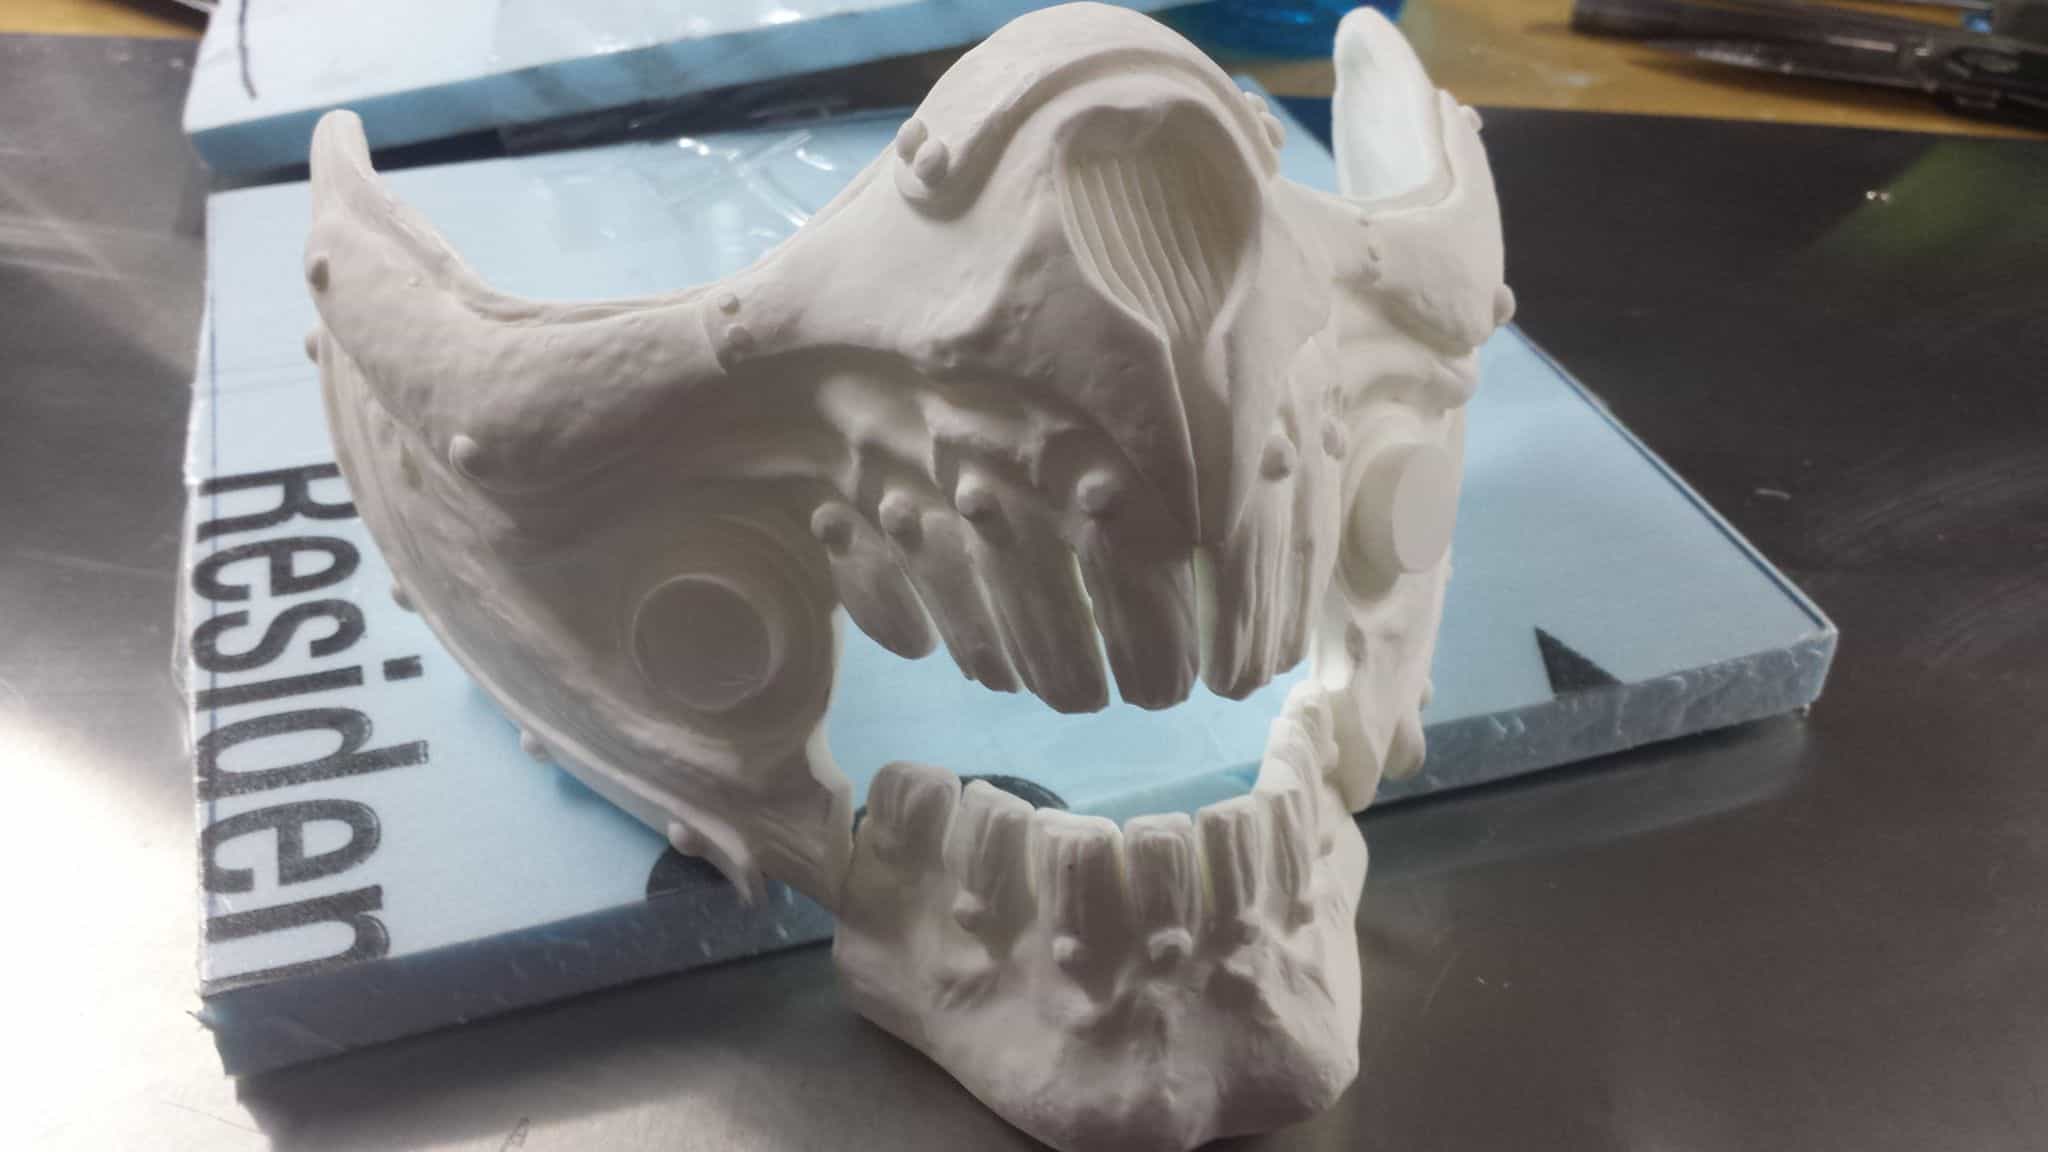
Shifting gears again (pun intended?) I also started playing around more seriously with actually getting my mask done… Turns out, the movie mask has the ability to open and close the lower jaw. Or, well, they probably had two different masks for the different scenes, but still, I figured I’d give it a shot to see how hard it’d be. I’m not sure it’ll end up working out, but baby steps and a bit of engineering should get me there. I took a jeweller’s saw and did a bit of careful work separating the lower jaw, and then carved out a bit of space between the teeth for some character’s sake. I may actually reshape the teeth a bit more with putty now that I’ve done that, since I can see some problem areas.
