One of the many things that got taken care of today was the shoulder pads for the pilot costume – specifically, the process of converting the 3d printed version to a lightweight, flexible foam copy. I’m going to outline the process we went through, but I’m also going to offer one big, huge disclaimer: I realize this might not be the best use of materials. I tend to overdo my molds and mother molds with way thicker rubber and paste than strictly needed because I want these things to be durable. I also know that given the relative simplicity of the shape of the shoulder pad, this would have been a lot easier to just make out of EVA foam. That wasn’t the point of this exercise – it was to practice some of these techniques, and to experiment with pourable flexible foams, which is something I haven’t had much experience with.
We start off with the prepped shoulder pads – the 3d prints that have been sanded, primed, and smoothed out to a reasonable level.
I bought some 8-32 thread, 1/4″ long extra wide phillips round head screws from McMaster-Carr (along with a bunch of other stuff for my K40 laser) and screwed them in around the holes on the rim. Easier to use actual hardware than print and sand fake screwheads, in my opinion. Then each pad was adhered to an MDF backboard with plasticine putty.
We sprayed everything down with Ease Release 200, to make sure we could get the rubber off when we were done. We used Rebound 25 to mold the front halves of the pads. You want to get a thin initial coat on and brush it into all the crevasses on the surface really well, since that’s going to be the ‘detail layer’. After that, you can glob an extra coat or two ontop of things to firm the rubber up a bit. You’ll see that the initial detail coat we put on ran pretty far (off the boards, even), so we used a few drops of ThiVex for the subsequent coats to thicken the rubber up and keep it from running quite as much. A smart thing to do, which I will keep in mind for next time, would be to put a good layer of hot glue around the edge of the pad on the MDF board to form a wall to retain the silicone that wants to run off the board.
Remember to put mold keys onto the surface of your mold – these will be important for the mother mold to align correctly. I have a bin of old silicone rubber molds that we don’t use anymore, so we usually just grab a couple, hack them up with a knife, and repurpose them into the keys. They get stuck down with a layer of Rebound and become part of it without too much trouble.
With a sharp knife, we trimmed up all the excess, being careful not to get too close to the pad underneath.
Like I said, I am pretty wasteful with my materials. More experience in future will hopefully teach me to rein it in a bit.
We brushed the whole exterior of the rubber – and the MDF board – down with Sonite Wax, which is a handy little release agent. You want to give the whole piece a decent shine with the stuff.
I used Plasti-paste II as the mother mold material, and it sticks to absolutely everything that isn’t properly waxed, so this step is very important. Plasti-Paste is a neat trowelable material that firms up in about 90 minutes, though you can apply subsequent coats on it as it cures without too much trouble. The real thing to keep in mind as you’re spreading it is just to make sure you get good contact with the mold keys, since those will be vital to ensure alignment later.
Once we domed the whole thing over with a decent layer, we built a bit of a lip out around it on the board. This is just so I had some material to put bolts through to hold both sides of the mother mold together later.
Once this all firmed up, it was time to flip everything over. A sharp knife should slide pretty easily between the MDF and Plasti-Paste layer assuming you put enough wax on the board. We pried it up and started scooping all the plasticine clay out of the back.
A hair dryer was helpful in softening the plasticine to remove it here. We grabbed some PVC pipe and hot glued it to the back of each pad, just to create a bit of a pour spout into the piece. Then, well… time for more rubber. Mixed a bit of purple So-Strong tint into the material so I could easily see the separation between the front rubber coat and the back one. Took about three coats of rubber before I was happy with the back, and again… probably overdid it. That said, having the back be rigid was not a bad thing here, because it helps keep the rubber form from falling in on itself once the final mold is closed up.
Remember to put mold keys on the back, too.
Once the rubber had time to set, I spread more Sonite wax all along the existing Plasti-paste front shell and the new darker purple silicone layer. More plasti-paste was mixed up, and some purple tint was added to that, but not really out of necessity – more to see if it would work!
Turns out it works just fine. Once it had fully set, four holes were drilled through the mother molds in areas where I knew I could safely avoid hitting the shoulder pad inside. These holes are for bolts to go through to hold the thing together later. Best to do it now, before opening things up, since everything will be aligned that way.
The process of deconstructing all of this stuff was next. A sharp knife slipped easily enough between the mother mold layers, and from there it was just a simple matter of gently prying everything apart.
Doesn’t look all that bad! We trimmed the pour spours down a bit to make them a bit easier to get on and off.
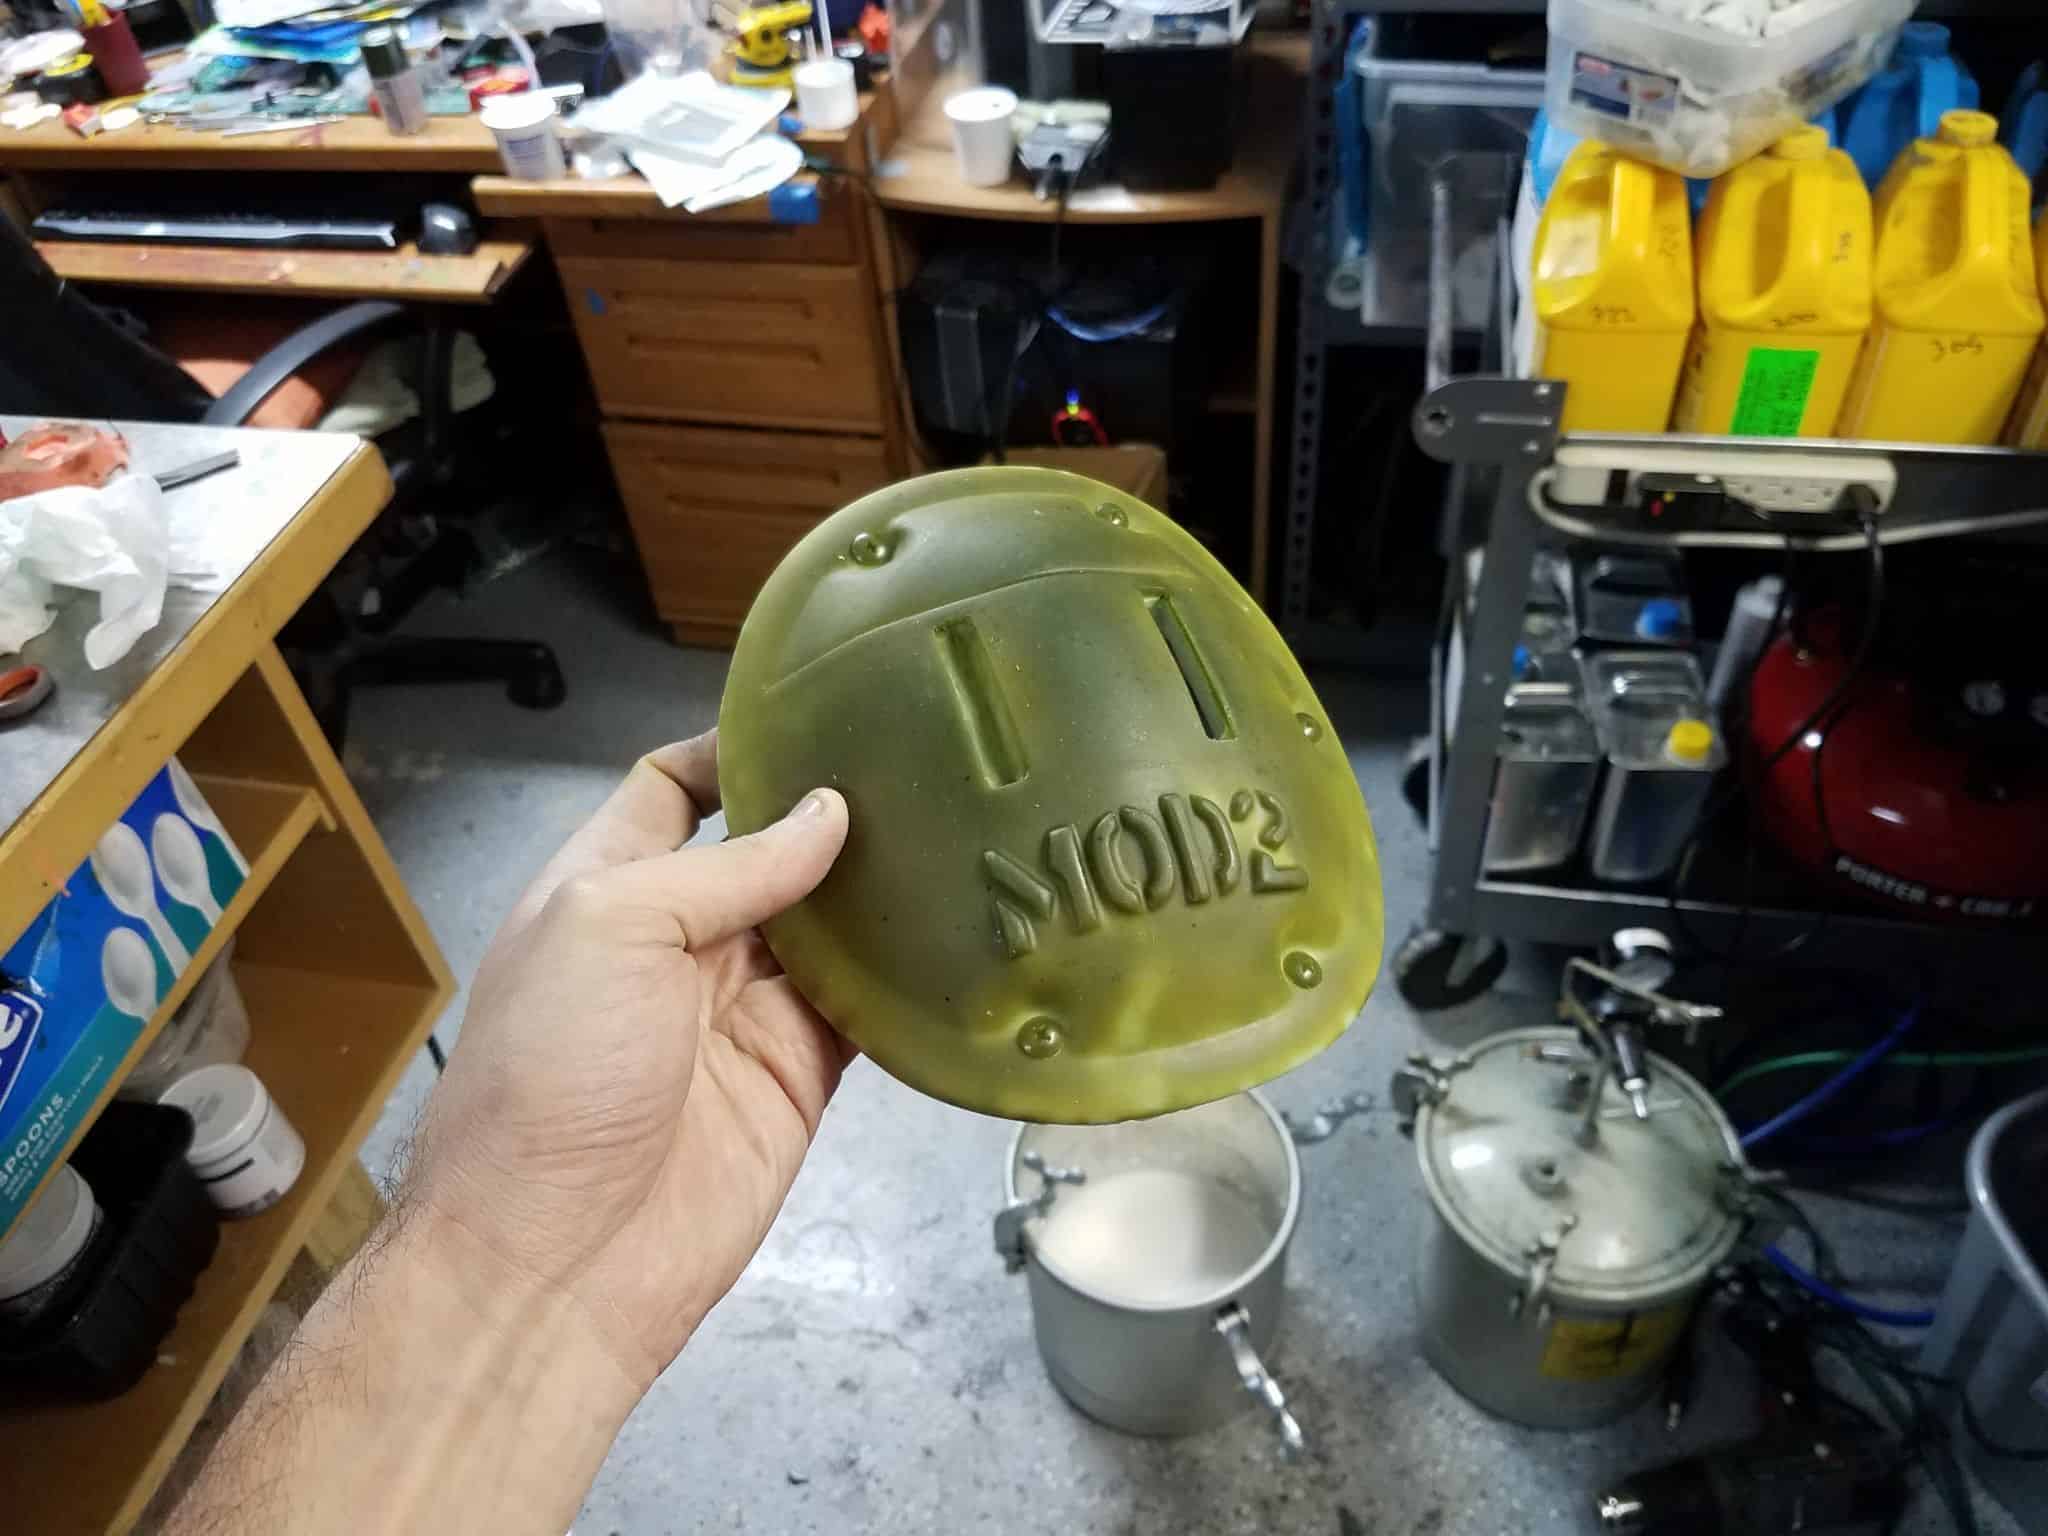
About three hours later, the foam had firmed up nicely and was no longer tacky. The results are not bad, all things considered!
Some of the screw heads did not cast super cleanly, which I guess is not a surprise. I can always just knife them off and screw/glue real hardware back into those places. The important thing, though, is that these are super lightweight, and surprisingly flexible…
… which means that doing idiotic poses/stunts/acrobatics/whatever and wearing them at conventions should be about a million times easier.
Only issue I see now is figuring out how to paint this stuff properly. By virtue of being flexible, any of my usual acrylic paints would crack and flake off. I’m totally open to advice on this one!


