Thanks to Logan74k at TheRPF.com, I’ve been alerted to the fact that the rivet arrangement is actually mirrored across both shoulders, despite the fact that the bottlecaps are only on one of them. I wonder if they had bottlecaps on both shoulders to start with and decided it was overkill?
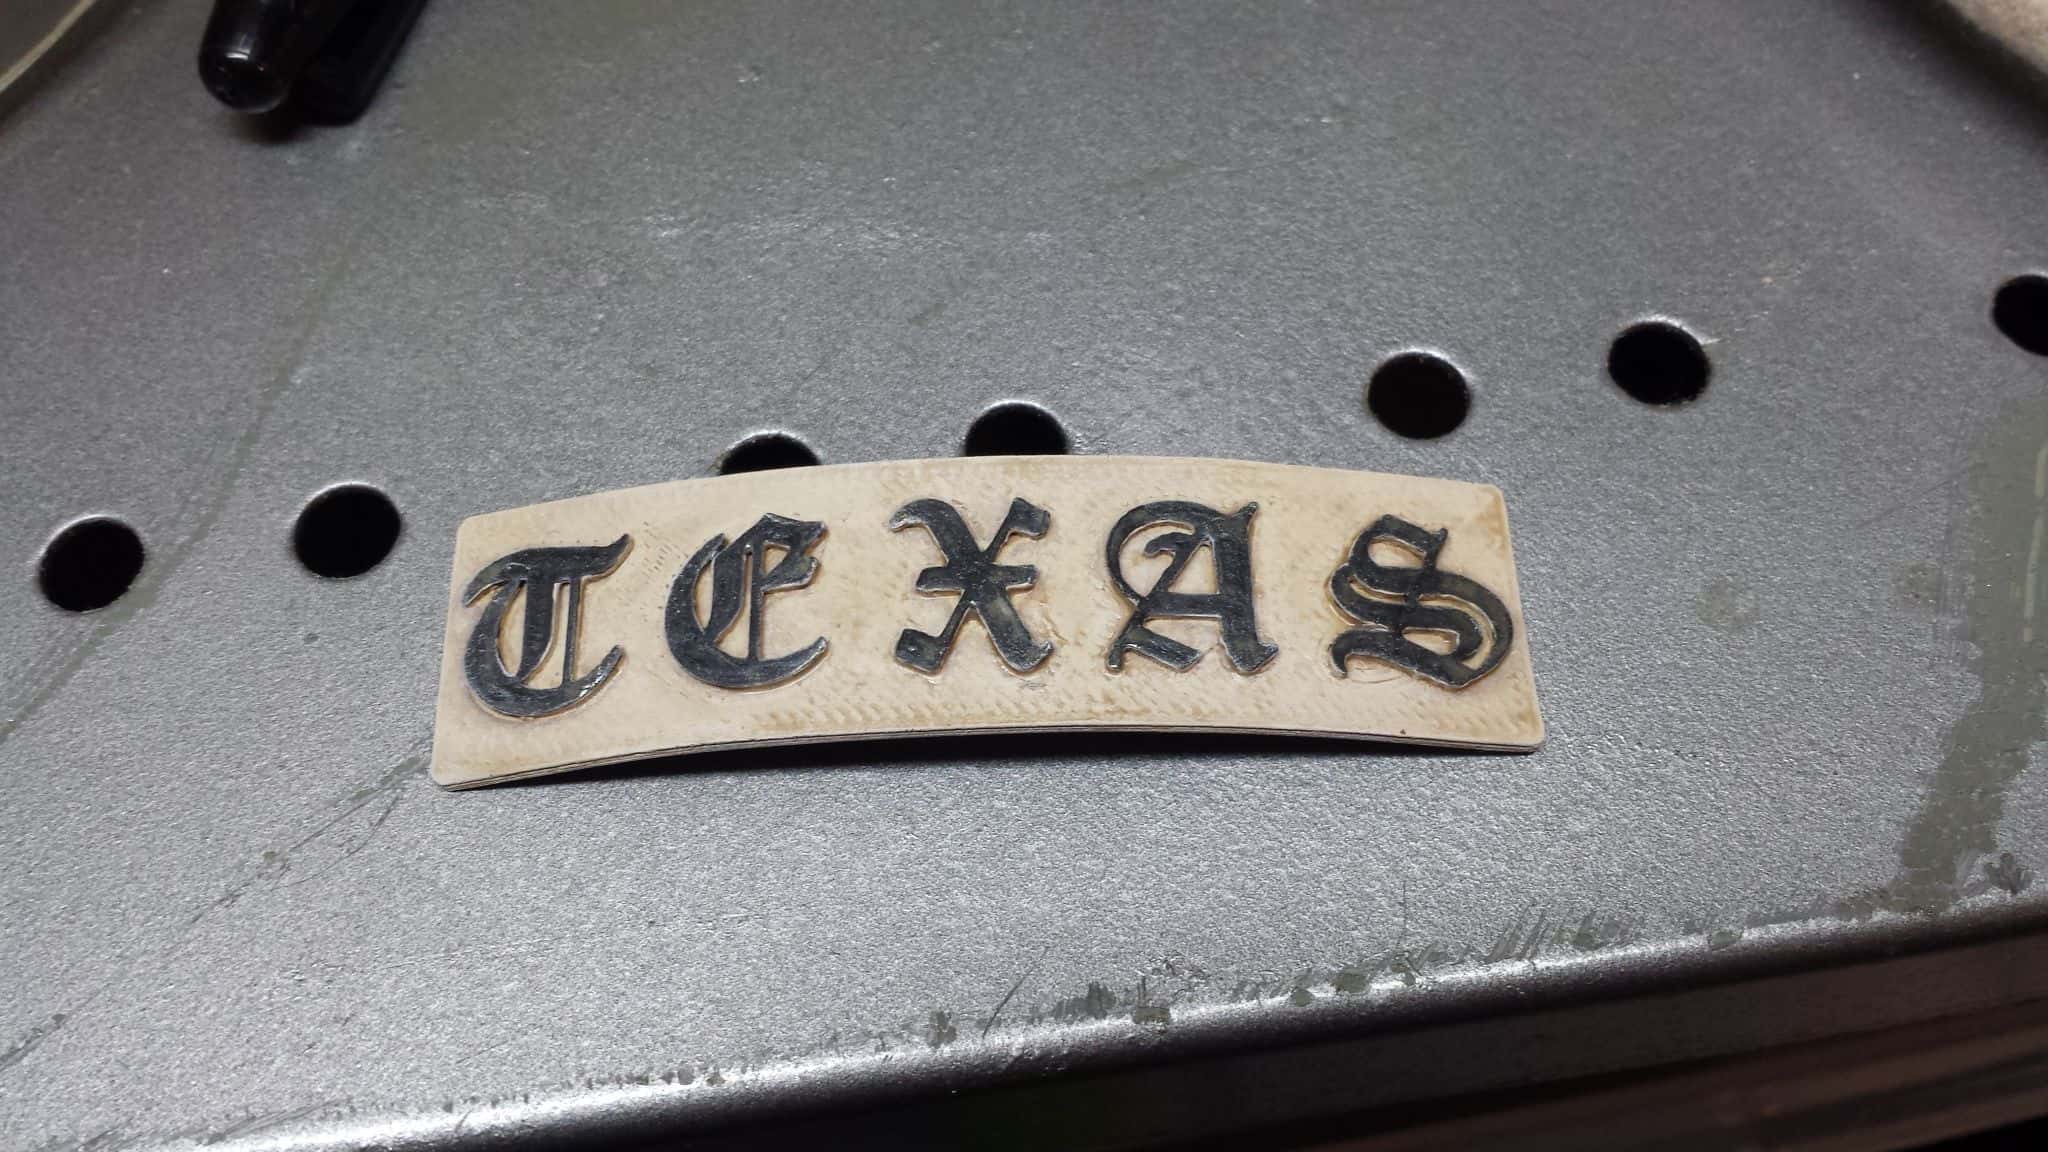
The “TEXAS” patch is something TheRPF forums user Hamstertyle modelled up for his own costume, and in the absence of any alternative options at the moment I printed one out for myself. Grateful he made them available. I did some resizing, and bent it with a heat gun to fit the curve of the pad. I actually think the print lines help make it look a little embroidered, but I doubt anyone’s going to be looking that closely anyway.
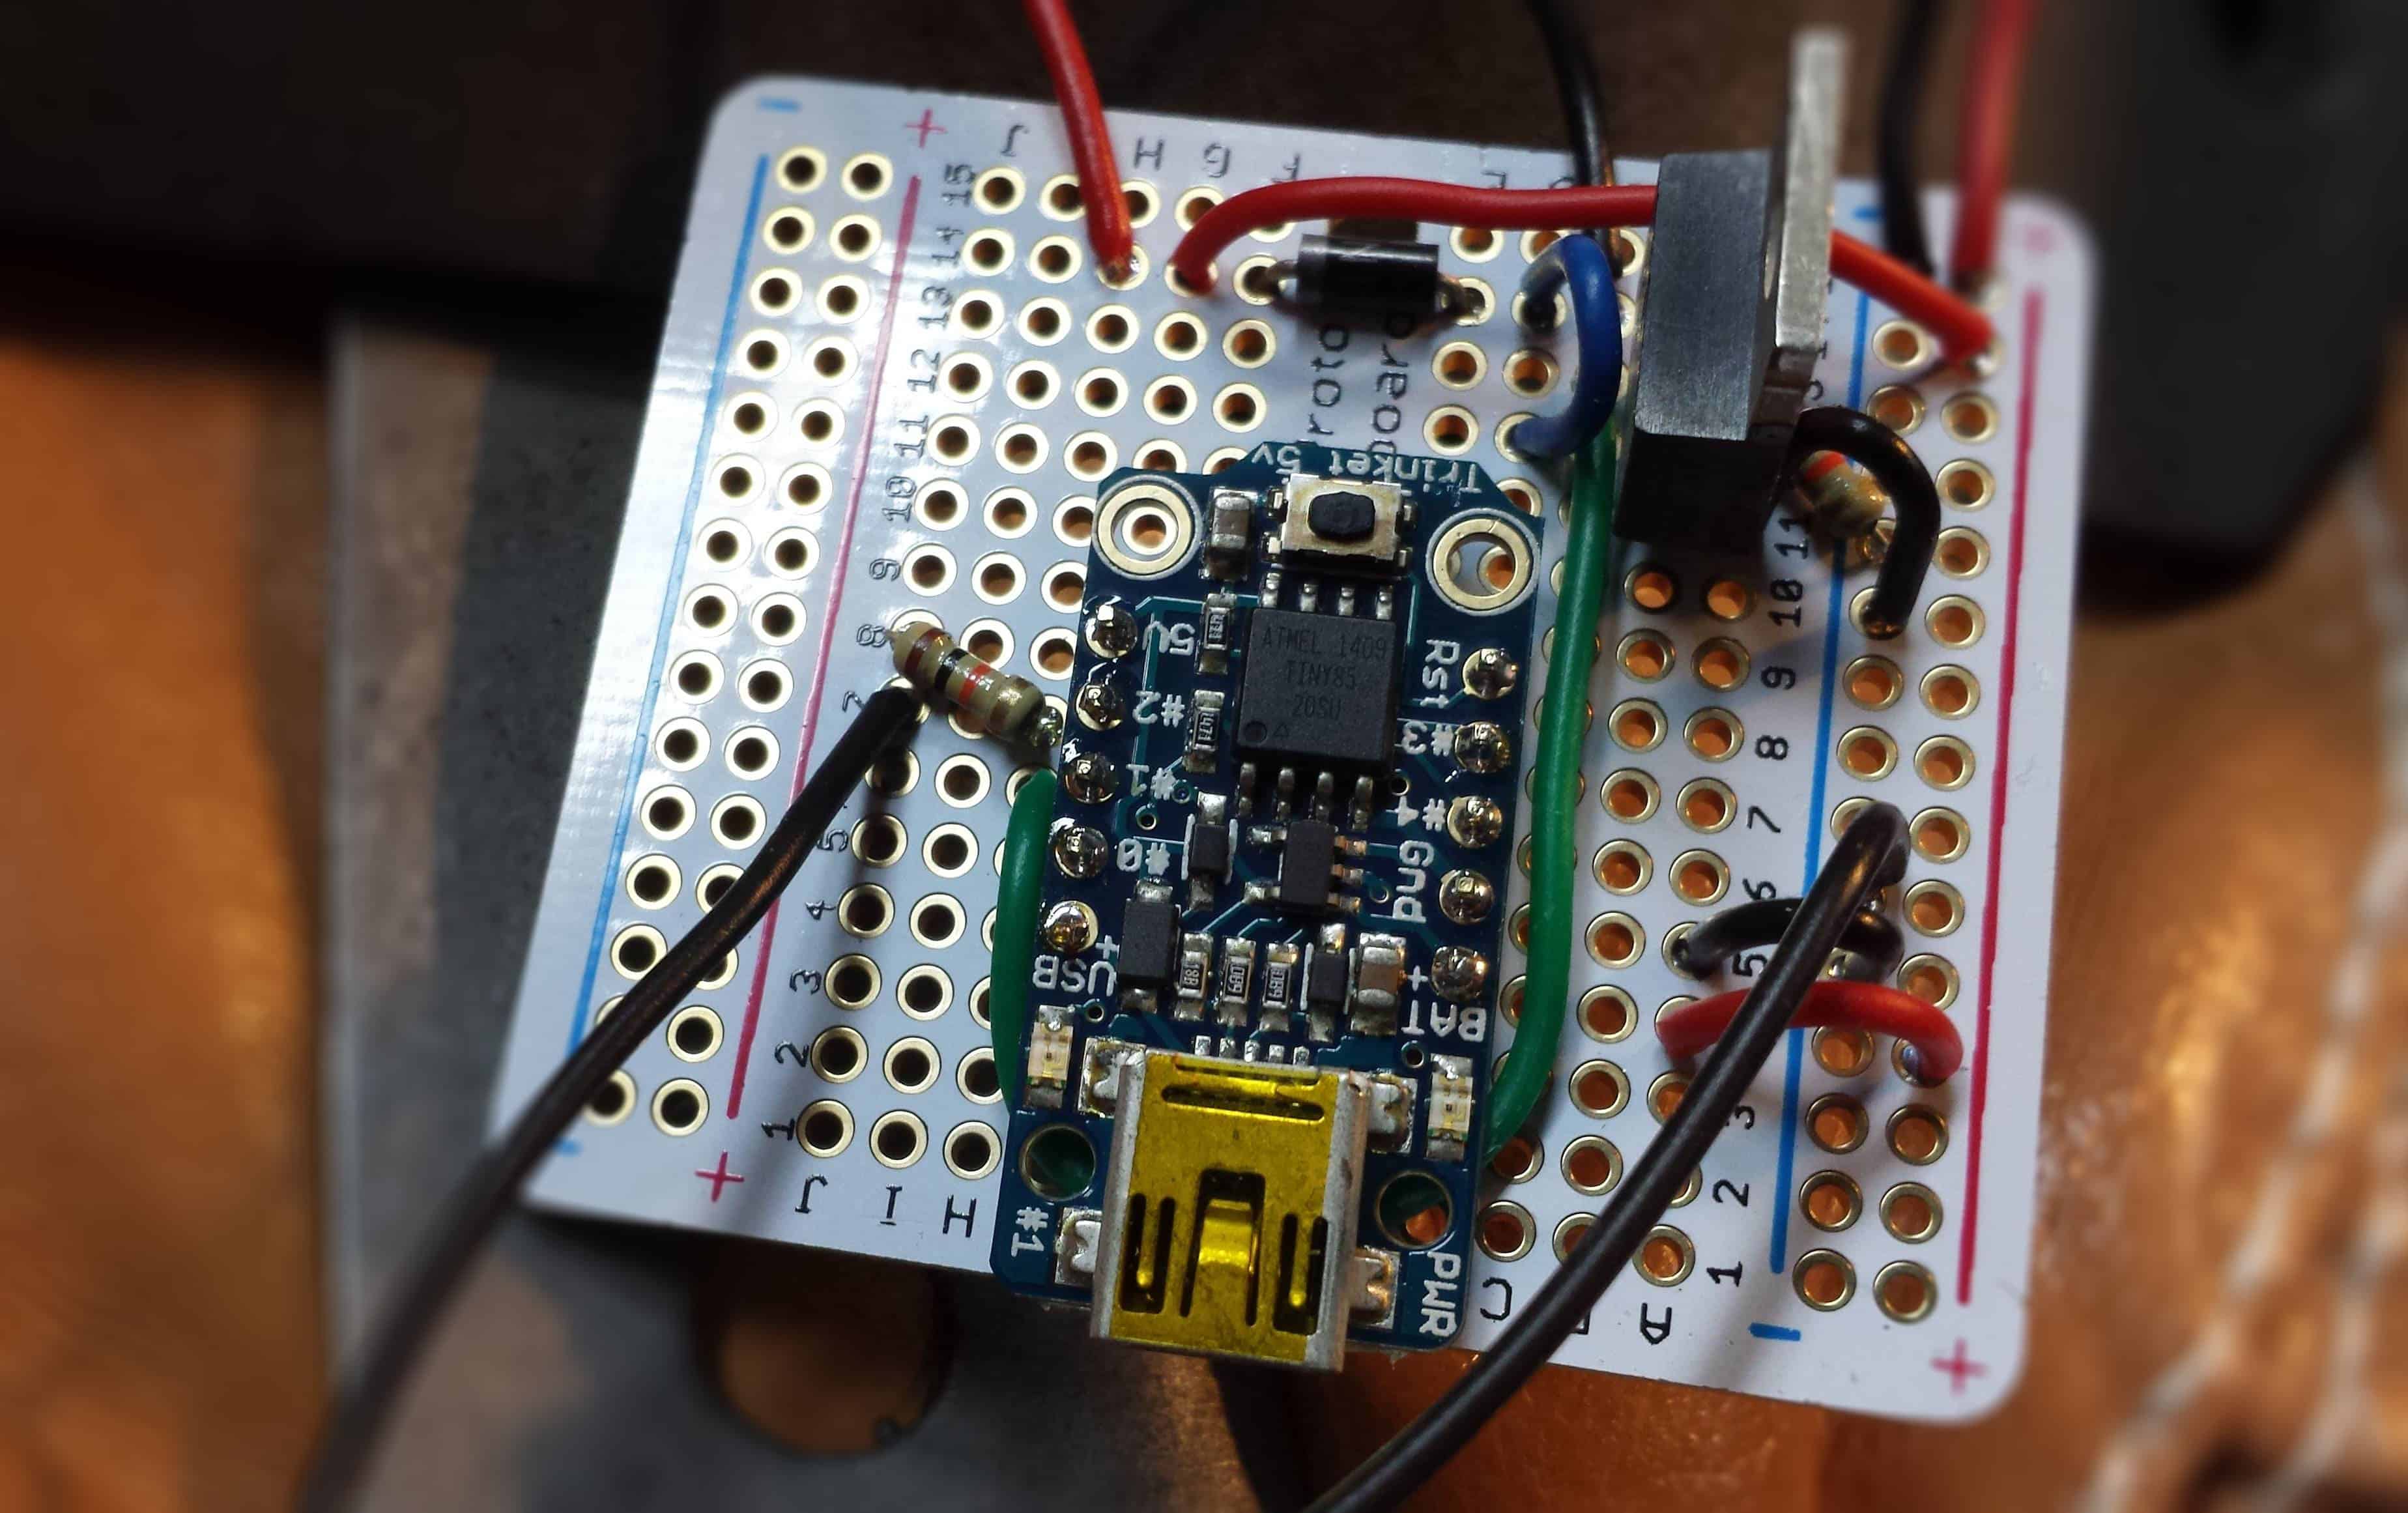
Returning to my air ventilation idea, I pulled the trigger on two different sets of fans today with much higher pressure output numbers. One is a 40mm fan, one is a 60mm fan. I figure I will try both, see what works best, and return whatever’s left over. I’m kinda hoping the 40mm does the job, since 60mm is starting to push what I can safely fit in the airbag without it being visible in the outline of the thing. Wattage on these things is kinda high, so I suspect I’ll have to be swapping batteries throughout the day, but that seems like a fair trade-off.
However.
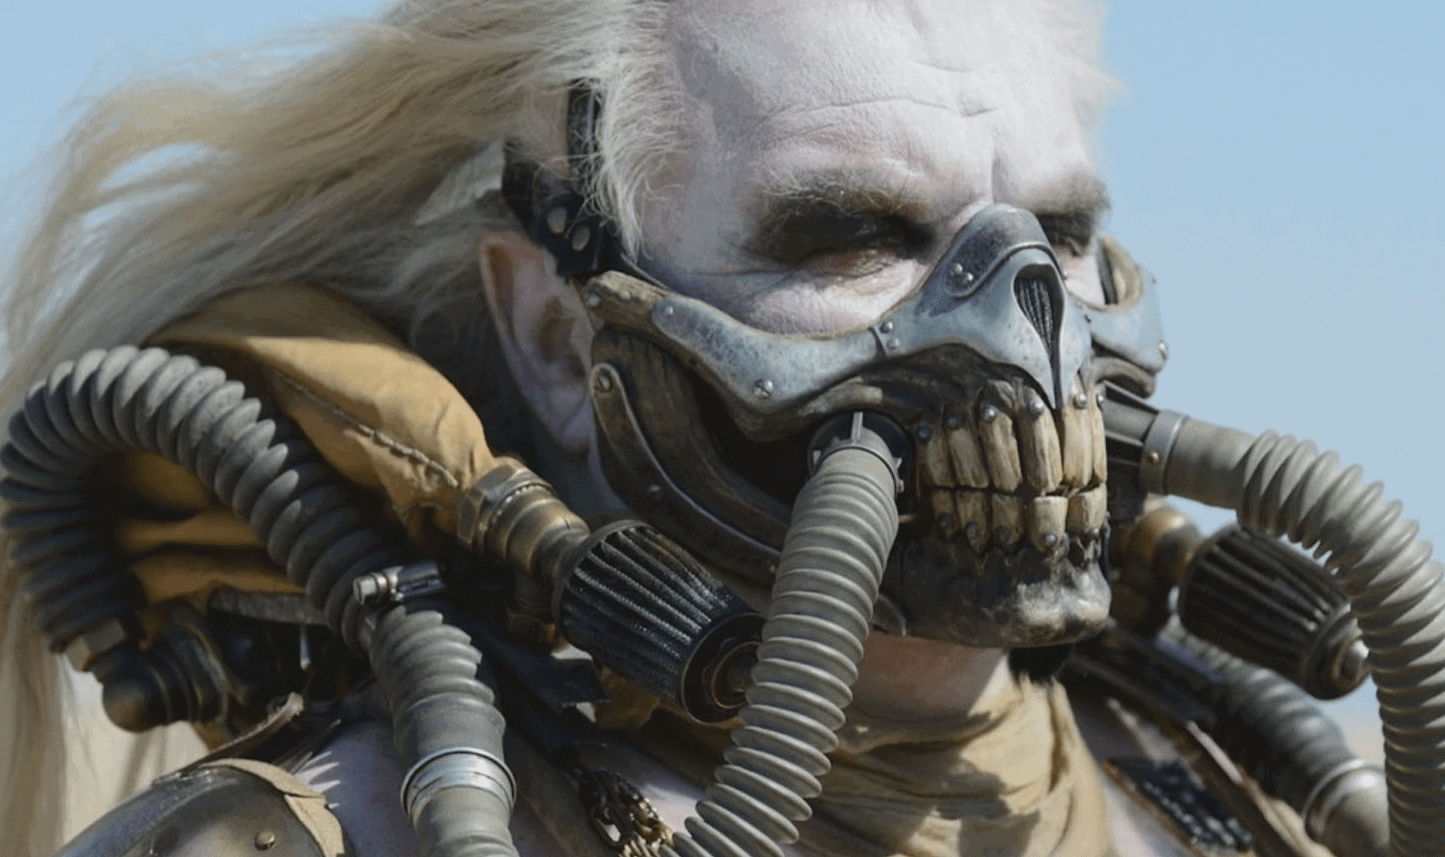
I started thinking about where the air intake for this whole system could be. My first impulse was “Just put it somewhere behind the head, or under the bag”, which would work just fine, but then I started worrying about what might happen if the wig’s hair got sucked into the intake and into one of these fans. Then, a friend jokingly suggested I should just put a pod filter on the thing. When I asked what a pod filter was, they informed me that that was the actual name for the conical intake vent parts that stick forward over Joe’s shoulders. Which… could actually work as a suitable air intake, if I replaced my 3d printed part with a real thing…
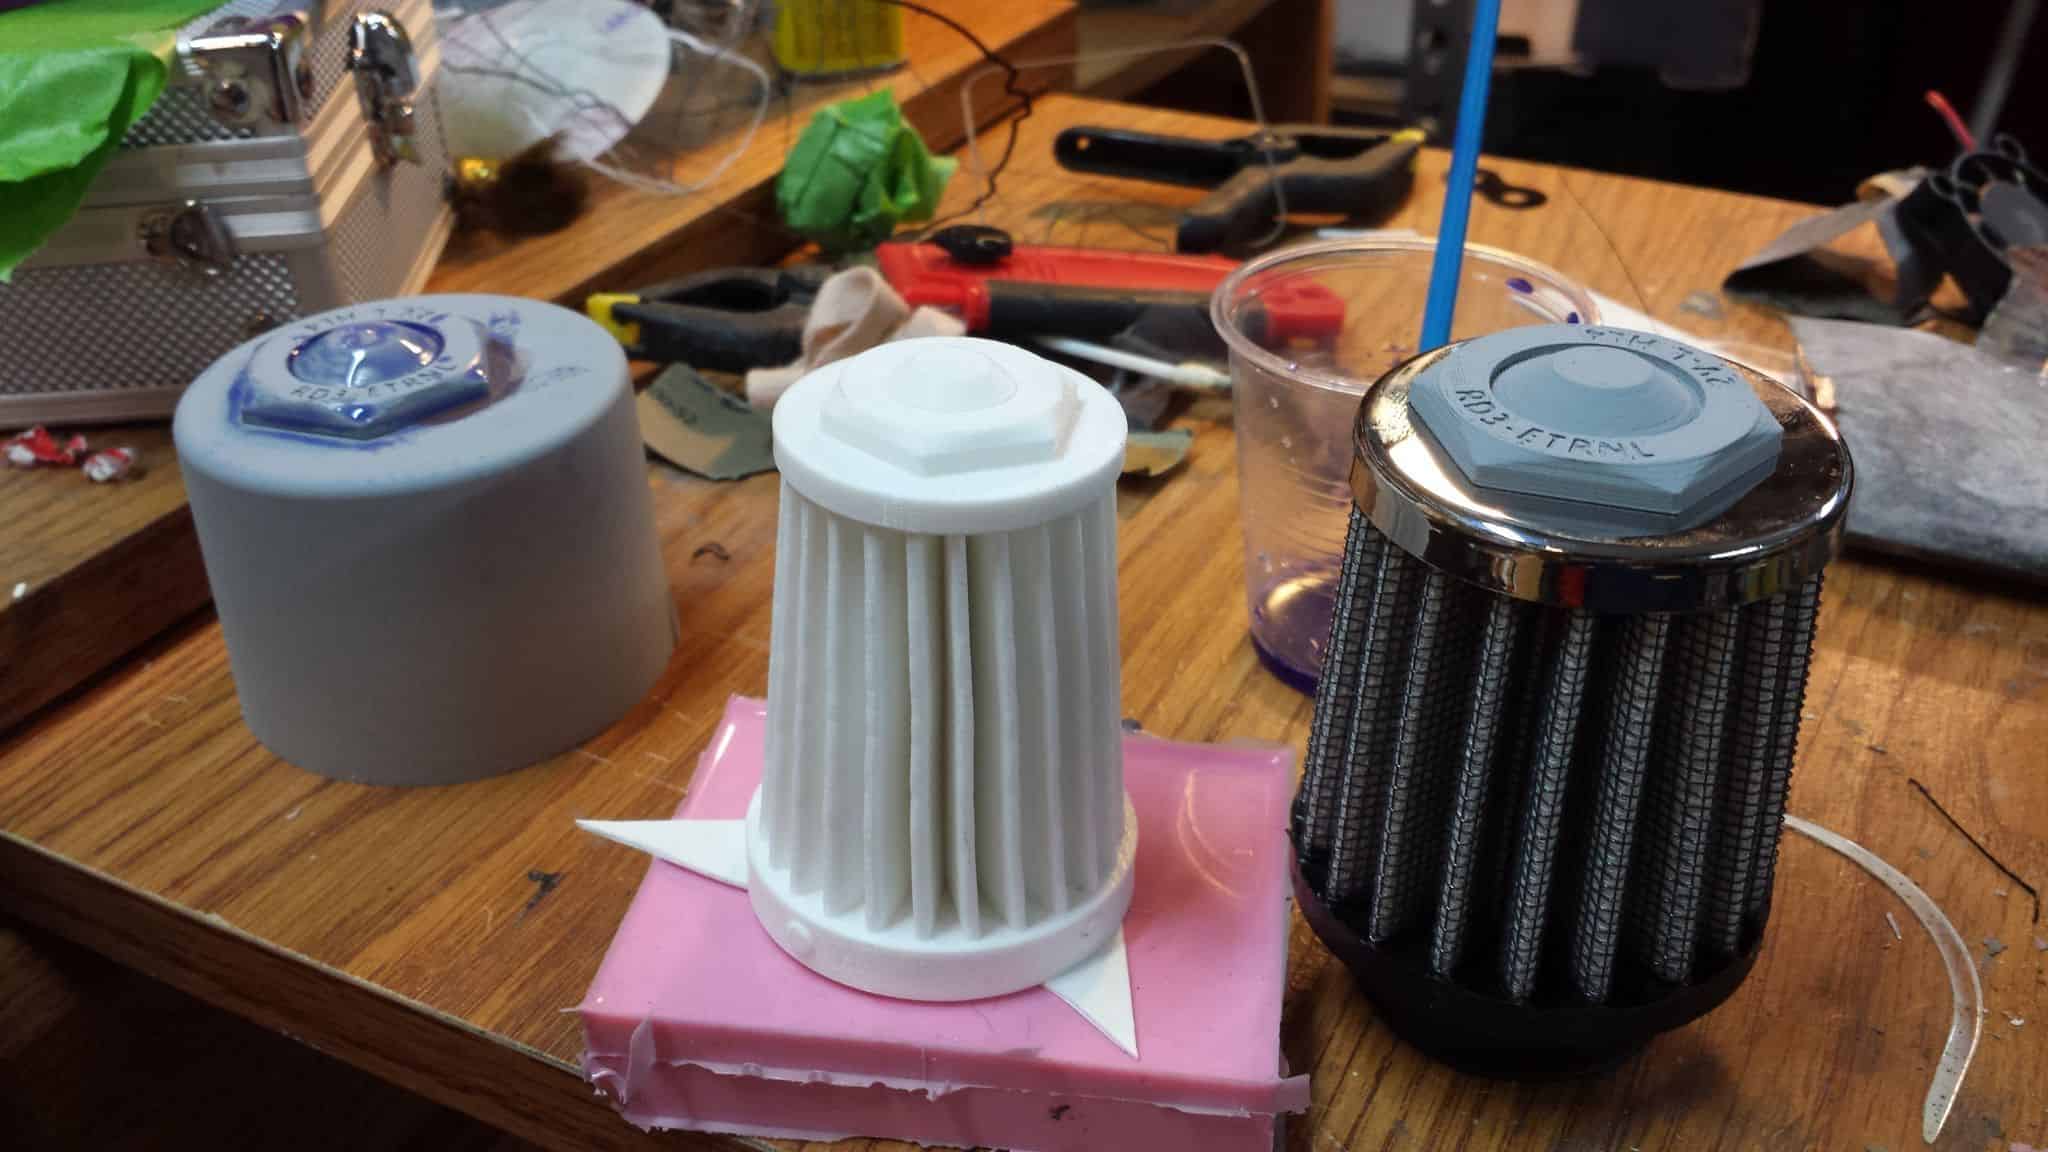
Cue me disappearing down a rabbit hole of internet research for the better part of 6 hours. After much lamentation, I generally found that a filter of the dimensions required is akin to finding a unicorn. Where I ultimately landed was with the K&N RC-2540 Chrome Air Filter. There were a couple other viable options, but they involved shipping from the UK and were generally very rare parts for a specific brand of ATV only in Britain. No doubt the actual screen filter was the product of some digging in an australian junkyard somewhere, as almost all of the car emblems and other motor parts are sourced from that neck of the world. The order came in today, though, and these look like a fair and workable compromise.
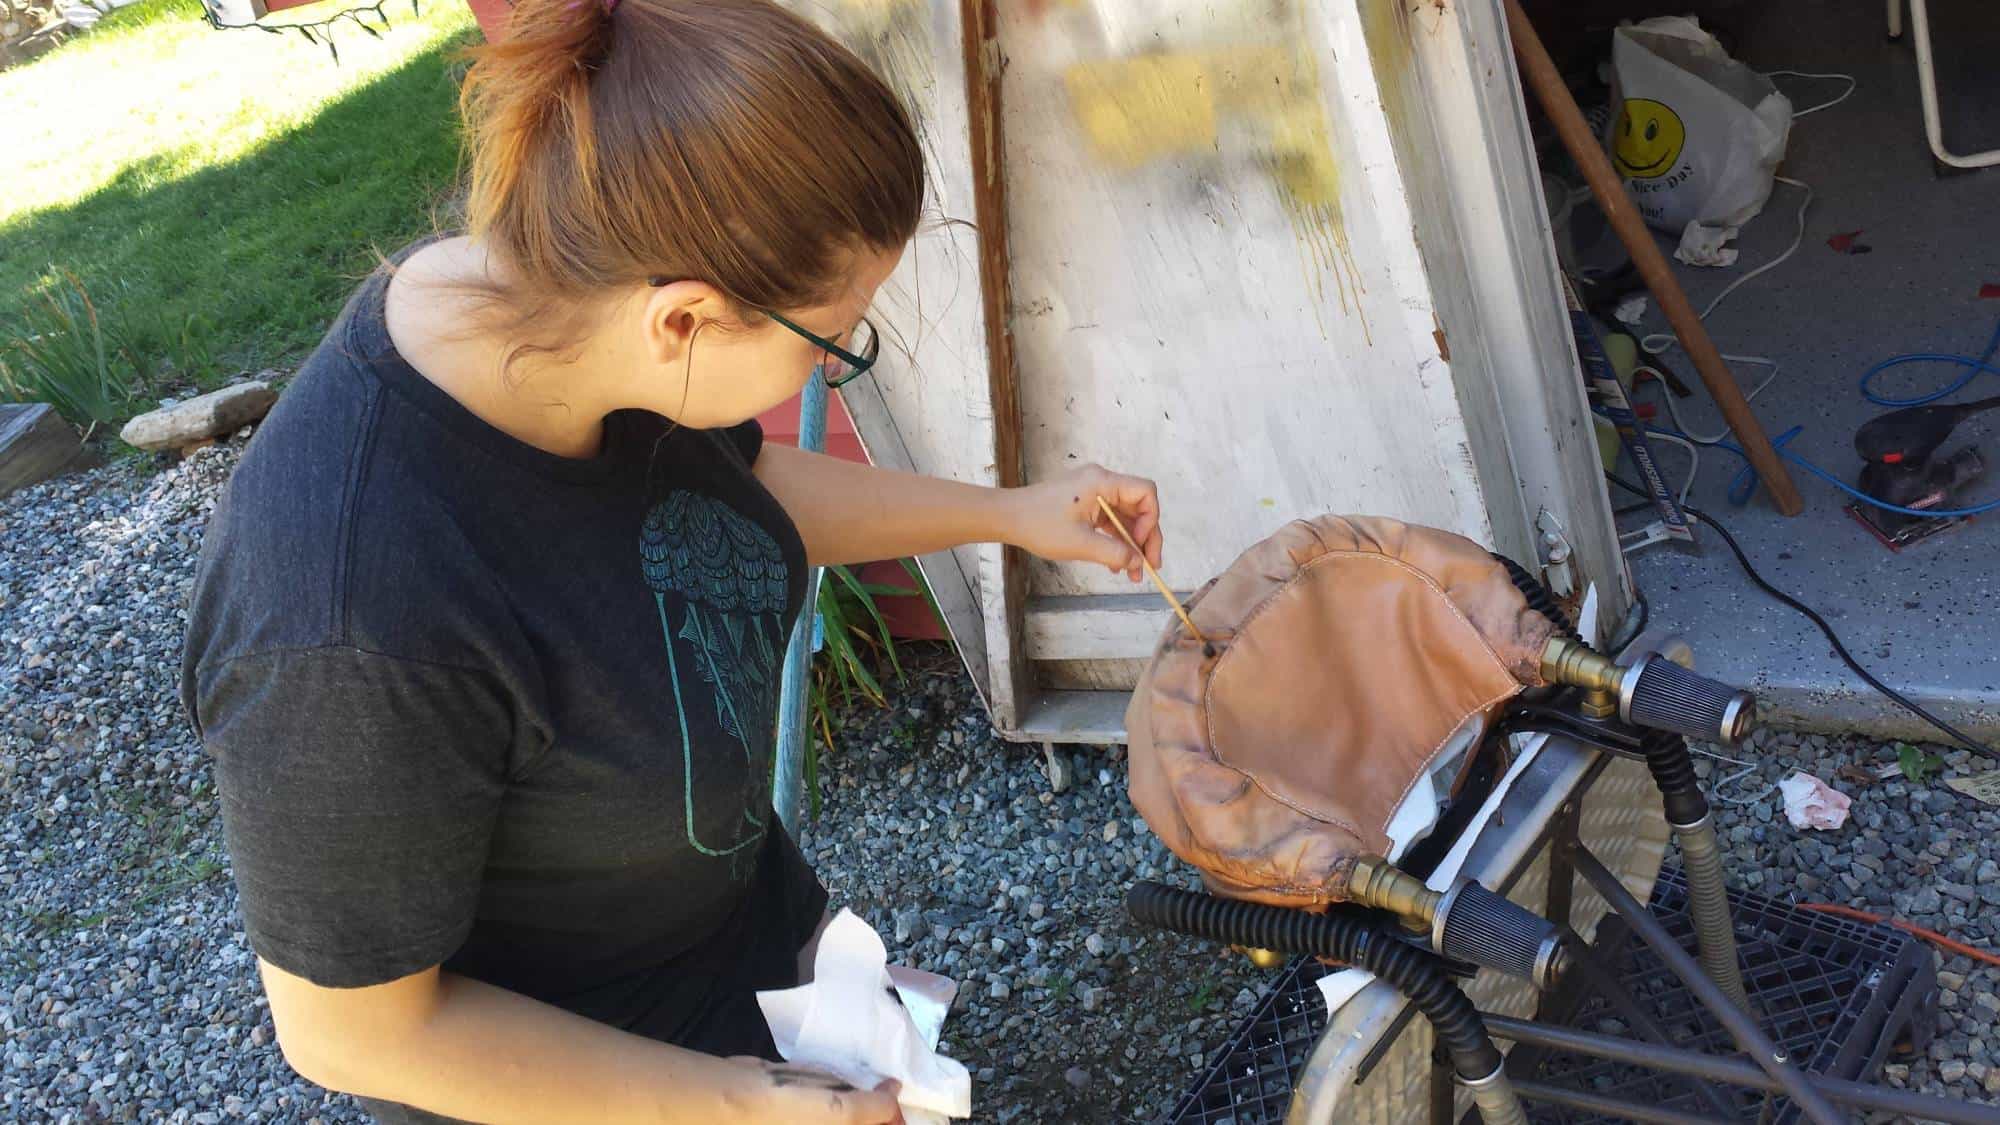
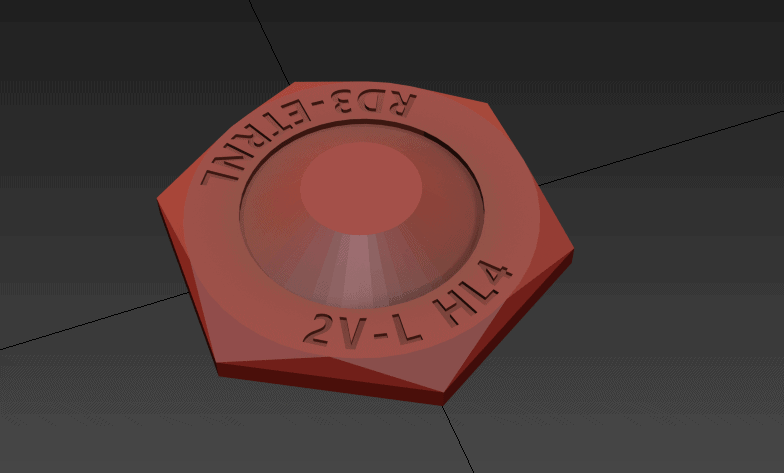
They are not perfect by any means. Not quite as tapered or long as I’d like, or a bit too wide… but dimensionally, it’s close enough to get the job done. I modeled up the top ‘nut’ to attach to the filter and 3d printed out a couple quick copies that I’m thinking of molding overnight and doing a brass cold-cast of.
I could tell there was some manner of stamped text on the brass part of the filter cap, but couldn’t make out what it said (or tracking the parts down might have been a lot easier) so I just… made something dumb up.
What this all ultimately means is that I have an intake that I can actually draw air in through… so I guess I’m going to be trying to make Joe’s rebreather system work as intended, minus the part where the bag actually holds pressure and inflates. My hilariously rudimentary plan is something along the lines of:
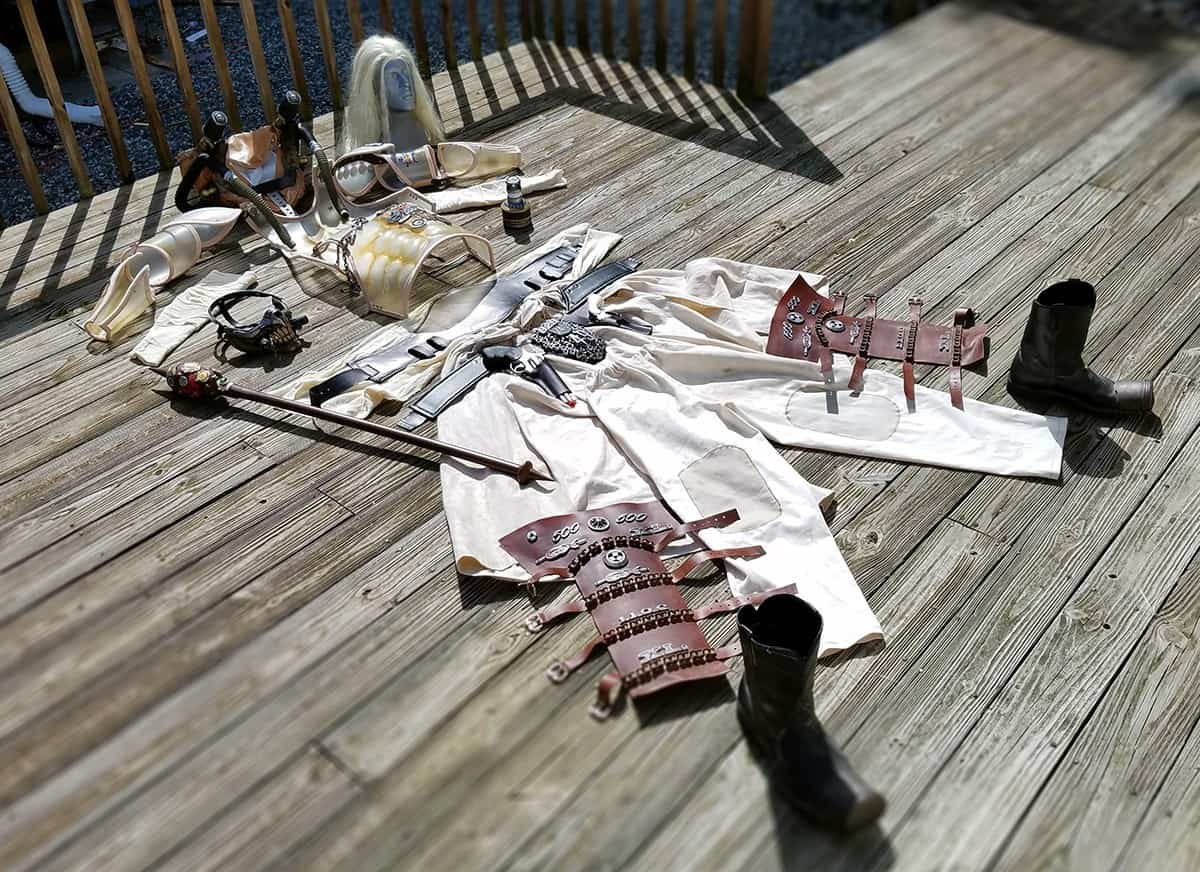
We’ll see how far that gets. I still haven’t figured out how I’m going to make the airbag yet, or from what material. I’ve been to plenty of fabric stores and not found anything quite approaching the nature of the leather that seems to be in use there.
