Alllllright. I haven’t updated this in a while. My excuse is that I have been working a lot, and also I just bought a Chinese K40 laser cutter/engraver that I have been working on setting up. More on that later. For now, I want to talk about some changes to some of my Titanfall stuff.
The Data Knife was one of those things I was not entirely satisfied with. My last iteration of it worked, but there were a few things I didn’t like:
Battery life was questionable. The A23 batteries I was using were only just sufficient to really get the Neopixel ring up and running at times, and only had a capacity of around 55 mAh, which means they ran down pretty quickly.
Having a battery panel annoyed me, especially the act of having to unscrew and rescrew four separate M2 screws every time the A23 battery died.
Trying to paint or stencil a texture onto the ‘grippy’ part of the handle was inconsistent and unsatisfying. I found myself wishing I had taken the time to figure out how to model those details on.
3d printed parts are not as durable or hefty as I would like for this sort of thing, and I had a bunch of people asking if I’d sell copies, so I started thinking about moldable designs.
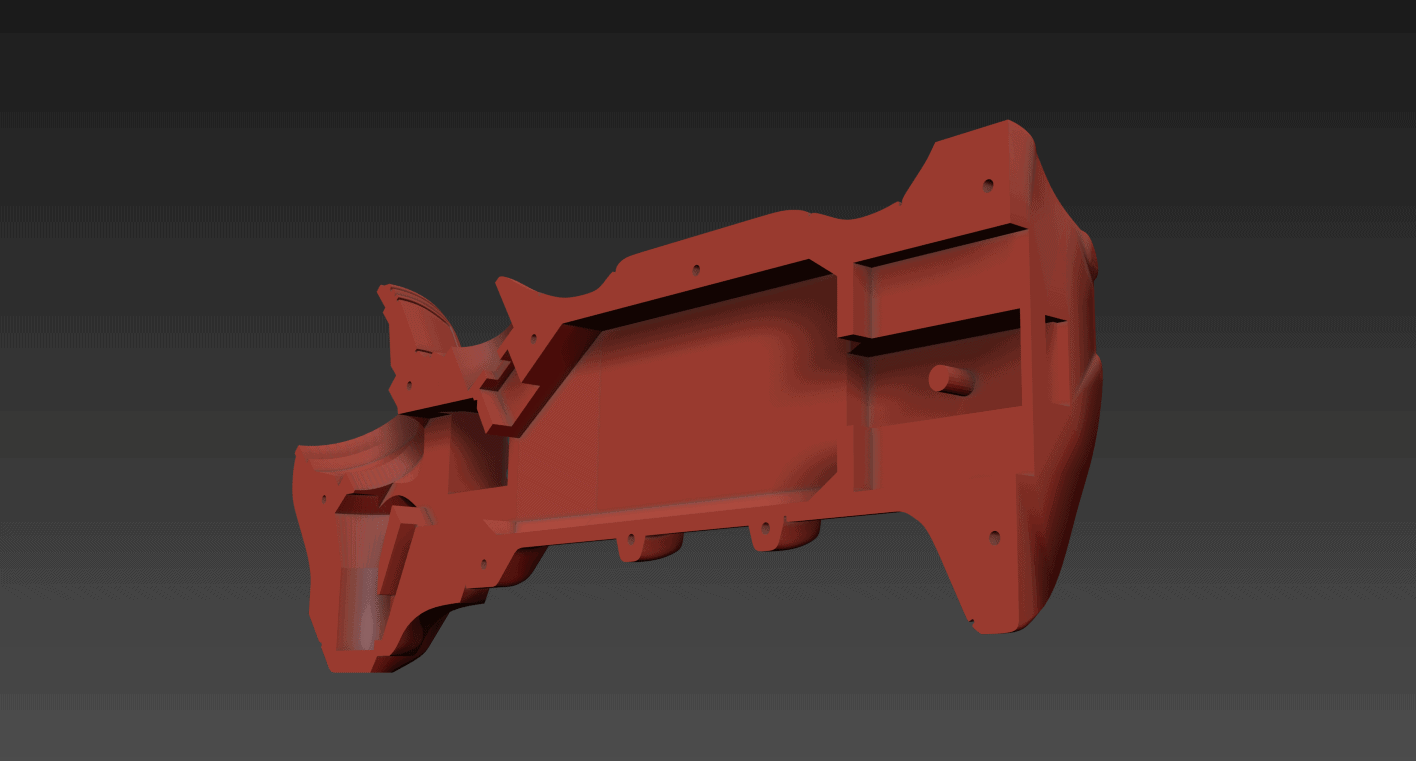
With all of these factors considered, I decided I’d take a stab at redesigning the data knife… again. The biggest change is that I wanted to switch power sources from the disposable A23 batteries to something a bit more reliable. I went with SparkFun’s 400 mAh Lithium Ion batteries. These are basically going to last eight times longer than the little A23 batteries I’ve been using. SparkFun also has a very, very tiny Lithium battery charger that I incorporated into the design.
There’s a post in place to hold the LiPo charger correctly through the central screw hole, and a cutout for the MicroUSB socket. This new design also has juuuuust enough clearance to allow a MicroUSB plug to slide in.
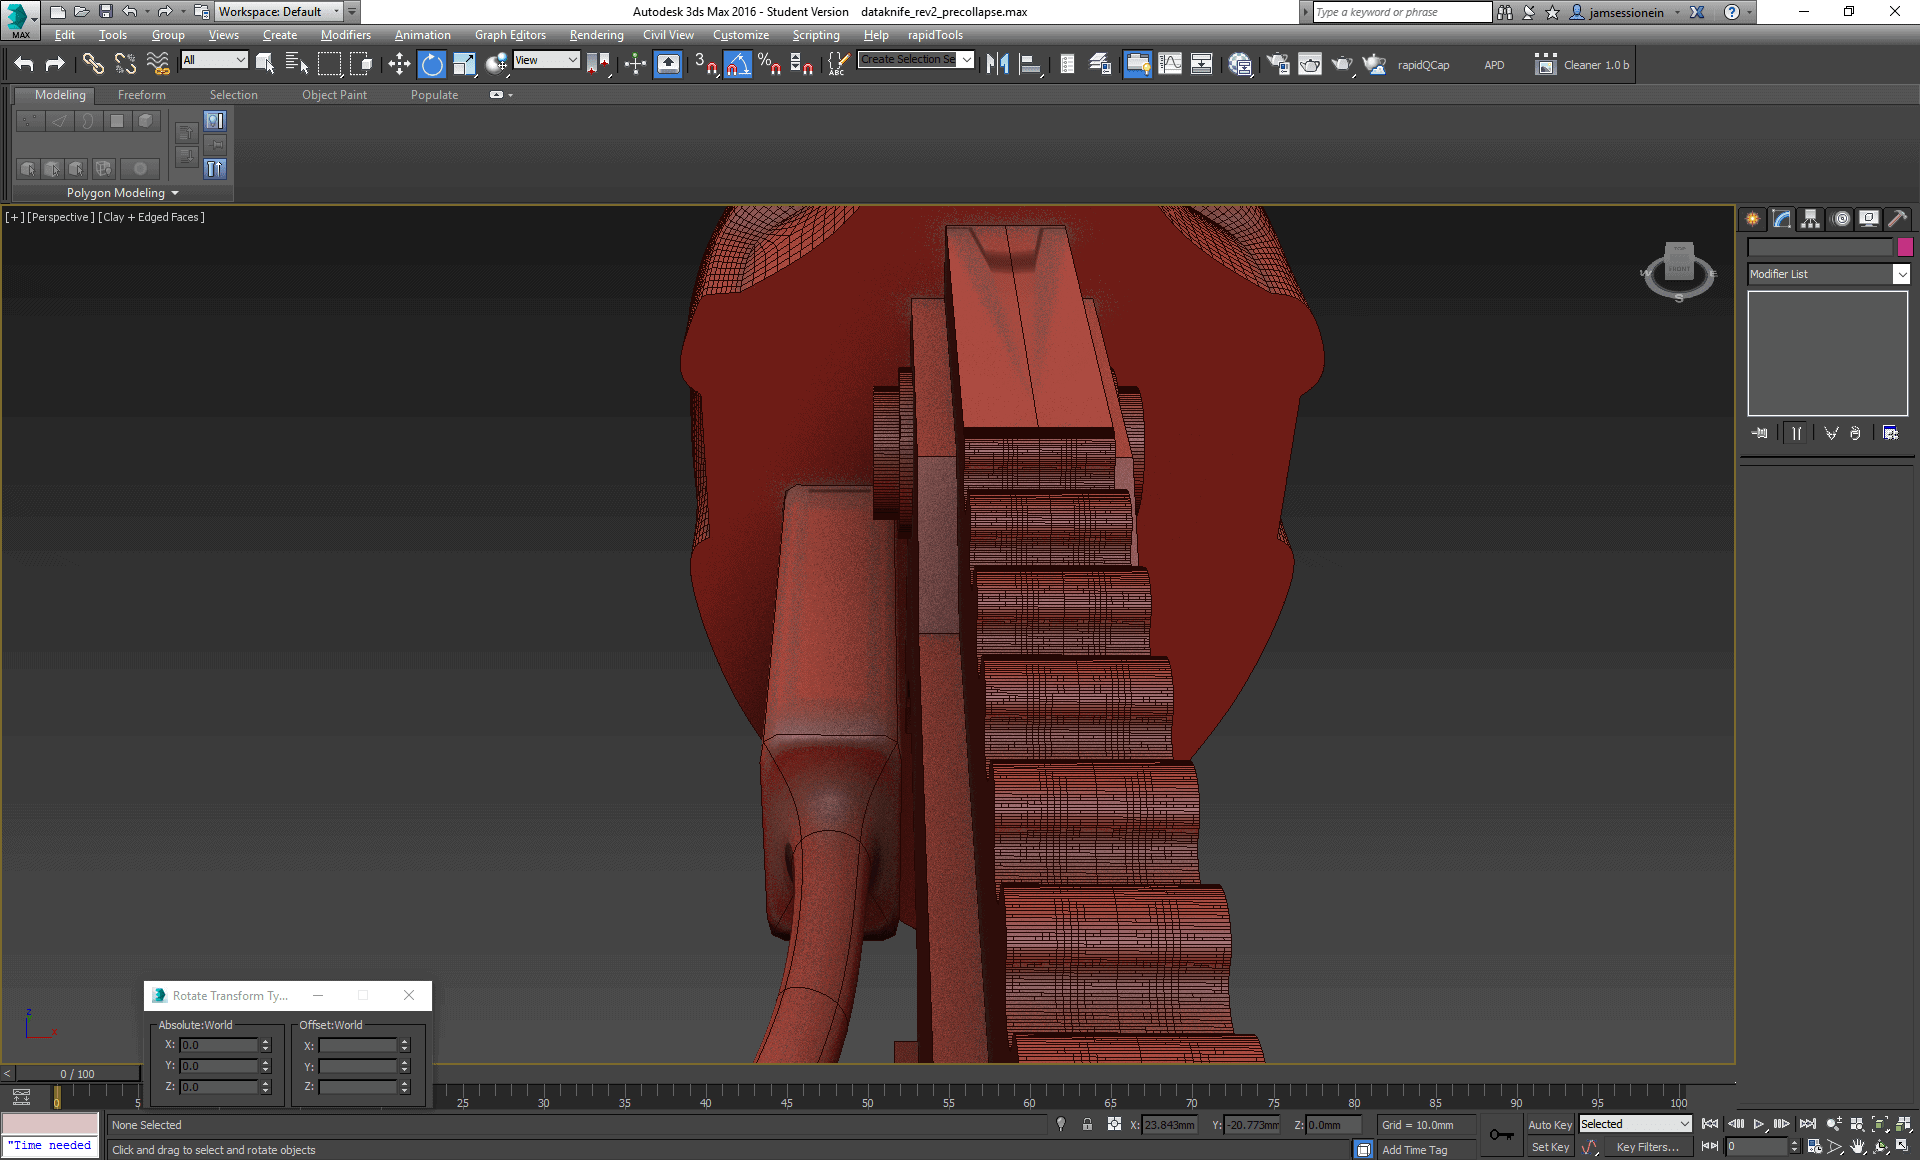
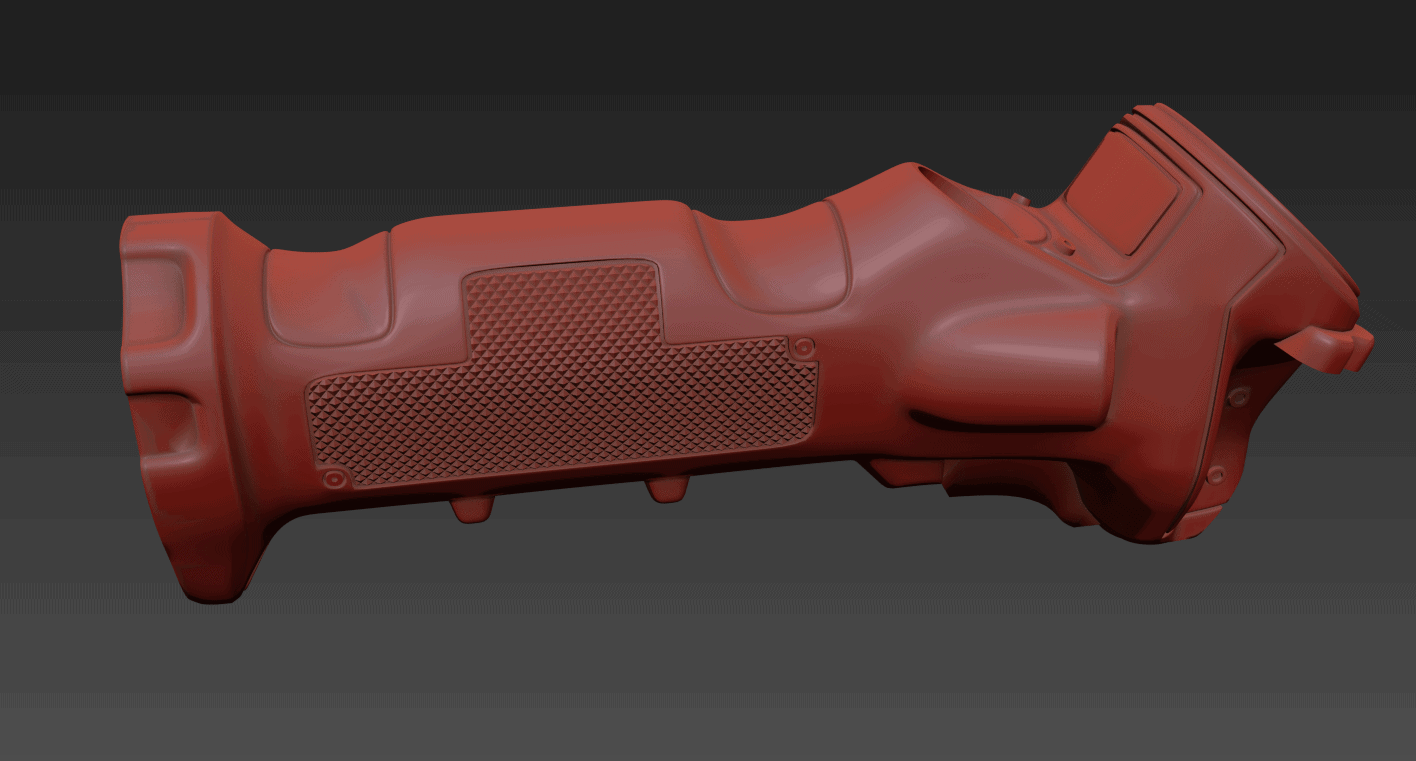
I also tightened up other parts of the design, including the knurling, rivets, and panel line layout.
I also properly designed an audio cavity for the piezo buzzer towards the top of the knife. My hope is that this arrangement will improve the effective volume of the device, much in the same way that a speaker in a can sounds louder. No idea if it’ll work in practice, but it’s worth a try!
Gonna be honest, I’m still not 100% sure I went about modeling these details the right way, but it works and it printed, so whatever. The knurling came out pretty well, all things considered!
There’s enough room inside the knife for the Trinket to either sit on the back of the battery or alongside. Figure they’ll just be hot glued into place on the final part.
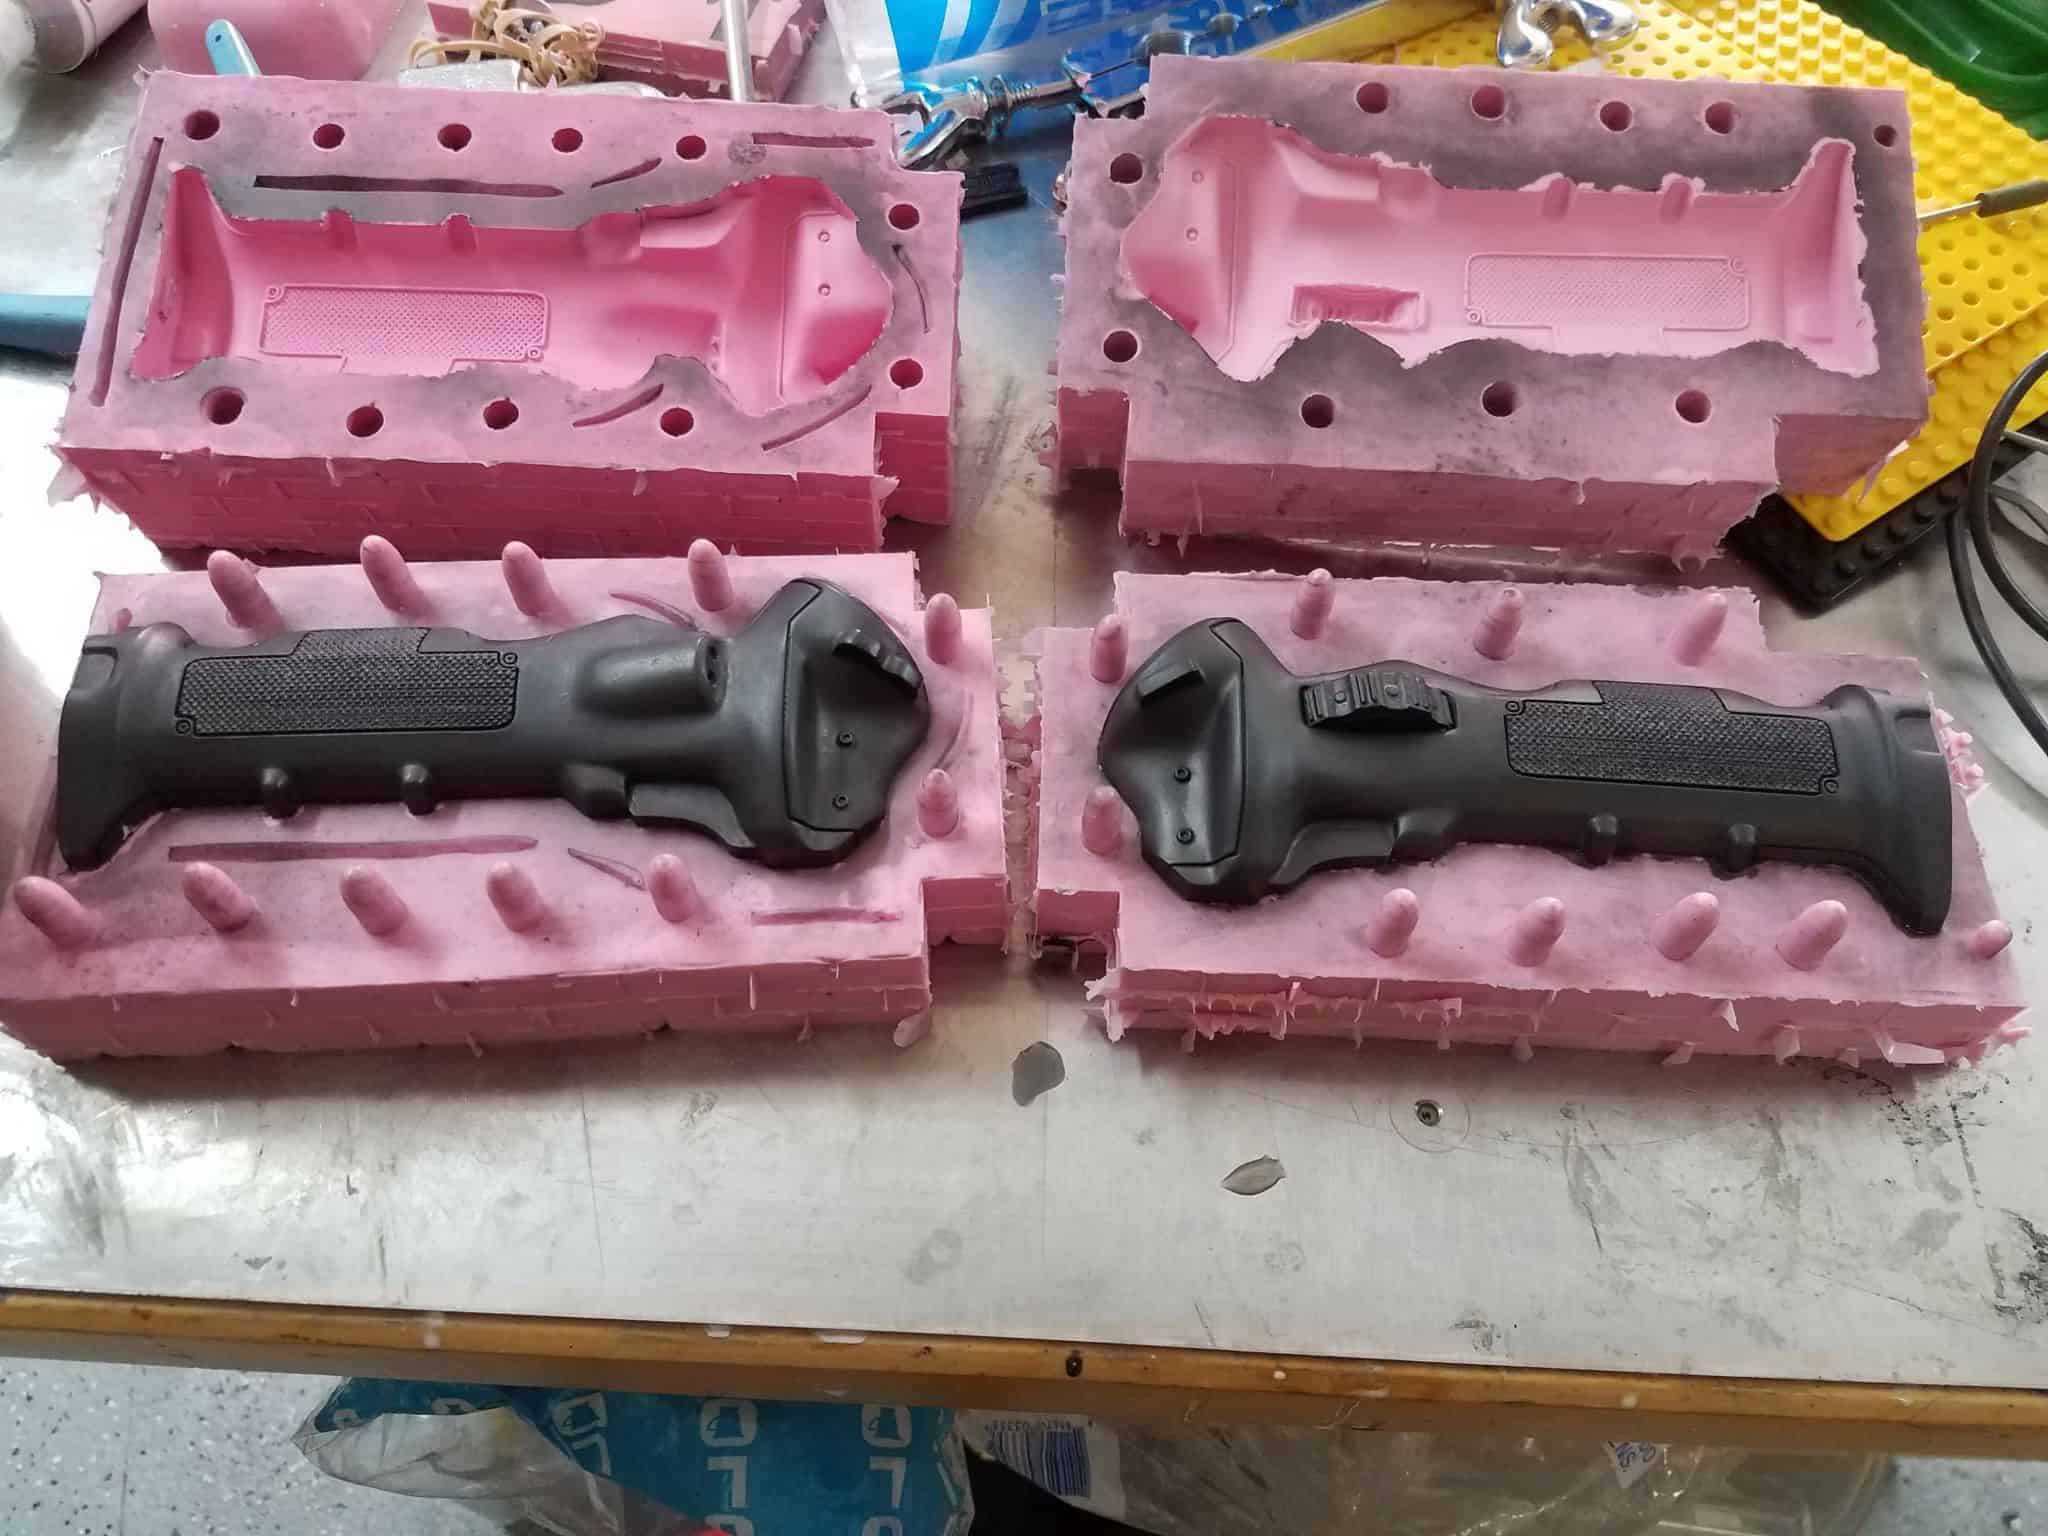
I decided to make molds of all of the cleaned-up parts for the knife so that I could do some cold casts. Made a quick mold box out of some clear plastic and lego for the knife halves and in they went.
The bullets were just used as key registrations… and also because I have a jar of bullets on my desk from an old project, so why not make them useful? Once I made the molds, I gave them a quick dust-down with graphite… figured I’d try cold-casting something dark and metallic into the handles.
Stuffed them into a pressure pot to crush out the bubbles and a few hours later, popped out some resin casts!
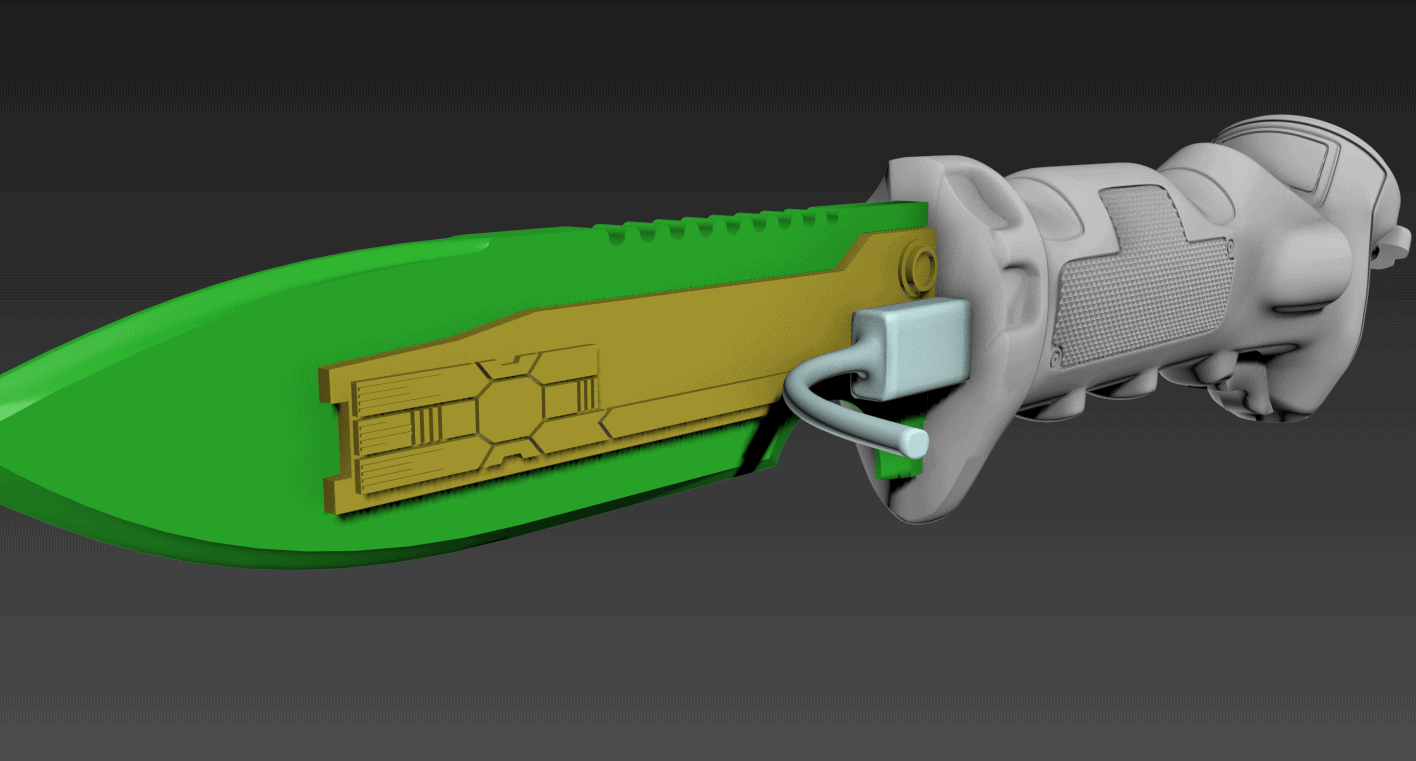
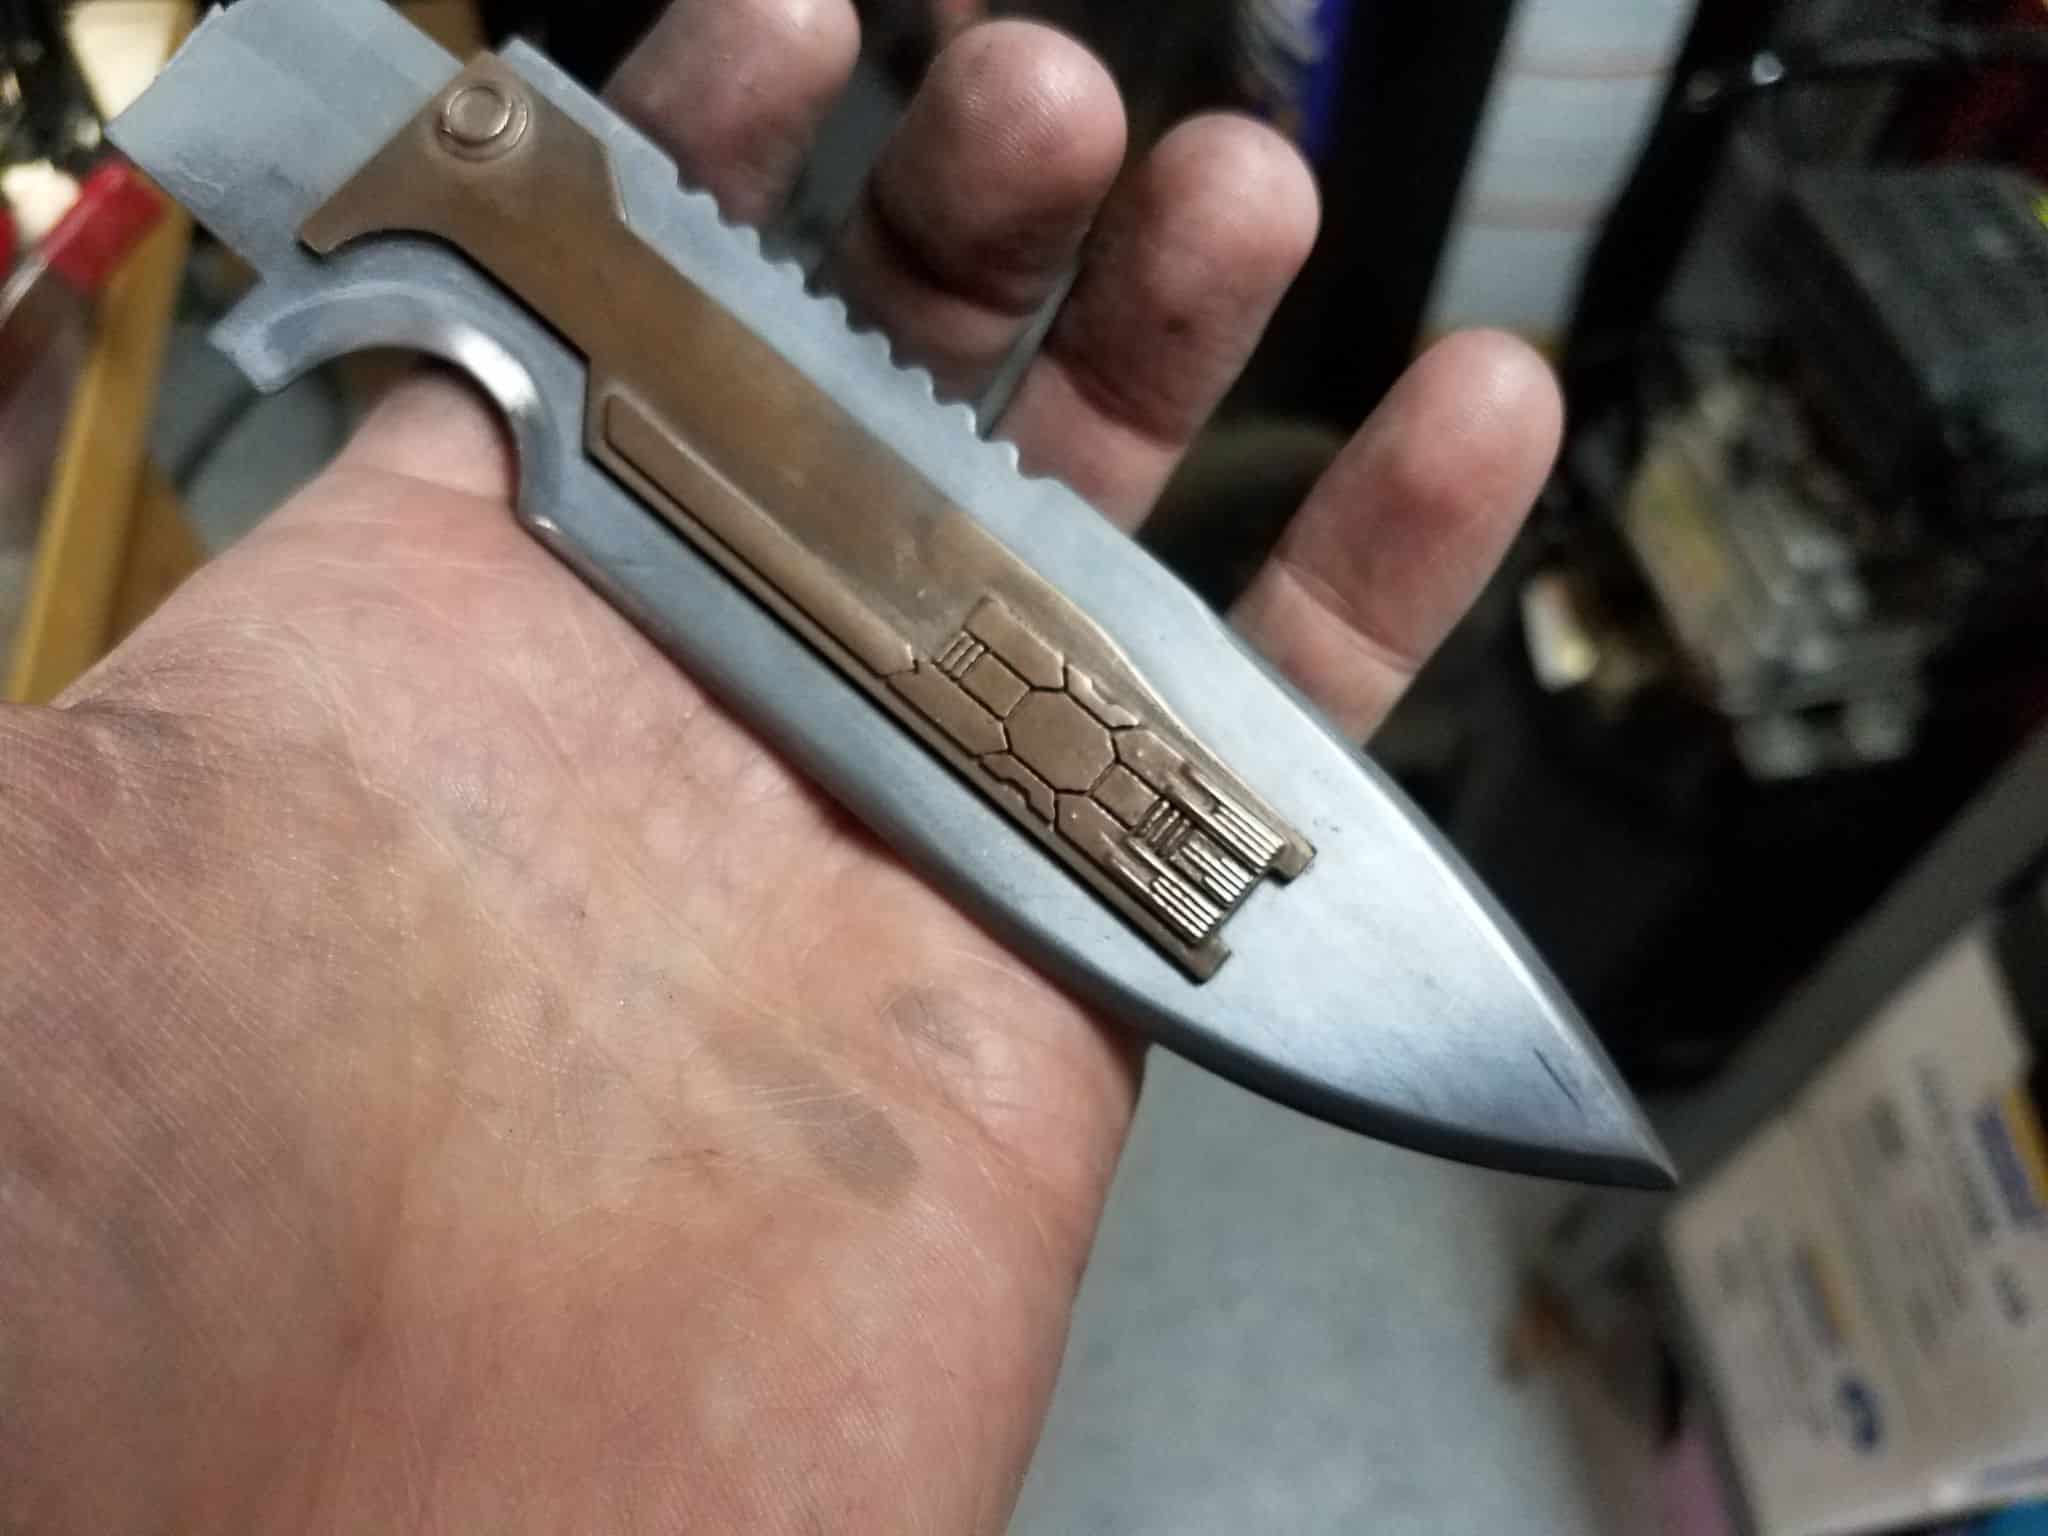
I also molded the blade and circuit inserts. Cold cast the blade in aluminum, and the inserts in brass which should be nice once fully polished.
I need to organize the files for the new knife, but once I do I’ll make sure I share them for folks to try!


