Author's Note:There was a period of time where the content of most of the projects that I completed ended up on Instagram, rather than receiving full blog posts here. This had the unfortunate effect of making the project logs for some of these pieces incomplete. The date of this post is not accurate, as it was written substantially after the work was finished.
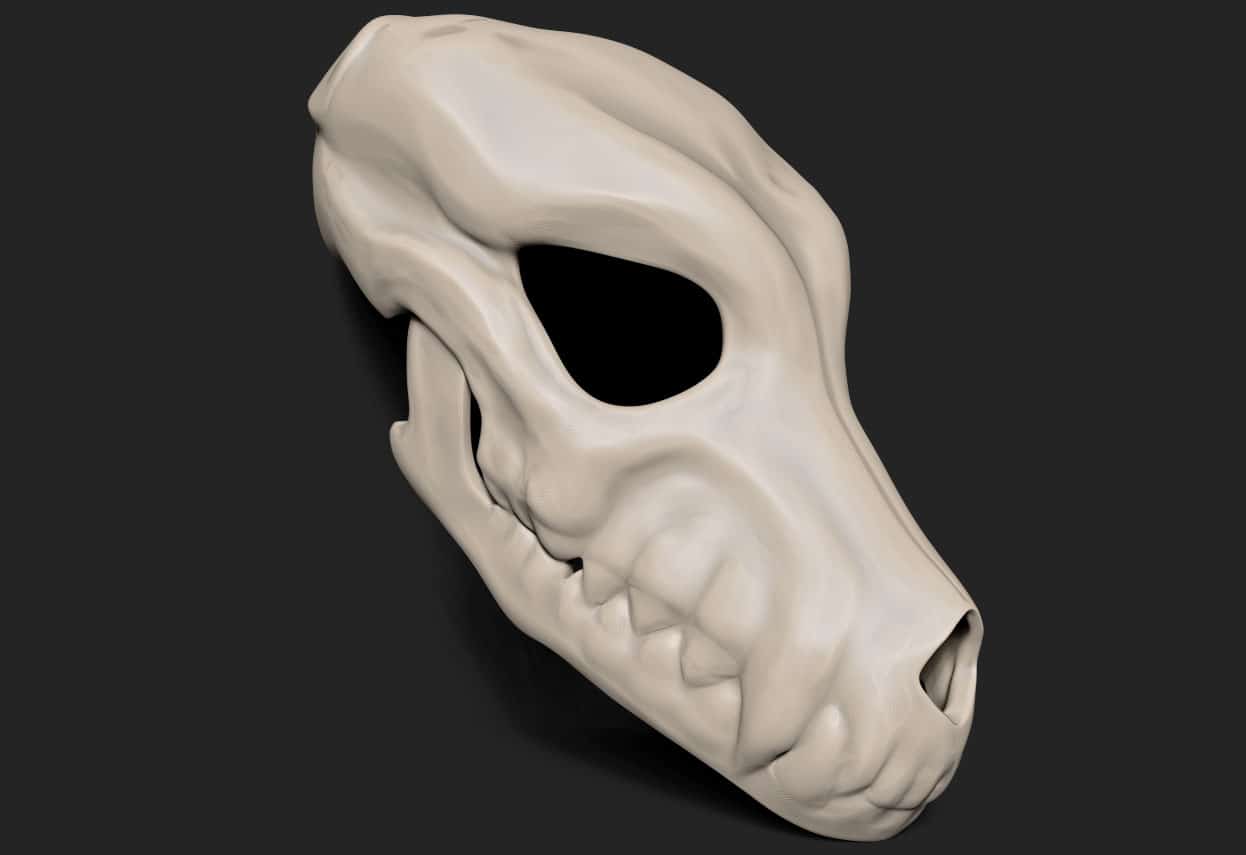
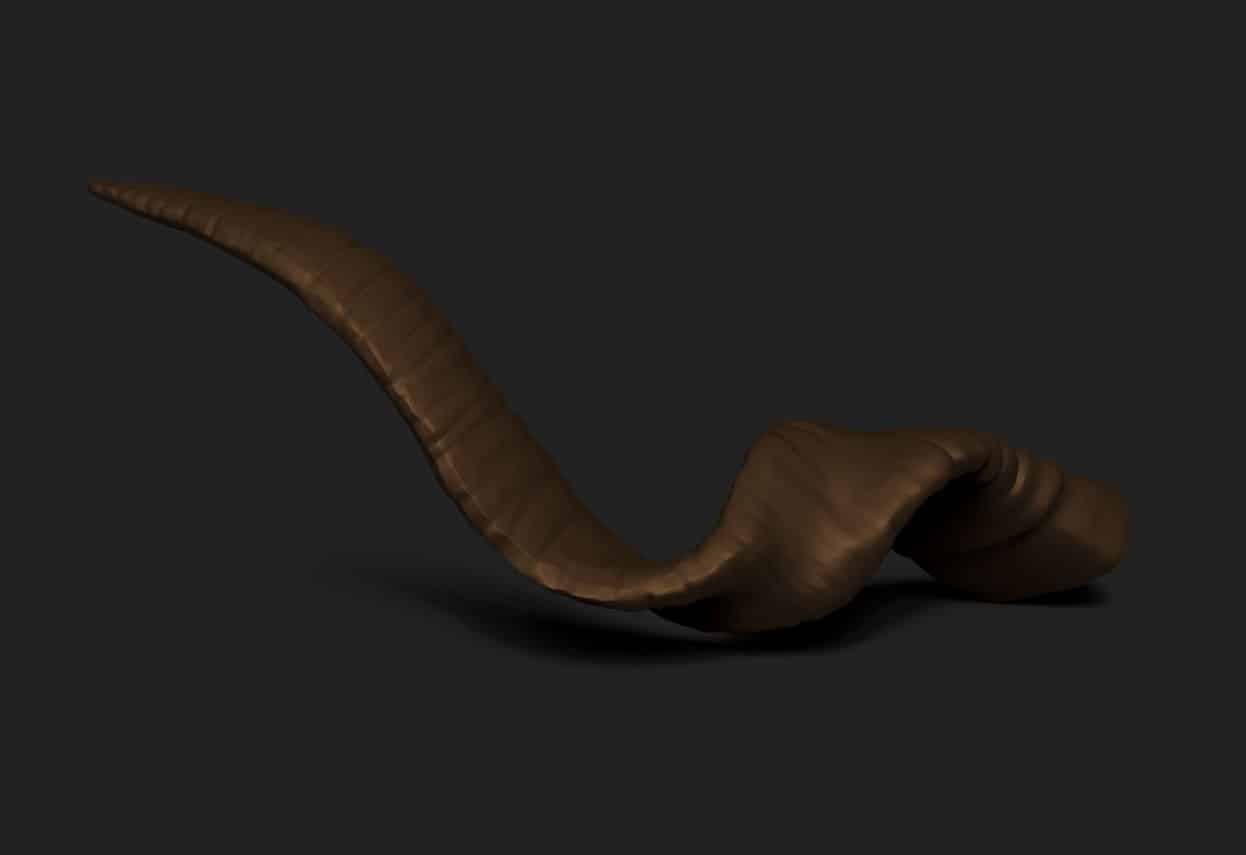
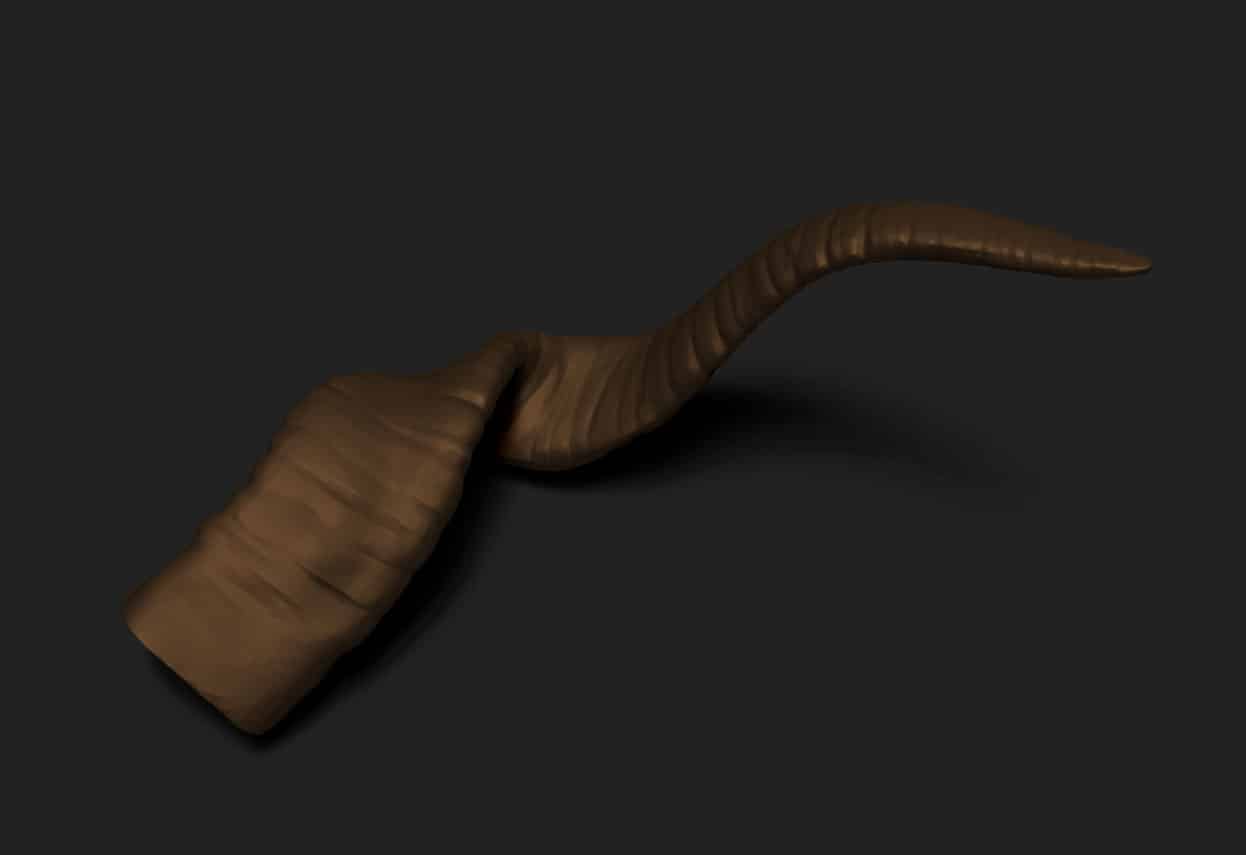
After the completion of my earlier modeling work, the mask received a few changes. I brought the geometry into ZBrush and spent a little bit of time refining the teeth, bone shapes, and textures on the horns.
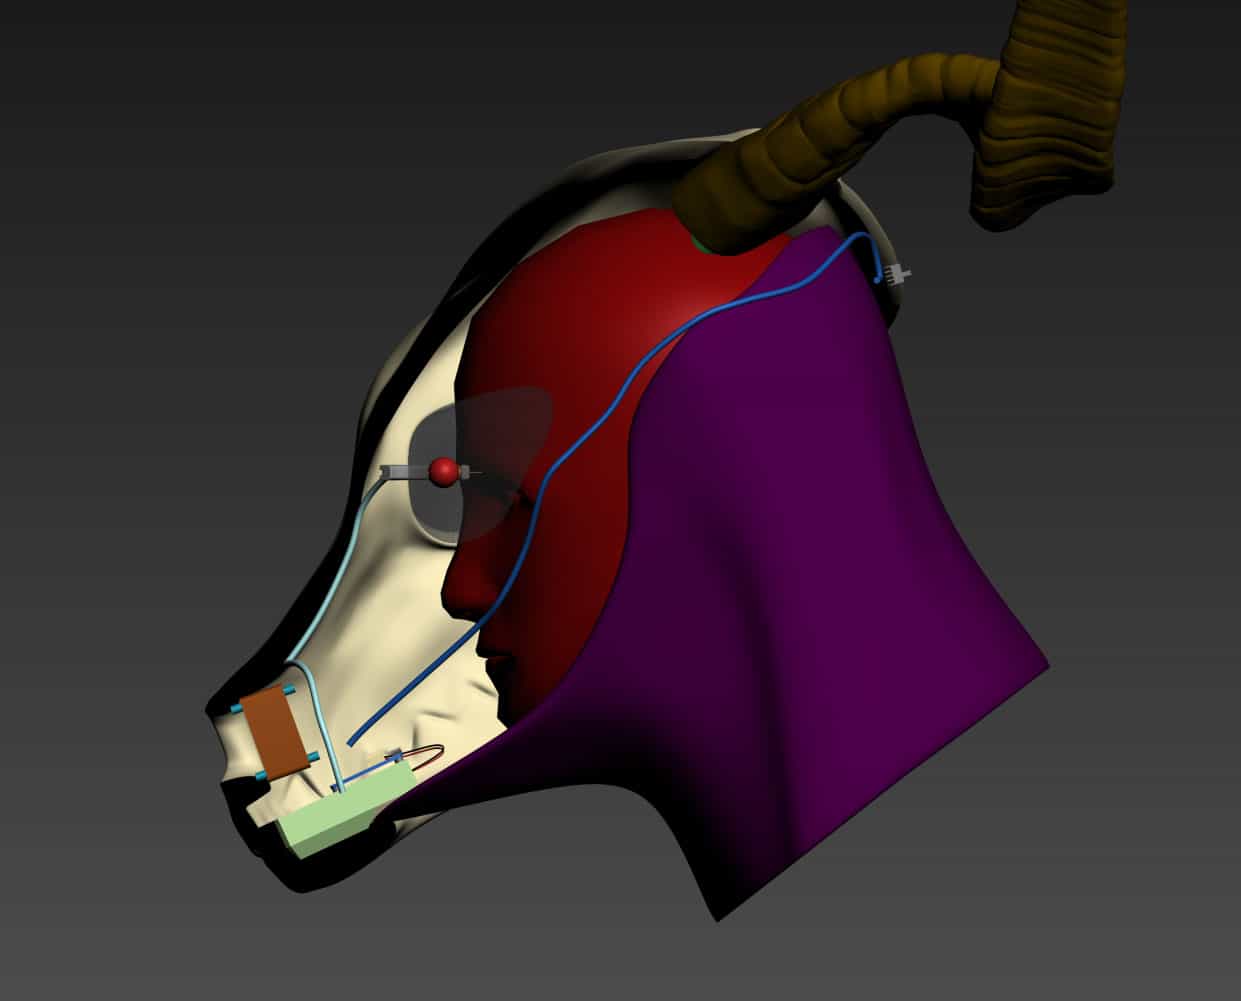
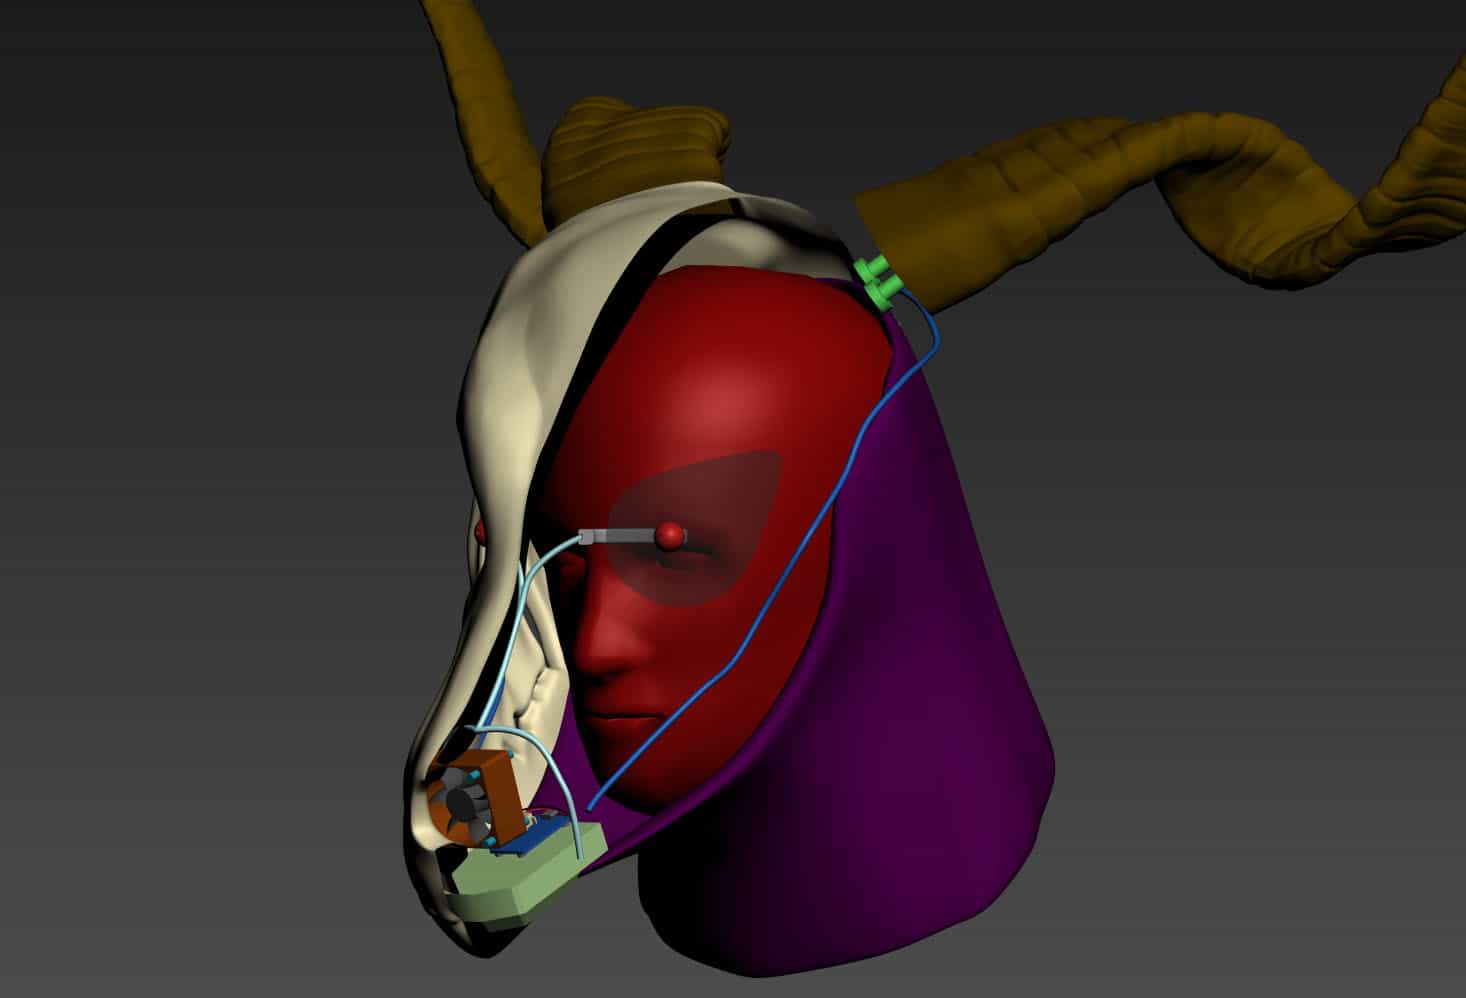
After the external geometry looked good, I moved over to working on the inside of the mask. There were a few things I wanted to address:
The mask was going to have a fan built into the snout, so I needed to make room for the hardware.
The eyes needed mounts to hold the LEDs in the correct locations.
The back of the skull needed a bank of switches so that the fans and lights could be turned on and off.
All of these components needed a bit of wire routing and channeling done on the inside of the mask.
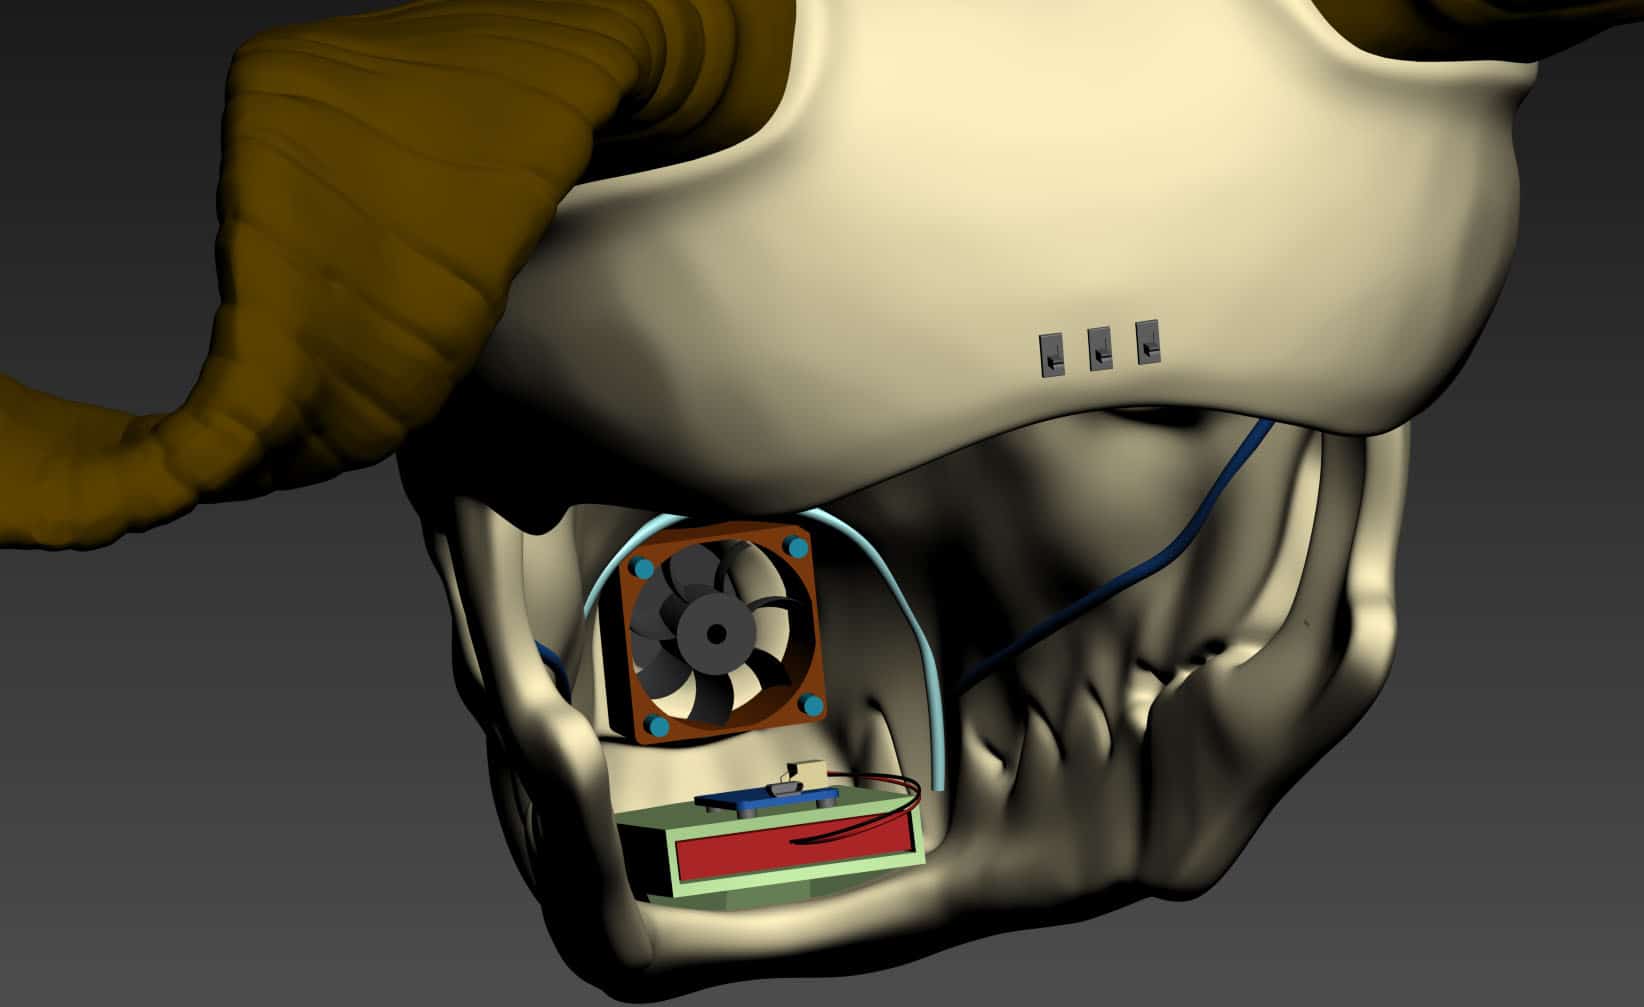
The fan I chose for this was a 40mm x 20mm 5V Noctua unit, mostly because that brand has a solid reputation for being effective while being very quiet. The client wanted to have moving air in the mask because they were planning on wearing it to a convention in the Arizona heat, but we didn’t want the fan to overpower his ability to hear or speak while inside the mask.
To power that fan, I opted for a 2500 mAh LiPo battery and a Powerboost 500C Charger. The Powerboost steps up the voltage on the battery to the 5V required to run the fan, and also gives the client an easy USB port charging option for the battery.
A quick search suggested the Noctua fan uses .6 Watts at 5V, which equates roughly to ~150 milliamp hours. In theory this means you can run the fan for about 16 and a half hours on a full charge with this battery, though in practice it’ll be less. Still, that’s pretty much enough to cover a day at a convention, if I’m not mistaken. The battery could also be used to power the eye LEDs, so it was an easy choice.
I ended up cutting out spots for four switches on the back of the skull so that the client would have some control over the fans and LEDs. This spot was ideal because they’d be able to hide behind the fabric drape going down behind the mask.
Here’s a look at the electrical setup in cross-section after those elements got added:
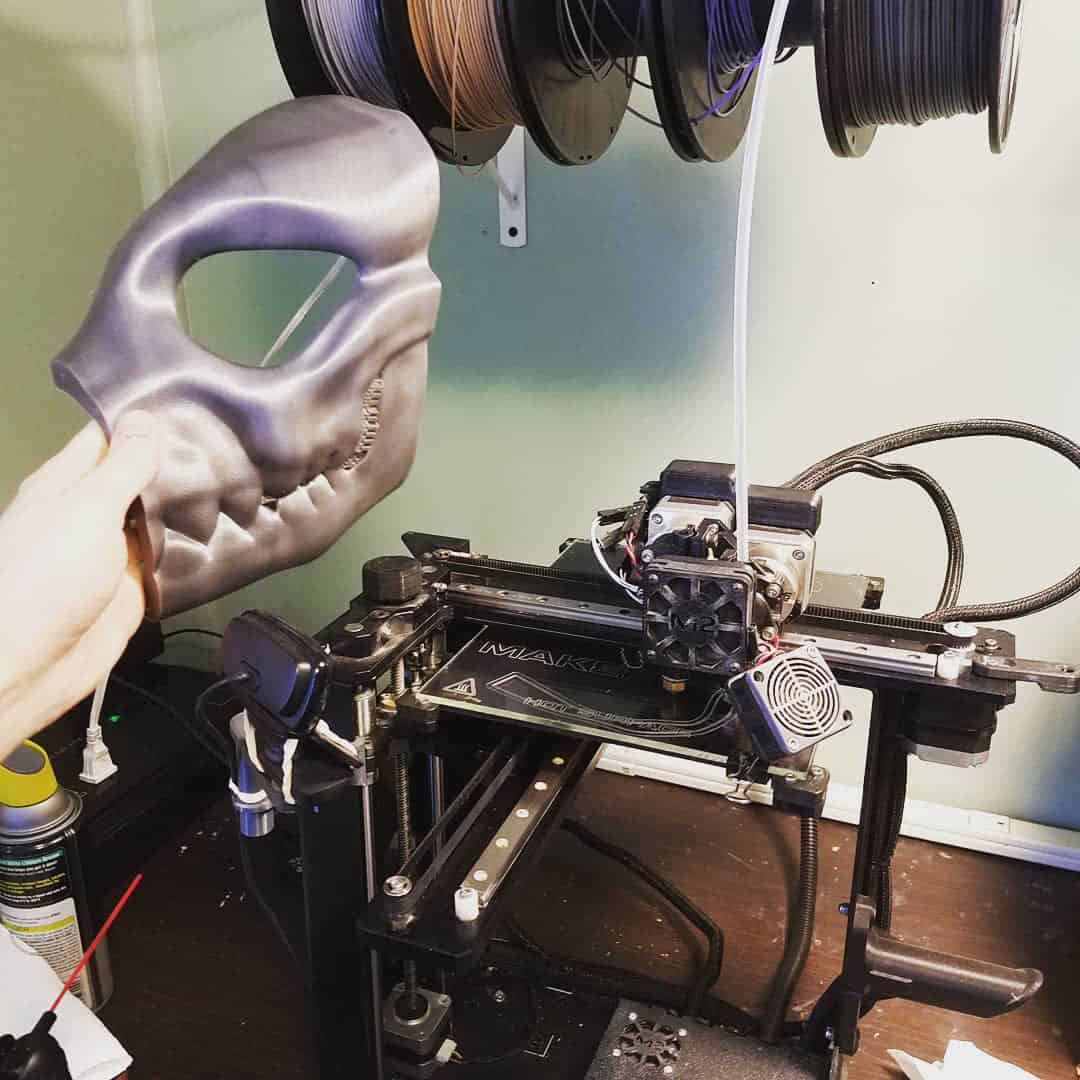
PRINTING AND PAINTING
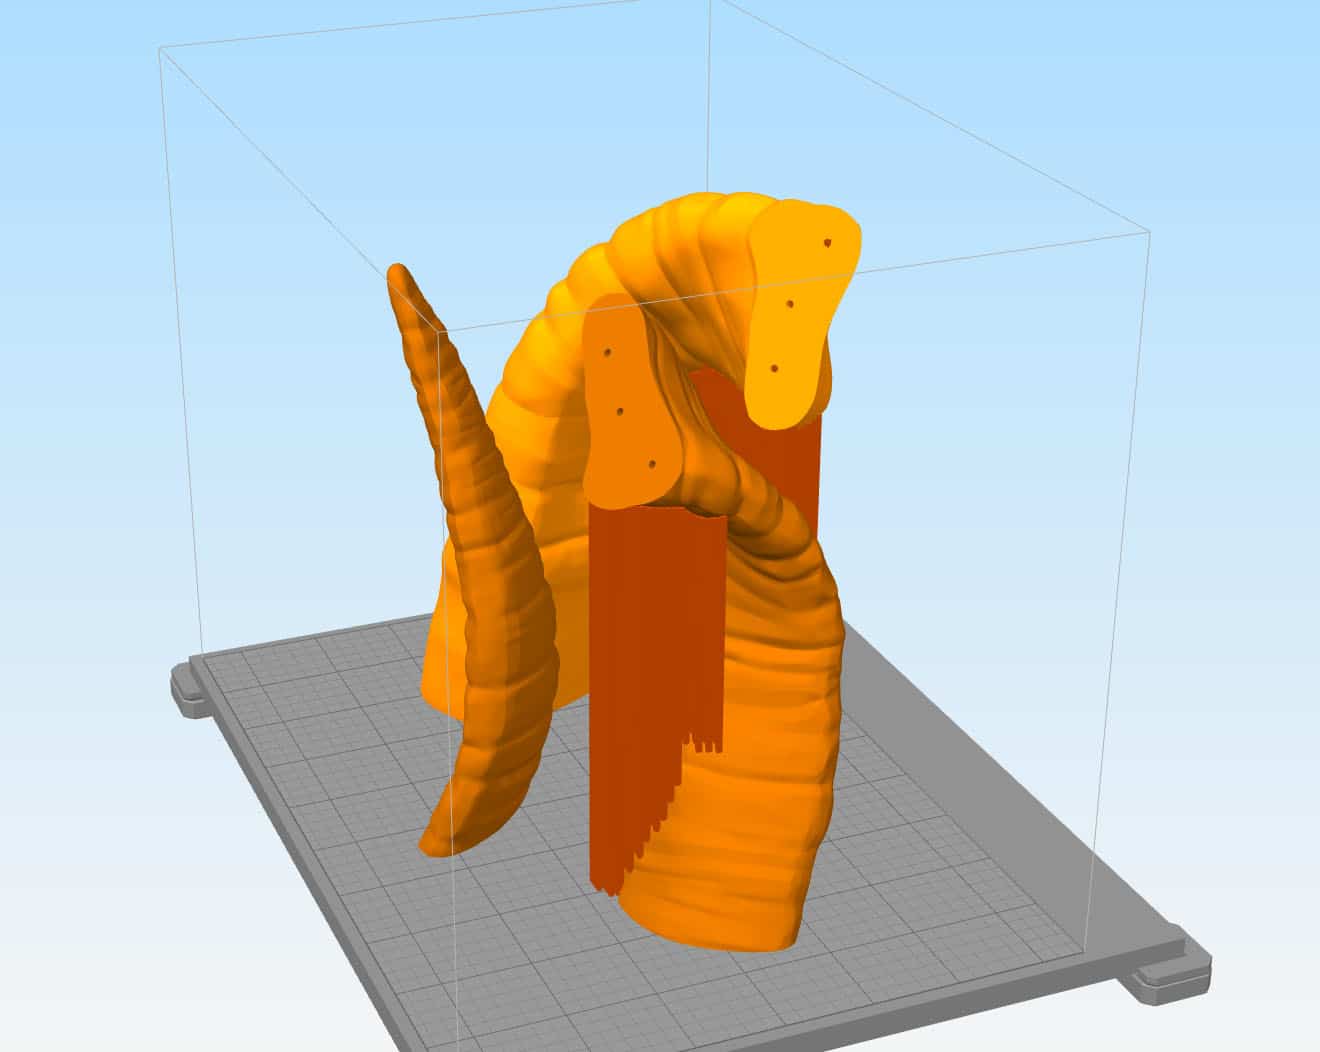
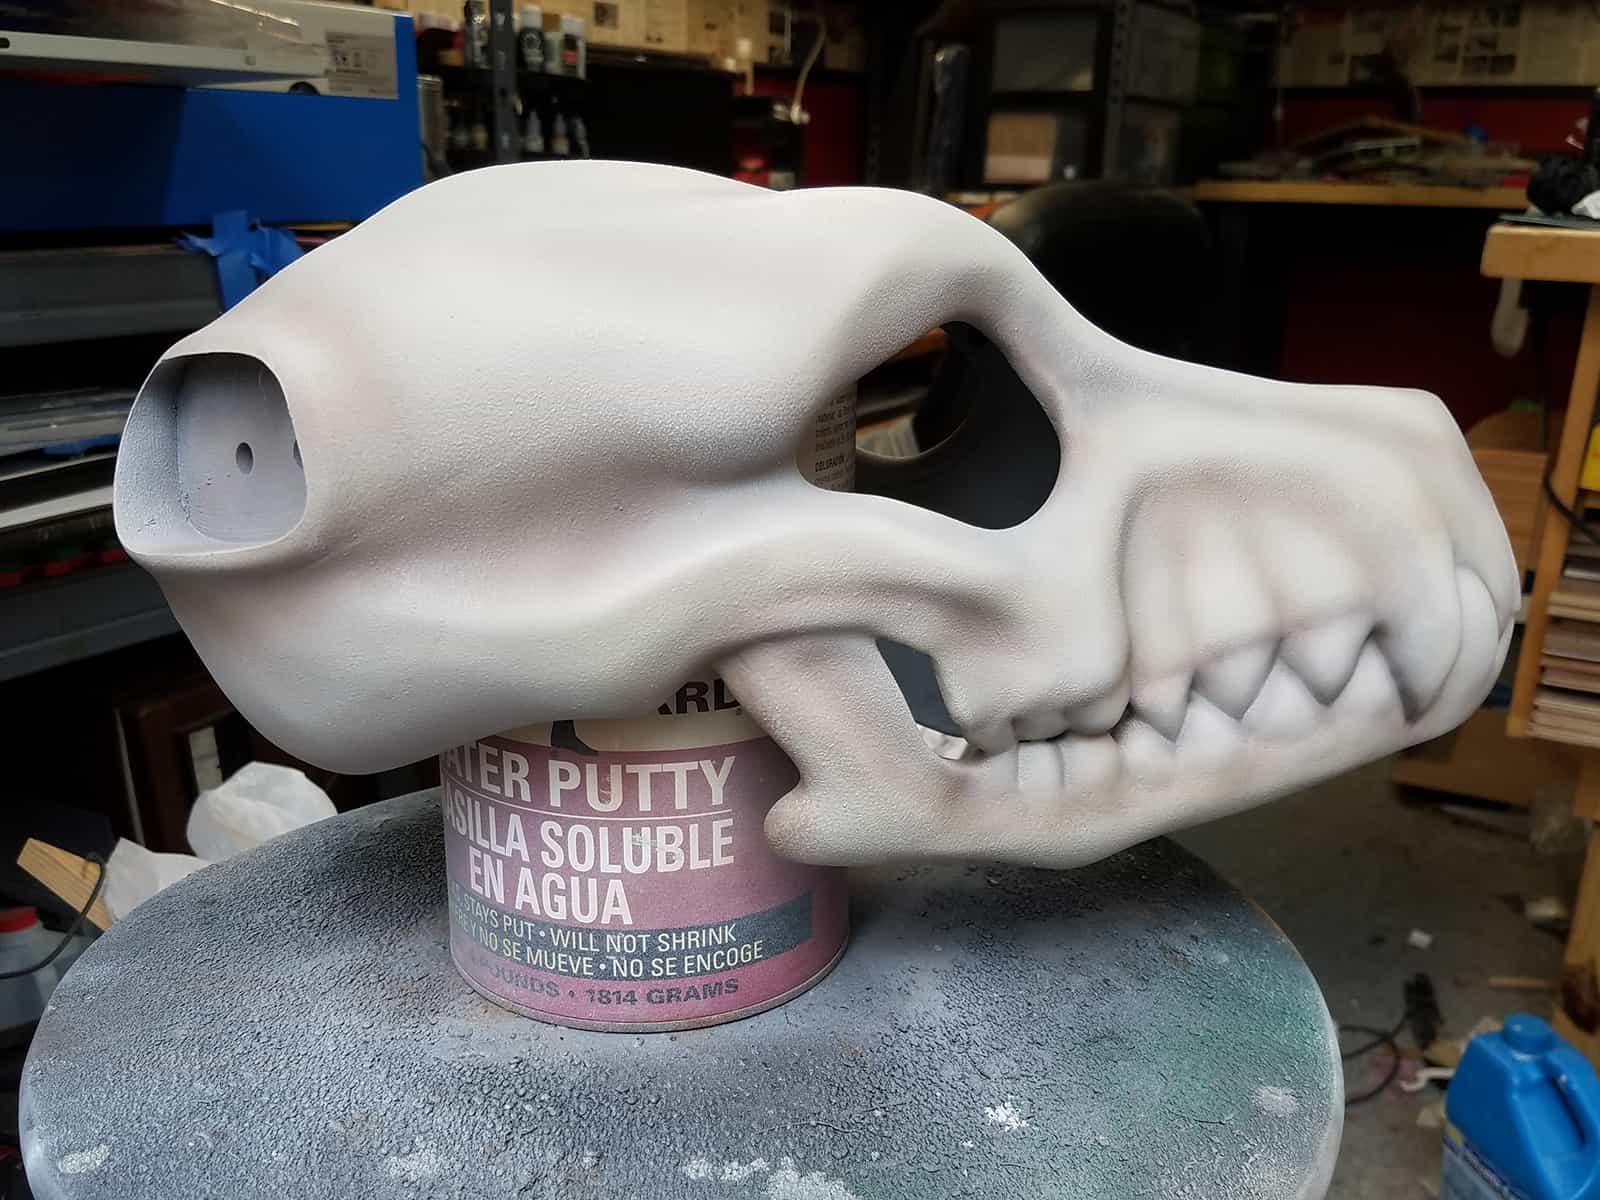
With these design elements locked-in, it was time to print everything up! The model was sliced up to fit as comfortably as I thought I could get away with on my Makergear M2, including alignment holes between the edges of the parts to help me during assembly,.
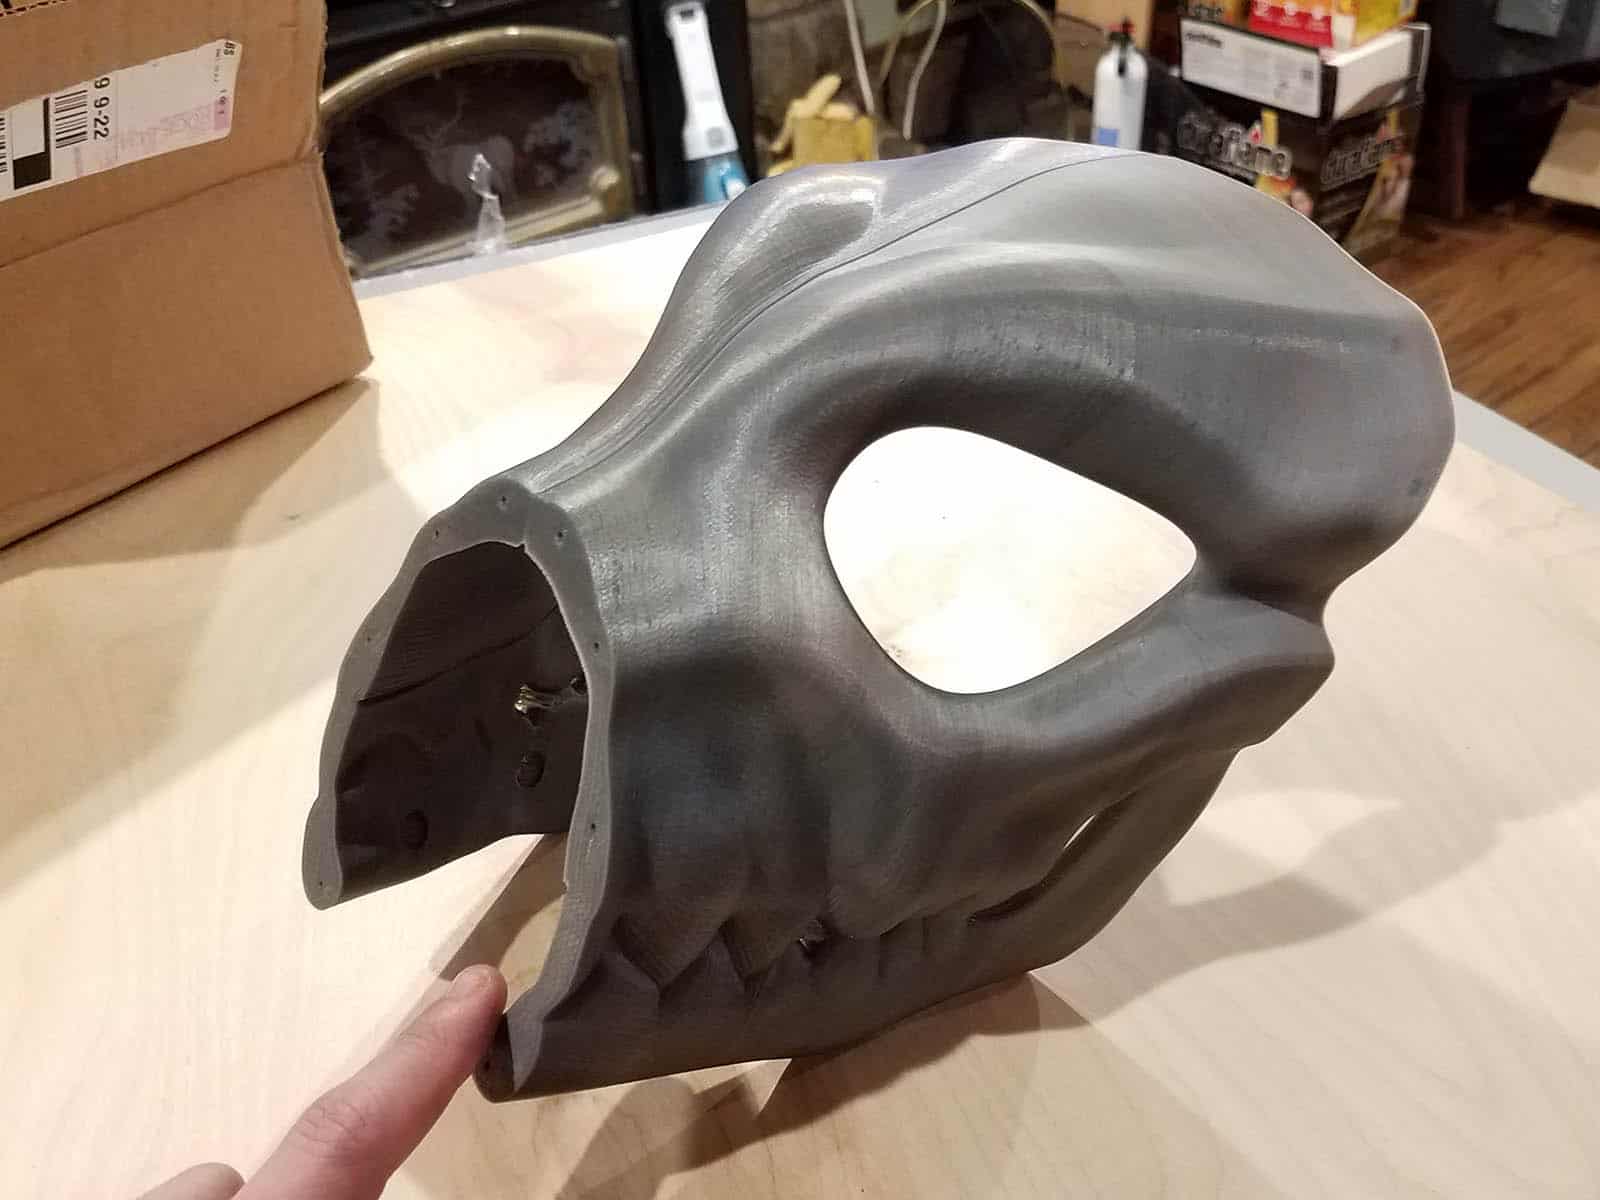
As with a lot of my printed items, I reinforced things with a coating of XTC-3D, particularly the seams on the horns. I also used a bit of Apoxie Sculpt to help blend some of the lines on the skull sections.
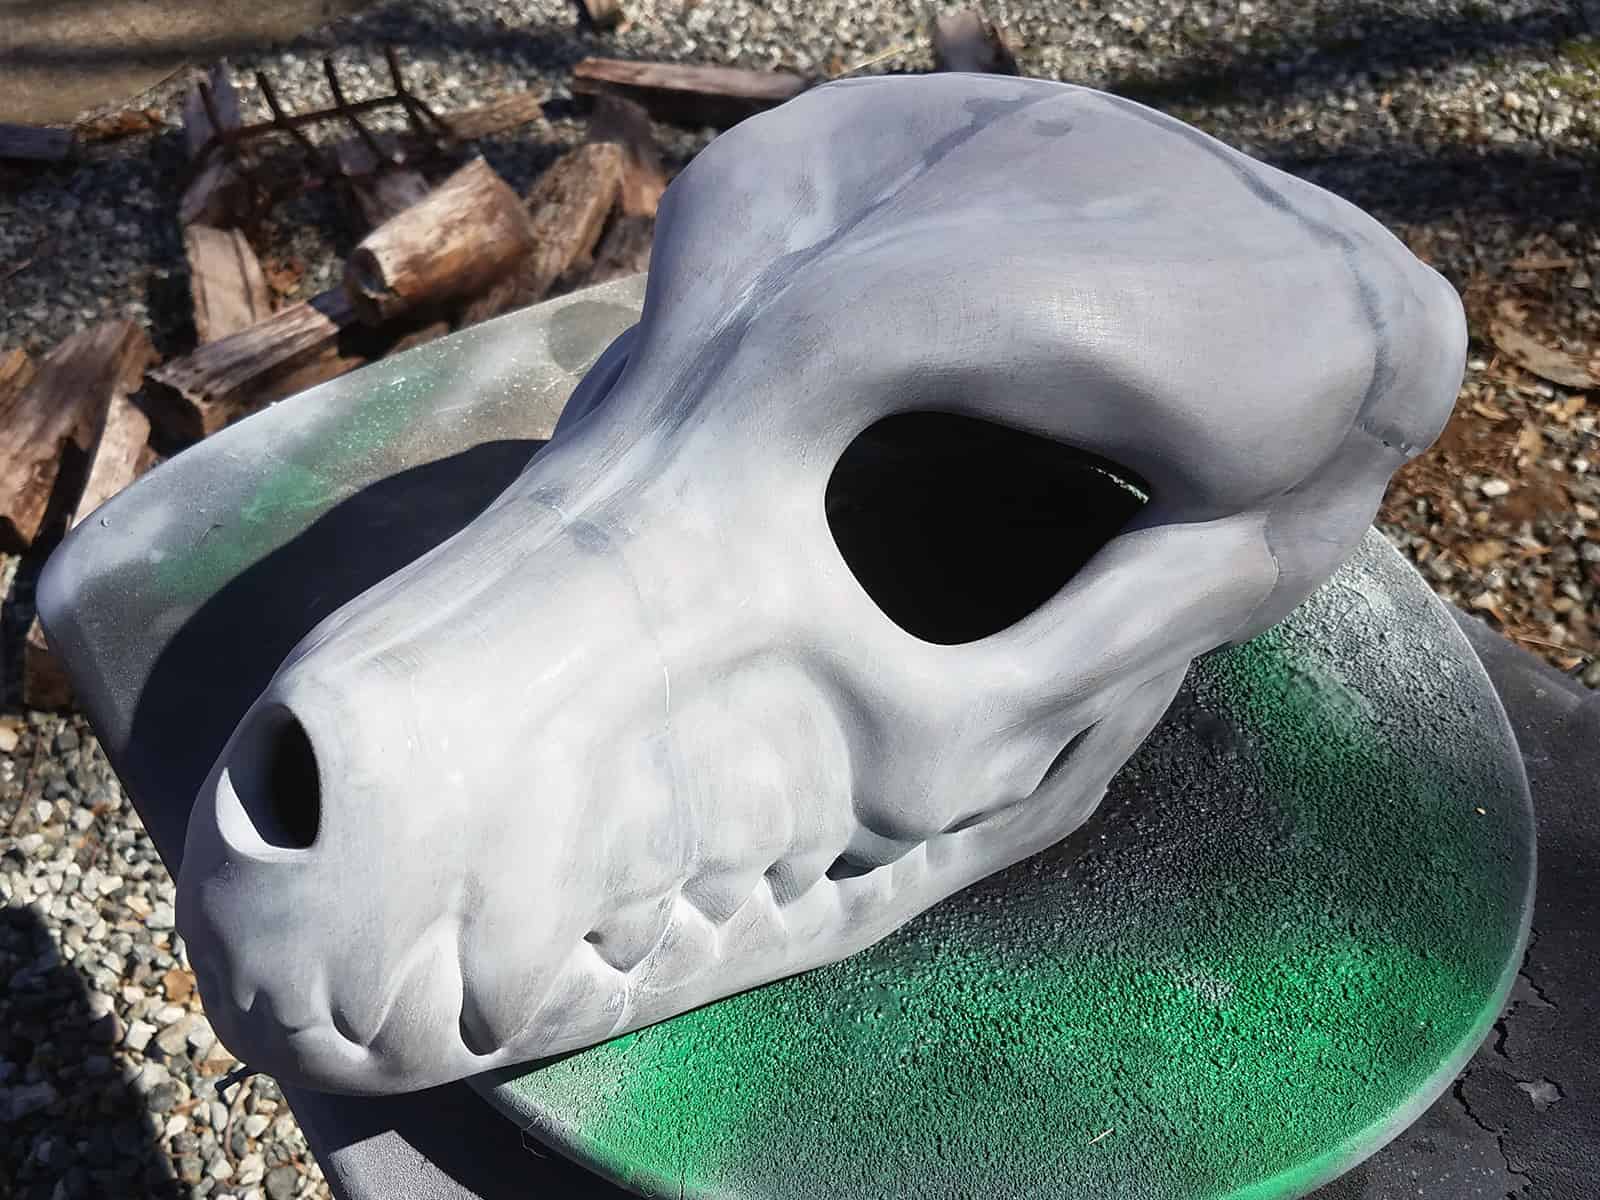
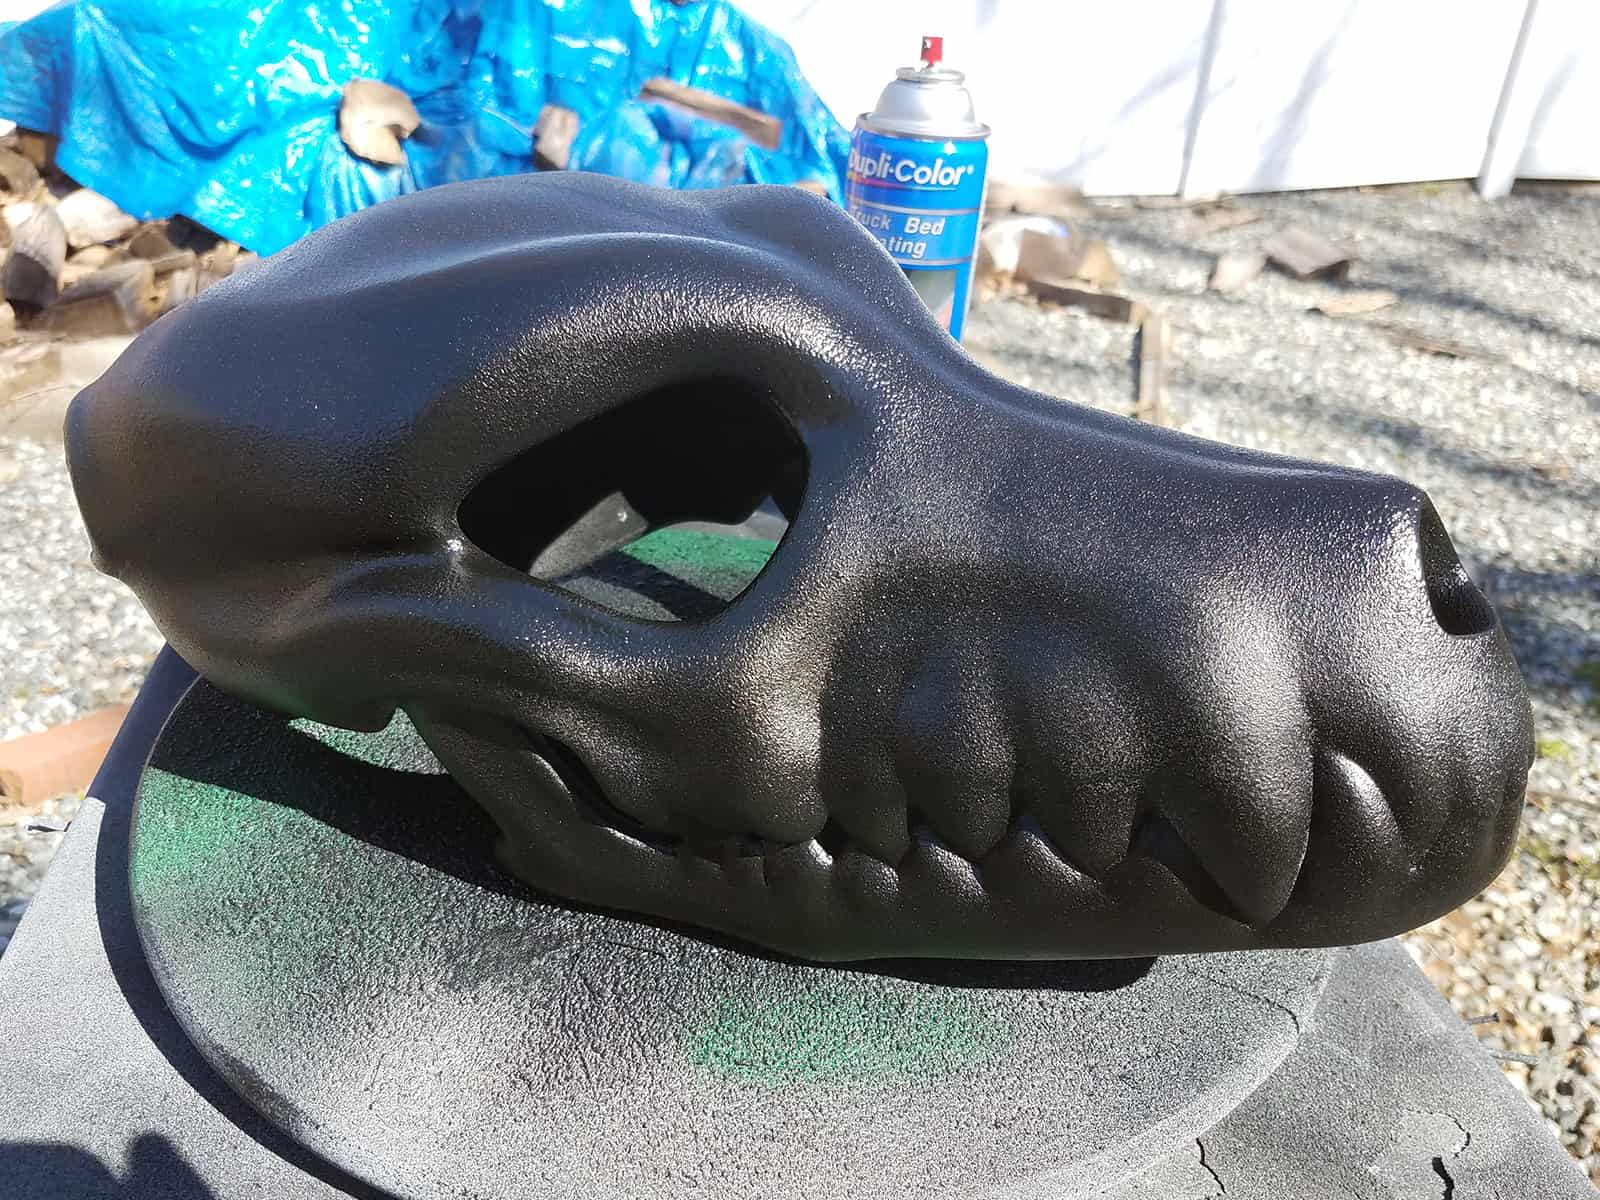
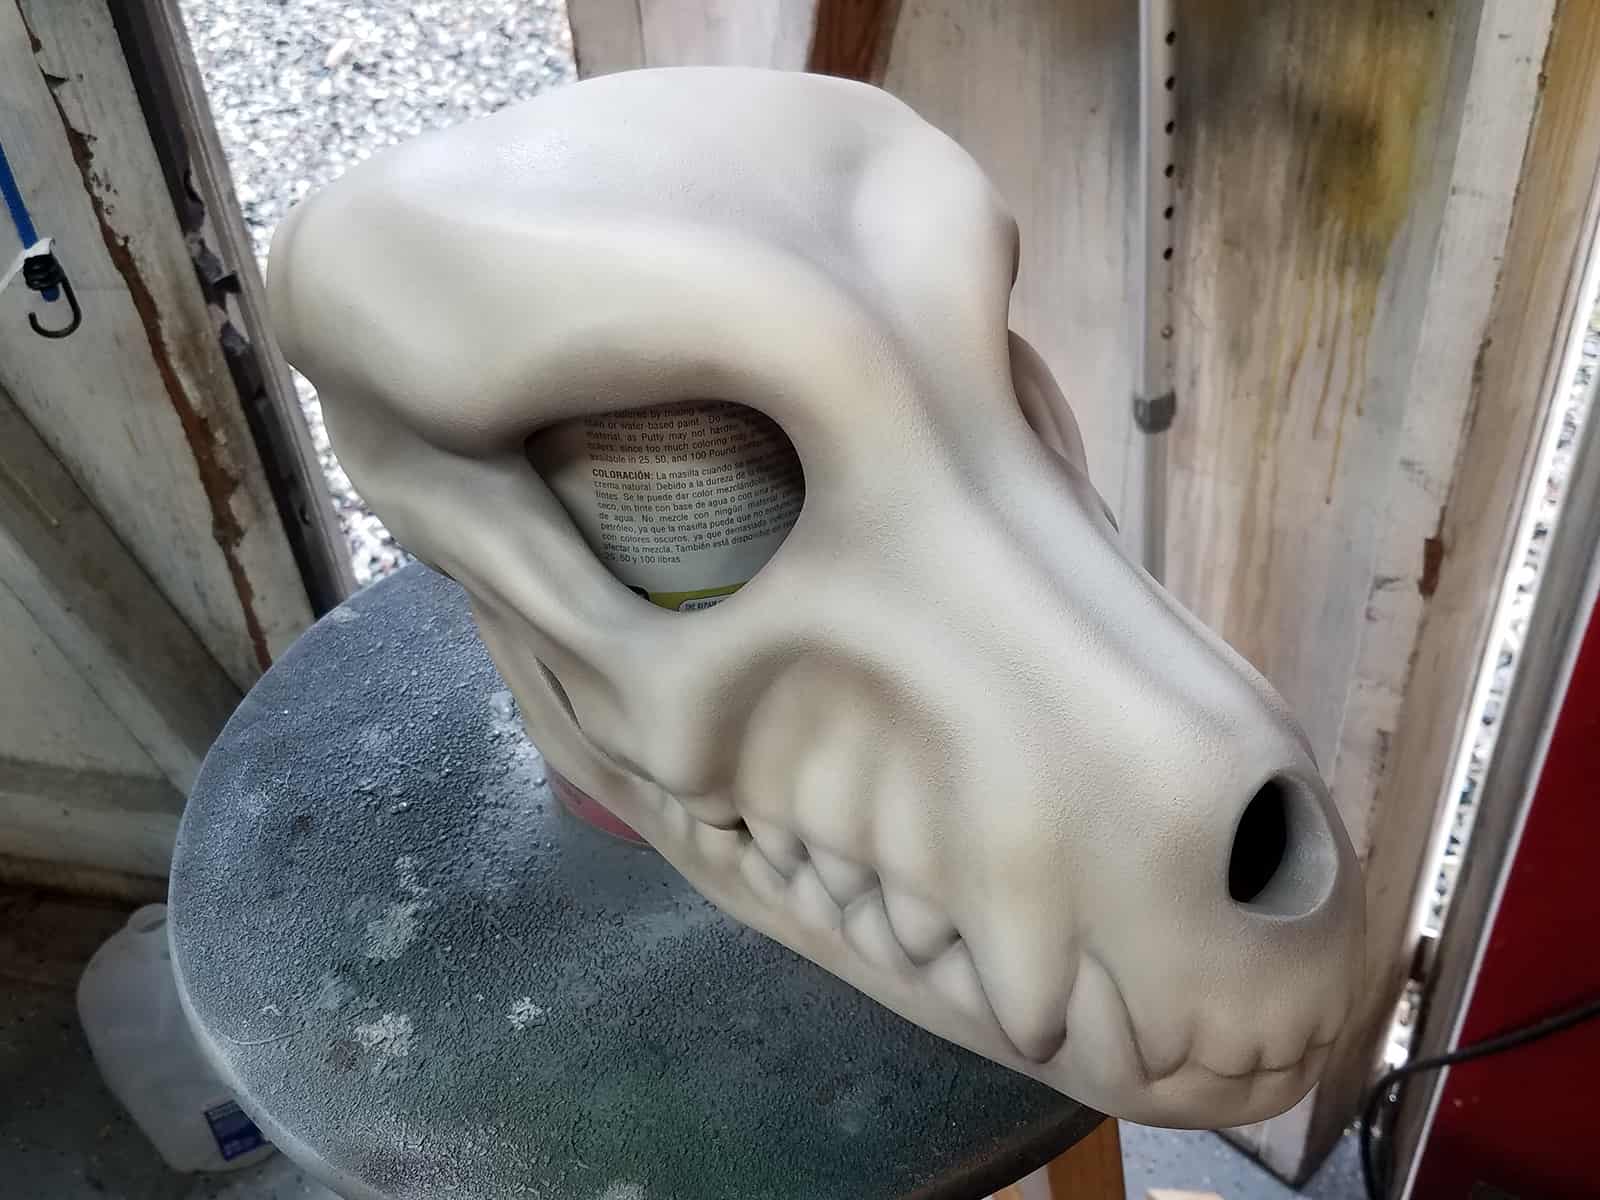
After a fair bit of sanding to get the surface finish of the skull uniform it was time to add texture back in with the help of Dupli-Color Truck Bed Spray. I’ve used this before on other projects in the past to add a bit of bony texture to 3D prints, and it sets up a nice base for drybrushing and washing.
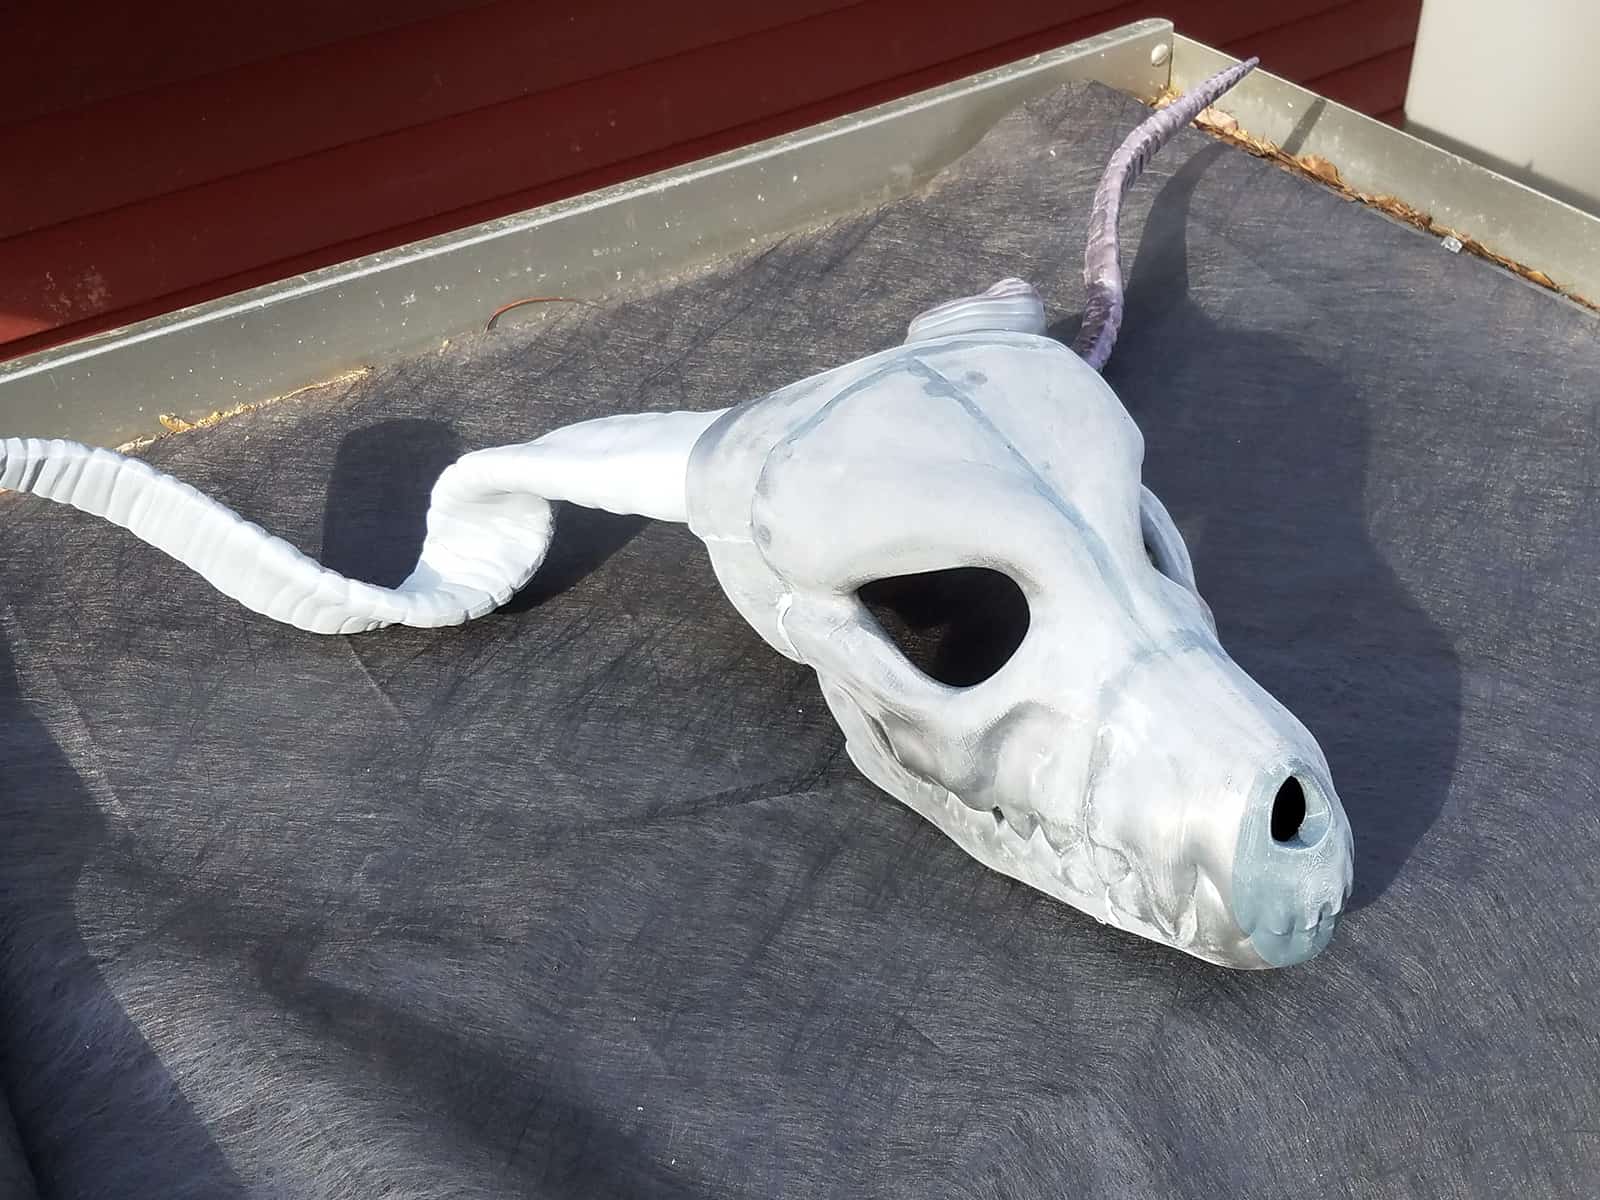
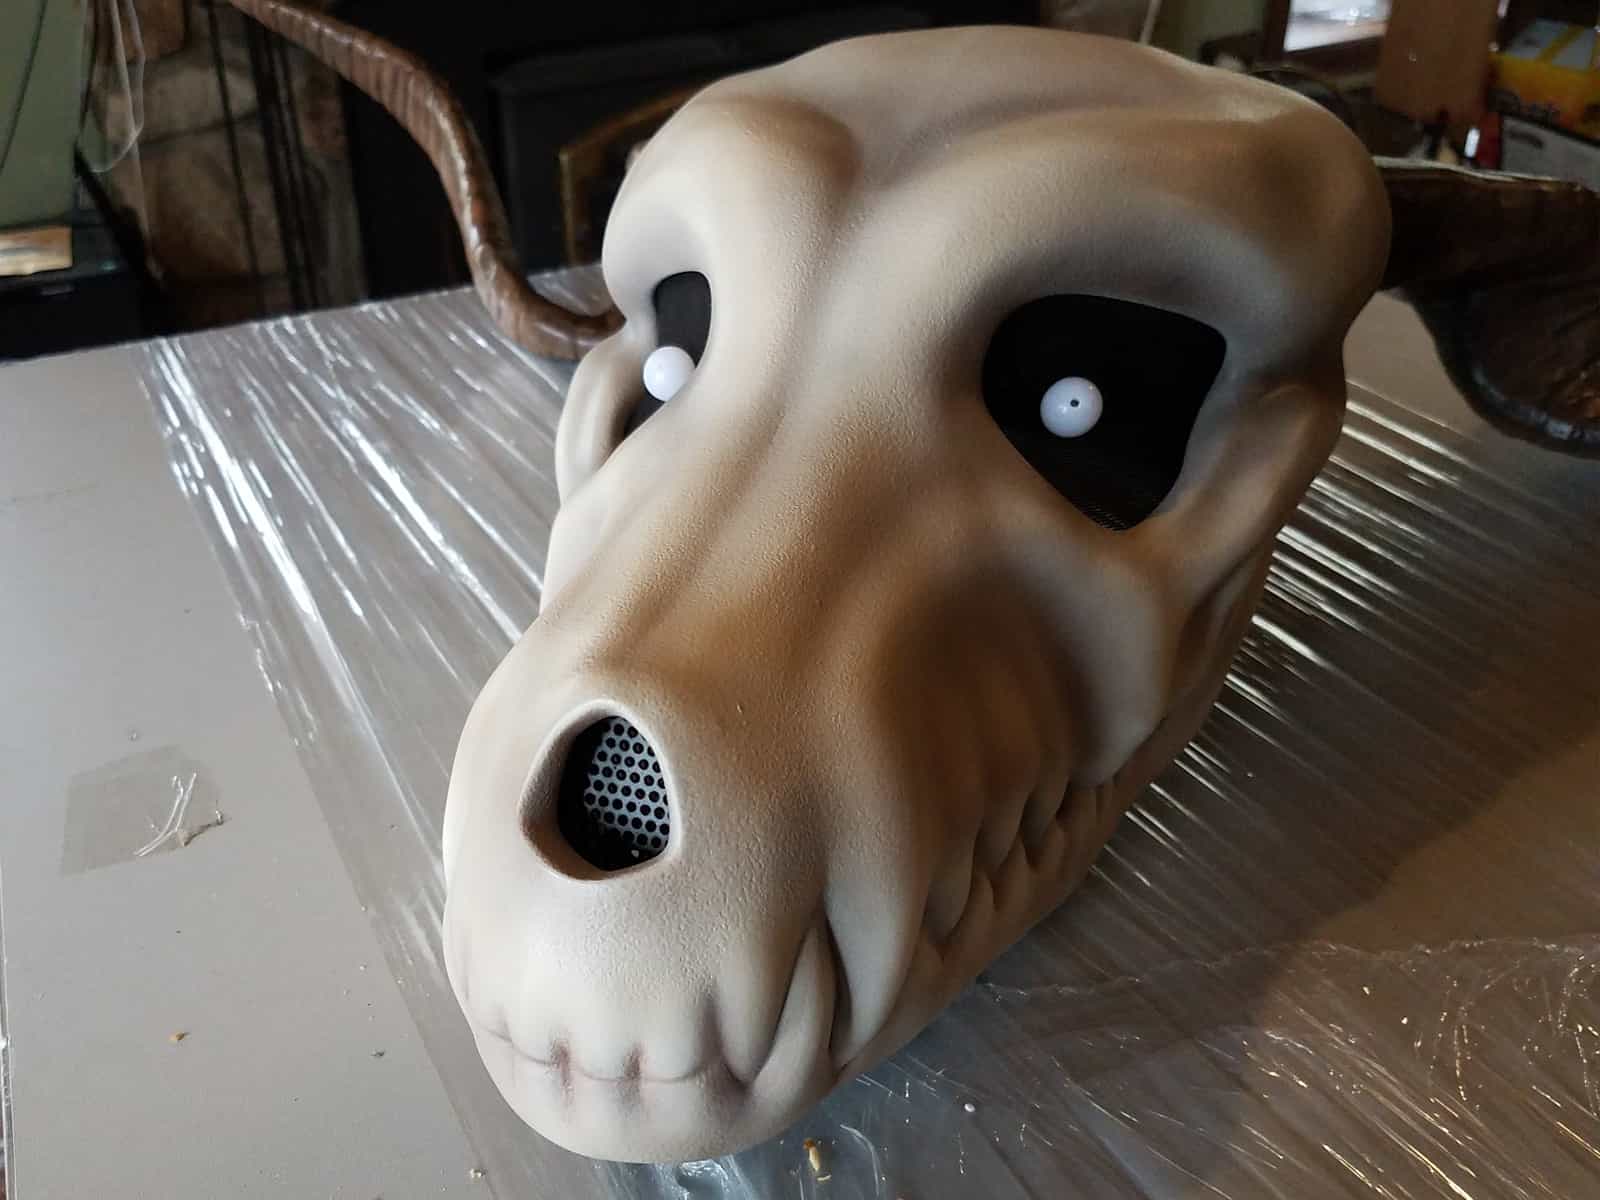
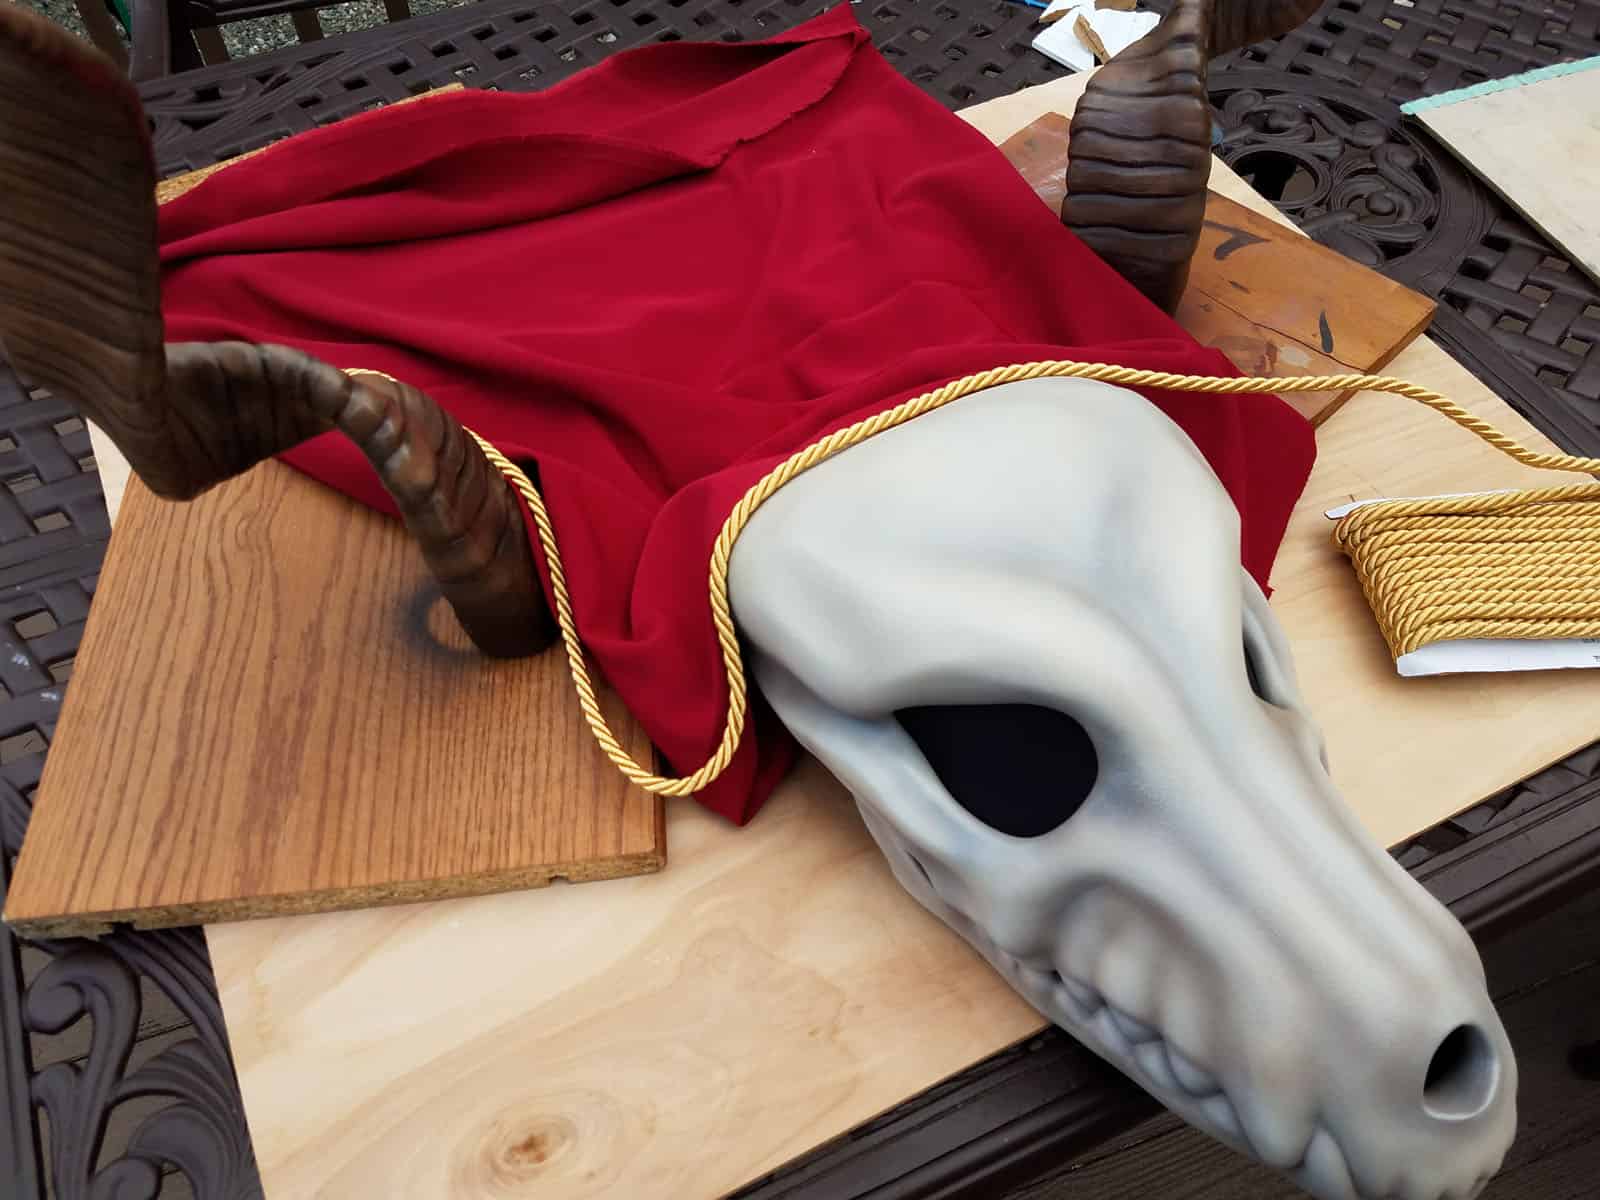
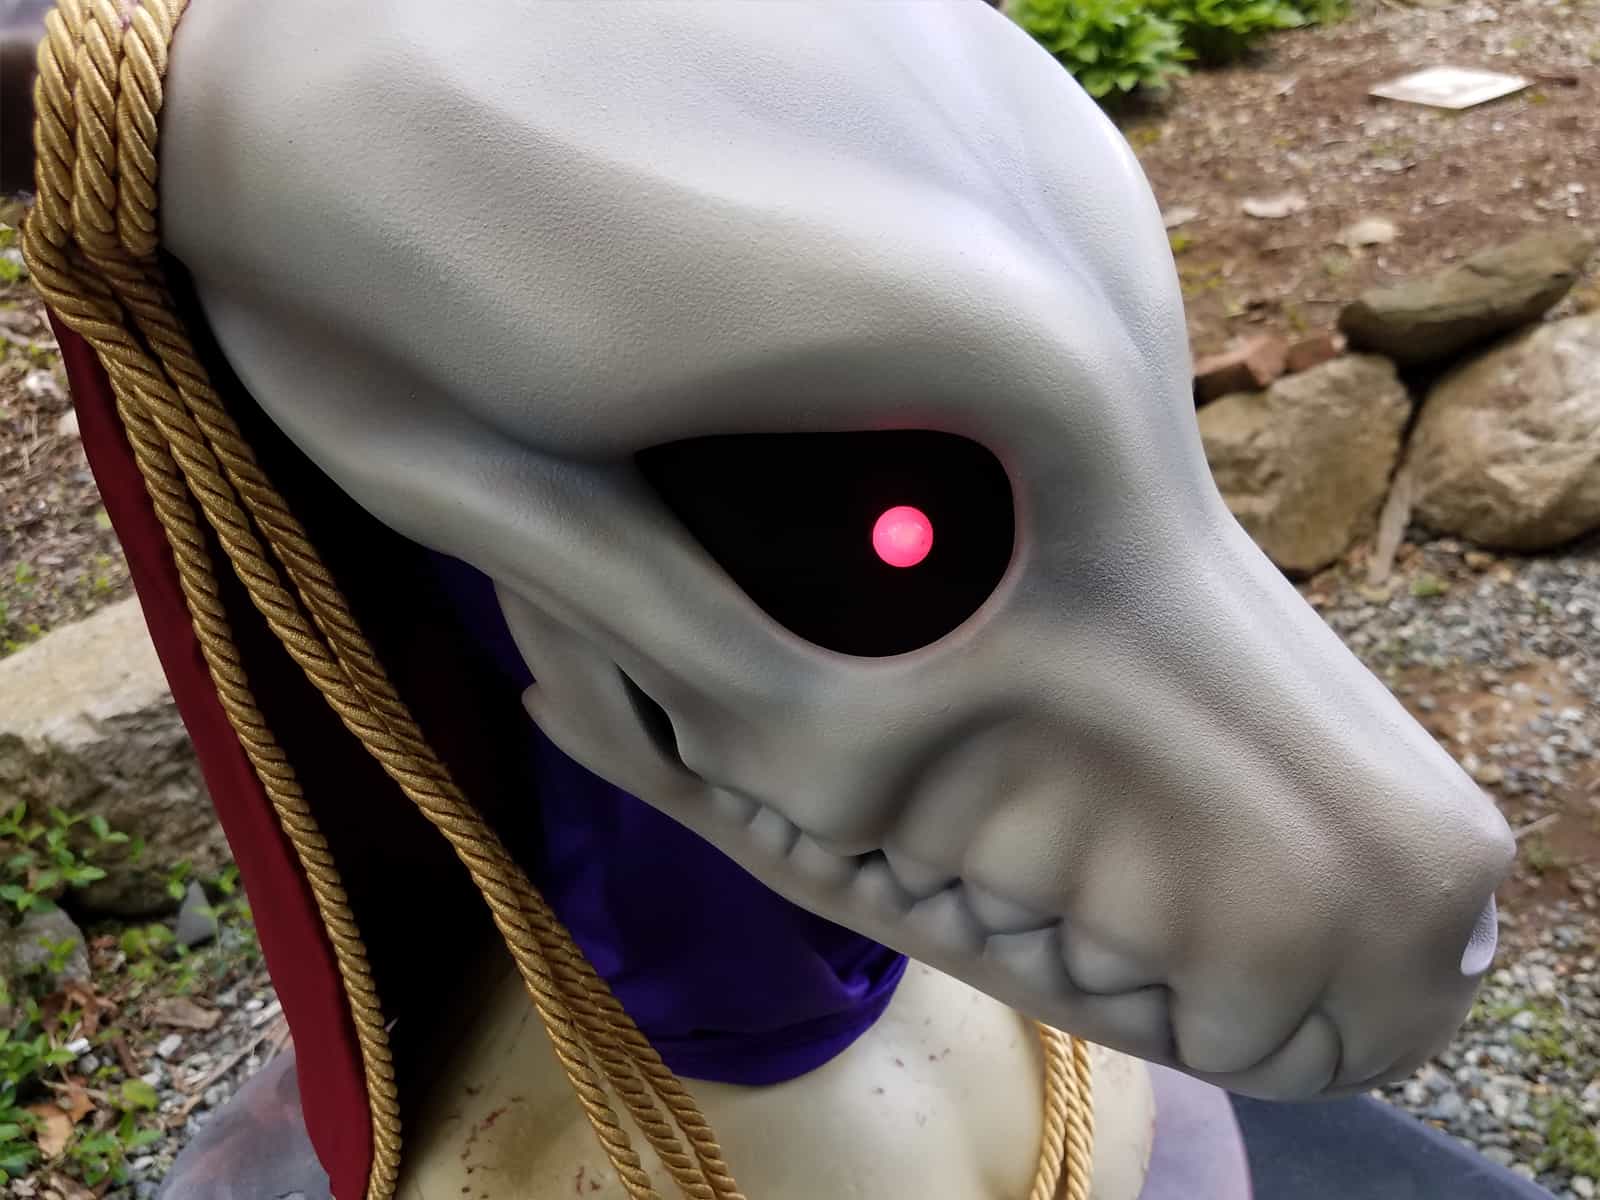
After letting the truck bed paint dry, I followed it with a light grey primer base (which took a few light coats to really cover the black). I dug in and used some of my Model Air Acrylic Paints and my airbrush to try and highlight the cheekbones and teeth while pushing some shadow into the area around the eye sockets and between the teeth.
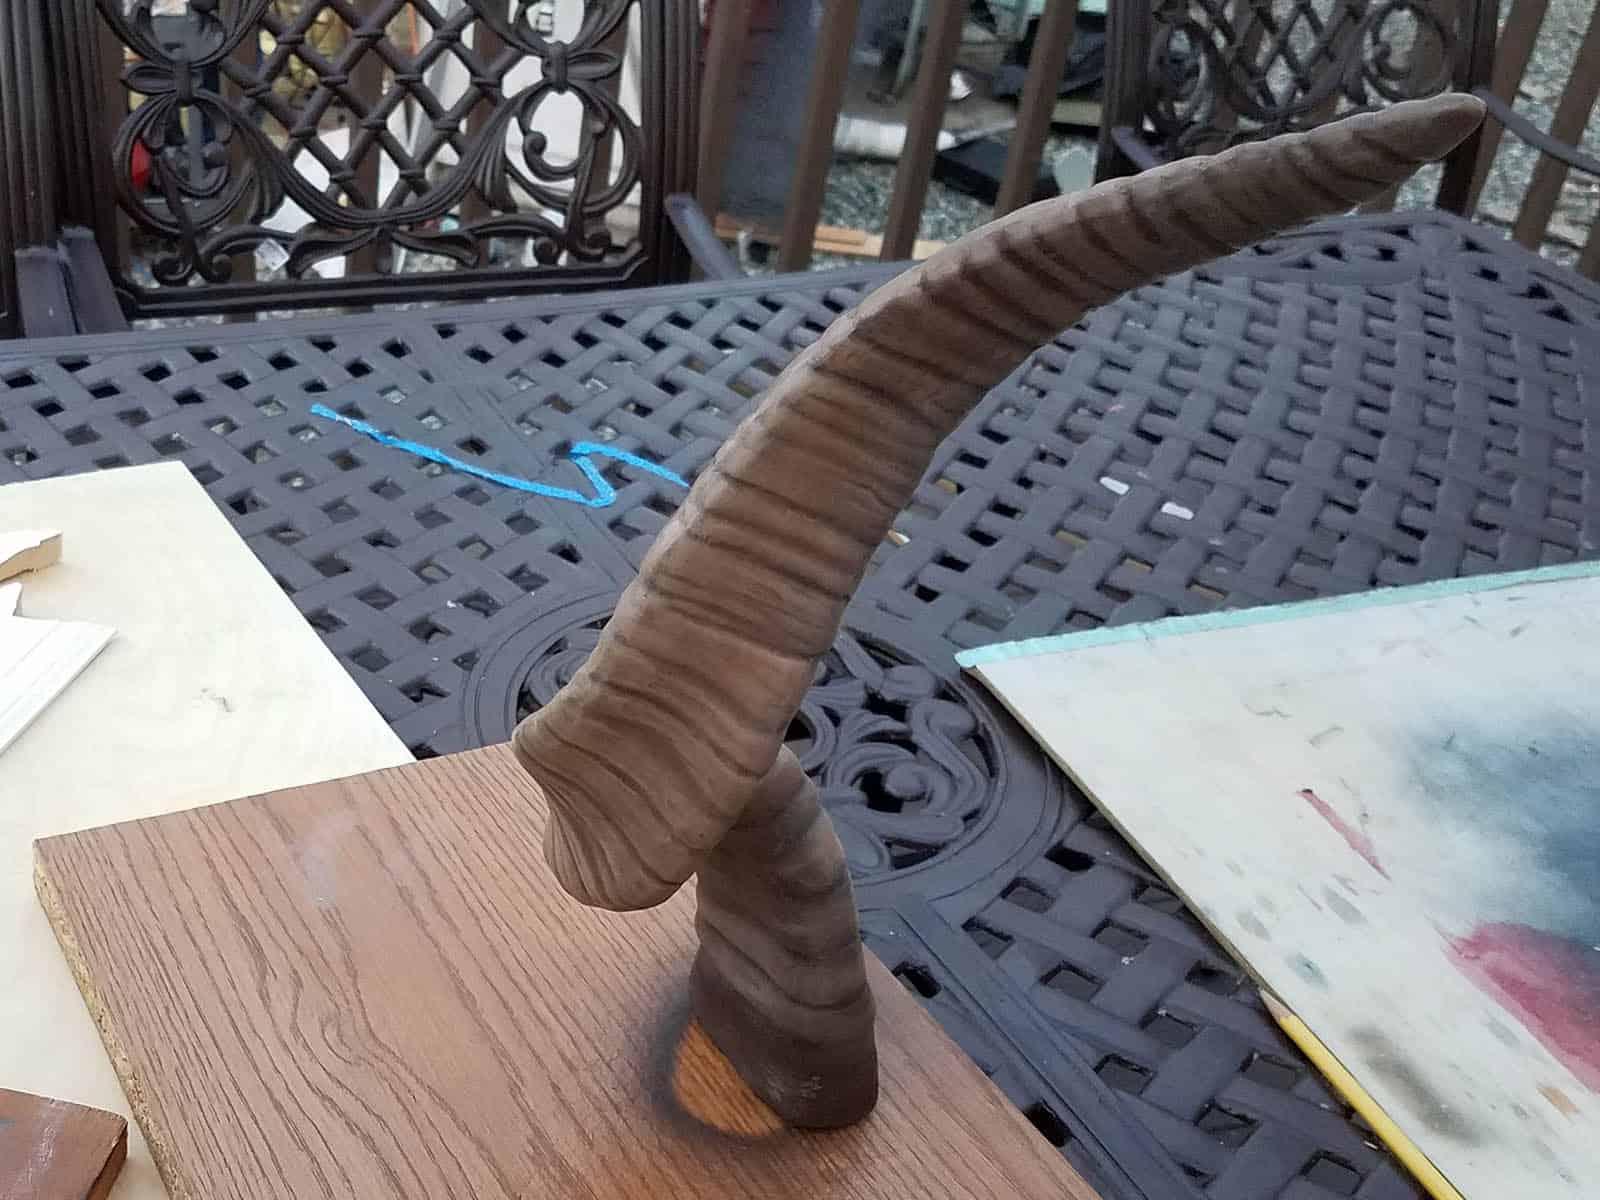
The horns also got airbrushed, though I opted to brush some washes on into the recesses of the ribbed texture. It was a little easier than trying to maneuver an airbrush around all of the weird helical angles on the horn’s shape.
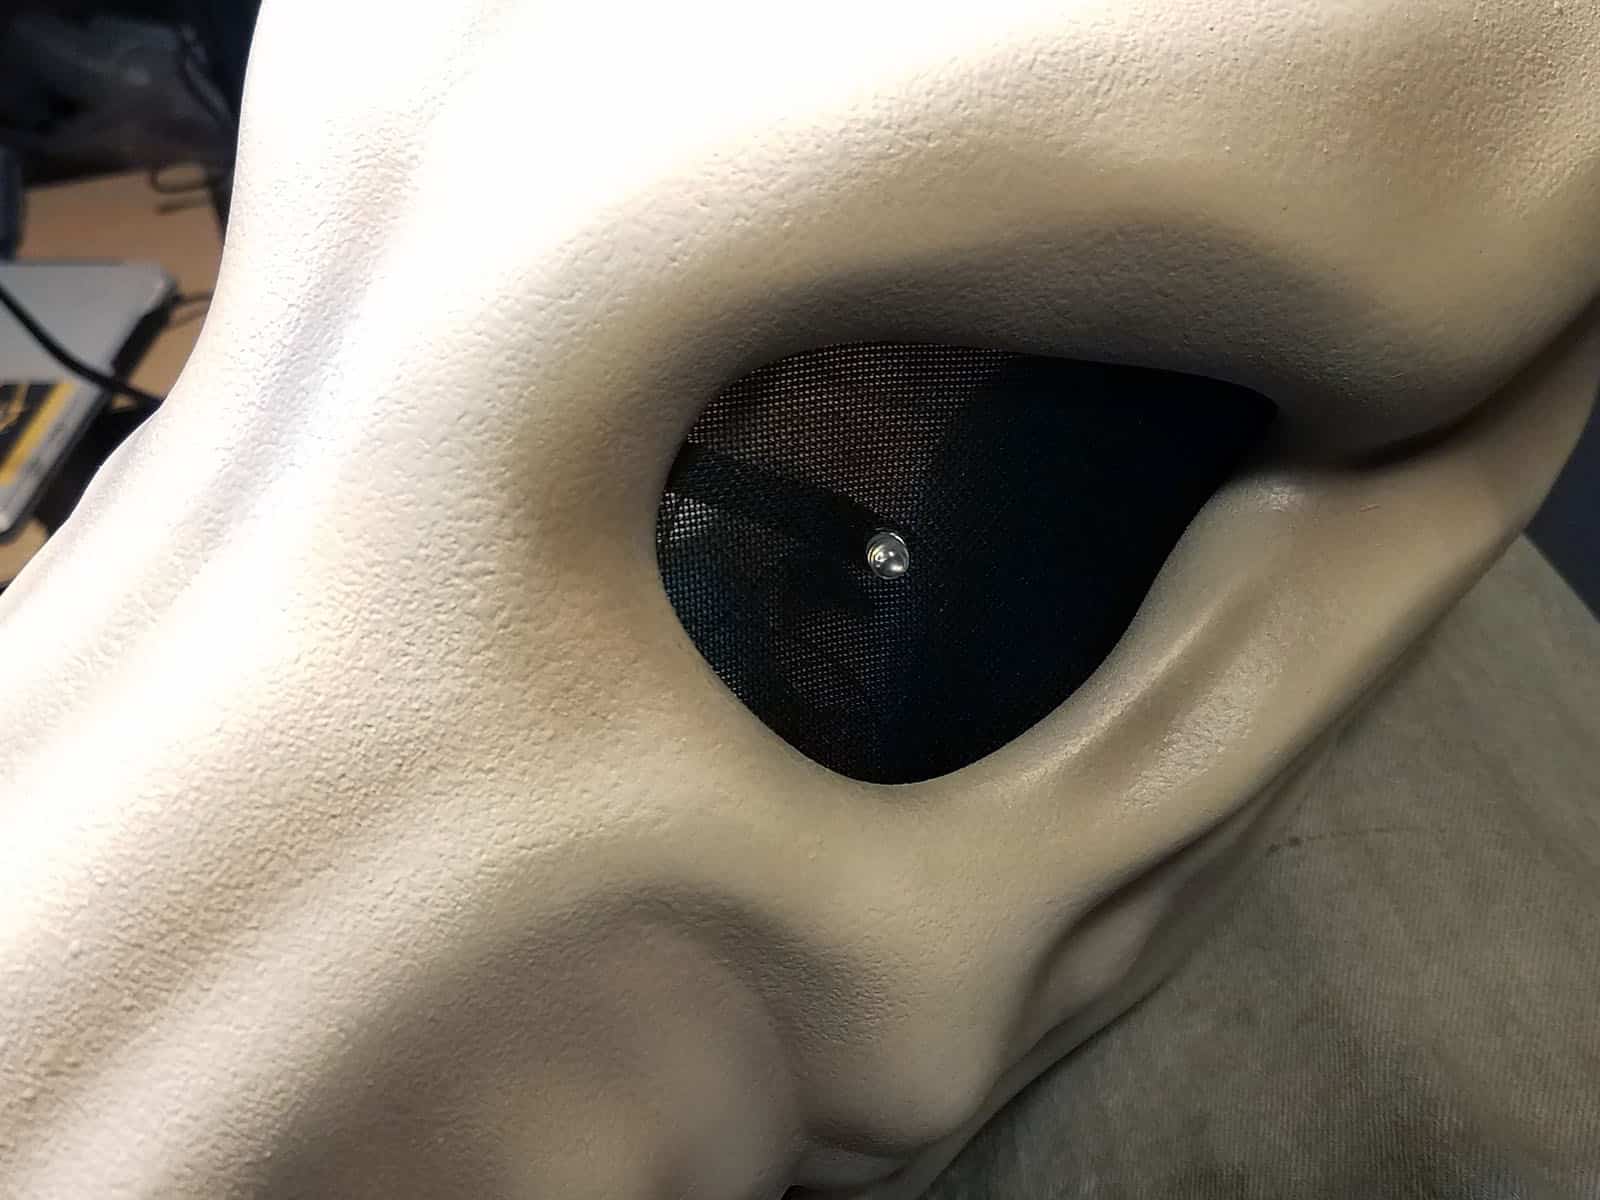
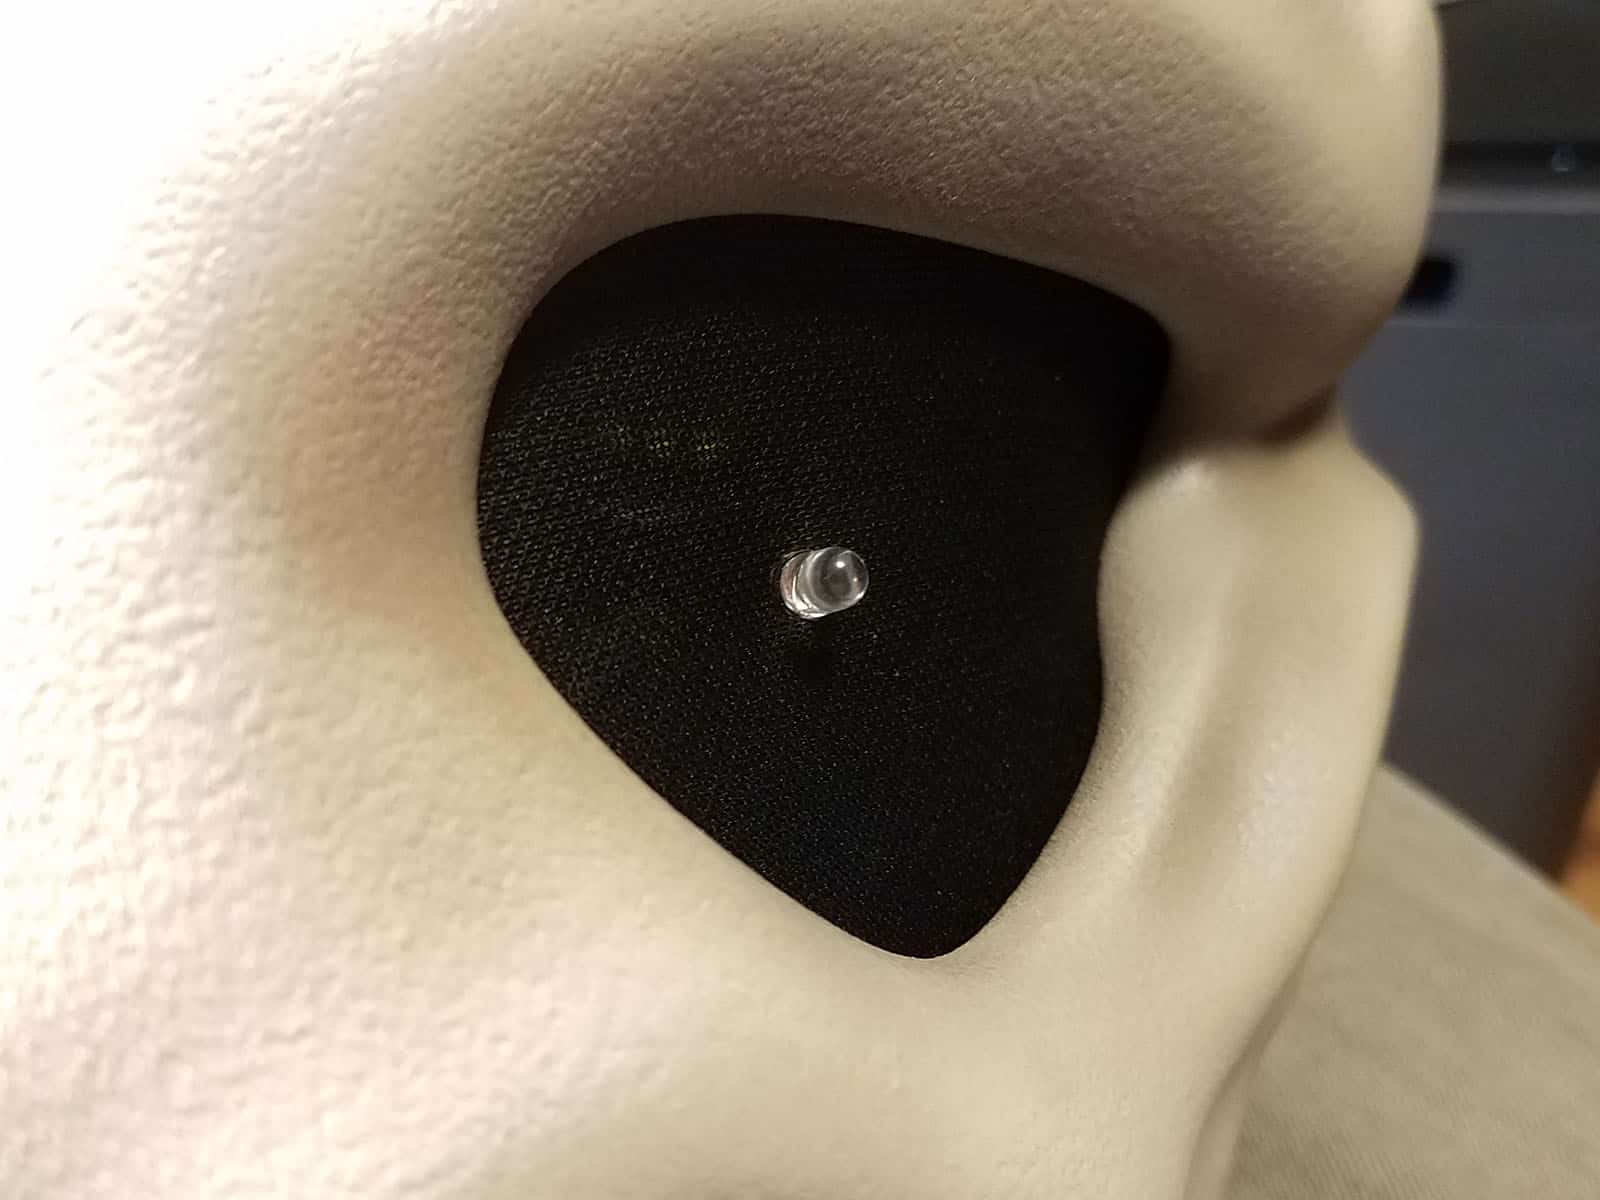
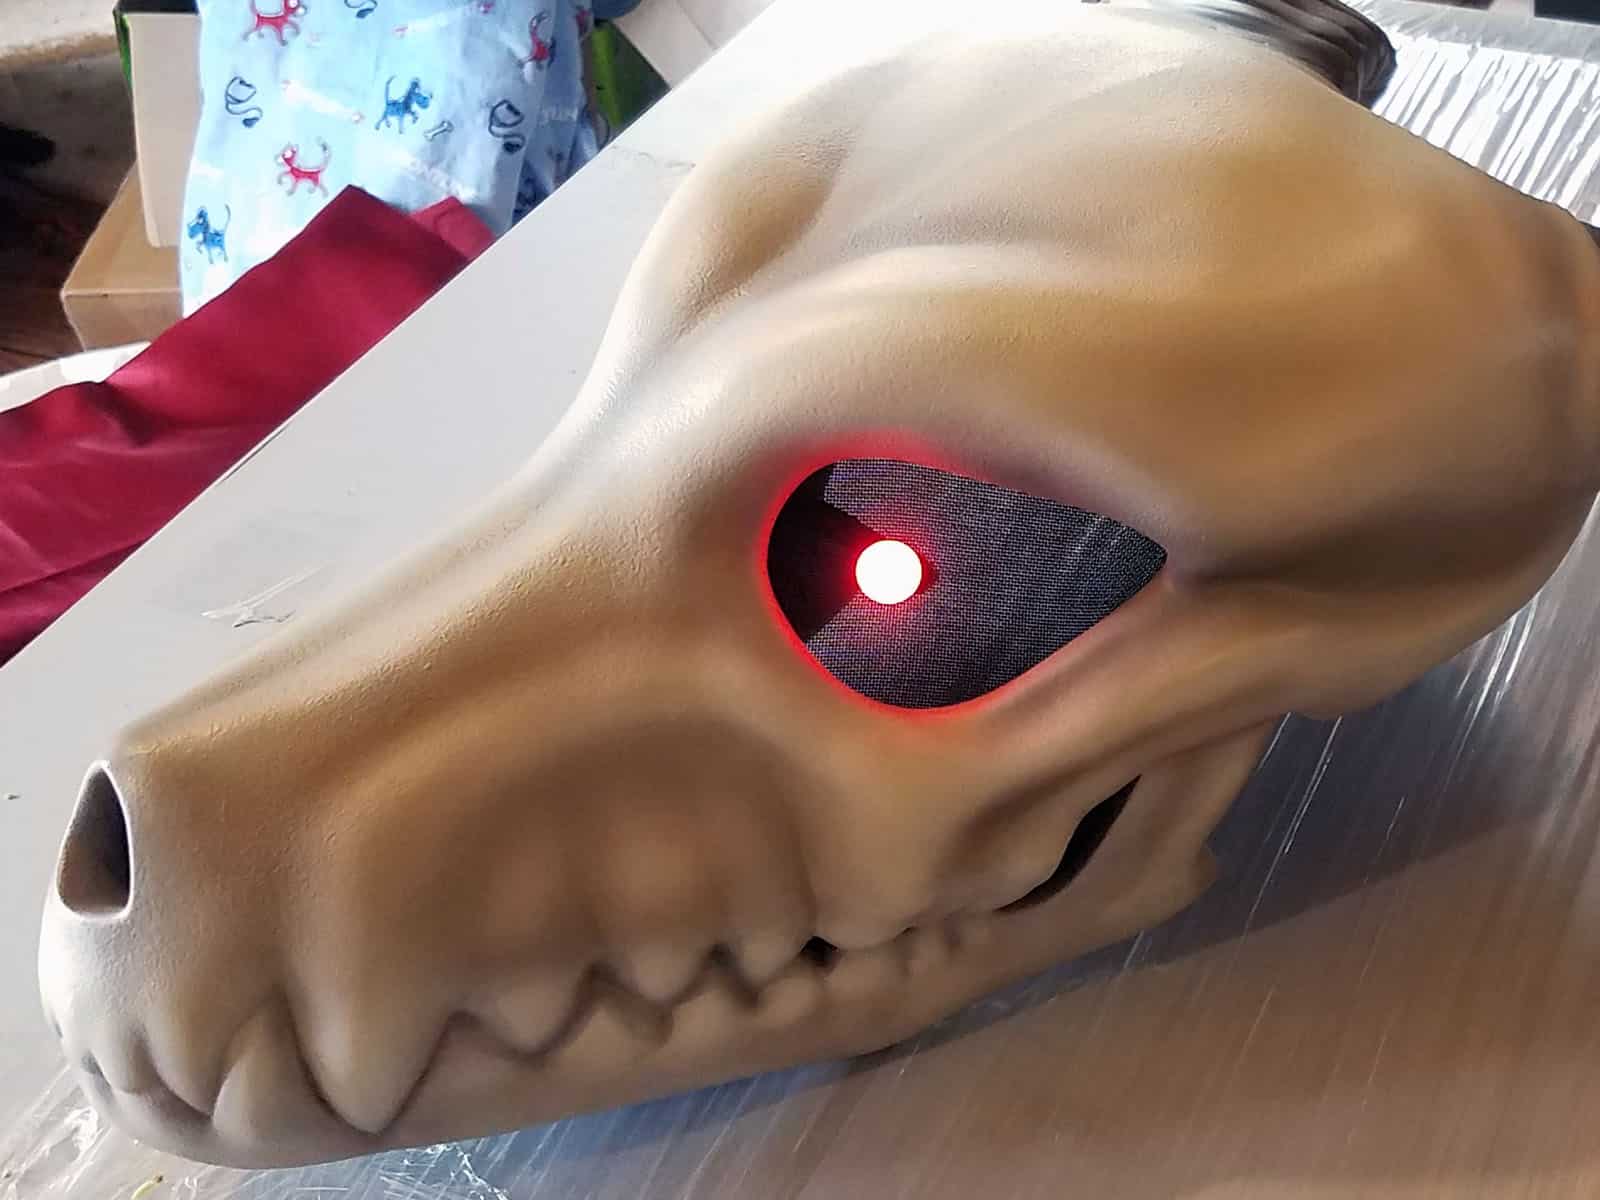
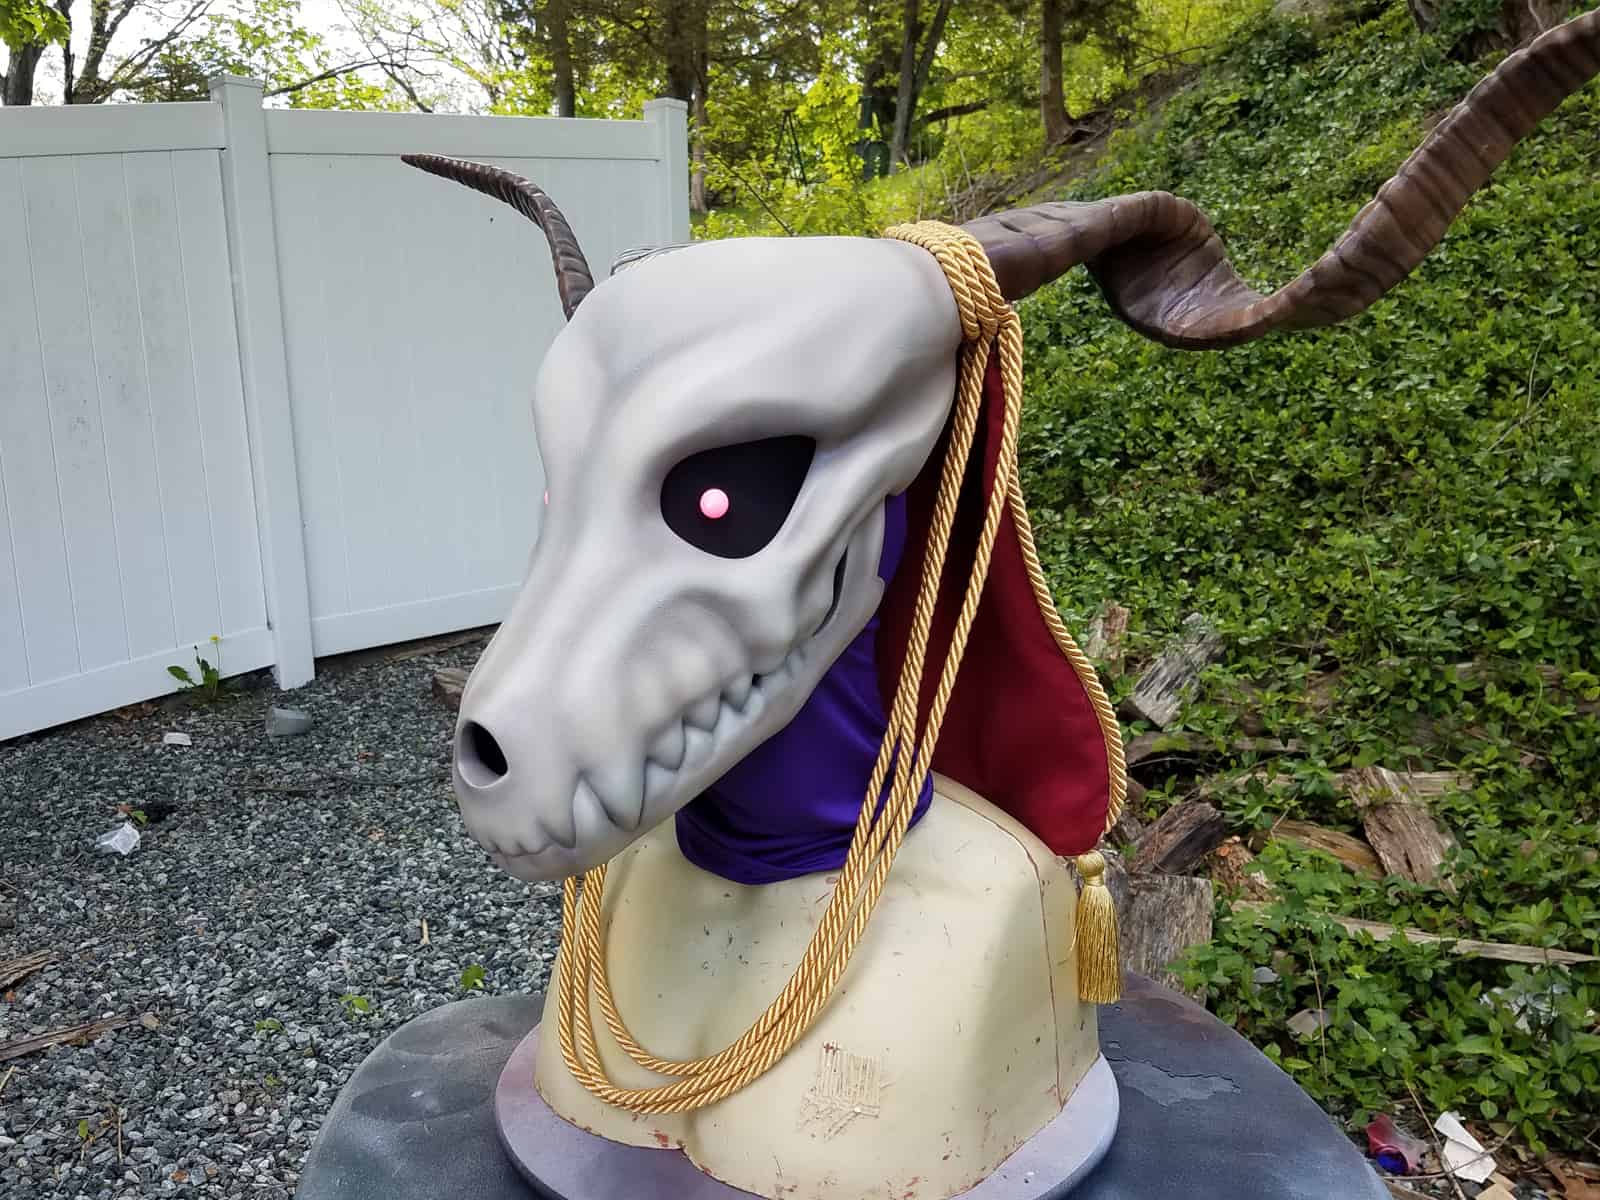
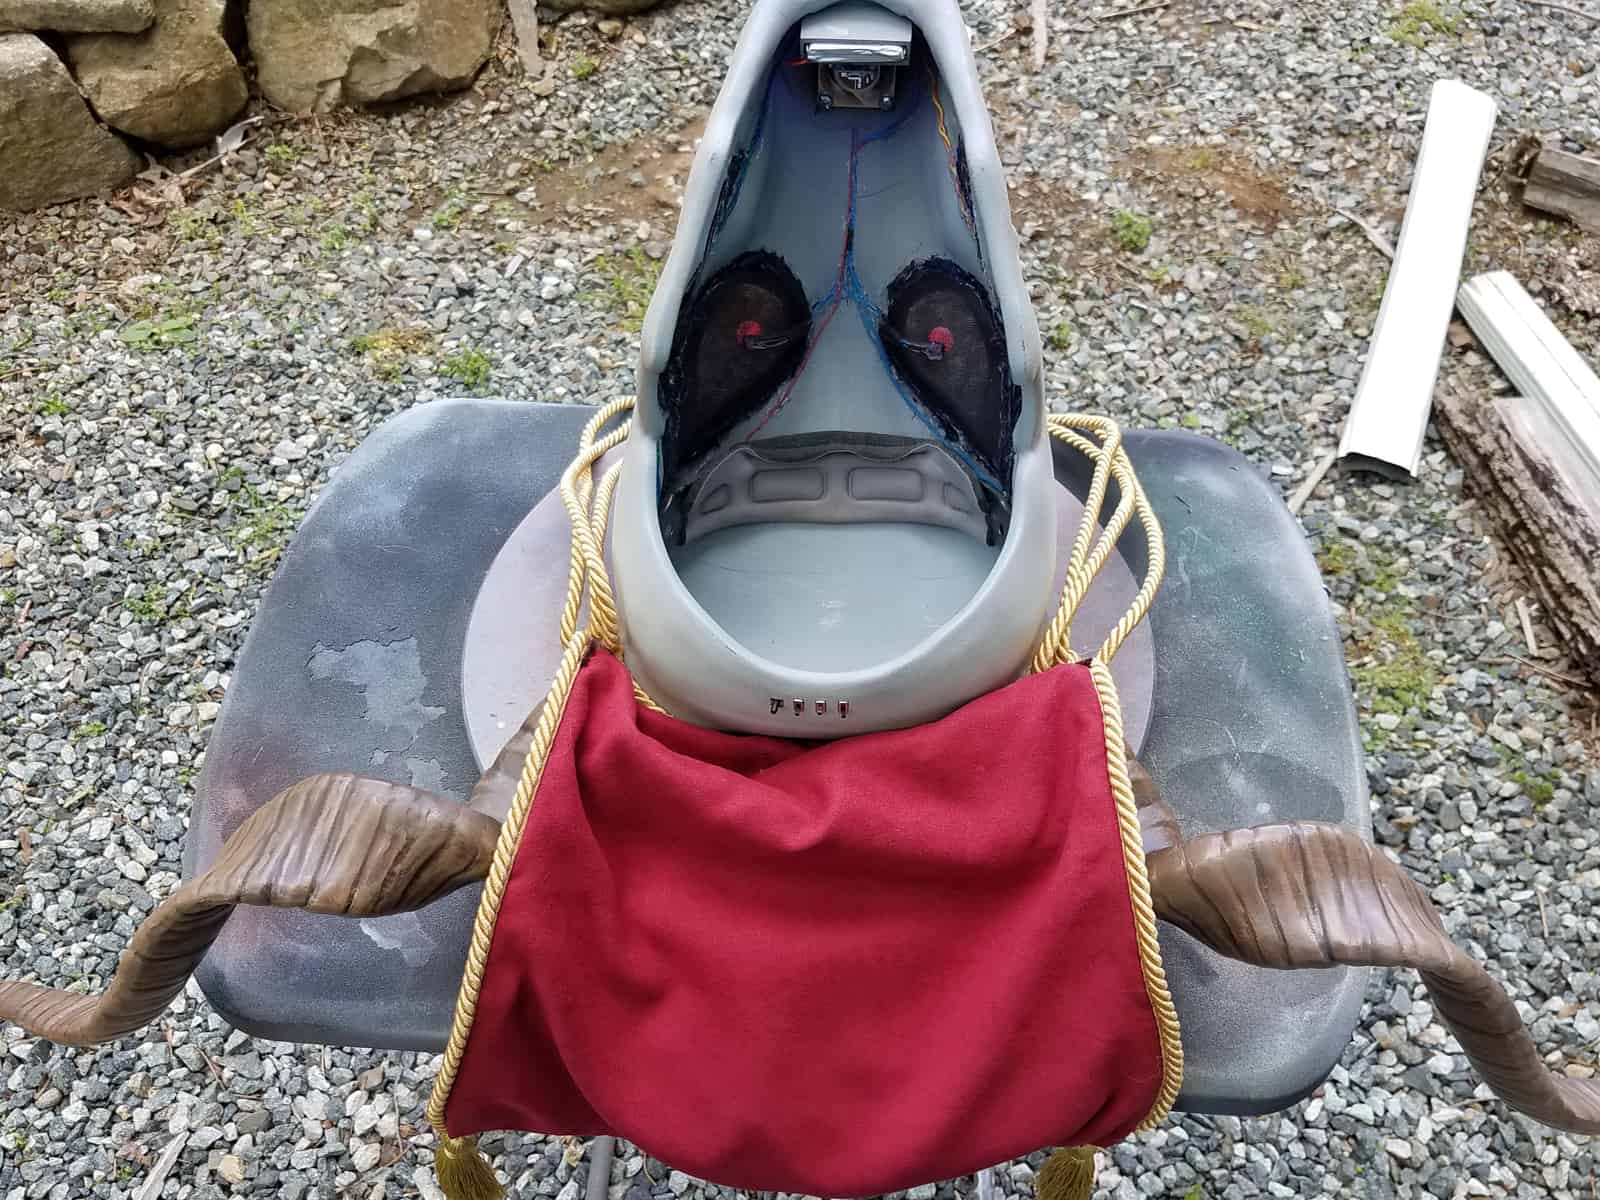
Once I felt comfortable with where the paint was at, it was time to start adding some of the electronics in properly. I started off by blacking-out the eye holes with fabric. I was initially going to use Nylon stockings, but adhering those to the inside of the mask would have been a huge chore with how much they stretch. Instead, I went to JoAnn’s Fabric Stores and got a small scrap of speaker fabric, which I think is going to be my new go-to material for this stuff. I lined the inside of the eye socket with a bit of hot glue and got the speaker fabric stuck into place, then trimmed the excess. I did the same thing in the gap around the back of thre jaw. As soon as that fully dried, I installed the LED mounts on the inside of the mask and poked the red LEDs I’d be using through the fabric into the mount. Drilled-out pearl beads were glued over the LEDs to make the glowing pupil shape.
I also plugged the hole in the nose in front of the fan with a simple little 3D-printed grille to hide all the goings-on inside the mask.
I filmed a short video for the client to show him the electrical work around this point, which I think recaps things pretty nicely!
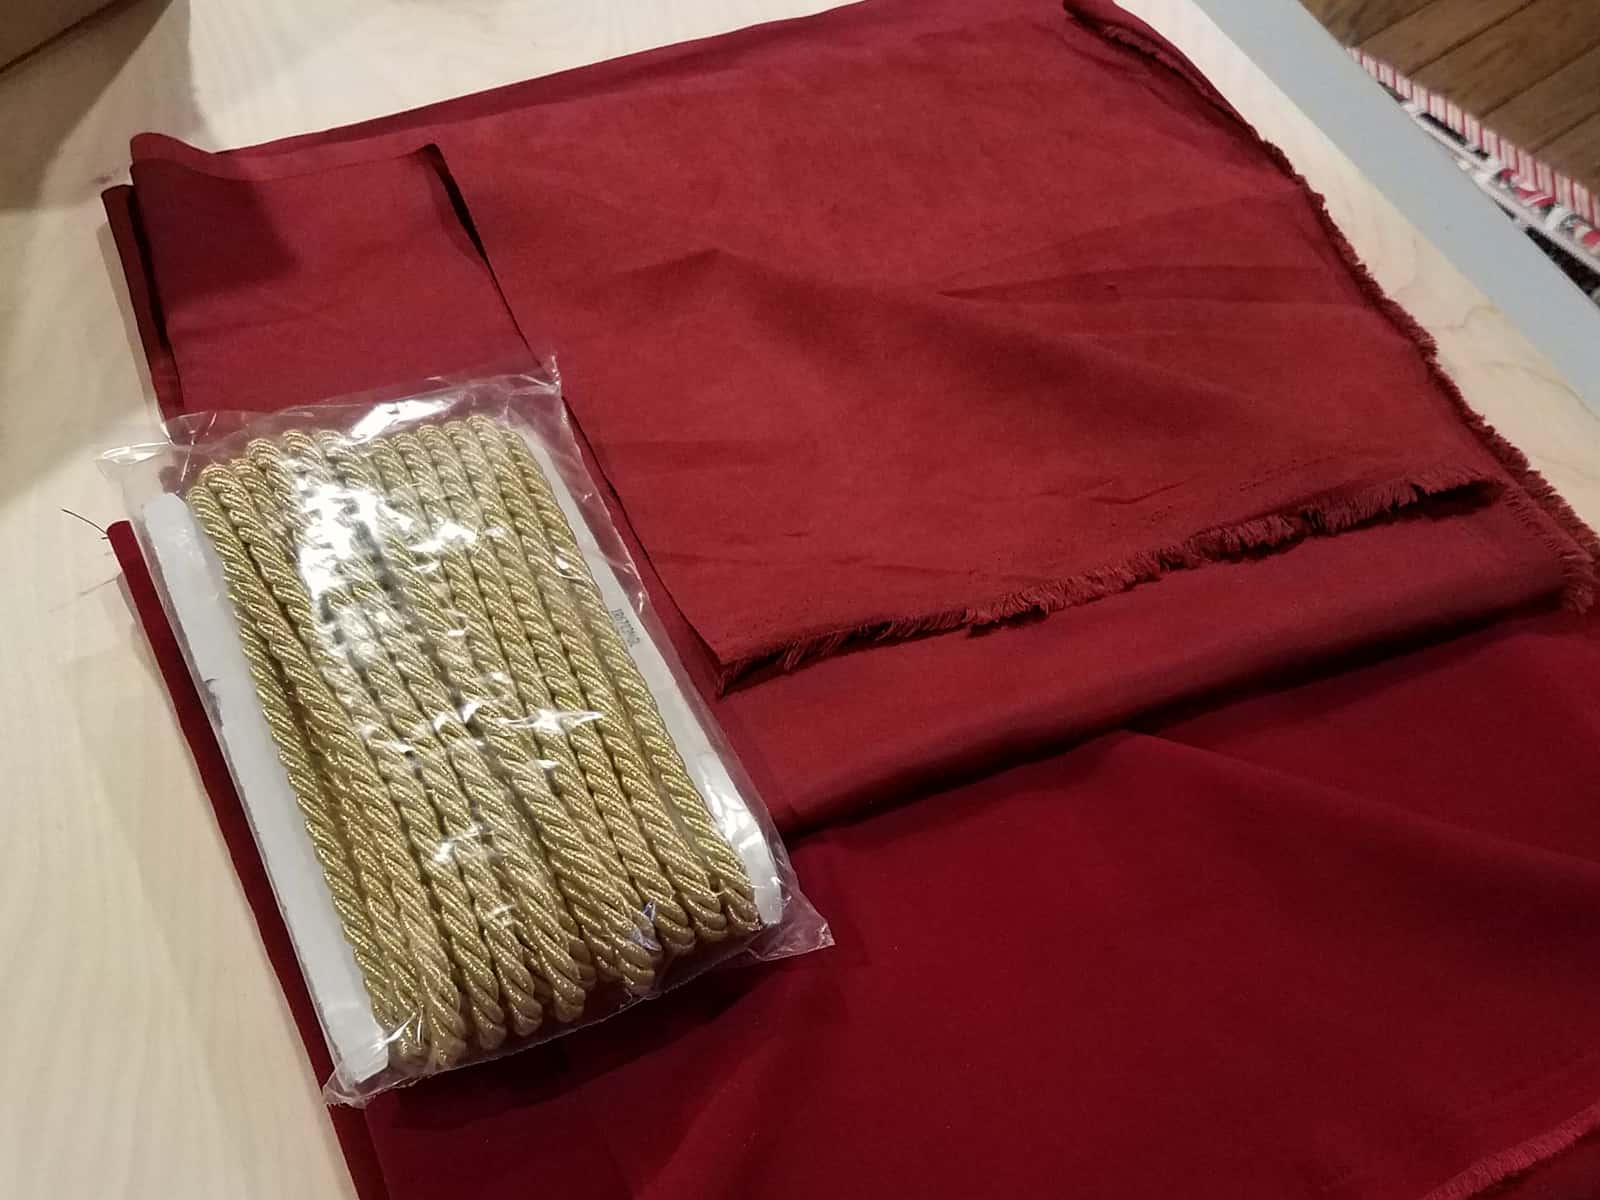
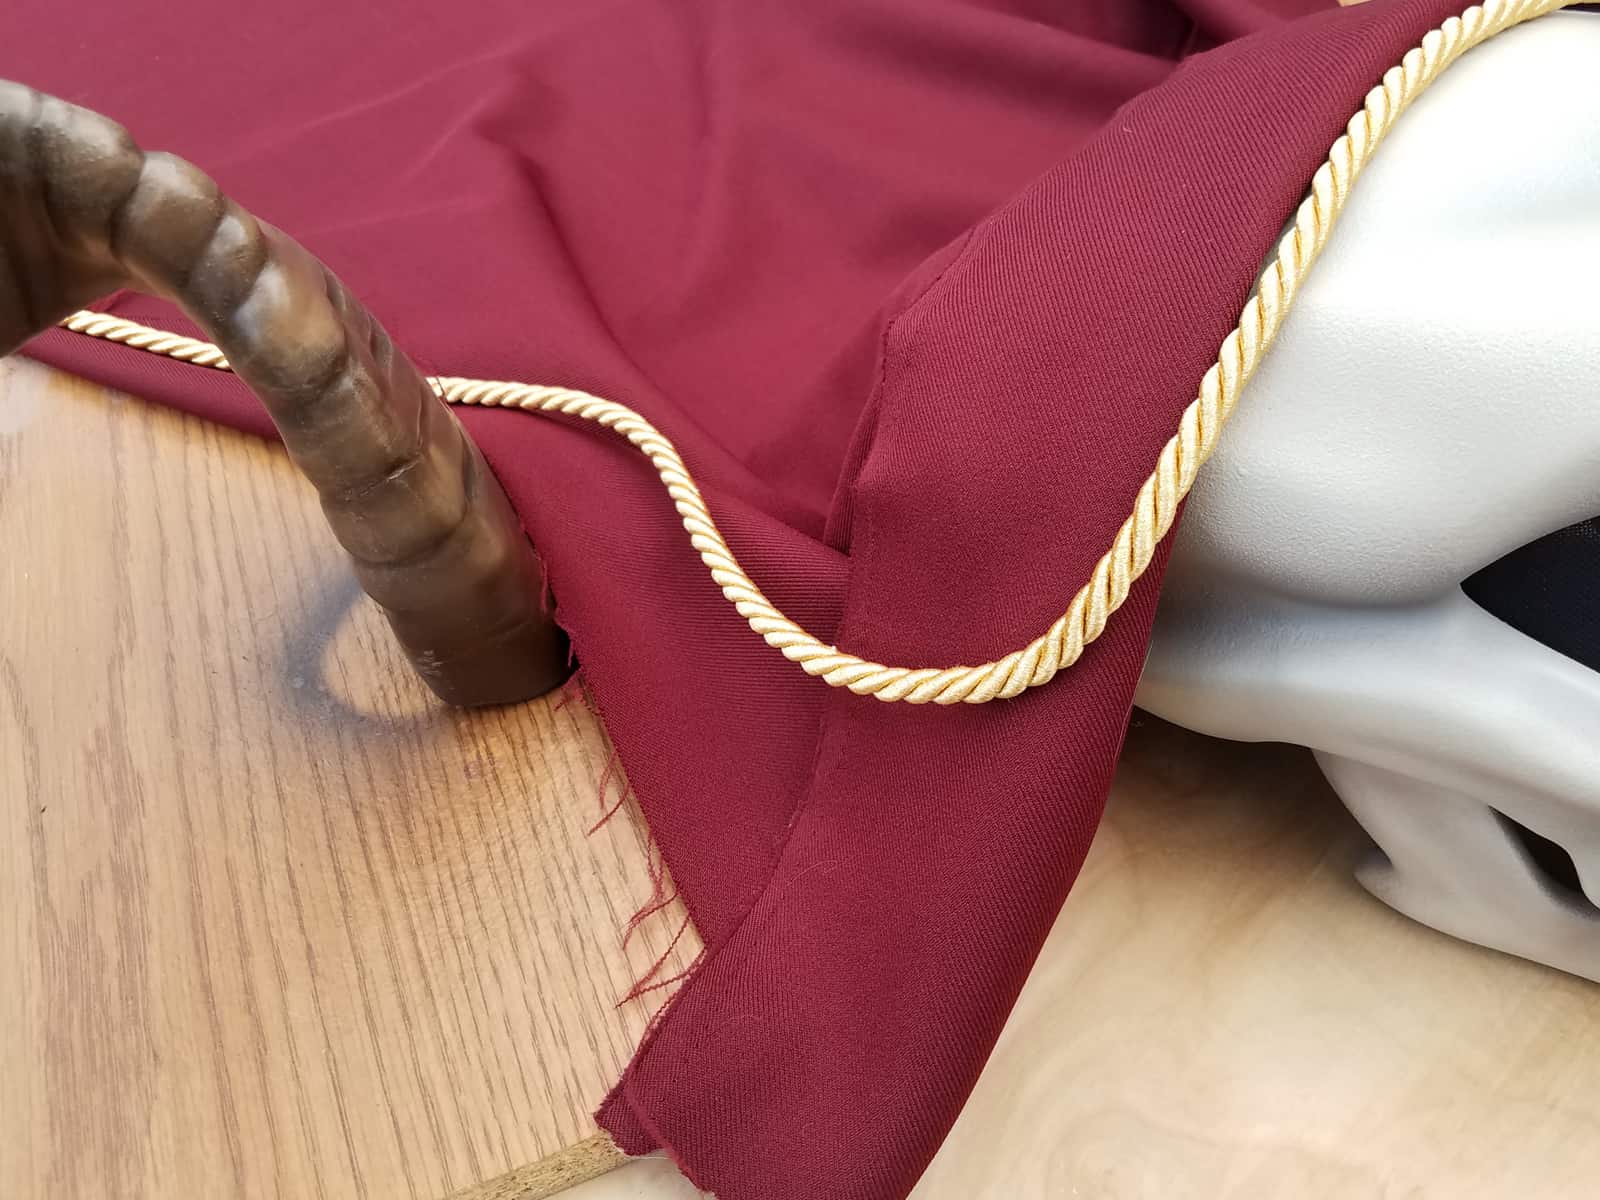
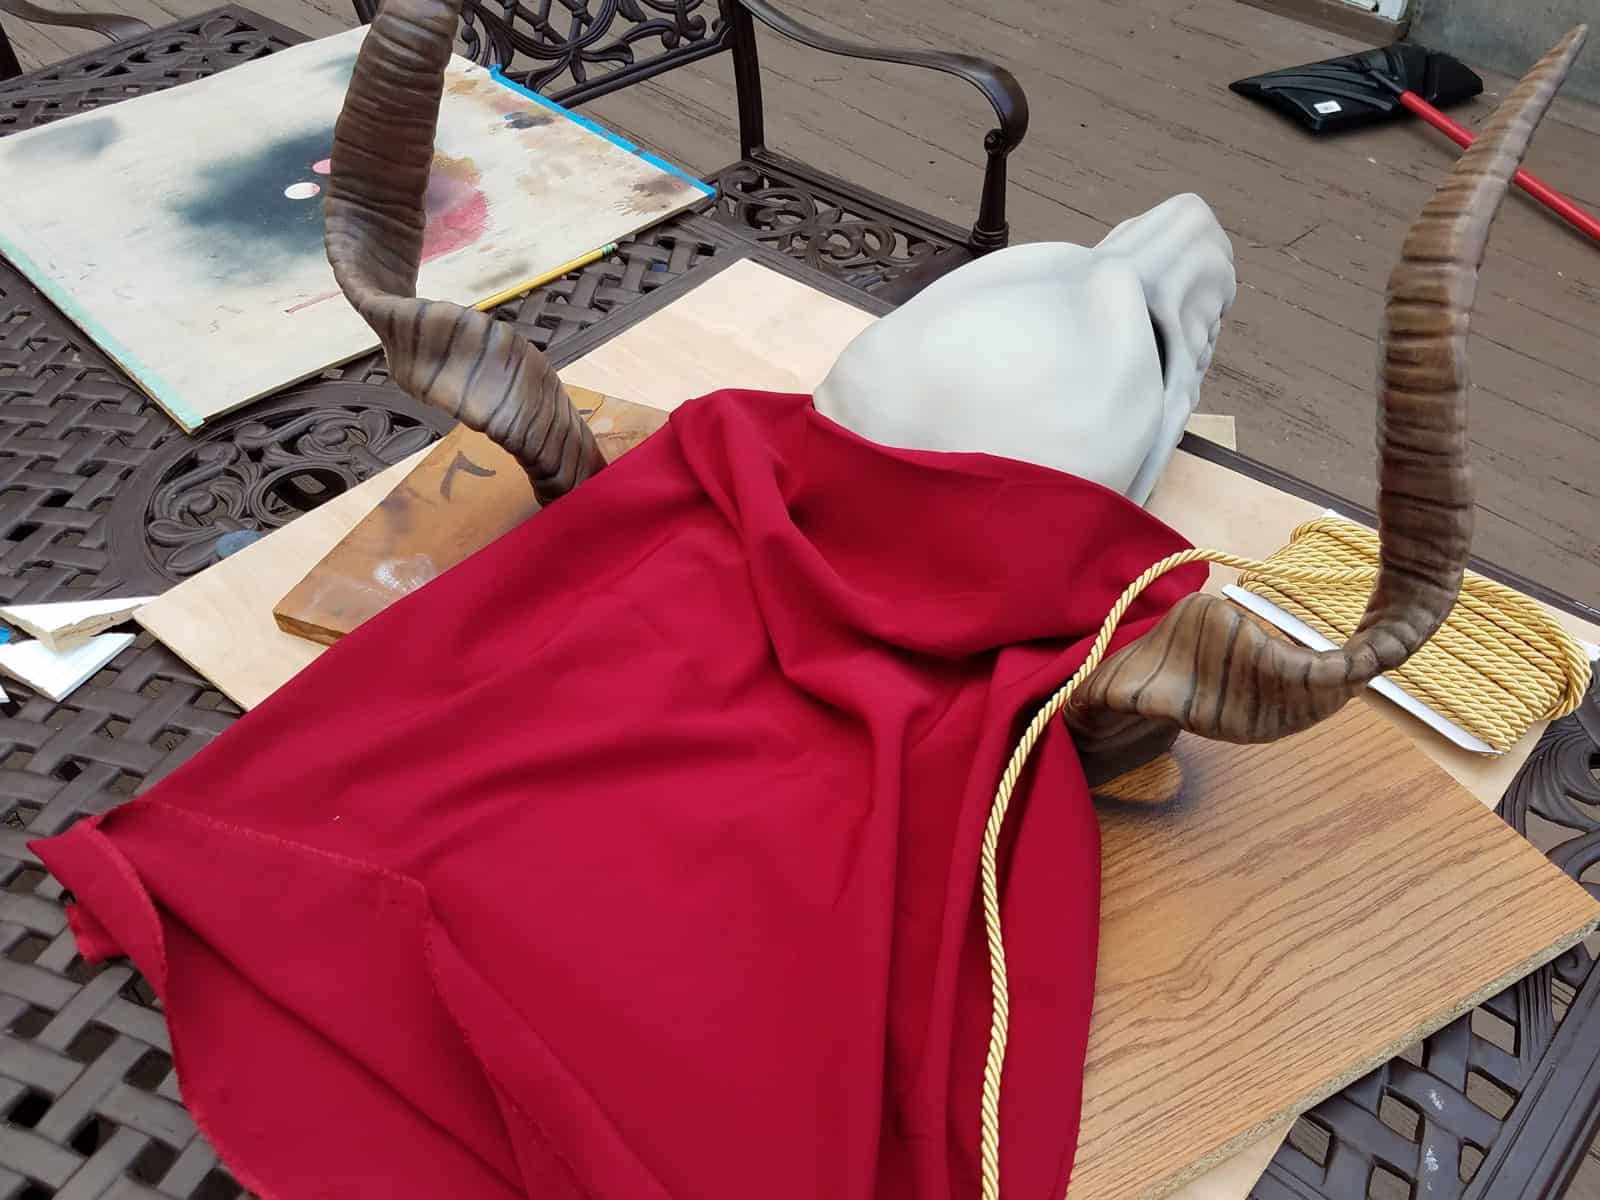
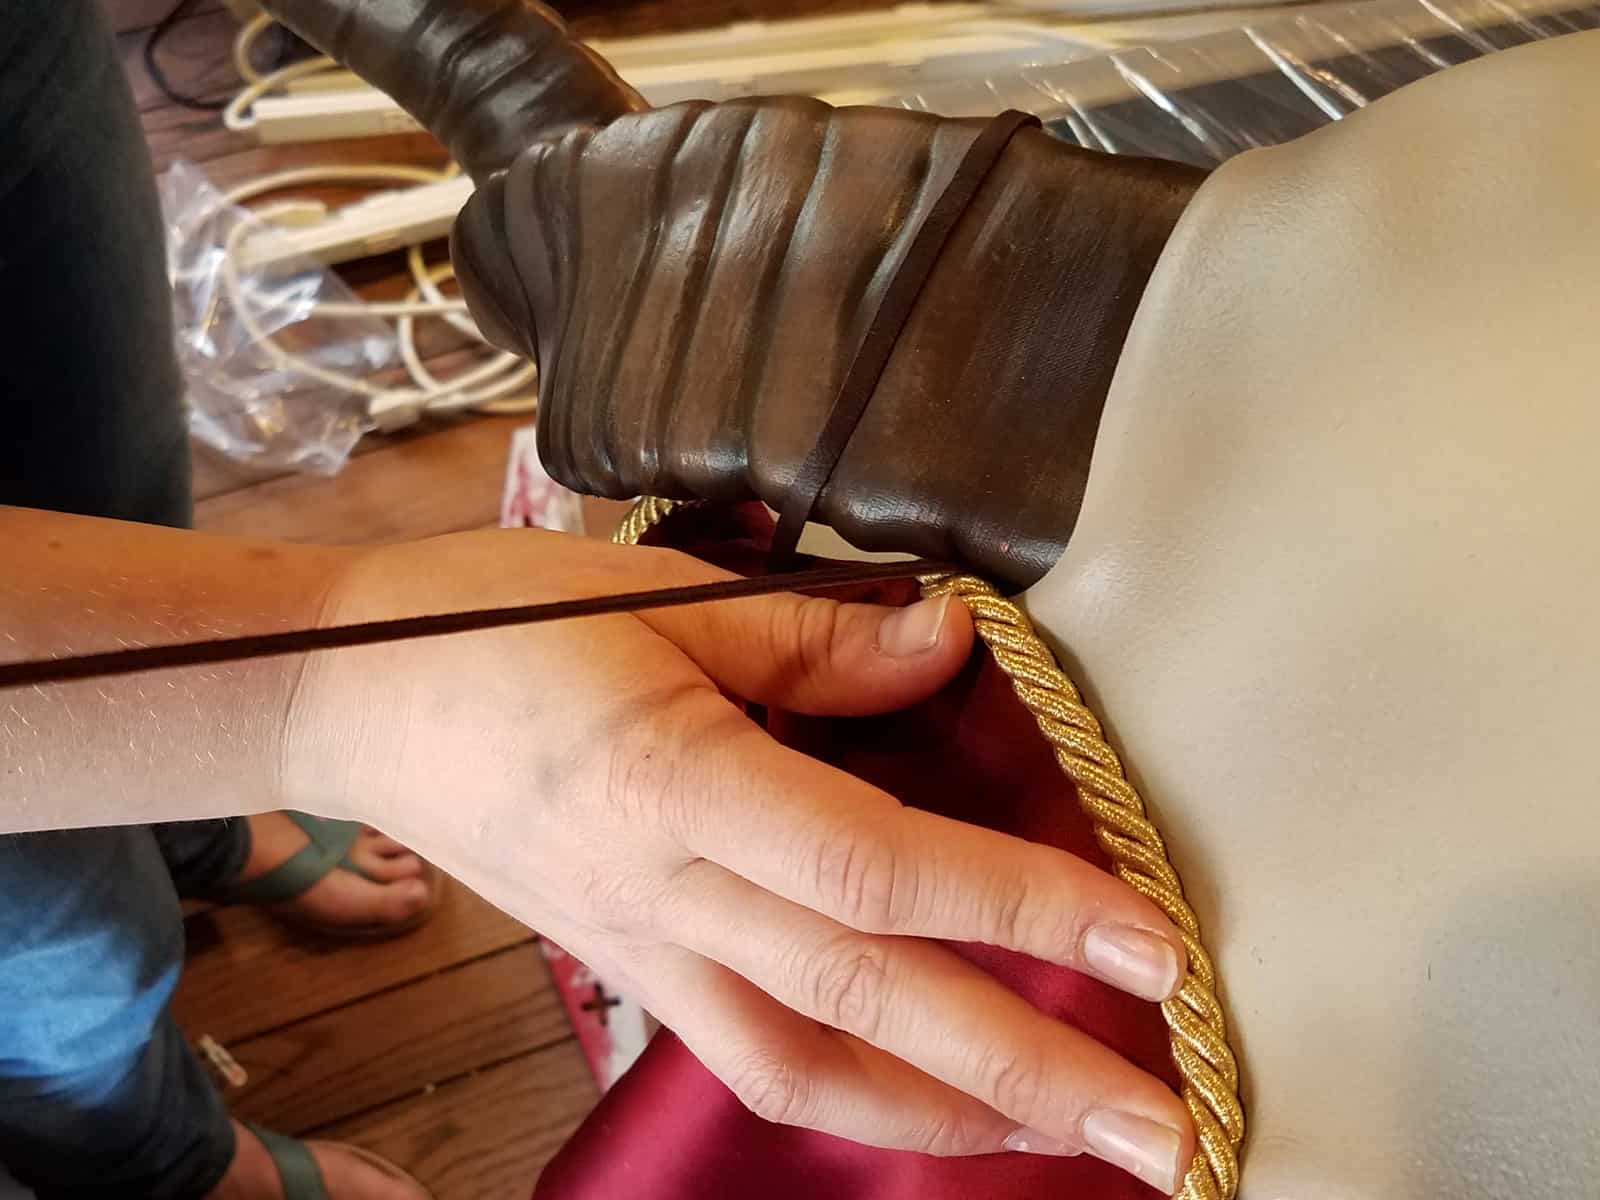
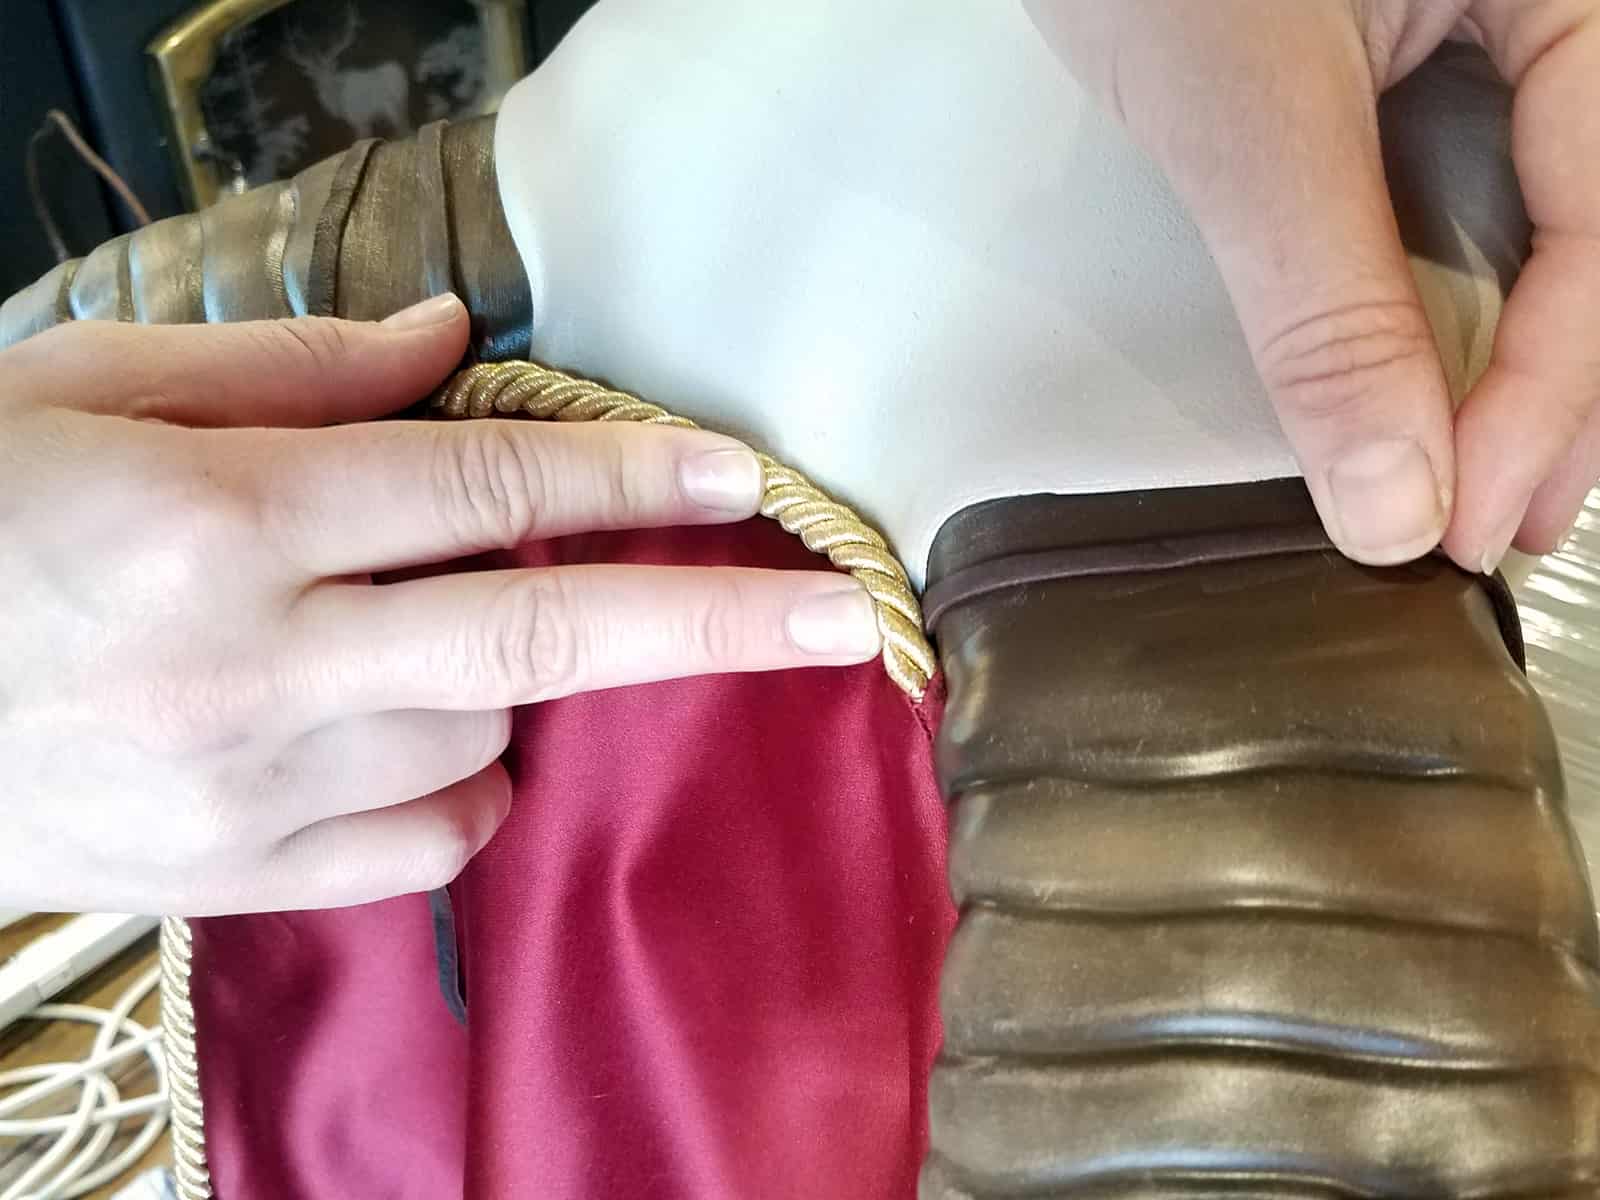
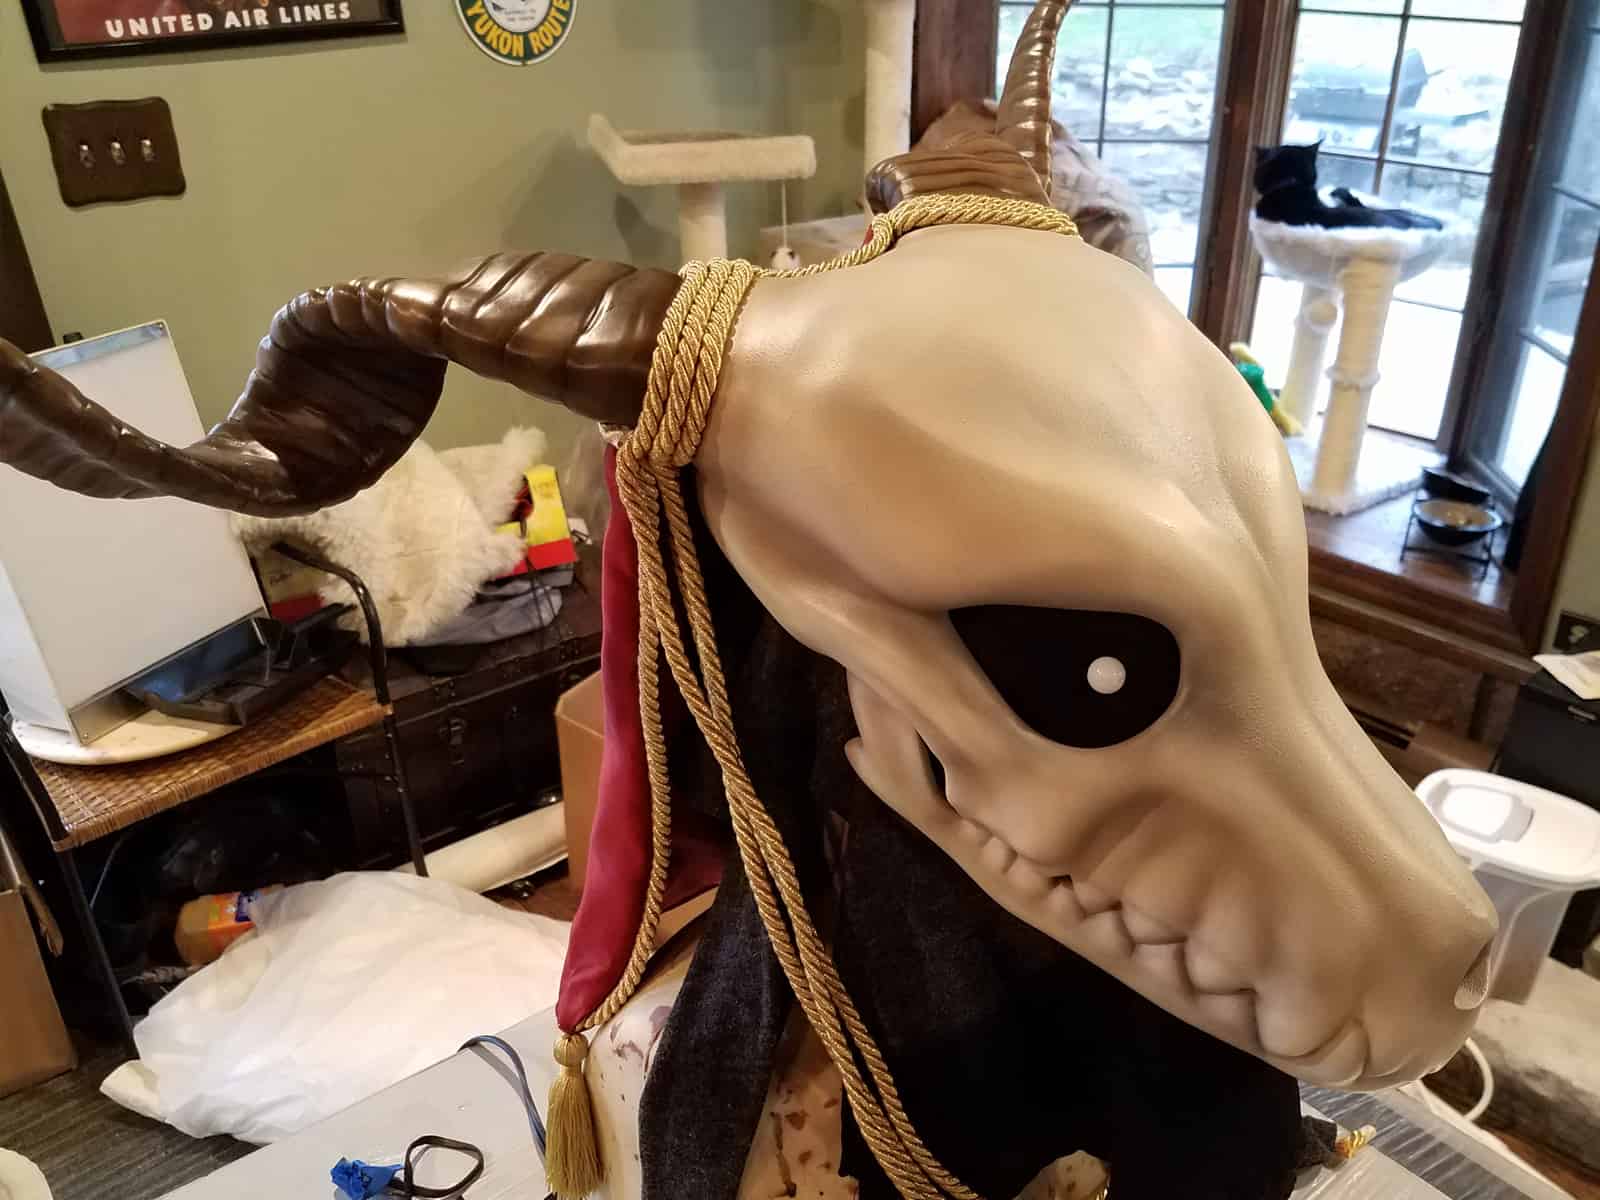
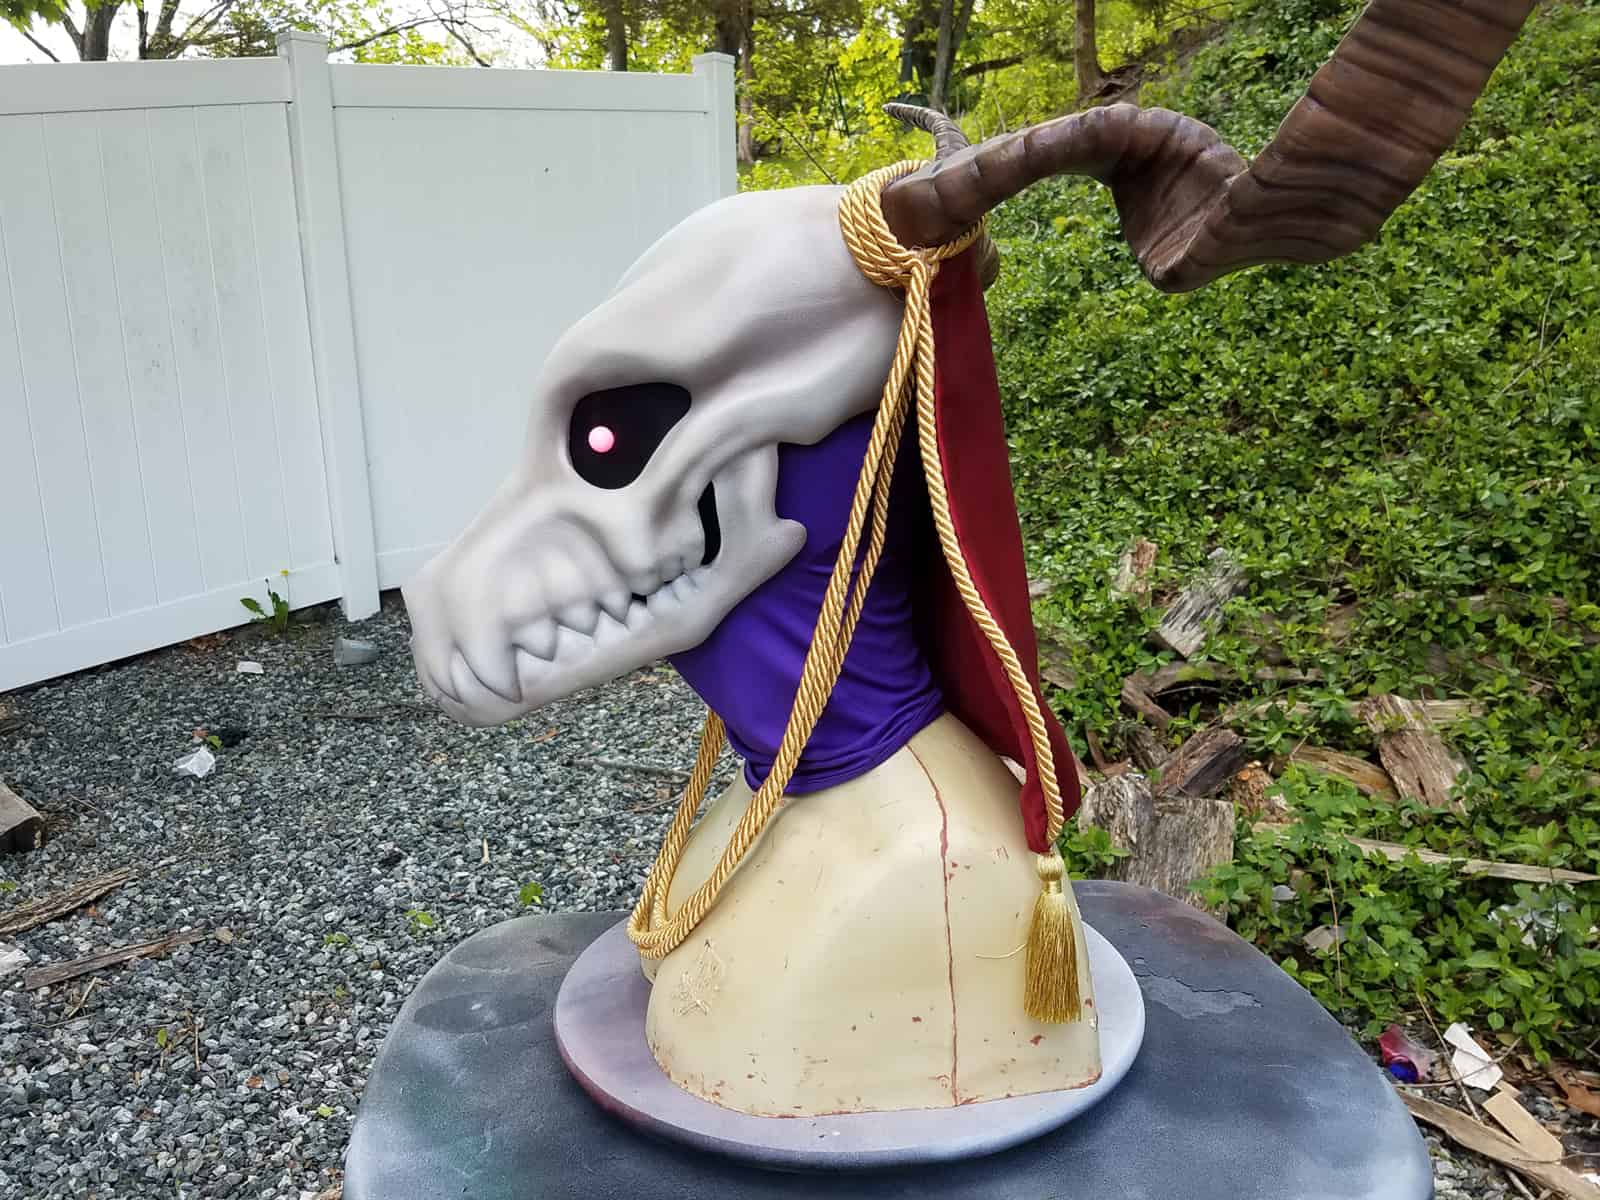
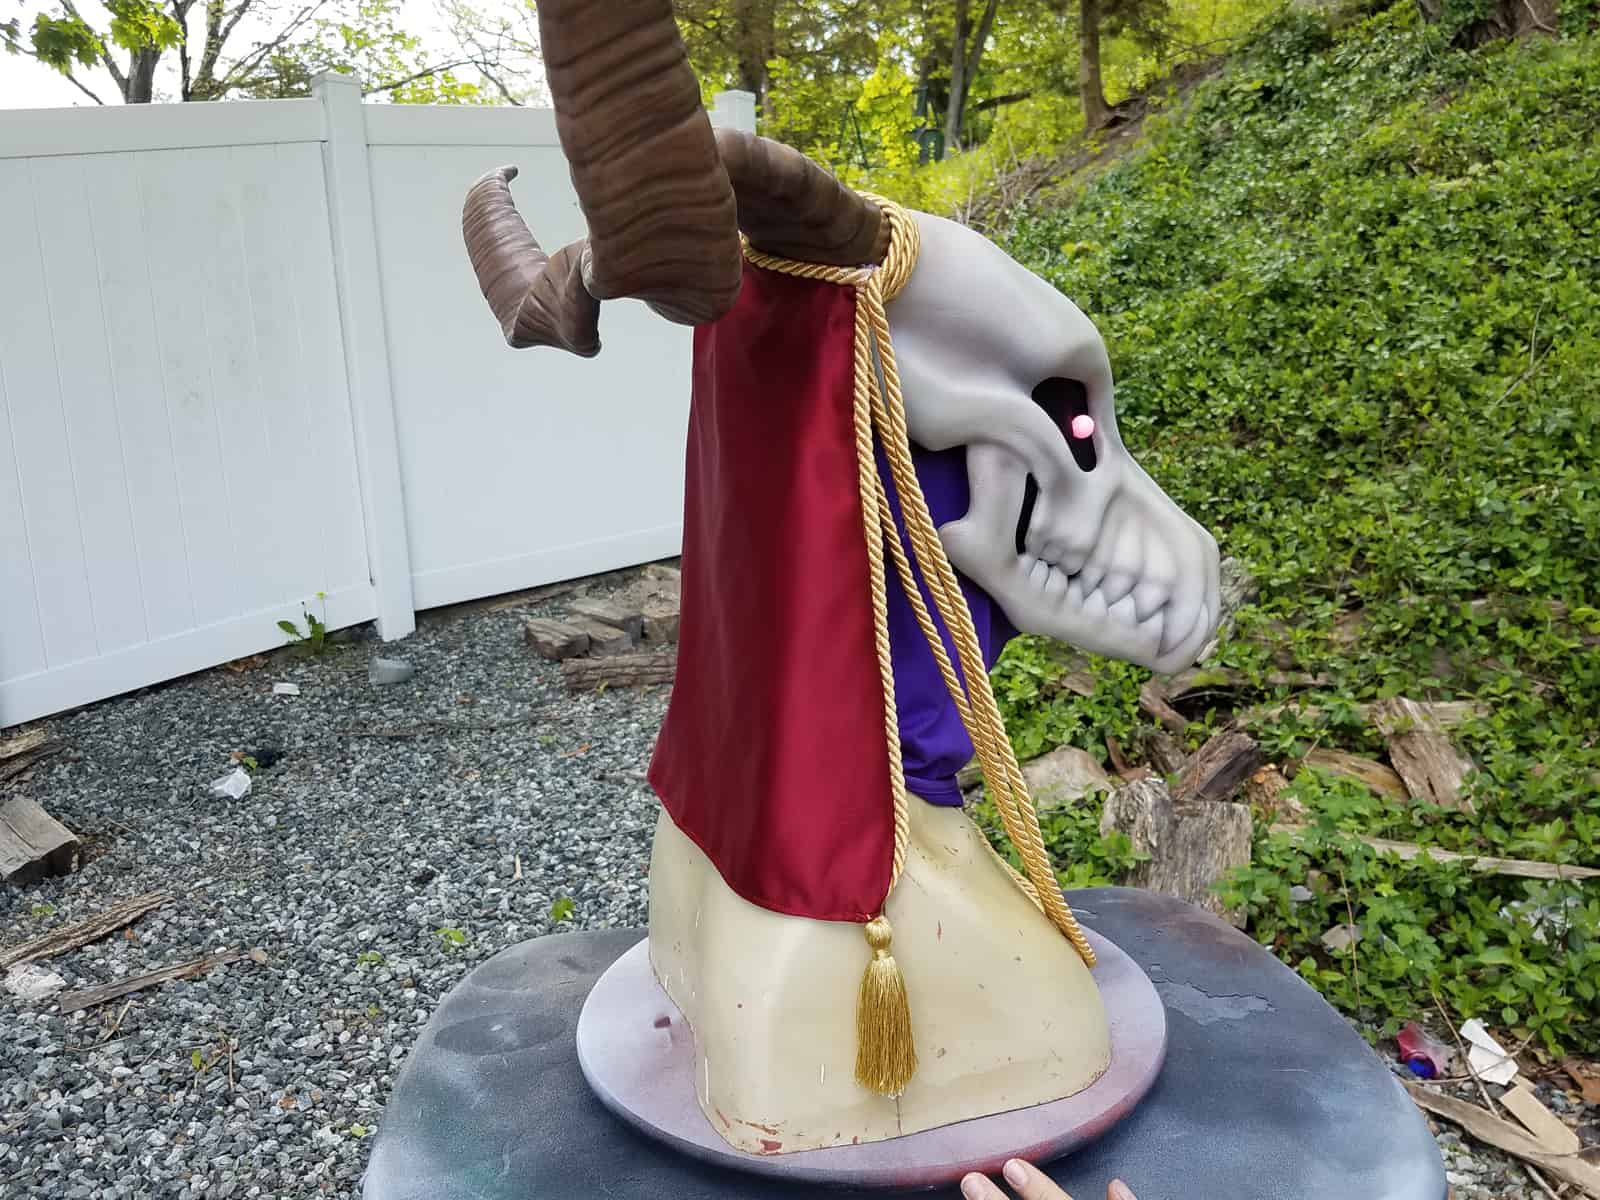
The drape behind the head was the next part that needed to be addressed. I picked through a bunch of fabric samples that I had in my workshop and offered them to my client for review. In the meantime, I ordered some lengths of gold cord, including a style that had fabric tabs that would make it easier to sew into the seam of the red fabric.
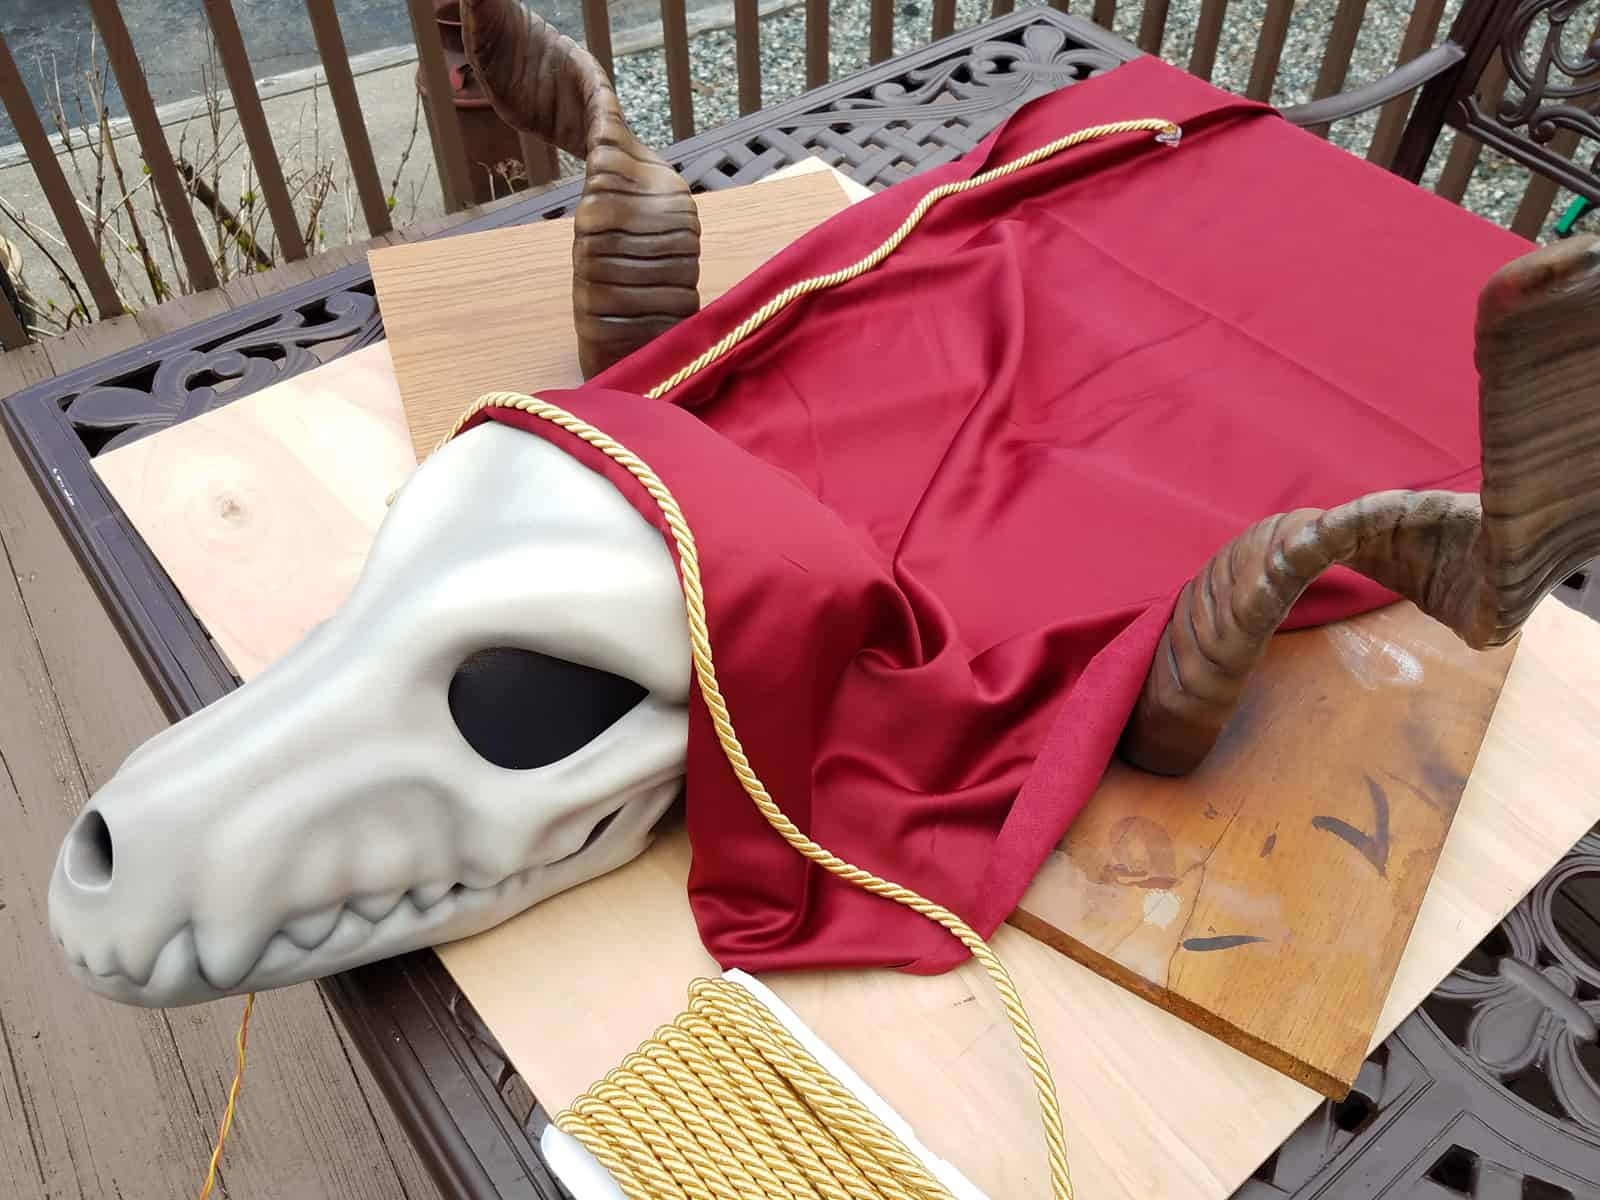
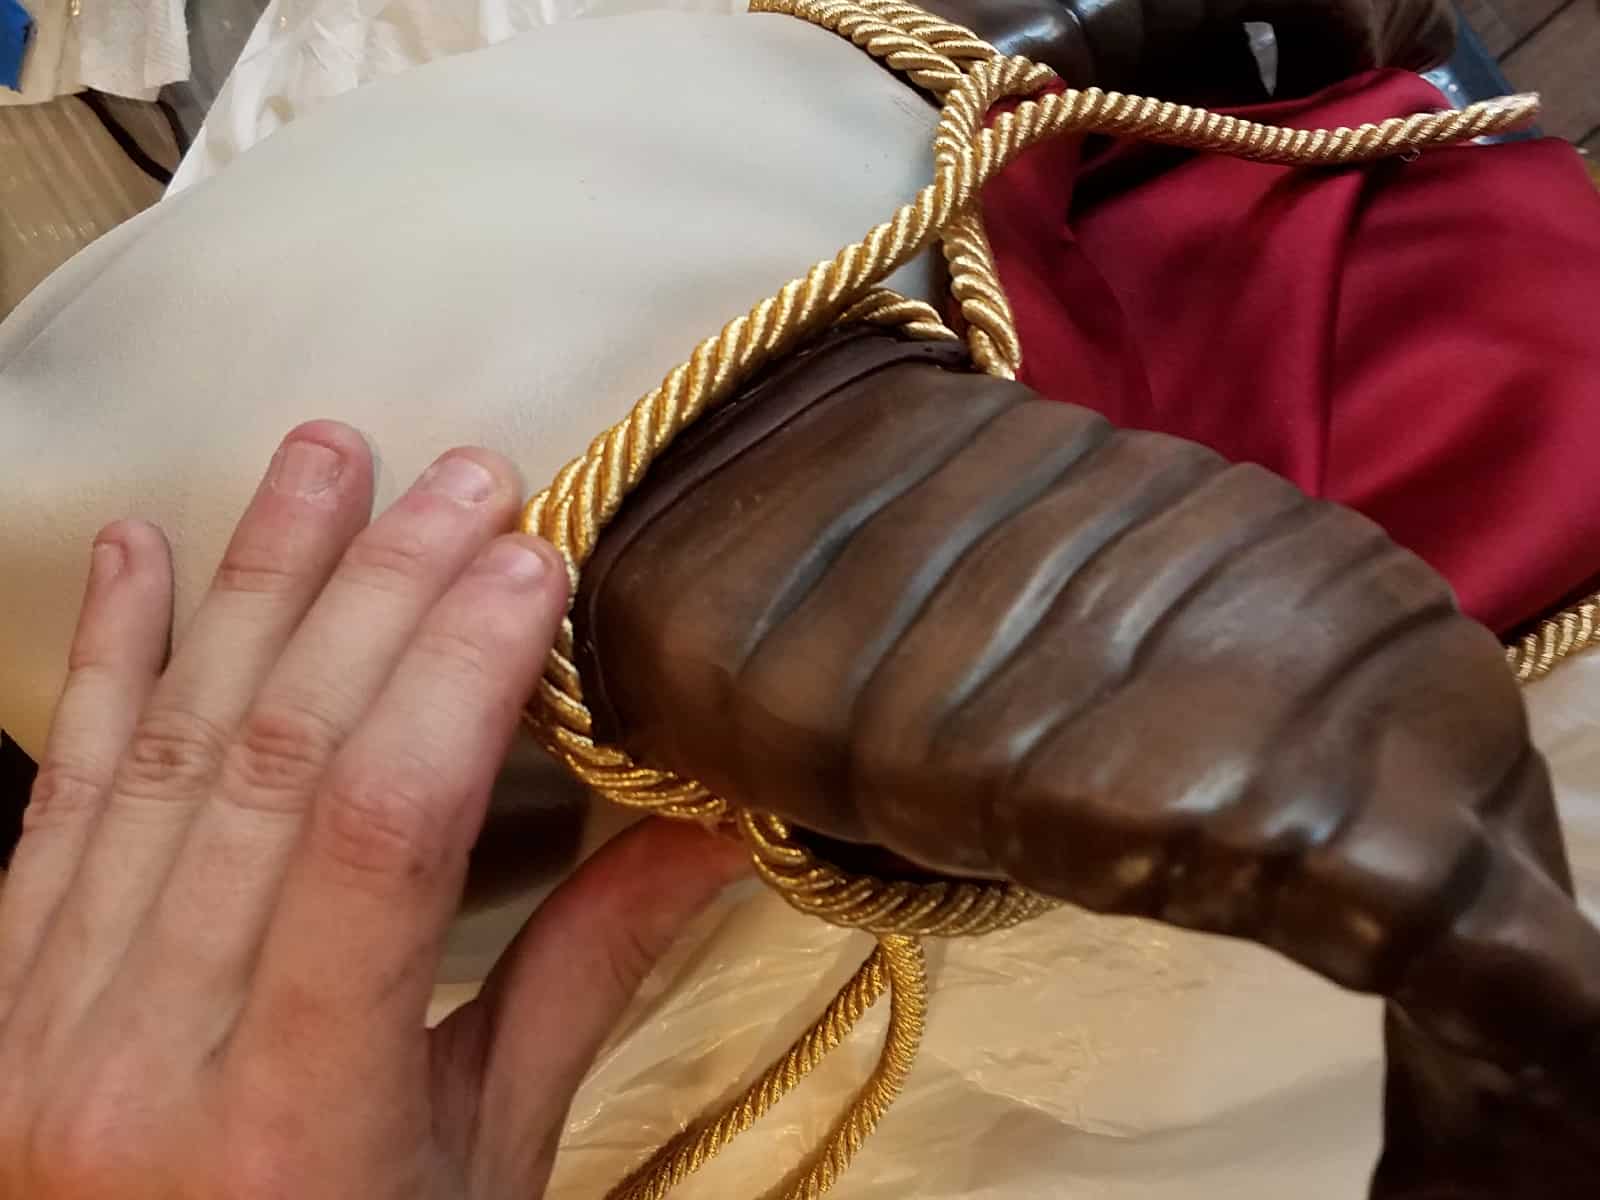
The drape was sewed up with a pair of leather cords in the hem. These cords gave me something to tie around the base of the horns while I positioned the drape in the right location on the back of the head. Once things looked right, the gold cord across the top of the drape was hot glued directly to the back of the mask. More gold cord was wrapped over the leather straps to hide them, and each row was hot glued down to the base of the horns.
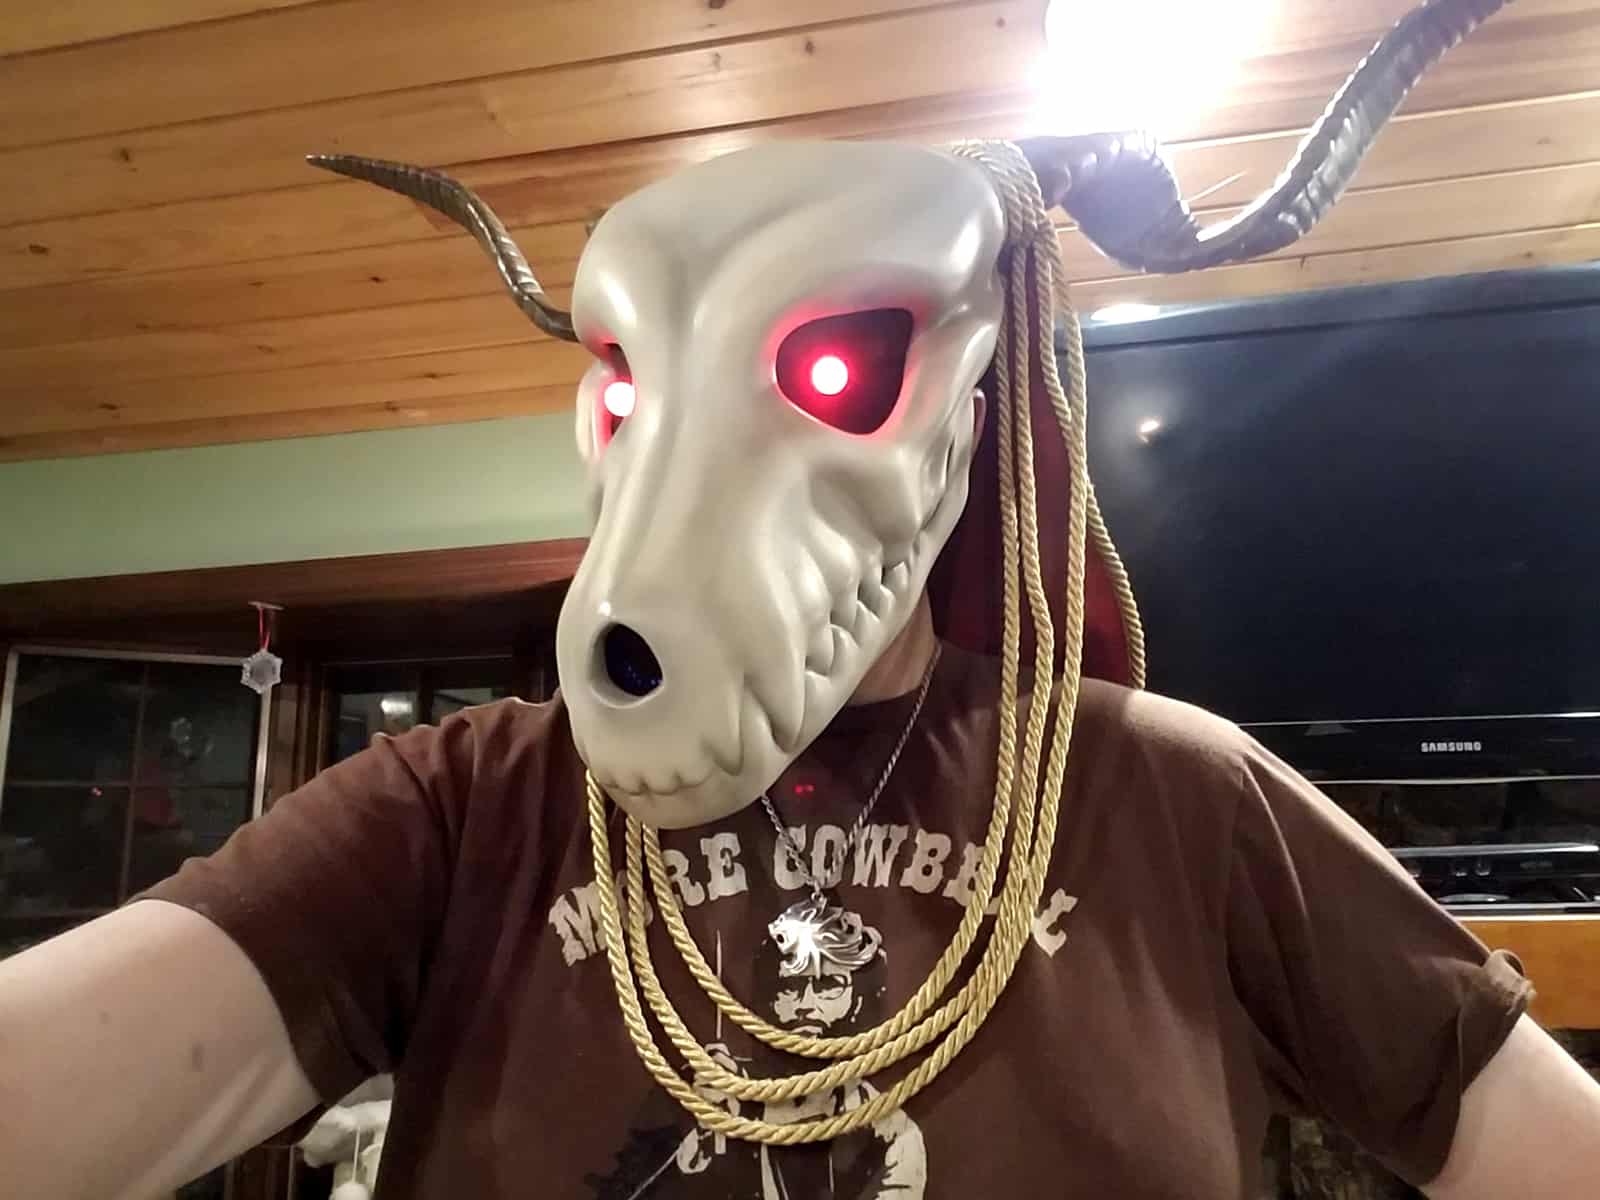
I periodically put the mask back on to try and gauge the length of the cords that needed to be hanging down across the wearer’s chest. I’m glad I got more cord than I thought would be necessary, if only because it meant I didn’t have to stress out about making every little bit of it count
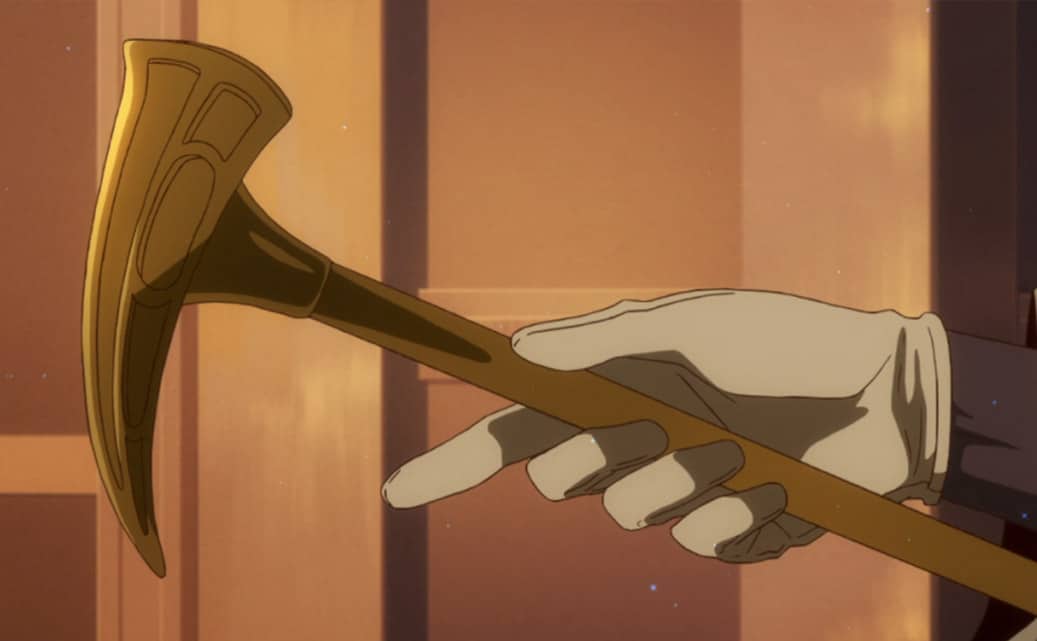
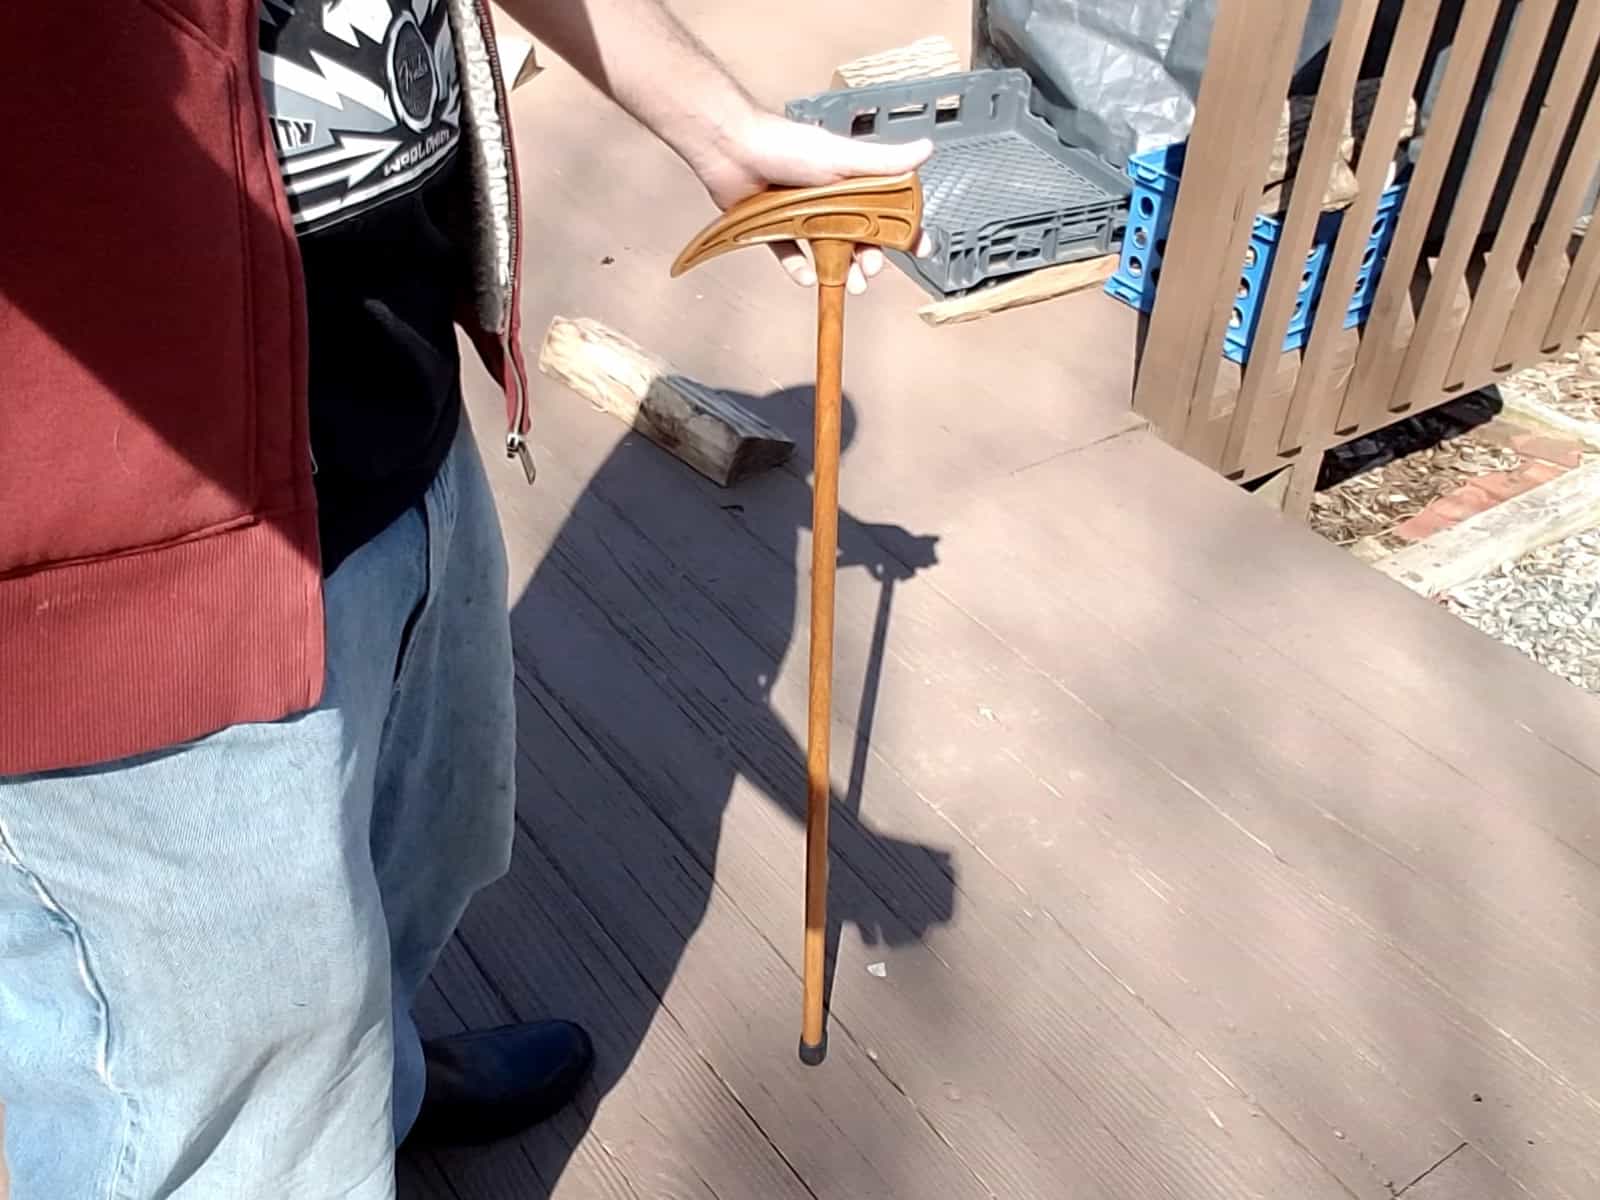
A Cane Fit For a Magus
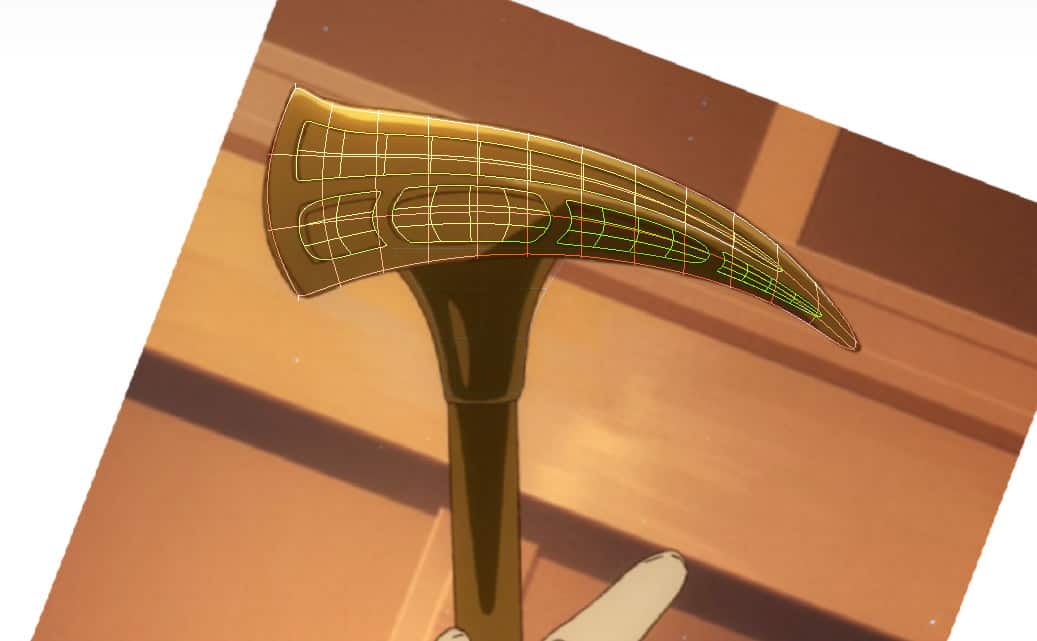
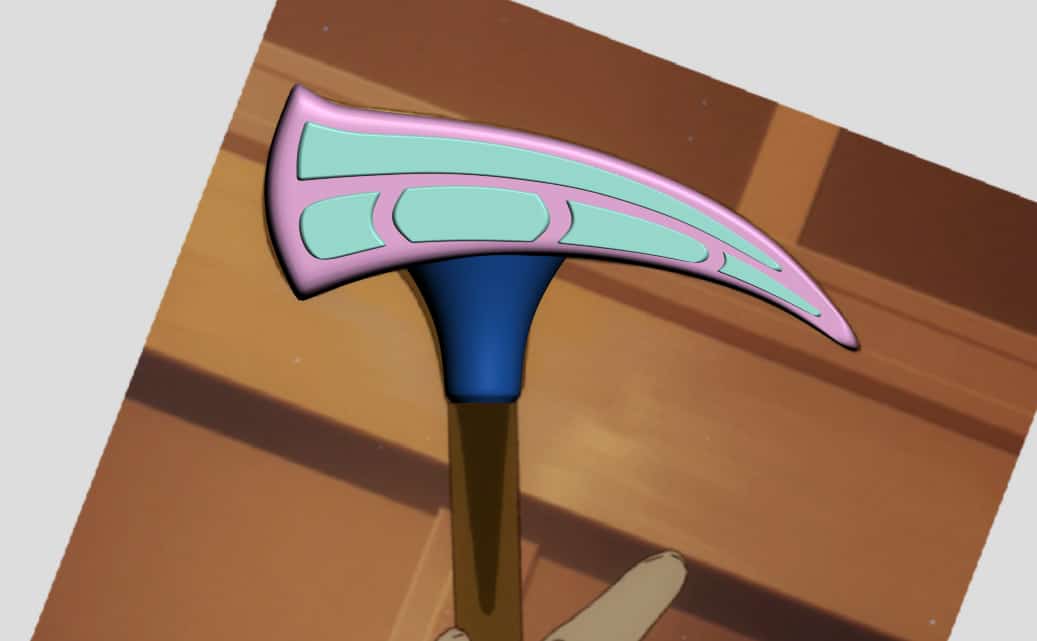
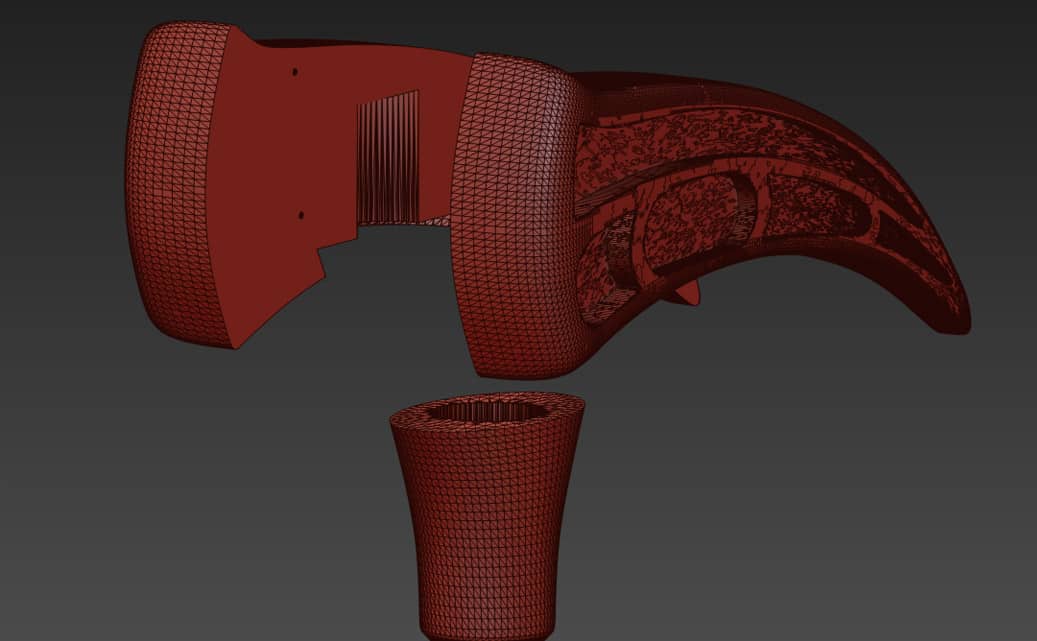
In addition to the mask, we also got a request to produce Elias’s cane. I grabbed a few reference images from the anime to work backwards from and whipped up a quick model to print out.
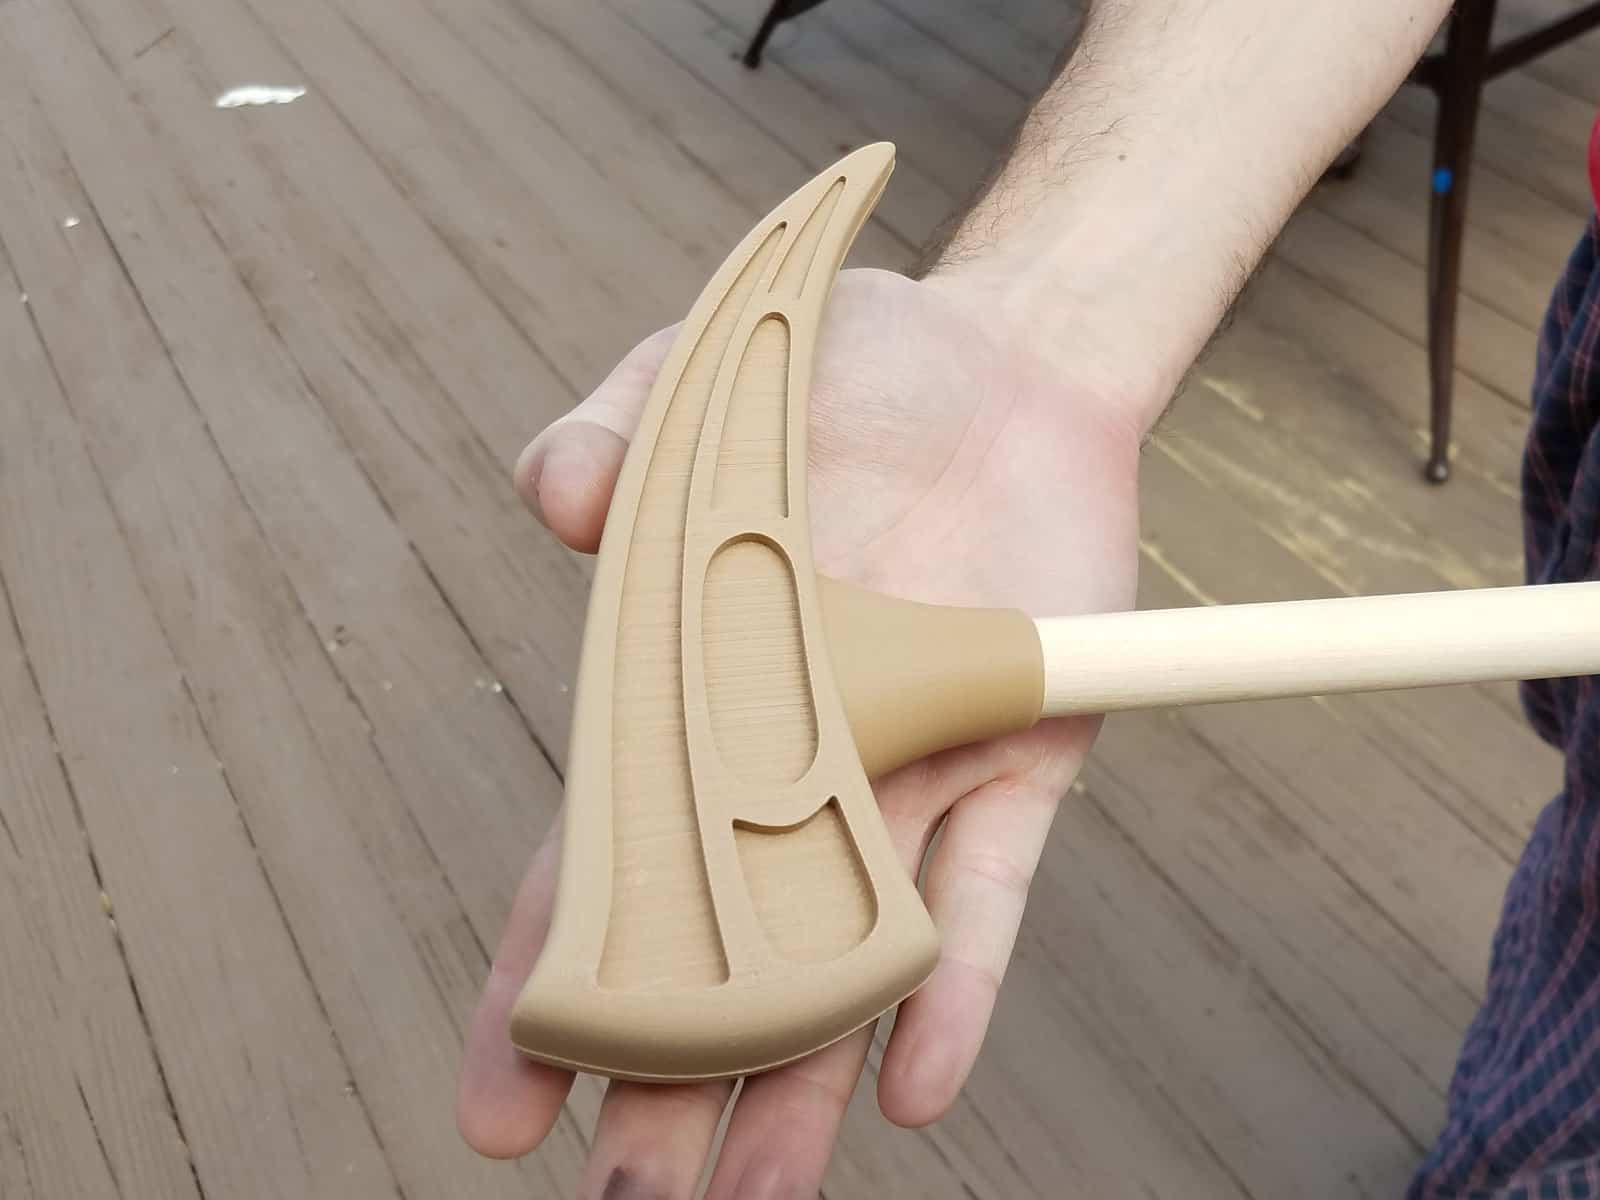
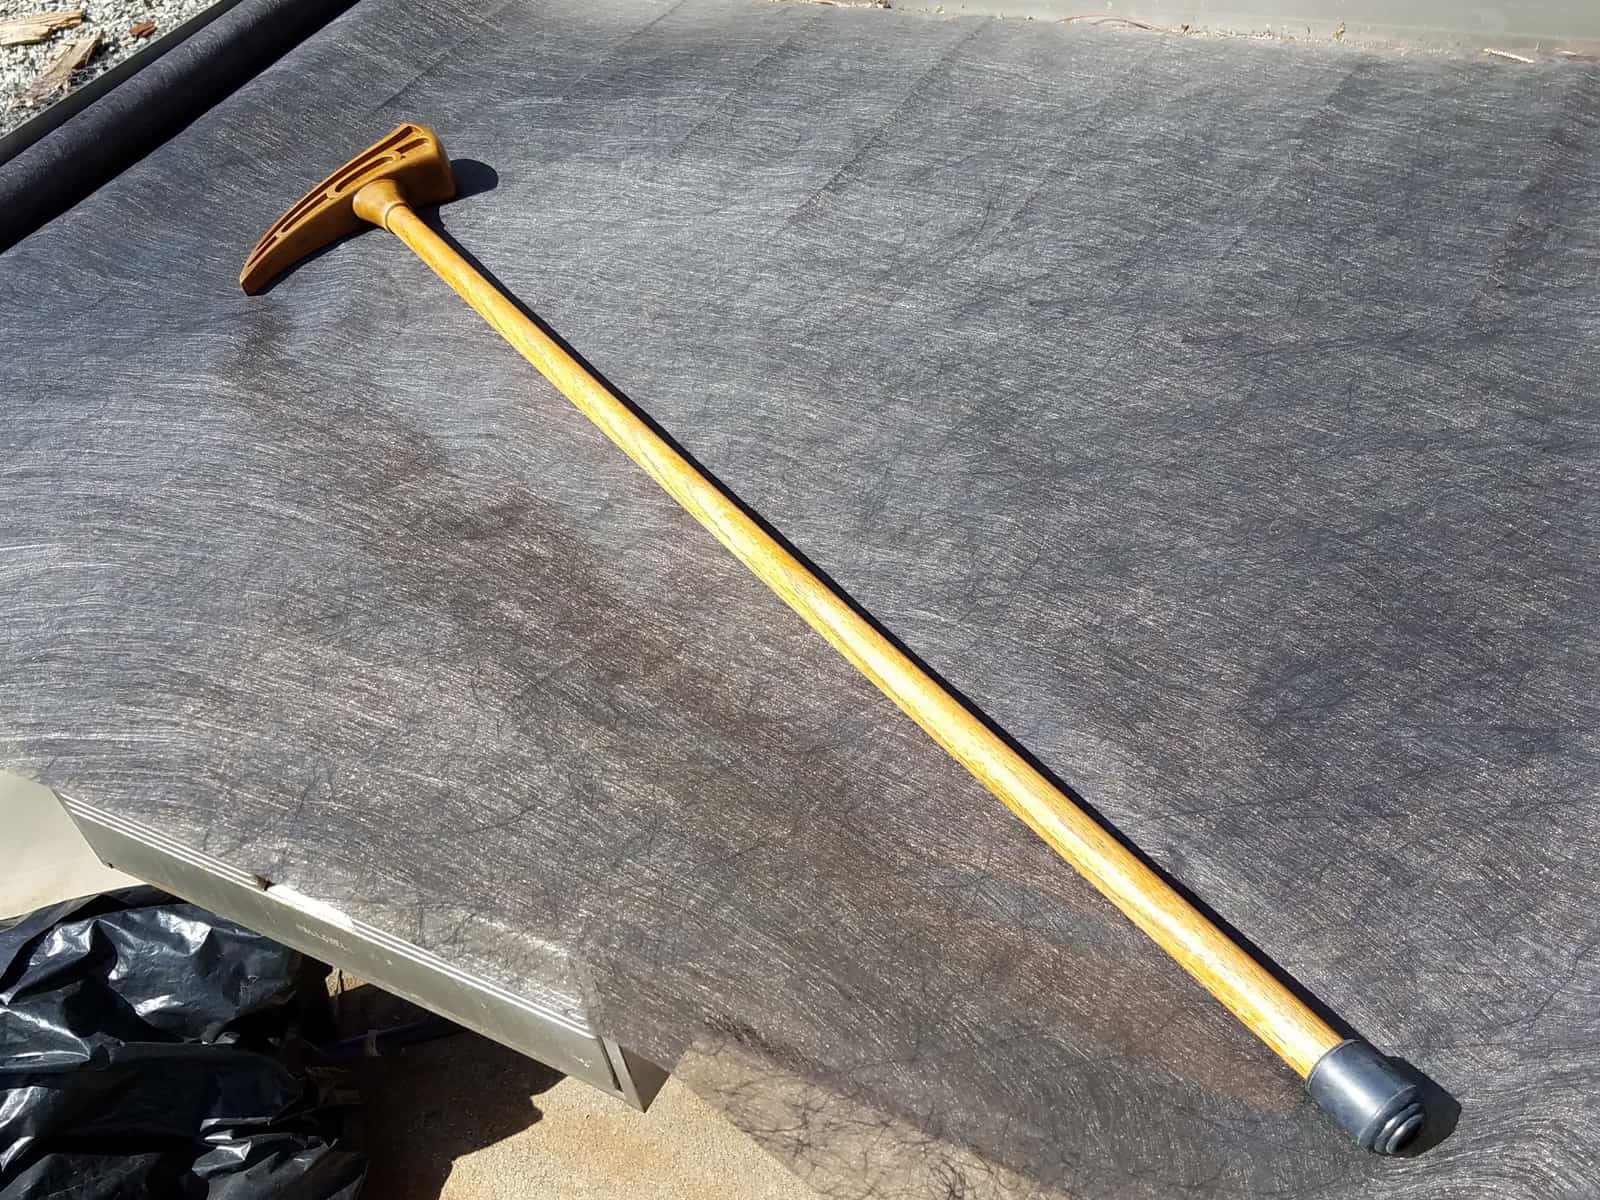
This was sized to fit around a 3/4″ diameter wooden dowel that I picked up from the local hardware store – I think it was oak? The model itself was printed out in Wood-fill PLA filament (though I think I used the Hatchbox brand at the time). This stuff smells surprisingly nice while printing, and I wanted to see if I could stain it in a manner similar to what I had planned for the actual-wood dowel.
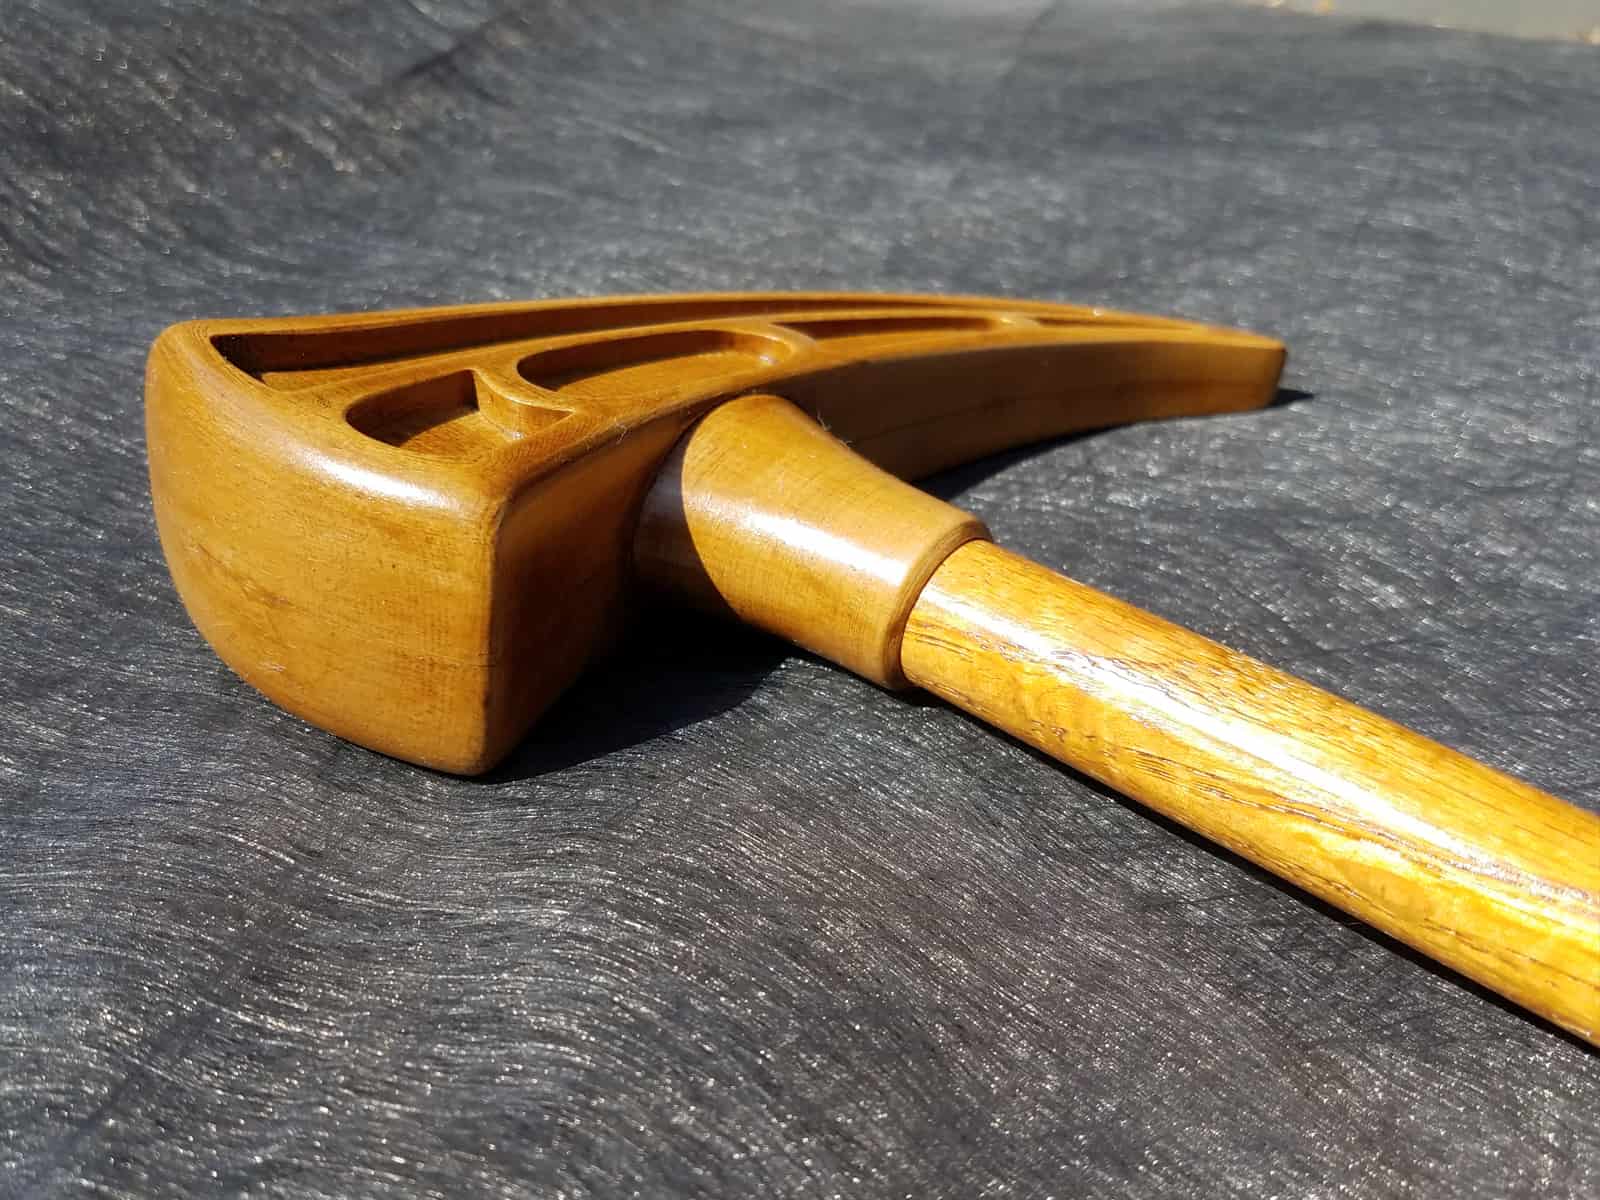
It worked – mostly. After a bit of trial and error experimentation, I found that brush-on stains didn’t penetrate into the print quite as well as I might have liked. I think my print settings weren’t quite right, as I did very fine and dense layers. I suspect that doing slightly thicker, coarser layers might give the stain more to pick up in, with the trade-off being that the part would look obviously much more 3D-printed. What did end up working a lot better ended up being spray-on stain, particularly MinWax spray. I had to let it sit and dry on the surface of the parts for quite a while, and I used a satin clear-coat to lock it down, but once everything had time to set and cure it gave the parts a convincingly irridescent wooden sheen.
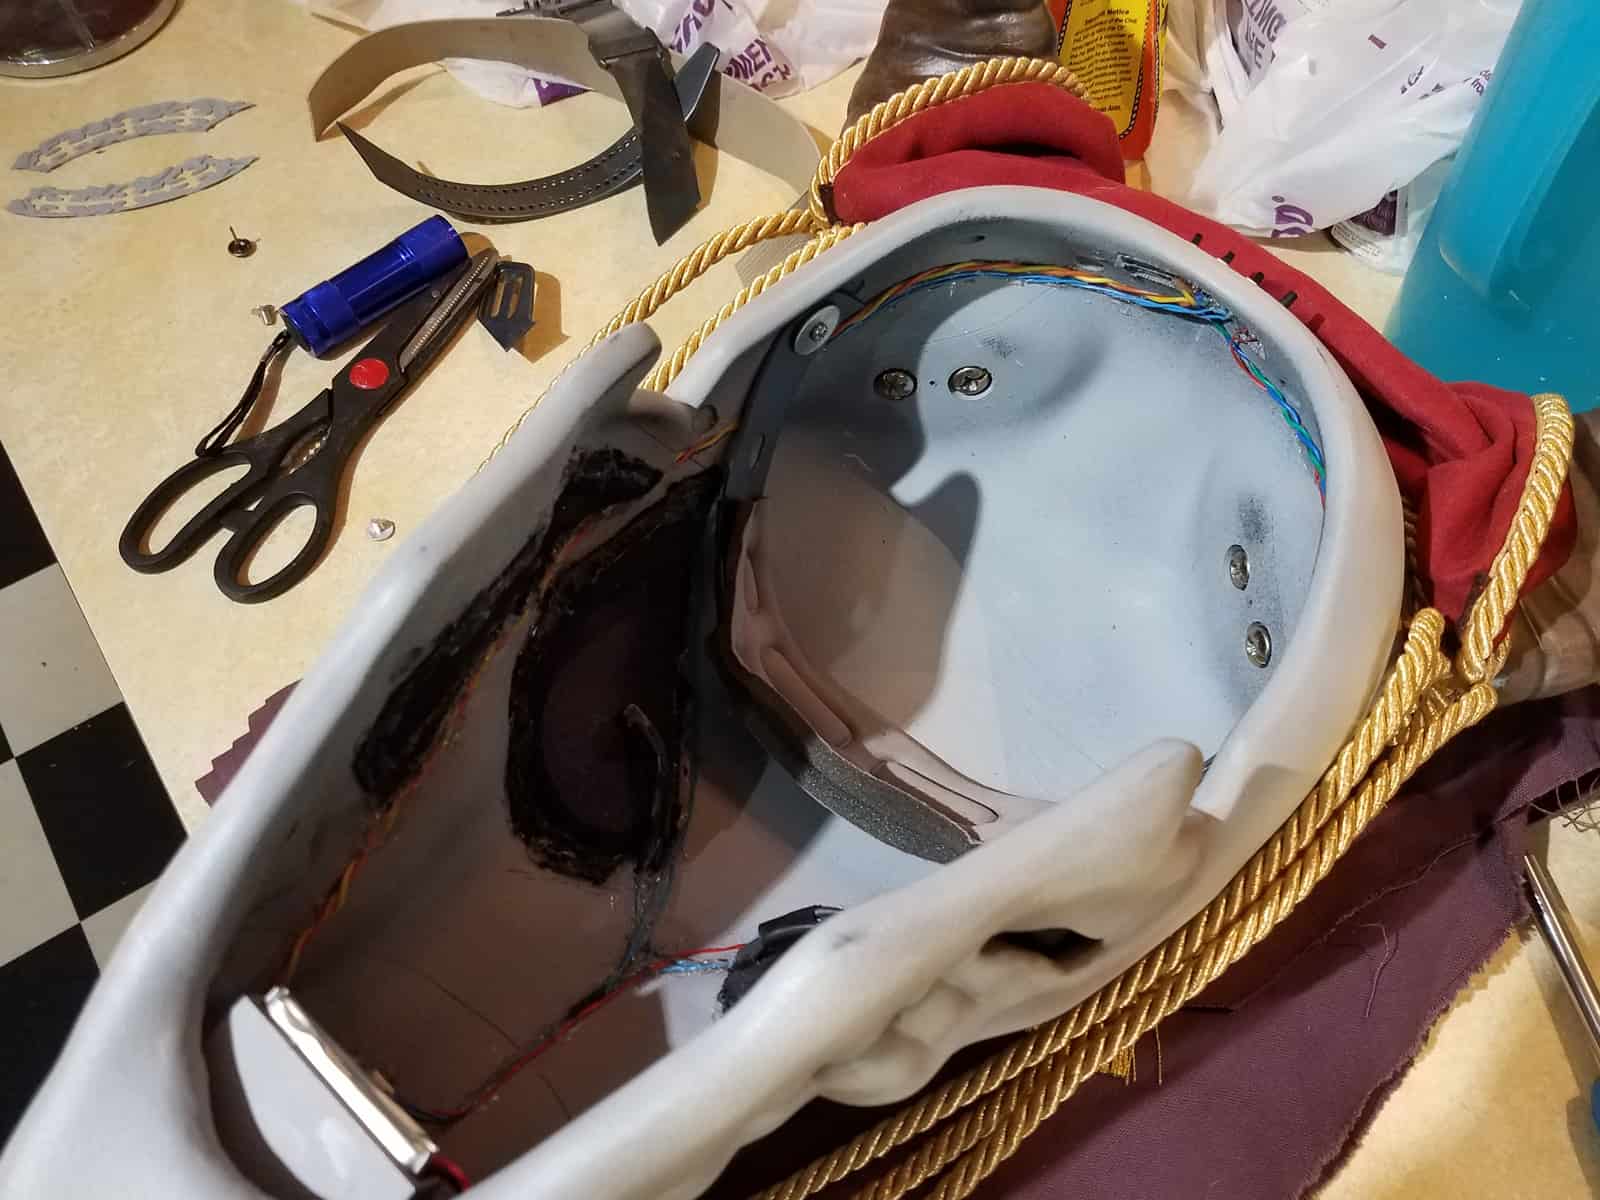
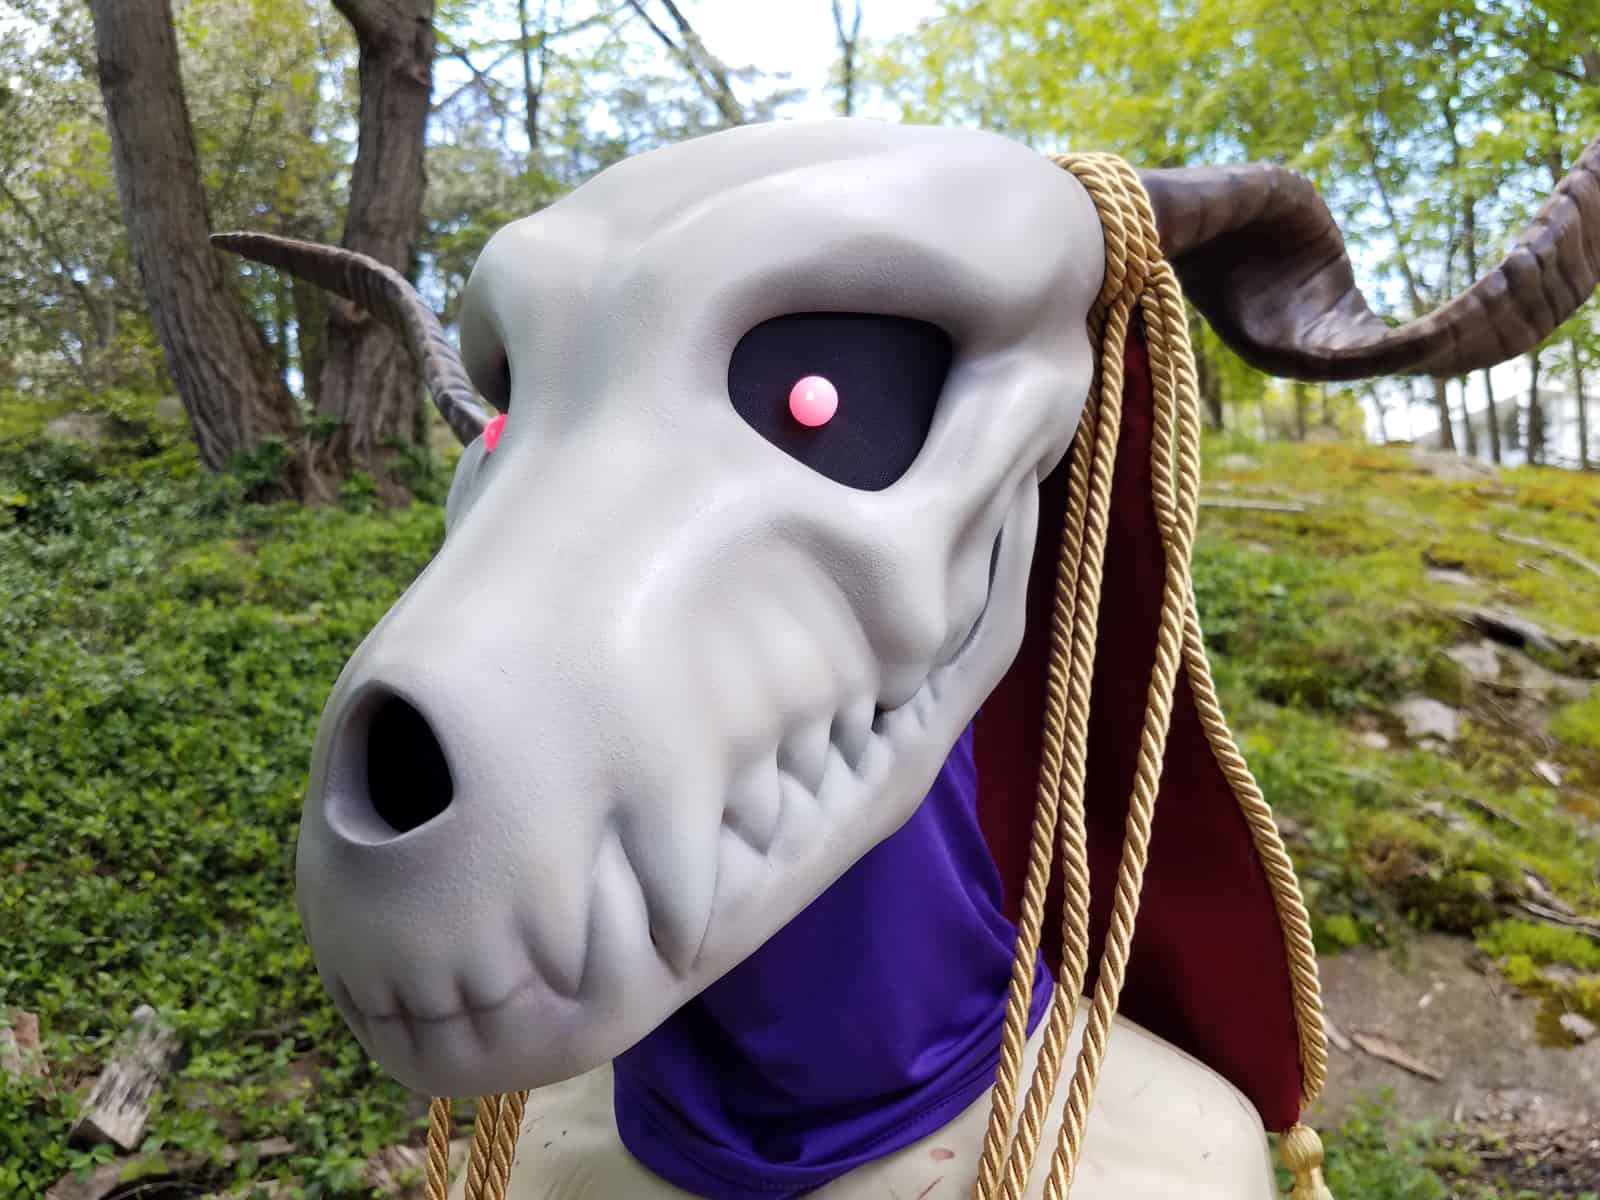
I ended up taking a lot of pictures of the mask before it got shipped off to its new home, but I’m going to share just a select few here of what ended up being the final product. The inside of the mask is also visible here so you can see how things fit together. I ended up taking a strap from a helmet harness and screwing it to the inside of the mask to make it a bit more comfortable to wear, and also to help hold the skull at the correct angle relative to the wearer’s own head.


