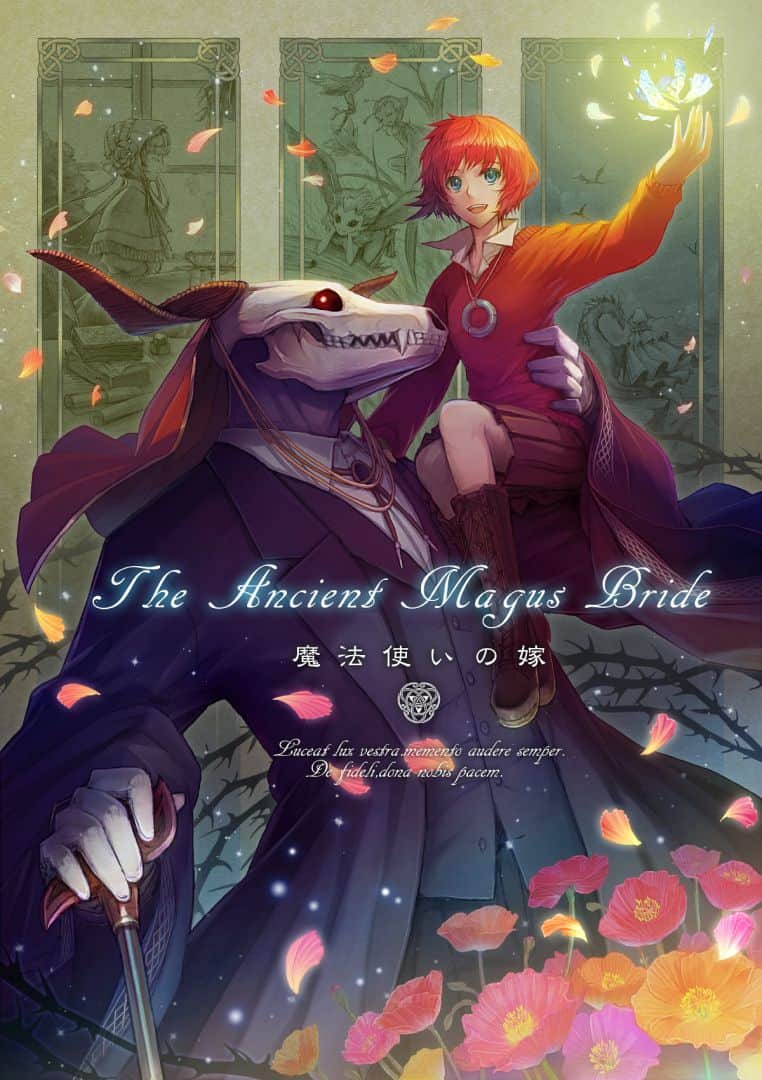
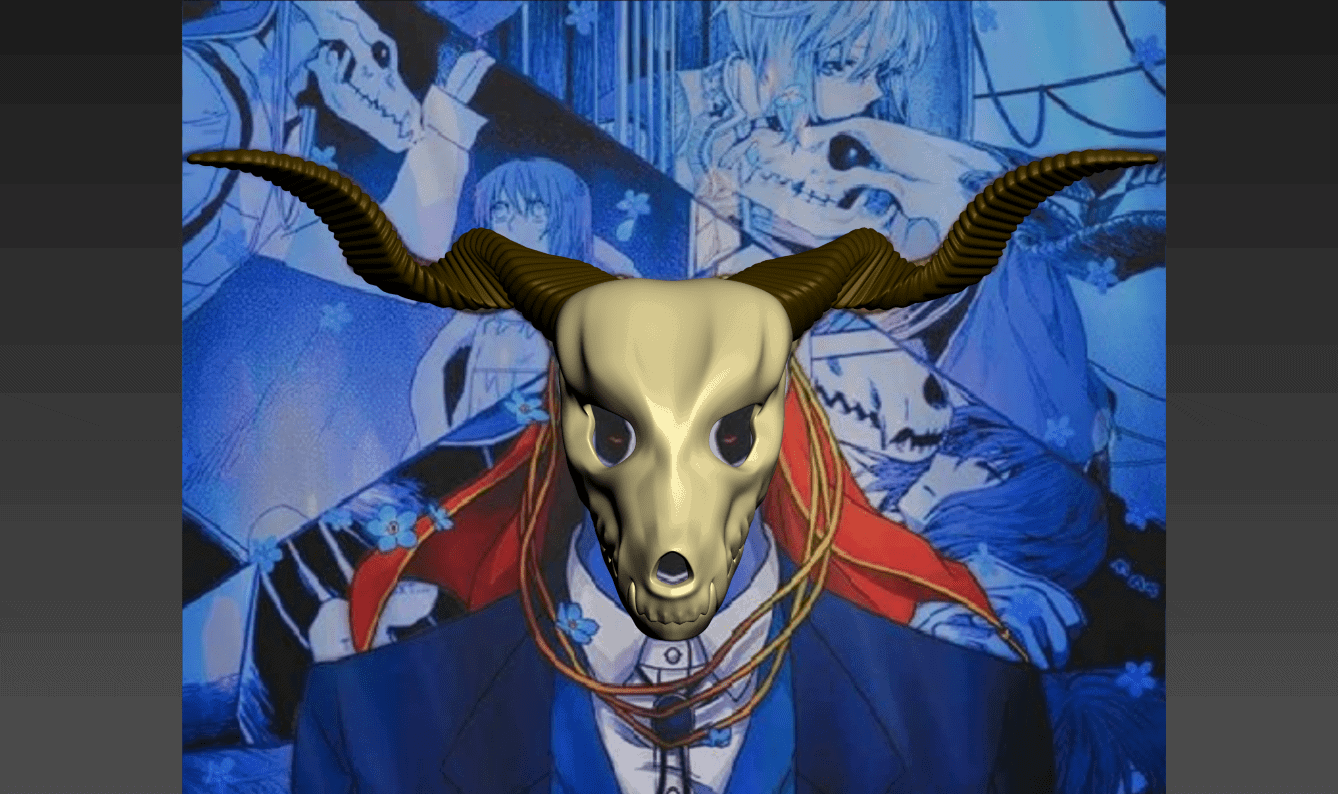
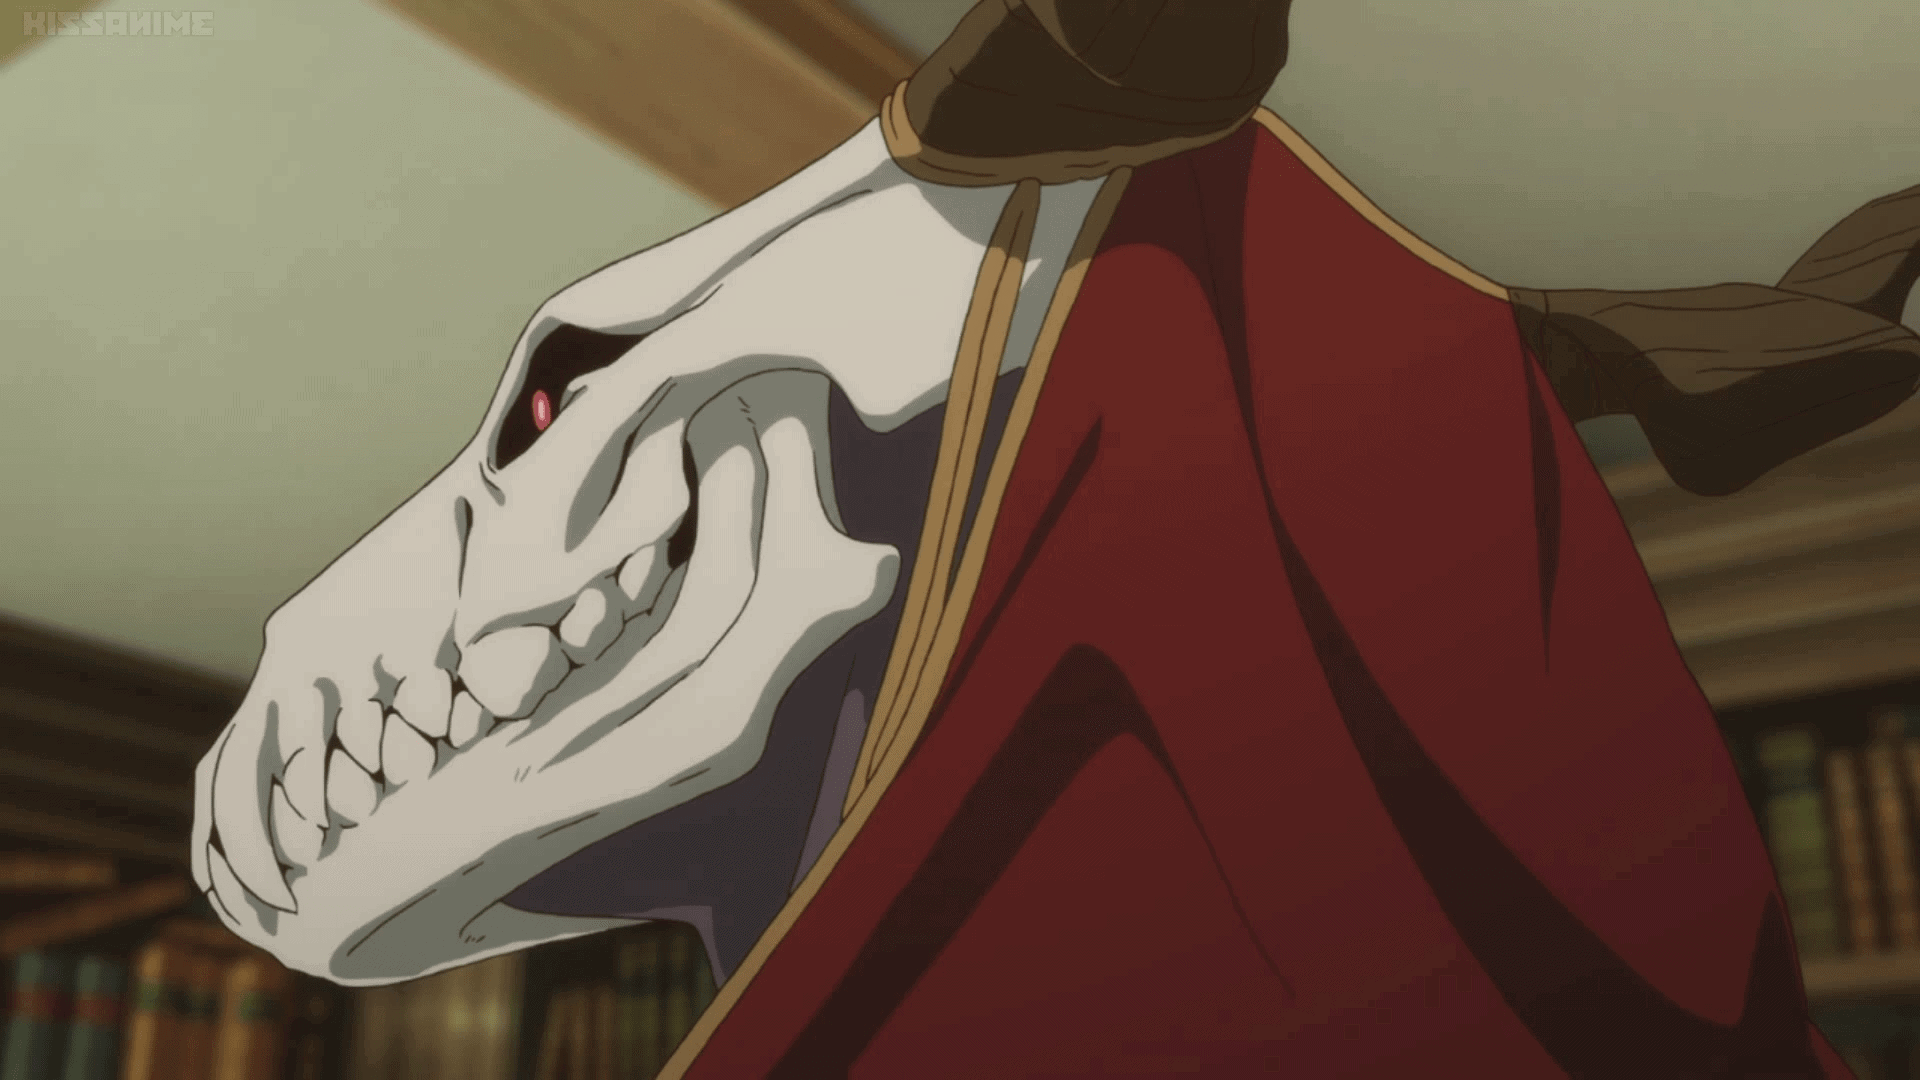
We were approached to help make the mask and some other elements of the character Elias Ainsworth from the anime series The Ancient Magus Bride. I’m a fan of macabre skull stuff to begin with, so the design of this character looked like a lot of fun!
After some initial discussions with our client, it was pretty clear that we’d be looking to 3D print the majority of the mask. While it would have been nice to have the extra budget available to make a rubber mold and produce a final product in resin or fiberglass, that kind of material cost exceeded the scope of what they were looking to have made. As with some of our other projects, weight was also a consideration, which means that a 3D print would likely end up lighter than other material options, save maybe foam. The client also wanted to have the red eye elements illuminated via LED, which is exactly the sort of thing I love to do anyway.
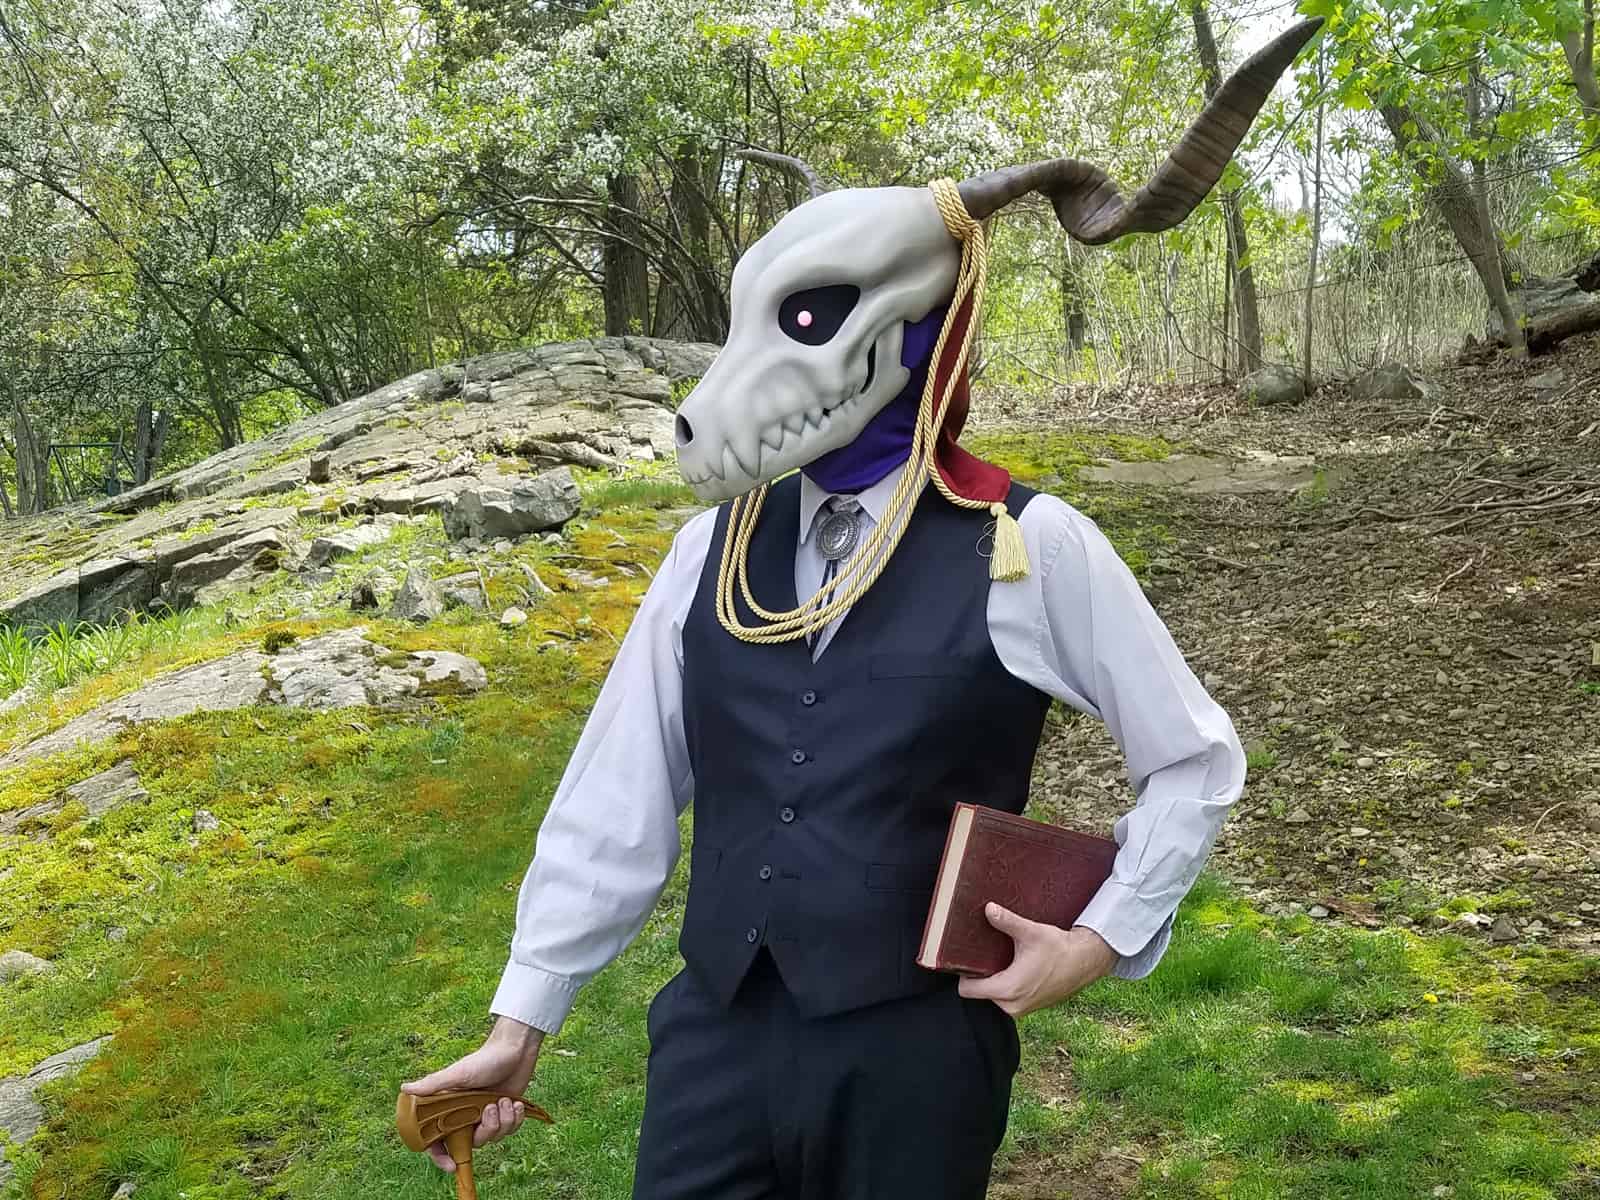
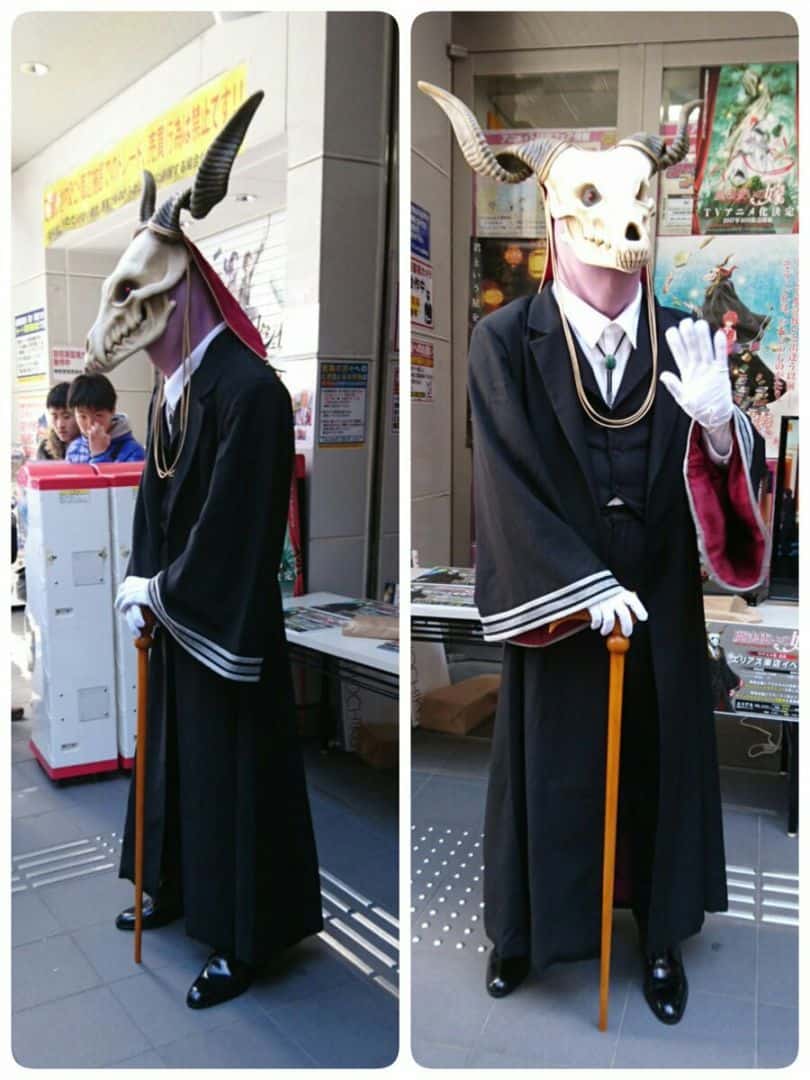
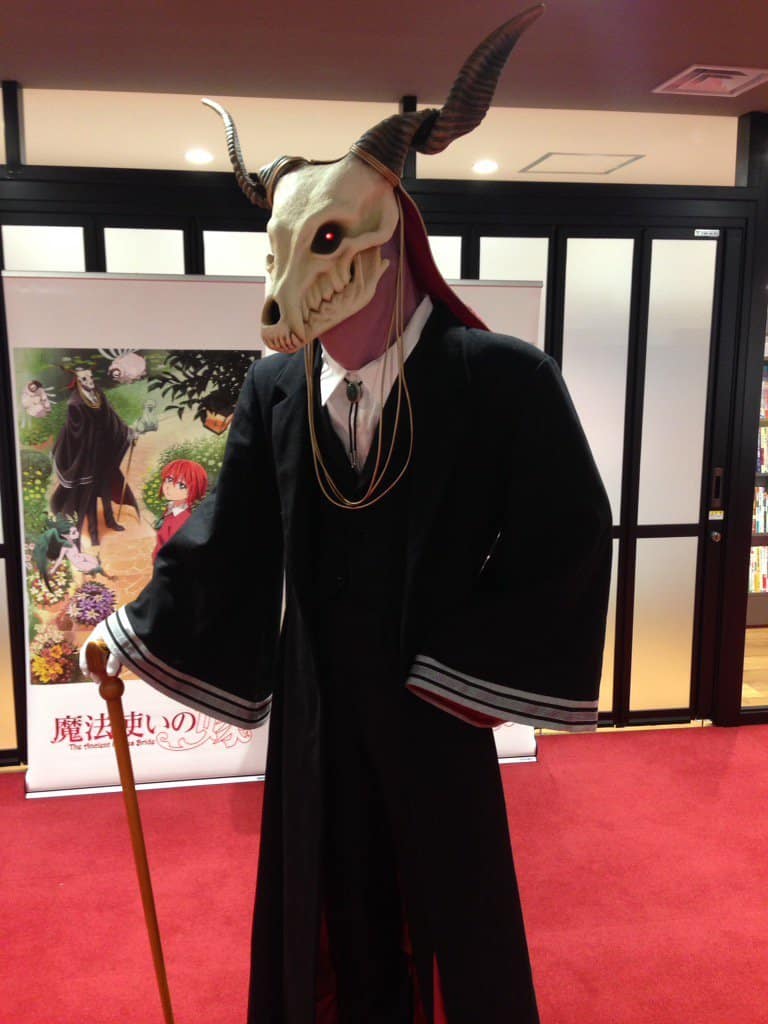
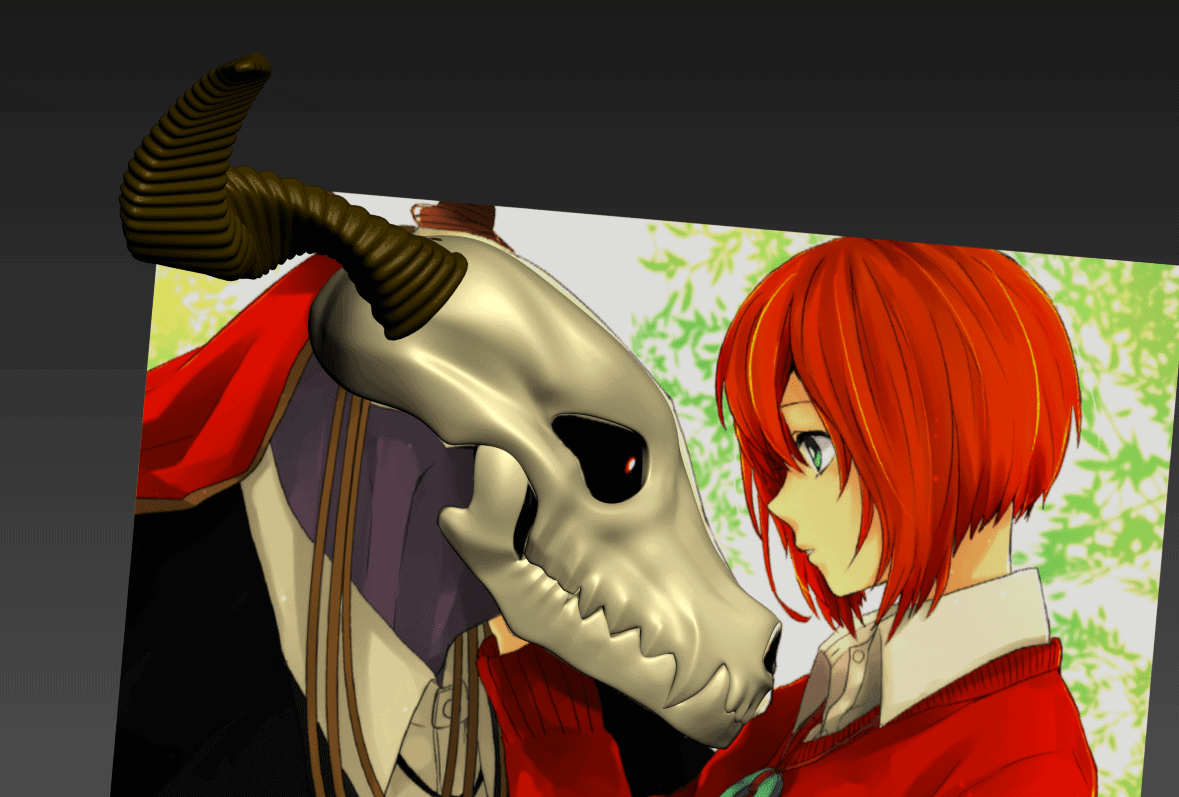
In terms of reference material, we had a few sources to draw from. There’s obviously the anime itself, which is a good starting point. However, modeling something based on the vagaries of animation can be a frustrating experience, as shapes and proportions can change from scene-to-scene depending upon what the animators want to depict. After doing some digging, I discovered that there was apparently an “official” cosplay done to promote the studio producing the show at Anime Japan 2017.
This version, which I will just call the ‘studio’ mask from here on out, is pretty interesting. The aesthetic of it seems a lot more gnarled and bony than the general presentation of the skull and horns in the anime. As far as I can tell, the wearer definitely can’t see anything in front of him, but those are concessions you make when you’re dealing with costume!
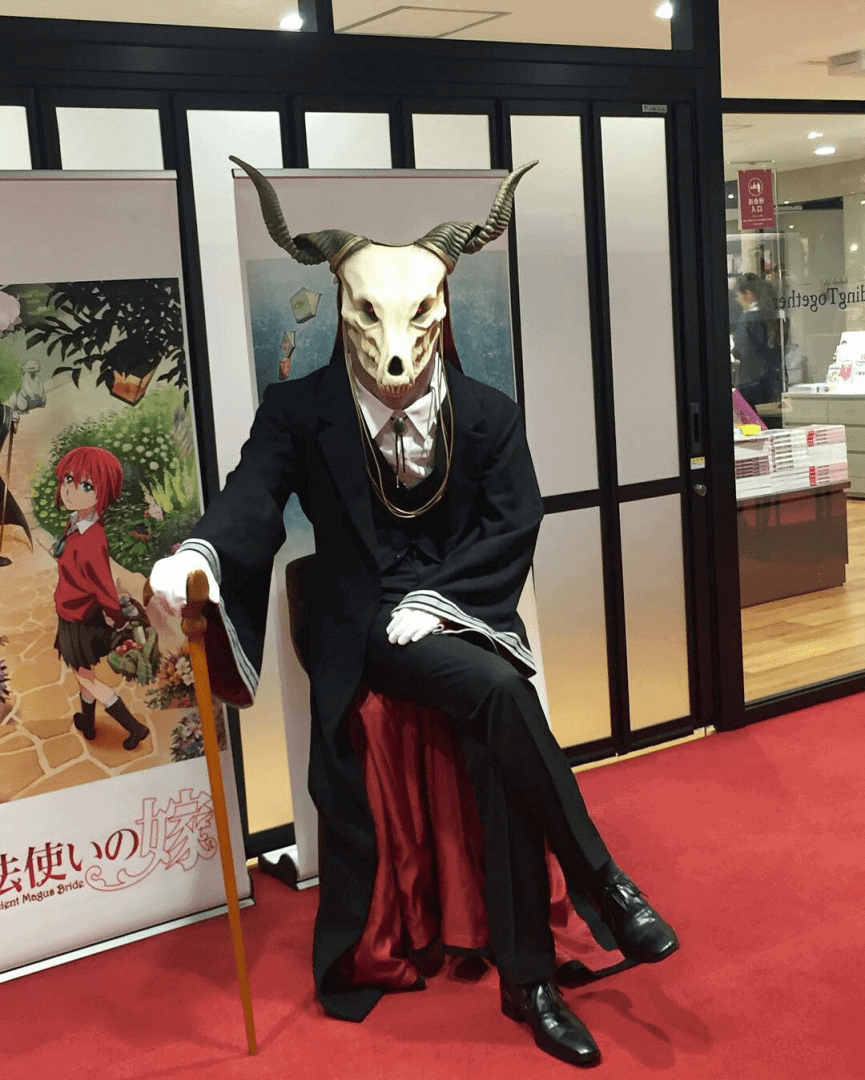
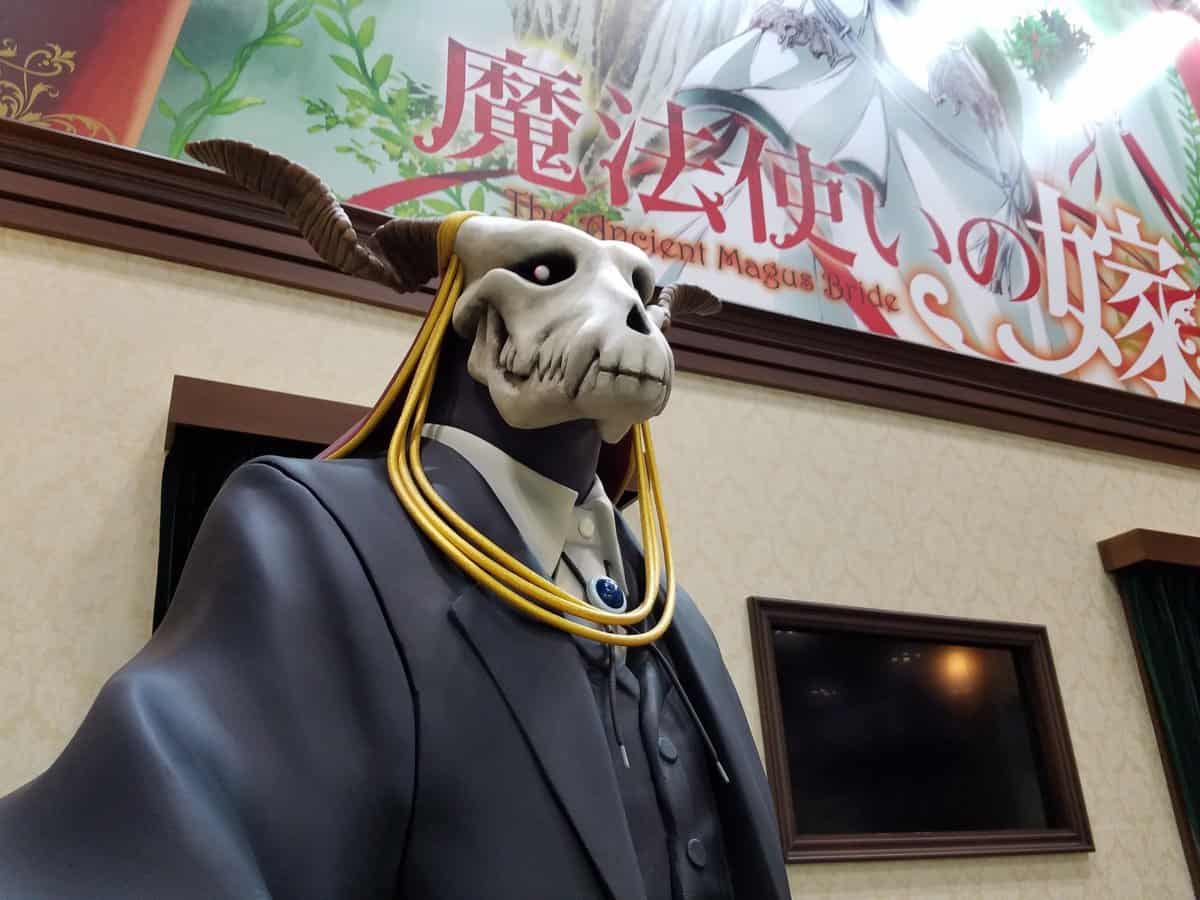
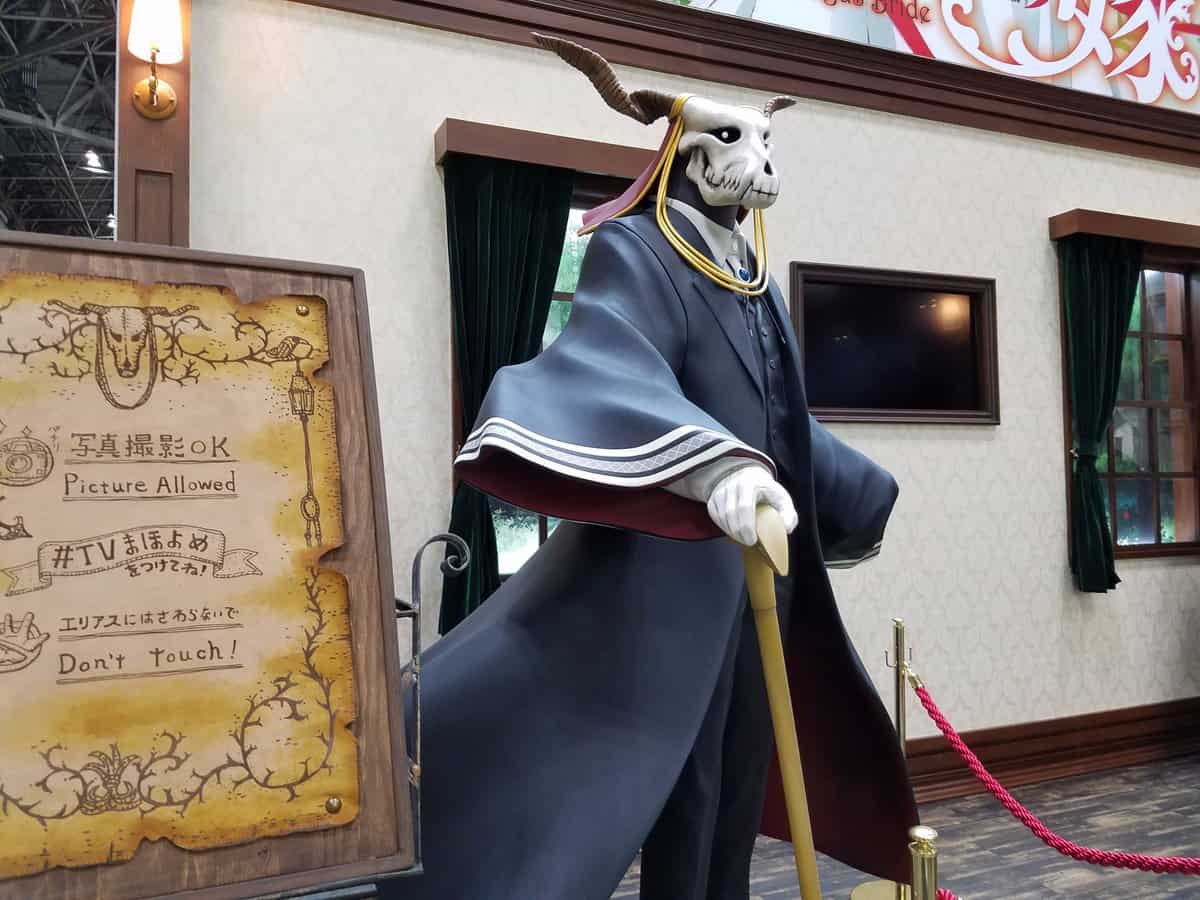
There was also a full-sized statuette present at one of these conventions which offers a slightly different take on the character.
This is a much smoother, less menacing look to the character. The considerations that go into a statue like this are obviously different than something wearable, but it’s still a physical interpretation of the animated source, so it’s useful to consider.
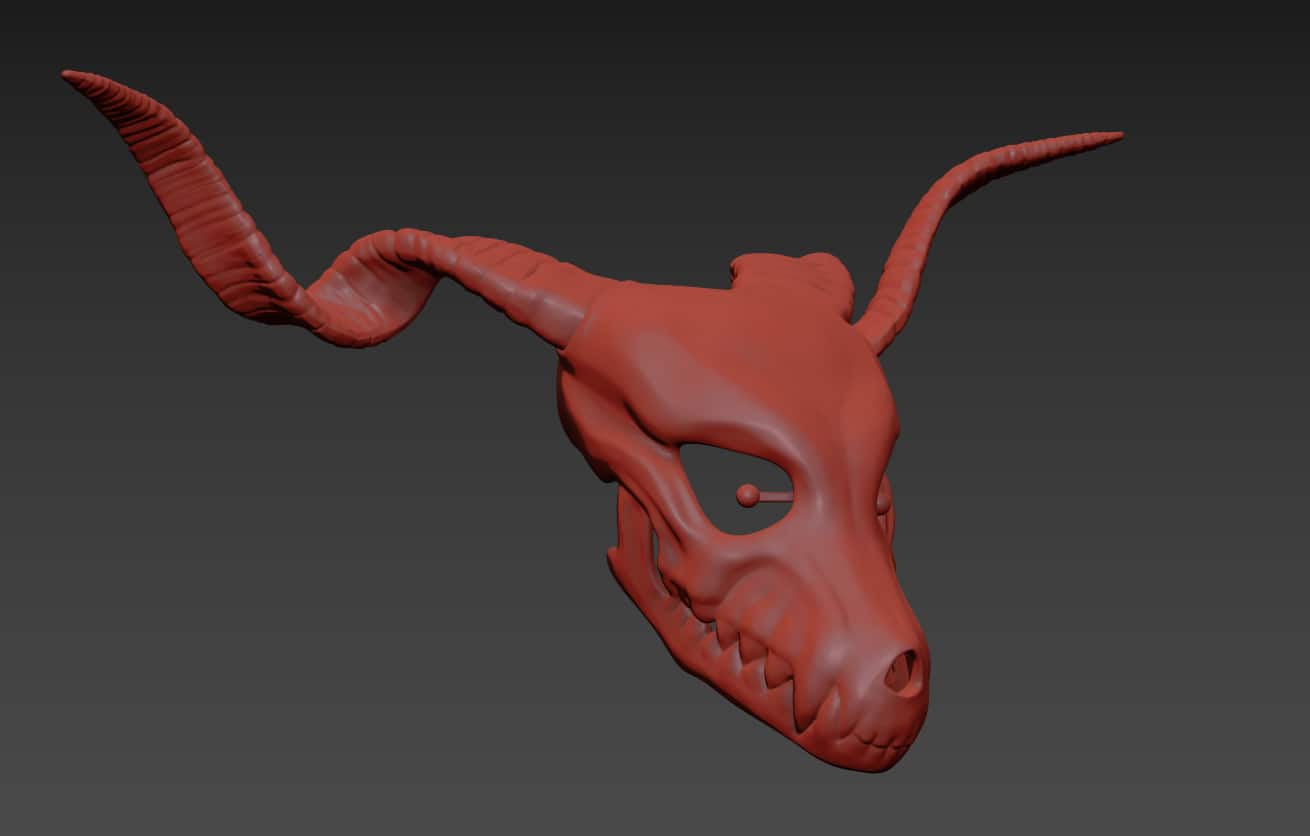
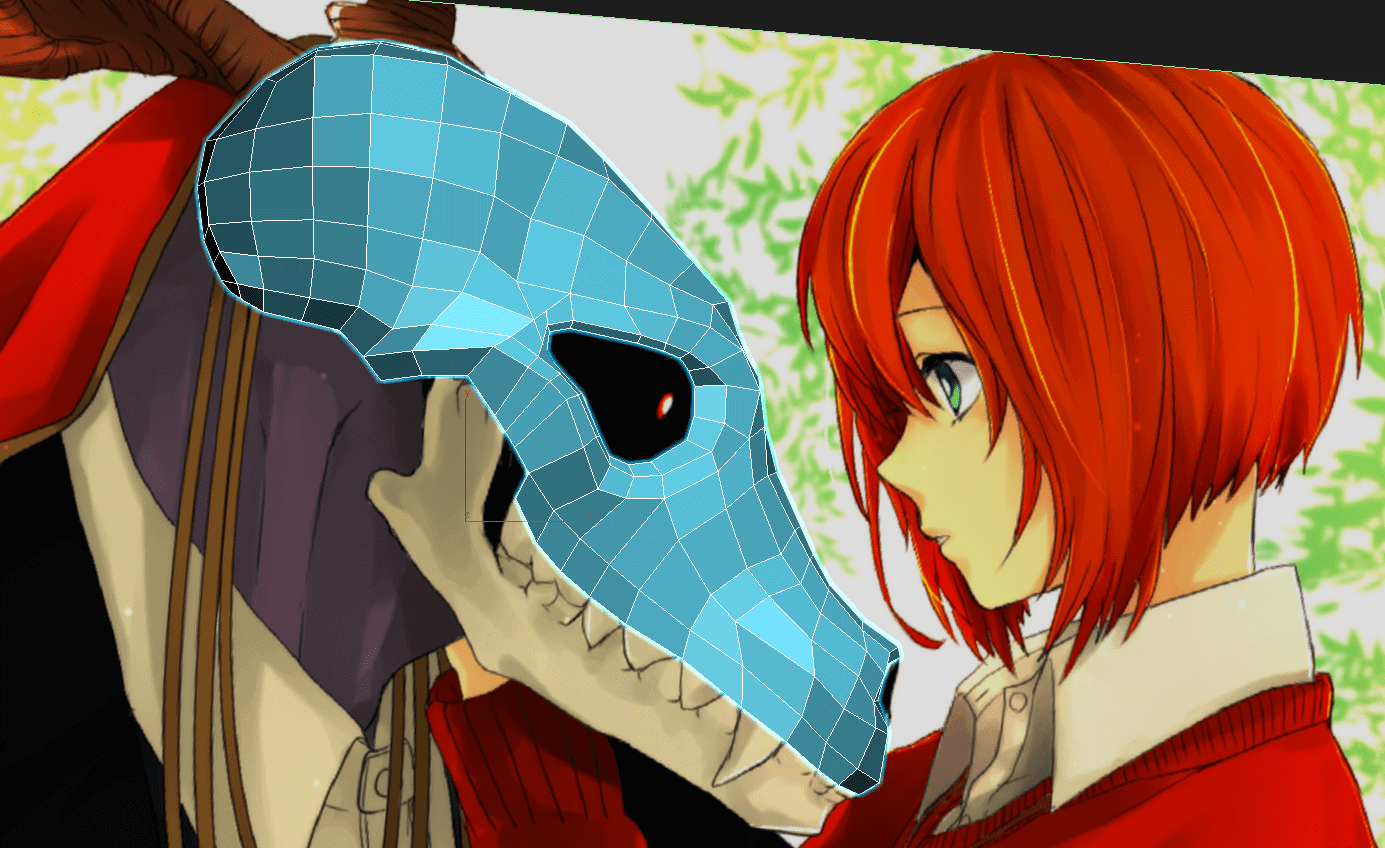
We got some head measurements from our client and I started setting up the basic 3D model for the skull. I ended up leaning more towards the anime for reference purposes as I was able to track down some reasonably clear front and side images to work from.
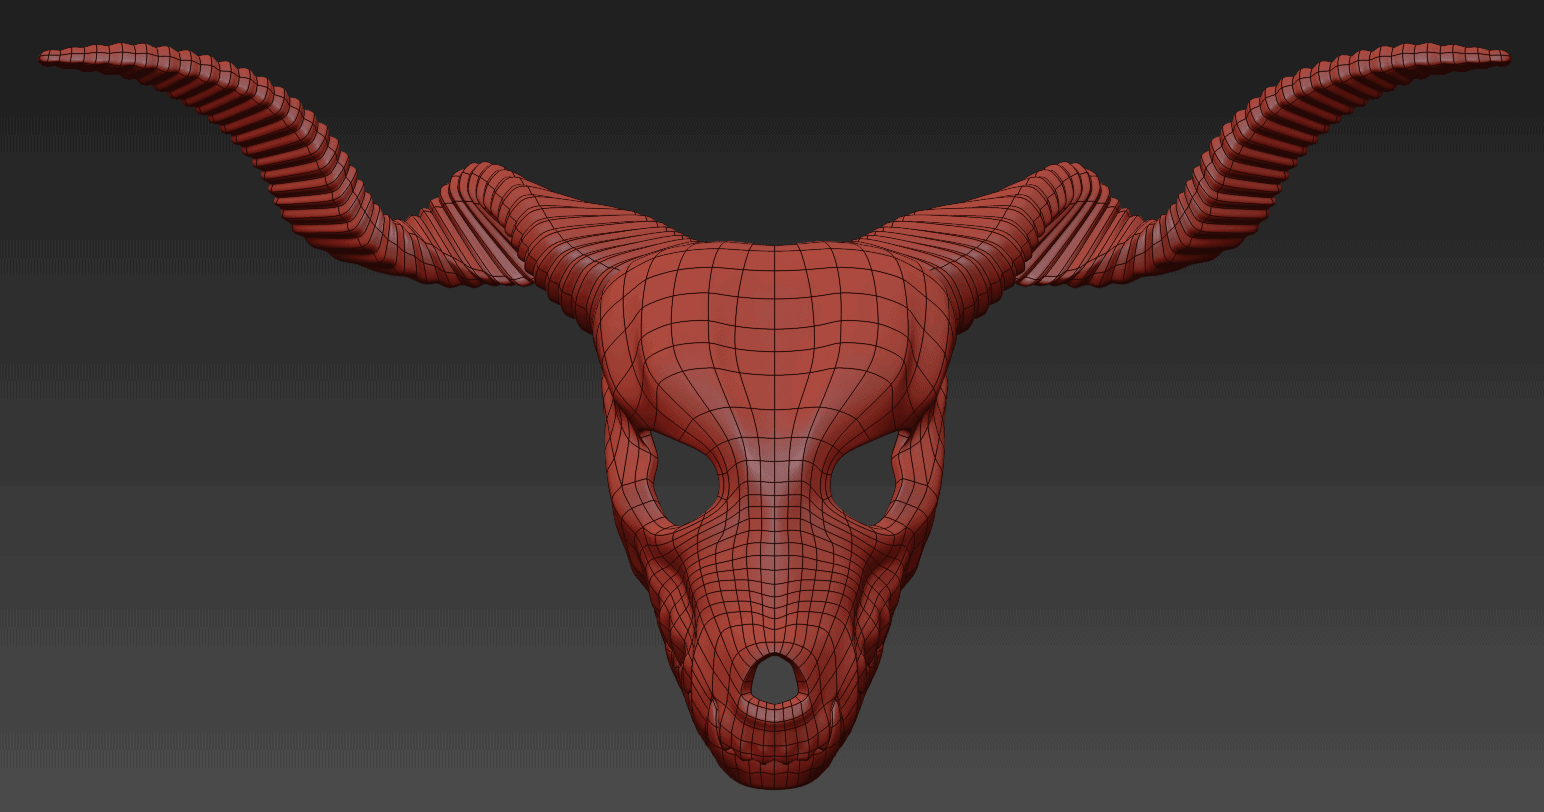
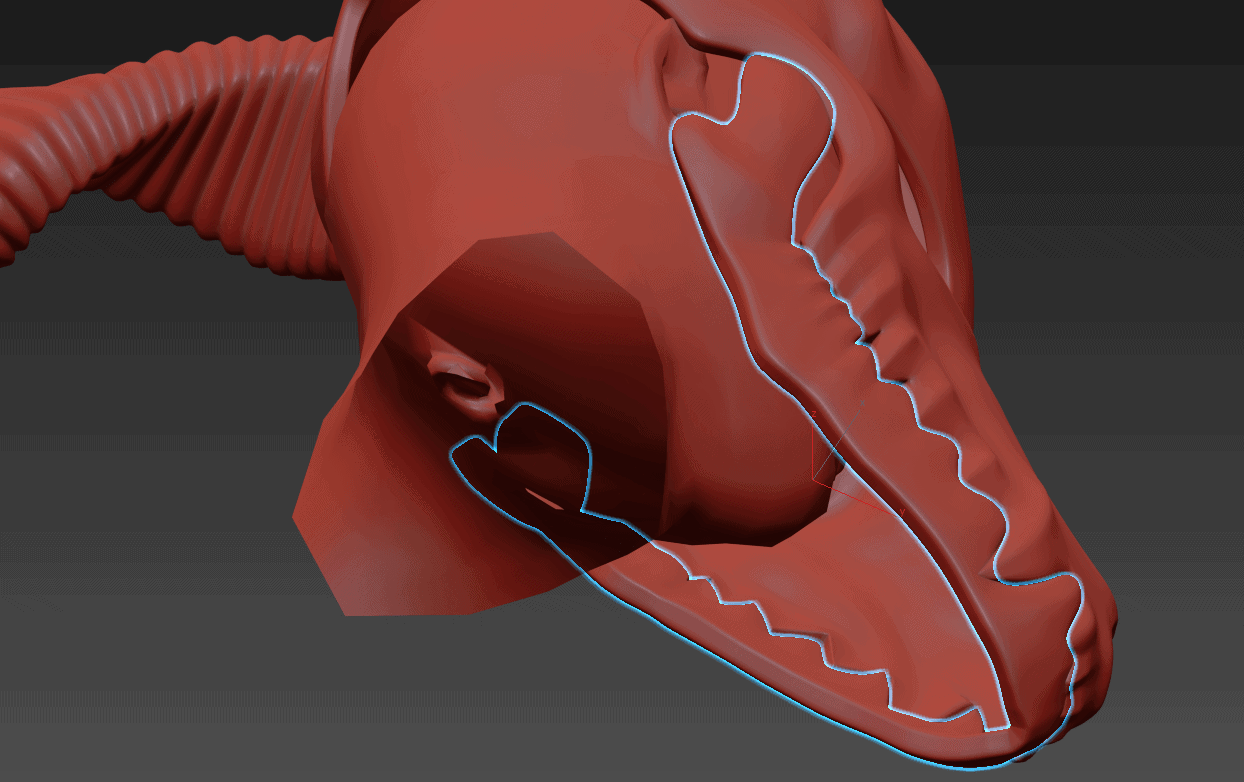
Given the organic nature of the skull, my goal was to get a good low-poly version of the shape done and then rely on subdivision modeling and edge weighting to shape the majority of it out. I had a couple of false starts while I was working on the overall shape of the skull. Most of those were caused by being too enthusiastic with the ‘low poly’ shape and adding too many edges, which made adjusting and modifying the basic shape tedious because of how many points had to be moved around. I probably started and re-started this 3 or 4 times before I got into a proper groove and settled in on the process.
There was some discussion about whether or not we should be trying to make the jaws articulate, but the client opted to have the mask done as a single piece for practicality’s sake.
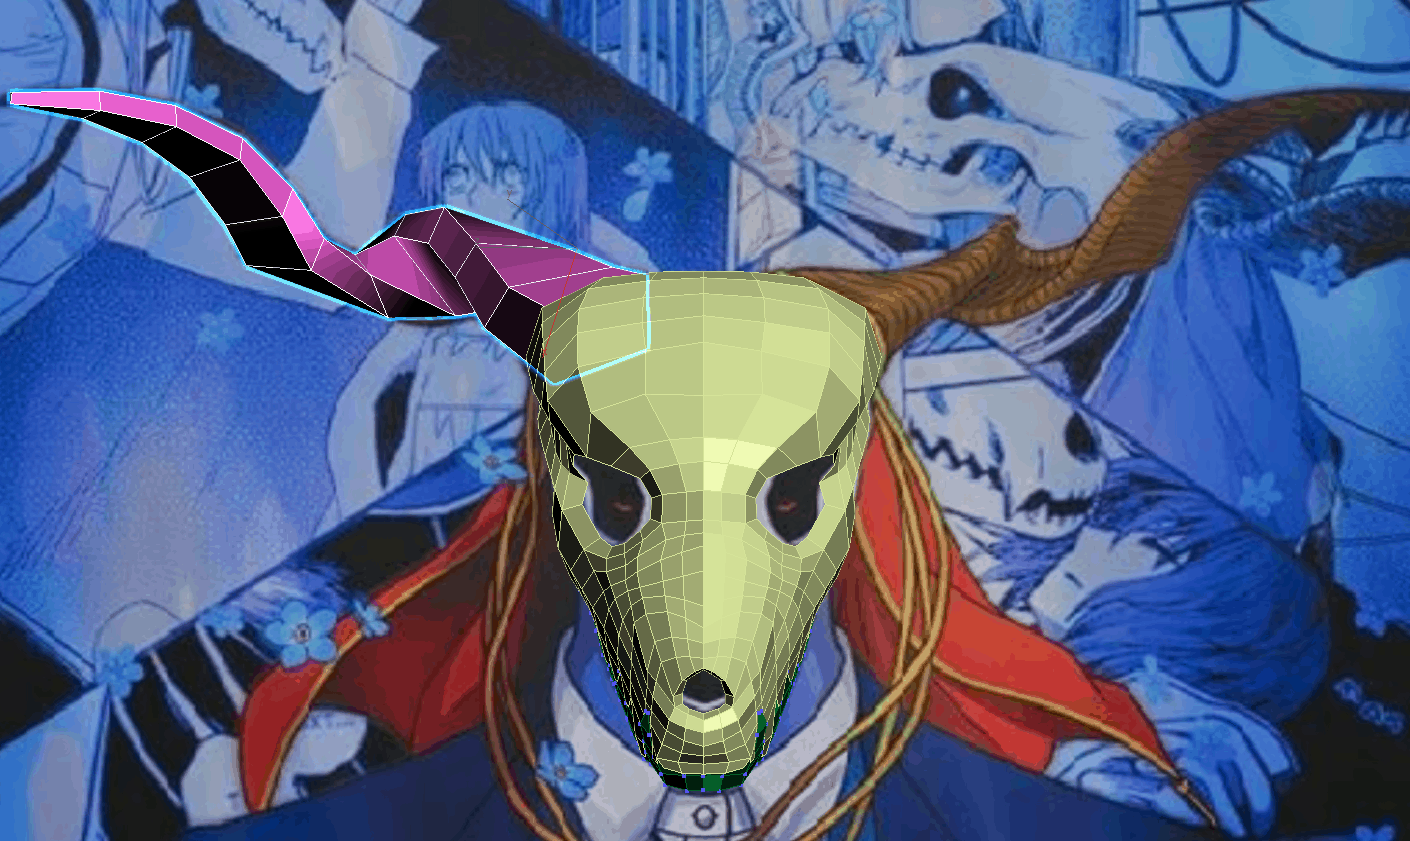
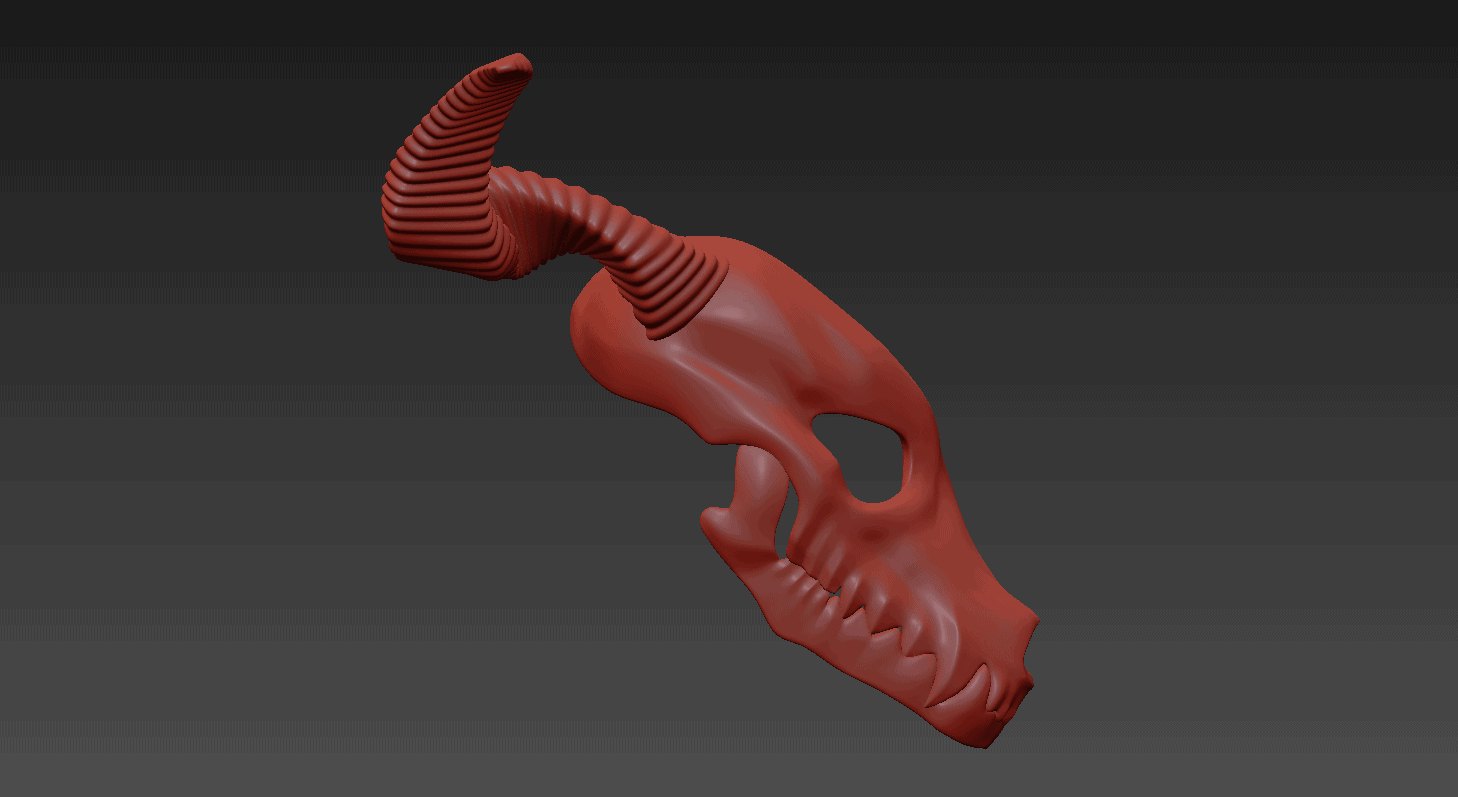
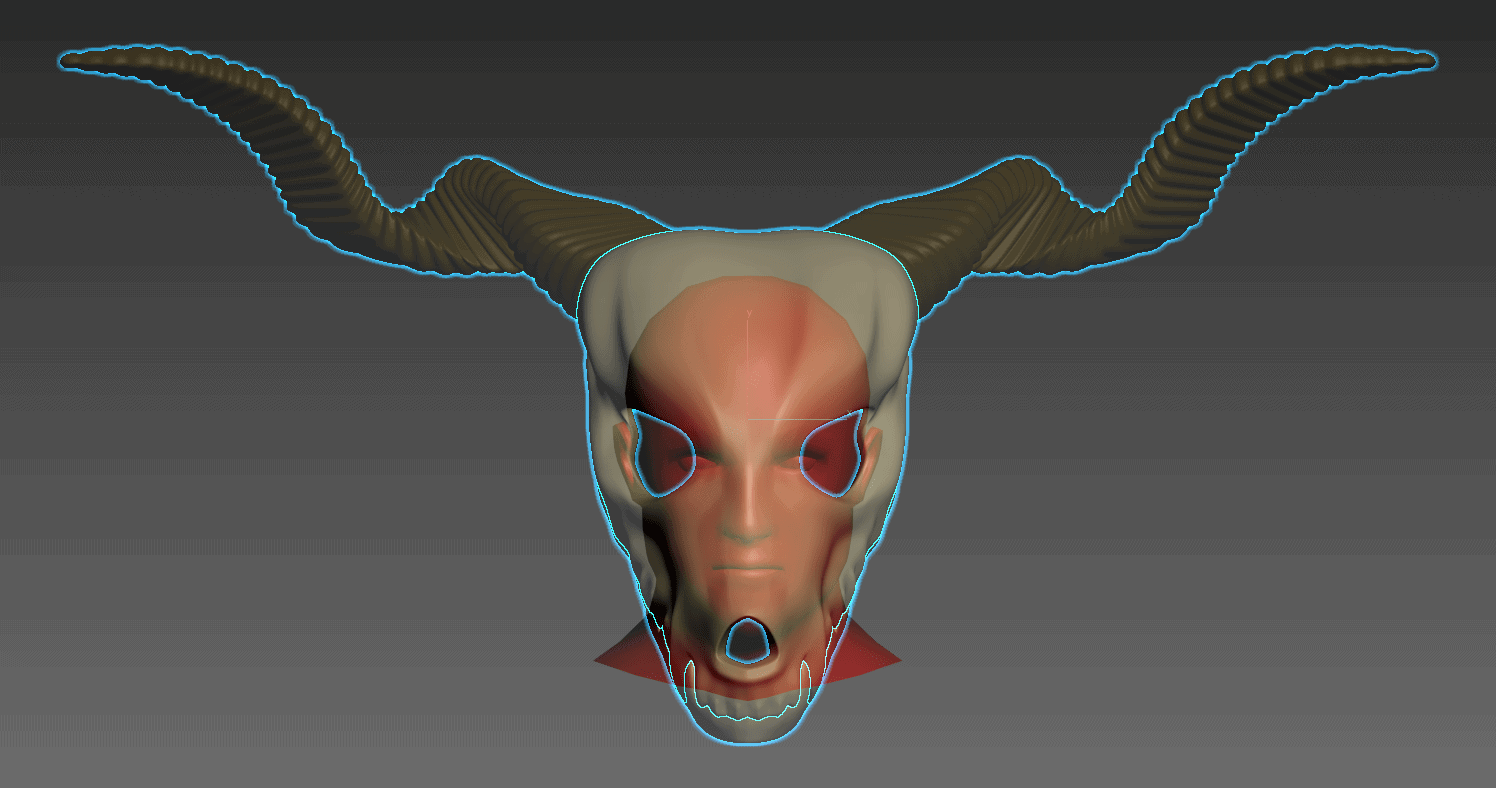
The horns were started after the basic shape of the skull was roughed out. I initially tried cheating a little bit by using a helical spline and sweeping rectangular sections out along it, but it quickly became apparent that the horns were far less regular than such a method would allow. I opted to do some very low-poly extrusion modeling to try and get the approximate shape I was after.
Although this lined up pretty comfortably with the reference images I was using, the shape of the horns felt far too small. I ended up digging up an additional reference image from what I assume is the manga, which had them portrayed in a much more impressive span. I went for this style.
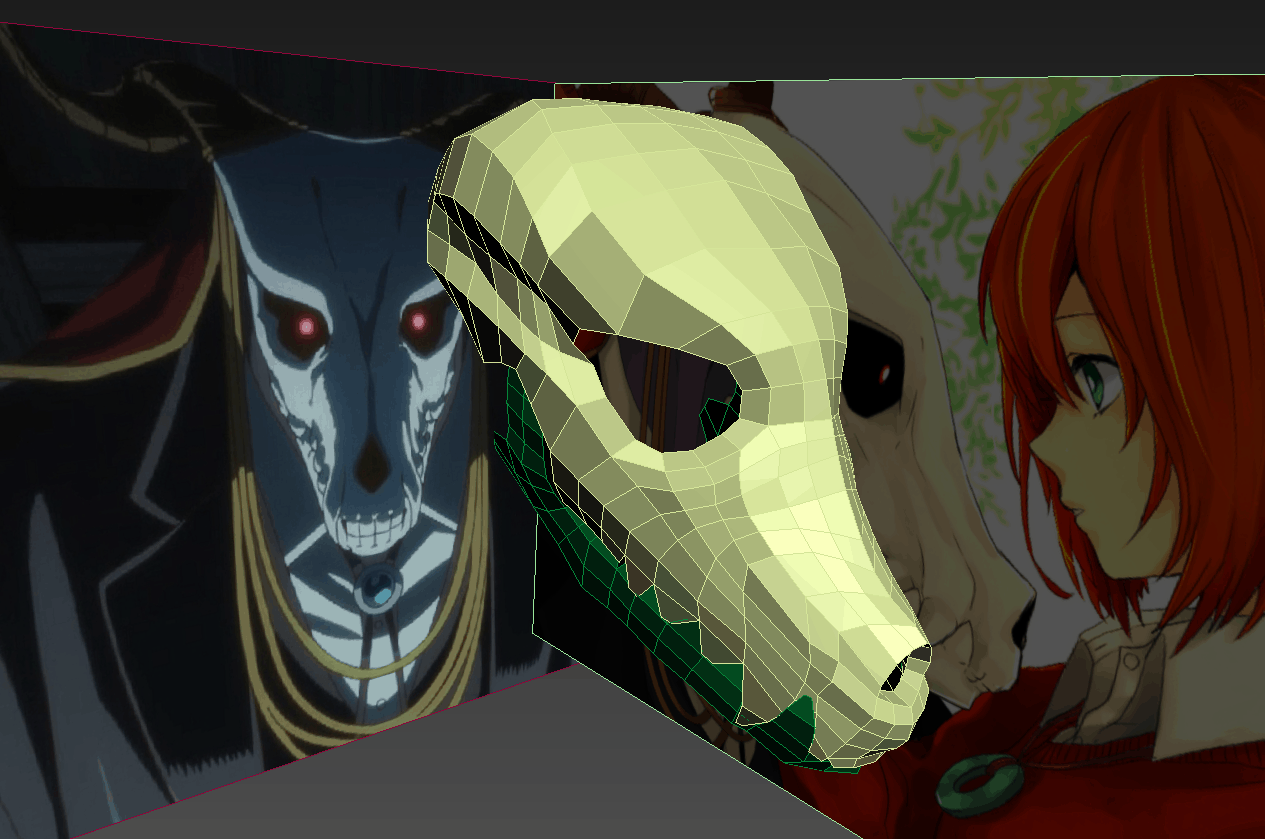
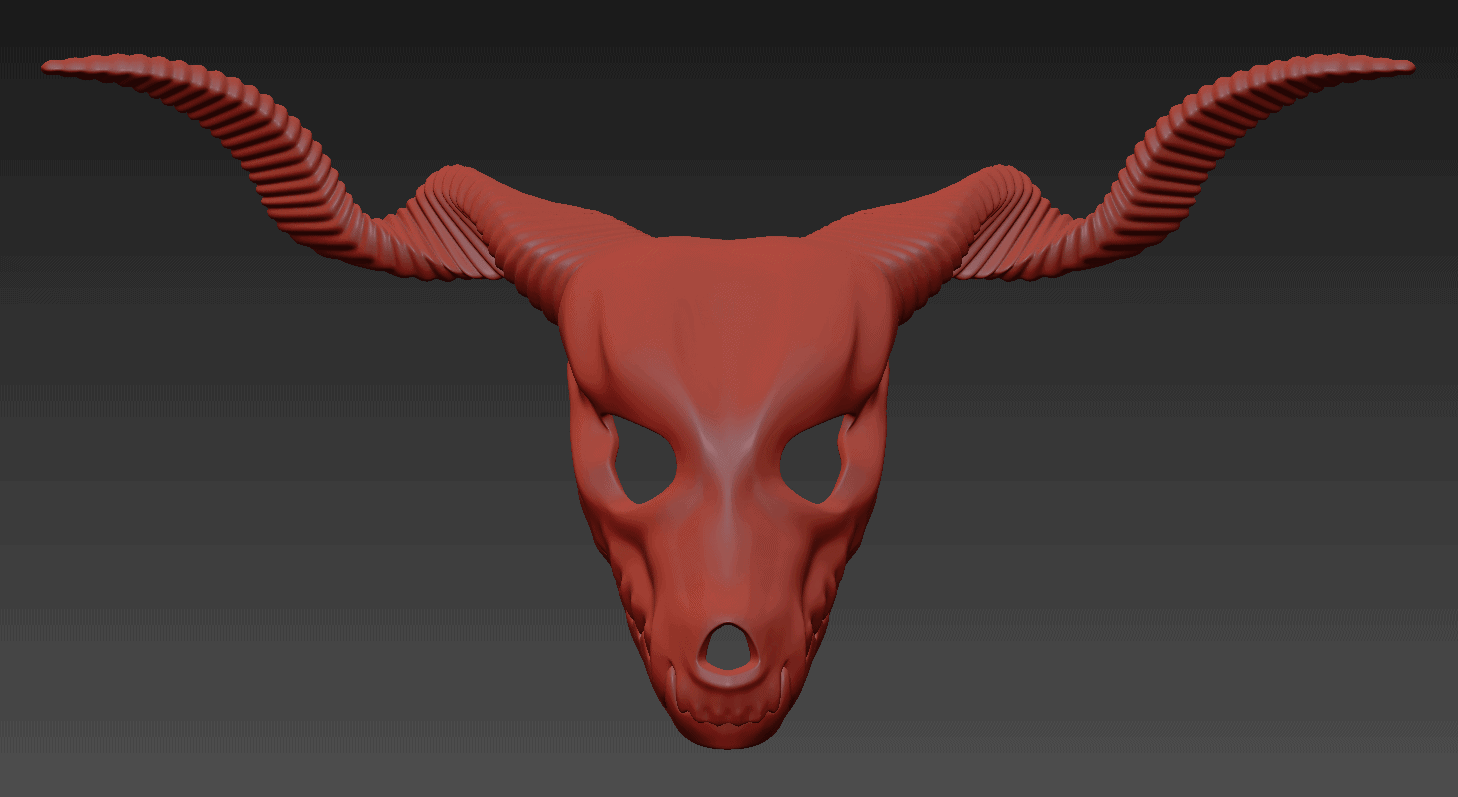
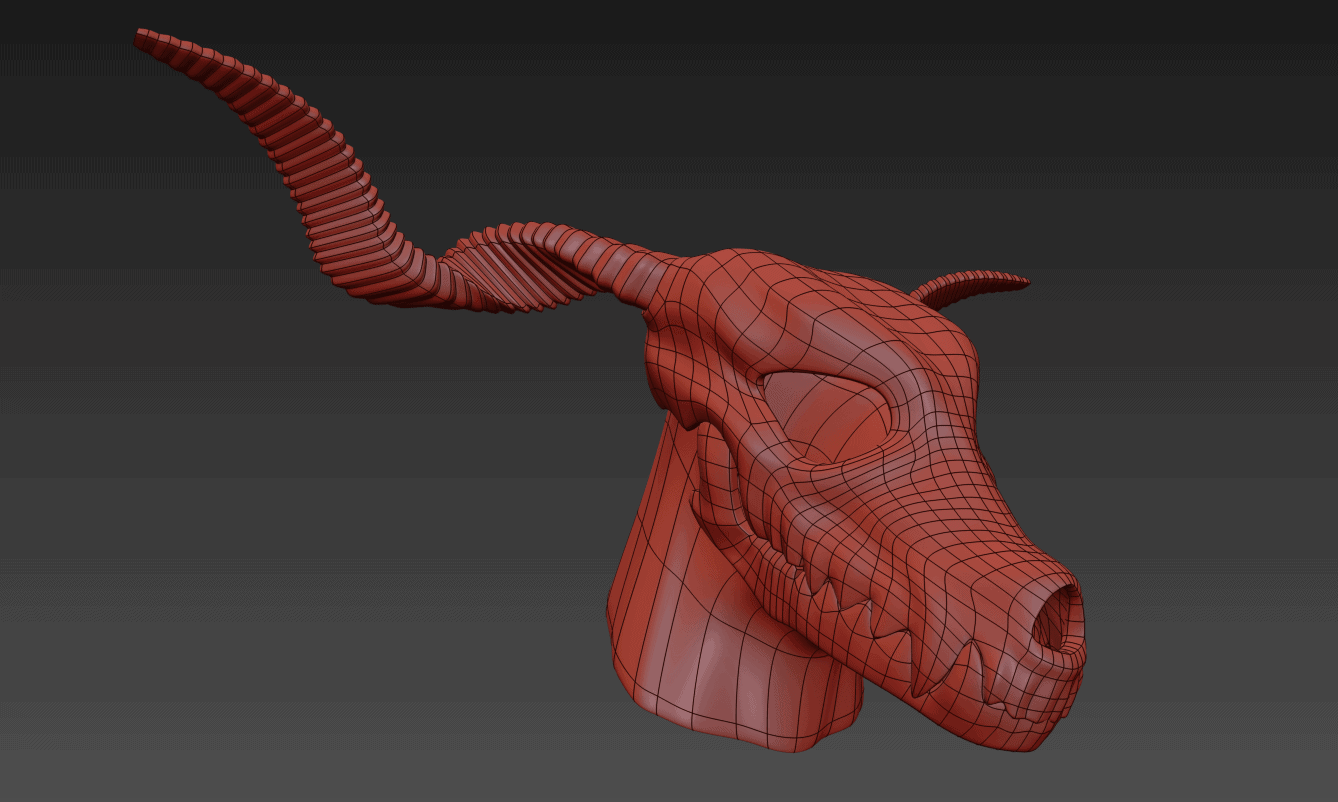
Satisfied with this, I set about refining both models into finer details. The skull parts were extruded with a shell modifier so they were more than simple planar shapes. I also did some quick ribbing on the horns themselves by inserting edge loops and extruding them outward in accordion-esque sections.
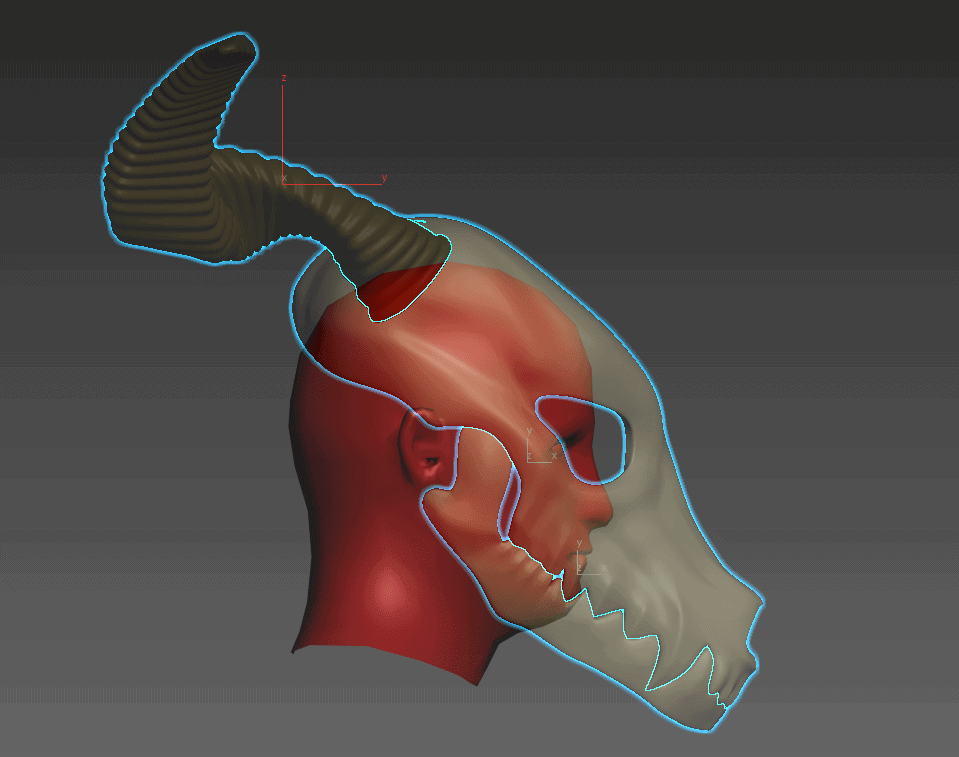
This was not bad, overall. In order to ensure I had the mask shape roughly the right size and proportion, I put a placeholder head in the scene scaled to approximate the measurements of the client’s own head.
With the head in place, it became apparent that just like the ‘studio’ mask, the wearer probably wouldn’t be able to see about 20 degrees in their forward arc. This could be remedied by bringing the eye holes closer together, but the end result of that would make the mask look substantially different than the character it’s meant to portray.
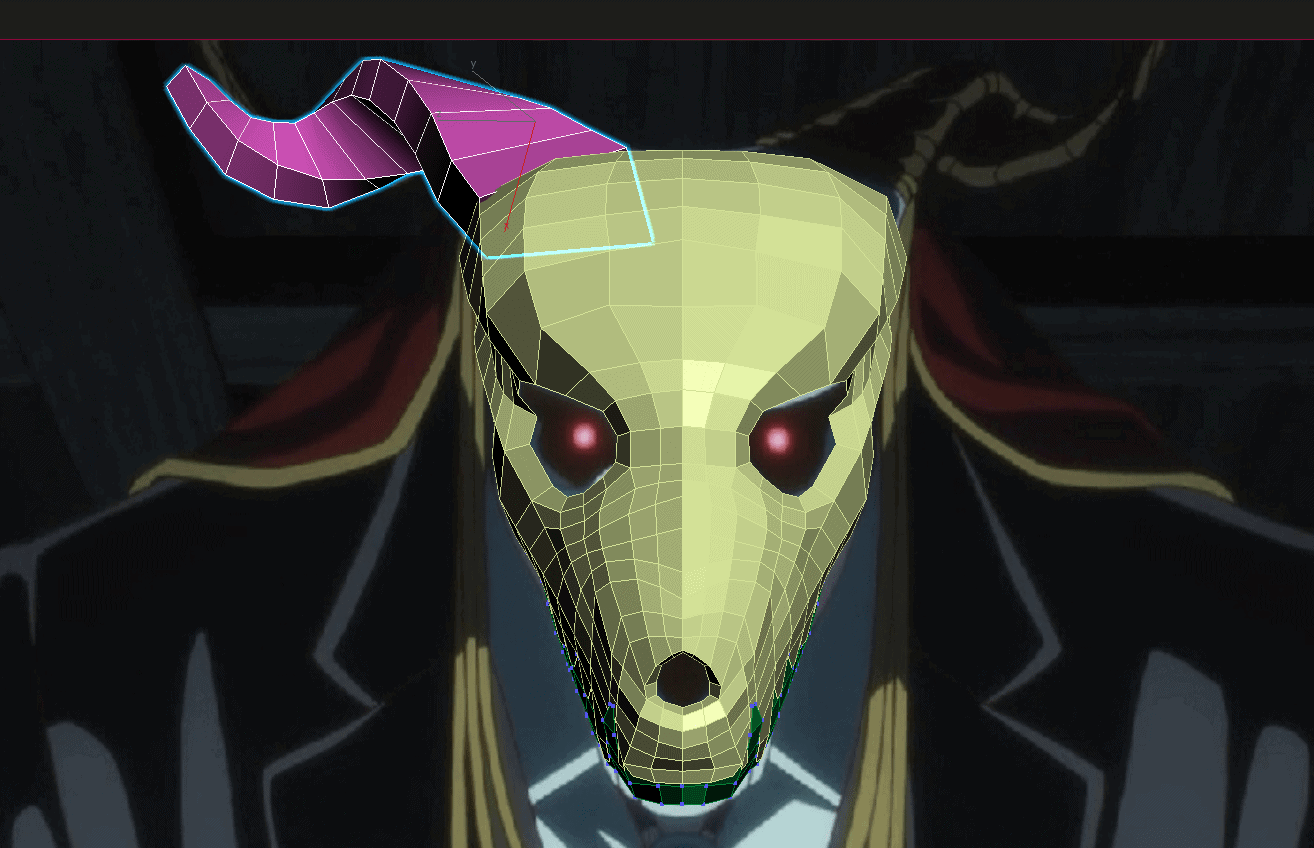
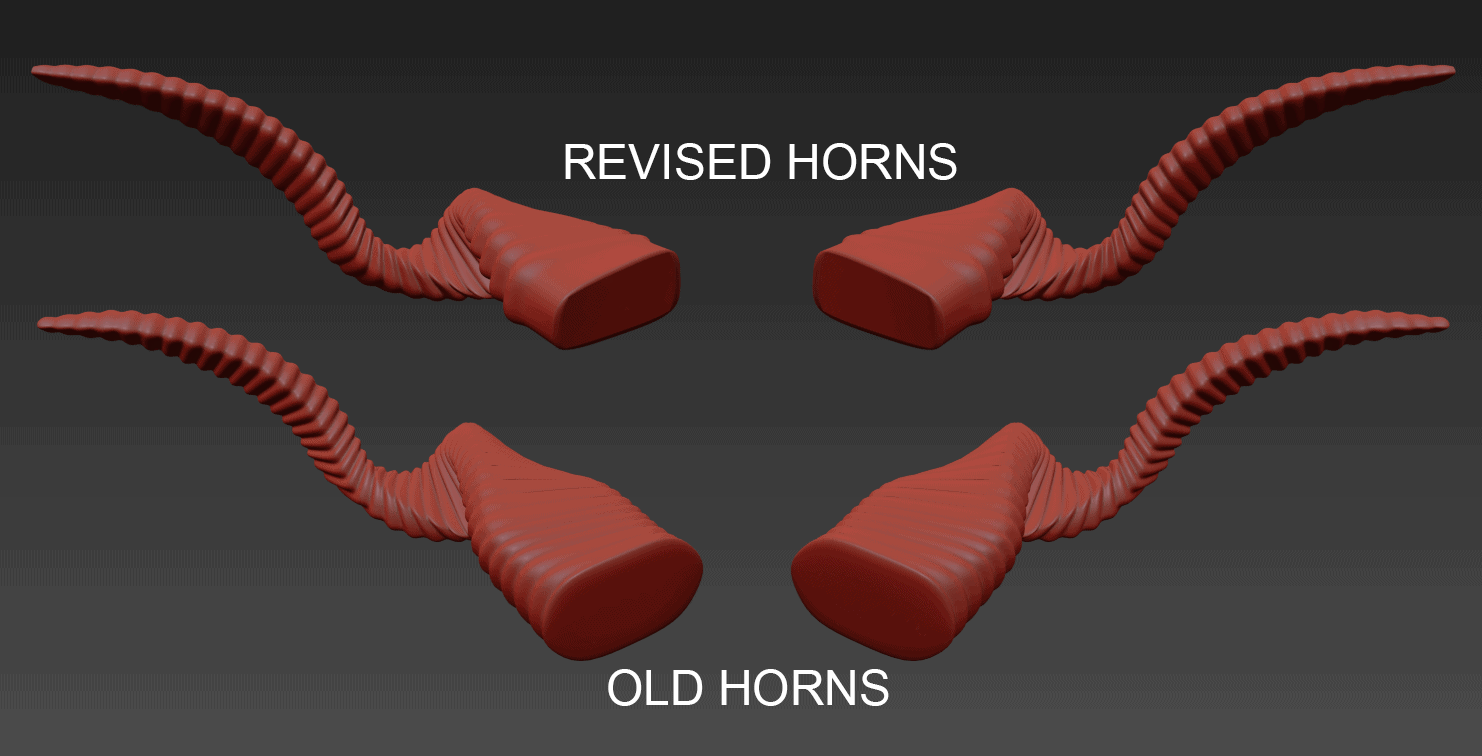
Although this work represented a reasonable start for the model, there were a few areas that were bugging me that needed to be dealt with. The most important one was the area where the horns joined into the bone of the upper skull. I initially flared them out into more cylindrical shapes as they approached the skull, but that simply didn’t look right to me. There did not seem to be a ‘definitive’ way to approach this area – the studio mask had the horns flare out over the skull, while both the statue and the anime never show the transition fully as there are almost always golden cords wrapped around that spot.
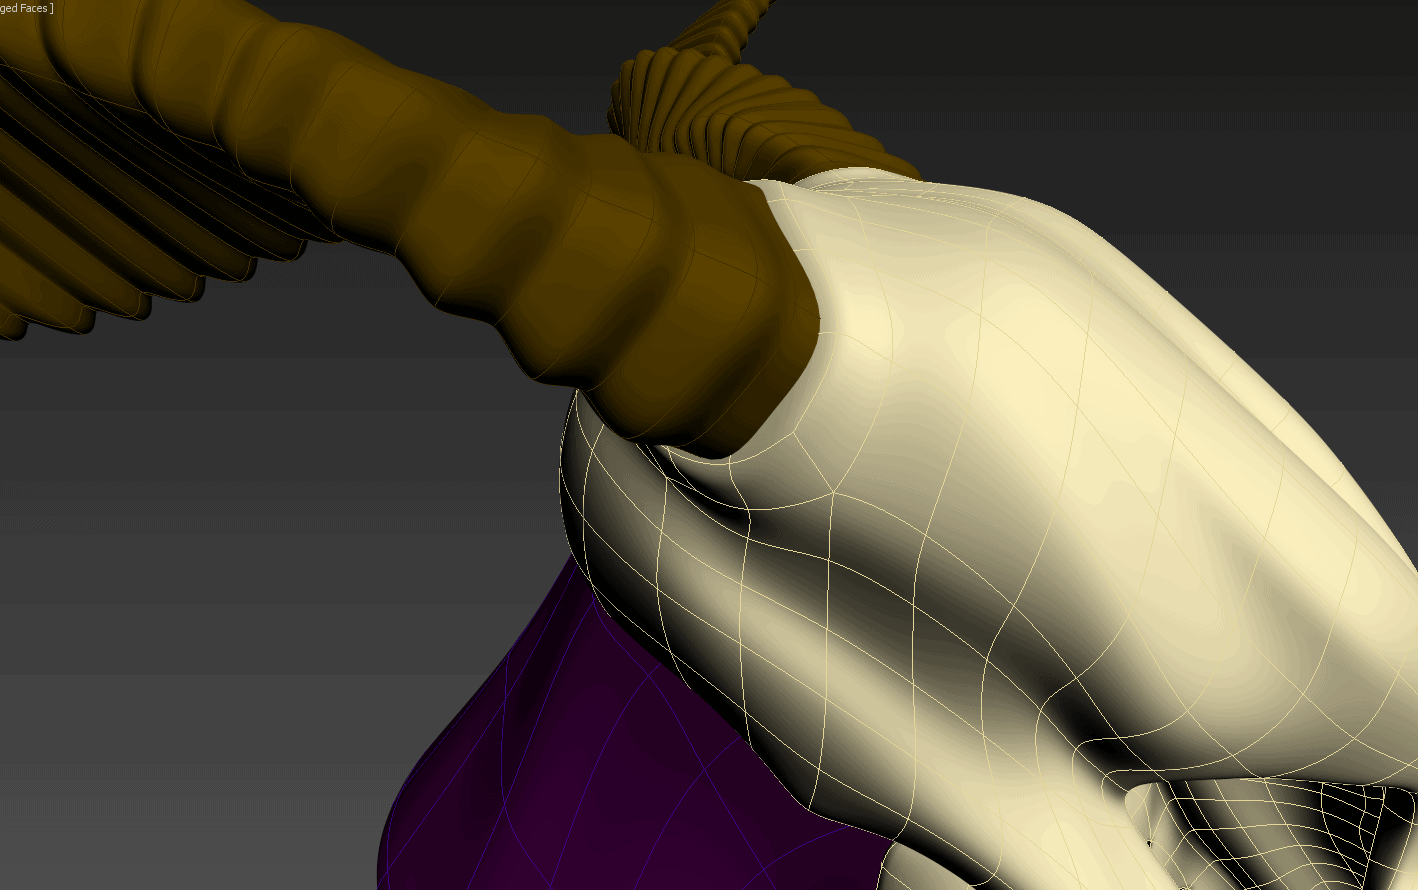
I decided the best approach would be to remodel the area on both the skull and the horns to create a socket for the horns to plug into. This also meant that the cords would have a comfortable area to tie up against and serve as a transition between the two areas. The shape of the horns was adjusted slightly to be more rectangular, and the ribbing was shifted further up the horn so that I could avoid having it intersect into the skull at an angle. On the skull side, I flared it out into a similarly-shaped stump. I also thickened the interior of the mask in the areas where the horns were poking through, so there would be more to anchor the horn into.
Once the details get finalized, I intend on subtracting the horn shape from the rest of the skull to create a rectangular indentation that the horns can be slid into. Ideally, I’d like to see a pair of bolts that can screw through the skull from the inside and out into the horns, to hold them securely on. This’d mean the horns could be removed, which would make the task of shipping the finished product significantly easier.
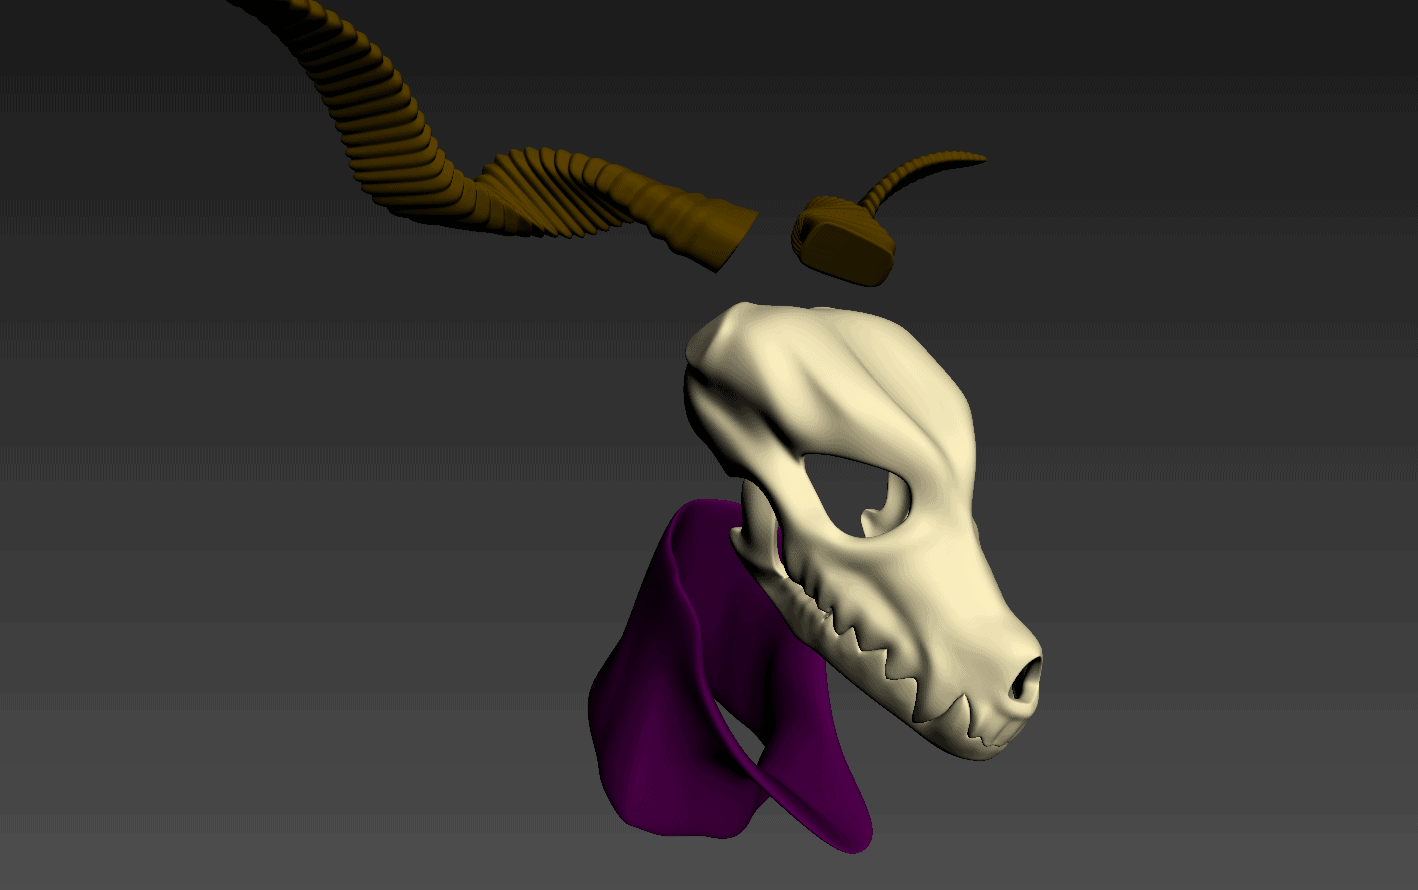
While I was making my revisions, I modeled some basic neck musculature. Elias’s skin appears to be purple in the few areas that it is visible at all. In studying the images I could dig up, it looks like it goes from the collar of the shirt all the way up into the underside of the jaw of the skull. Based on this, I redesigned the underside of the jawbone and set up a basic shape for the neck. The neck and throat represent a complex curve that would be very difficult to accurately or seamlessly recreate out of something like fabric.
We’ve got a few plans to help deal with making the neck. One approach would be to 3D print the shape as a thin mold and then coat the inside with either Urethane rubber or latex. Once that firms up, we’d be able to peel it out of the print and simply attach it to the inside of the mask around the edges. While this would give us the most precise results, it’d be a significant use of 3D printer time and filament. Alternatively, we might end up sculpting the neck out of a sulfur-free clay and making a plaster mold for the same kind of urethane or latex approach. The downside to this is that we’d need to have the mask printed and assembled before we could physically sculpt the rest. Either way, I figured having a model of the neck in my 3D environment wouldn’t hurt.
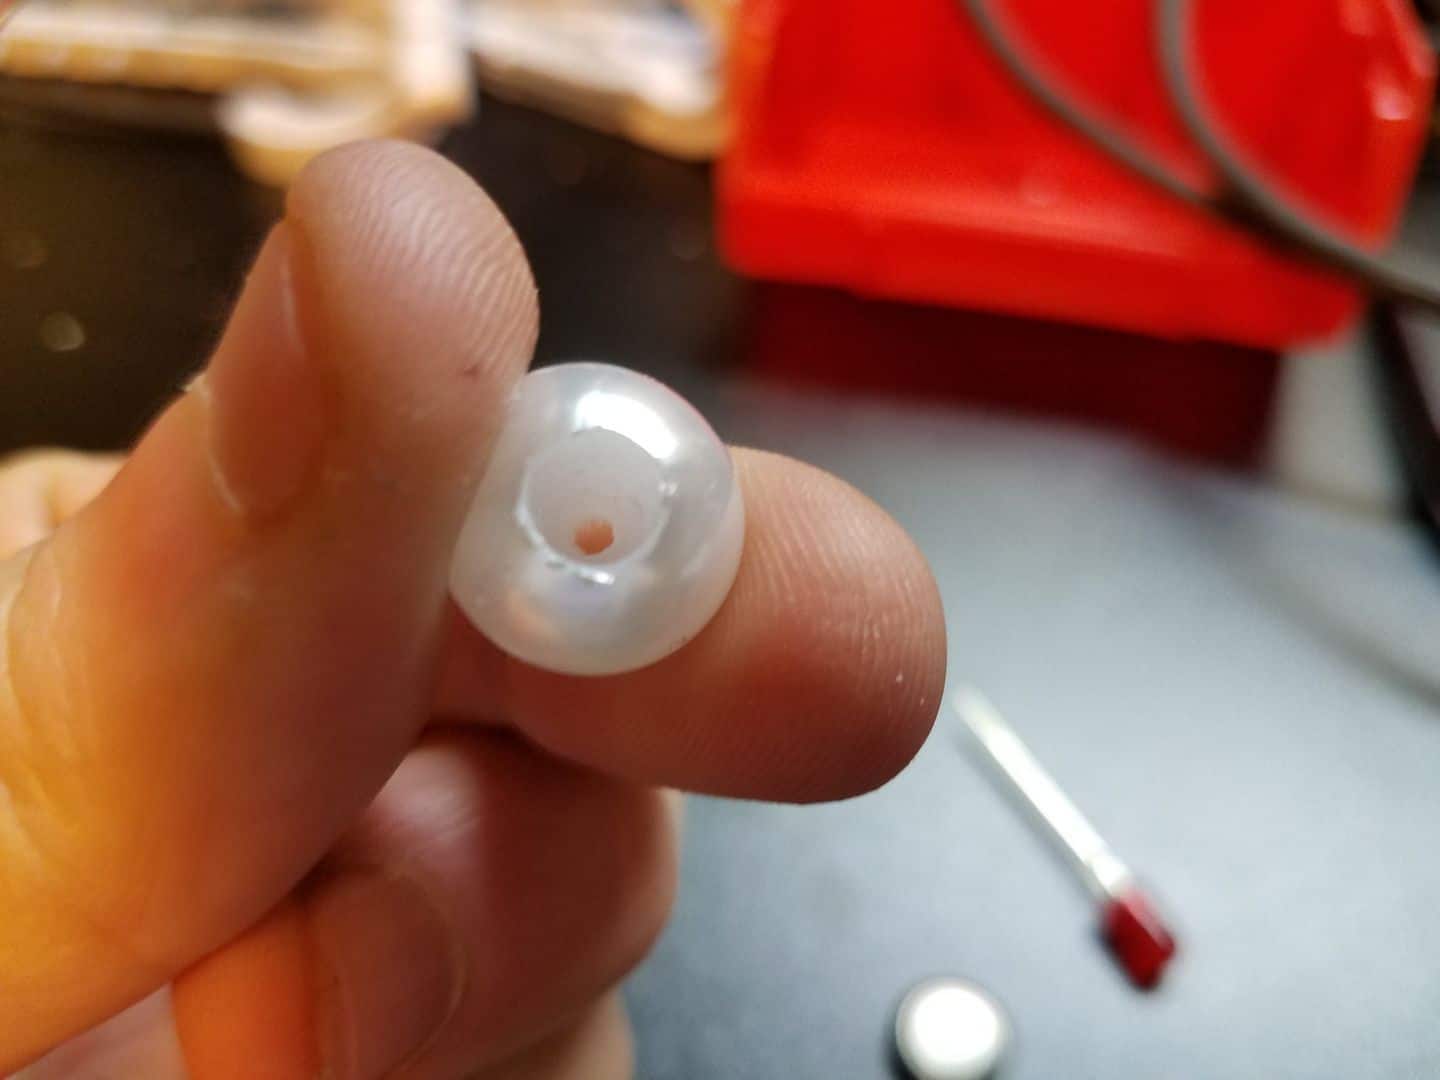
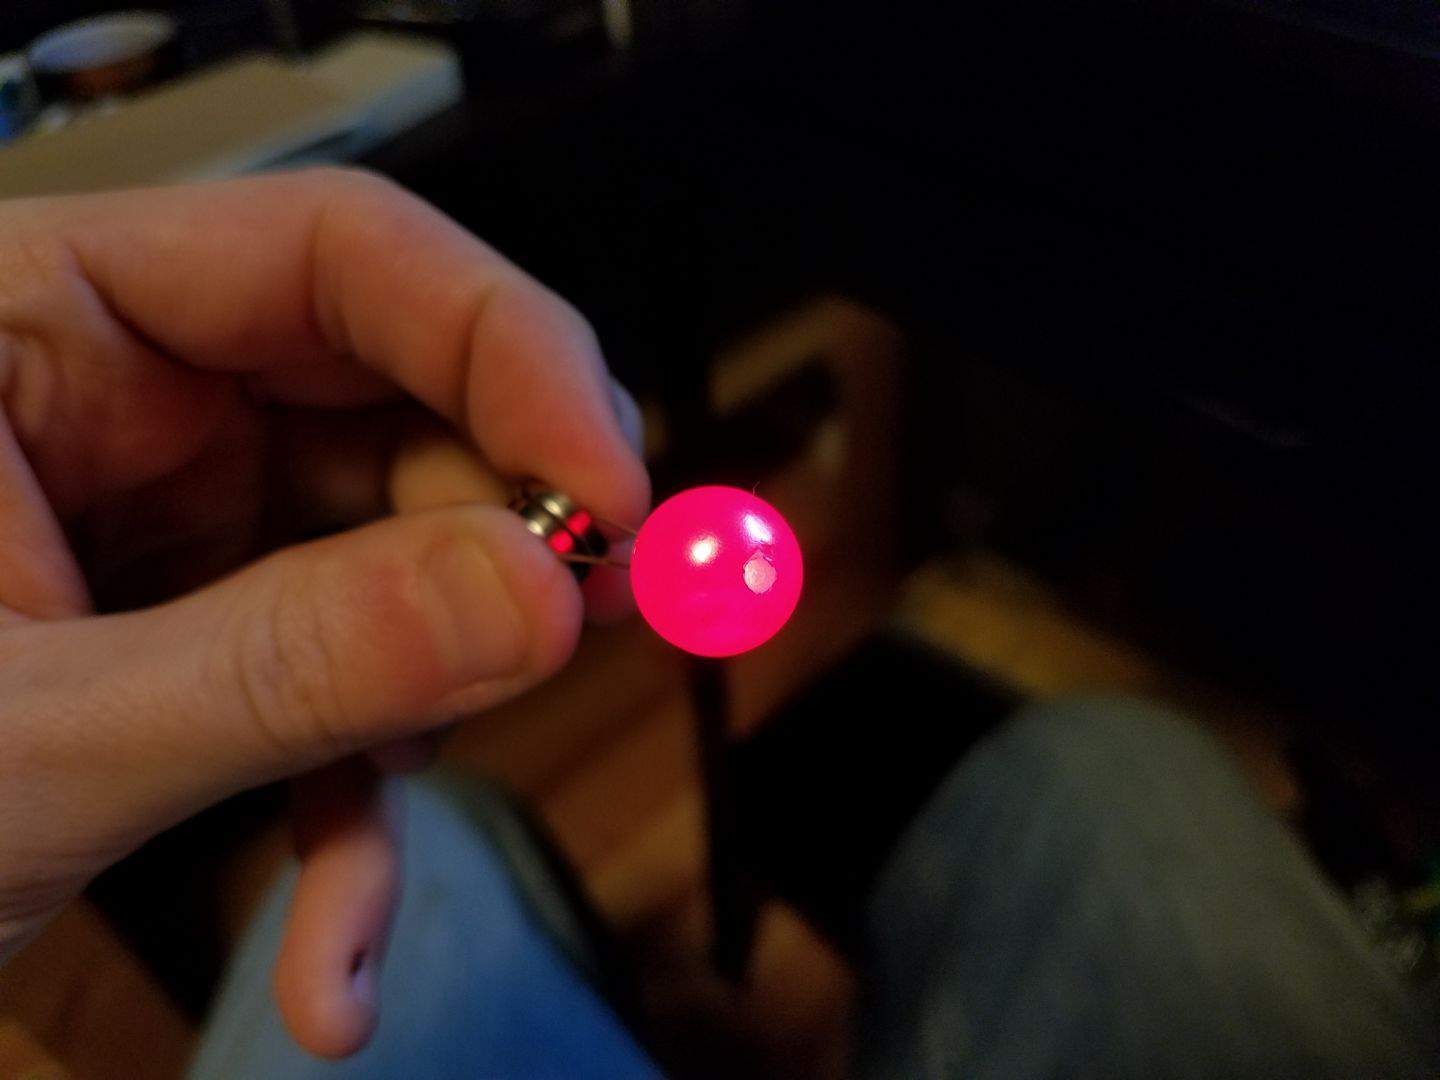
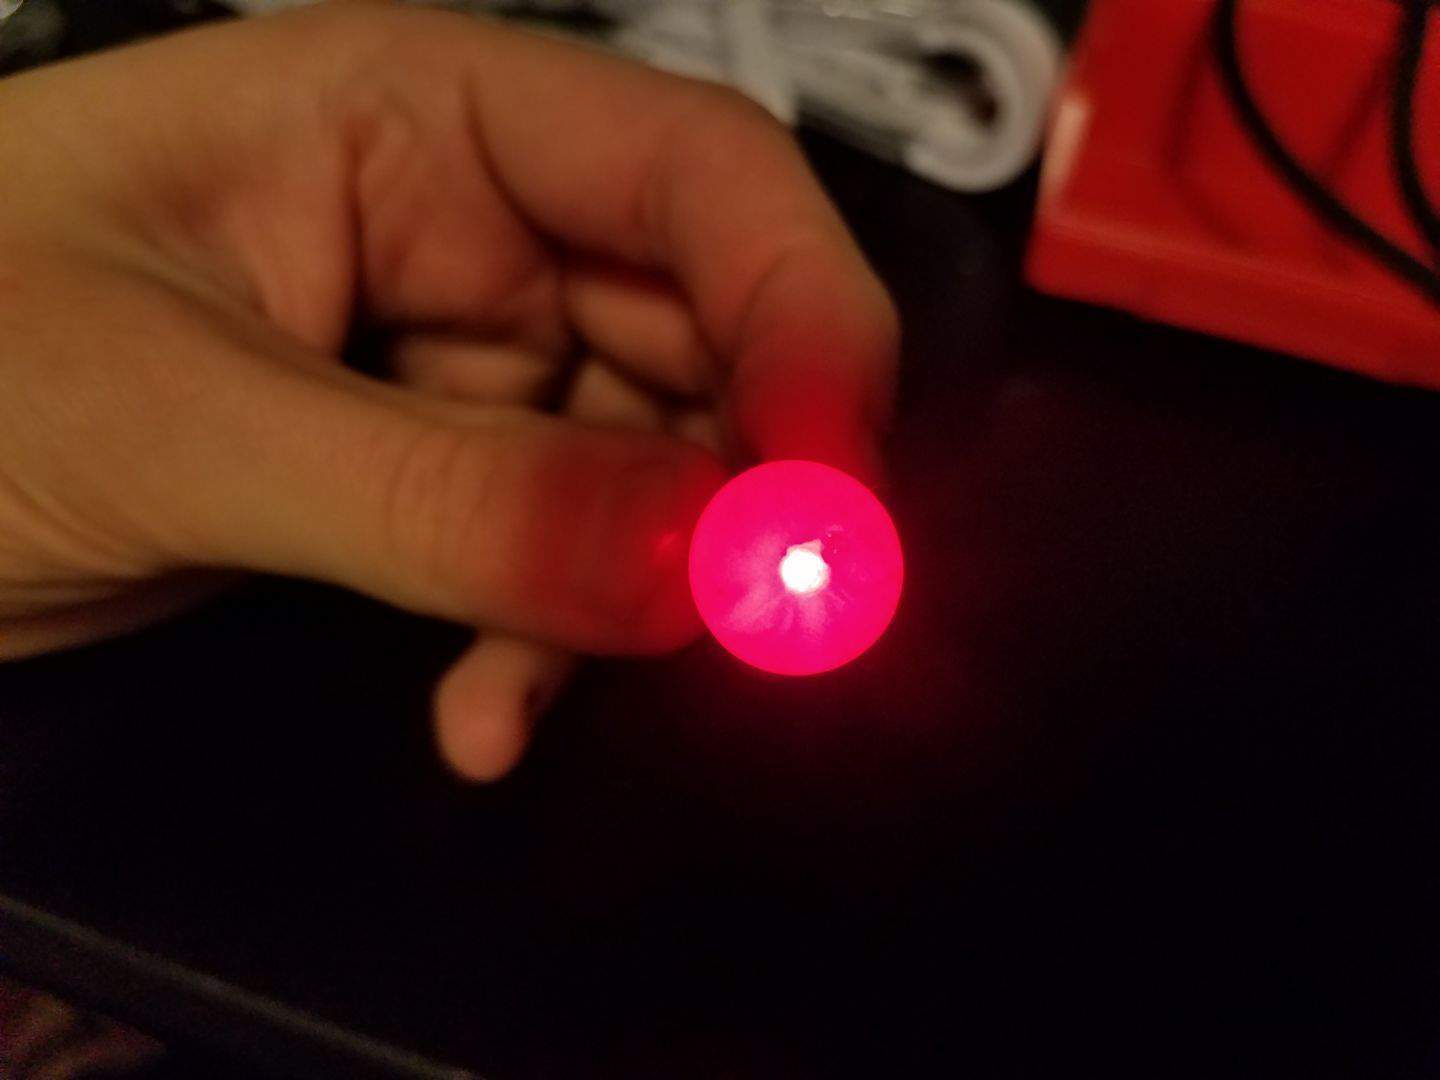
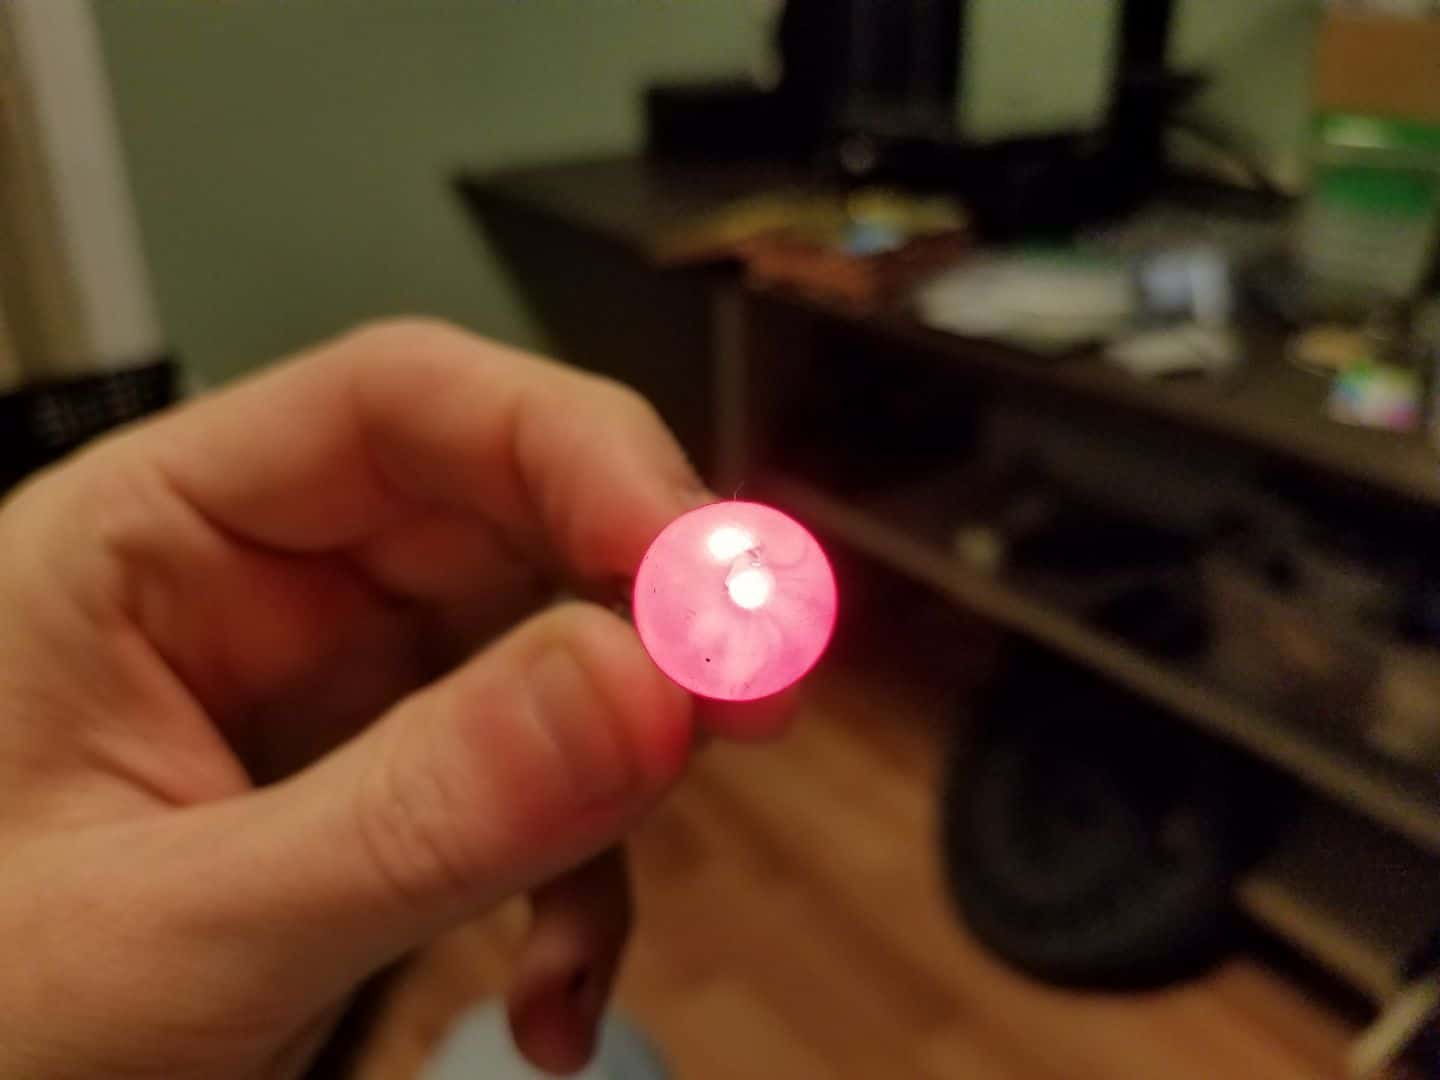
After some discussion with our client, I started brainstorming options for how to approach the eyes. Sheer black cloth over the eye holes to hide the wearer is basically a given, but the eyes themselves seemed to require more than just sticking LEDs in the correct spots. After a bit of thinking, I found a bunch of plastic pearl beads in a drawer from an older project that seemed like a strong starting point. These beads already had a small hole drilled through them so they could be strung on cord or wire. I drilled one end of the bead out so it’d be big enough to allow an LED to sit inside.
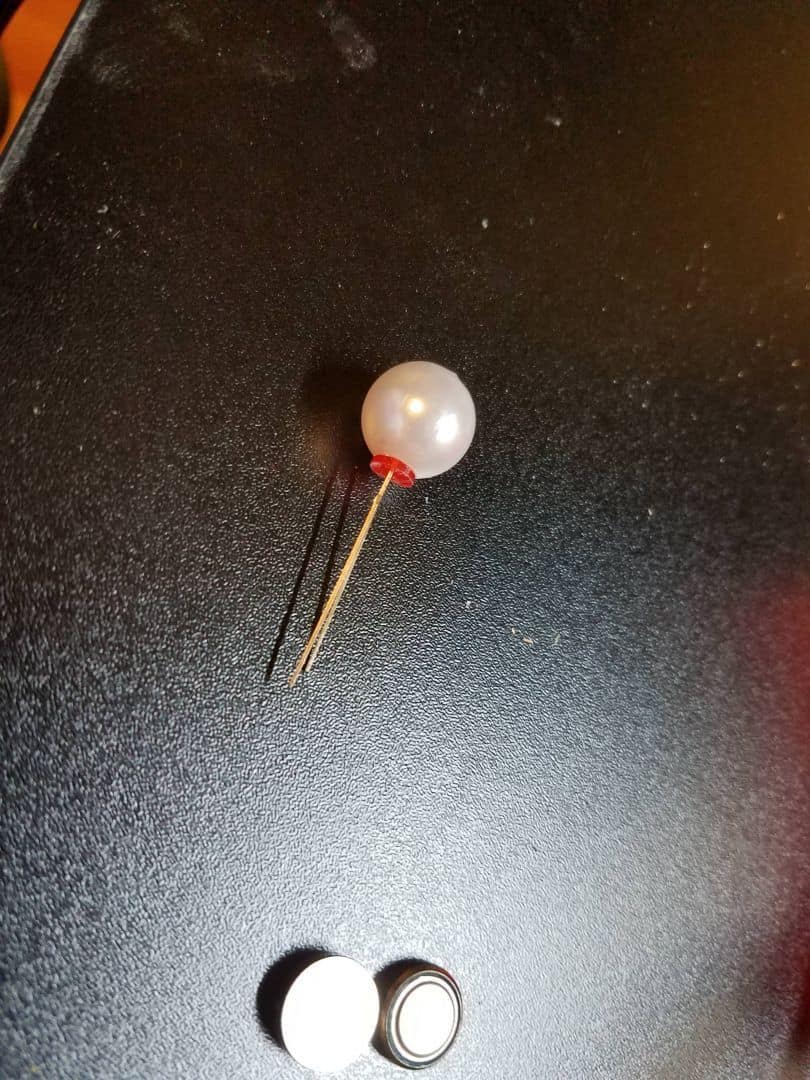
While the final product will have a better power source – probably a box with a pair of AA or AAA batteries – a few coin cells are more than sufficient for a quick test. Once I powered the LED up, I was surprised to see just how well the pearl seemed to work for this purpose! You end up with a ‘hot spot’ of brighter light in the existing hole in the bead that you’d thread it on. It looks a decent amount like a pupil to me. What’s more, in the right lighting the ‘pearl’ texturing actually looks a lot like the texturing you might expect to see on an iris.
It’s a bit tricky to photograph with a cell phone camera, and looks a lot better in person, but these get the general idea across. I’m not entirely sure I know how these are going to be suspended in the eye sockets yet, but I’m thinking it wouldn’t be too hard to make either a printed armature or something out of wire that goes through the sheer black fabric and holds this in the right spot.
With all of that roughed out, I uploaded the model to Sketchfab for a quick preview. Being able to actually view the model in 3D space should help to actually conceptualize the way it fits together:
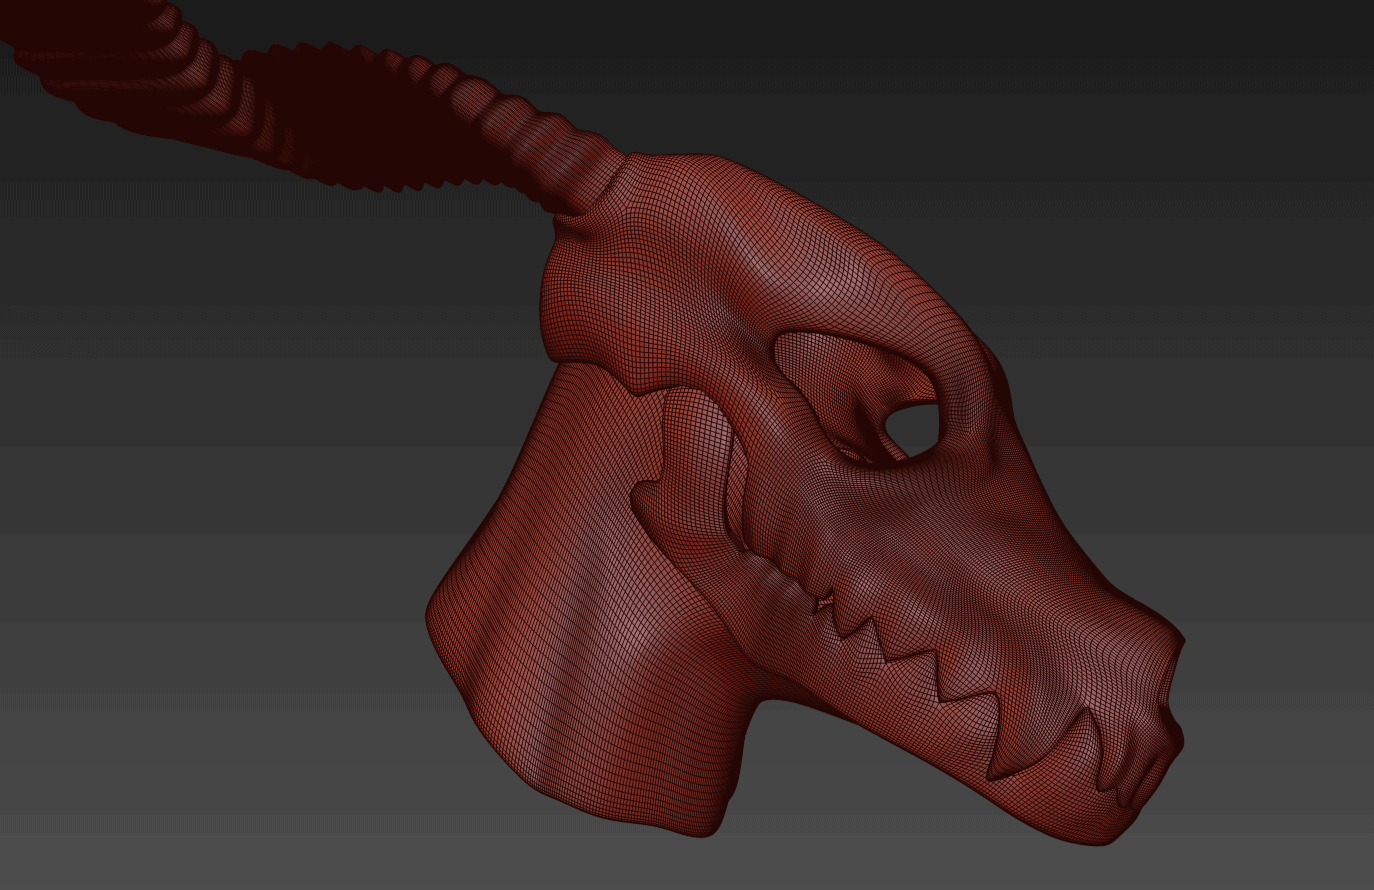
Once the client approves the model, we’ll give it a quick pass in ZBrush to add some weathering, cracks, and more bony detail. After that gets done, I’ll be dividing the model up and sending it over to the printer so we can get a timely start on sanding, painting, and finishing everything.
Once the client approves the model, we’ll give it a quick pass in ZBrush to add some weathering, cracks, and more bony detail. After that gets done, I’ll be dividing the model up and sending it over to the printer so we can get a timely start on sanding, painting, and finishing everything.
