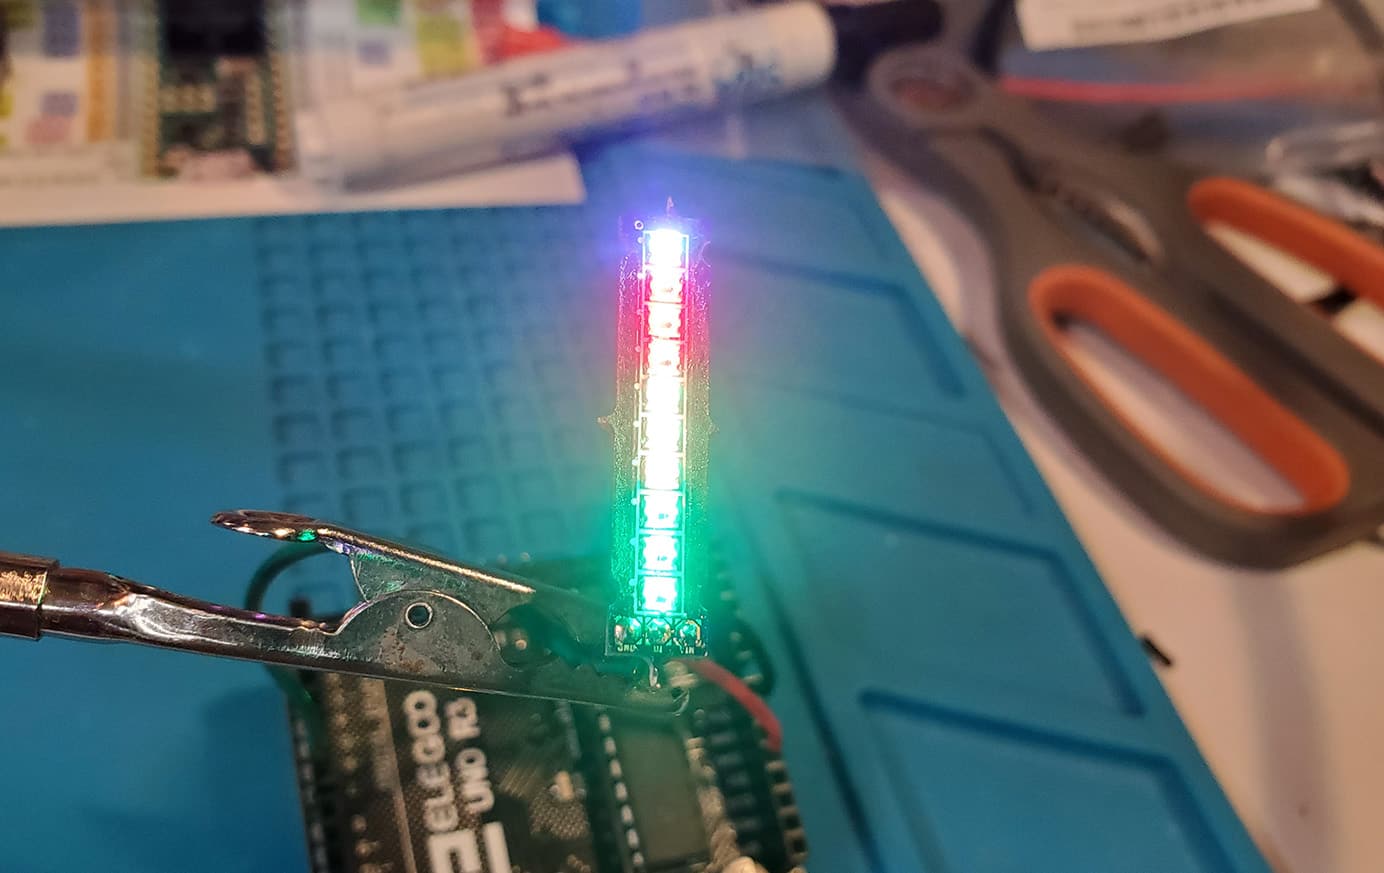
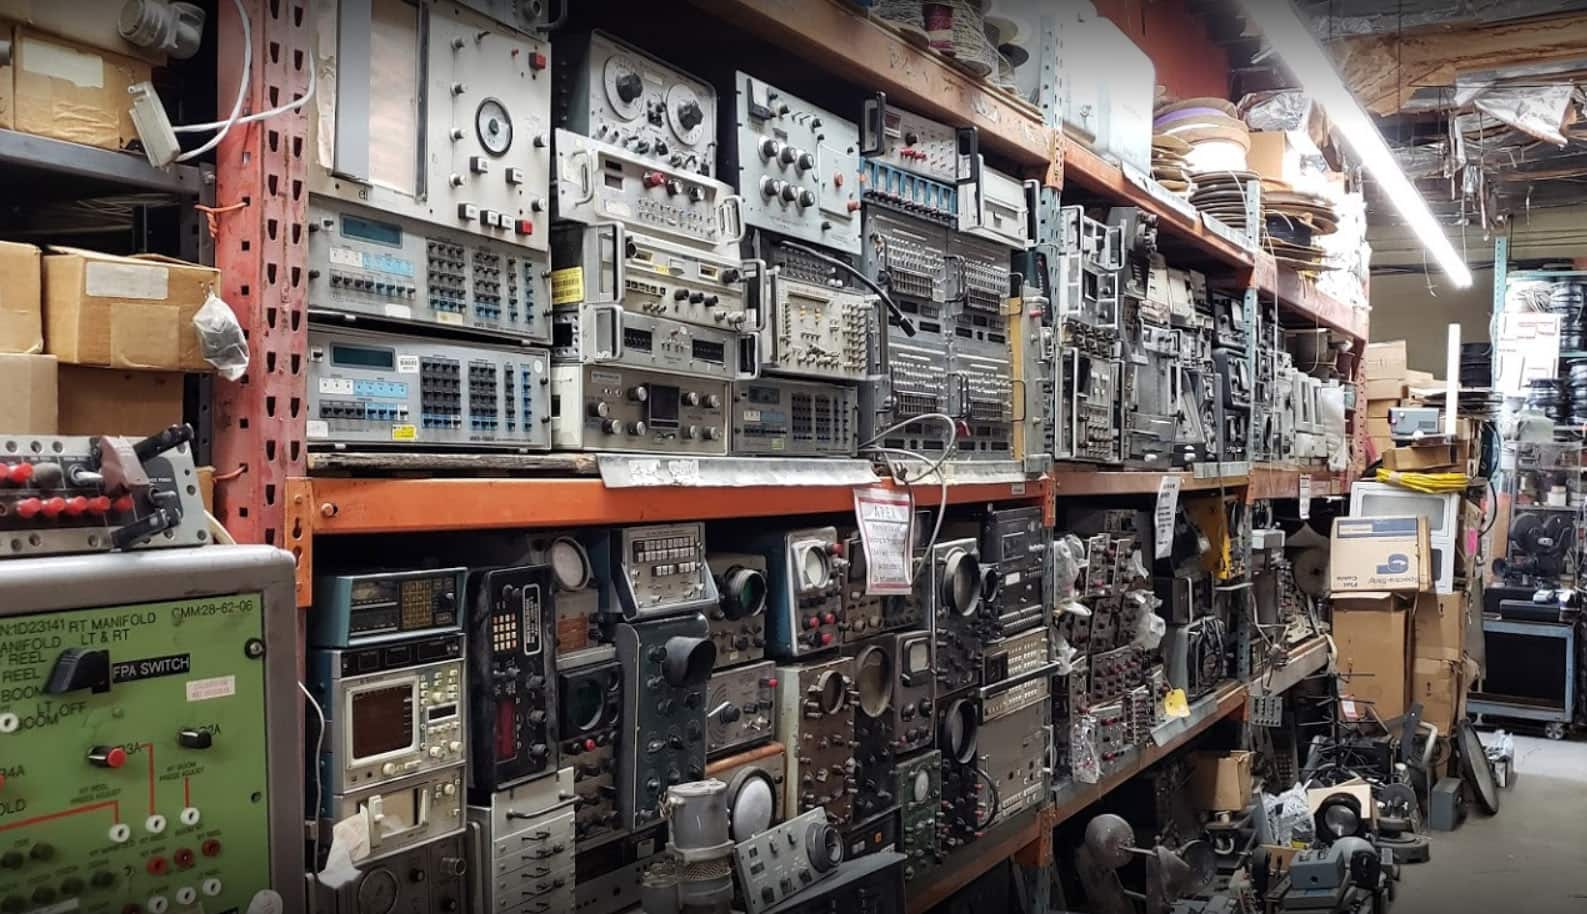
I’ve been dabbling in the world of lightsaber replicas as of late, and while there are a lot of fancy options (Neopixel blades, Proffie Soundboards, etc.) I’ve been enjoying some of the more budget-friendly offerings from China. Specifically, there’s these little guys, which are basically assemblies that you can drop into any 1″ tube to make it into a pretty handy lightsaber. I decided I wanted to give myself a bit of a challenge and see what kind of lightsaber I could build out of an afternoon of scavenging through Apex Surplus, a local scrap electronics store in L.A.
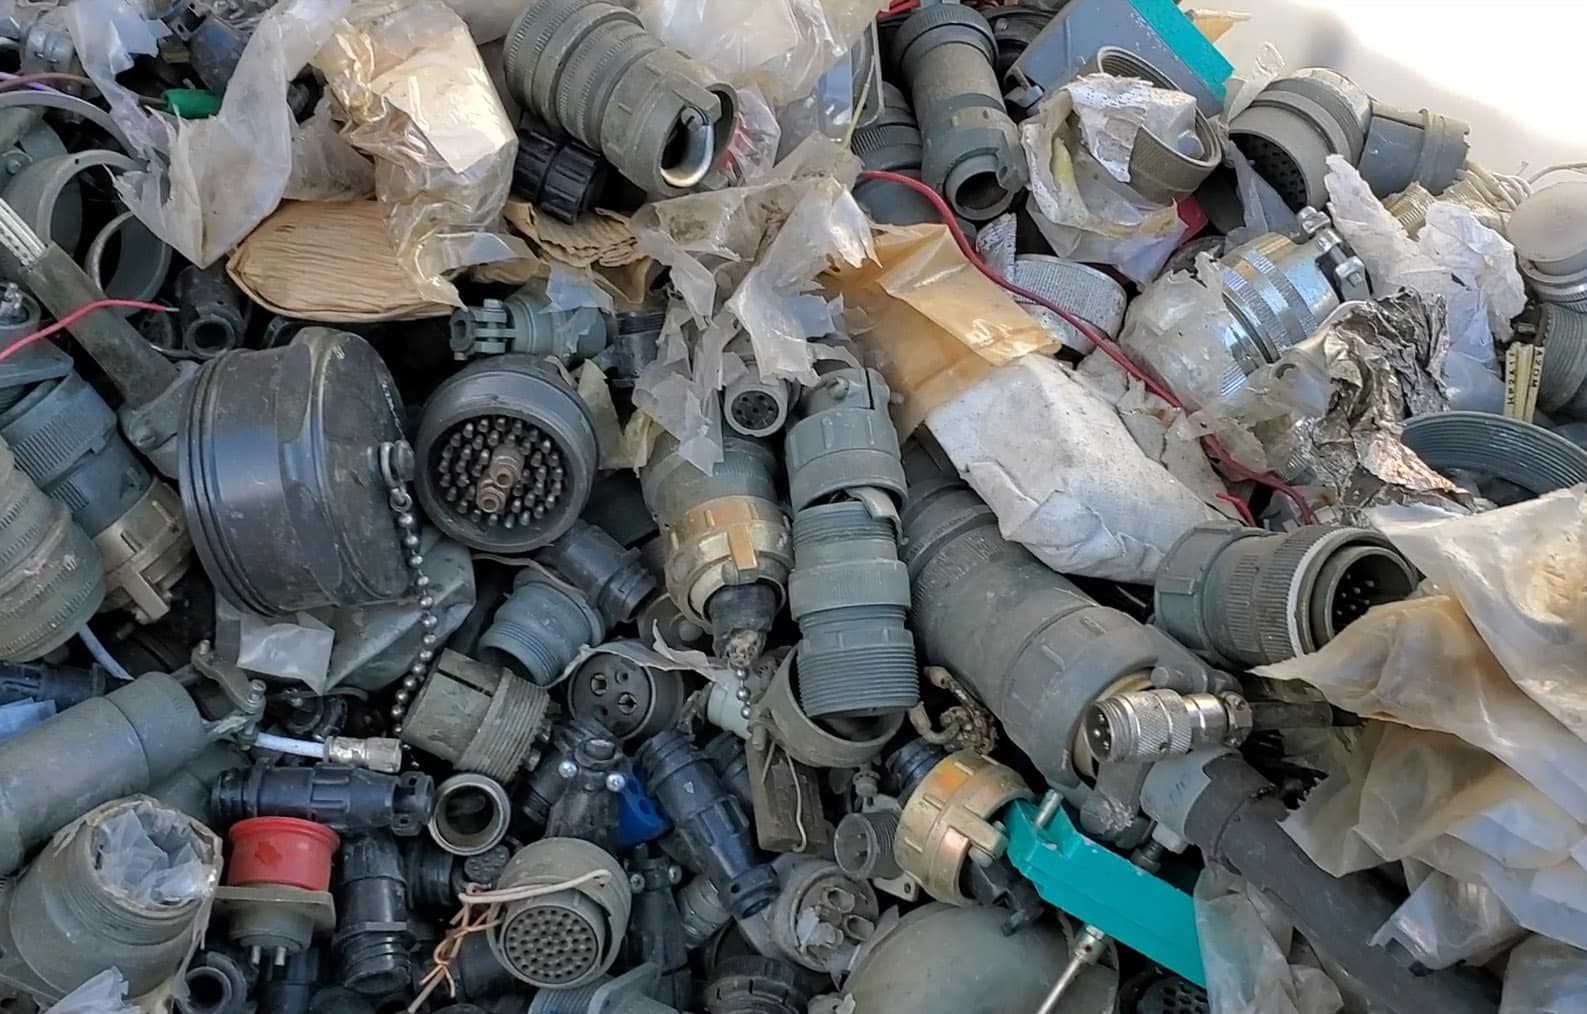
During my digging I came across a gigantic bin of what appeared to be military-styled cable connector shells. These were a great find, because they had a 1″ inside diameter, and a lot of them were able to thread together with other components I had scrounged up.
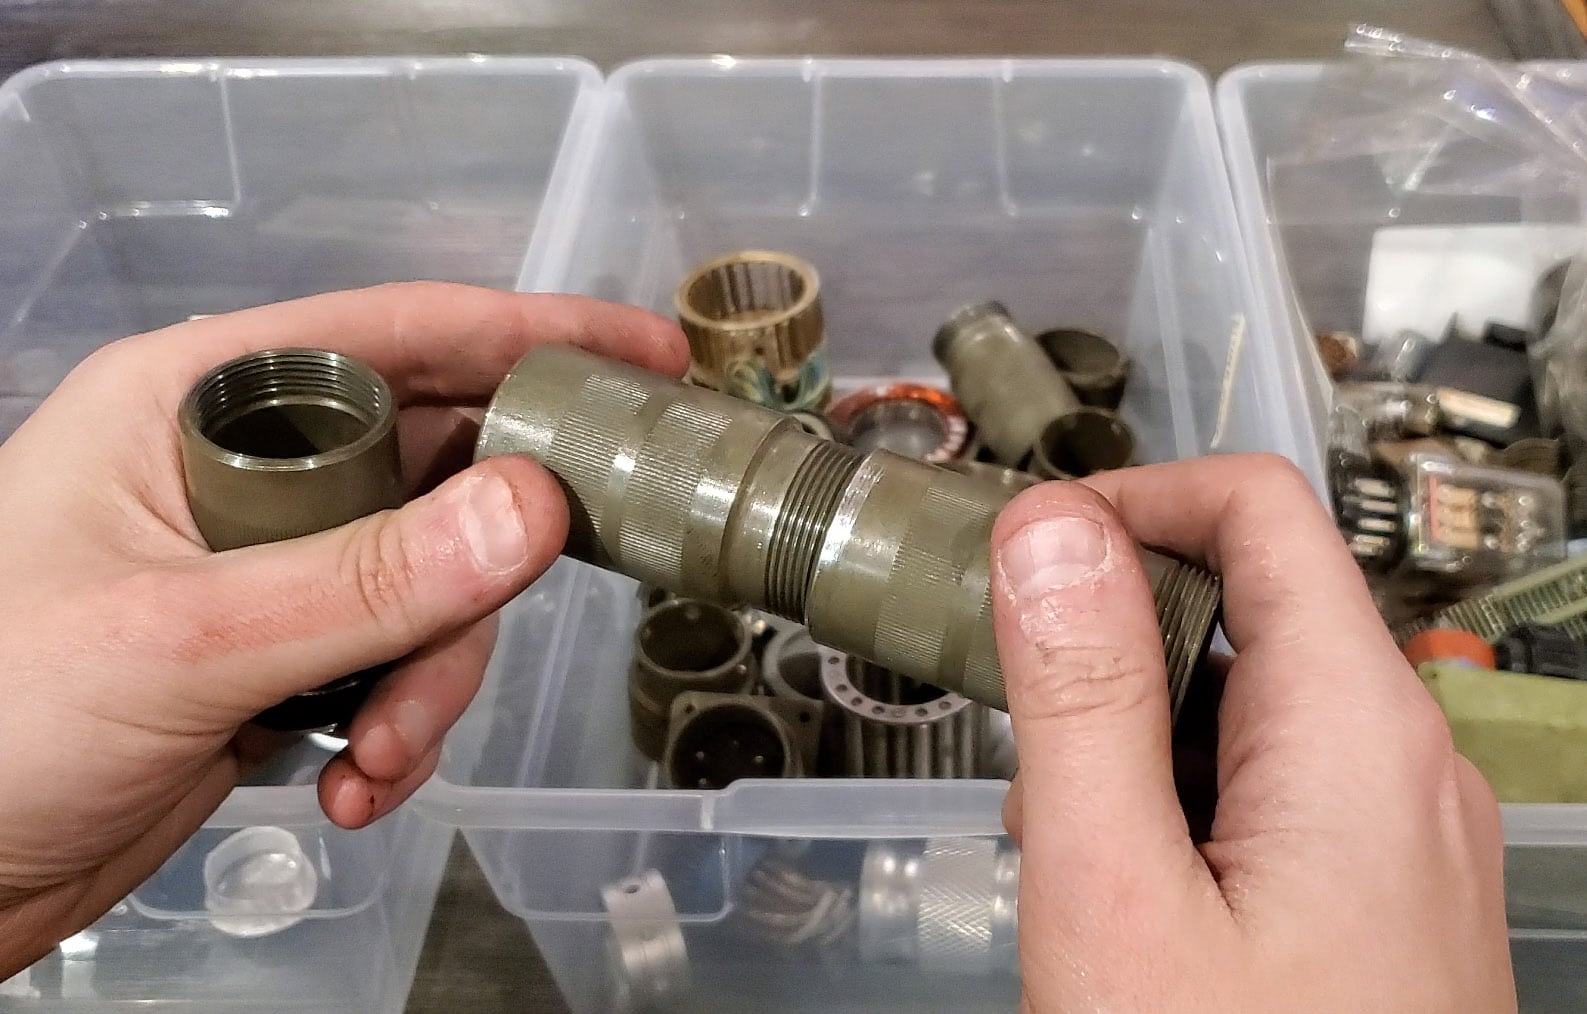
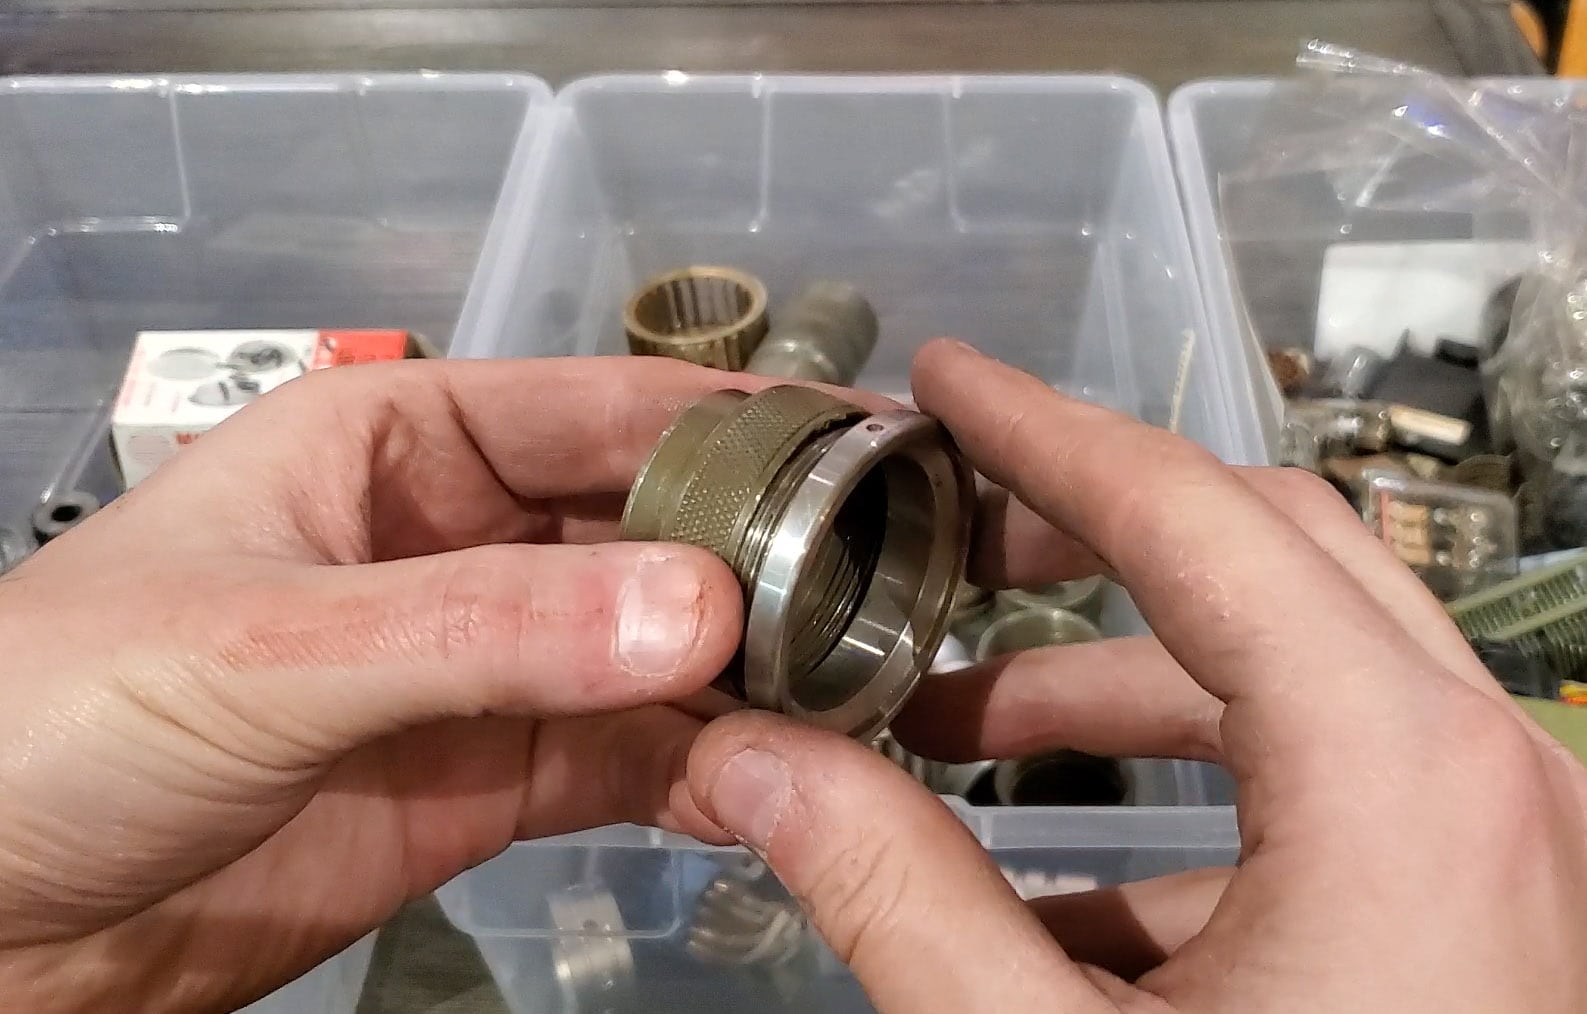
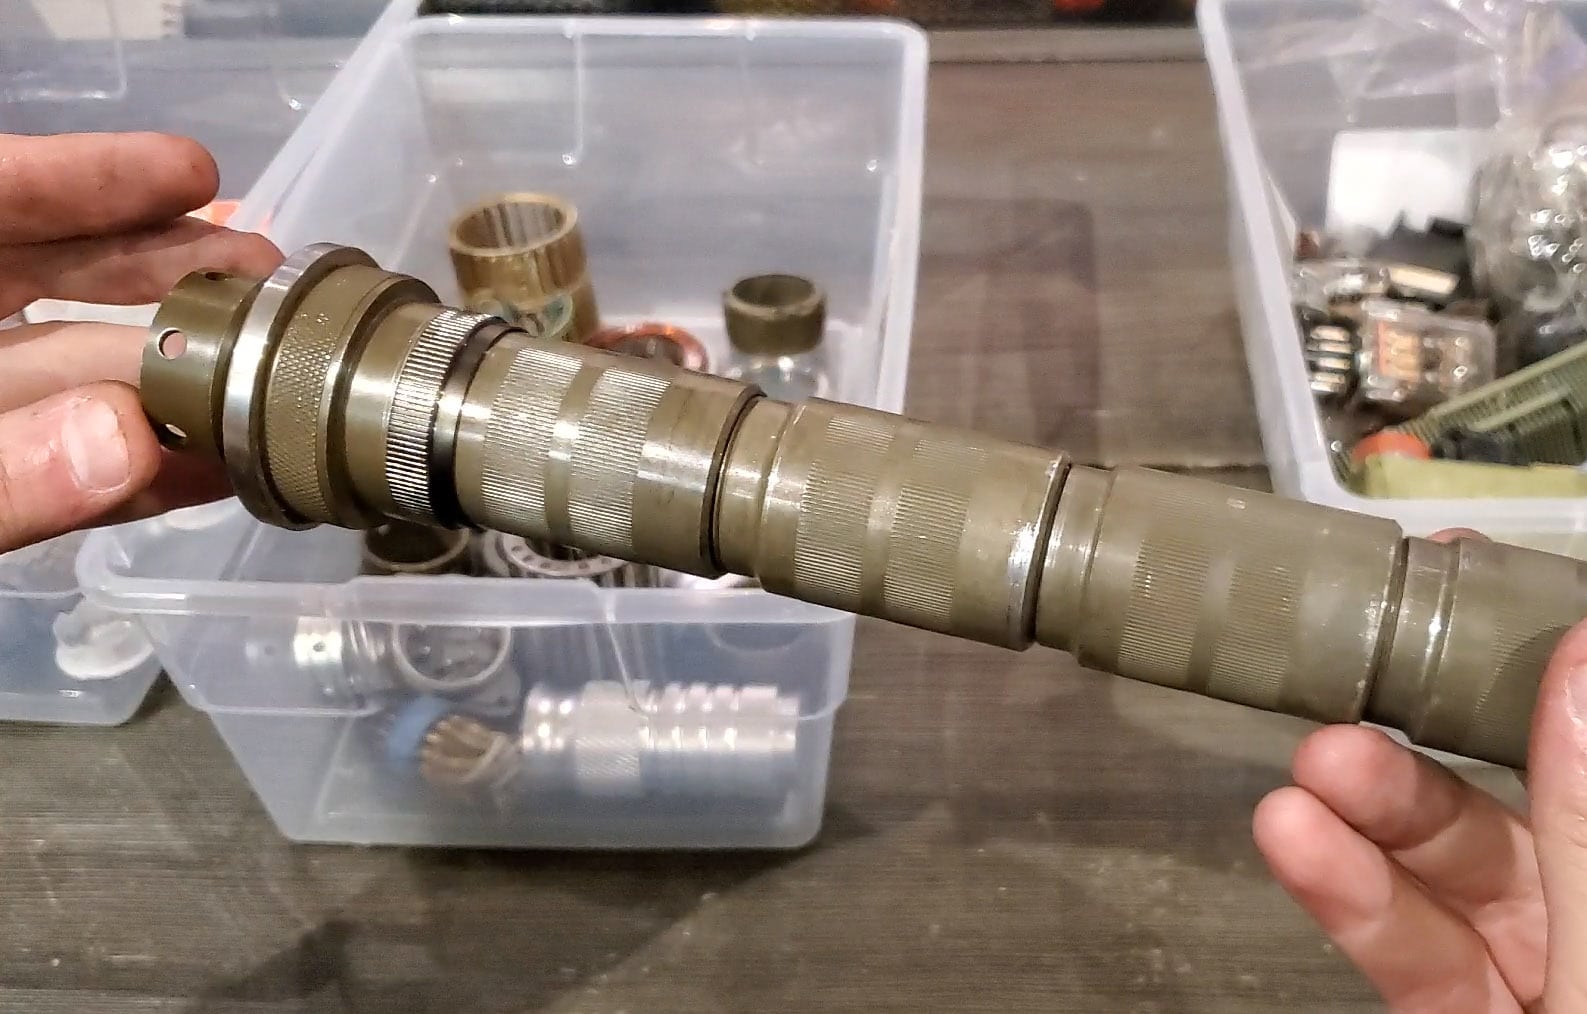
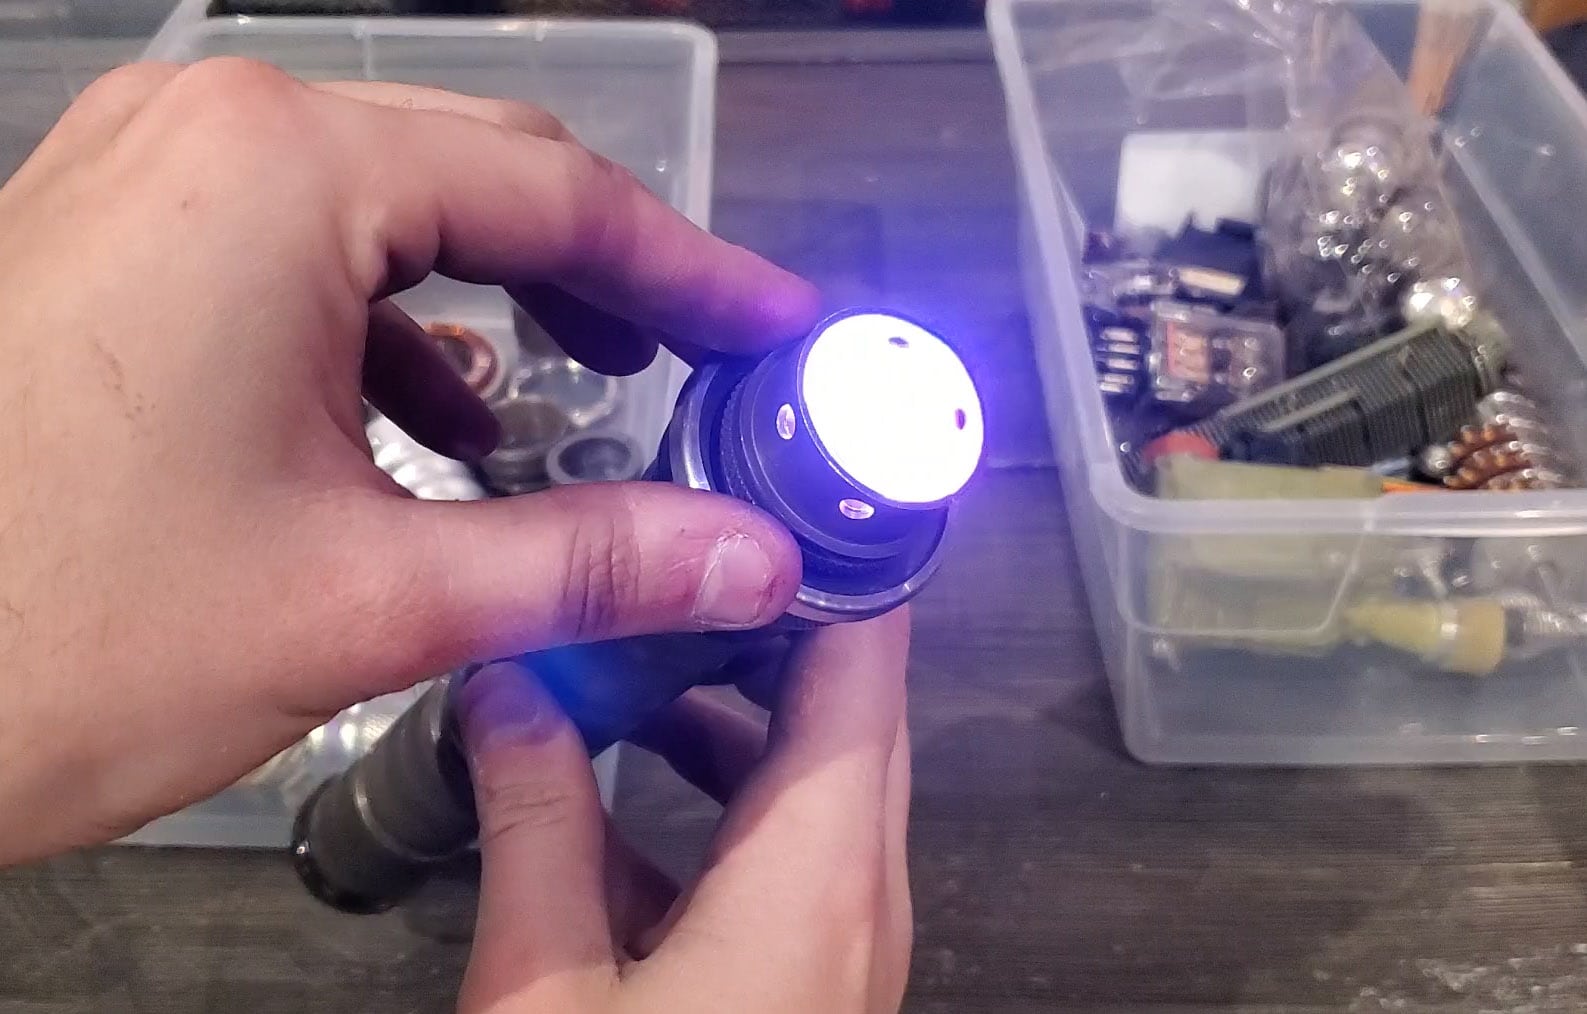
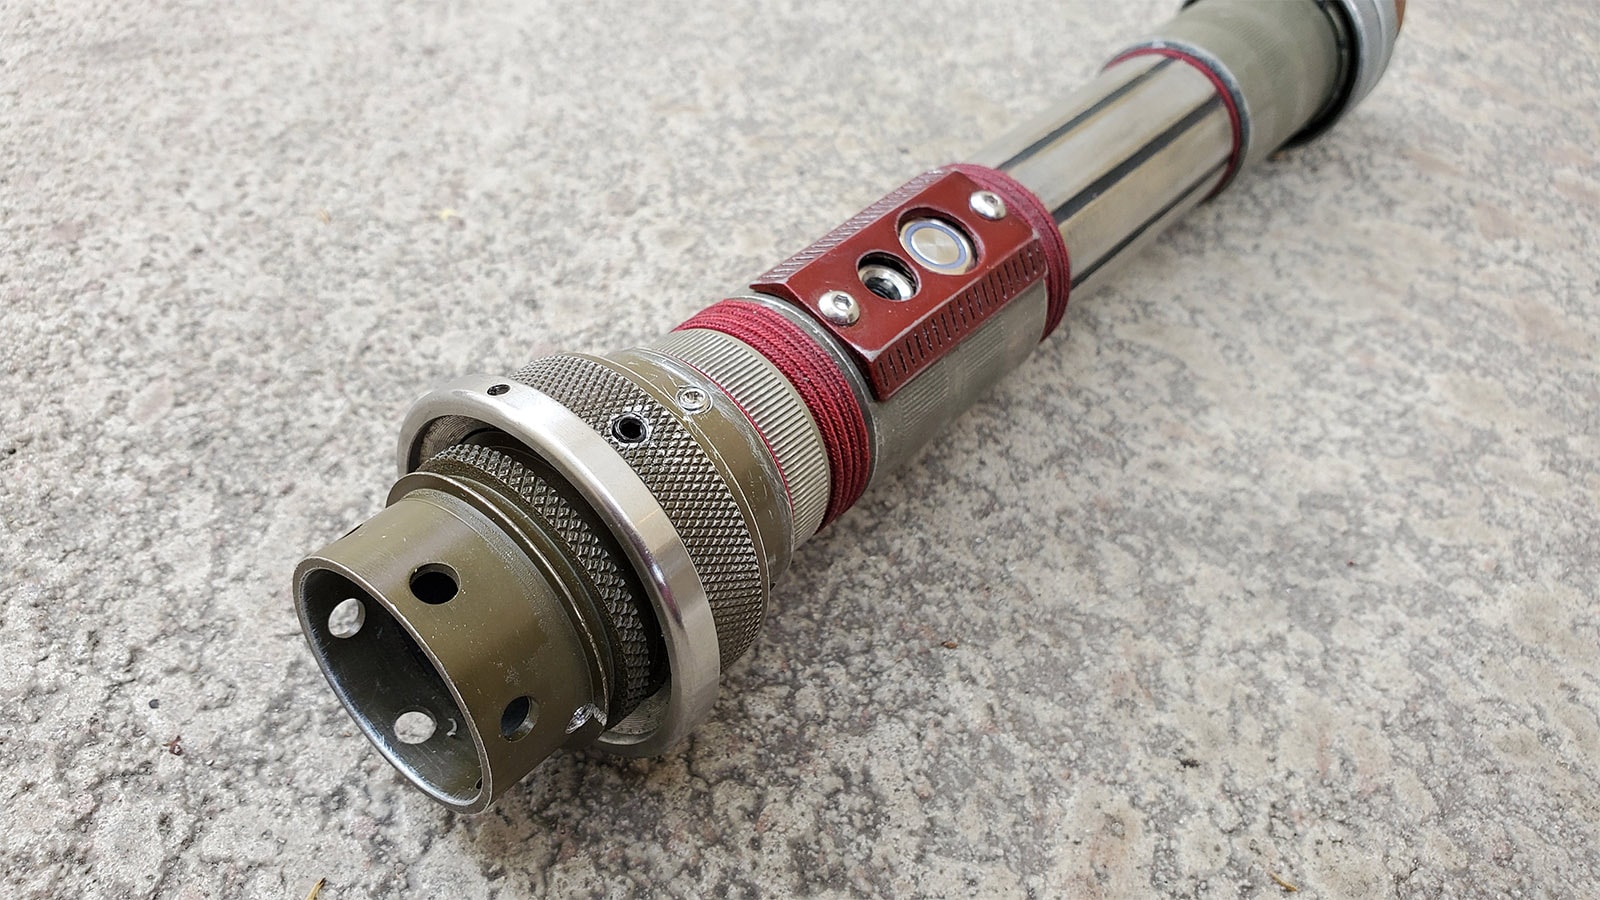
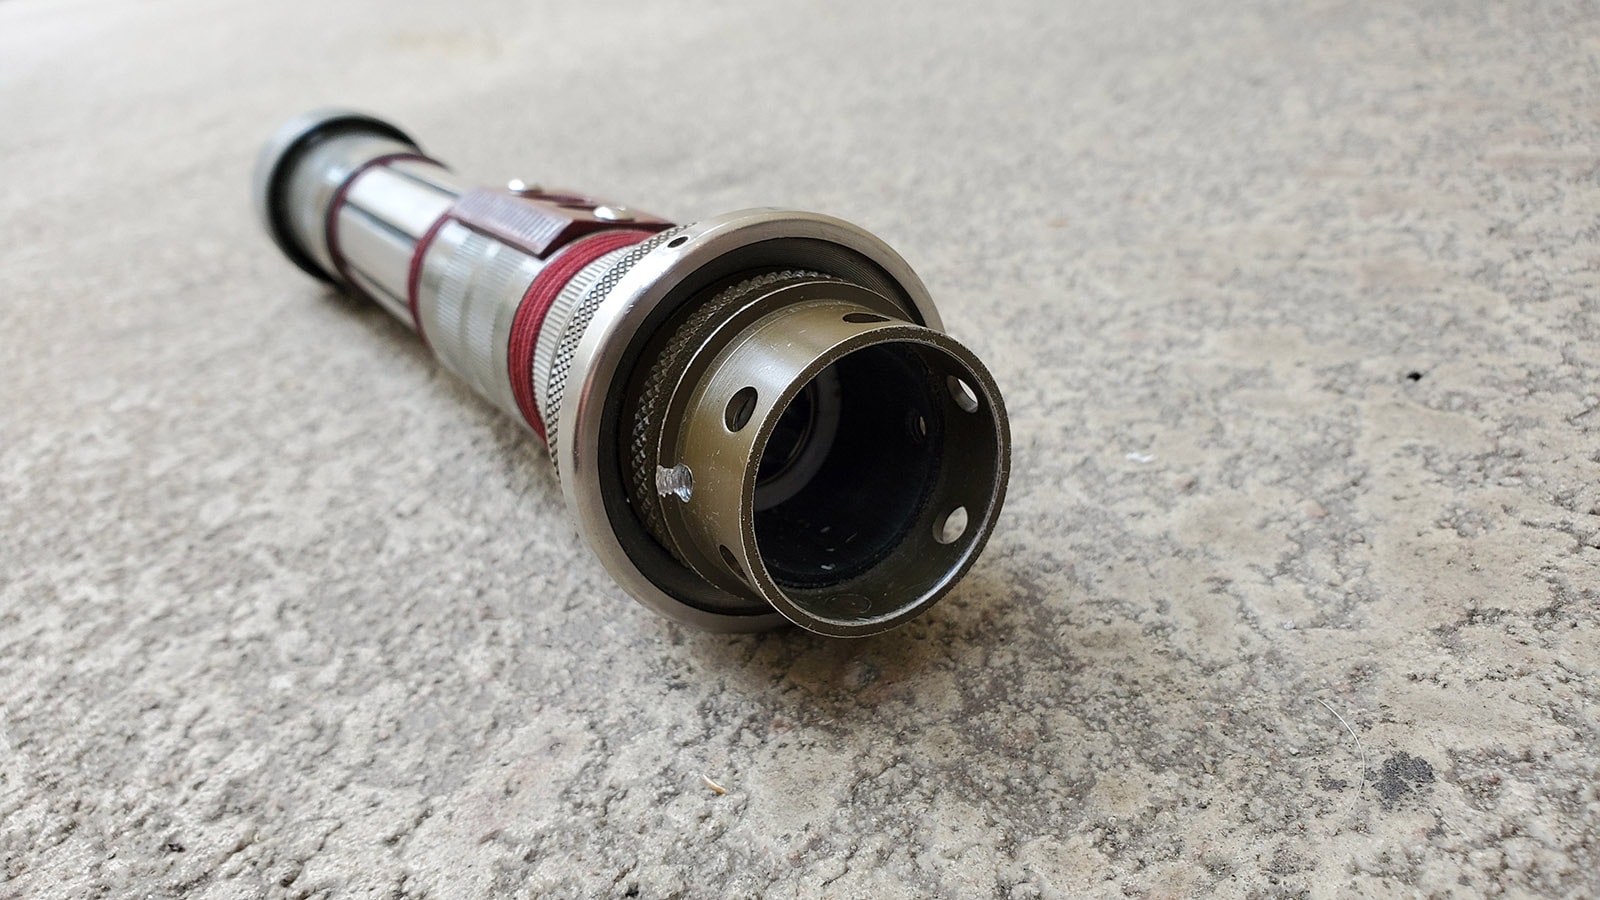
I purchased a good pile of bits to play around with and set about brainstorming ideas – mostly just seeing what parts threaded together and produced a silhouette of what you’d expect from a lightsaber. I found a few wider parts that I liked for the ’emitter’ end, including a pipe with vented holes that I knew would look cool with light behind it.
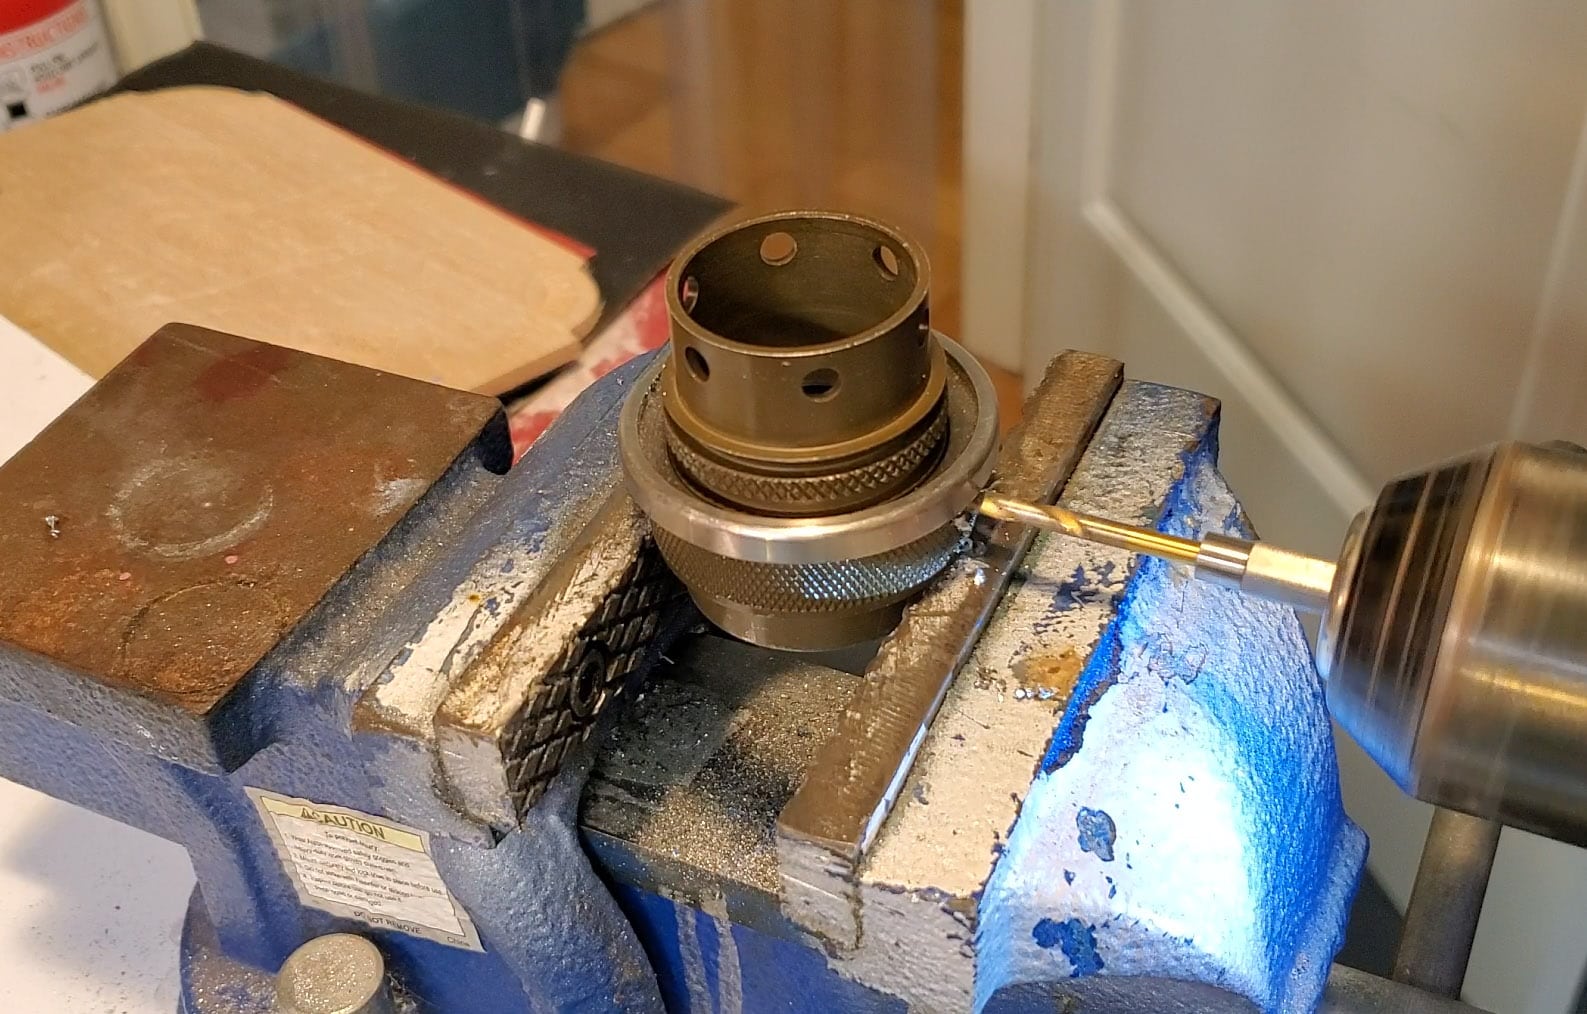
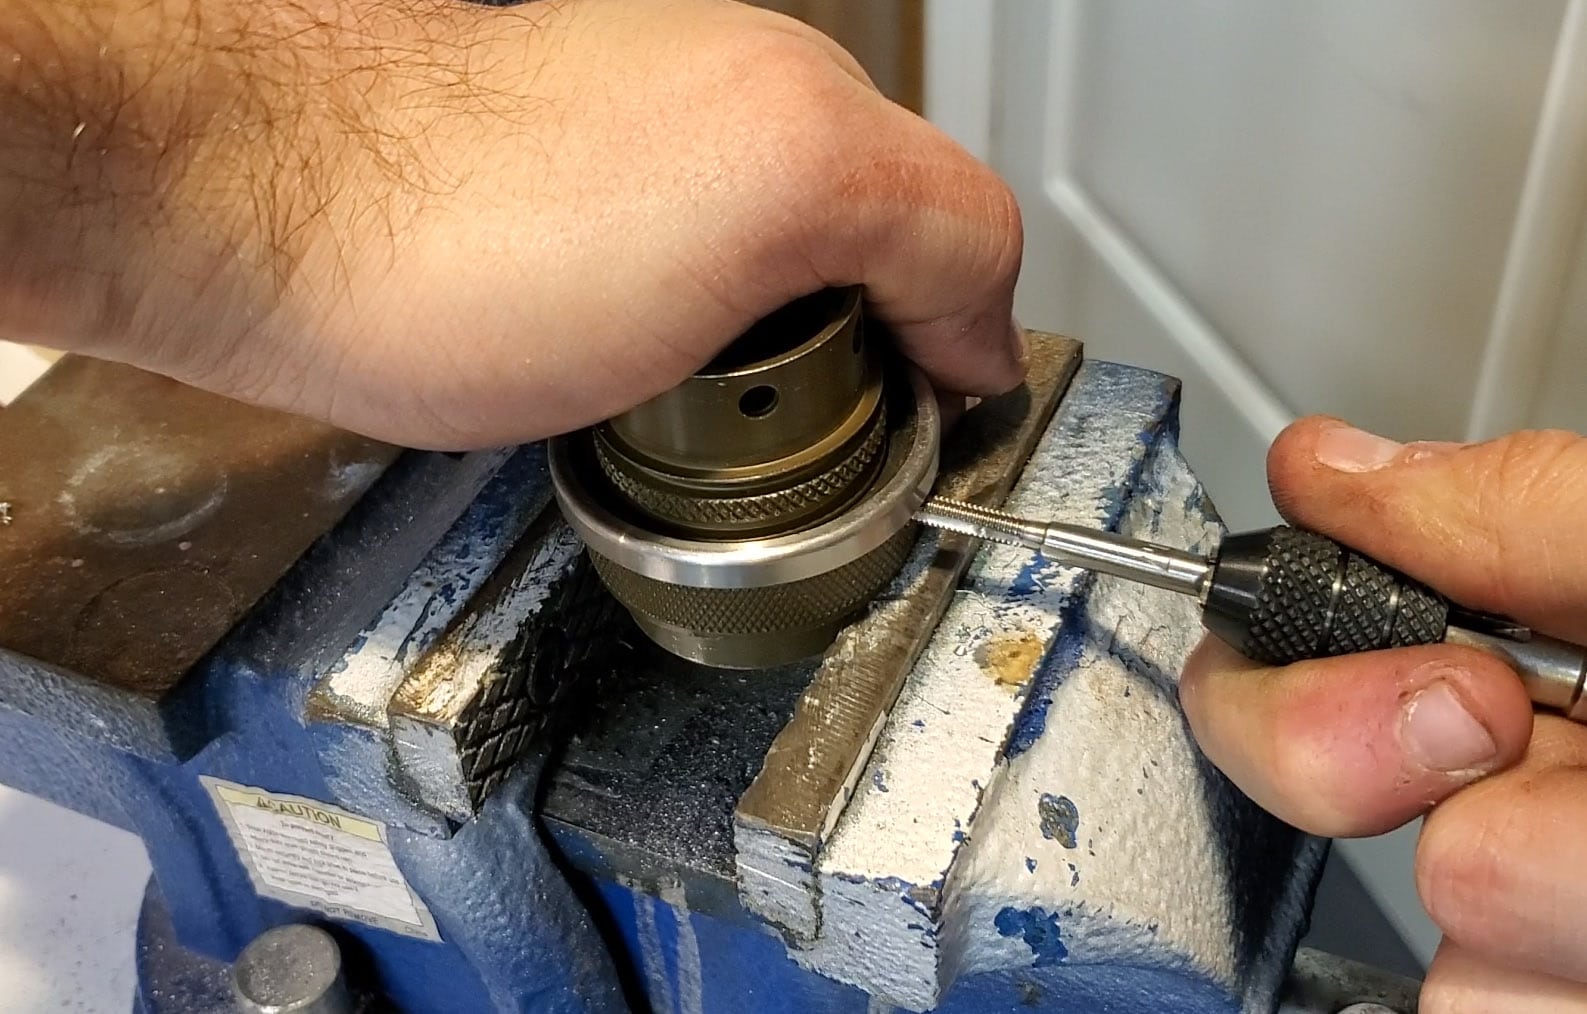
I knew I’d make some changes to the design as I went along, but I felt like I had enough of an idea to start building. I took the emitter parts and drilled a set of holes through them once I had them lined up correctly, then tapped and threaded them. I used small M4 set screws (aka grub screws) to lock the parts together.
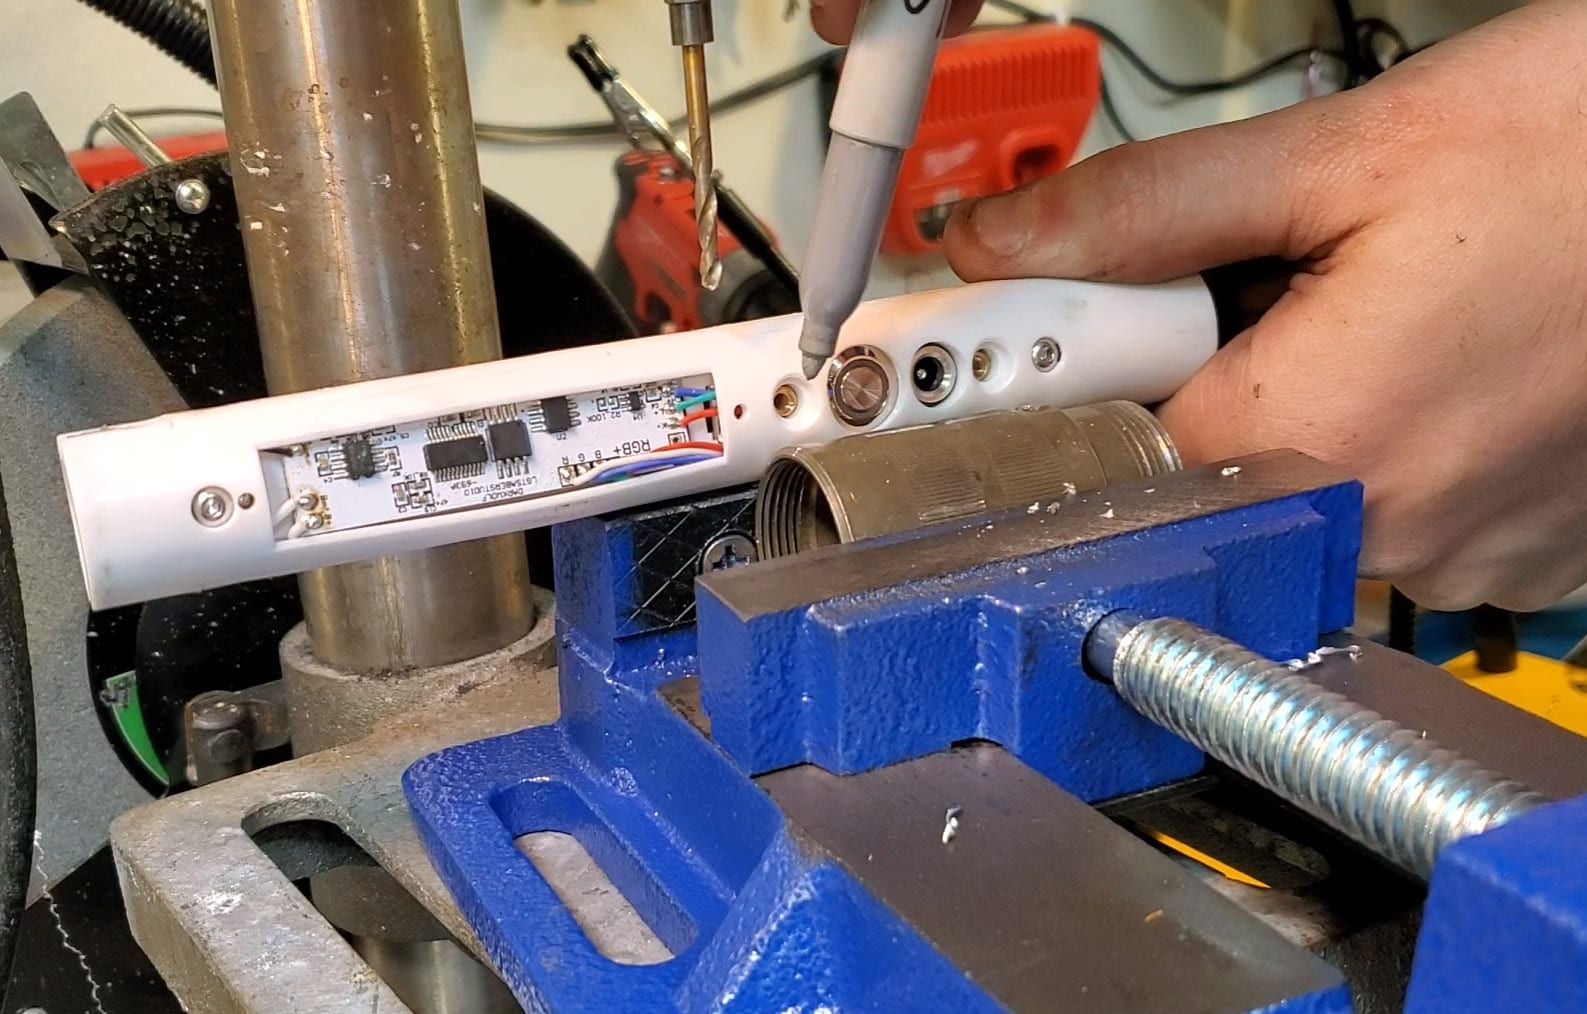
Mounting the electronics chassis requires four holes – two M3-sized ones at either end, a large ~16mm one for the power button, and a smaller one for the charging port. I drew a line down the length of one of the connectors I was using for the saber handle and marked the approximate centers for each hole. A center hole punch helped by making a dimple in the middle of each mark, which meant that my drill bits wouldn’t slide around on the rounded surface of the connector.
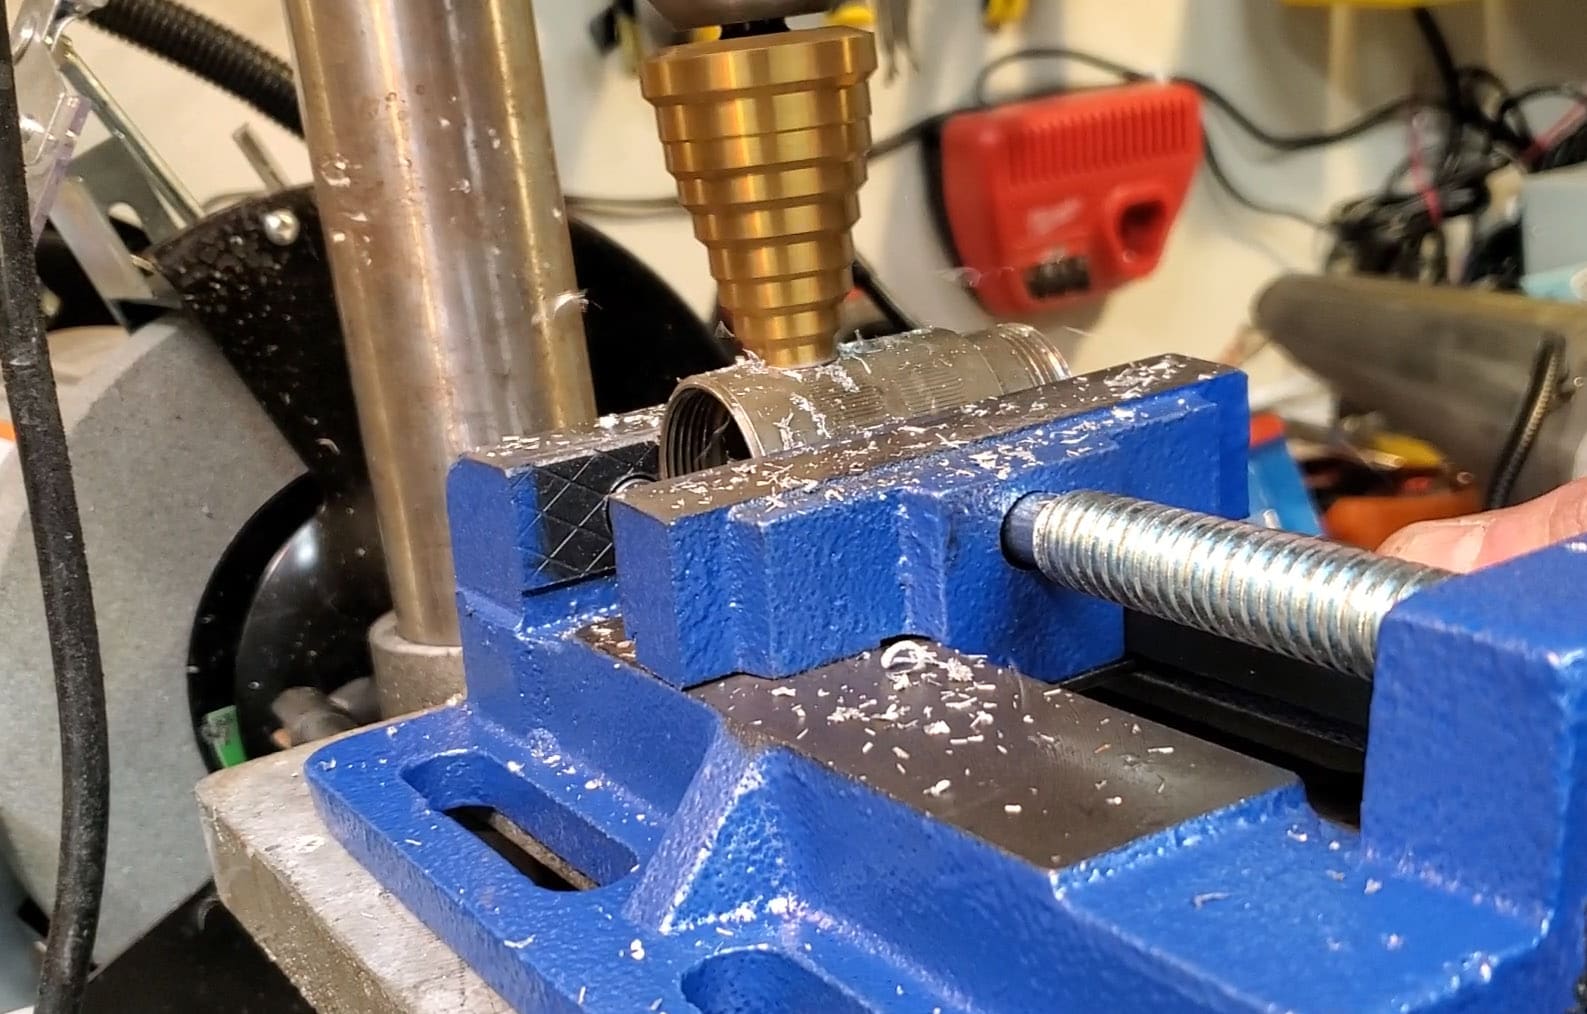
I had a hard time finding a drill bit in my collection that was the right size for the larger power button hole, but I was able to get a close-enough fit with a step drill bit.
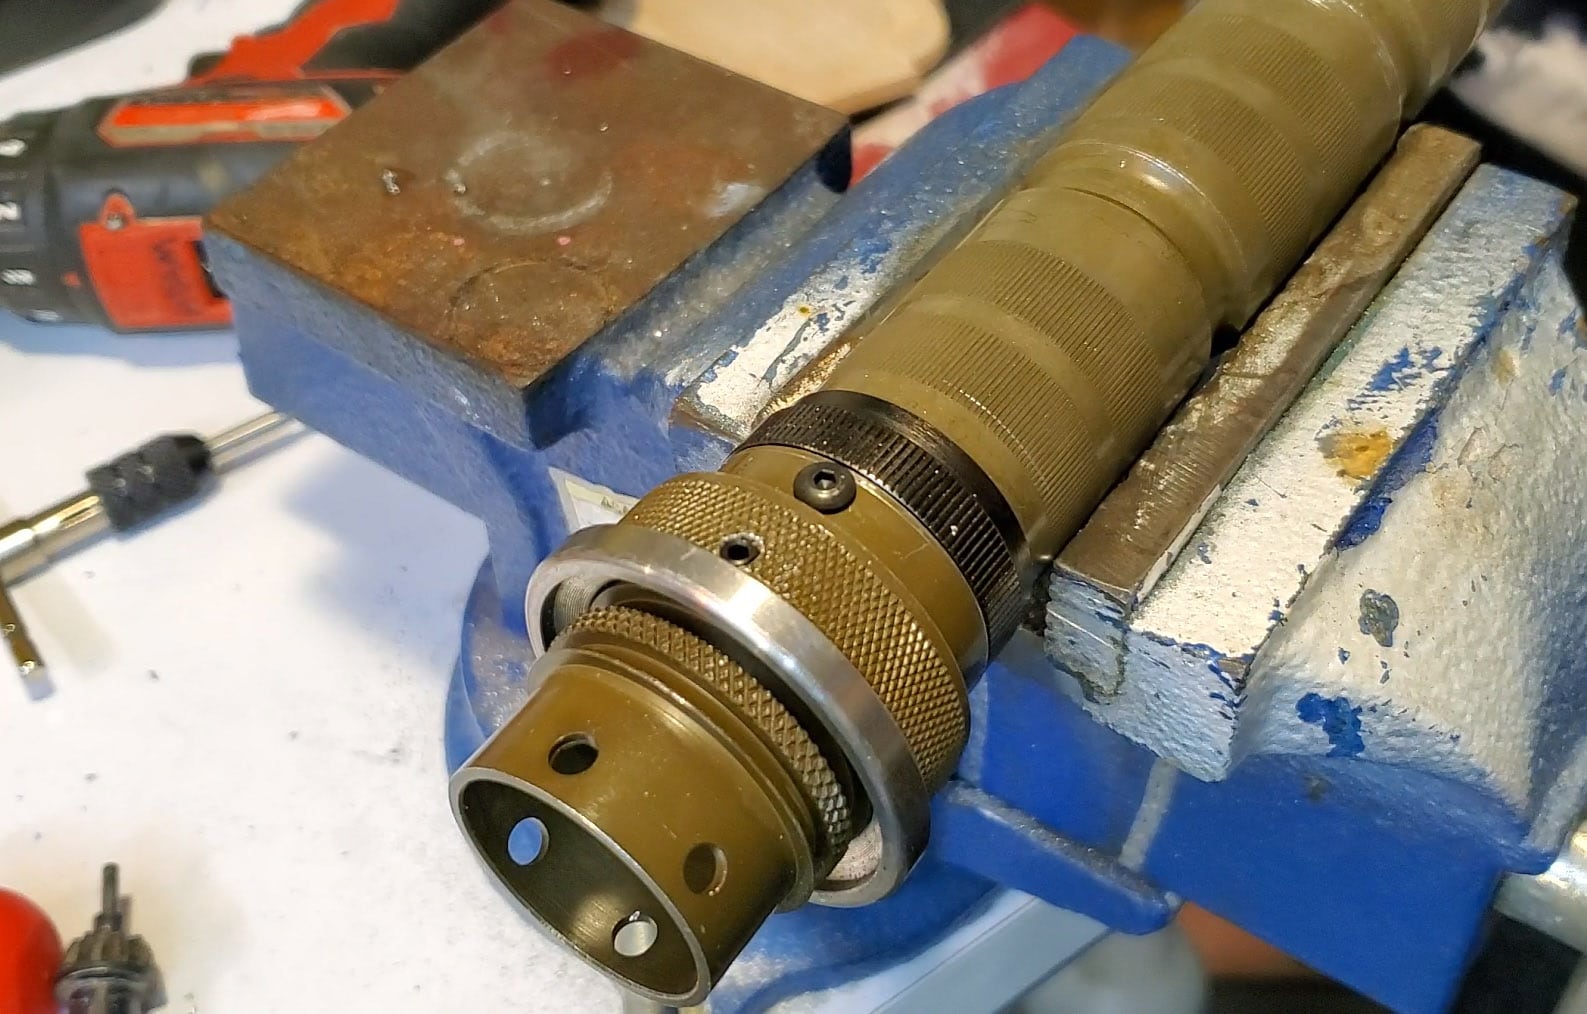
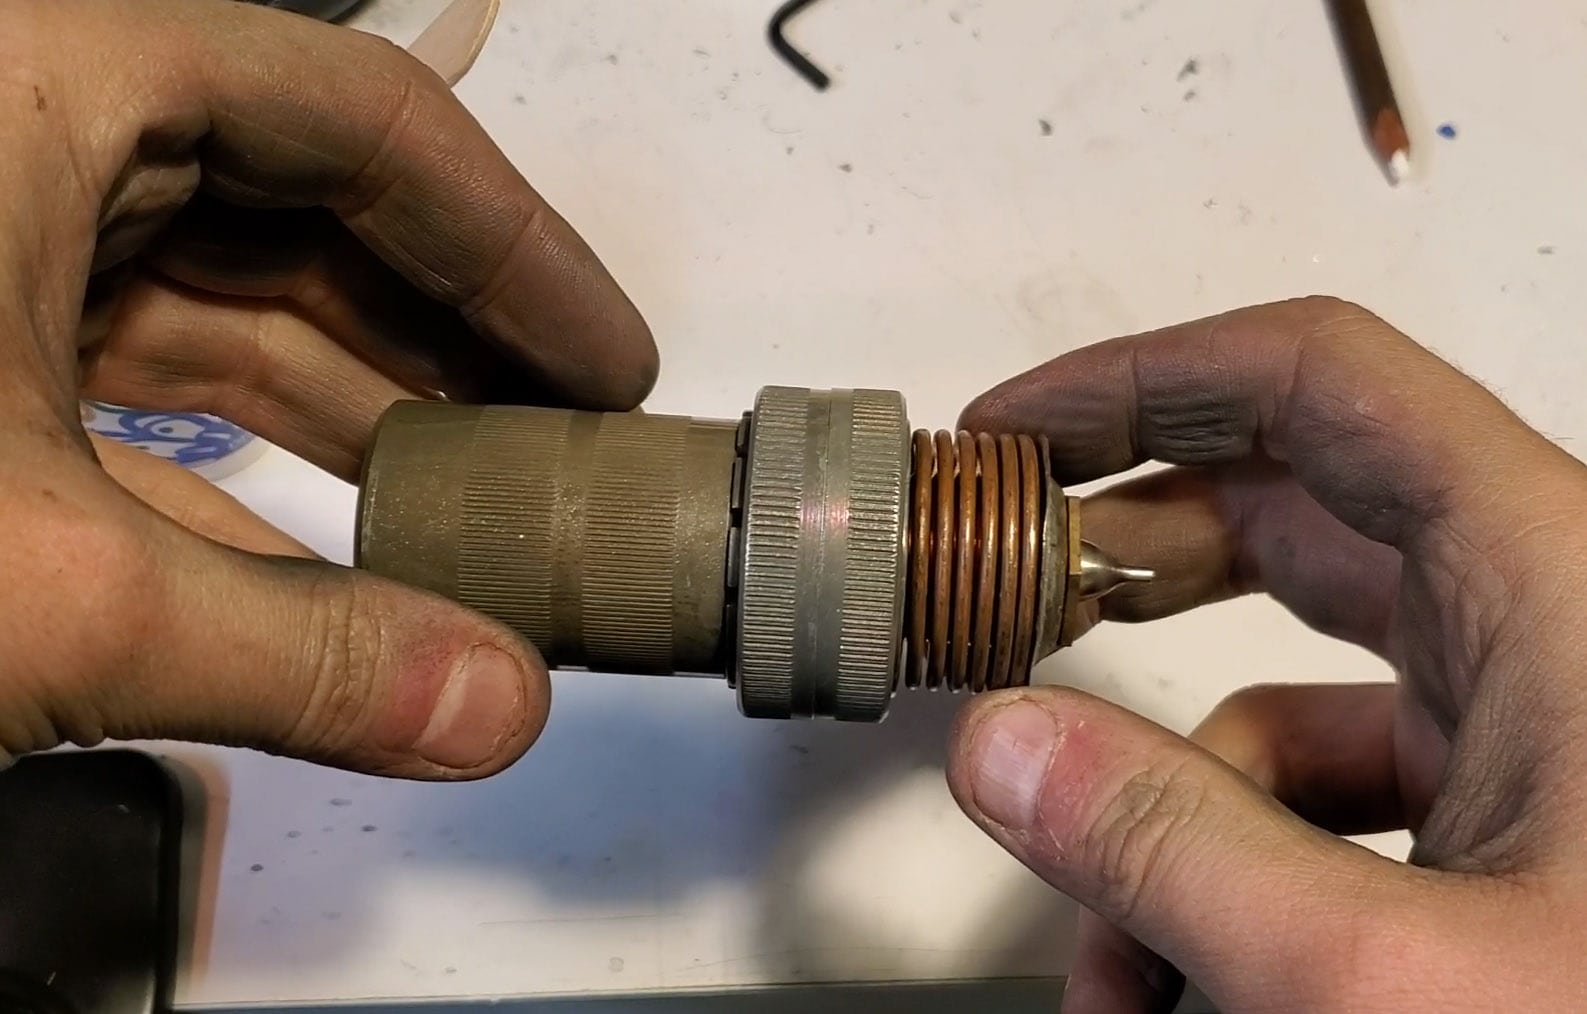
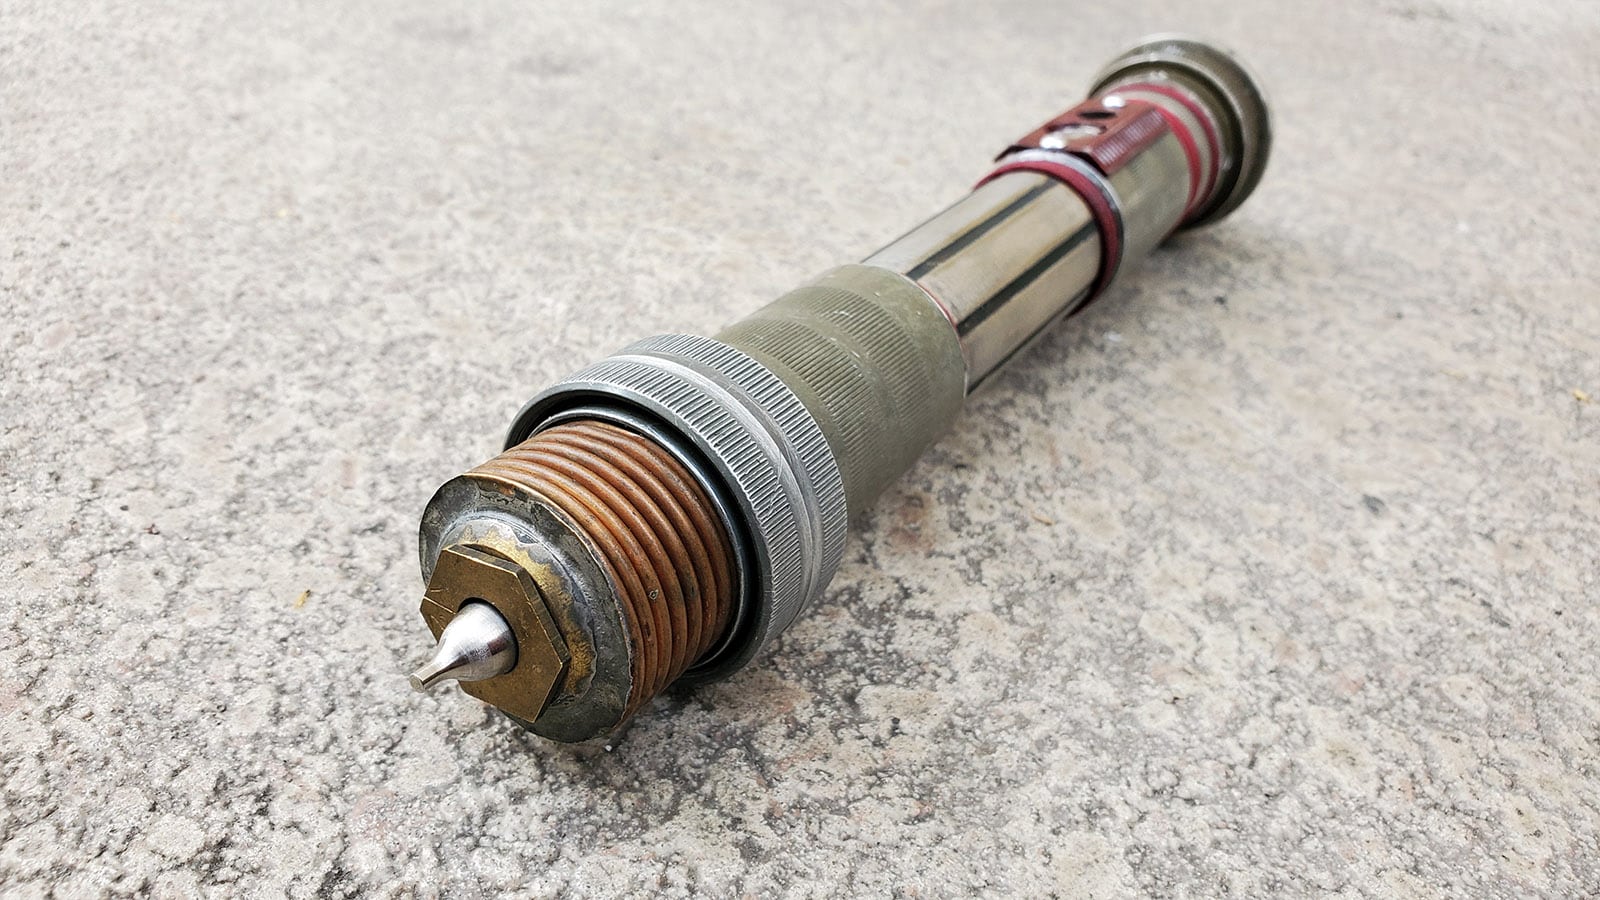
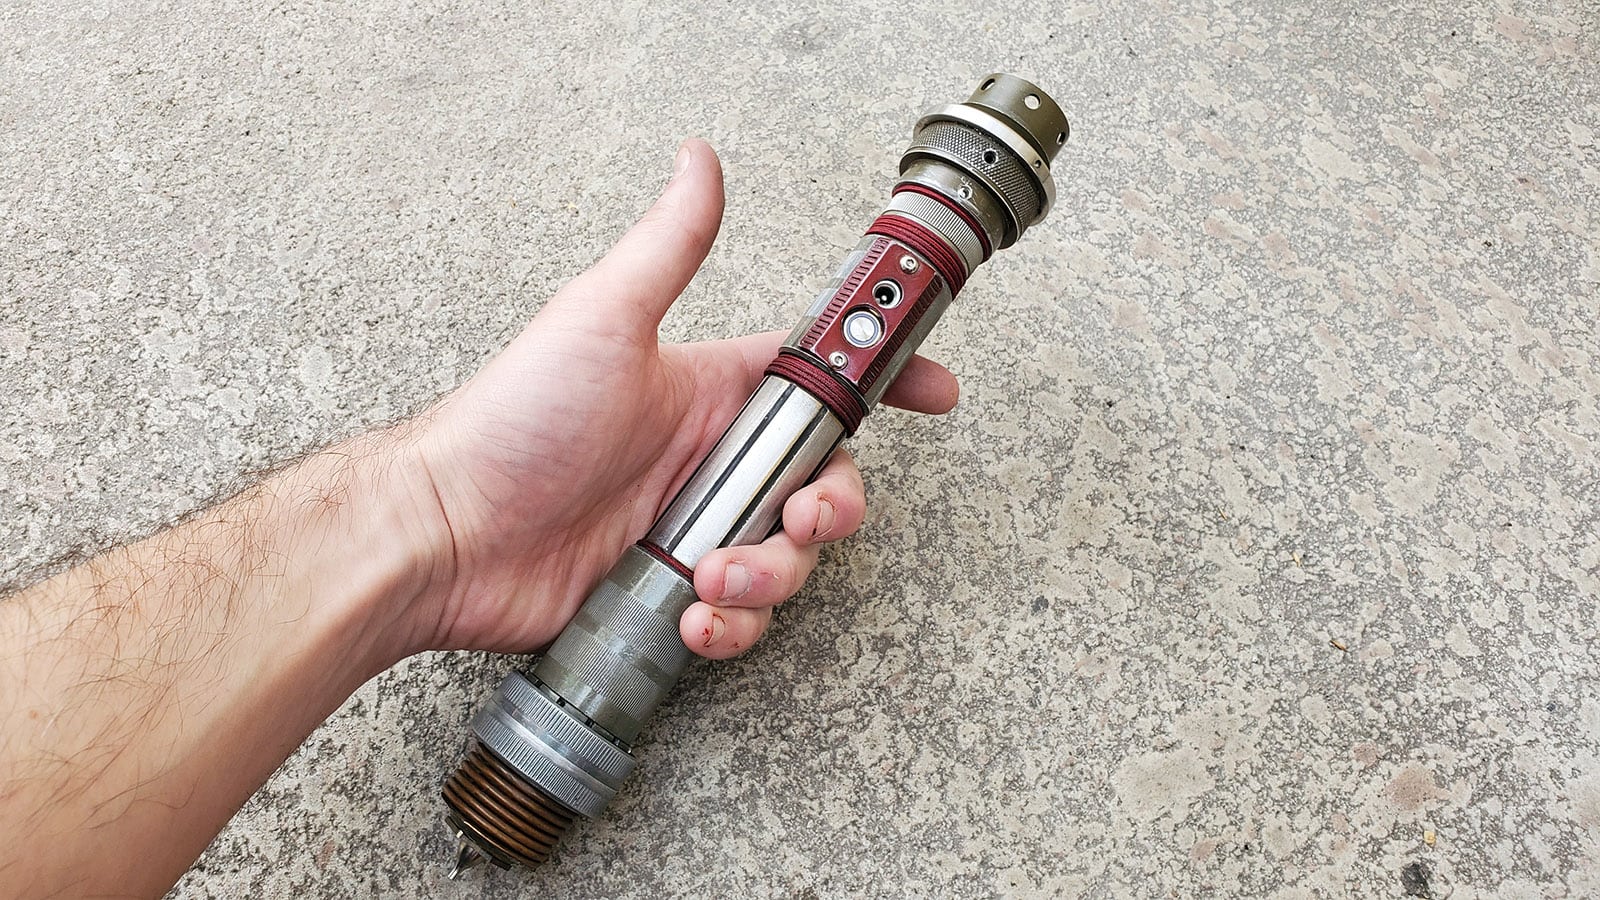
For the bottom of the saber, I found an interesting piece – a sort of coil with a prong. I have absolutely no idea what the provenance of that part is, or what it’s for, or where it came from. I did manage to find enough large ring parts that I could basically thread part of the coil bits into the handle, and I locked them in place with JB-Weld. I also found another mystery part that looked like it’d work great as a replacement for the middle of the handle on the saber. It didn’t quite thread together with the other parts correctly, but I was able to tap and thread screws into it from the side to lock it together with the other pieces I had built.
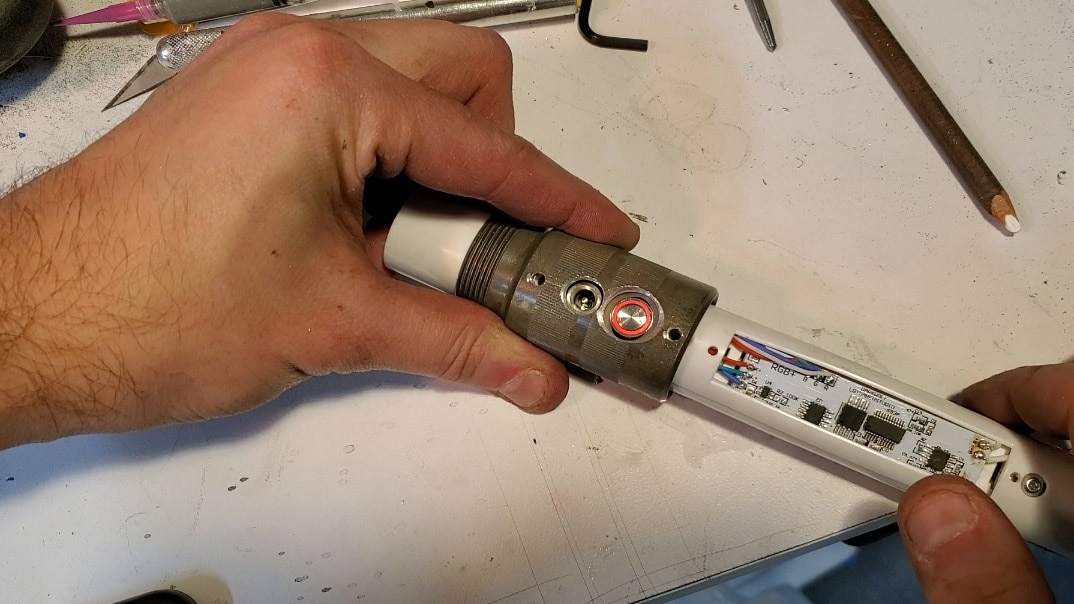
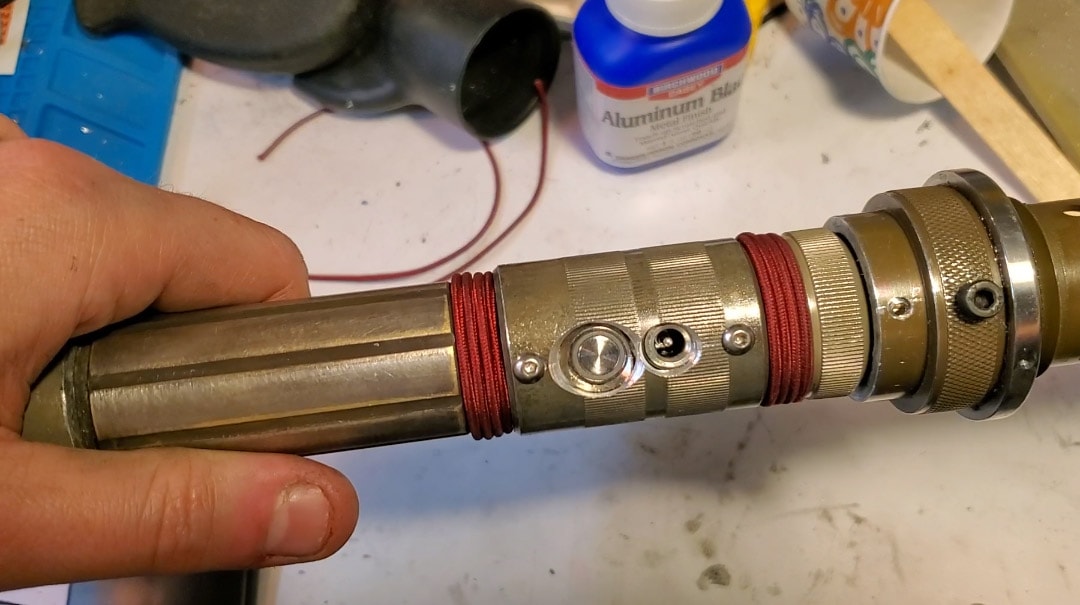
I didn’t like how different the shiny silver aluminum finish of the handle was versus the rest of the saber body, so I grabbed a bottle of Aluminum Black and brushed it on. Once it had time to oxidize, I polished the dark finish back off the raised panels, which left the recessed lines dark and grungy-looking in a way that matched the aesthetic I was going for.
I also wrapped the gaps in sections of the handle with some red cord that I found at the same surplus store I got the rest of these parts from. At first I thought it was paracord, but it actually had copper wiring running through the middle of it! Still, it worked pretty well for what I needed here. The red served as a nice contrast color to the military olive green of the other parts.
I was pretty happy with the look of the saber at this point, but I kept feeling like the holes I drilled out for the lightsaber controls and charger looked a little too rough. I decided that section of the saber needed some kind of panel or cover. This ended up being the only part of the saber I didn’t find off-the-shelf simply because it needed to be so very specific to the saber I was building. I grabbed my calipers, measured the spacing of the holes and the diameter of the handle, and quickly 3d-modeled up a piece to be a cleaner-looking cover.
I’ve gone ahead and made this available as a pay-what-you-want item in our webstore, so feel free to grab it for free if you might find it useful!
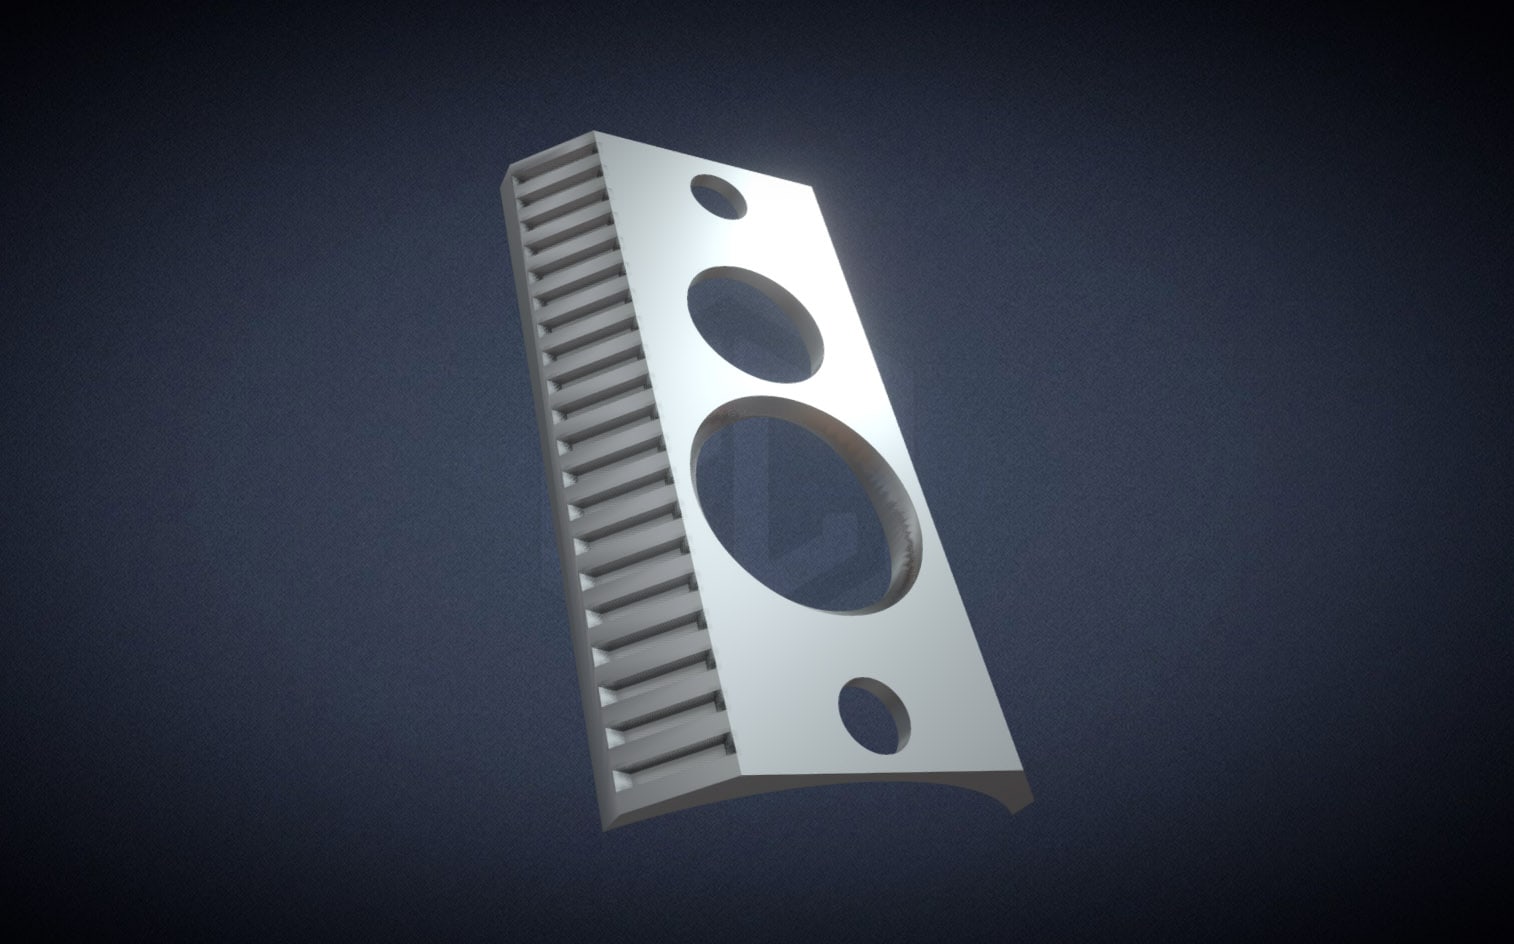

I printed the part out of PLA and used filler primer and some sandpaper to get it nice and smooth. Since the entire rest of the saber was made out of metal, it felt wrong to use put a piece of printed plastic on it, so I made a quick two-part mold of the shape out of Mold Max 30. Once the silicone had set, I produced a cold-cast copy of the part by mixing aluminum powder with Task 4 resin, which is meant for casting thin parts with substantial strength. The cast part was polished to give it a realistic metallic lustre, and then coated with Dupli-Color’s Red Metalcast spray paint. This gave the part a red-anodized look that matched the cord that I had wrapped the saber handle with. After I let the metalcast coat dry, I gently sanded the edges of the piece to knock the red off and reveal the shiny aluminum finish beneath, giving the cover the same worn look as the rest of the saber.
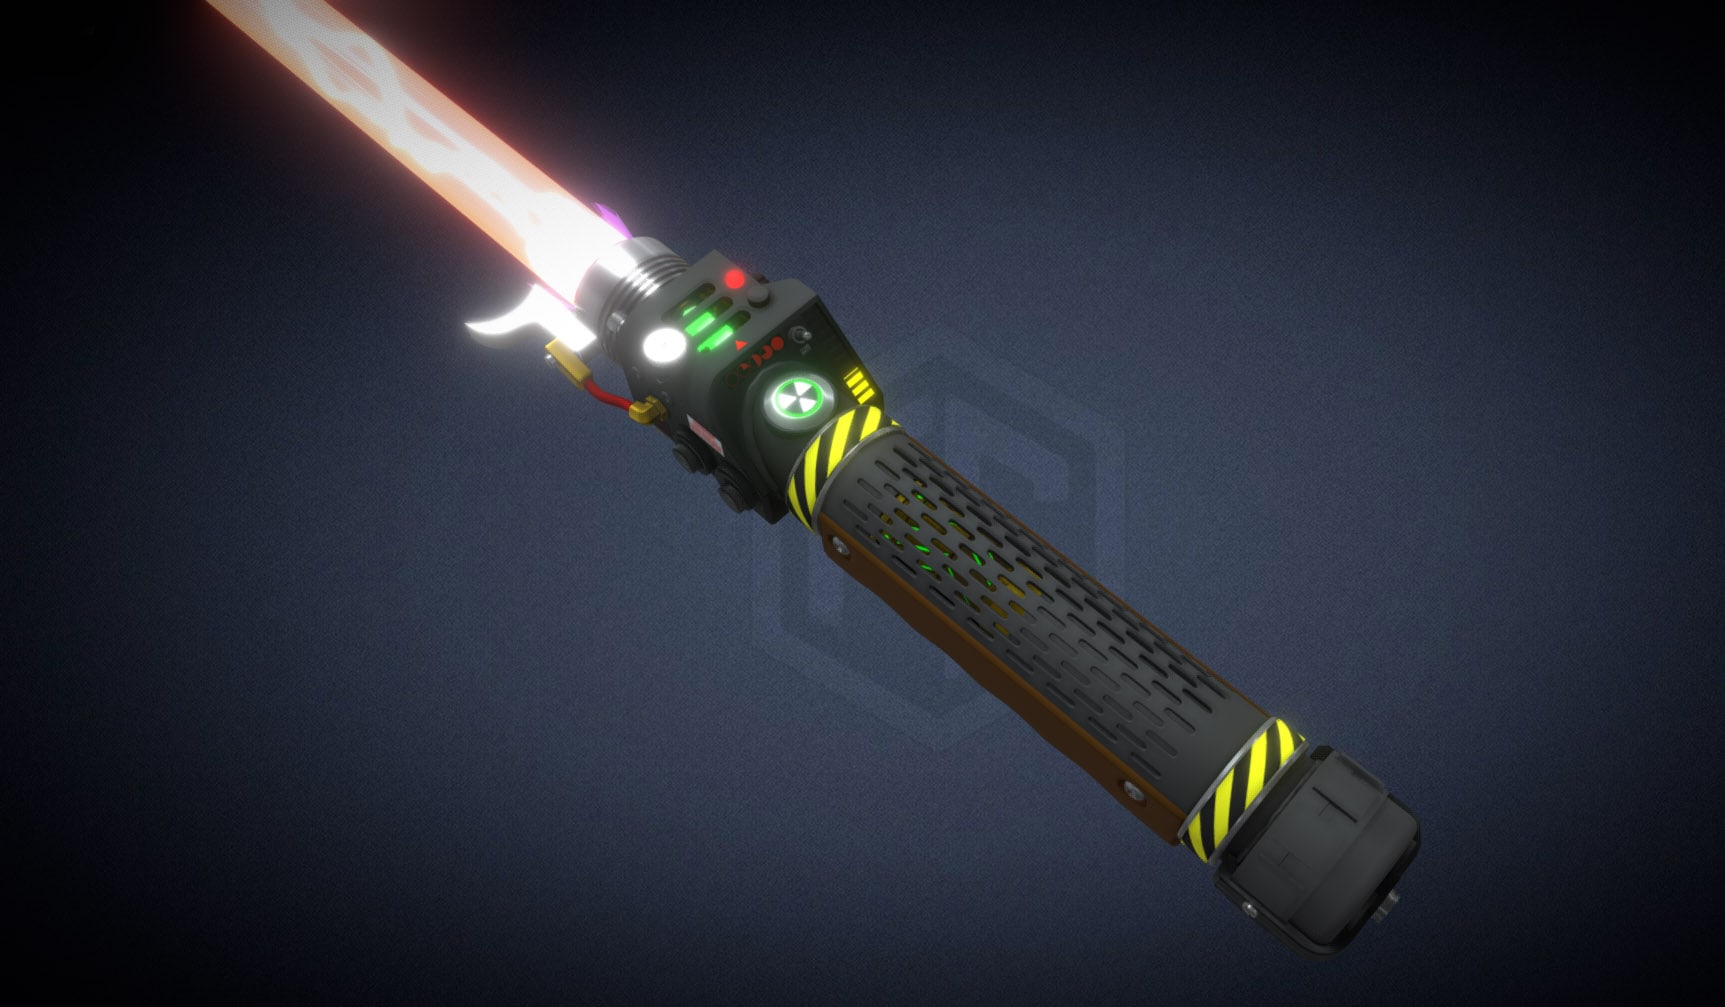
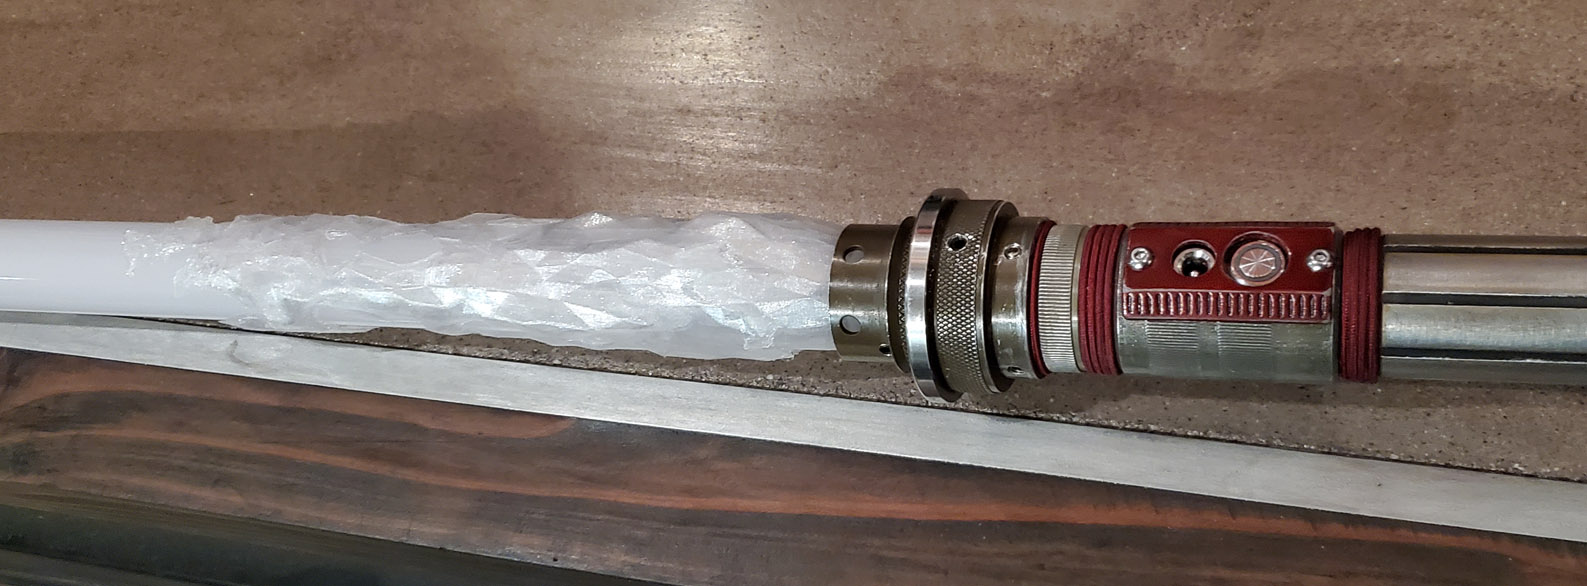
With the panel securely in place, all the saber needed was a blade! Fortunately, I had one ready to go – I ordered a few spares off AliExpress because I have some friends that like to go hard with swinging my lightsabers. The spares have been pretty good so far. They’re polycarbonate, have tips on them already, and have some diffusion on the inside. I usually drill a set of holes through the base of the blade where it sockets into the lightsaber handle so that the blade can’t come flying loose if the jedi (or sith) in question gets too enthusiastic swinging it around.
I also added a 3D-printed ‘ragged blade’ section over the lightsaber blade by the emitter. It gives it a bit of the Kylo Ren lightsaber look, where the blade appears a little unstable. It seemed appropriate for a weapon built from scrap!
I filmed a bit of a montage of the process behind this saber, including being a dork in the parking garage below my home. Can’t help it, this stuff is fun!
