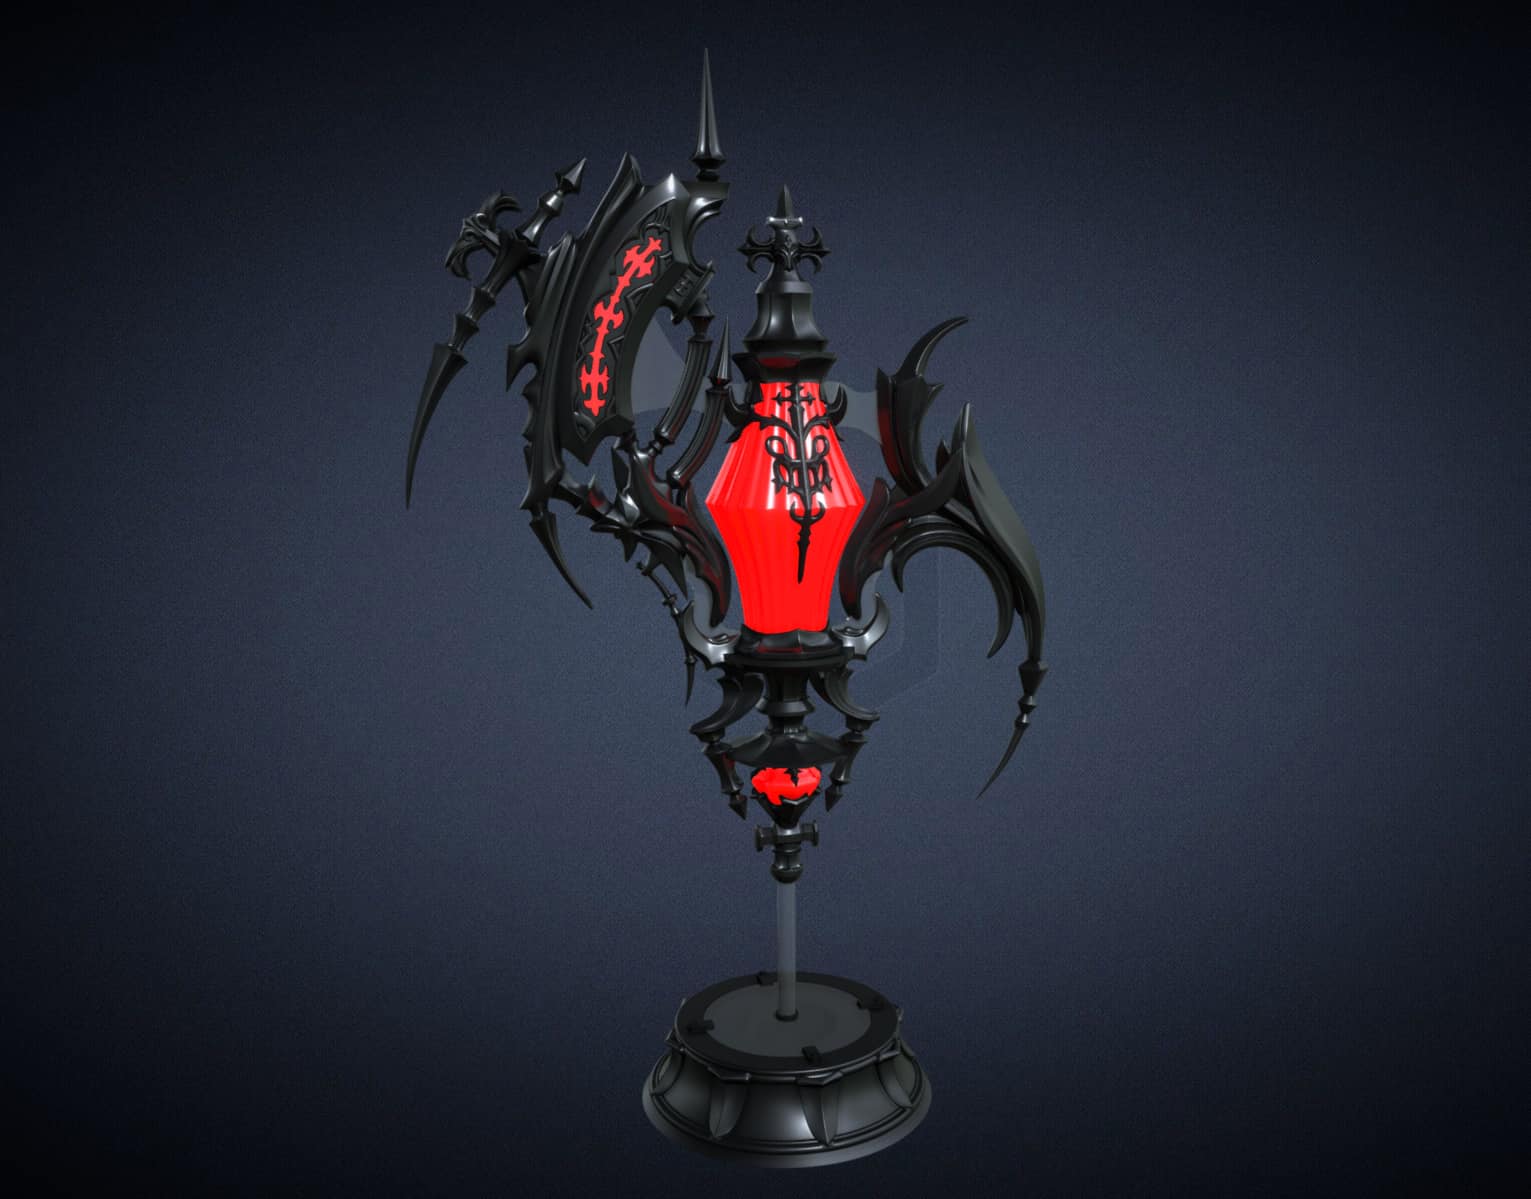
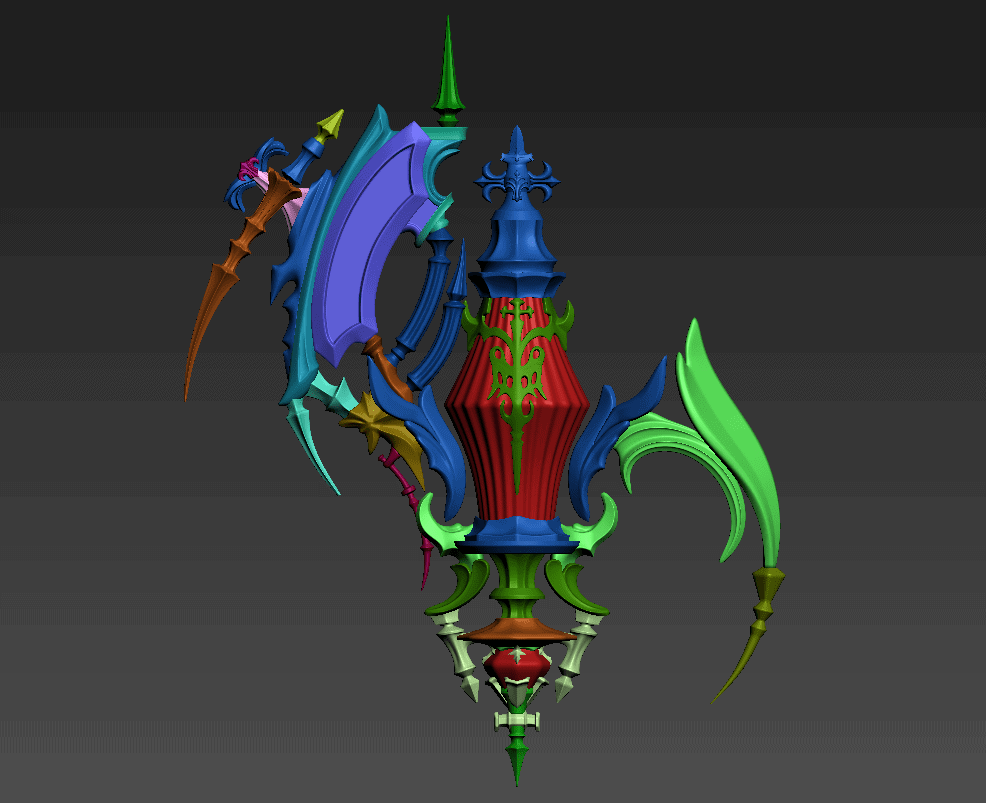
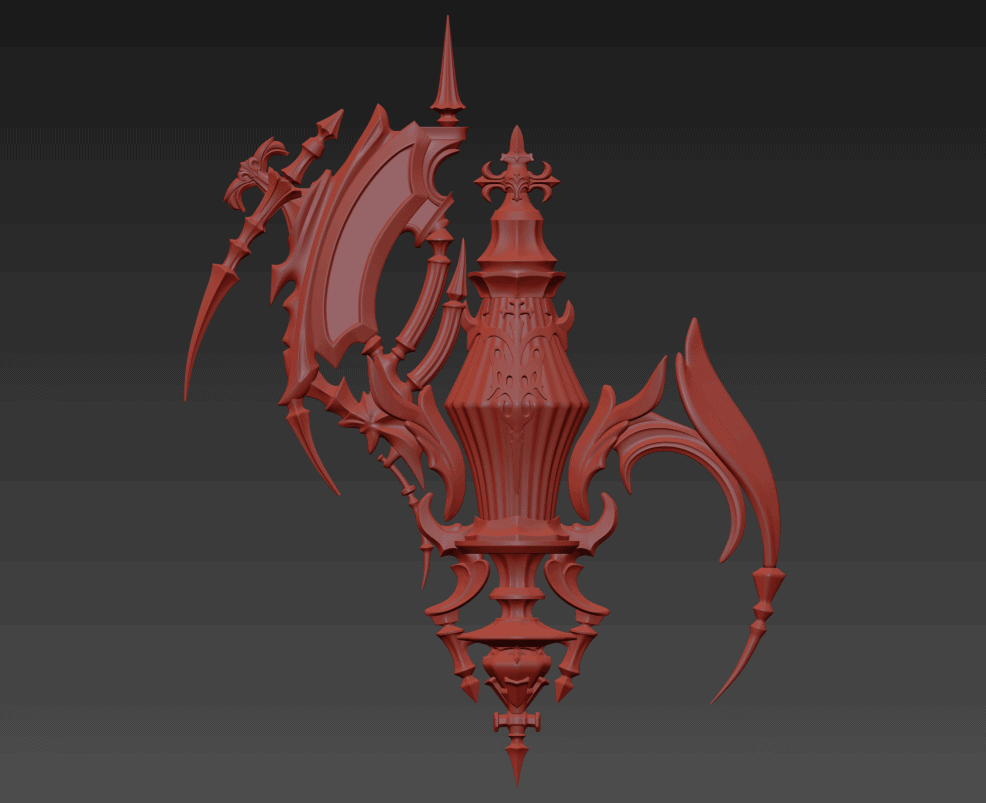
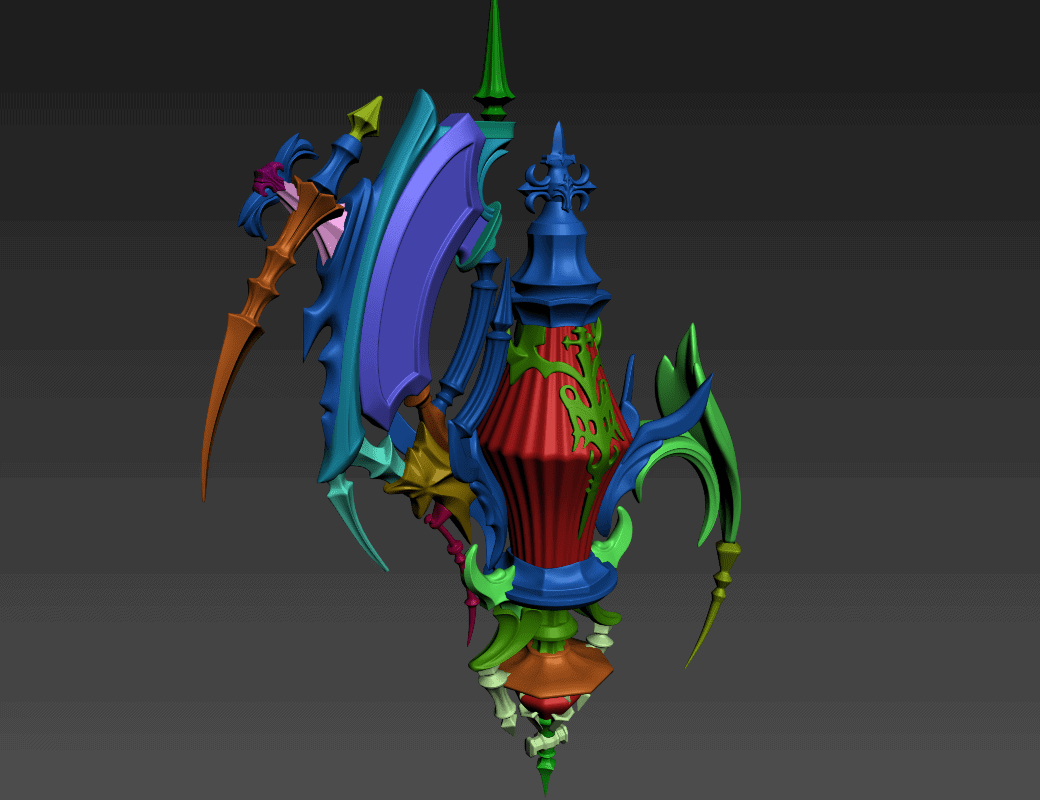
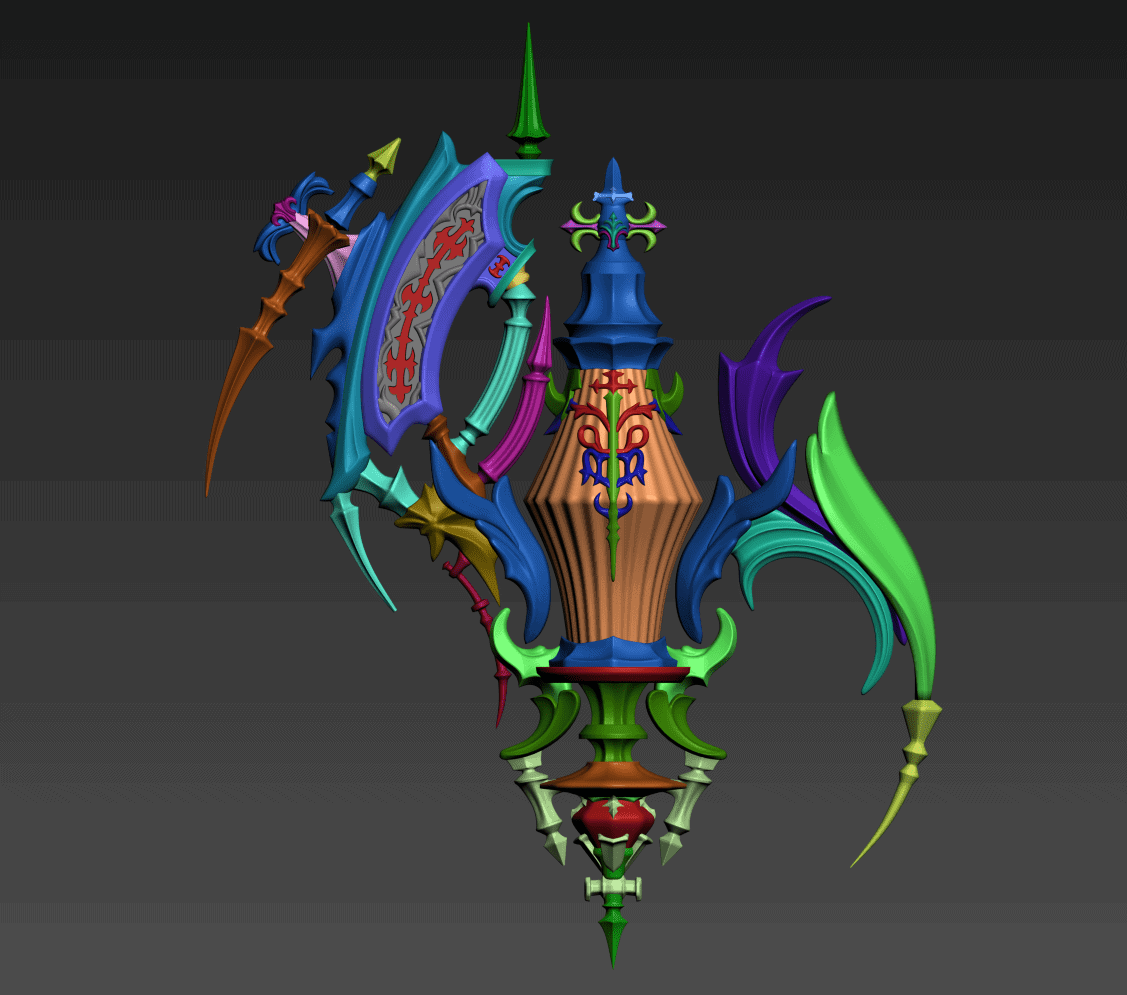
Our Red Mage commission also involved fabricating a spell-casting offhand ‘orb’ or crystal. Much like every other part of this commission project, I vastly underestimated the amount of work that was going to be involved in reproducing this item. The level of detail was easily on par with the sword itself. If nothing else, this has been an instructive lesson for me to take to heart next time I try to estimate precisely how long it’ll take to model up a project this complicated!
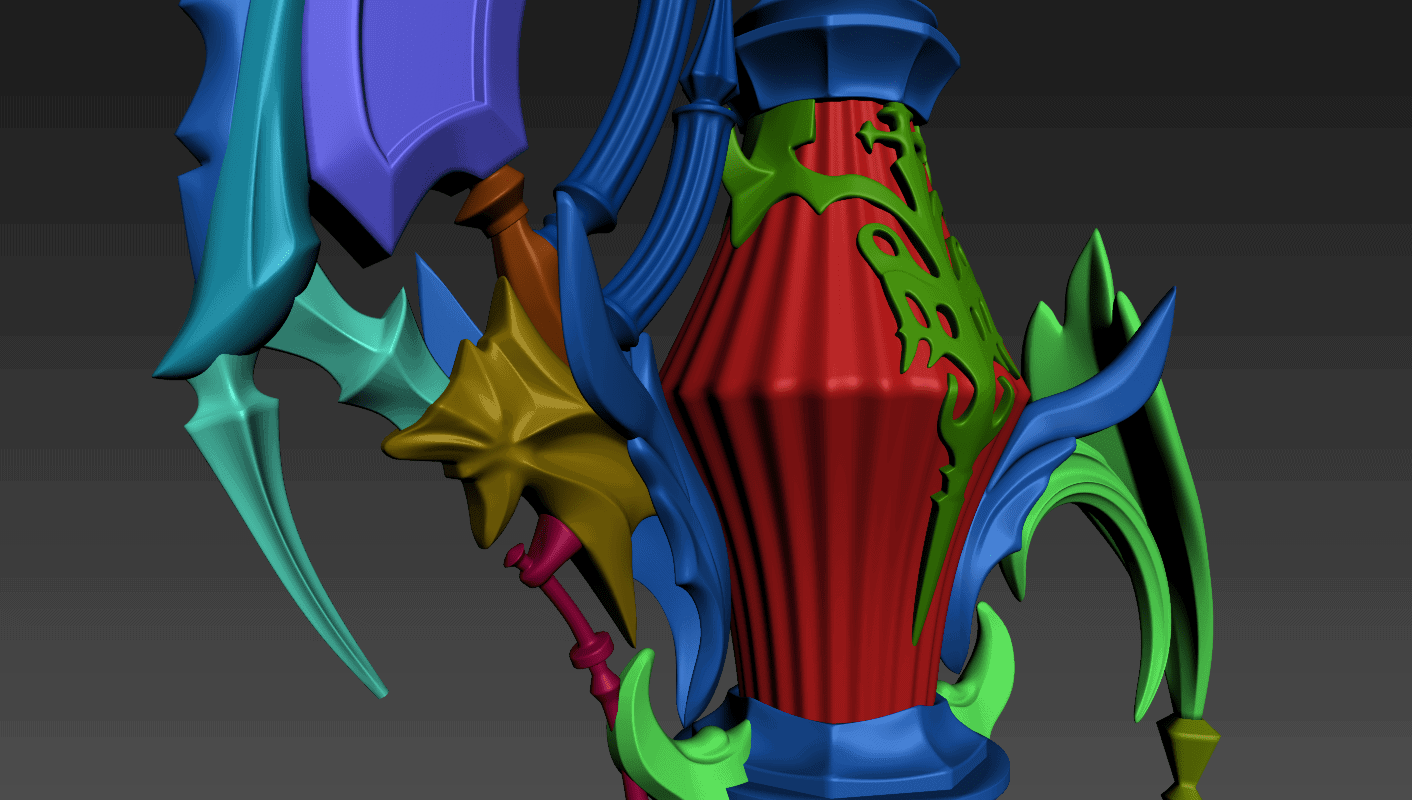
My first crack at the model was done in the same way as the sword, which is to say that I was simply stacking multiple intersecting bits of geometry while I tried to pin down the overall shape.
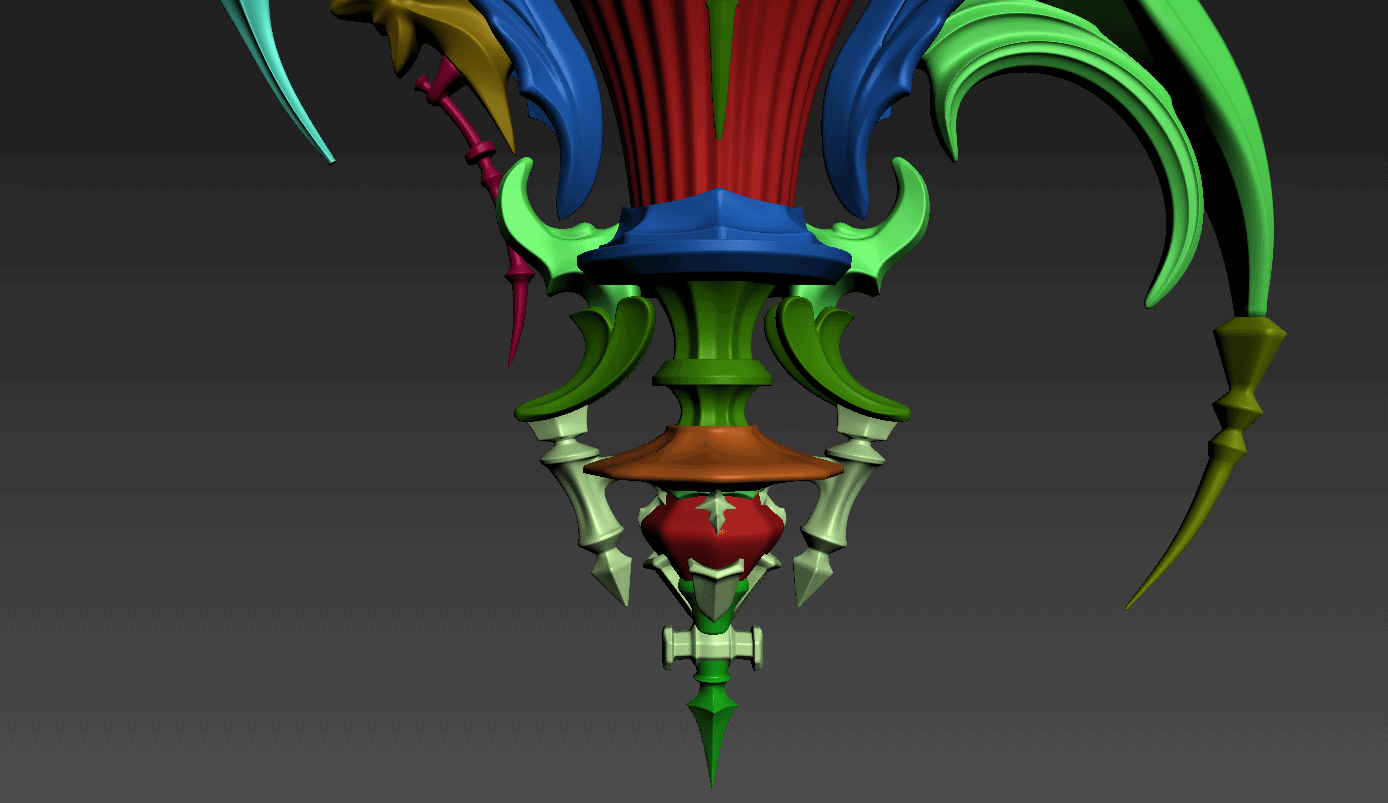
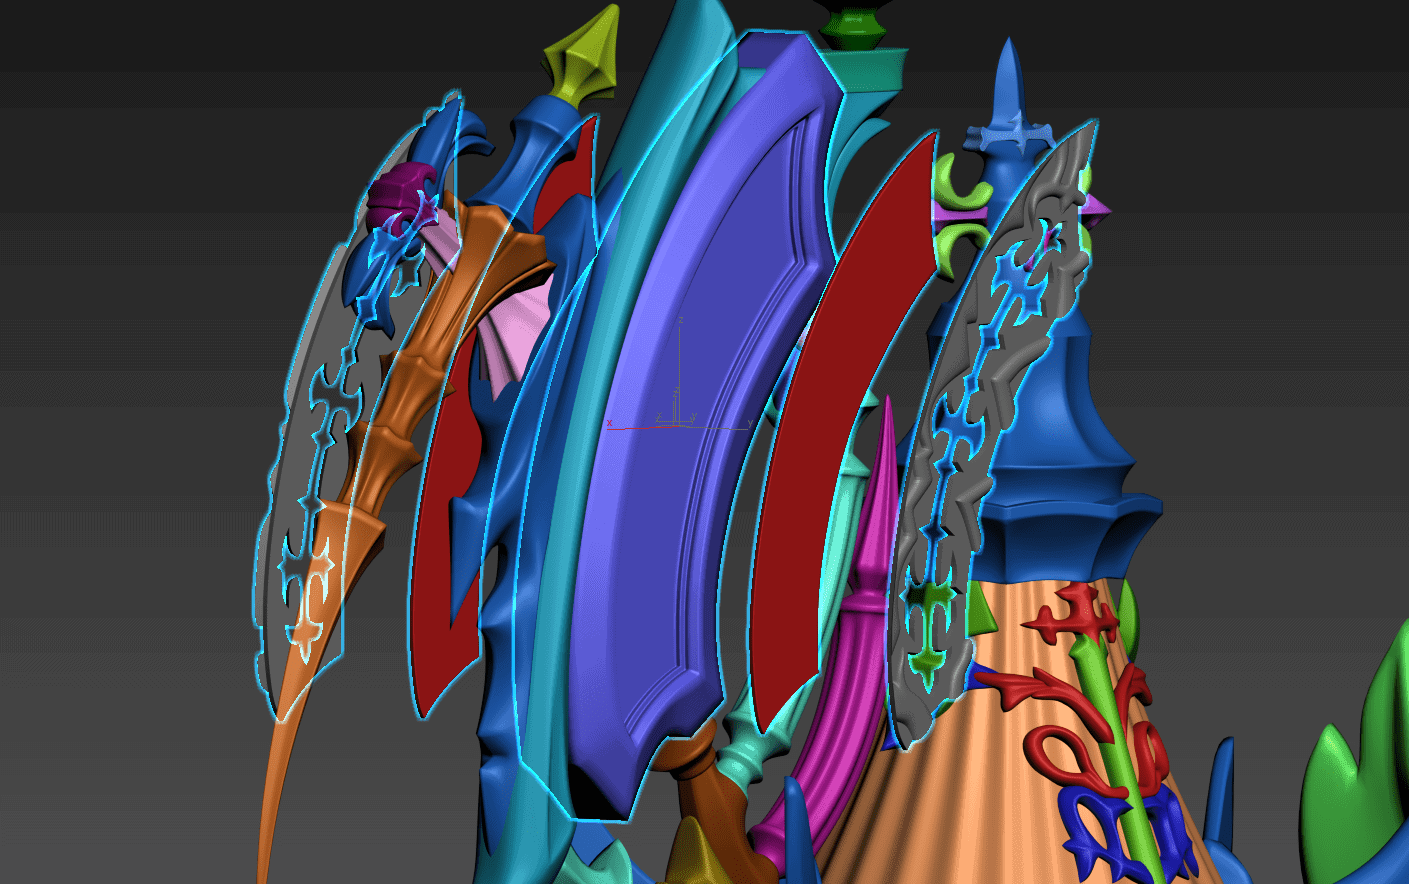
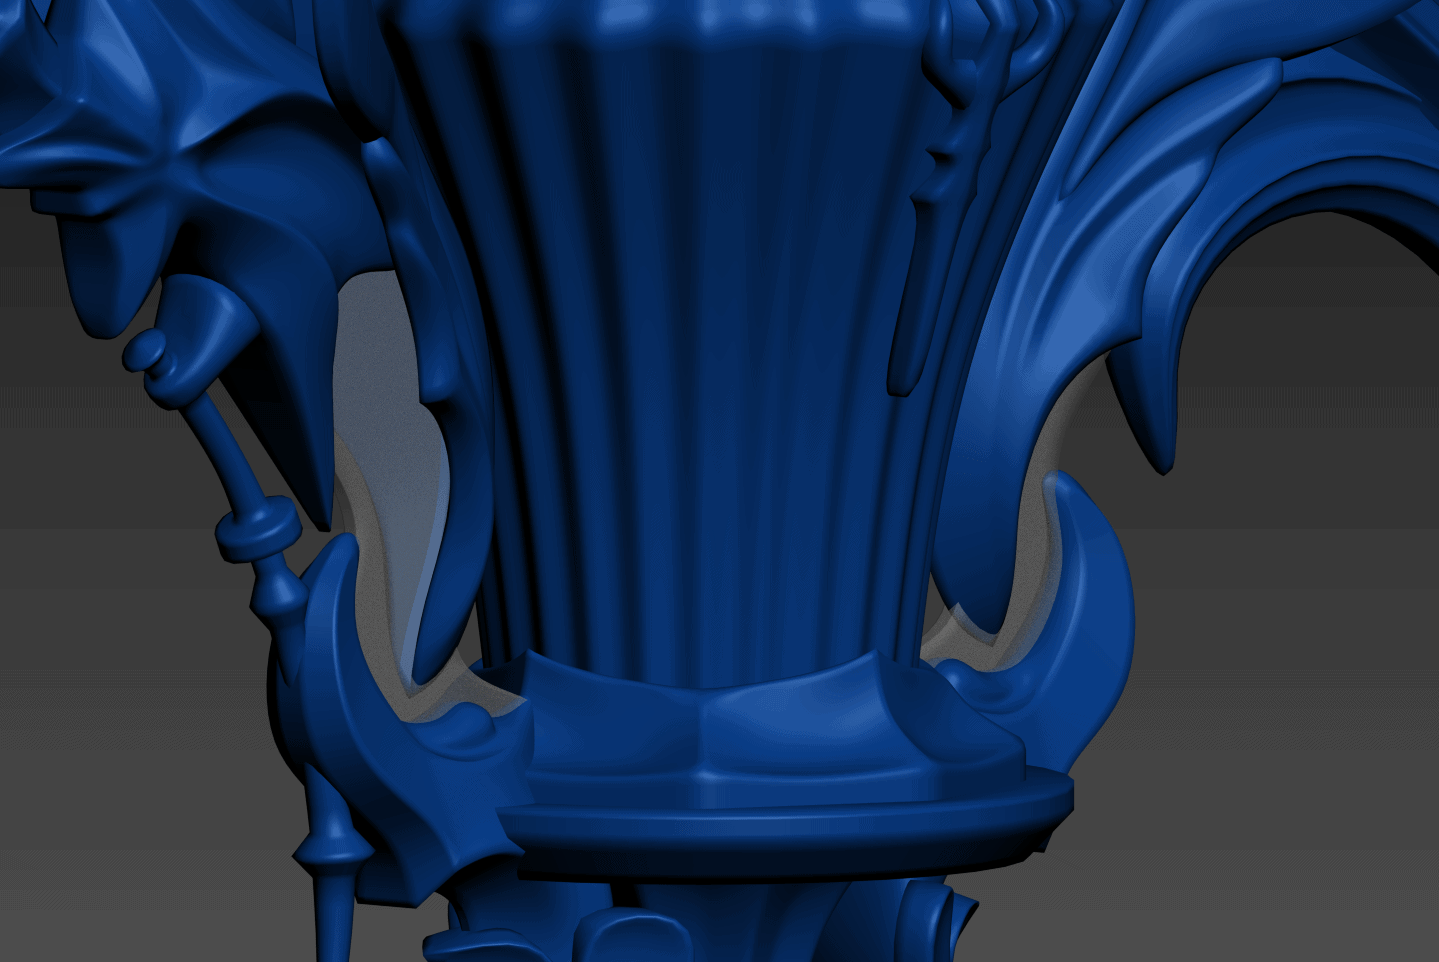
After this ‘first draft’, I started revising a few areas for accuracy’s sake. I decided I wasn’t happy with the black filigree details around the central gem and re-did them from scratch in order to add a bit more depth to the parts. The rune-esque area on the upper wing was also designed as a socketed insert so that I wouldn’t be driving myself bonkers trying to work on it. The way I saw it, trying to mask or tape off that area for painting would have been nightmarish – instead, I separated it out into layers so that I could paint a laser-cut piece of acrylic and just stack it behind the outer layer.
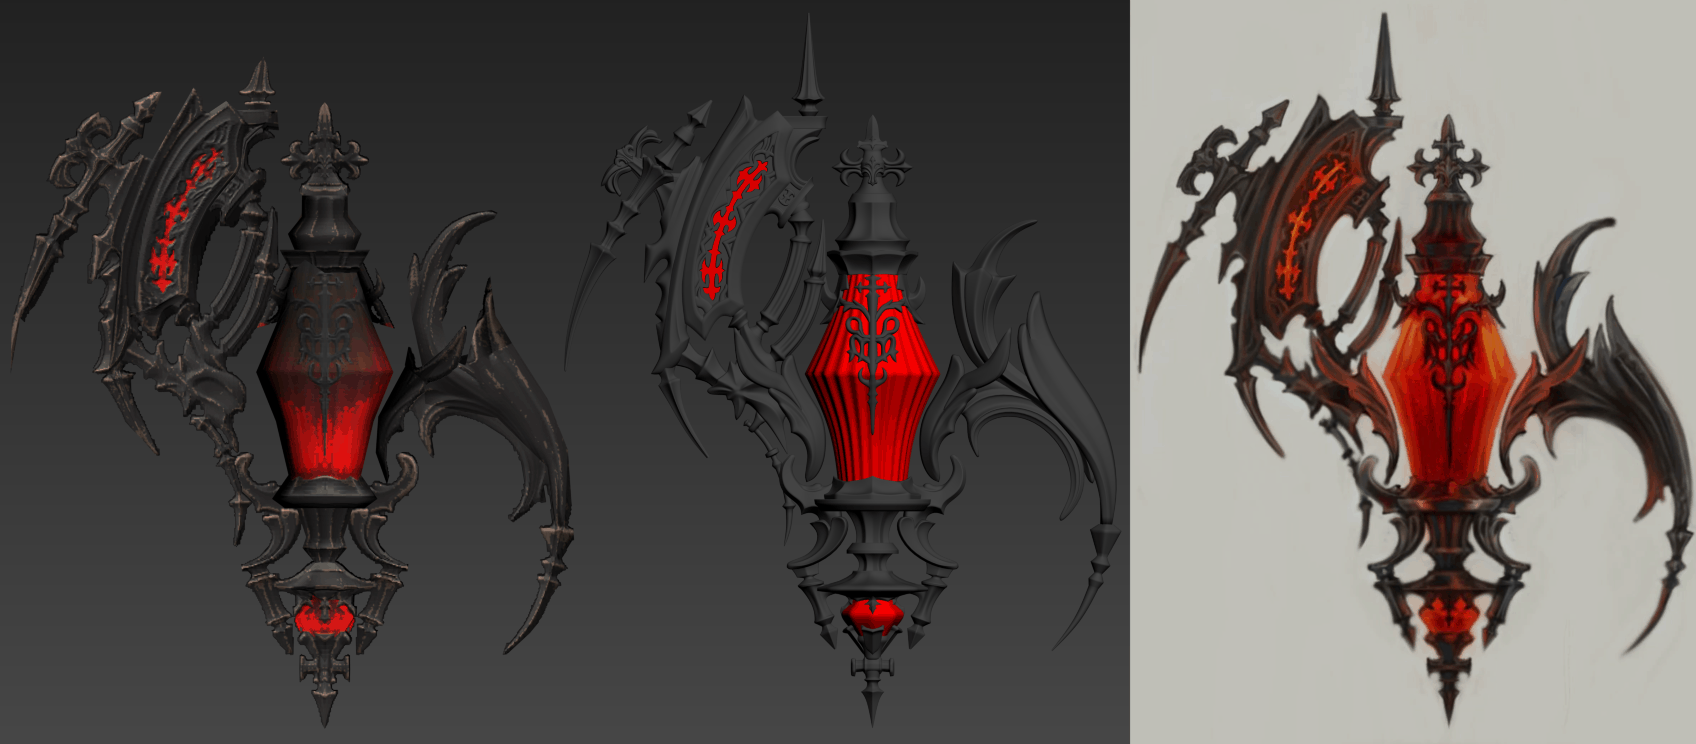
For the sake of comparison, here’s the low-poly game model on the left, my model in the middle, and the concept art on the right.
A MATTER OF SCALE
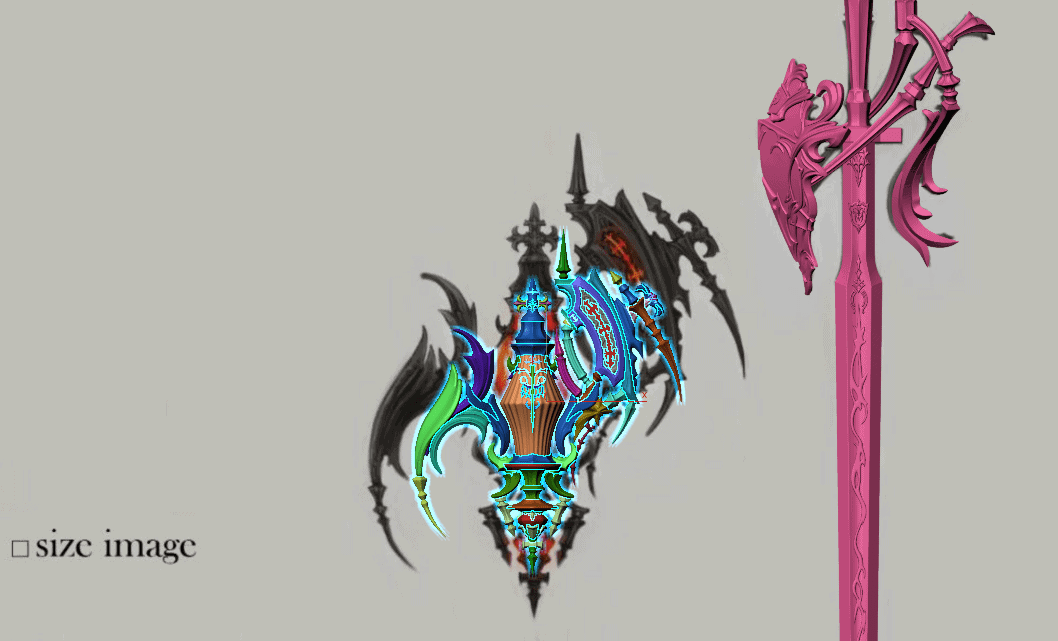
Different source material for the sword and the orb strike them at differing scales, which makes establishing the ‘proper’ size of a model an important consideration before you commit to slicing it up for printing. I started by scaling both models up against the red mage illustrated in the concept art:
This was actually a reassuring comparison due to the fact that the sword and orb stacked up almost exactly over the underlying art. I’m not going to lie – I felt a bit smug about that.
The thing is, the orb in that comparison photo is undersized versus the other concept art that is tagged as “size image” by the artists at Square Enix. It’s a world of difference:
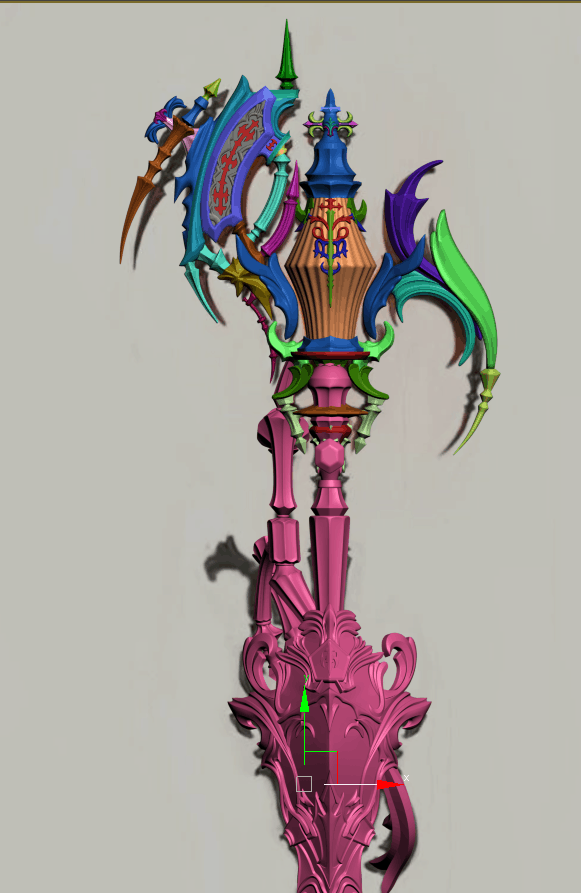
The sword and orb in the game also lock together, which is rendered in concept art. Even in that picture, there are some slight differences in scale.
Ultimately, I don’t think there is actually an ‘established’ scale for these items. Different races in FFXIV can be Red Mages, and the equipment scales to suit them appropriately, meaning one can easily be double the size of another. More importantly, I am convinced that when the sword and orb interlock in the game they adjust the scale of the items slightly during the animation, so that they look more proportionate when together. That’s the magic of video games!
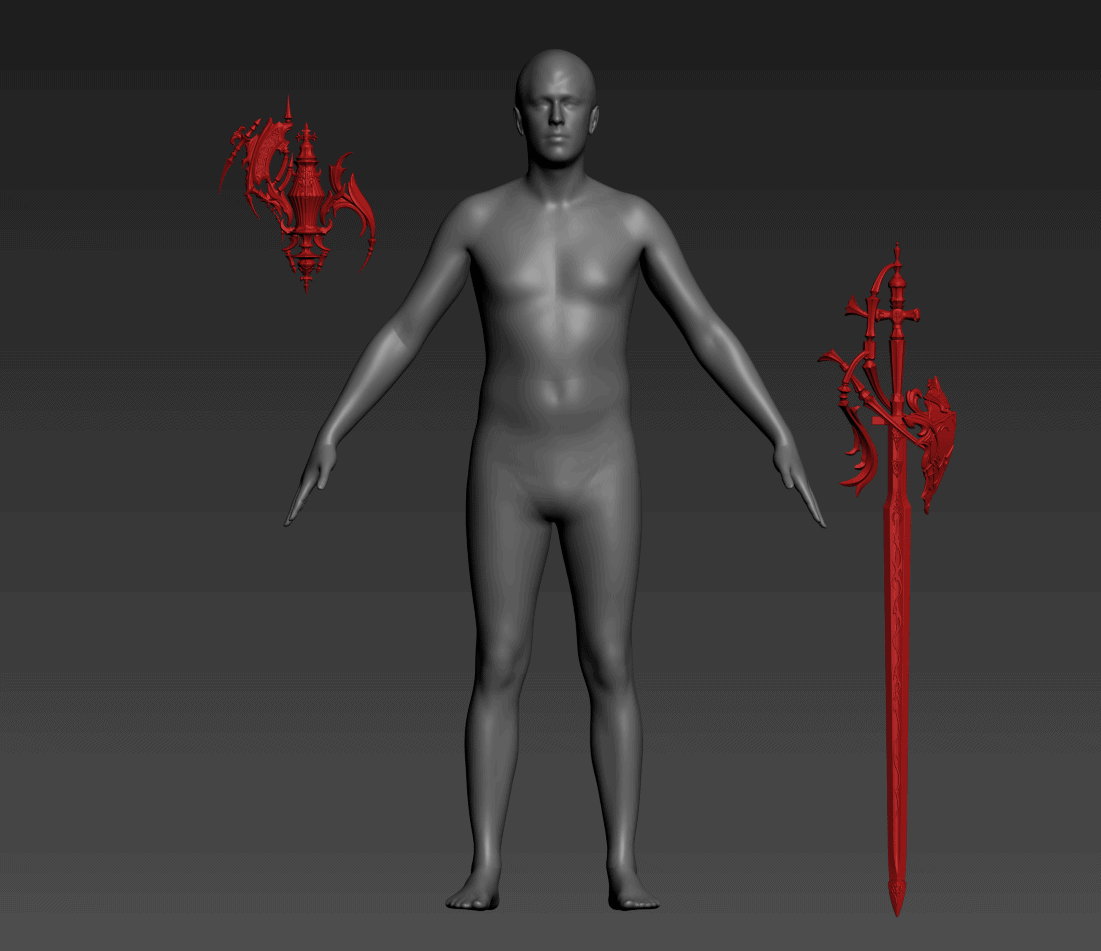
After some review with our client, we settled on using the first image with the pictured Red Mage for scale. I did a quick render of what should be the ‘final’ scales of both items with a 6 foot tall generic male model, just to ensure that we had a good sense of how big things were going to be.
MAKING IT FLY
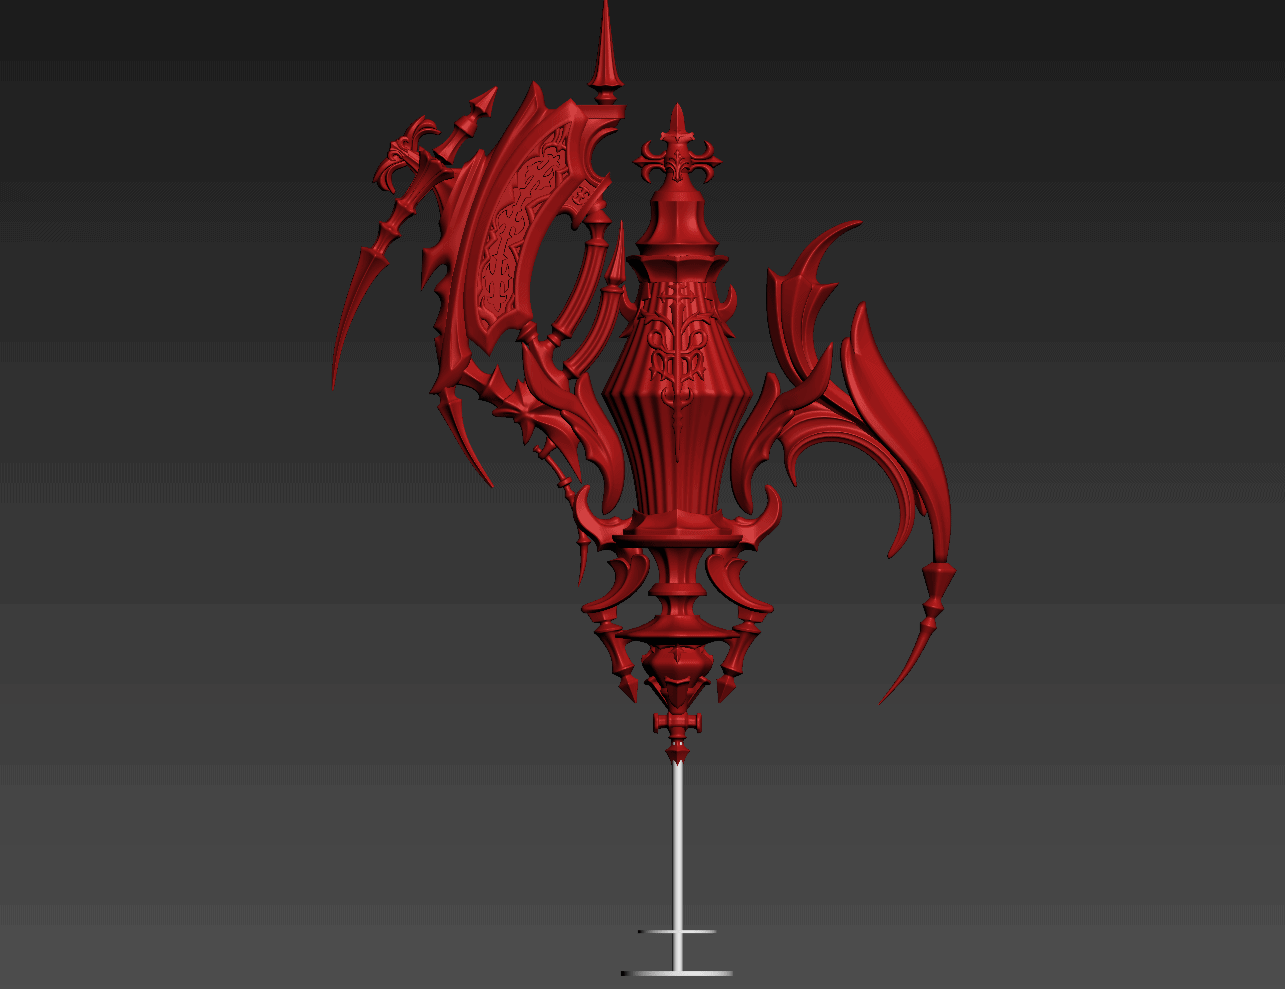
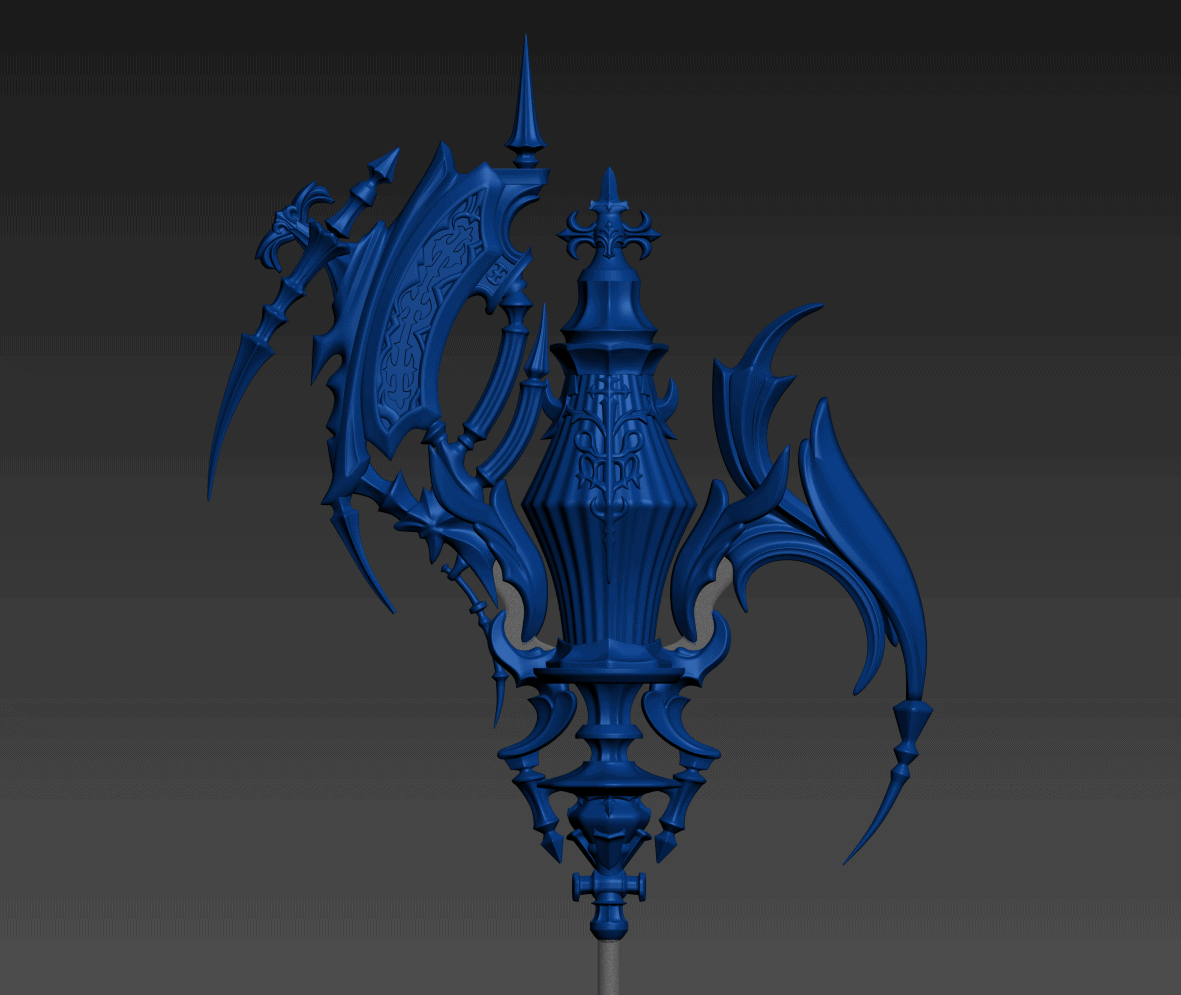
The orb’s design is, much like the sword, entirely fantasy-inspired bullshit. I love it, don’t get me wrong, but the side ‘wings’ around the crystal are just suspended in the air, presumably by magic. The orb itself also flies around behind the Red Mage, either levitating over their shoulder or outstretched palm.
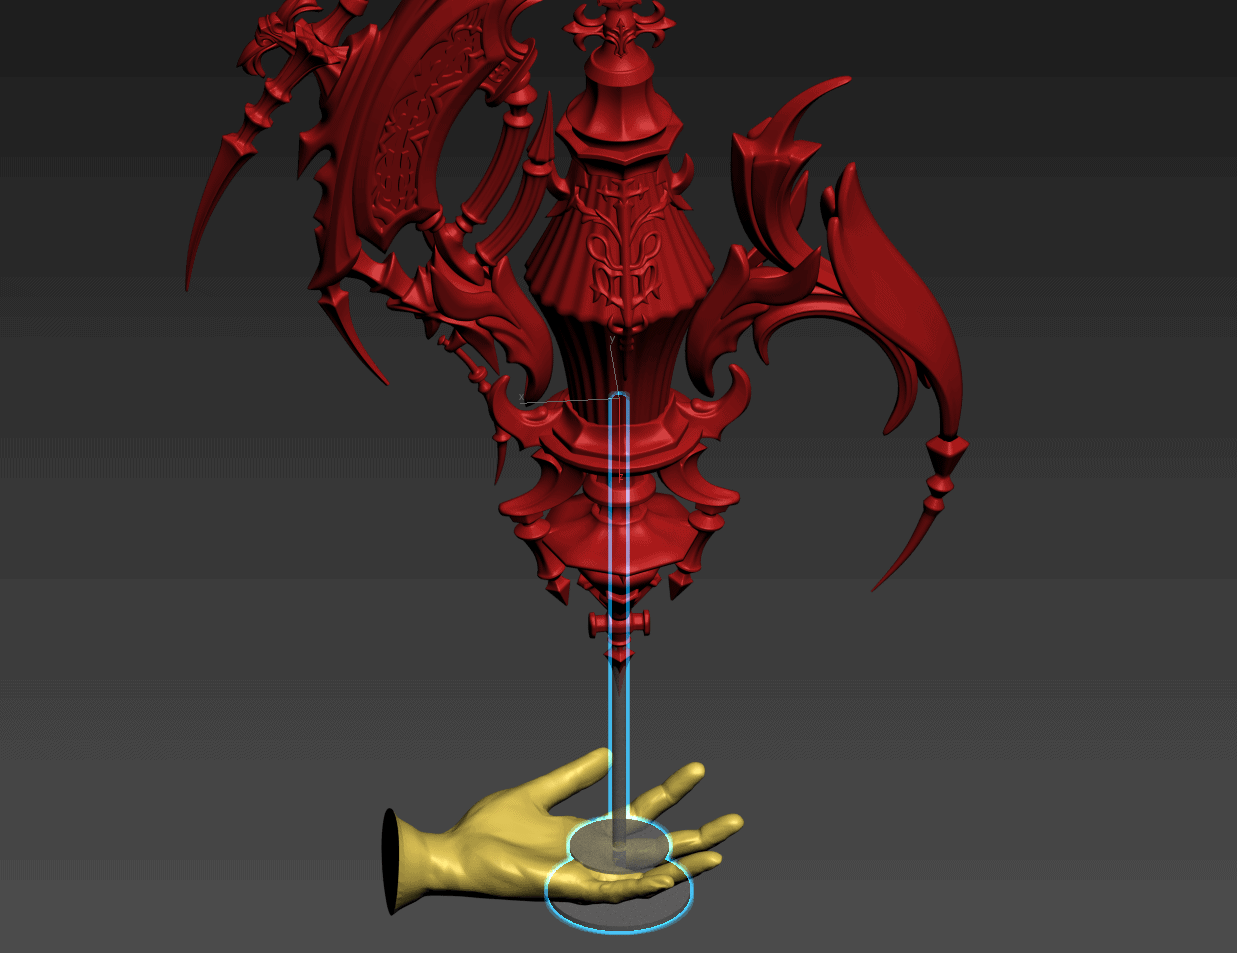
At the outset, our client wanted us to figure out a way of making the floating effect look convincing. We talked about bending clear PETG into supports that could wrap around a wearer’s palm, but as I worked on the orb it became apparent that might not be sufficient. After some discussion, I revised the idea to incorporate a clear acrylic rod through the length of the part to facilitate the floating look.
The idea I was shooting for was basically that the client could slip a palm in between two clear acrylic discs with the rod between their fingers and hold their hand outstretched to make it look like it was floating a few inches above. The downside to this design is that the bottommost point on the orb was basically ruined because of the rod. We decided to revise that into a bulb element that resembled part of the sword’s hilt.
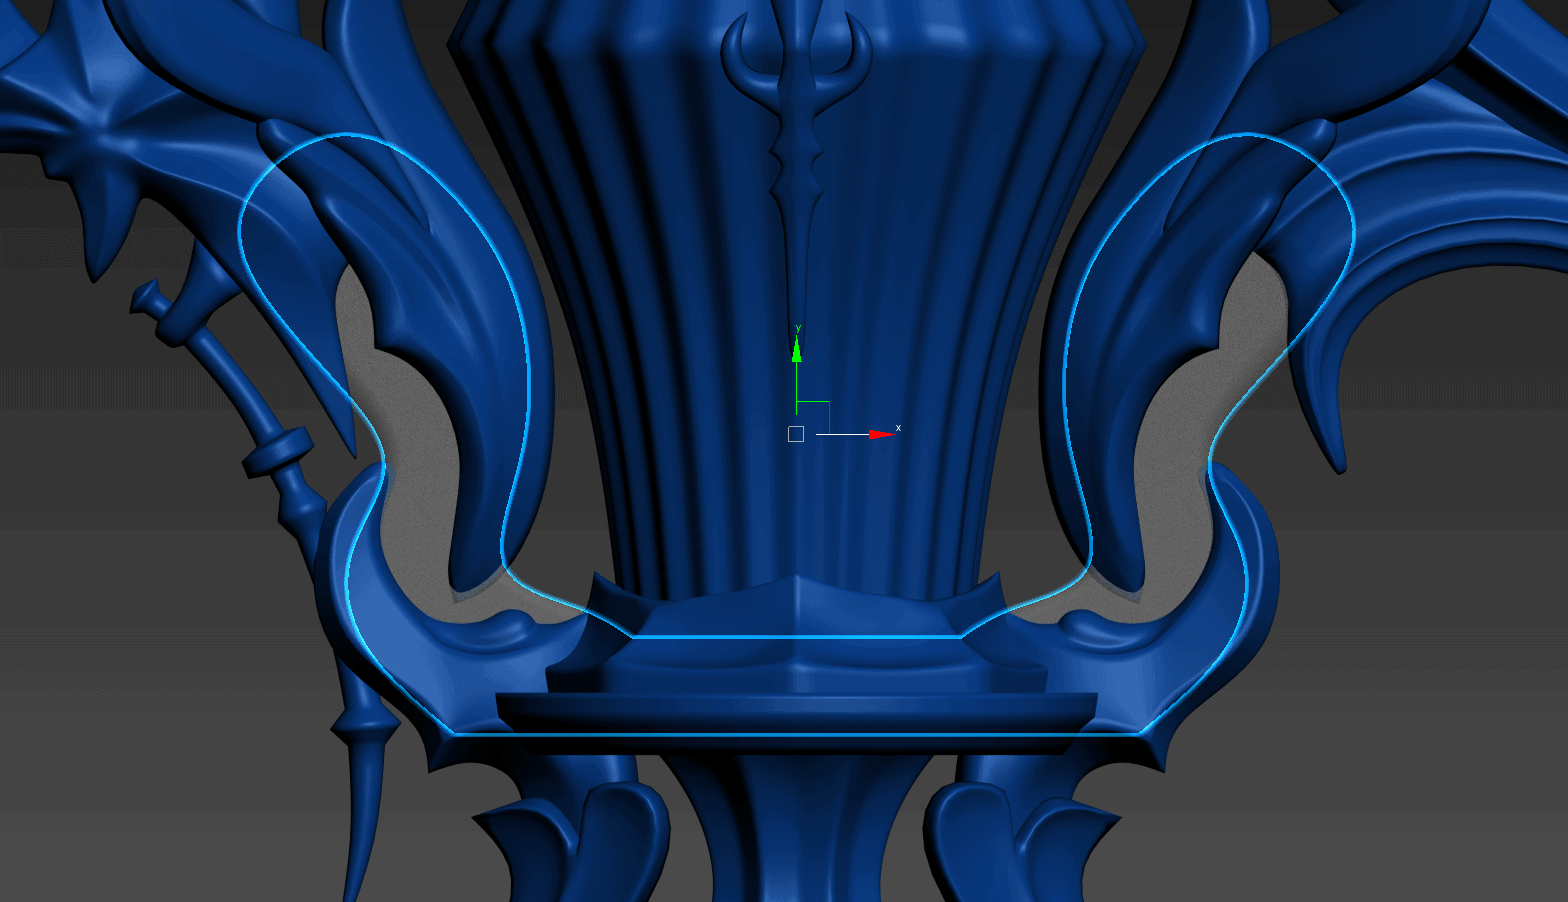
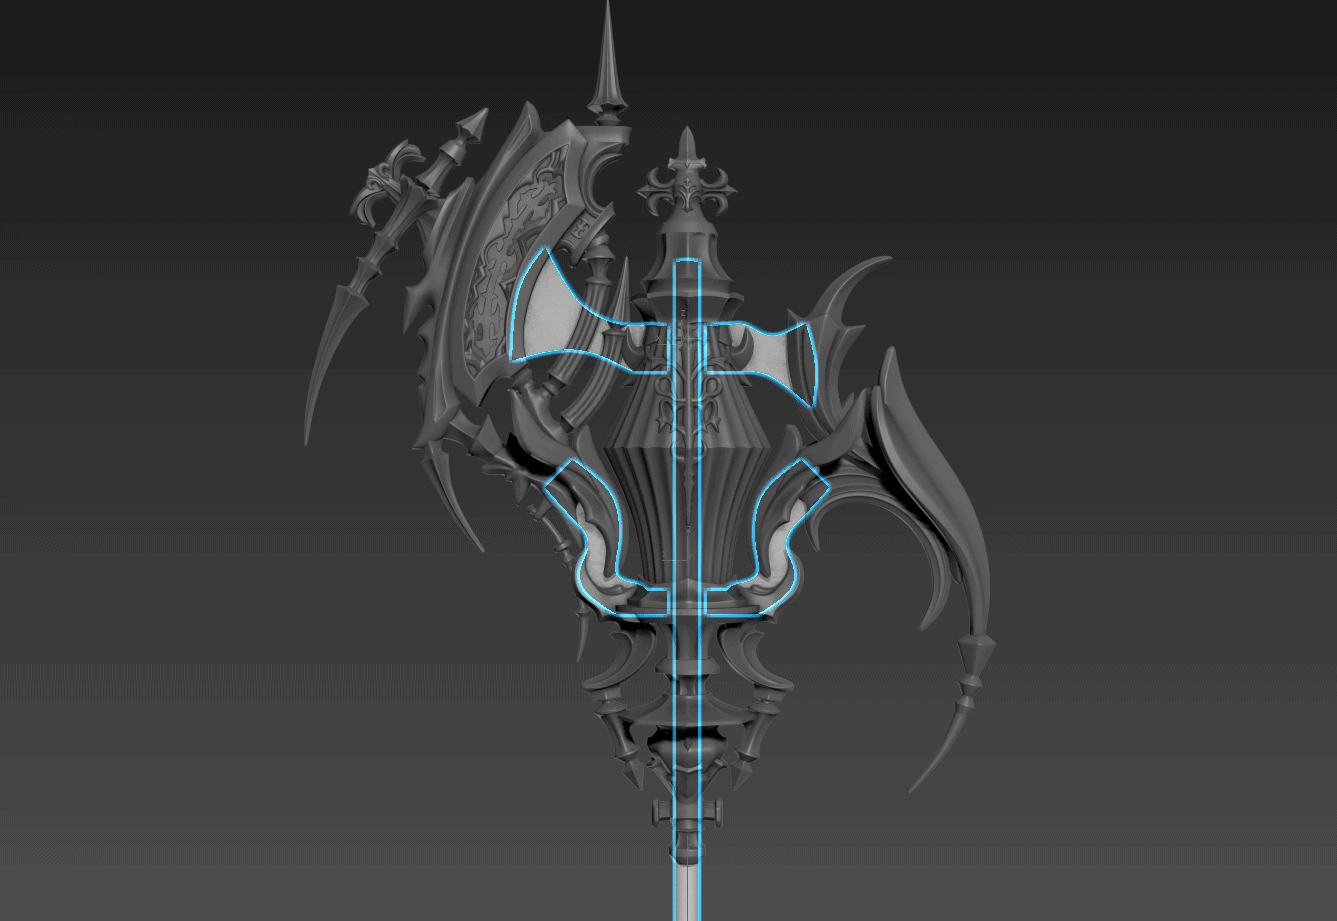
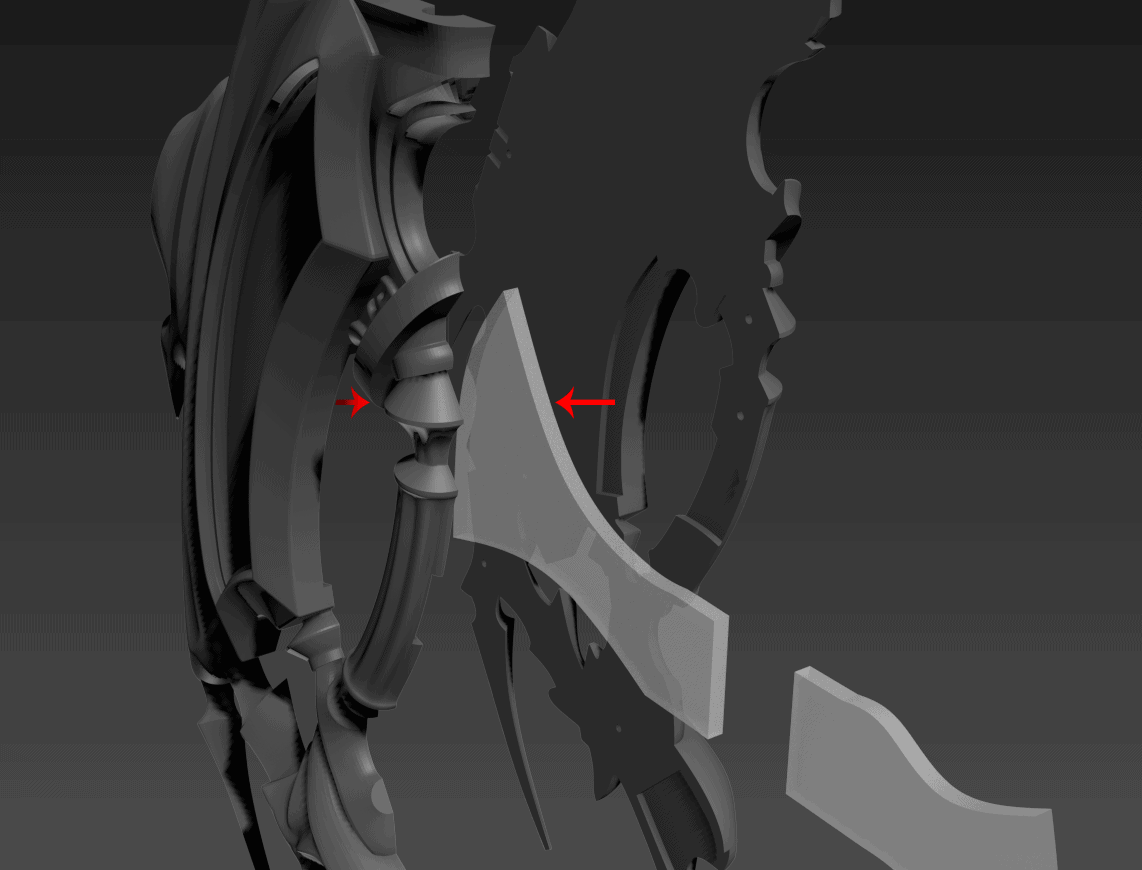
The wings were a bit more complicated to solve. We could have used the same acrylic rod, but I didn’t see an easy way to do so that would prevent the wings from being able to twist or potentially break if torqued wrong. I pitched the idea of using laser-cut 3mm acrylic sheets to create supports on each side of the wing. Like the rod, the hope was that the clear acrylic would lend itself to the floating visual.
The final design ended up with these acrylic supports through both the top and bottom of each wing, with the uppermost pair seated into the central crystal itself. It’s bound to be complicated to assemble and paint, but represented the best compromise between stability and visual presentation.
The clear acrylic sheets sit sandwiched between the two halves of the orb components, which means that we’re not going to be able to fully paint the thing until it’s assembled. That also means that we’re going to inevitably have to mask or tape off the clear acrylic to keep it, well, clear. A massive headache, but worth it for the effect.
