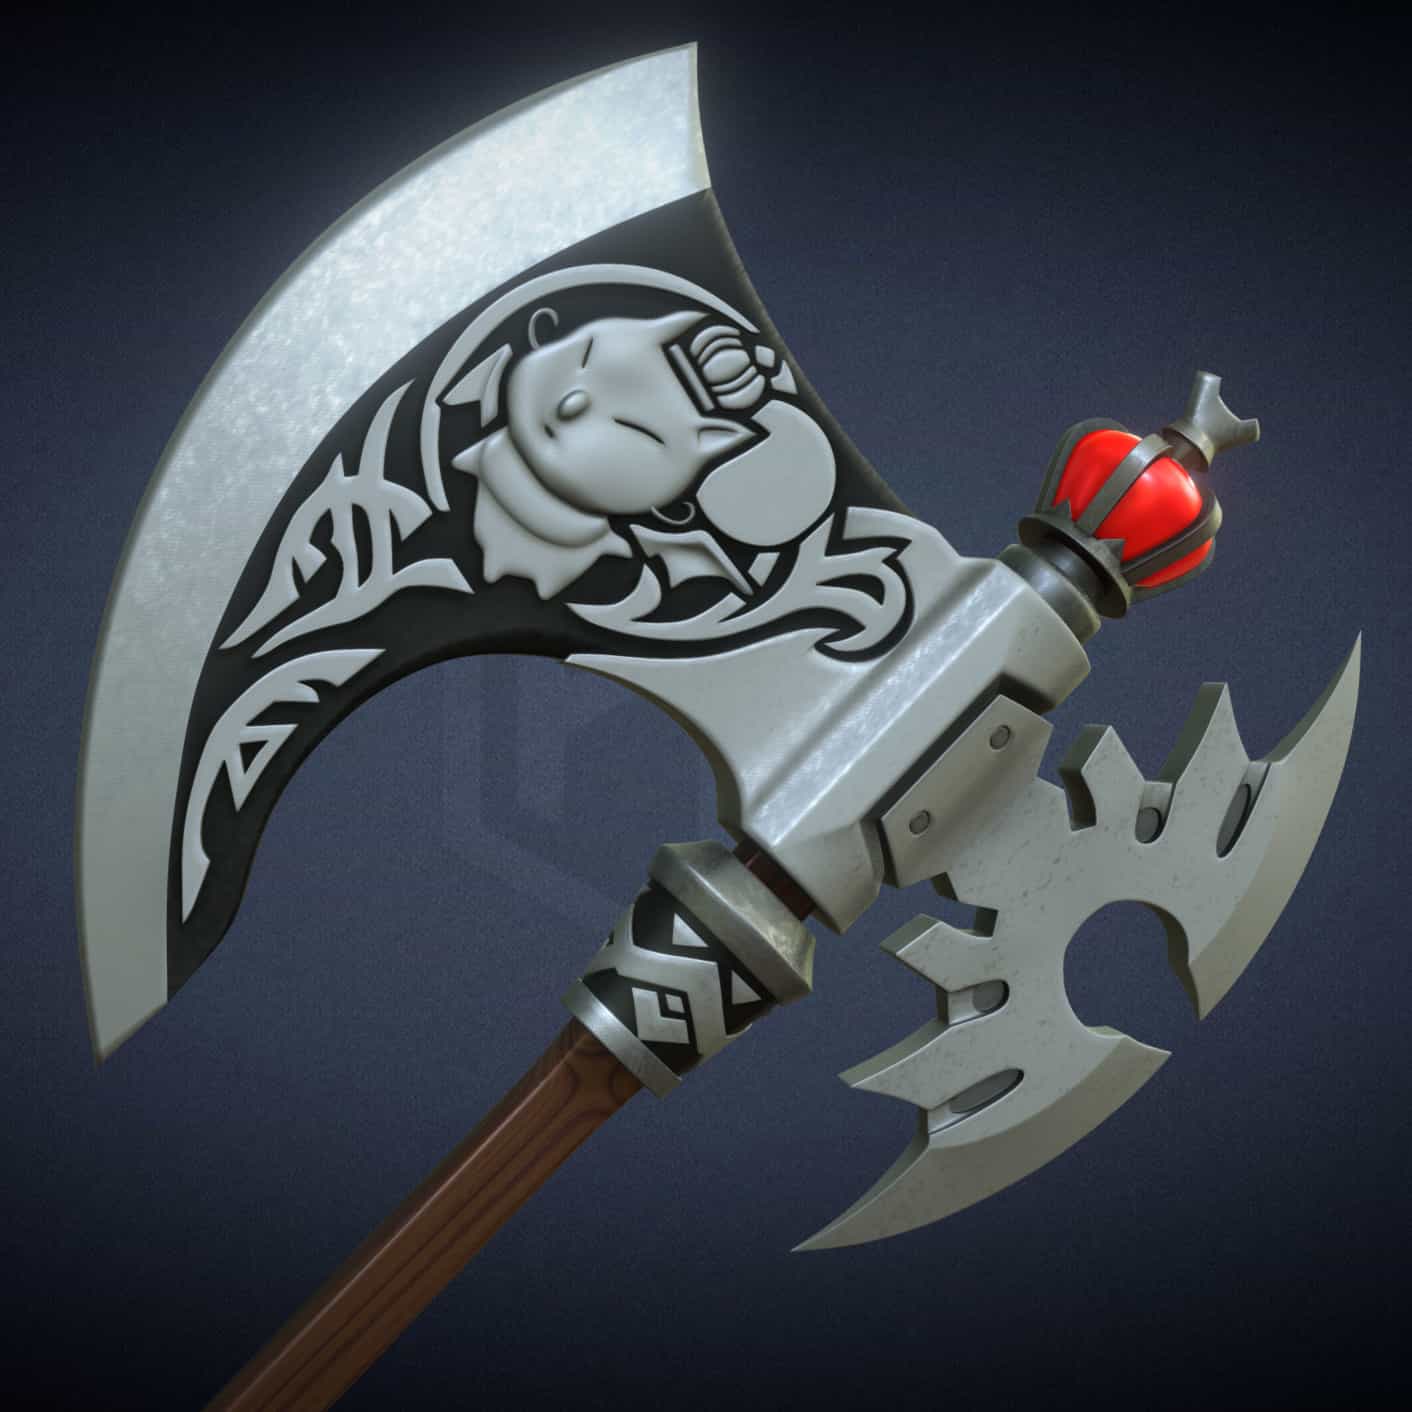
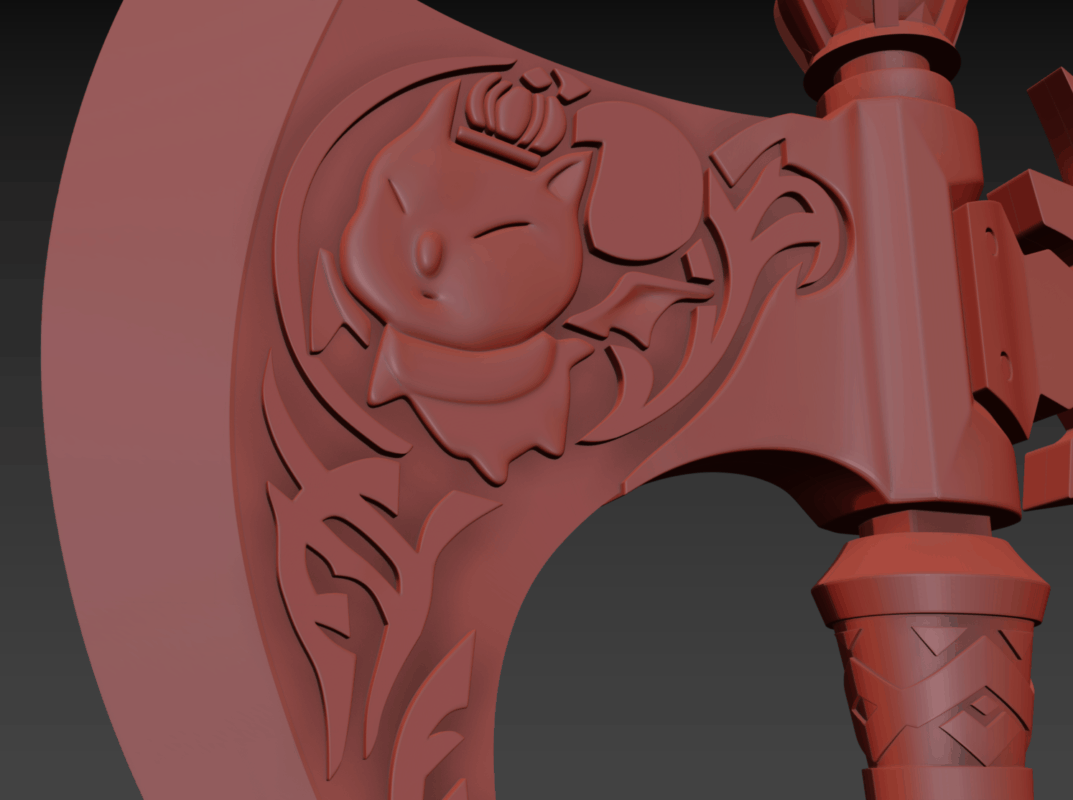
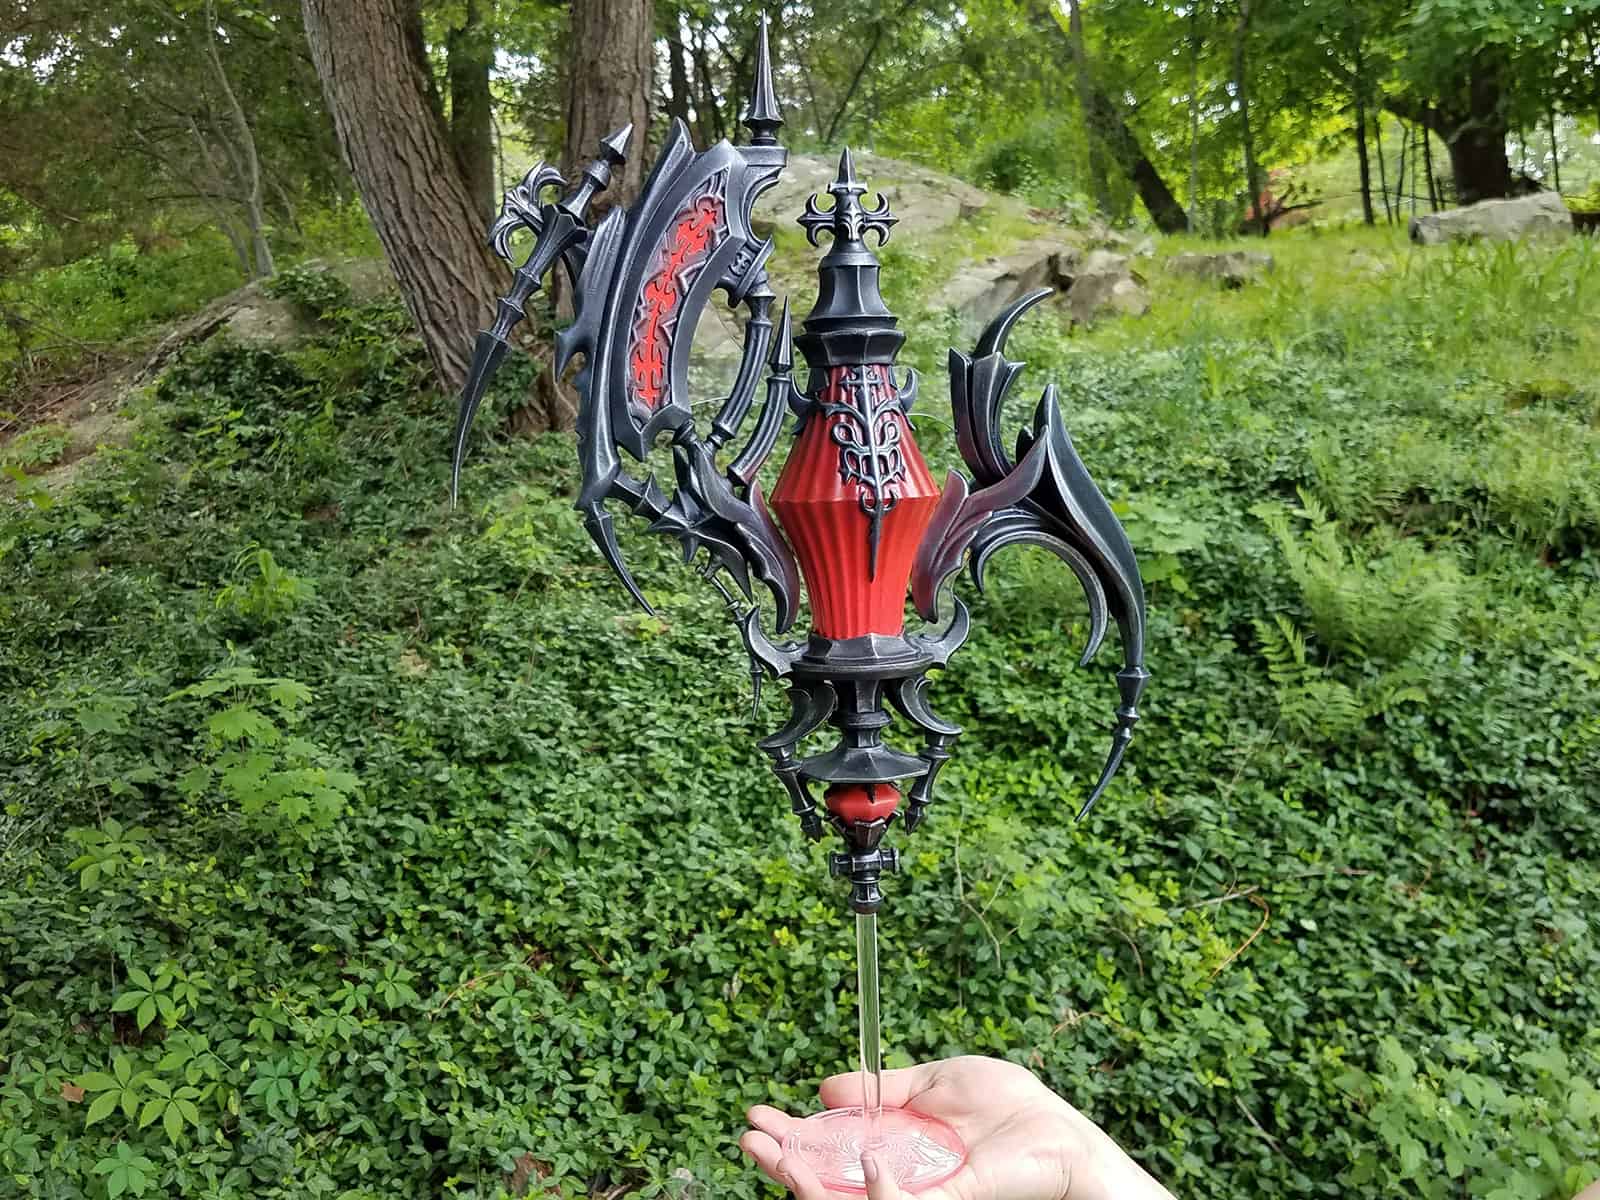
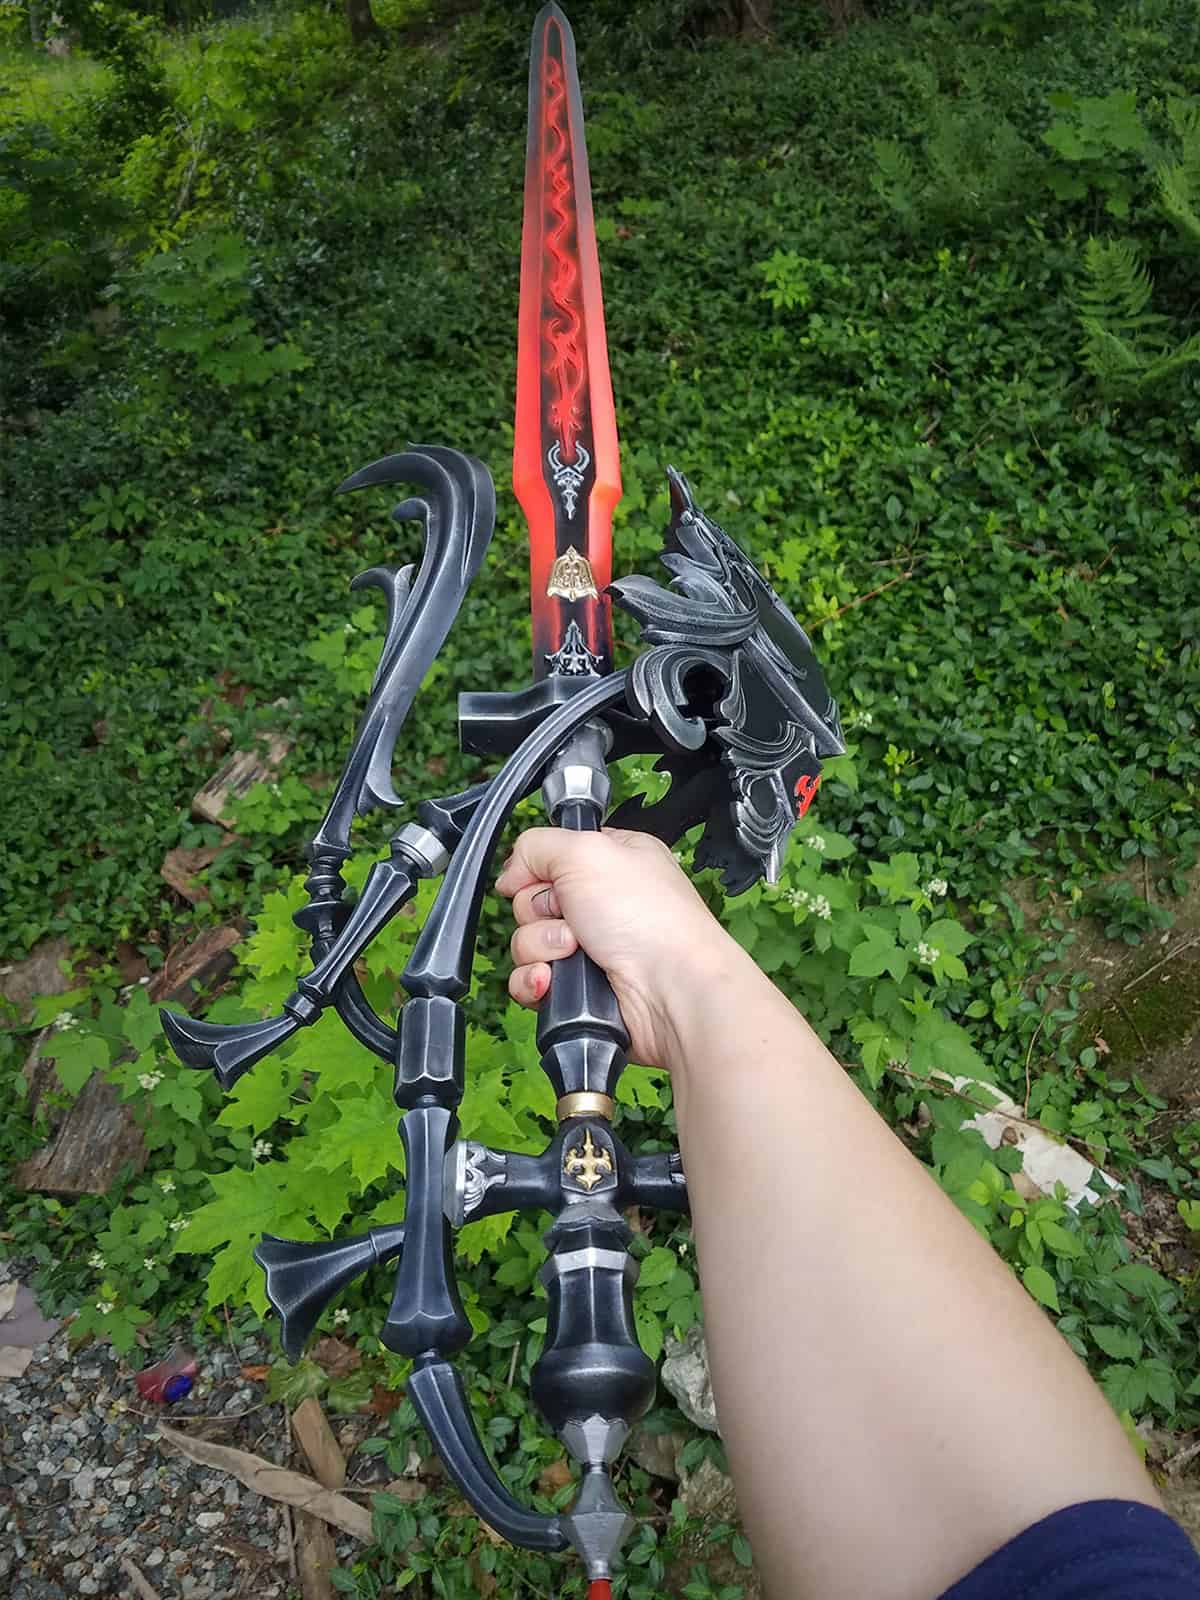
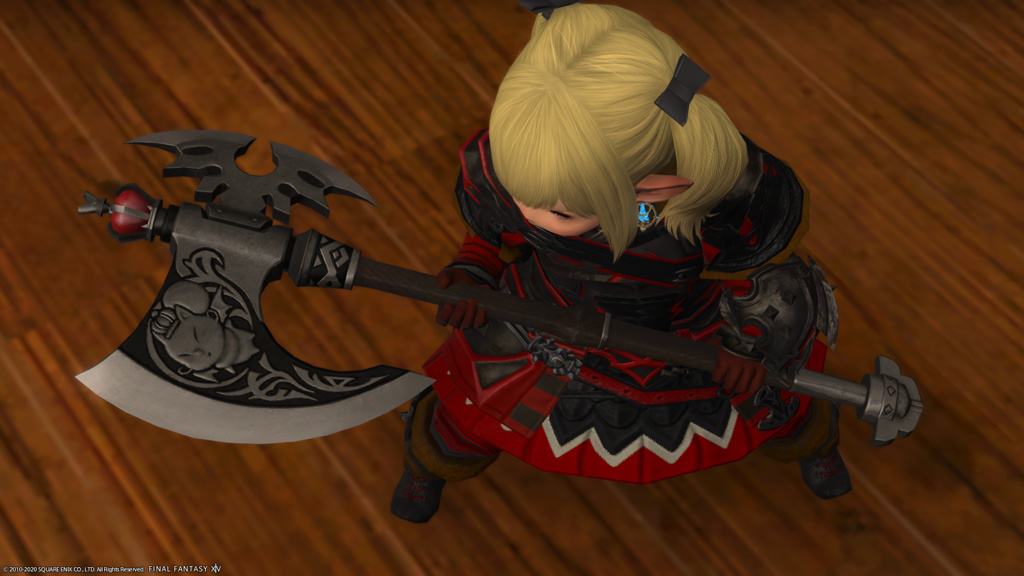
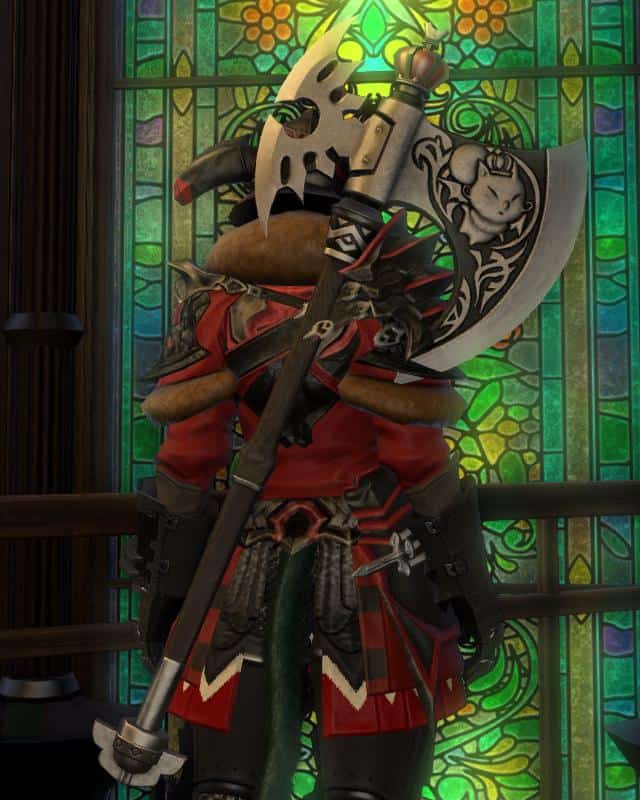
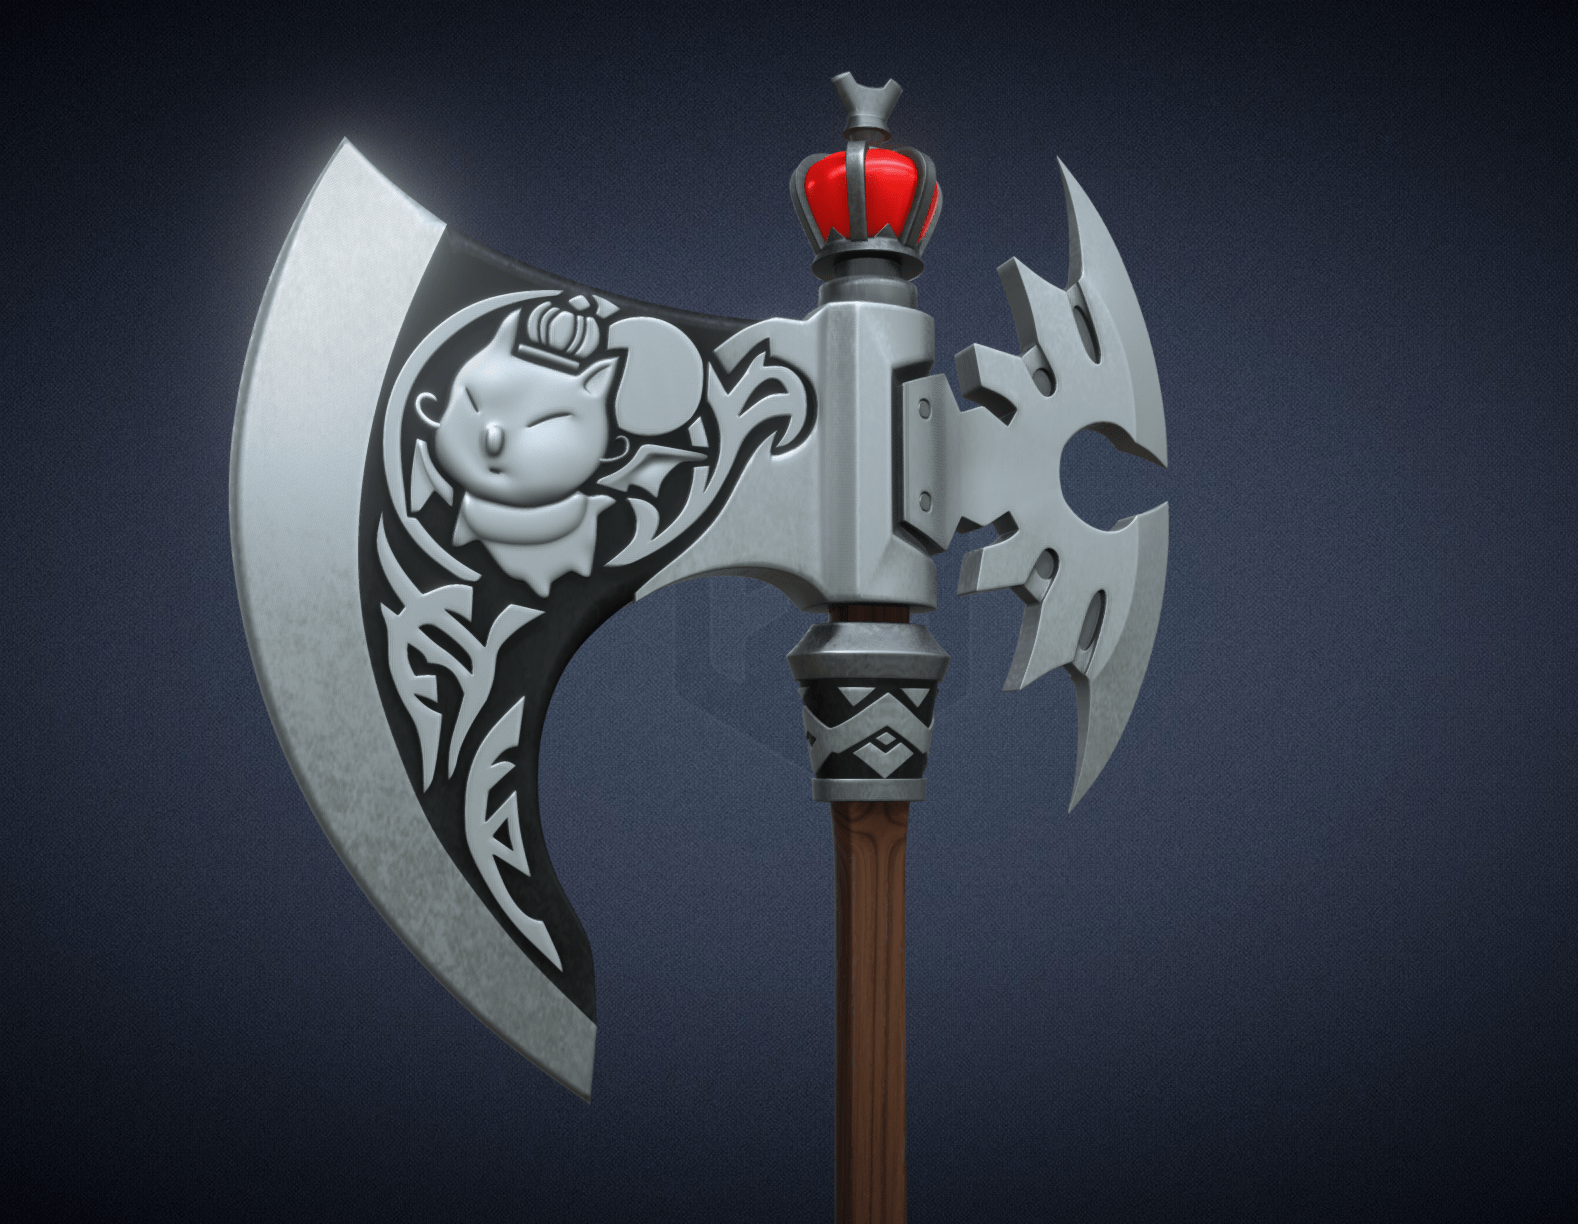
After the Antiquated Murgleis sword and focus, I had a few commission requests for other weapons from Final Fantasy XIV. One of the more interesting ones was the ‘Malignant Moggle Mogaxe’ – try saying that three times fast. It’s a Warrior-class weapon with comically anime proportions and fancy detail work of one of Final Fantasy’s iconic mascots on the sides.
After discussion with the client, we settled on 3D printing most of the axe parts to try and keep the weight of the finished product down. Unlike the Murgleis, the axe didn’t have any really long, thin parts that posed a risk of bending or flexing, so this ended up being a slightly better project for printing parts. However, we agreed that the handle should be made of wood – both for strength, and because staining a real wood handle would end up looking way better than trying to paint some kind of plastic handle to resemble wood grain. It’d make the final product heavier, but the client felt like it was a worthwhile trade-off.
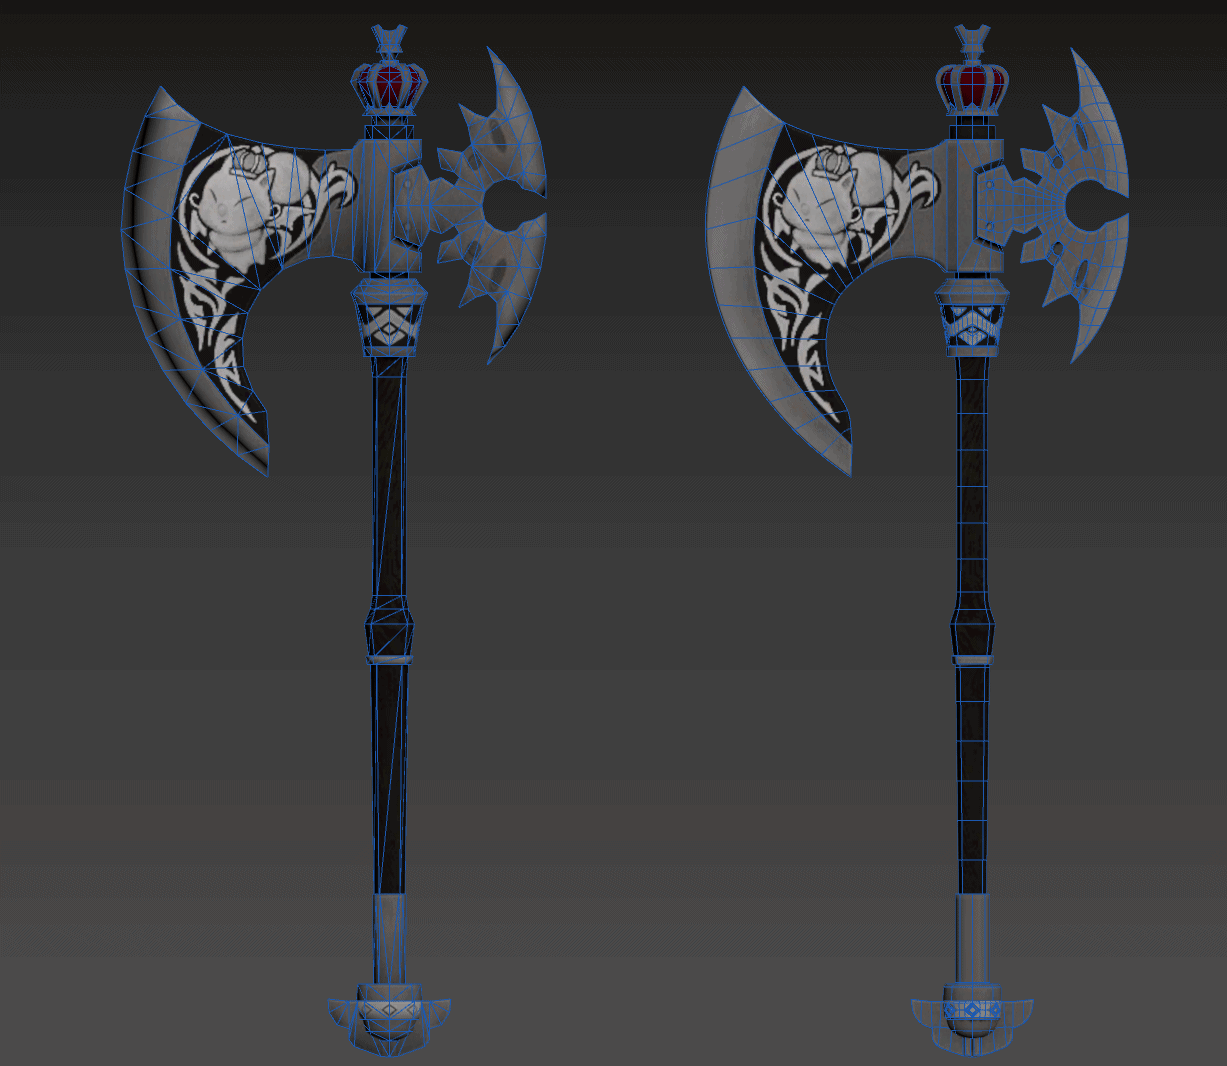
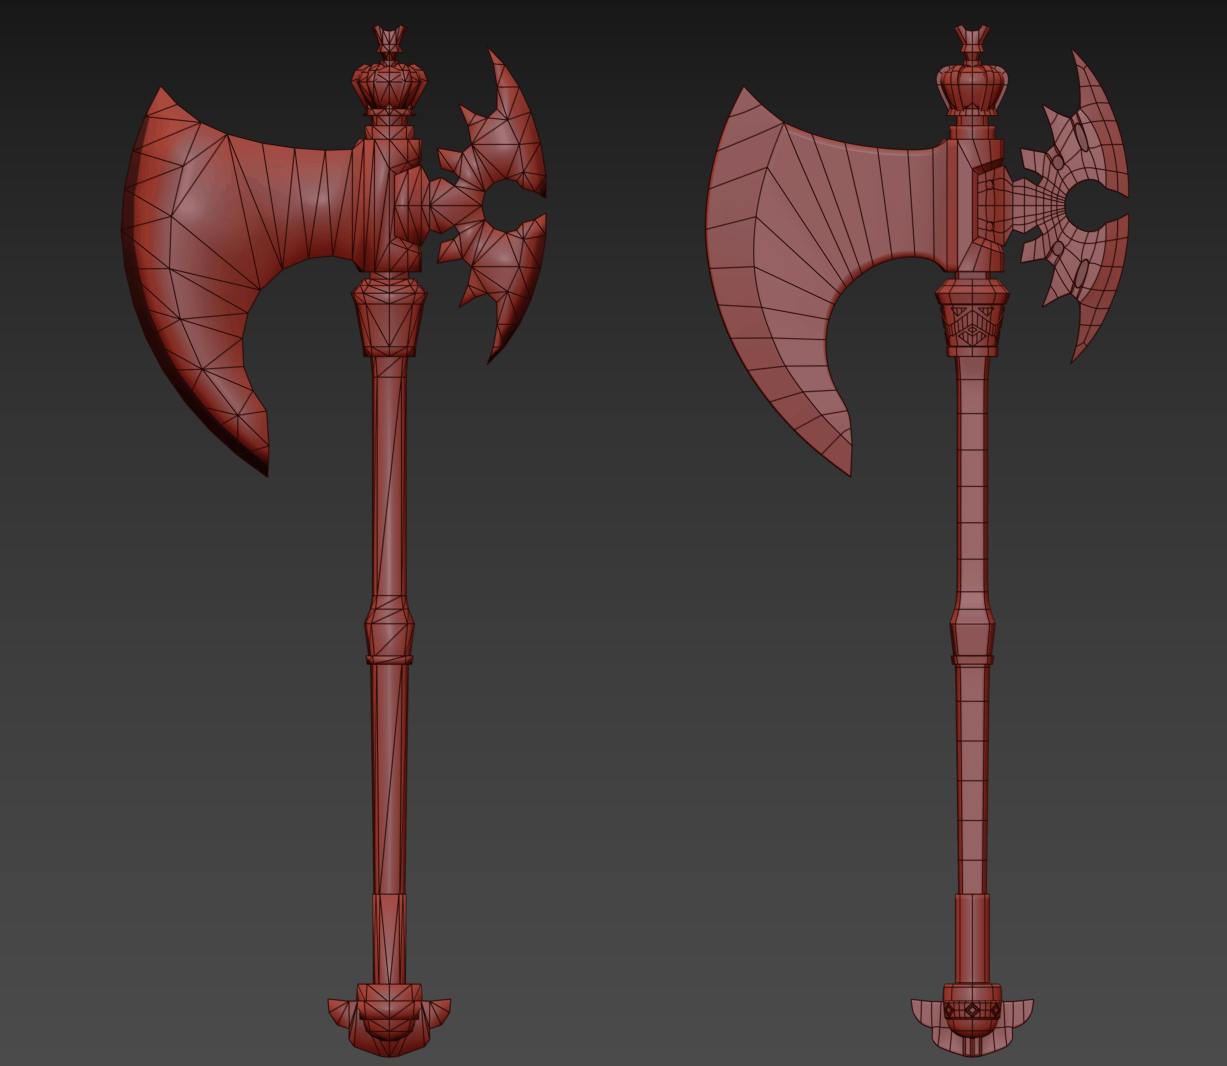
As with the Murgleis, I also ripped the axe model directly from the game to help work out the shapes. These models are very low-resolution so they’re not much use on their own, but they’re nice to have to scale details against. The texture maps also do help when it comes to figuring out where the finer points of the model’s design are supposed to land!
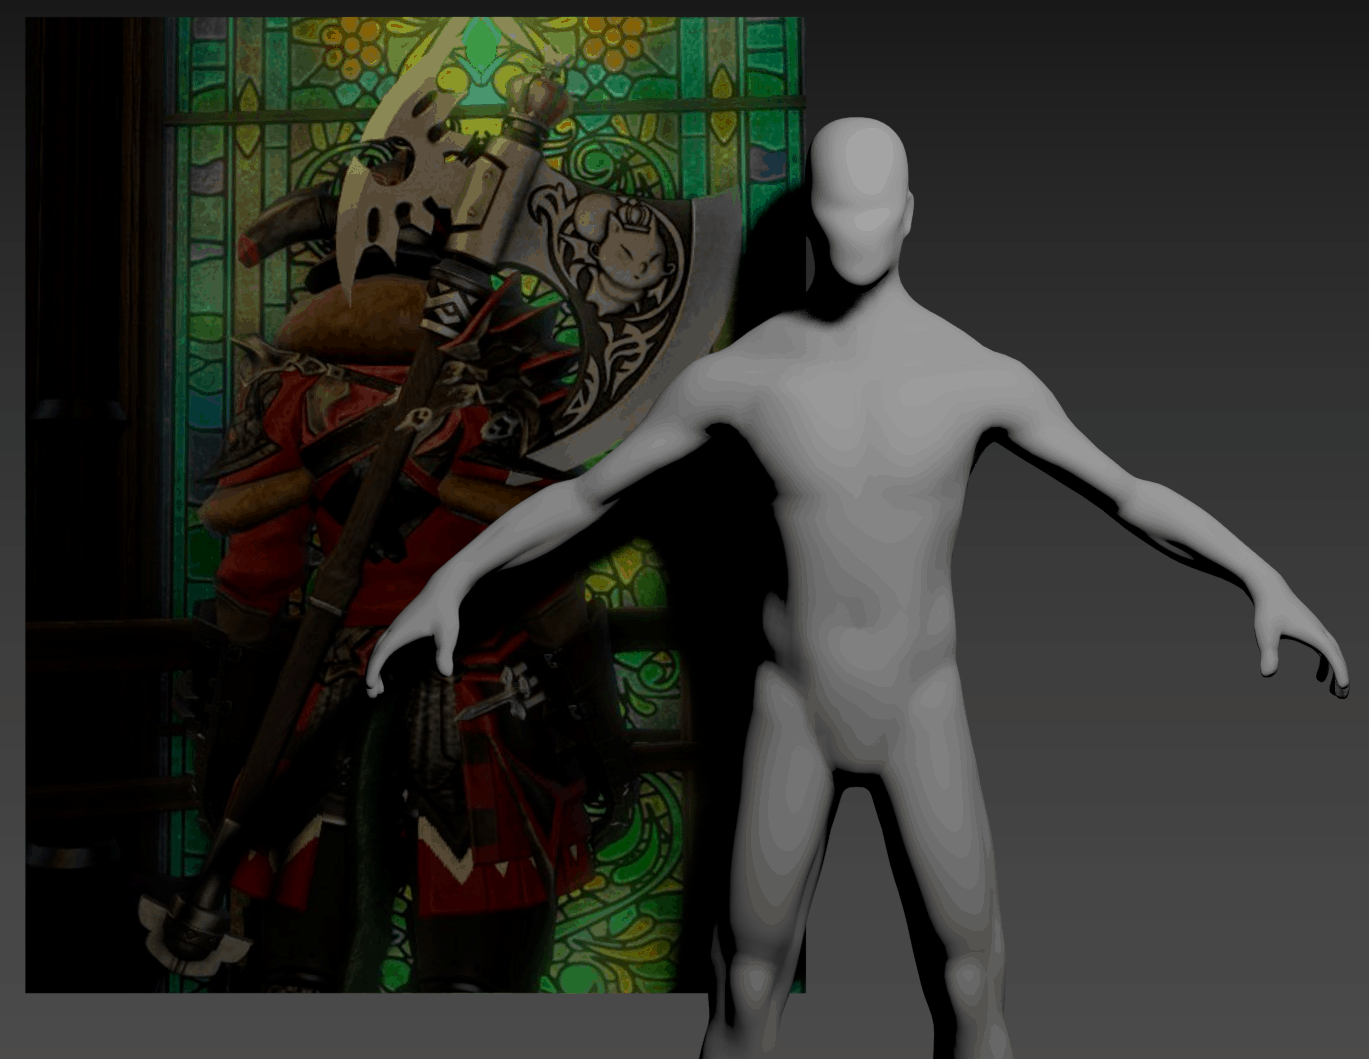
One of the biggest things I wanted to get right was the sense of scale on the axe. In the game, these items basically shrink or expand to fit the proportions of whichever character is wielding them. I was able to track down a few reference images of the axe on a standard human model and dragged it into my 3D Studio Max environment. The client in this case is 5’4″ tall, so I put a stand-in model of the same height to scale the art against, then used that to scale the axe model itself.
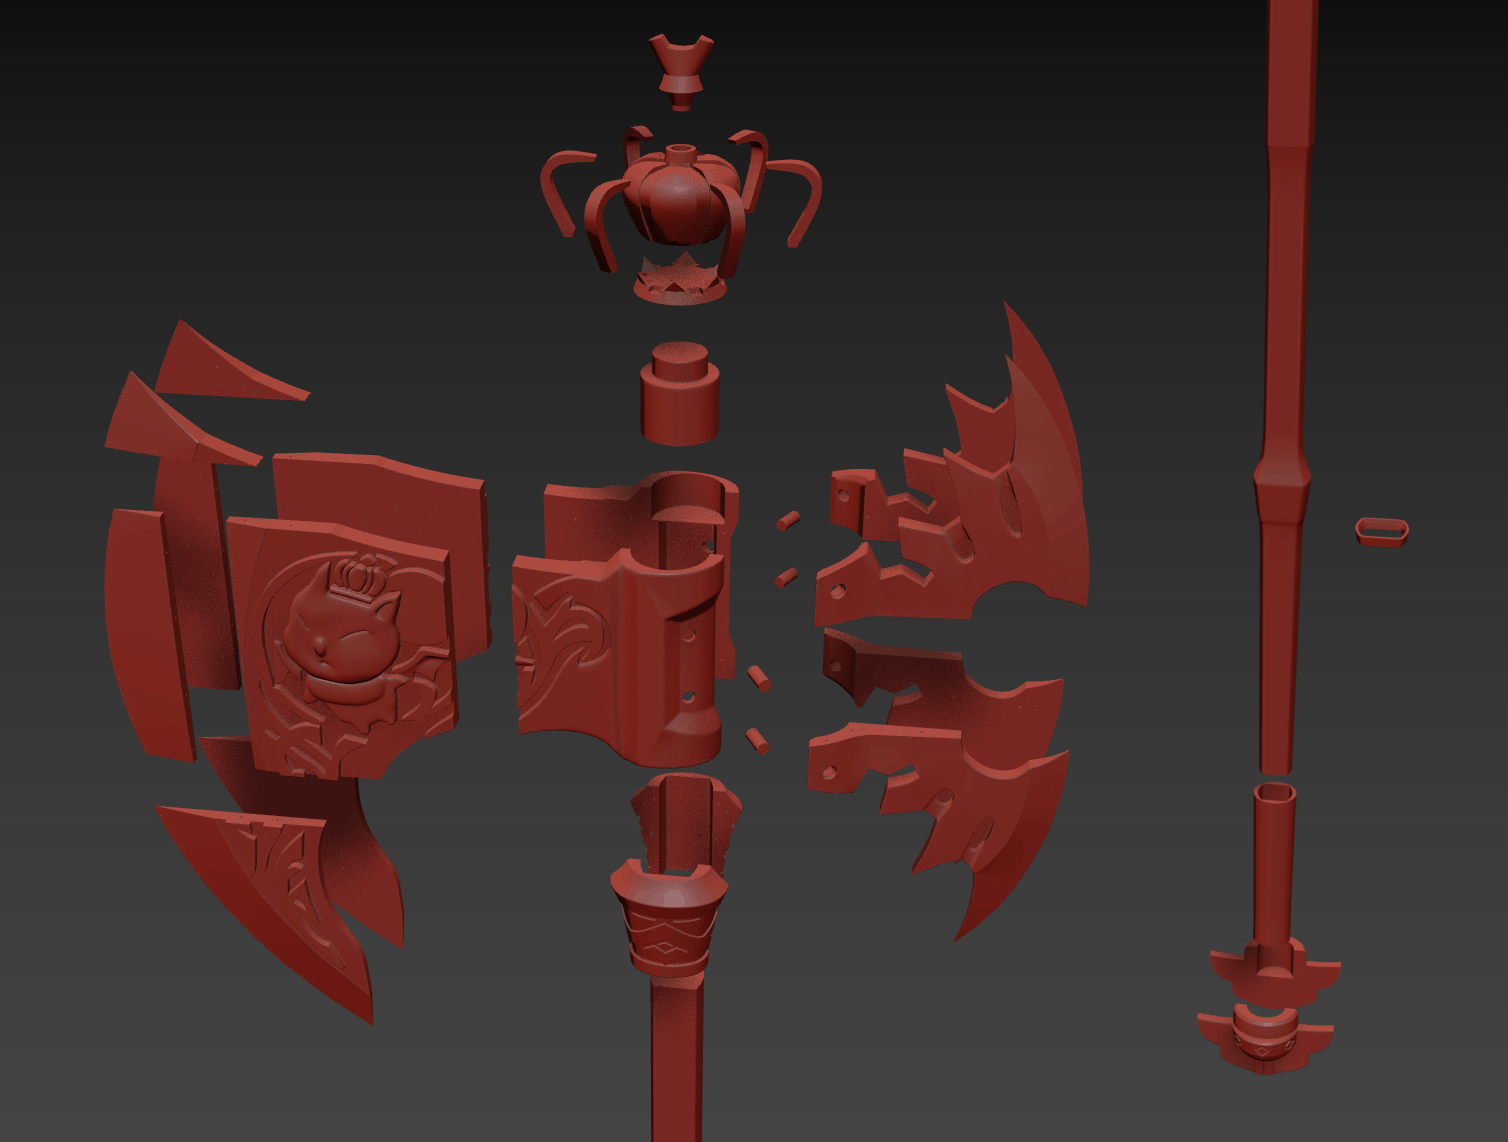
Scaling the axe to match, it looks like the dimensions of the final item would be approximately:
- 1287 mm tall (bottom of handle to tip of area above red crown, about 50.5 inches)
- 527 mm wide (from outermost axe blade tip to outermost back blade tip, just shy of 21 inches)
- 98 mm deep (measured at the thickest part of the axe blade where it sits over the handle, just shy of 4 inches)
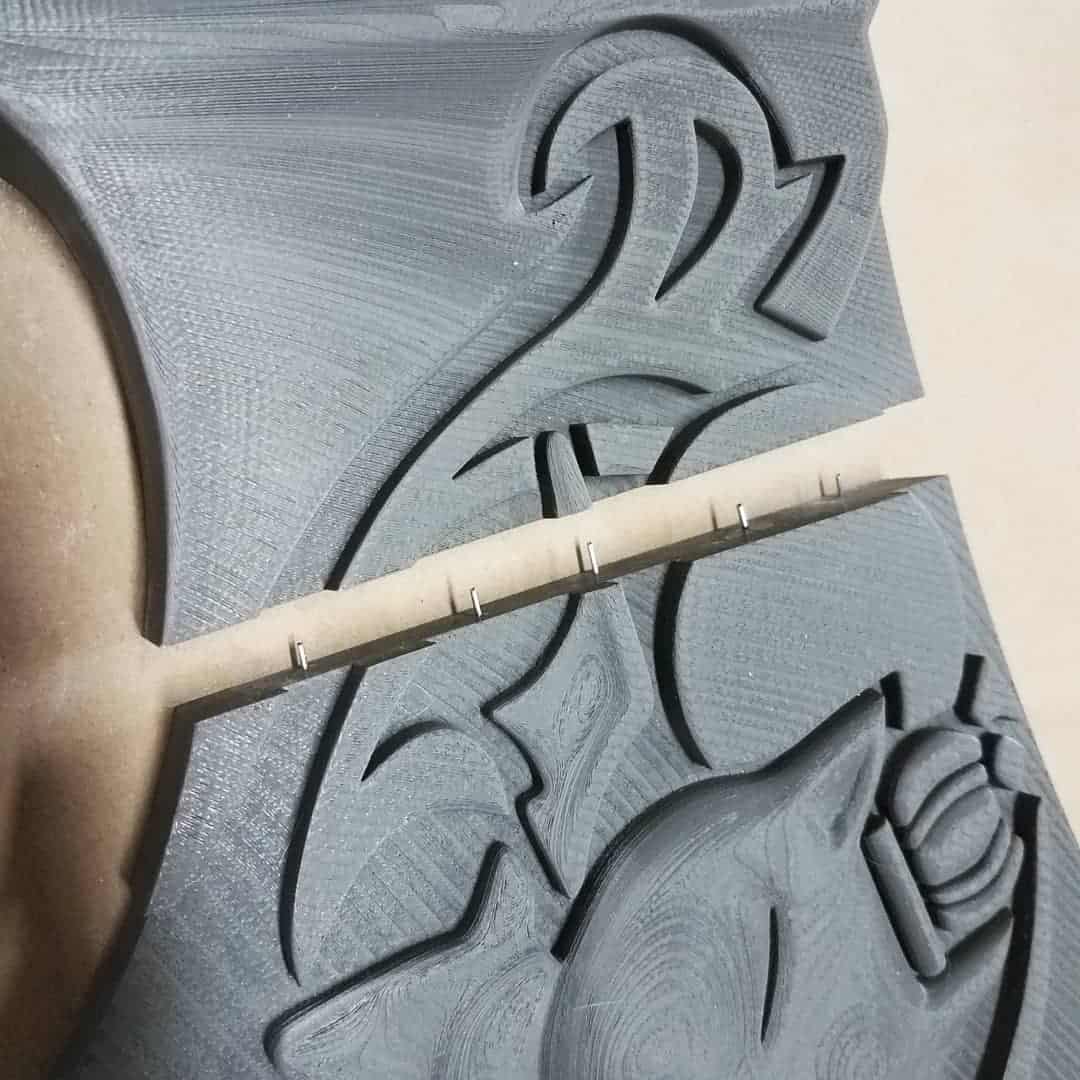
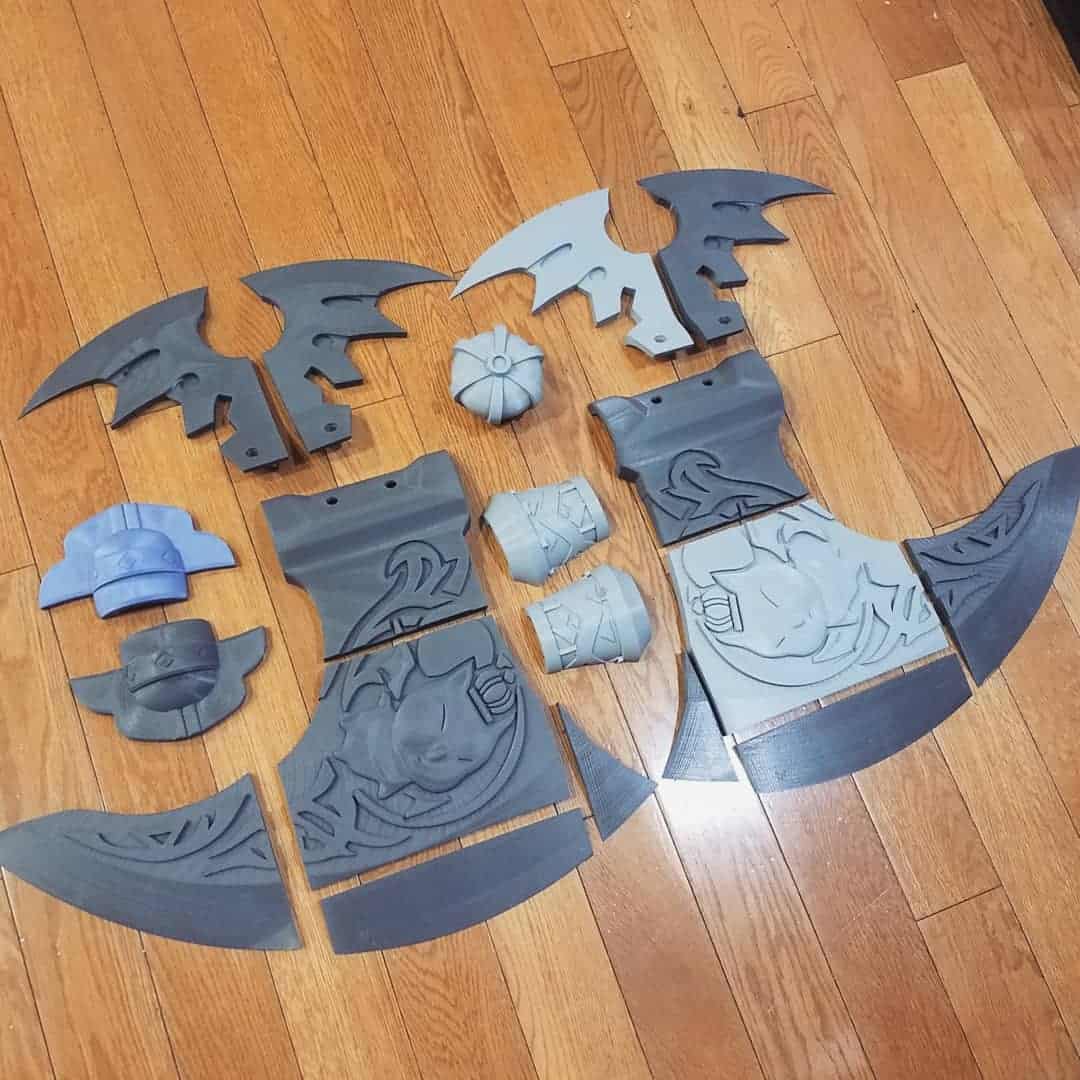
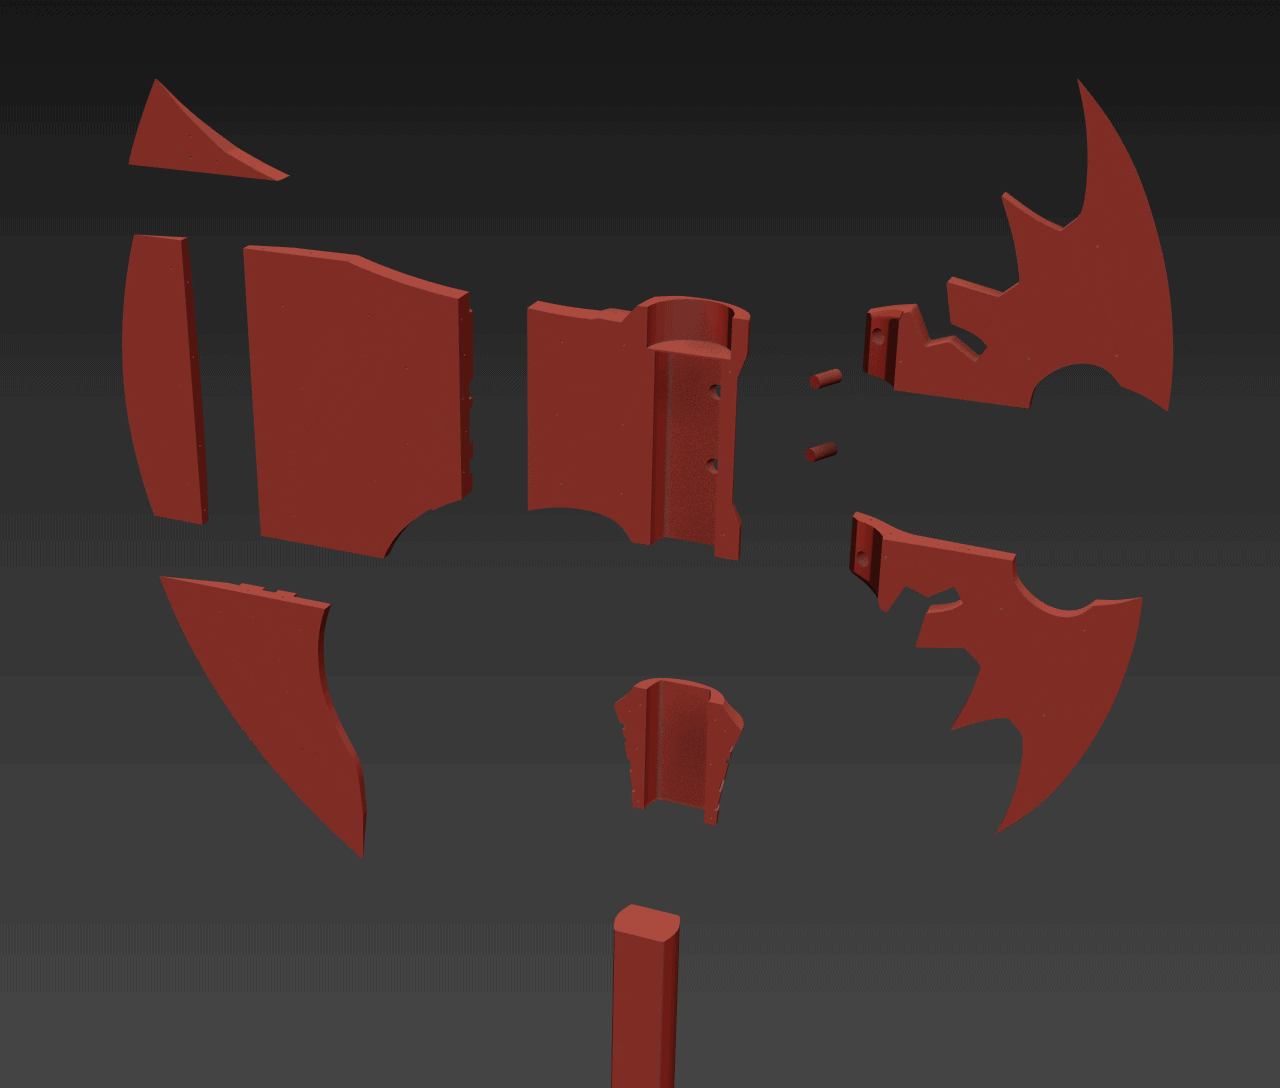
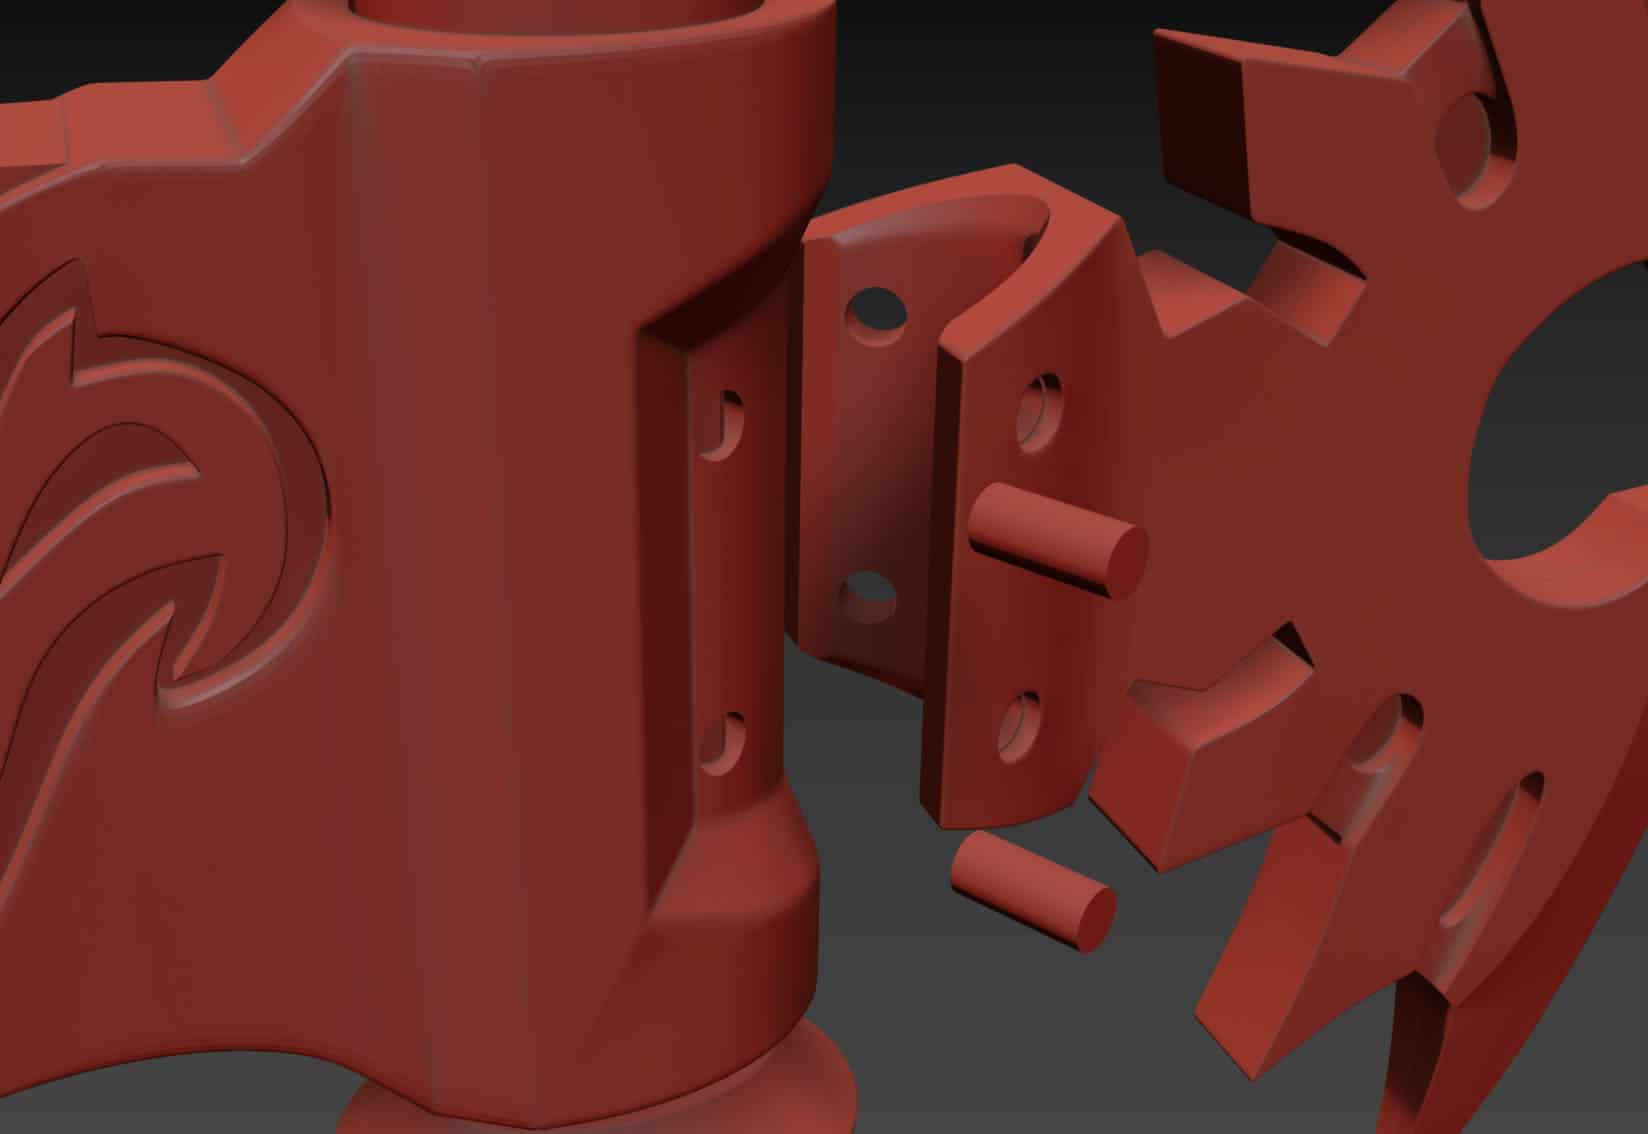
It was important to get these dimensions locked-in at this point because I was going to need to carve the model up to fit on my 3D printer bed, and any changes after-the-fact would end up being pretty difficult to adapt to if they got bigger than the print volume of my machine. When slicing the parts up, I also put a bunch of alignment holes along the edges of each part. These let me add simple structural reinforcement along the seams of the axe with pins, and also ensured that I would have an easier time lining the parts up during assembly.
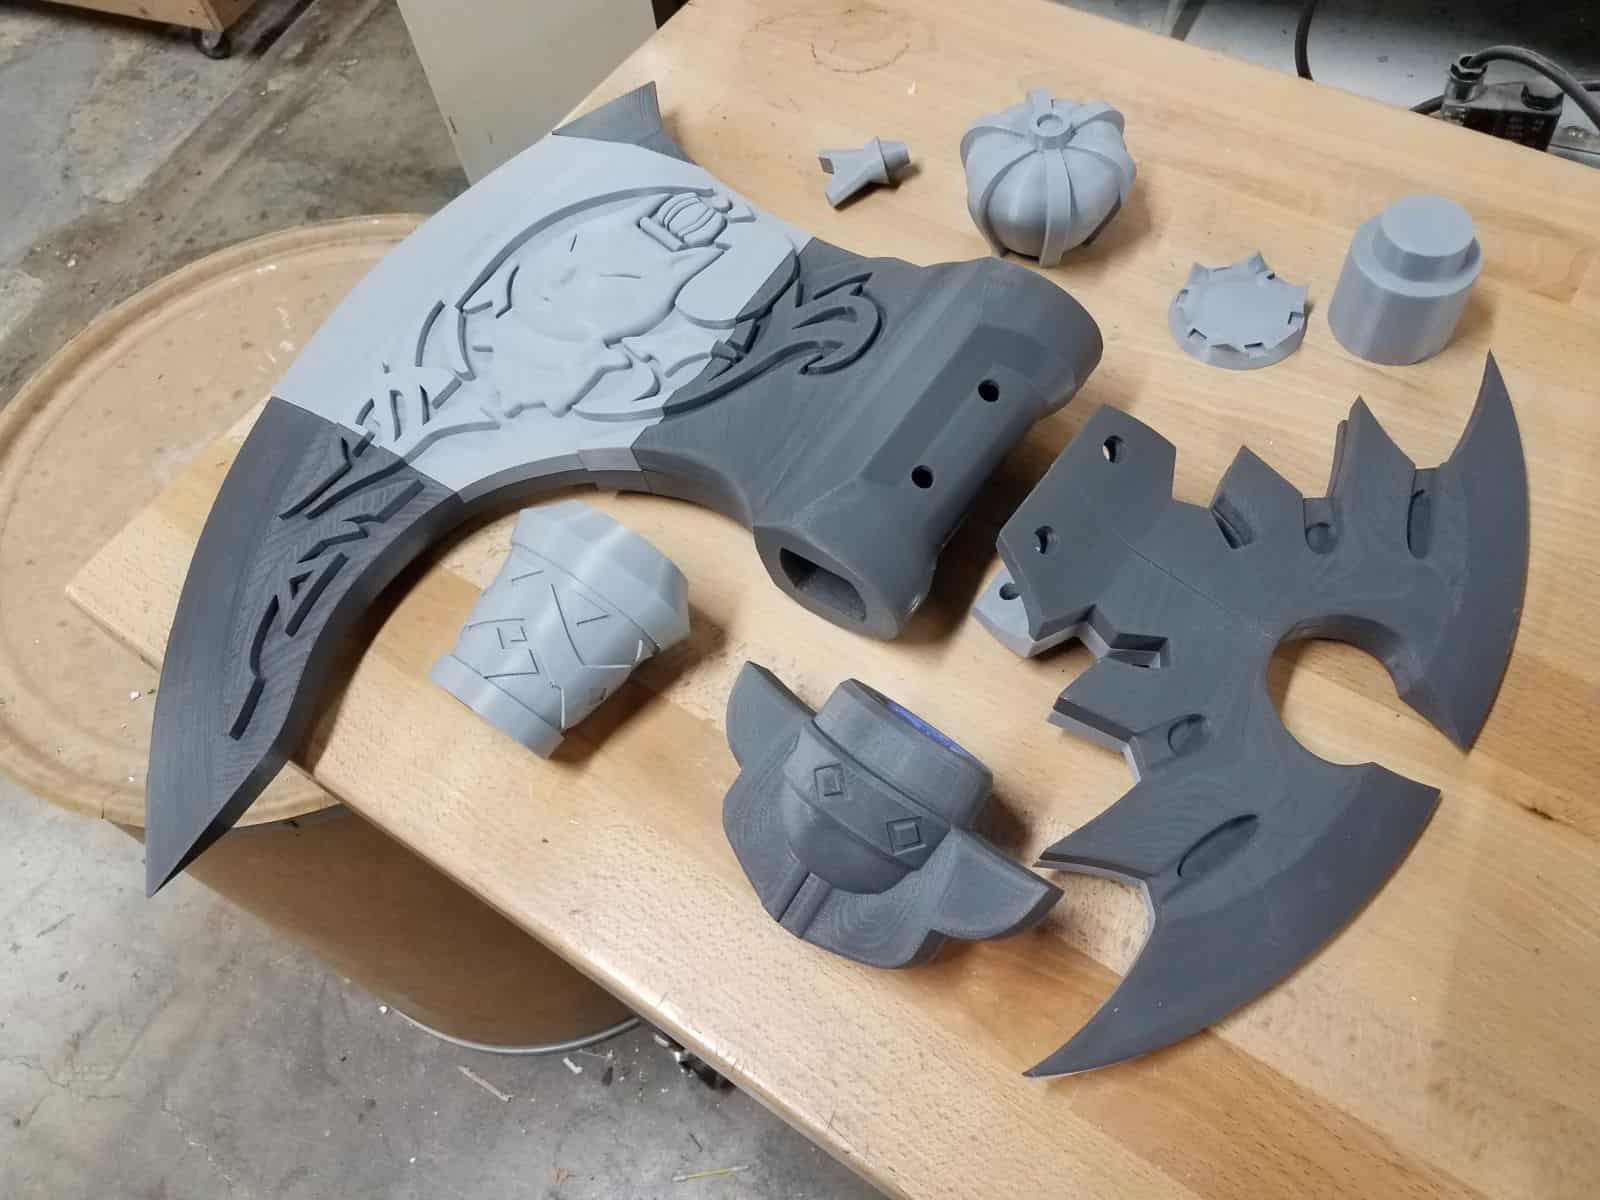
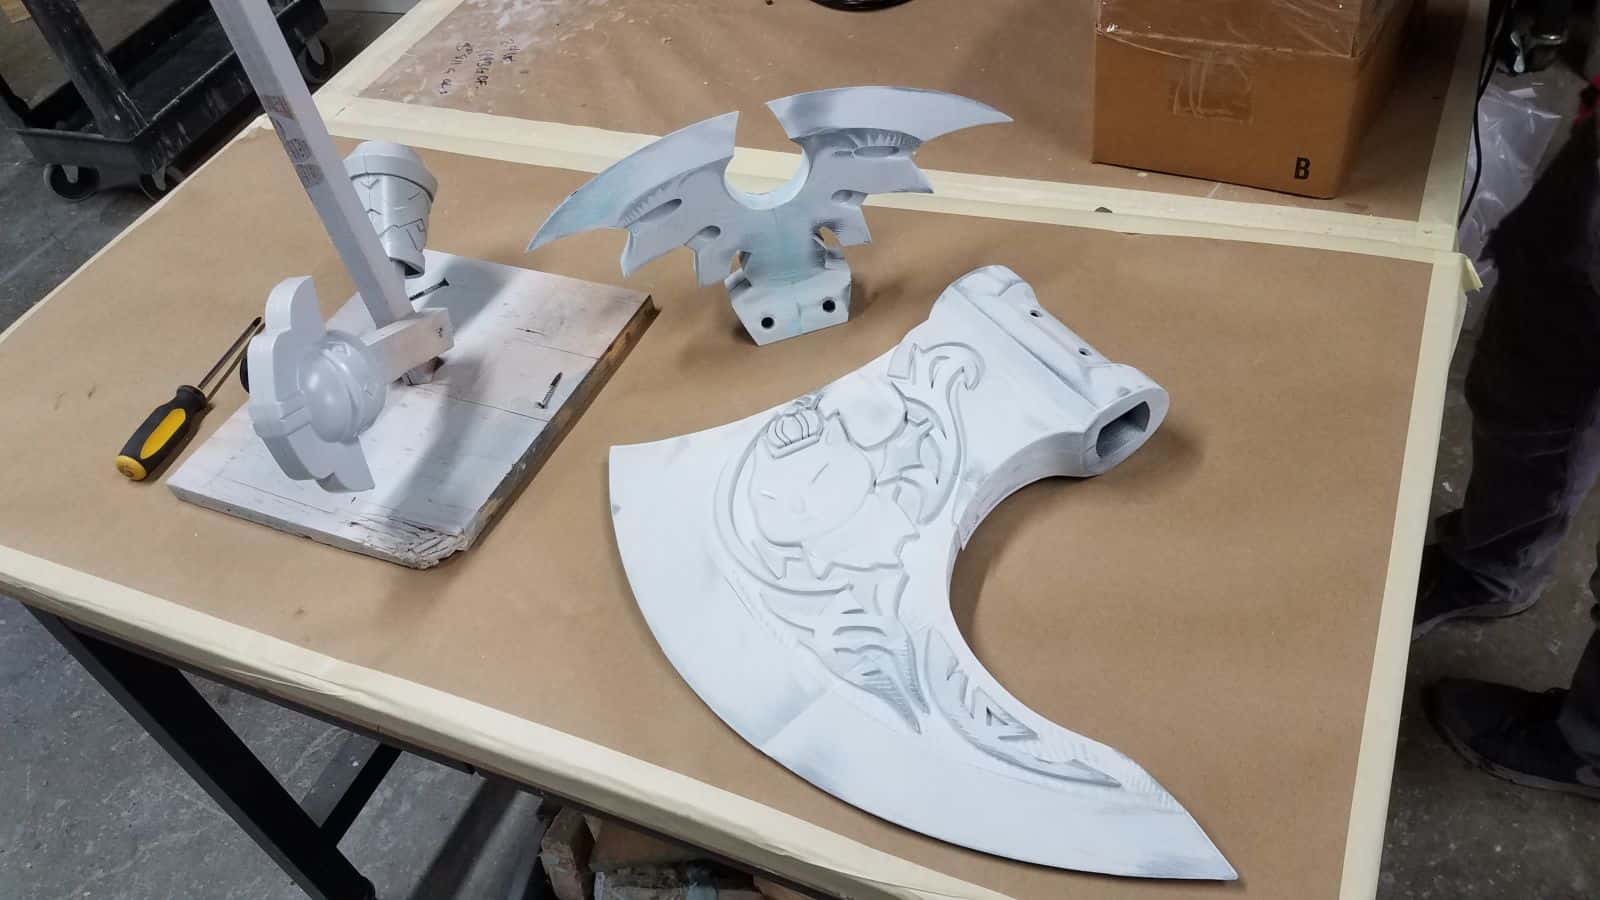
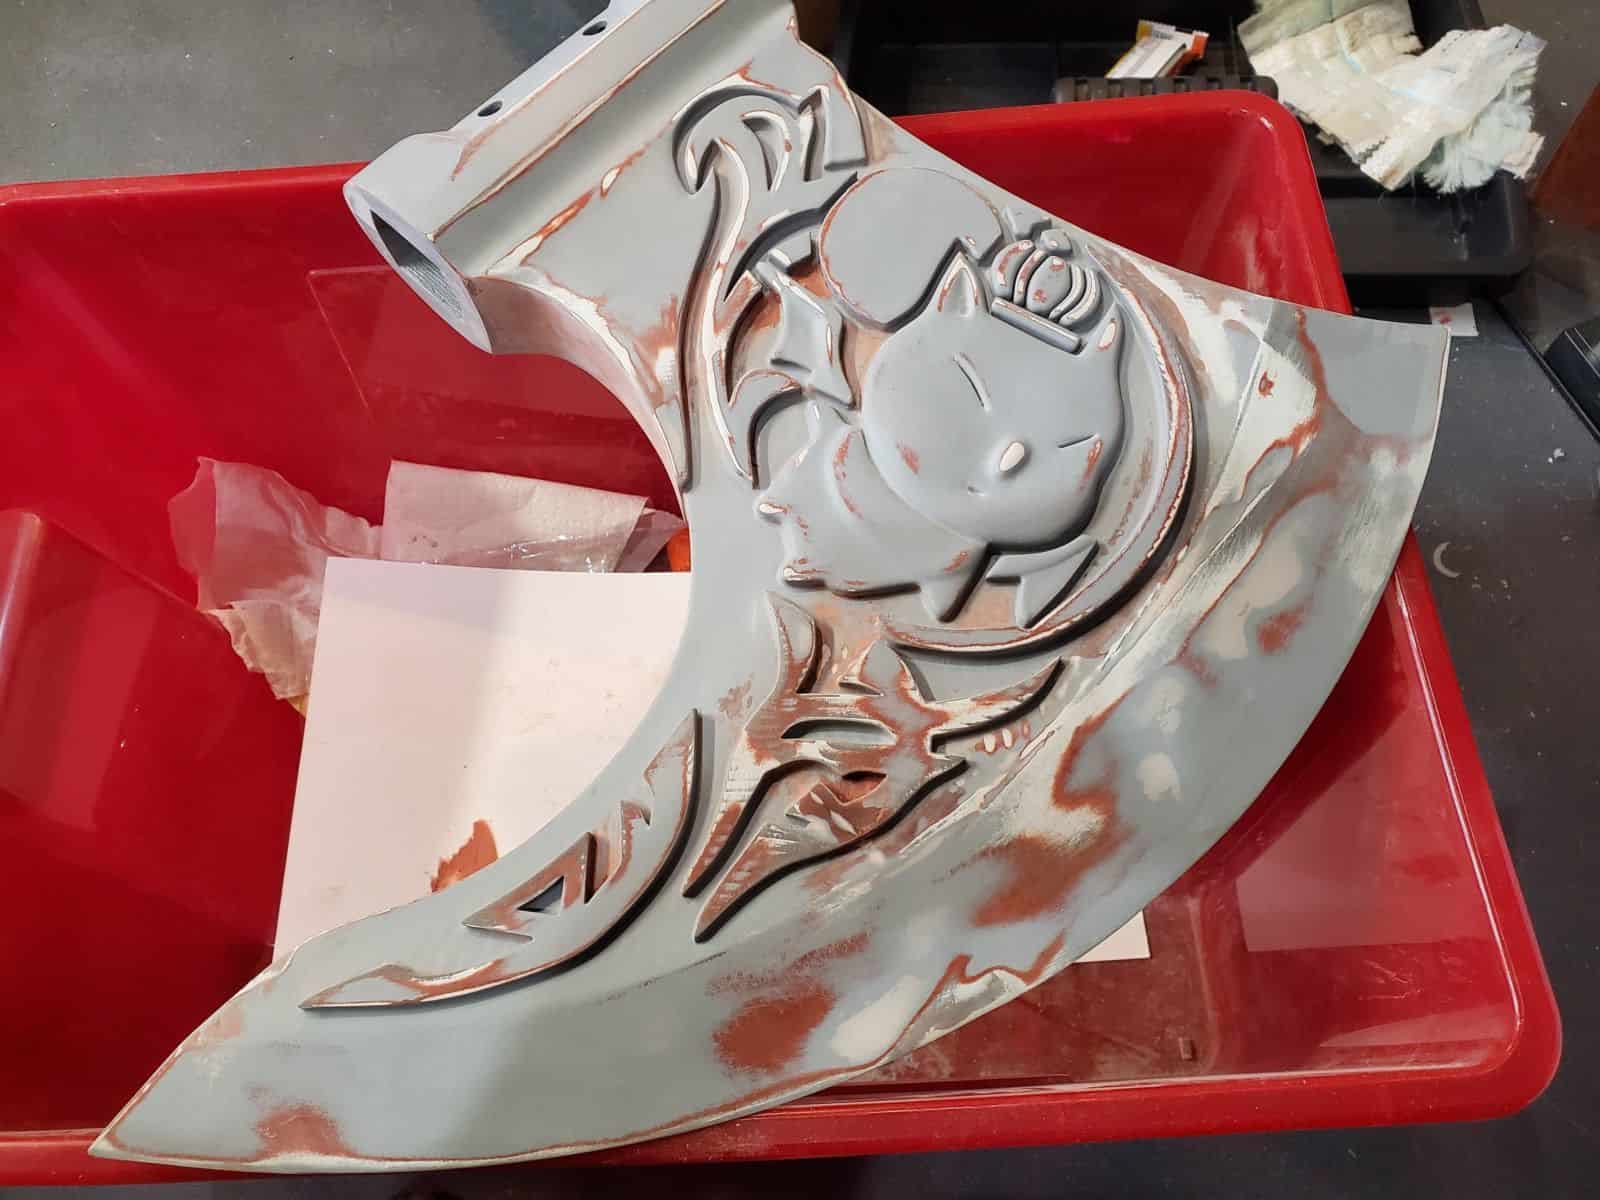
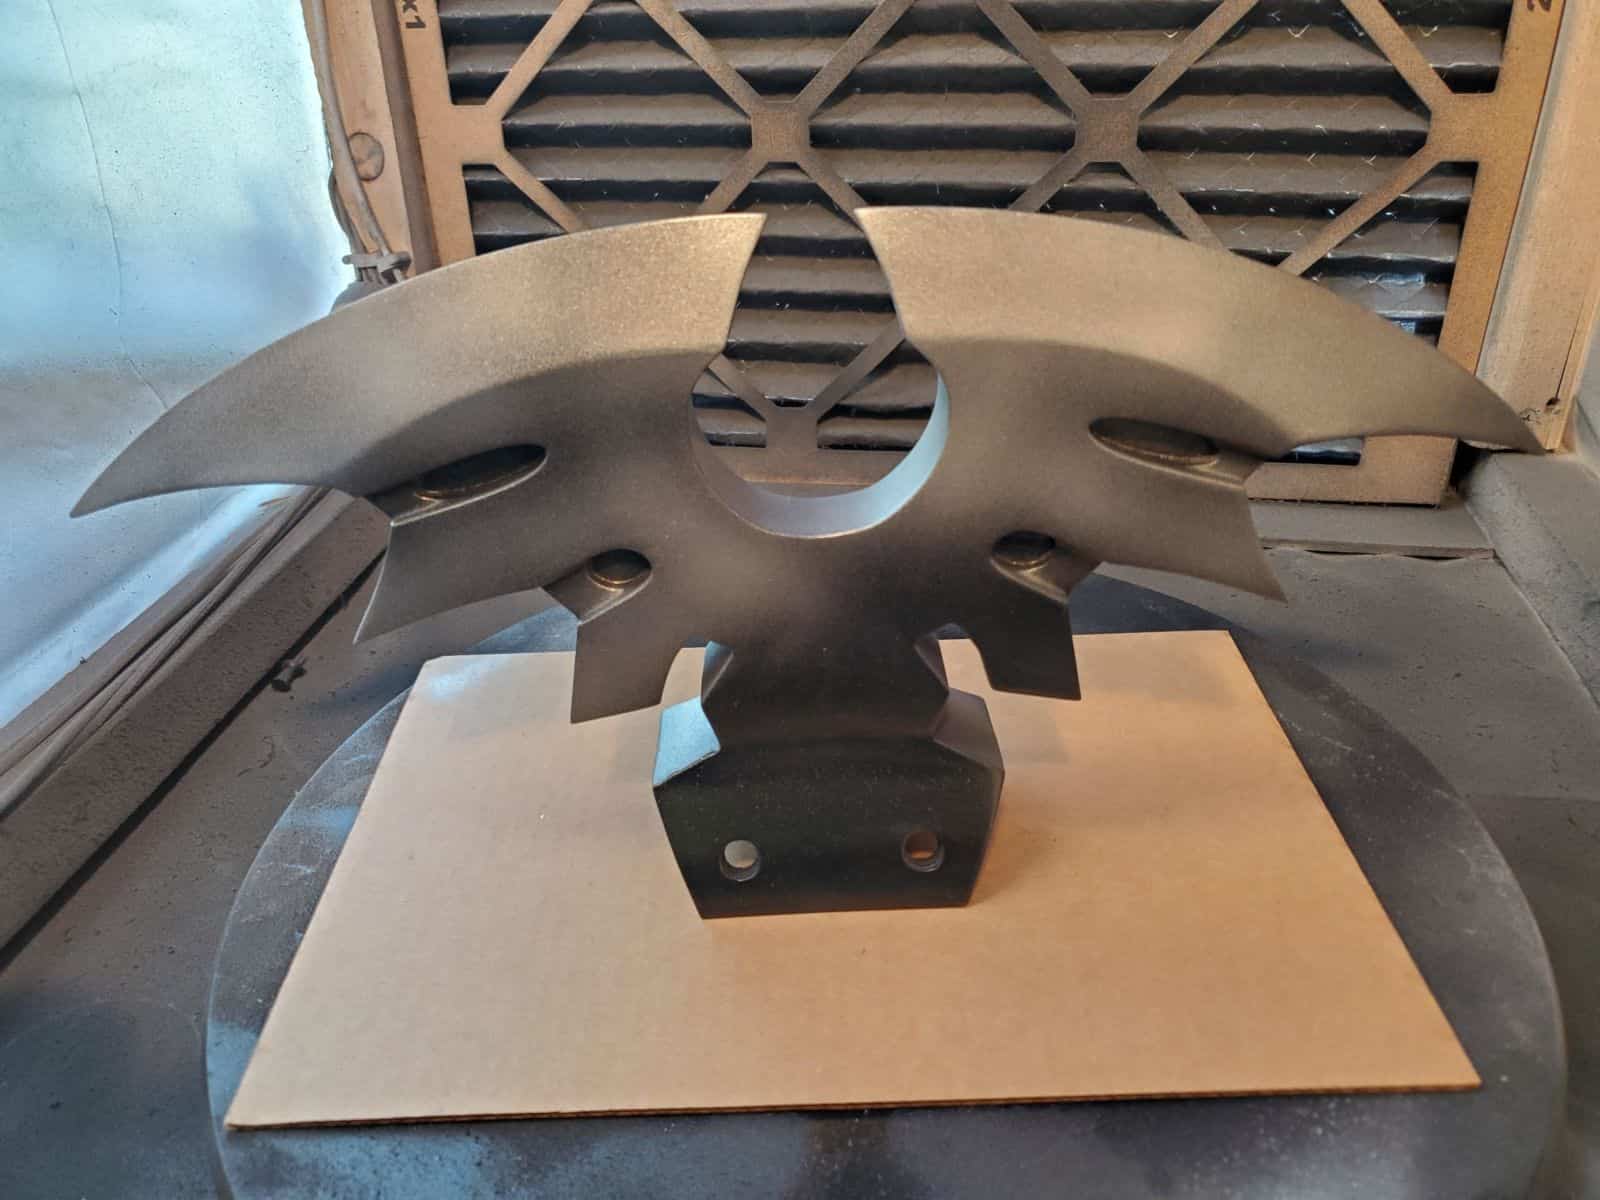
Even on fine print settings, this ended up needing a lot of sanding, and I have to be honest – sanding the recessed areas of the design sucked. I used a fair bit of bondo to reinforce the leading edge of the axe and the back edges of the ‘wing’ on the other side.
Knowing what I know now, and with hindsight being 20/20, I think I’d go about making this axe a little differently if I had to do it again. I’d probably prefer to CNC-mill the design out of something like MDF, for one thing. It’d end up being too heavy to actually make the finished prop out of MDF, but you could carve out a buck / ‘positive’ form and do vacuum-forming pulls of a thermoplastic like PETG overtop to get a thin, hollow plastic shell of the axe blade. Do that to two sides of the axe, trim the PETG, glue and patch the seam, and you’d have a much easier time building the axe in a way that wouldn’t require many days of sanding. In fairness, I didn’t have much CNC experience when I was first making this axe, so I probably would have struggled with that process, but I think these days it’d be a lot easier for me to tackle.
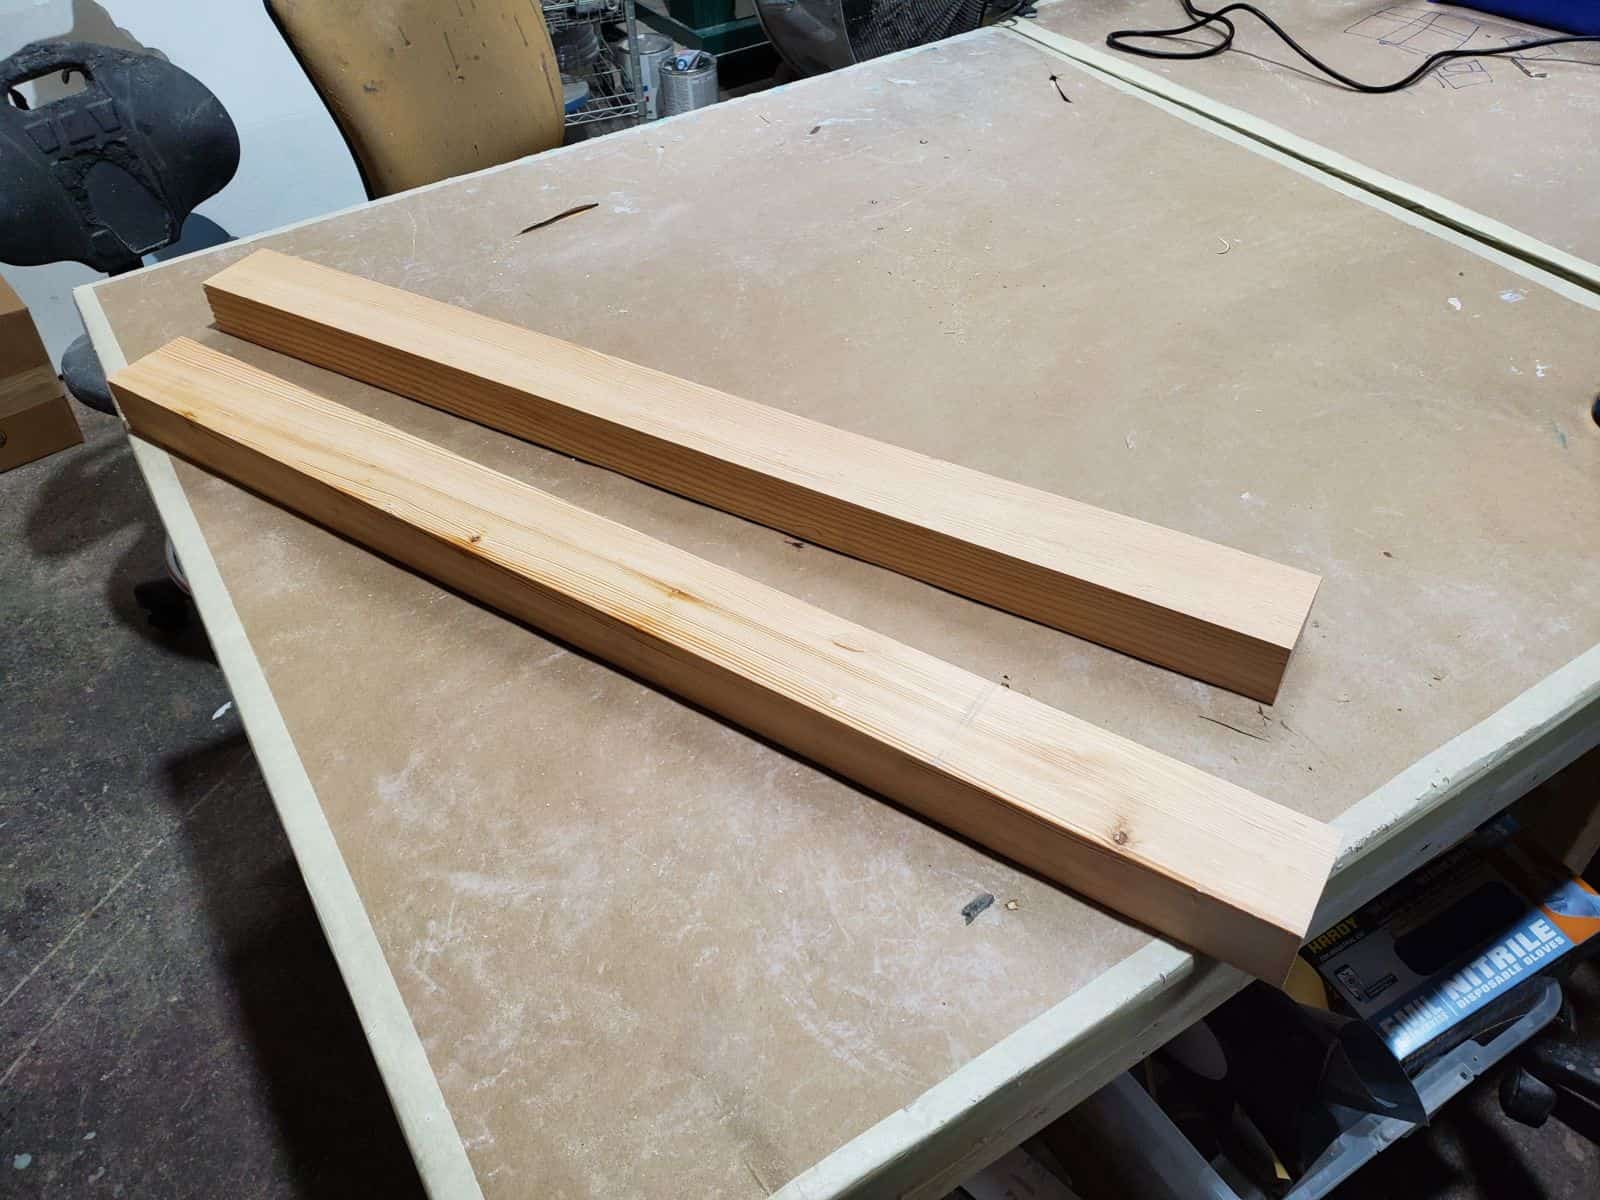
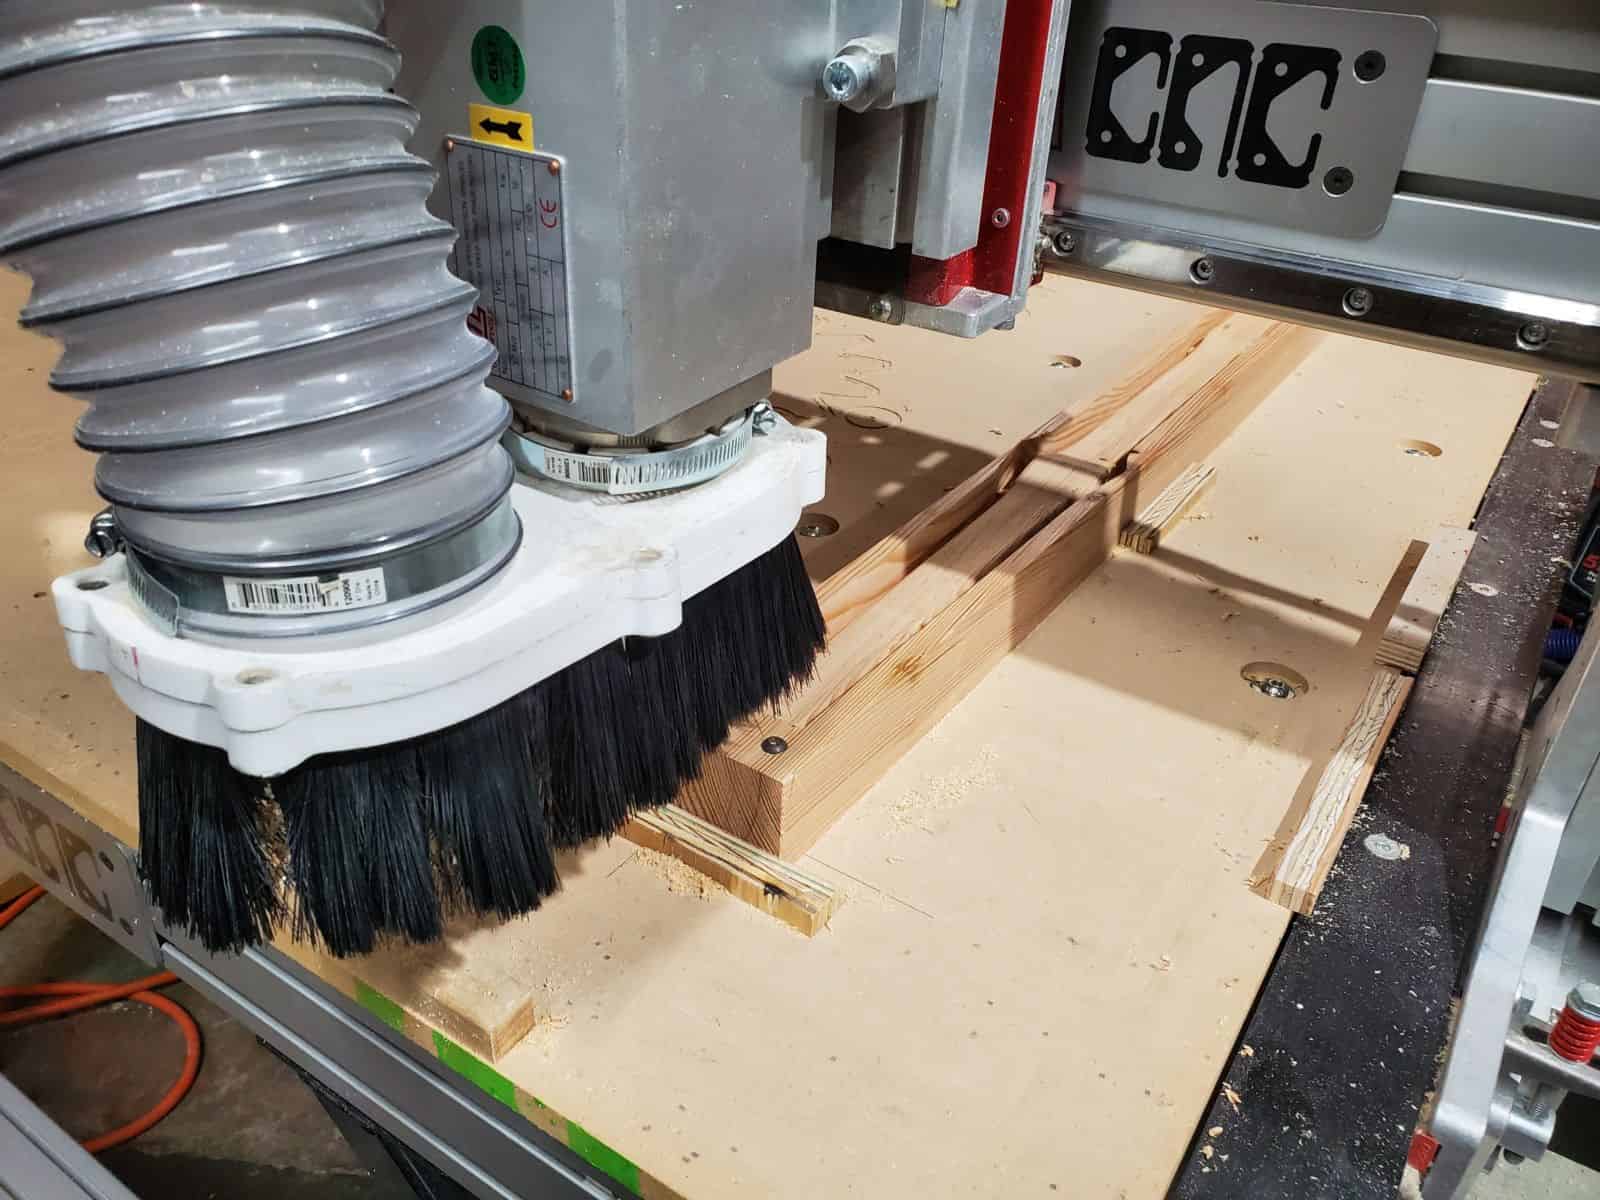
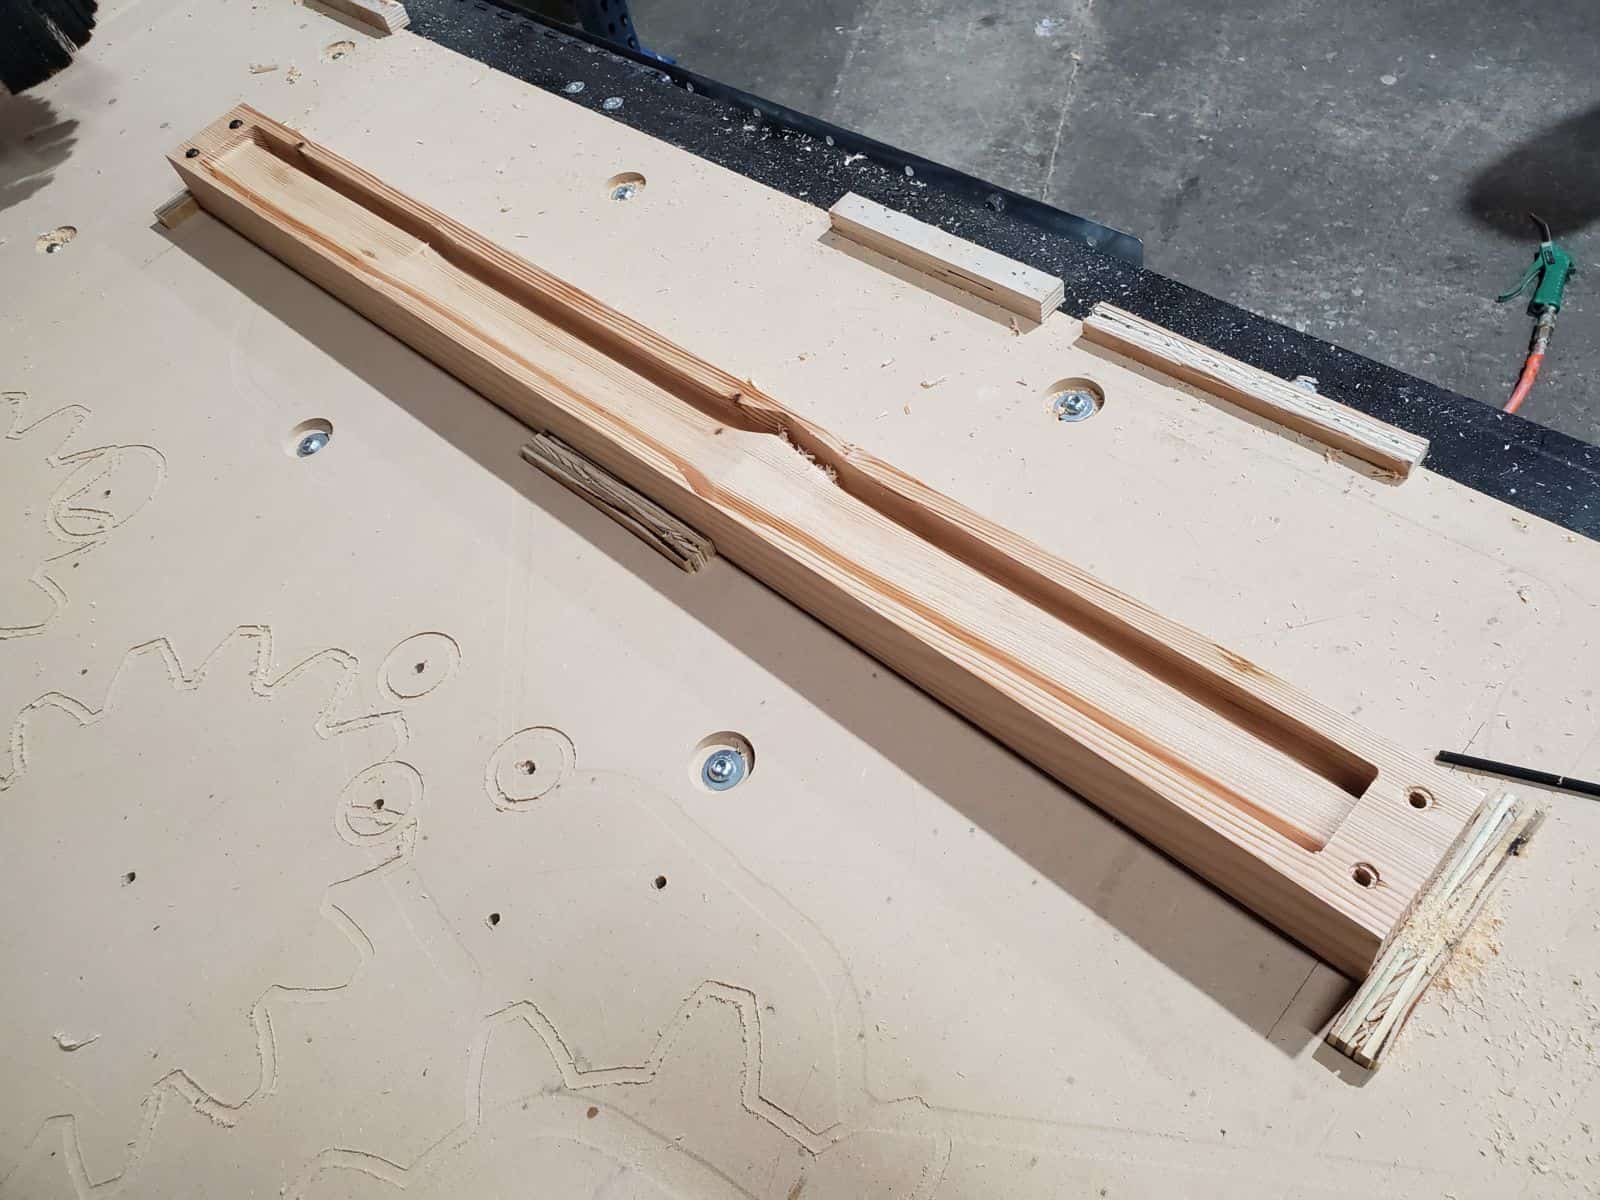
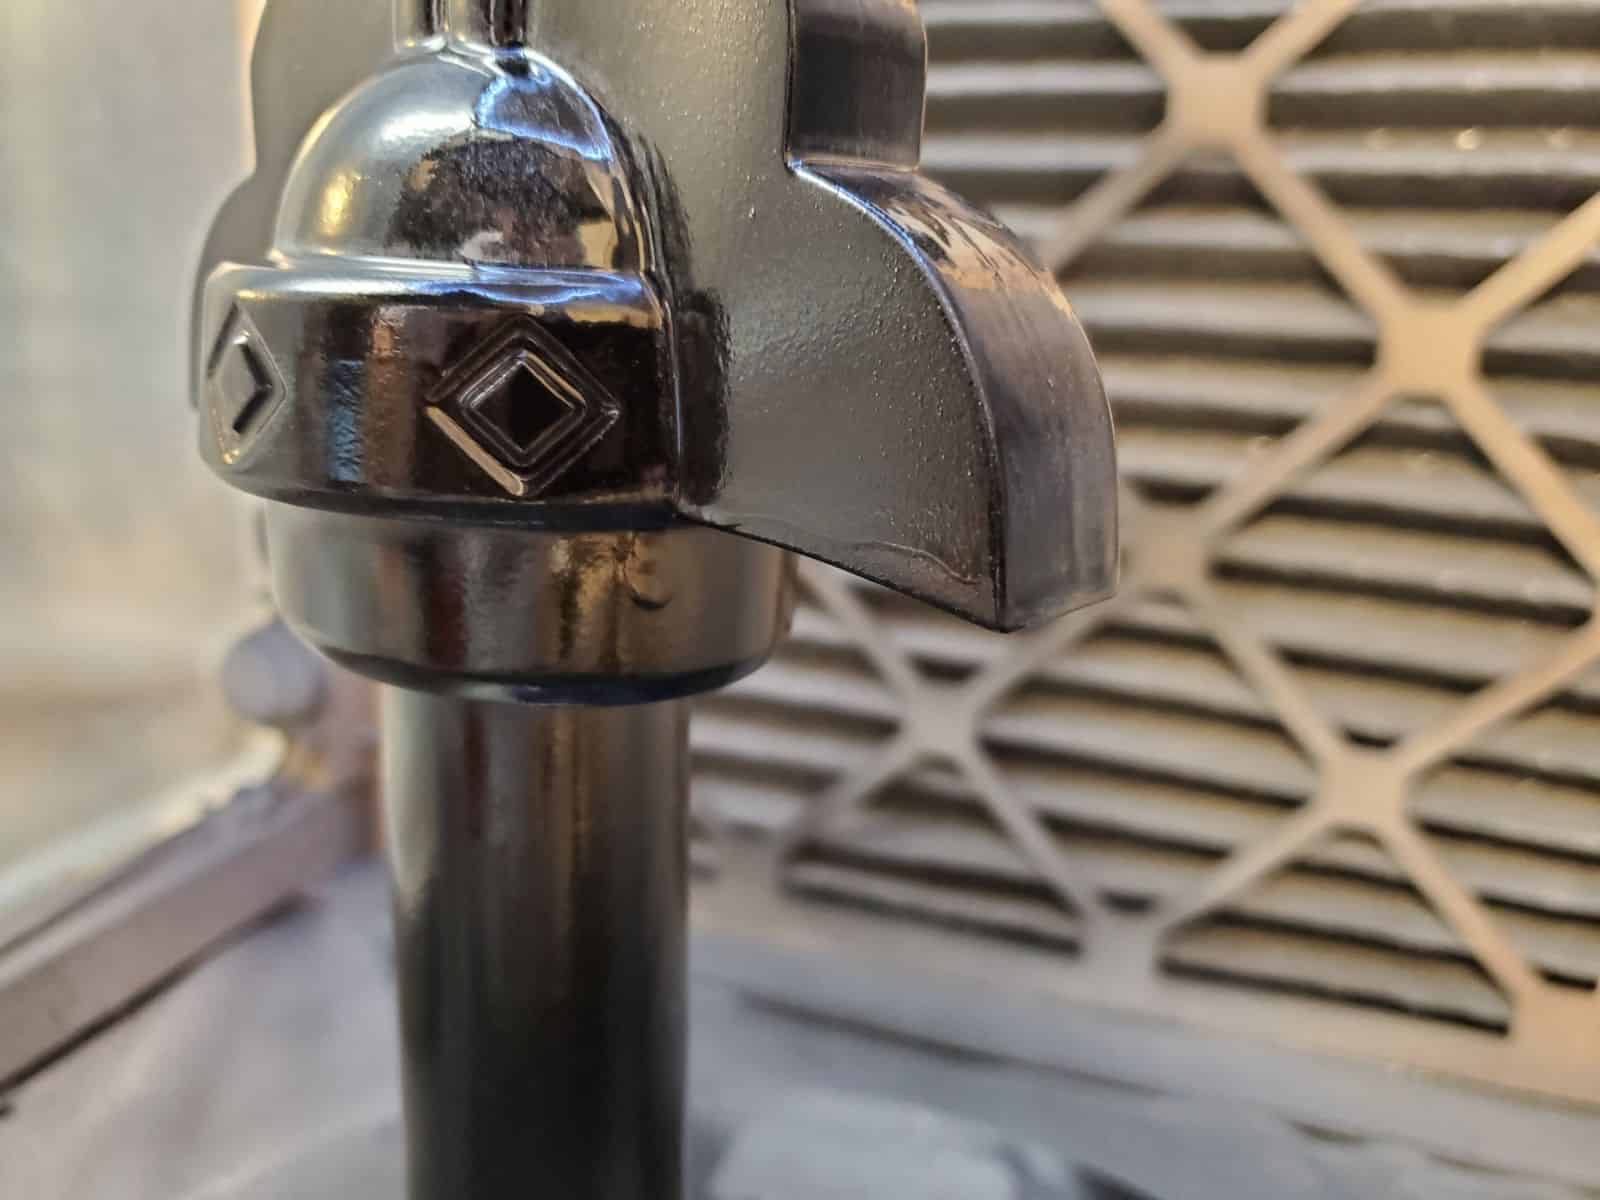
I modeled the handle as part of the axe and used that handle to cut out the sockets in the axe head and other parts. Realistically, I knew the odds of me being able to hand-cut and hand-sand the handle to exactly those dimensions were slim – it’s just a lot of variables to get right. Fortunately, I had access to a bigass CNC machine at work, and got permission to use it over a weekend. I picked up a nice piece of lumber from a local shop in L.A. and cut and planed it down to a block so that I knew the dimensions of the stock very precisely. I used the CNC machine to drill alignment holes through the block so I could flip it carefully with wooden dowels as pins, and then set up a two-sided machining job to shape the handle.
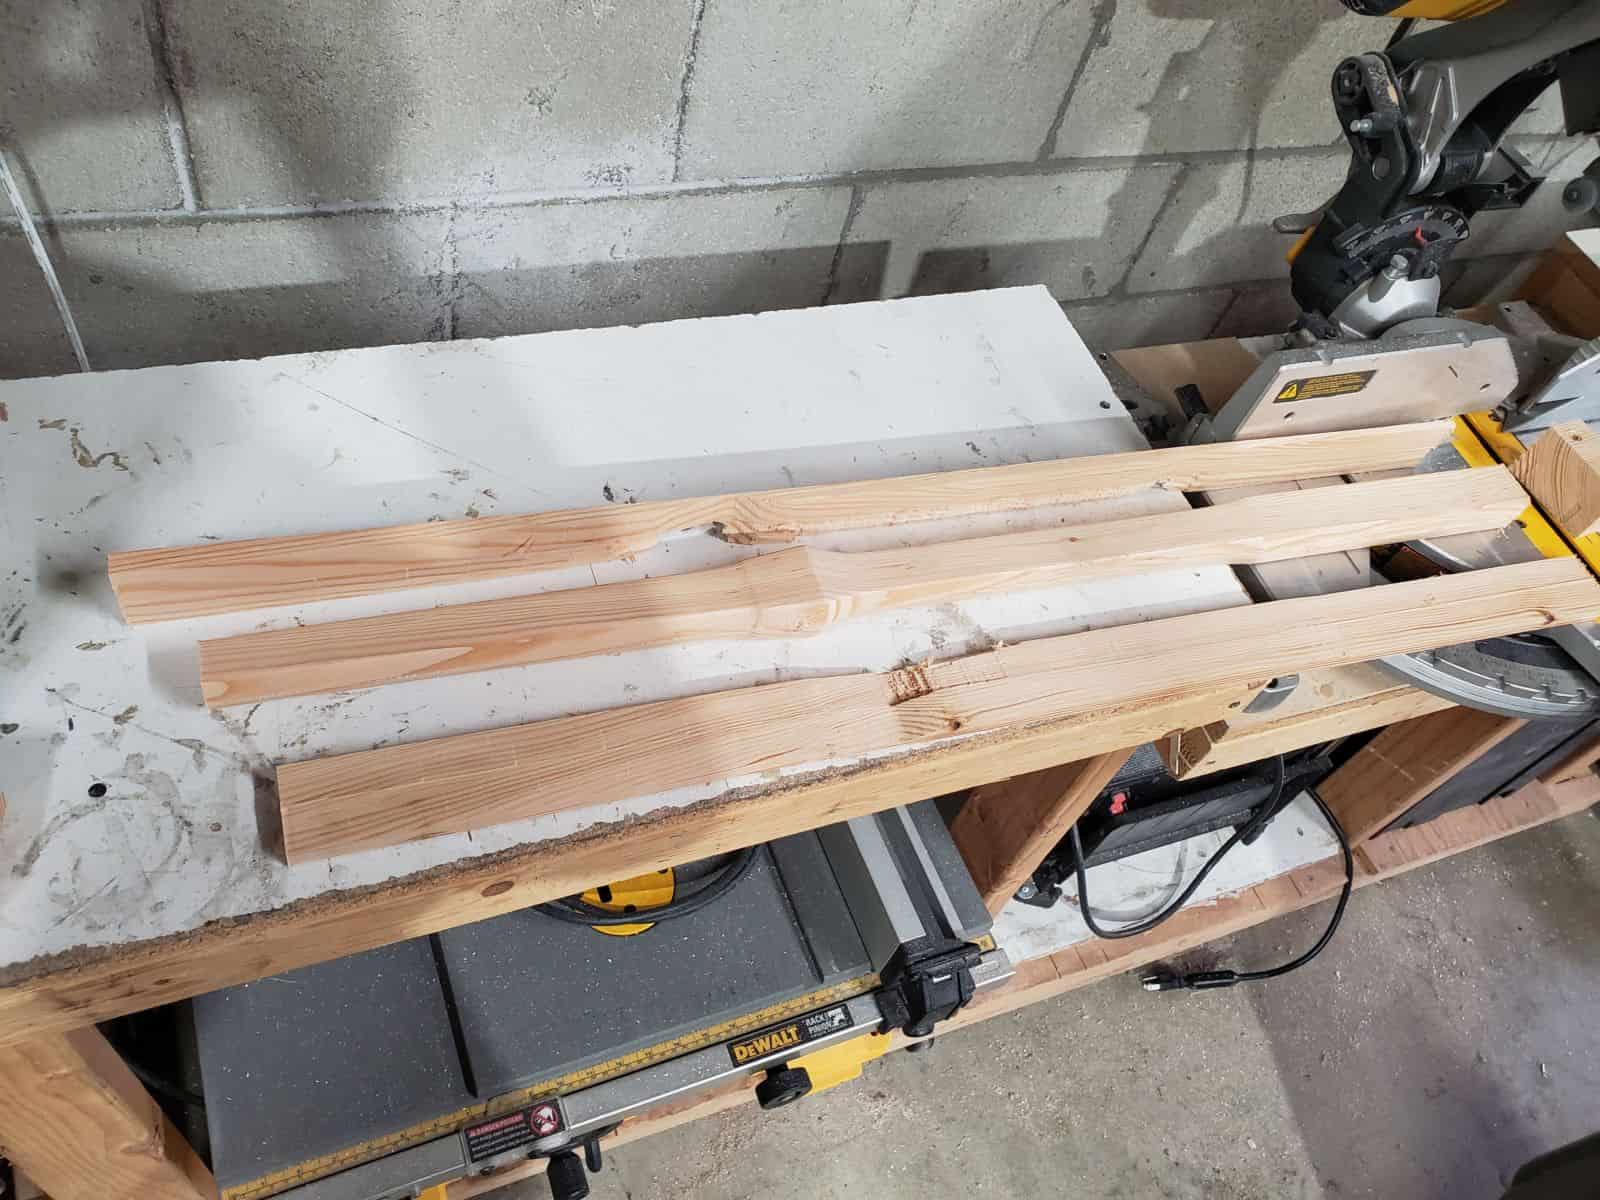
It came out really great – I had a bit of hand-sanding to do to clean up the machined surface, but it’s hard to beat such an exact fit!
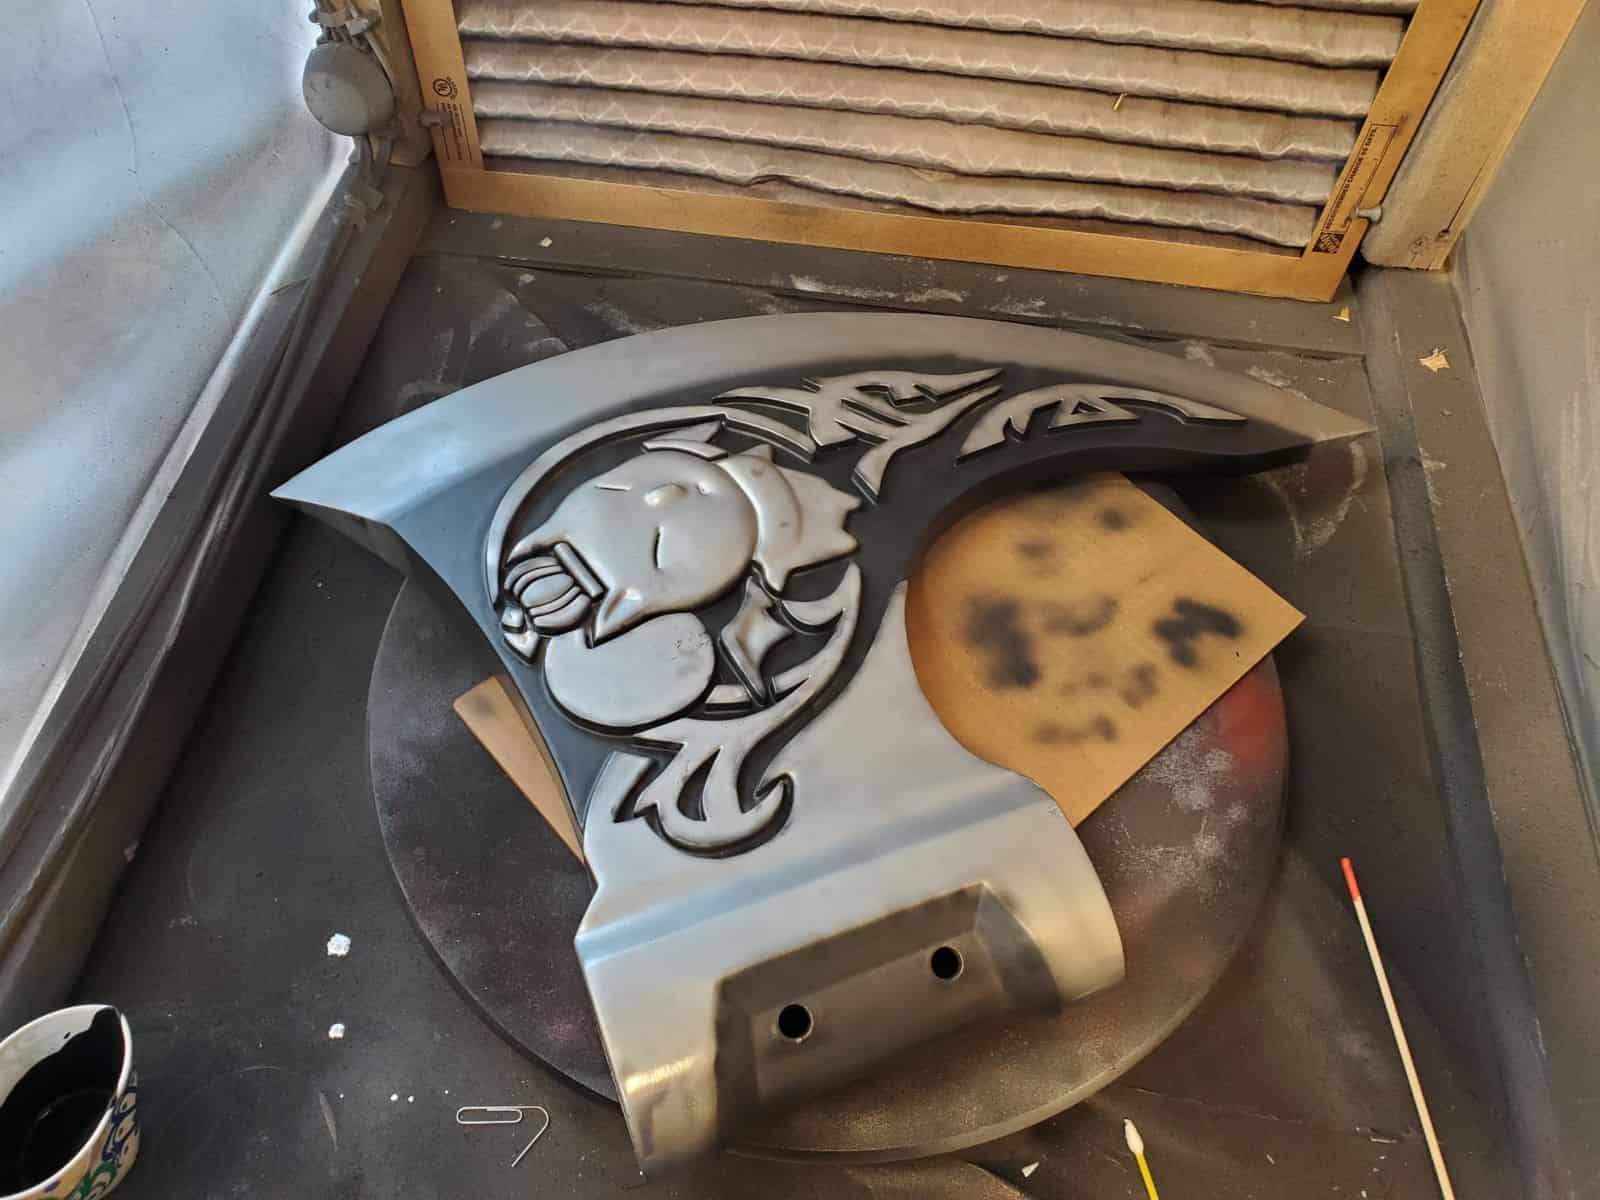
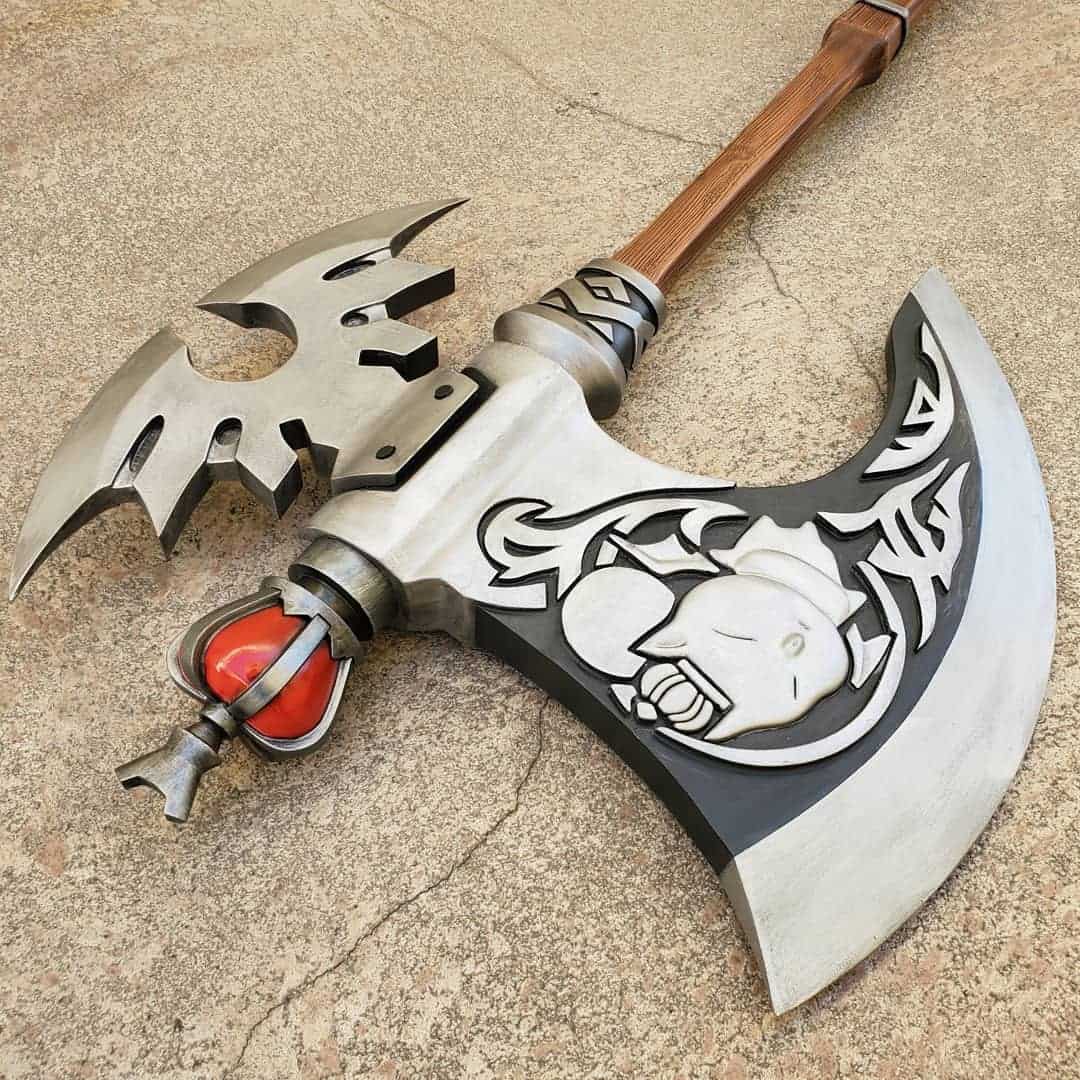
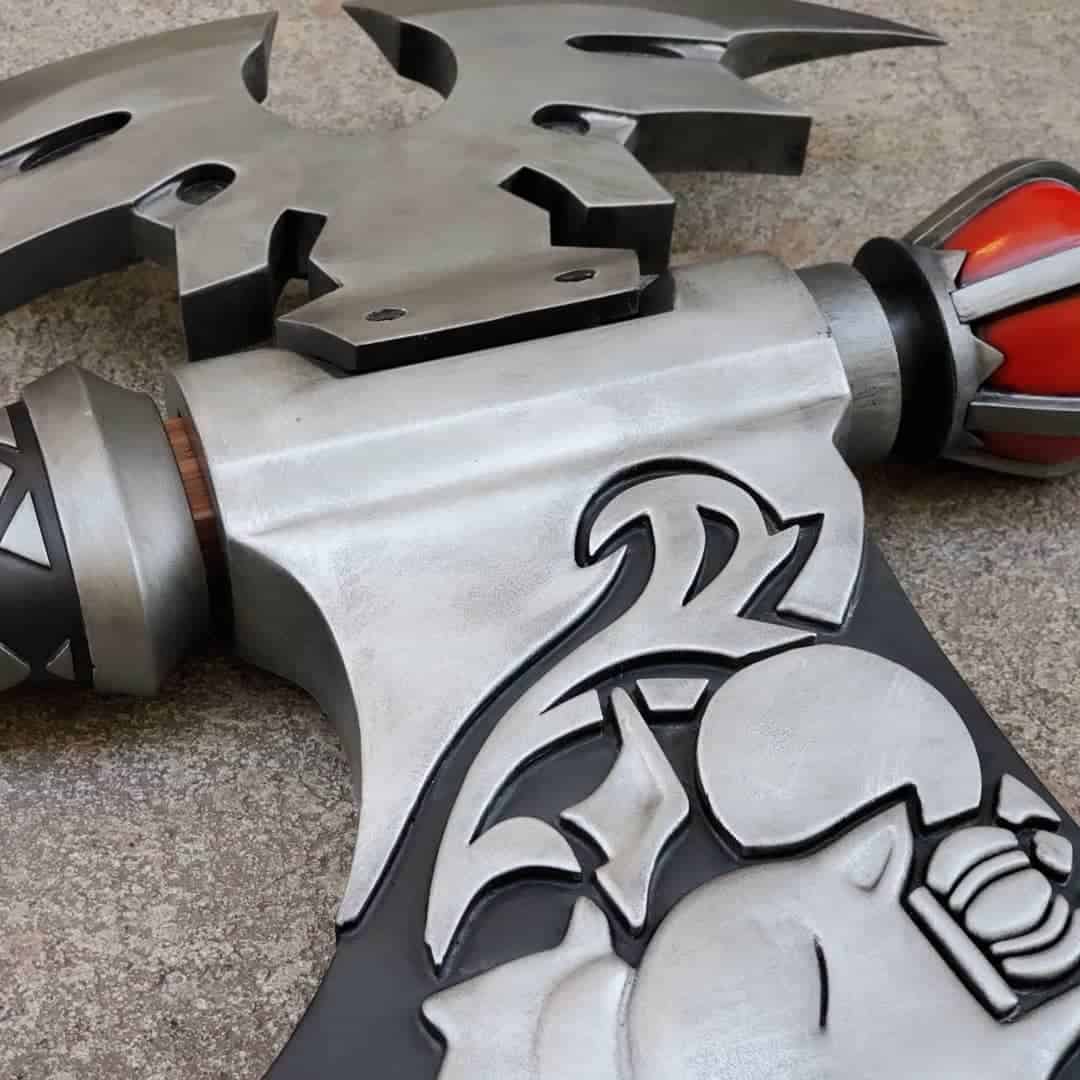
After what felt like an eternity of sanding on this thing, I had to figure out how to tackle the paint job. On the one hand, it’s a pretty straightforward color scheme – dark grey, metallic silver, red. I considered trying to mask the various design elements on the blade off so I could spray everything with rattle-cans, but that amount of fine detail tape work sounded miserable. Instead, I opted to hit all of the metallic parts with a black gloss, then went in with my airbrush and tried to pick out the silver areas.
I went back and forth airbrushing silver and black to try and push the colors into most of the areas I needed it to be, but ultimately I had to sit down with a brush and neaten up my lines with the dark grey paint in the recesses. I also dry-brushed the silver elements with metallic acrylics to try and accentuate the edges of the design a bit.
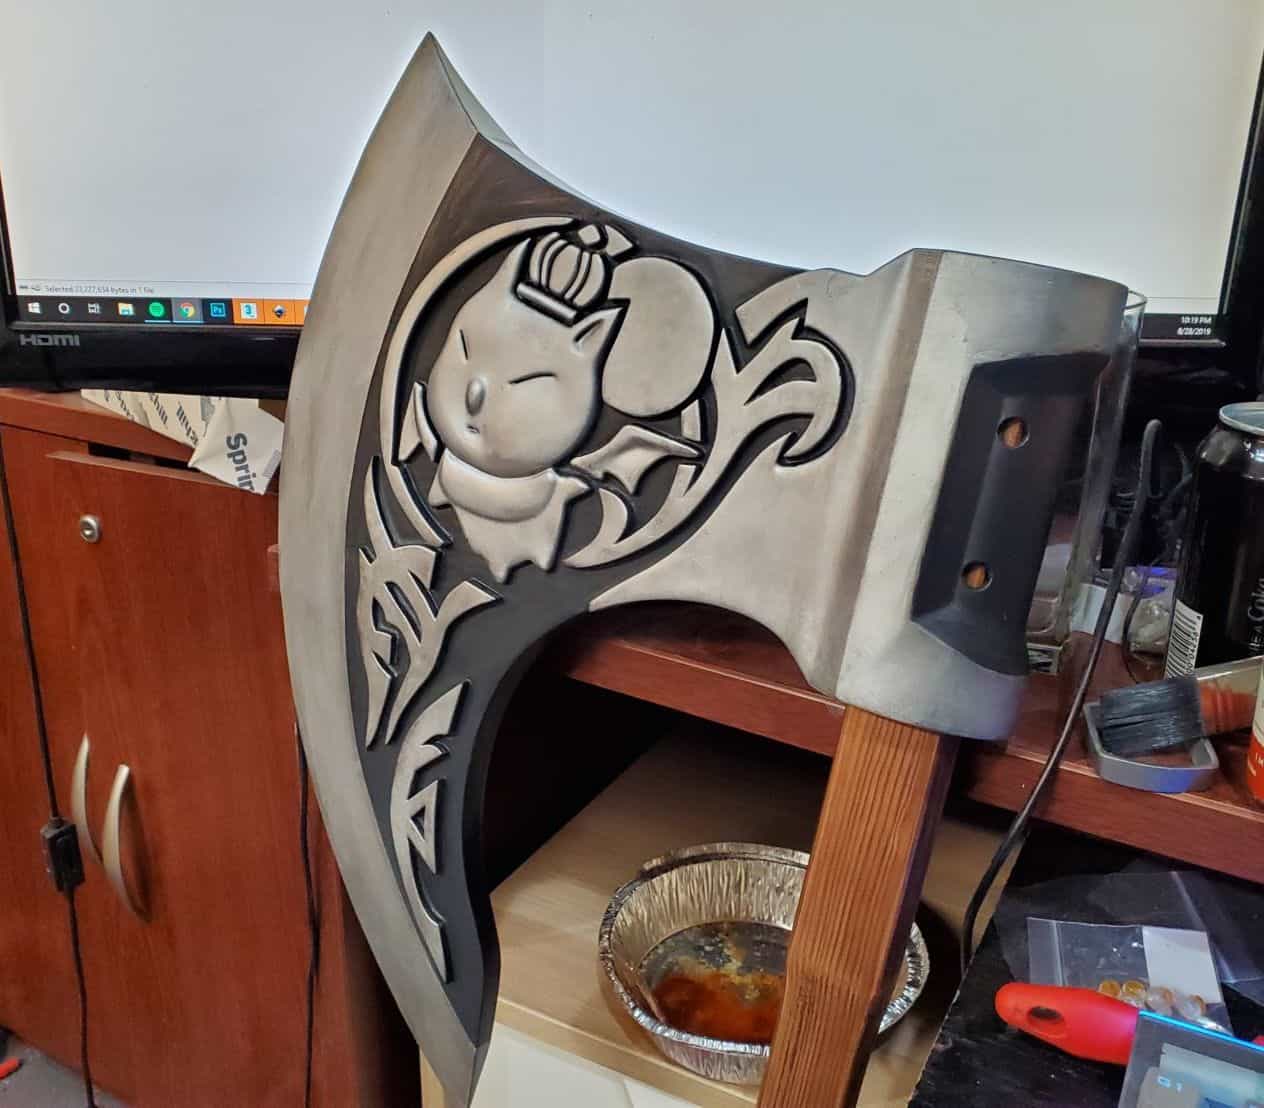
Assembly was one of the last steps of the whole thing, simply because I wanted to be able to get at the nooks and crannies of the axe without having its other components in my way. The design is intended to lock together – the back ‘wing’ element has holes that match up with the holes on the main axe head, and it cups around the recessed area snugly. I slid the wooden handle into the axe head, lined the two parts up, and drilled a hole through into the wood. By epoxying a set of 3D-printed dowels through the back wing and into the handle I was able to basically lock the entire upper end of the axe together.
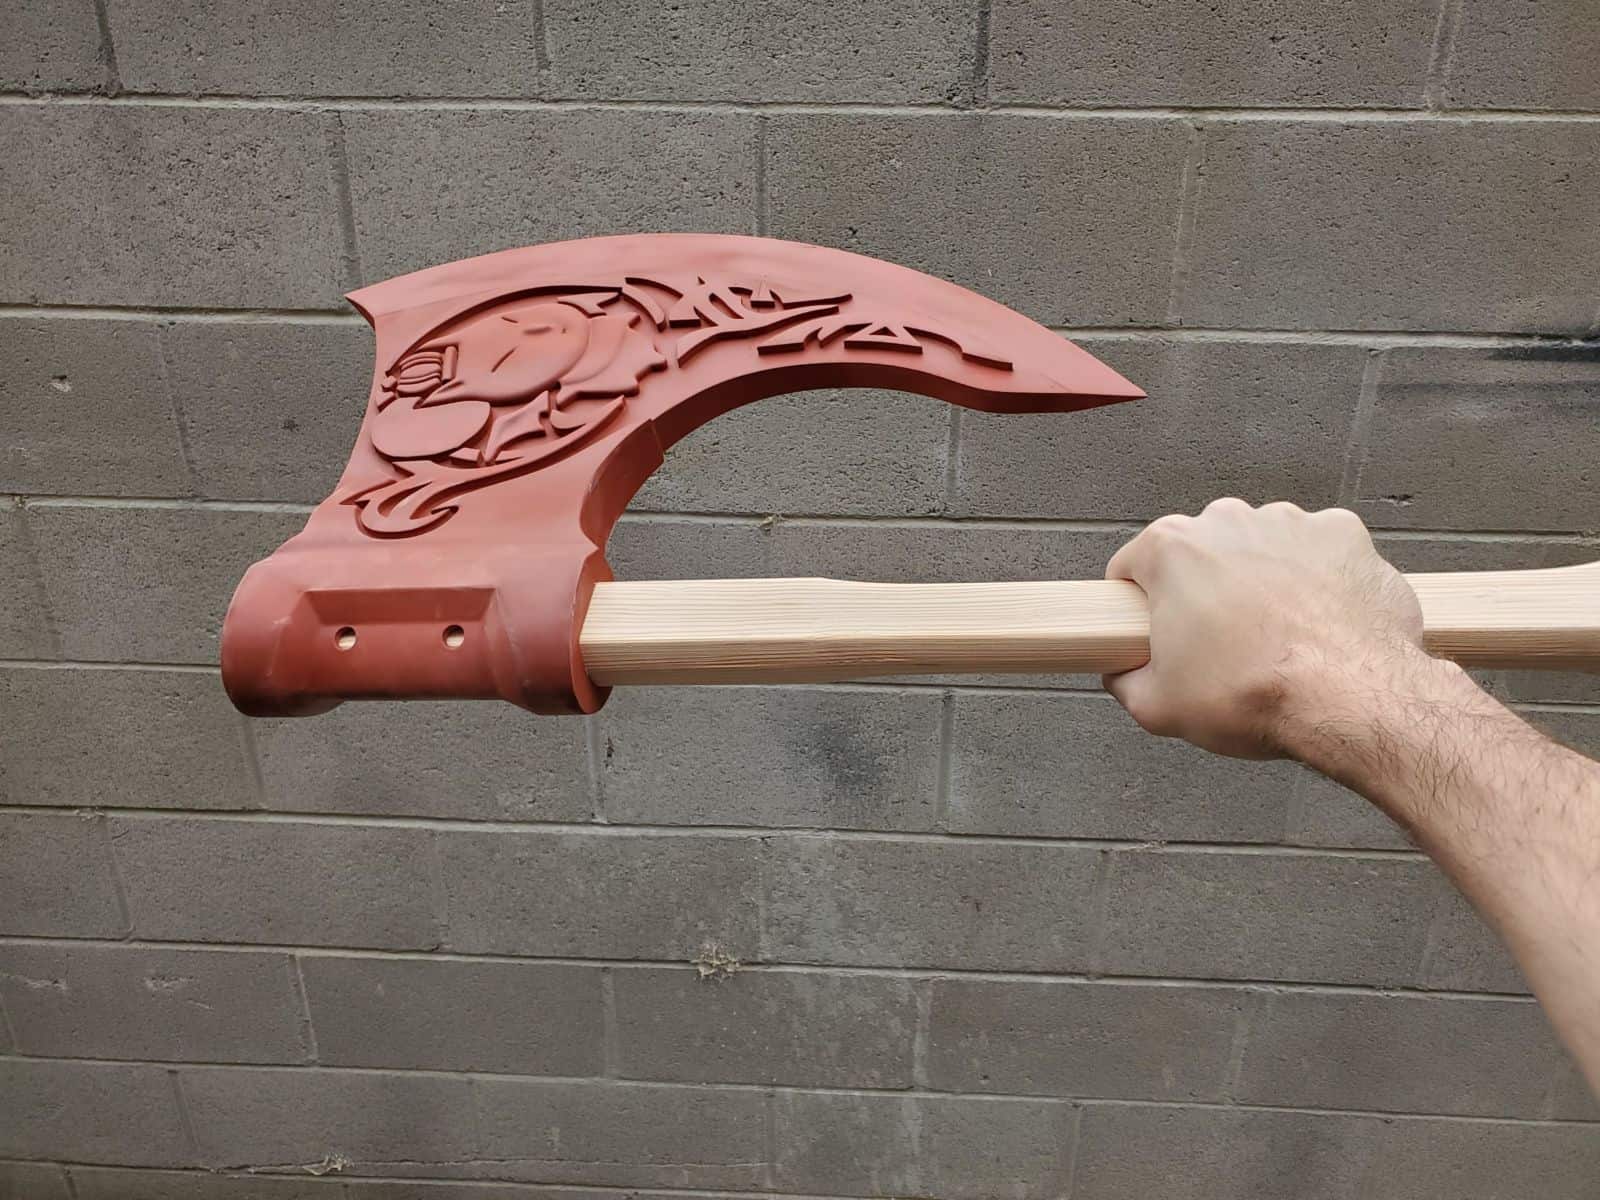
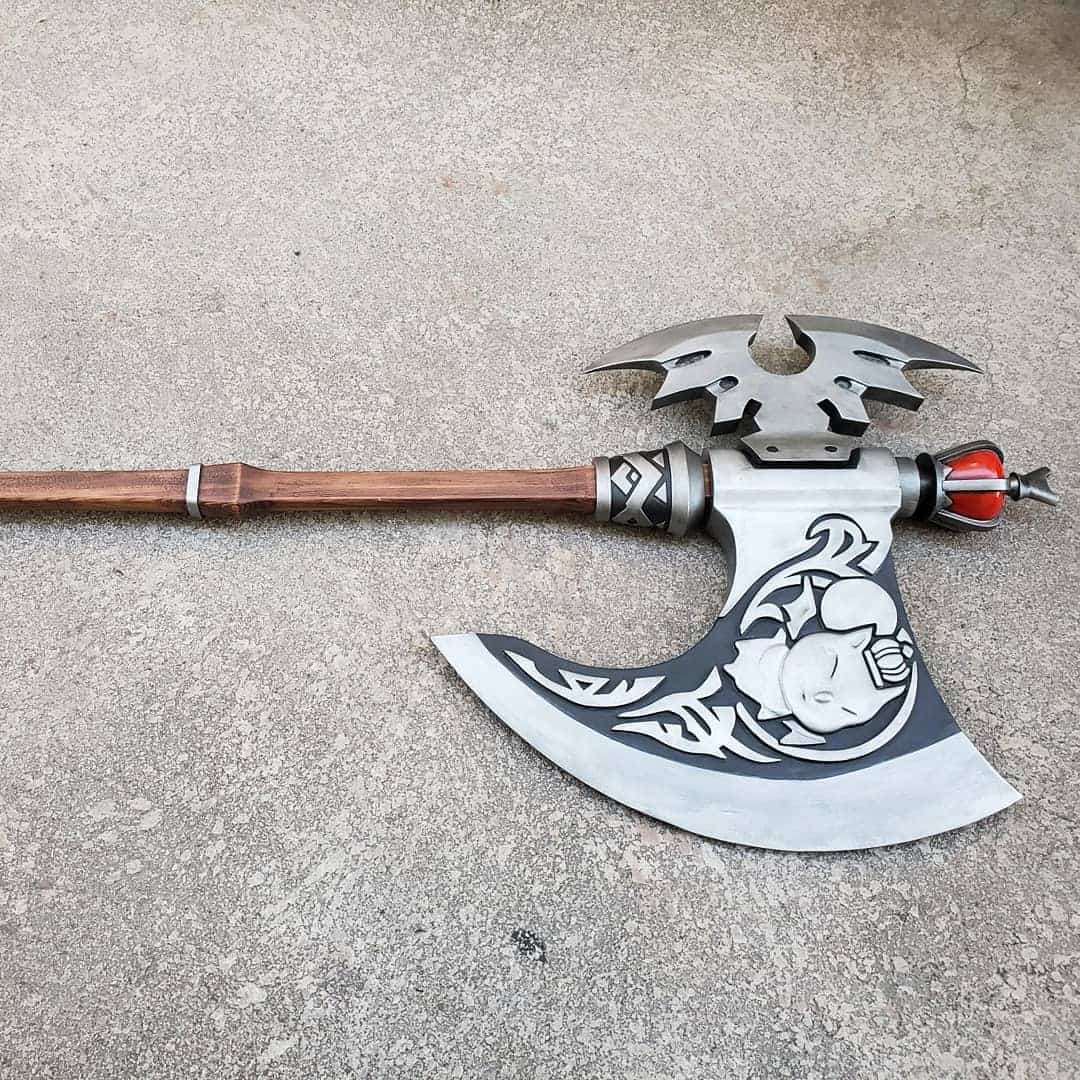
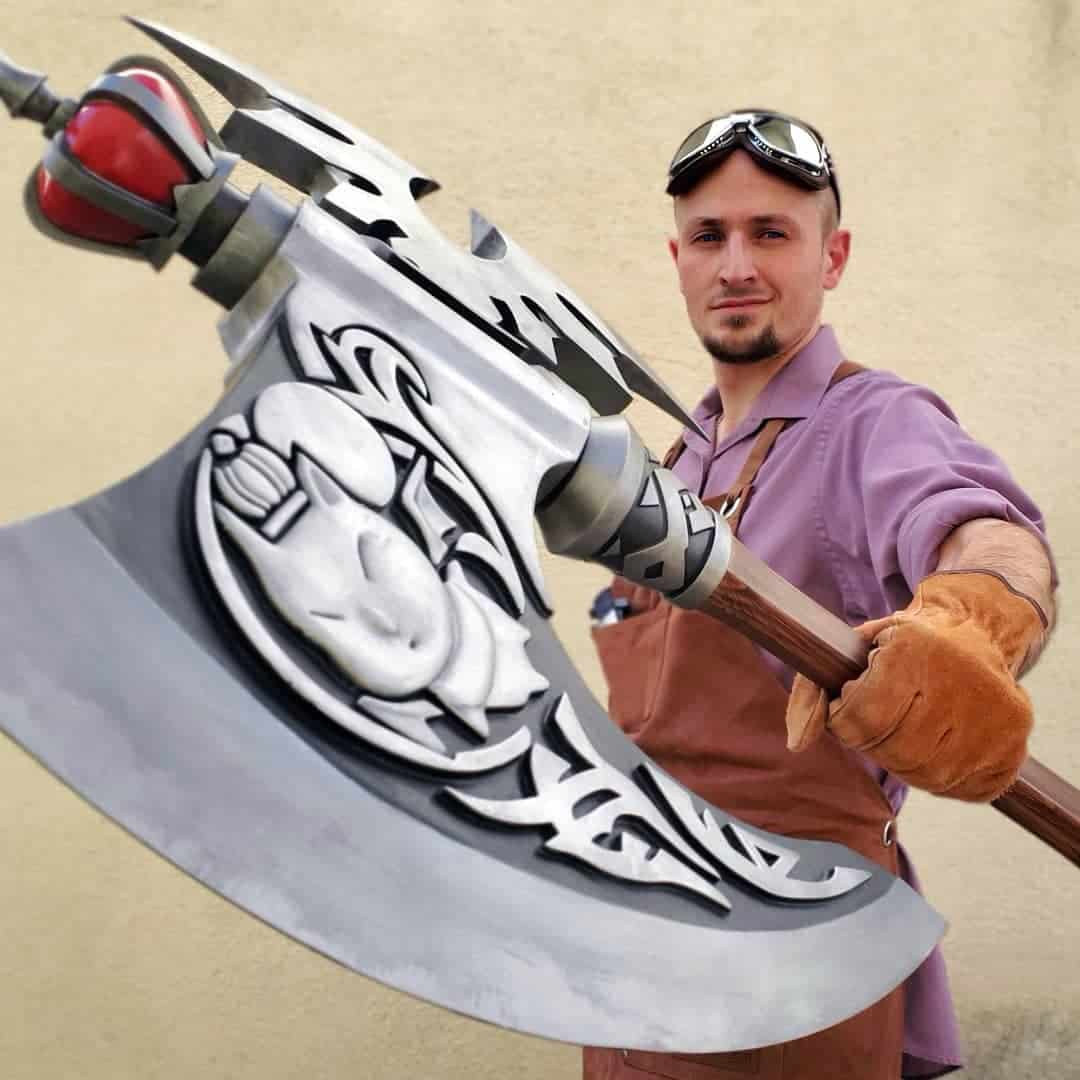
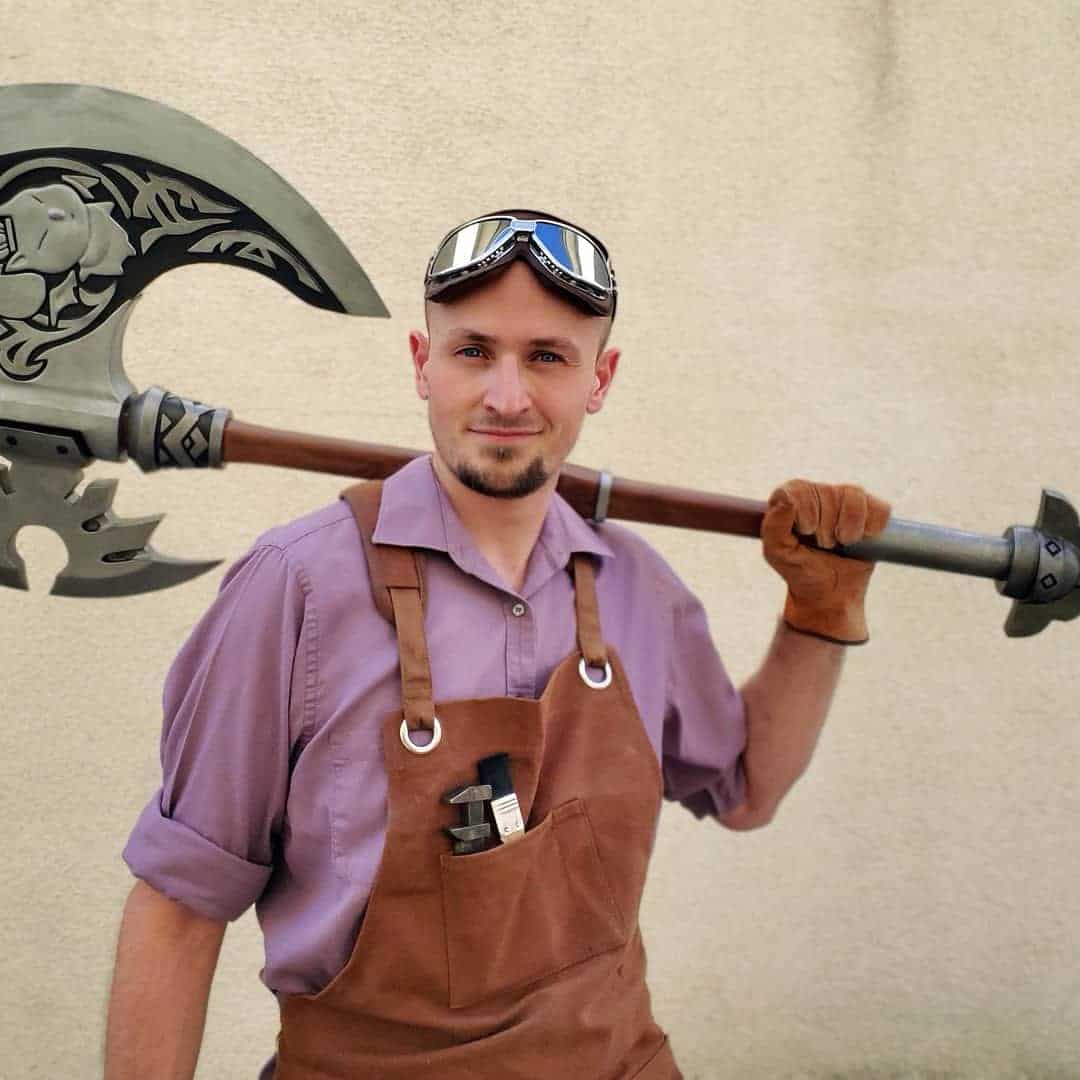
The finished product ended up being just as ridiculously huge as I had hoped, though still surprisingly light. I’m glad I used wood for the handle, as the weight of the material helped a little bit when it came to balancing the gratuitous size of the axe head!
Of course, I had to take a few silly selfies with the axe before it got shipped off to its new home…
If you feel like taking a shot at making your own axe, the files are available on our webstore!