When Tianna and I first started dating, we found ourselves watching a lot of the American Lego Masters series – it was actually one of the first things we did together, weirdly. I love Lego, though I wouldn’t exactly consider myself a fanatic, and the show was great fun. Later, when the 2020 lockdowns hit in full and we all went into quarantine I remembered Tianna saying that she missed working at the salon. She had a birthday coming up, and I resolved that I’d try and make a lego hair salon for her that we could build and enjoy together.
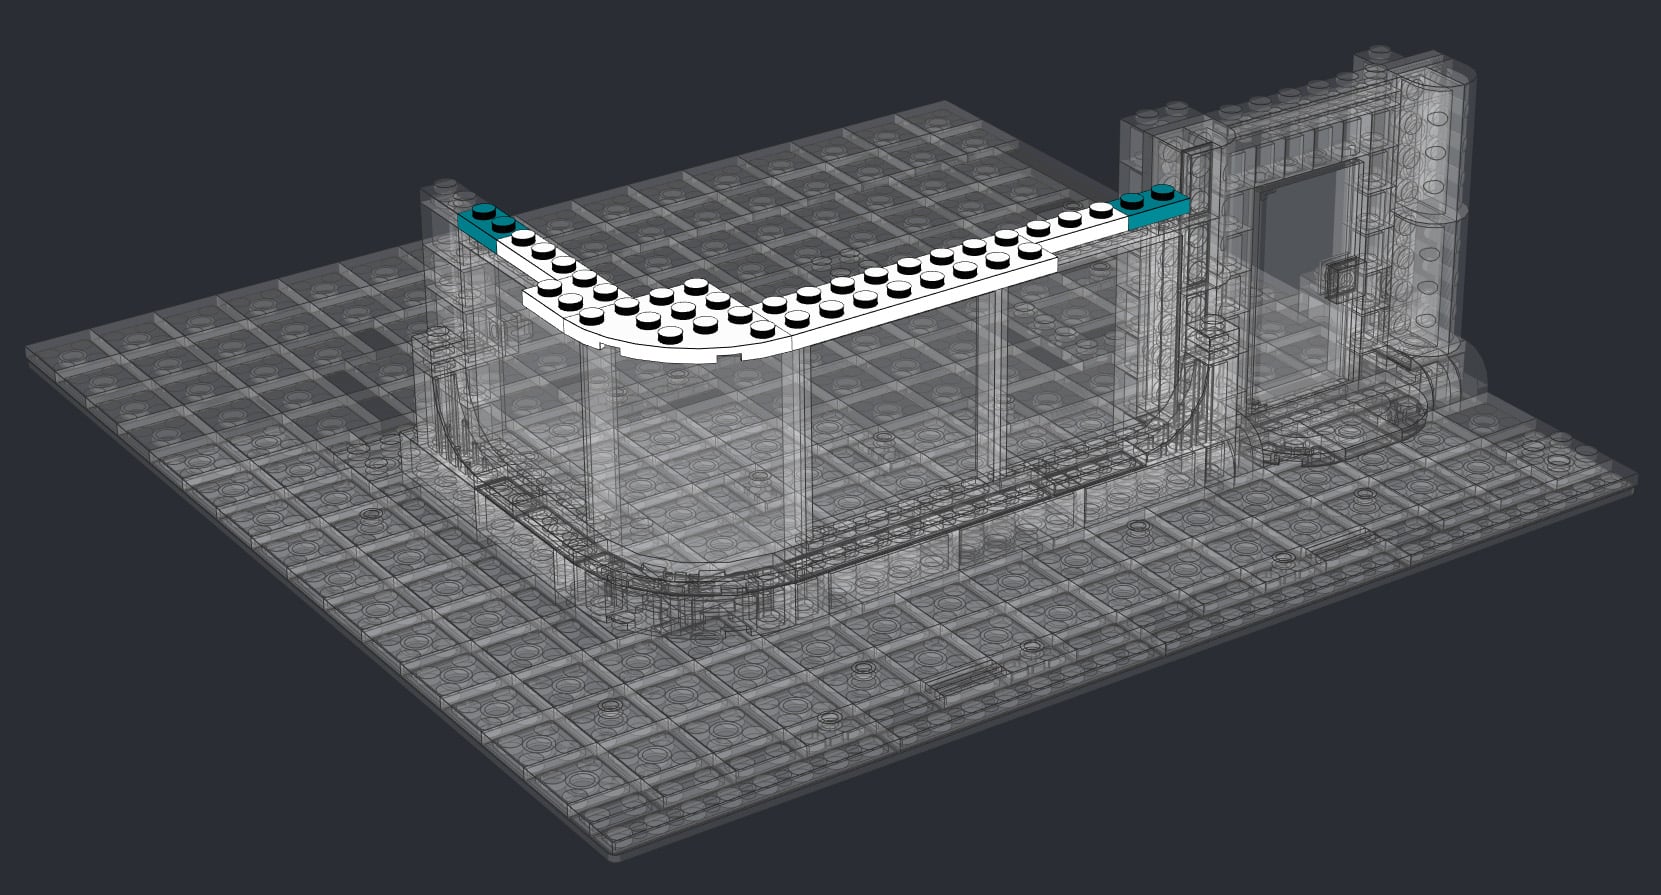
After digging around online, I discovered that the Lego designing software of choice was Stud.io, and downloaded it to try out. If you’re familiar with any kind of 3d modeling software, the controls are actually pretty intuitive and straightforward. The software lets you design step-by-step instructions for how to produce the model you’ve created in digital space. More importantly, it helps you actually buy the parts you need through bricklink when time comes to turn the design into something physical.
DESIGN TIME
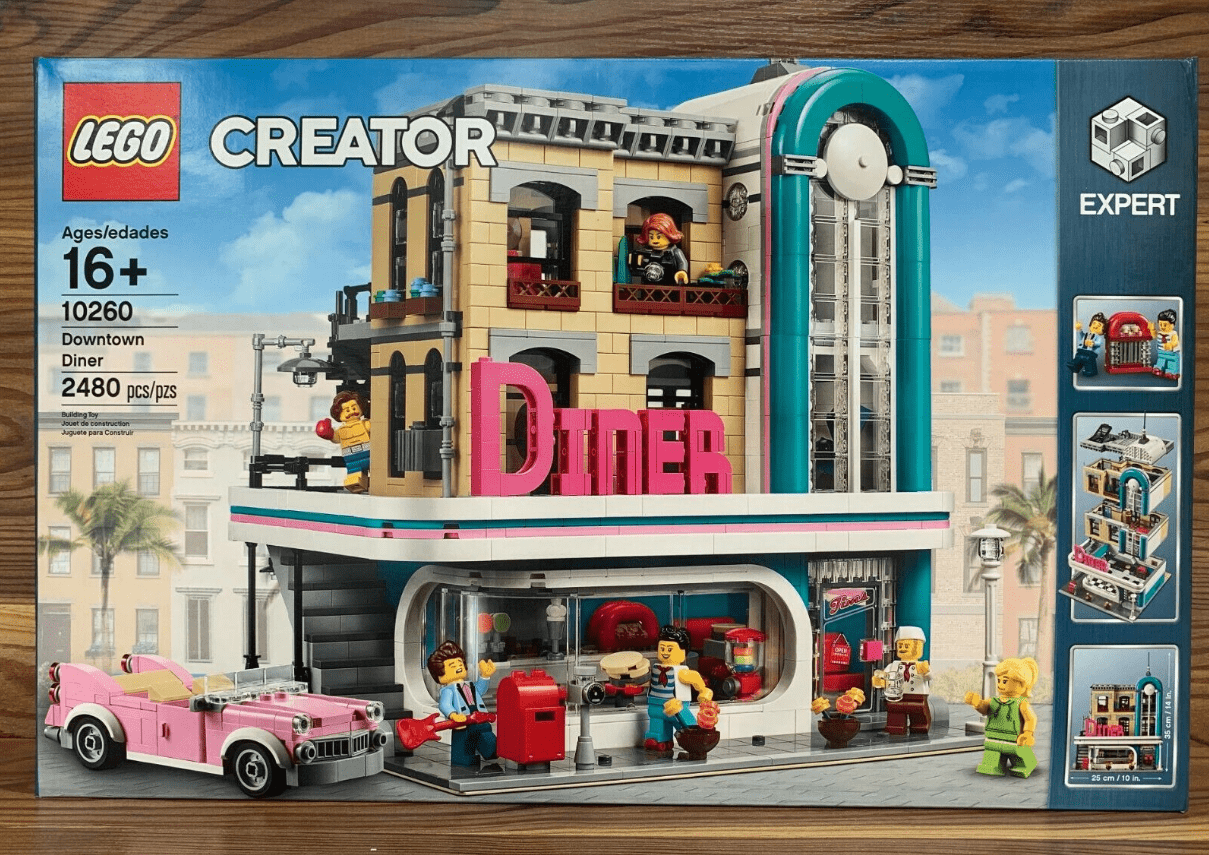
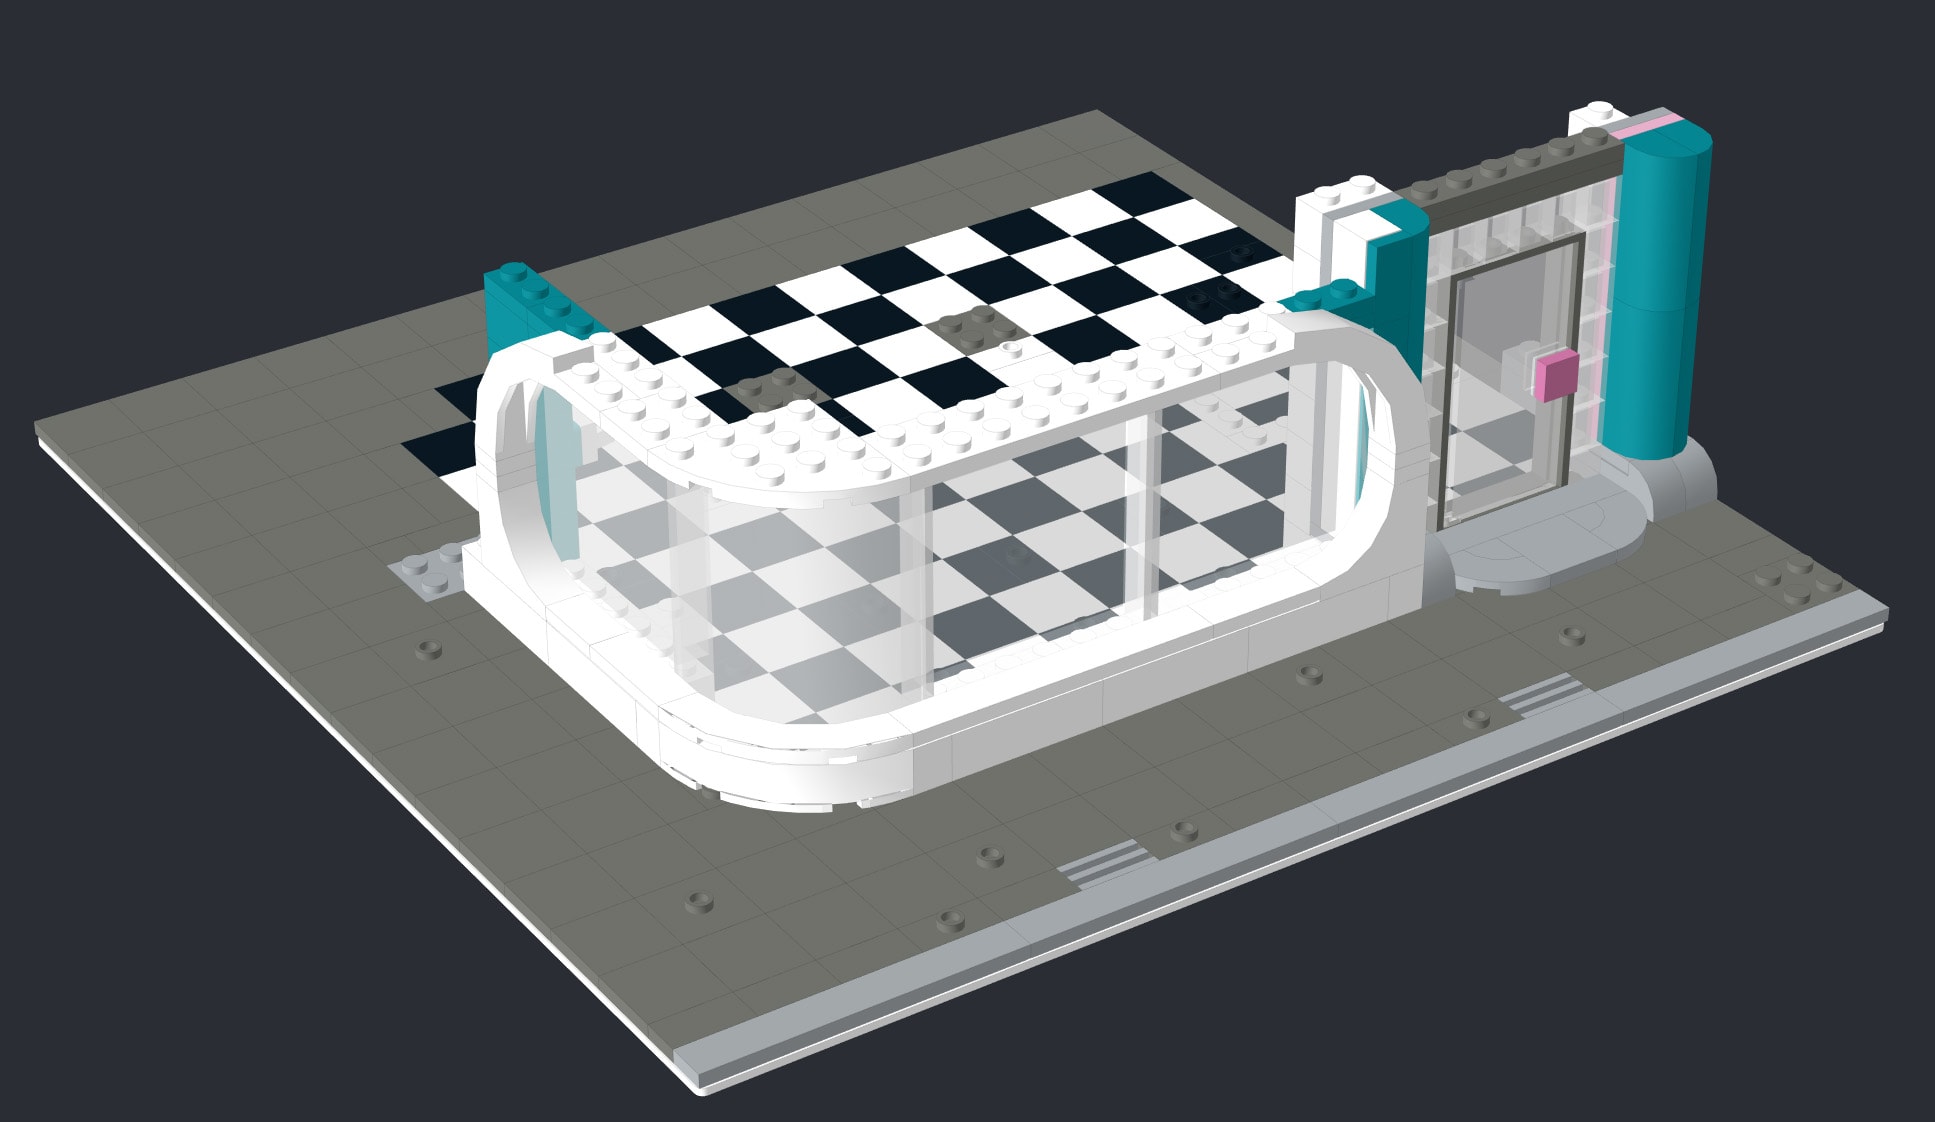
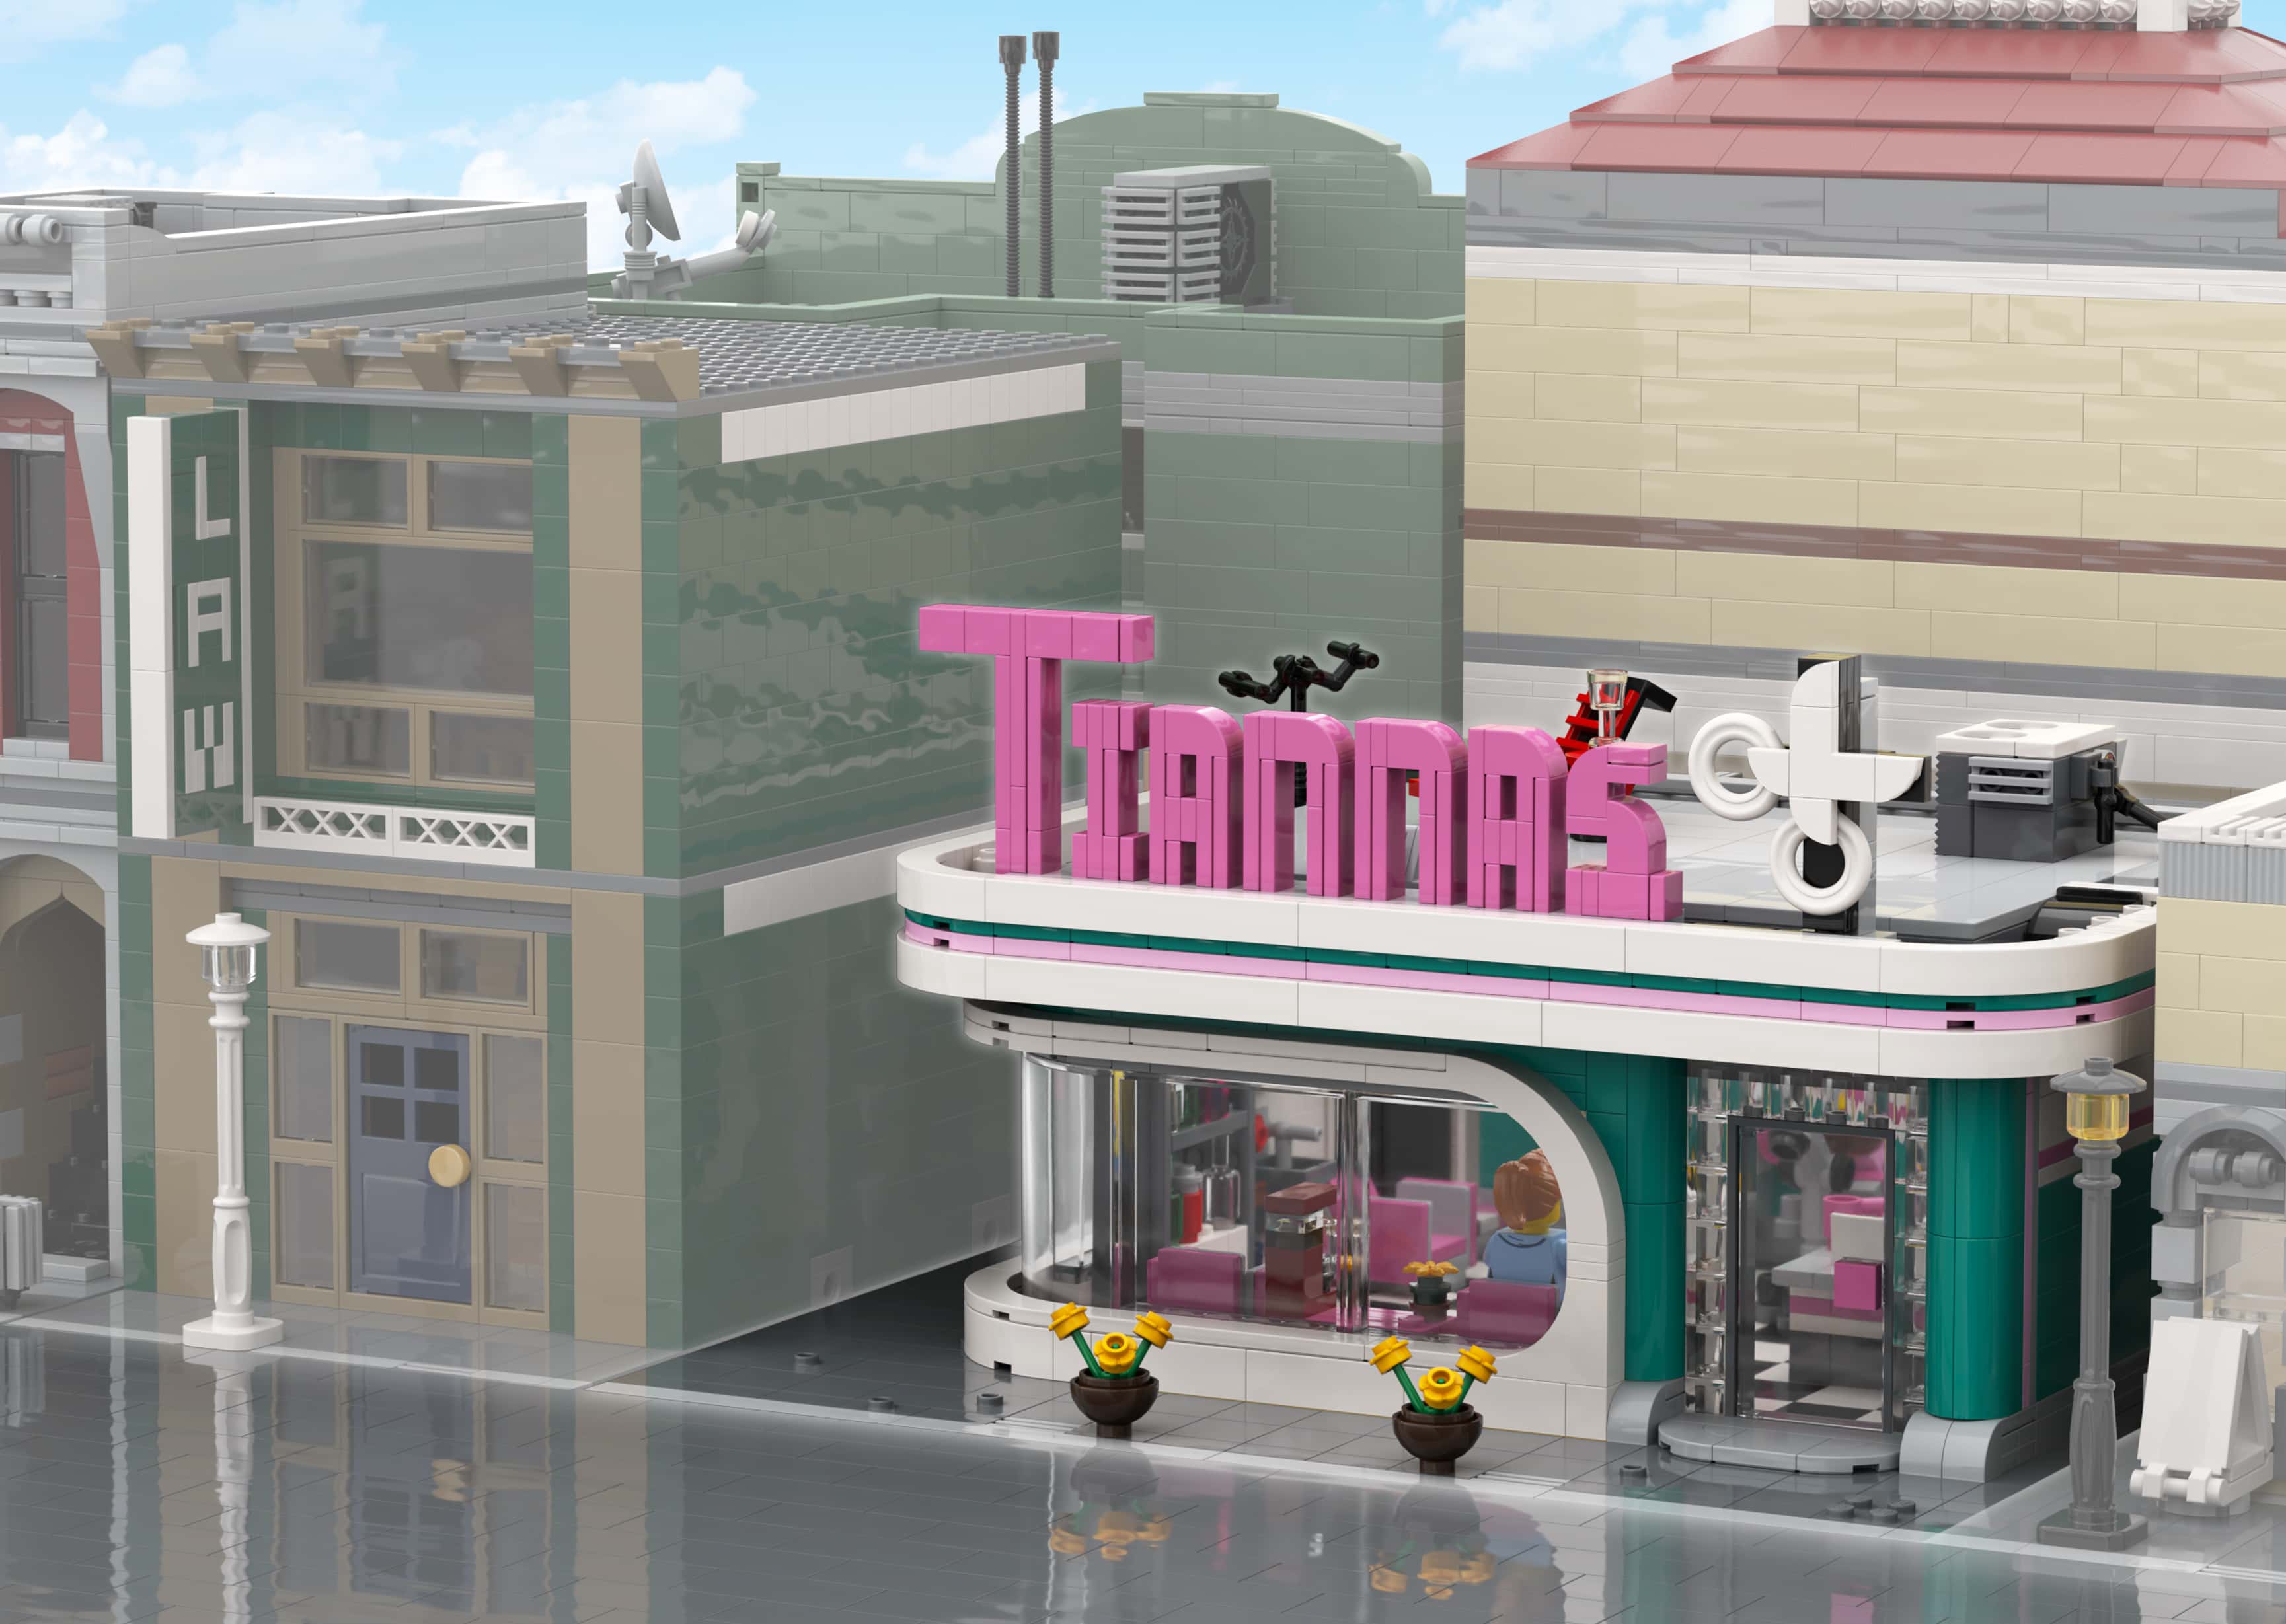
Confession time: I went looking through existing Lego sets for inspiration. Anyone who has seen the Cities builds that they’ve been putting out in the last few years is probably familiar with the Downtown Diner (10260), and I cribbed the foundations of the building from it. It had a retro sensibility that I thought matched up well with some of Tianna’s vintage / rockabilly looks, and I felt like it offered a lot of flexibility with the interior design. I downloaded some instructions for the Downtown Diner and started creating a variant more suited to a hair salon. I knocked the upper levels off (since I live in L.A., after all, and we’re incapable of building upwards thanks to earthquakes) and removed the stairs on the side for starters.
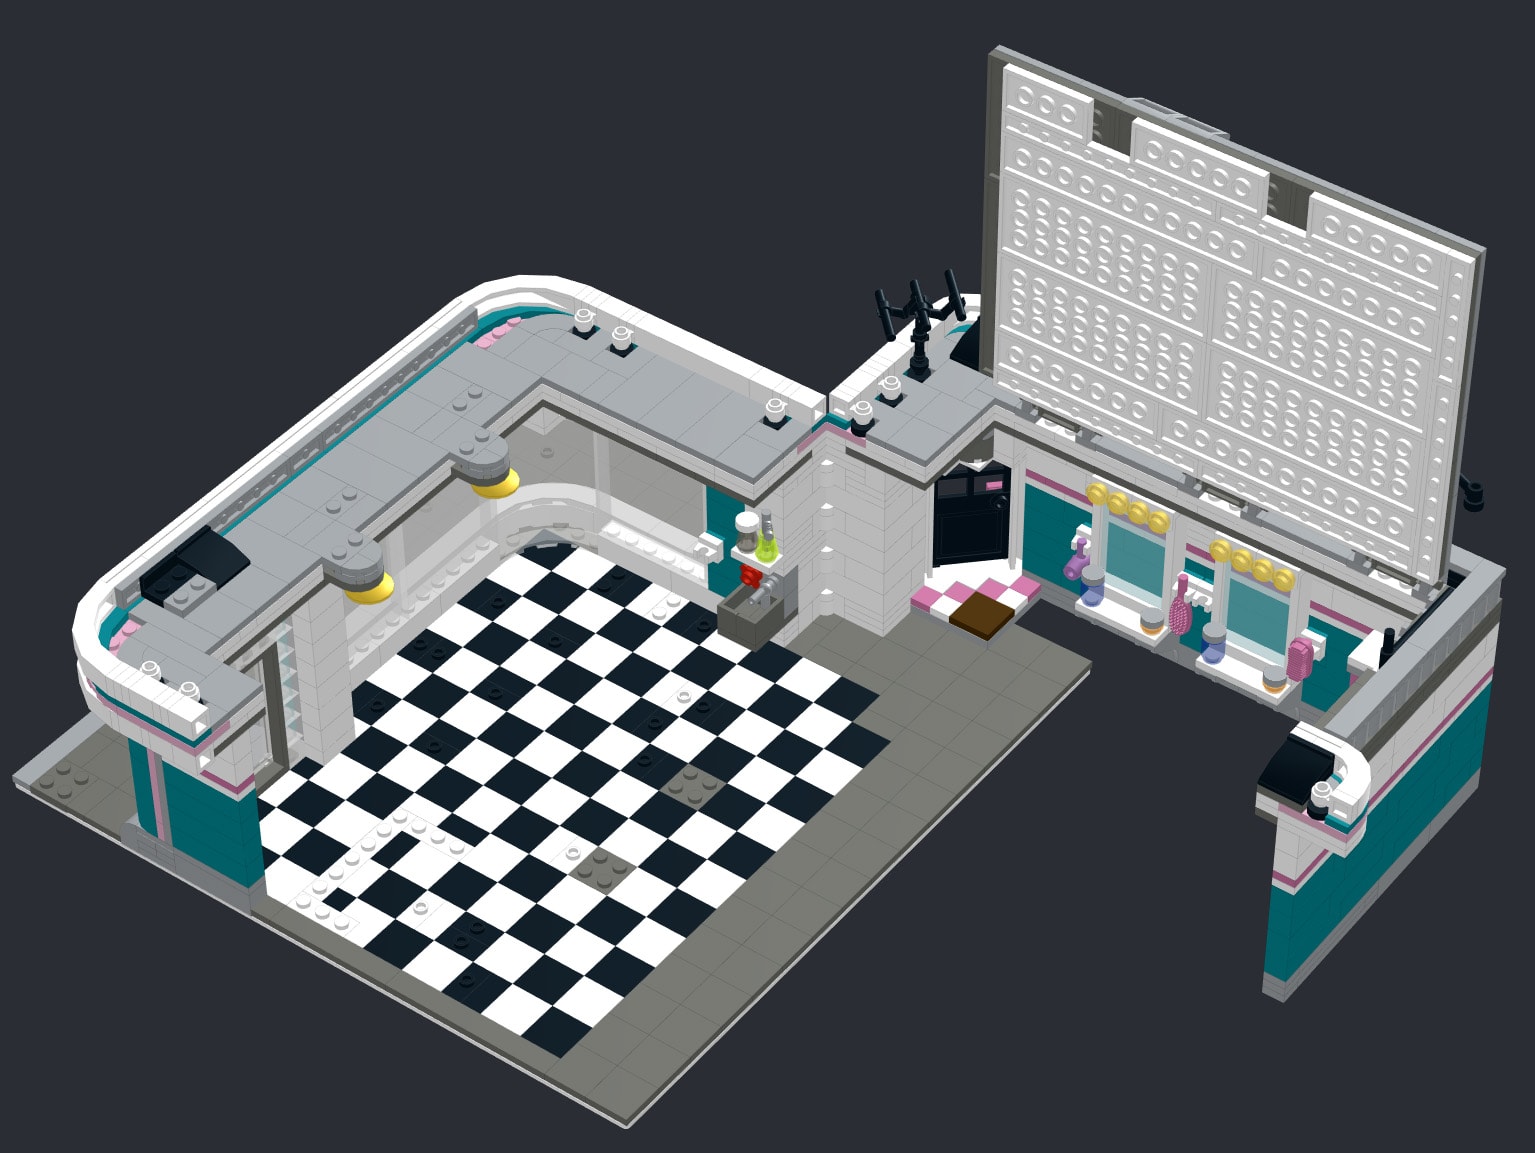
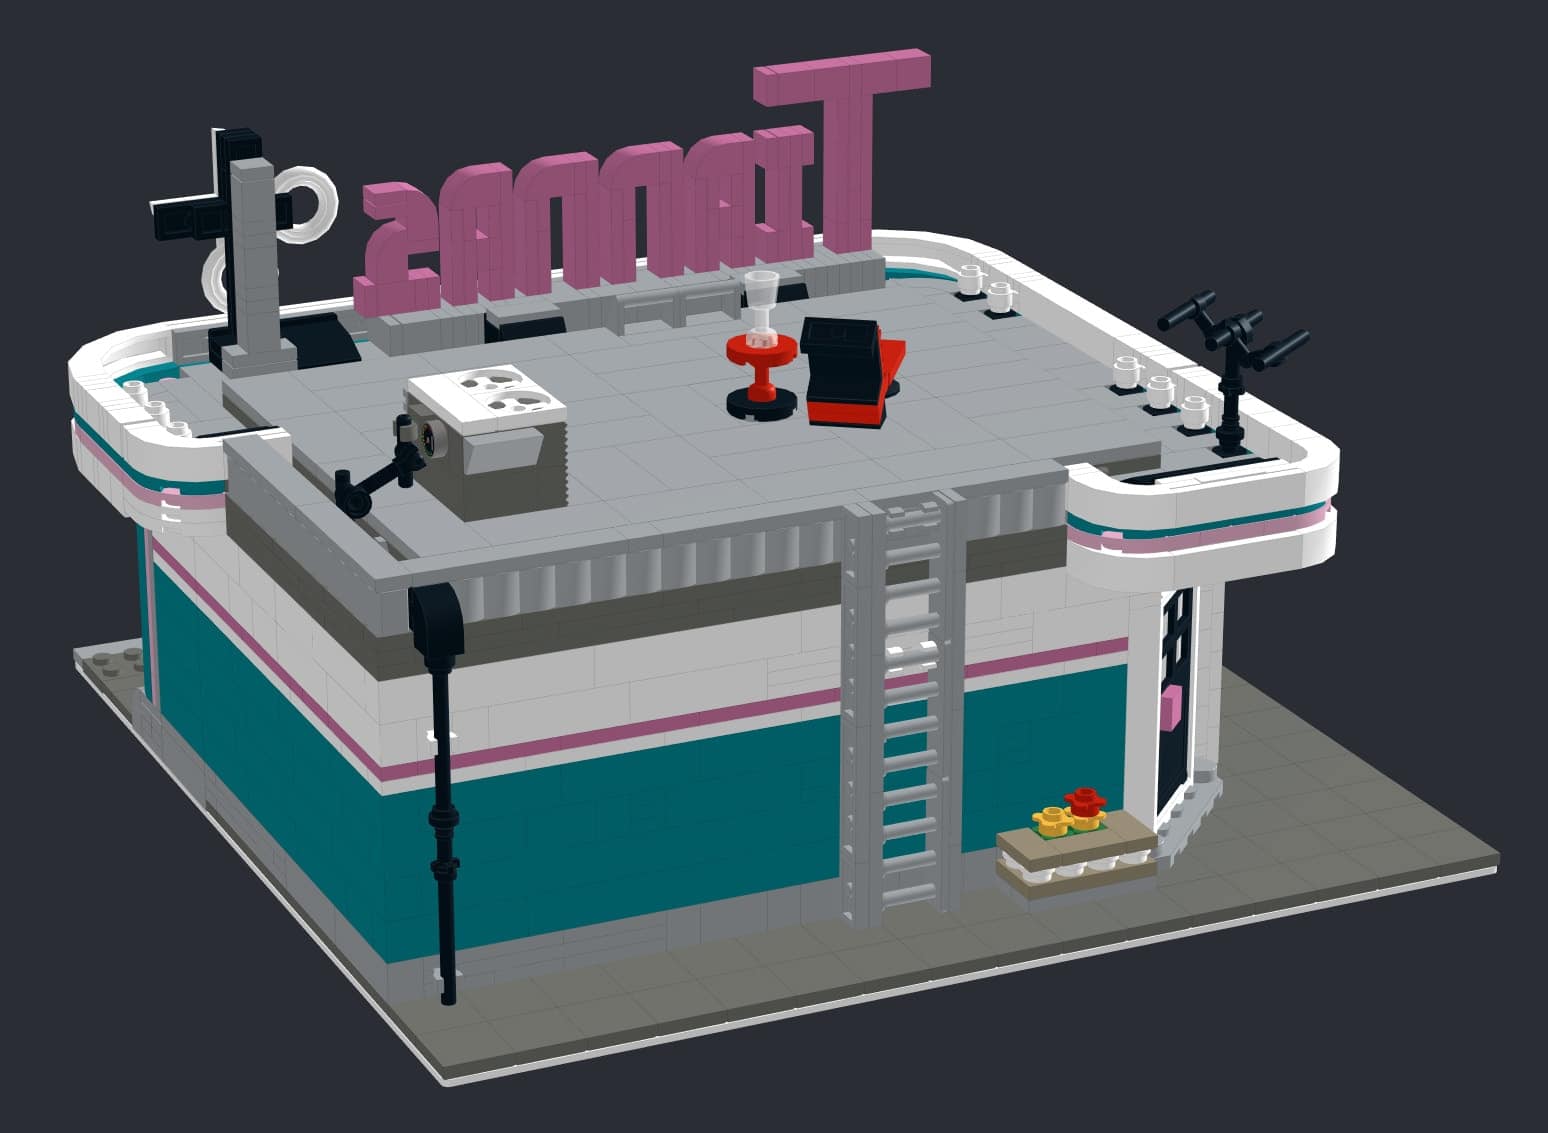
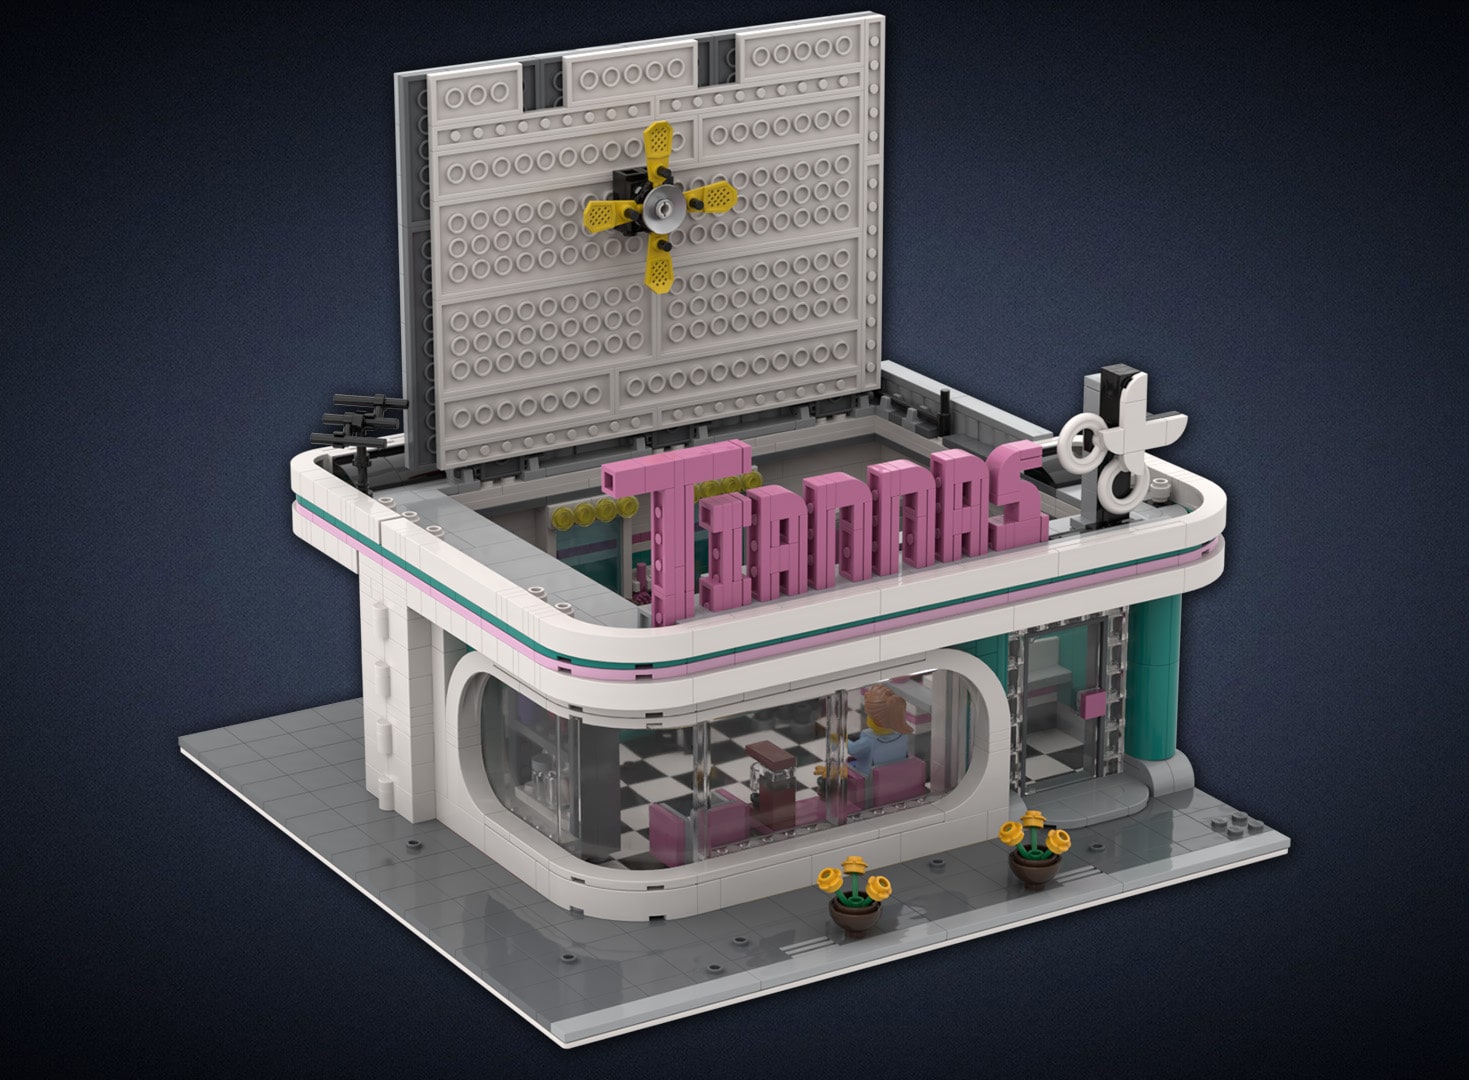
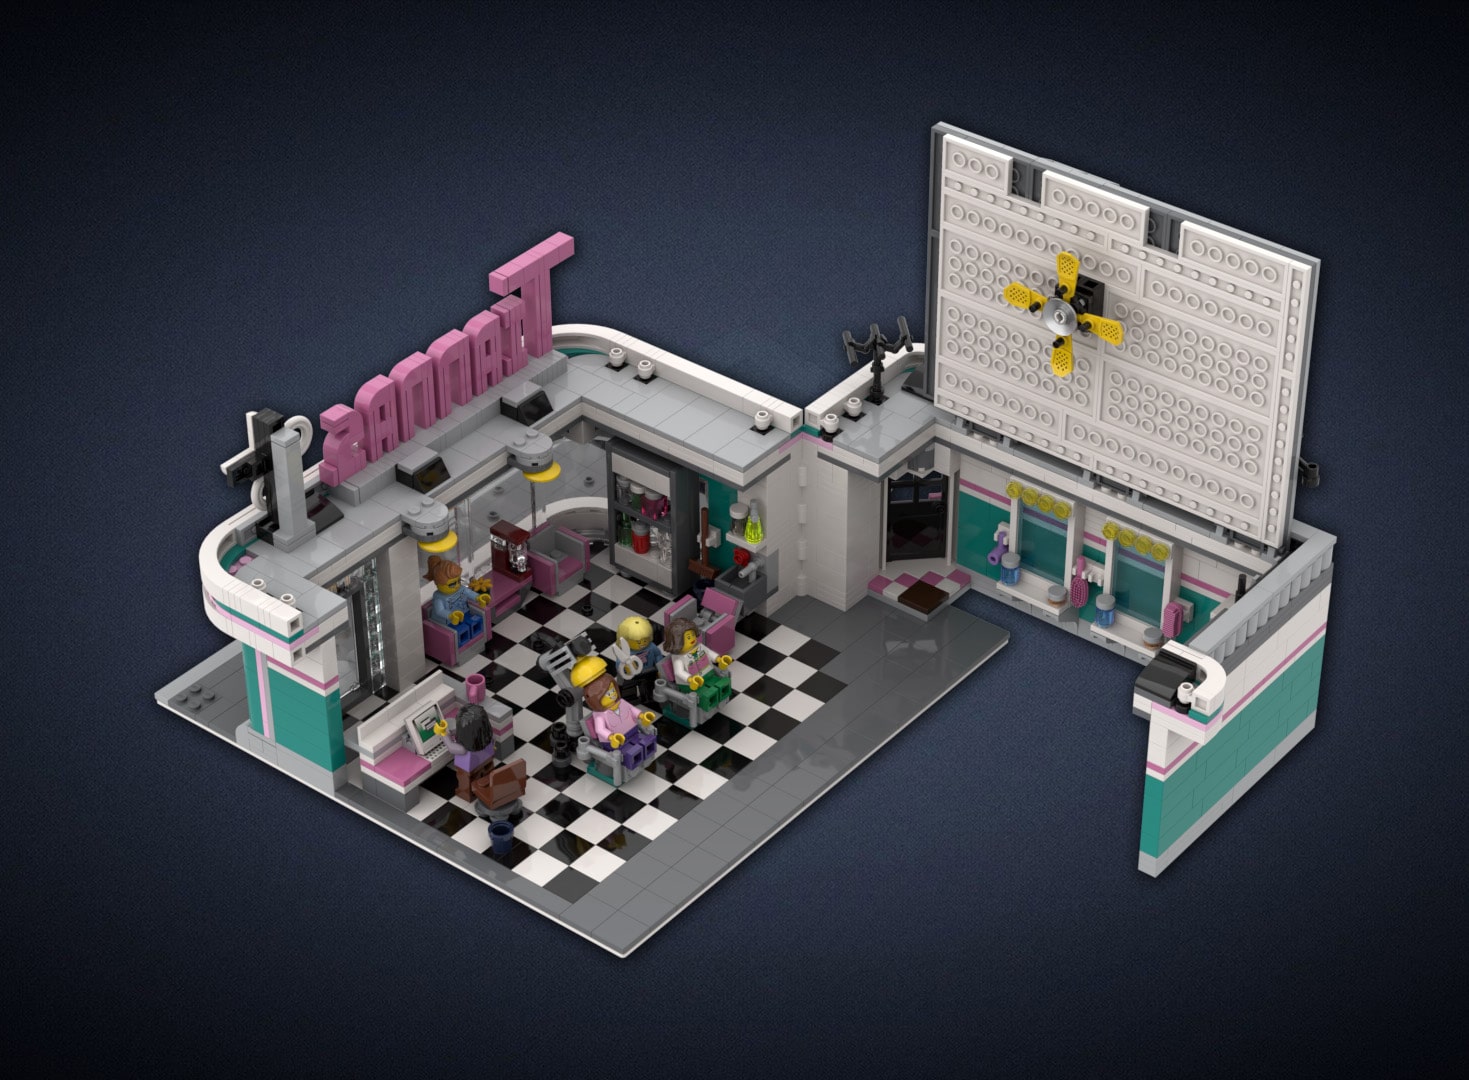
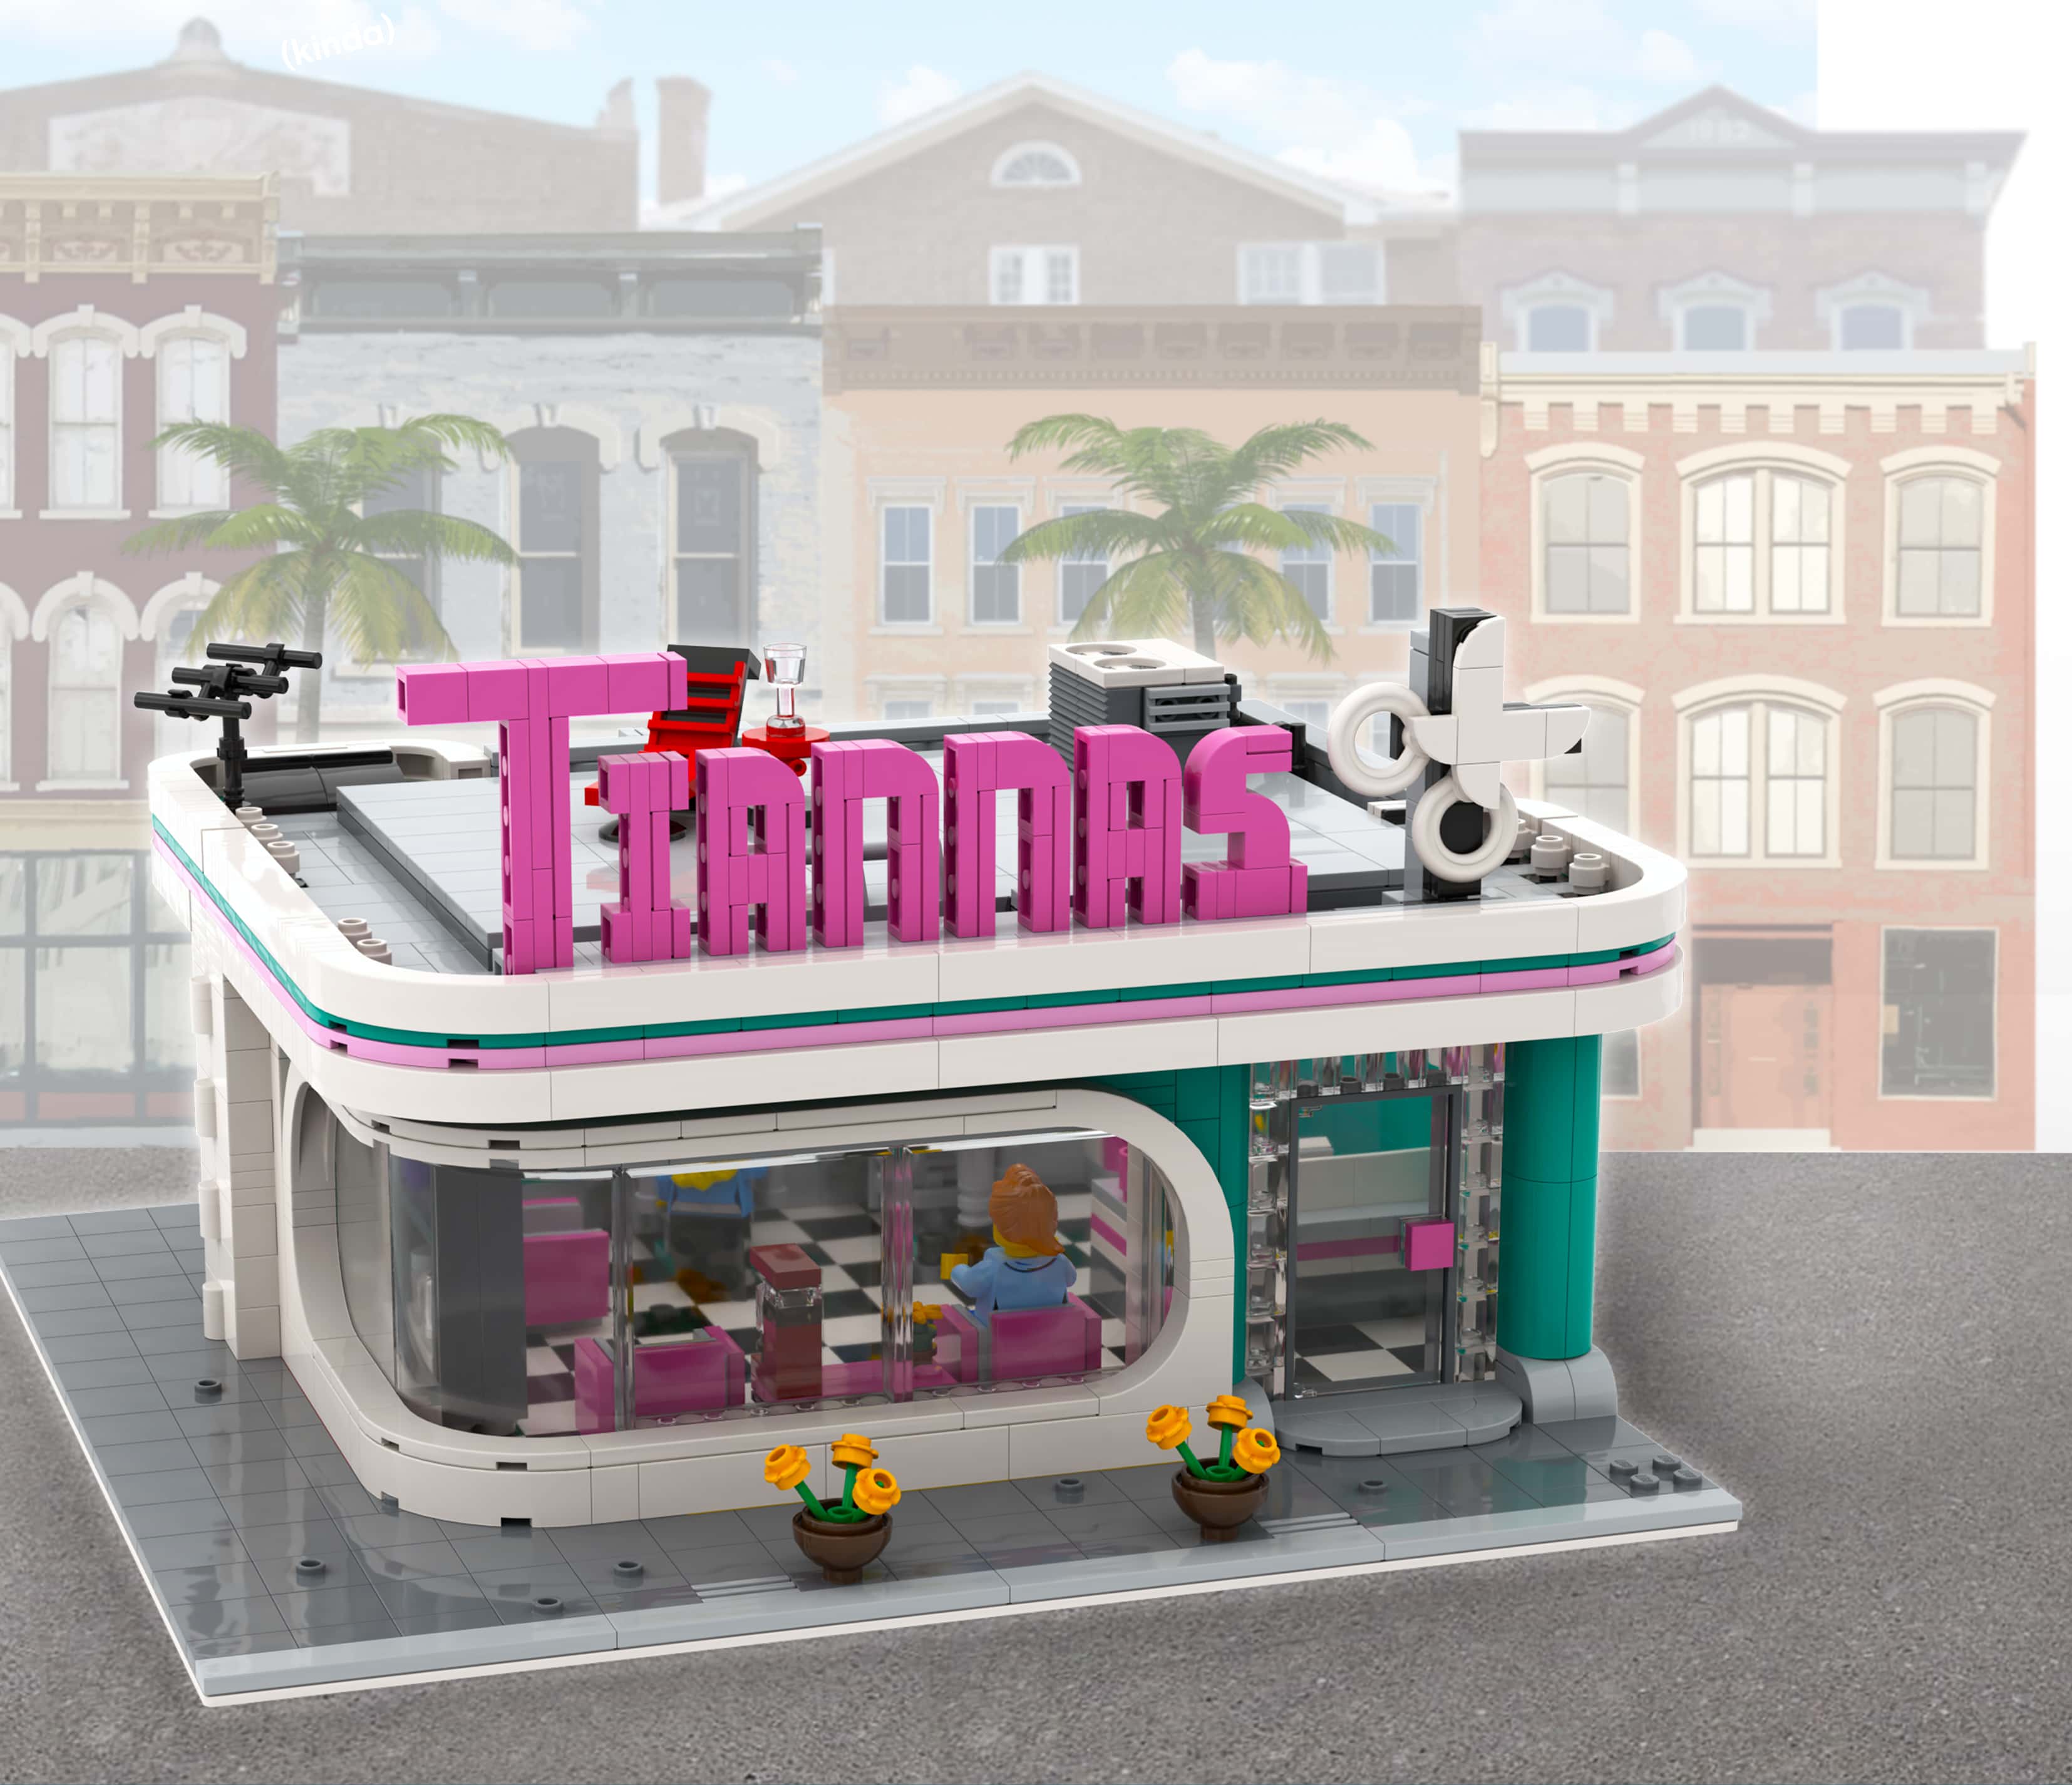
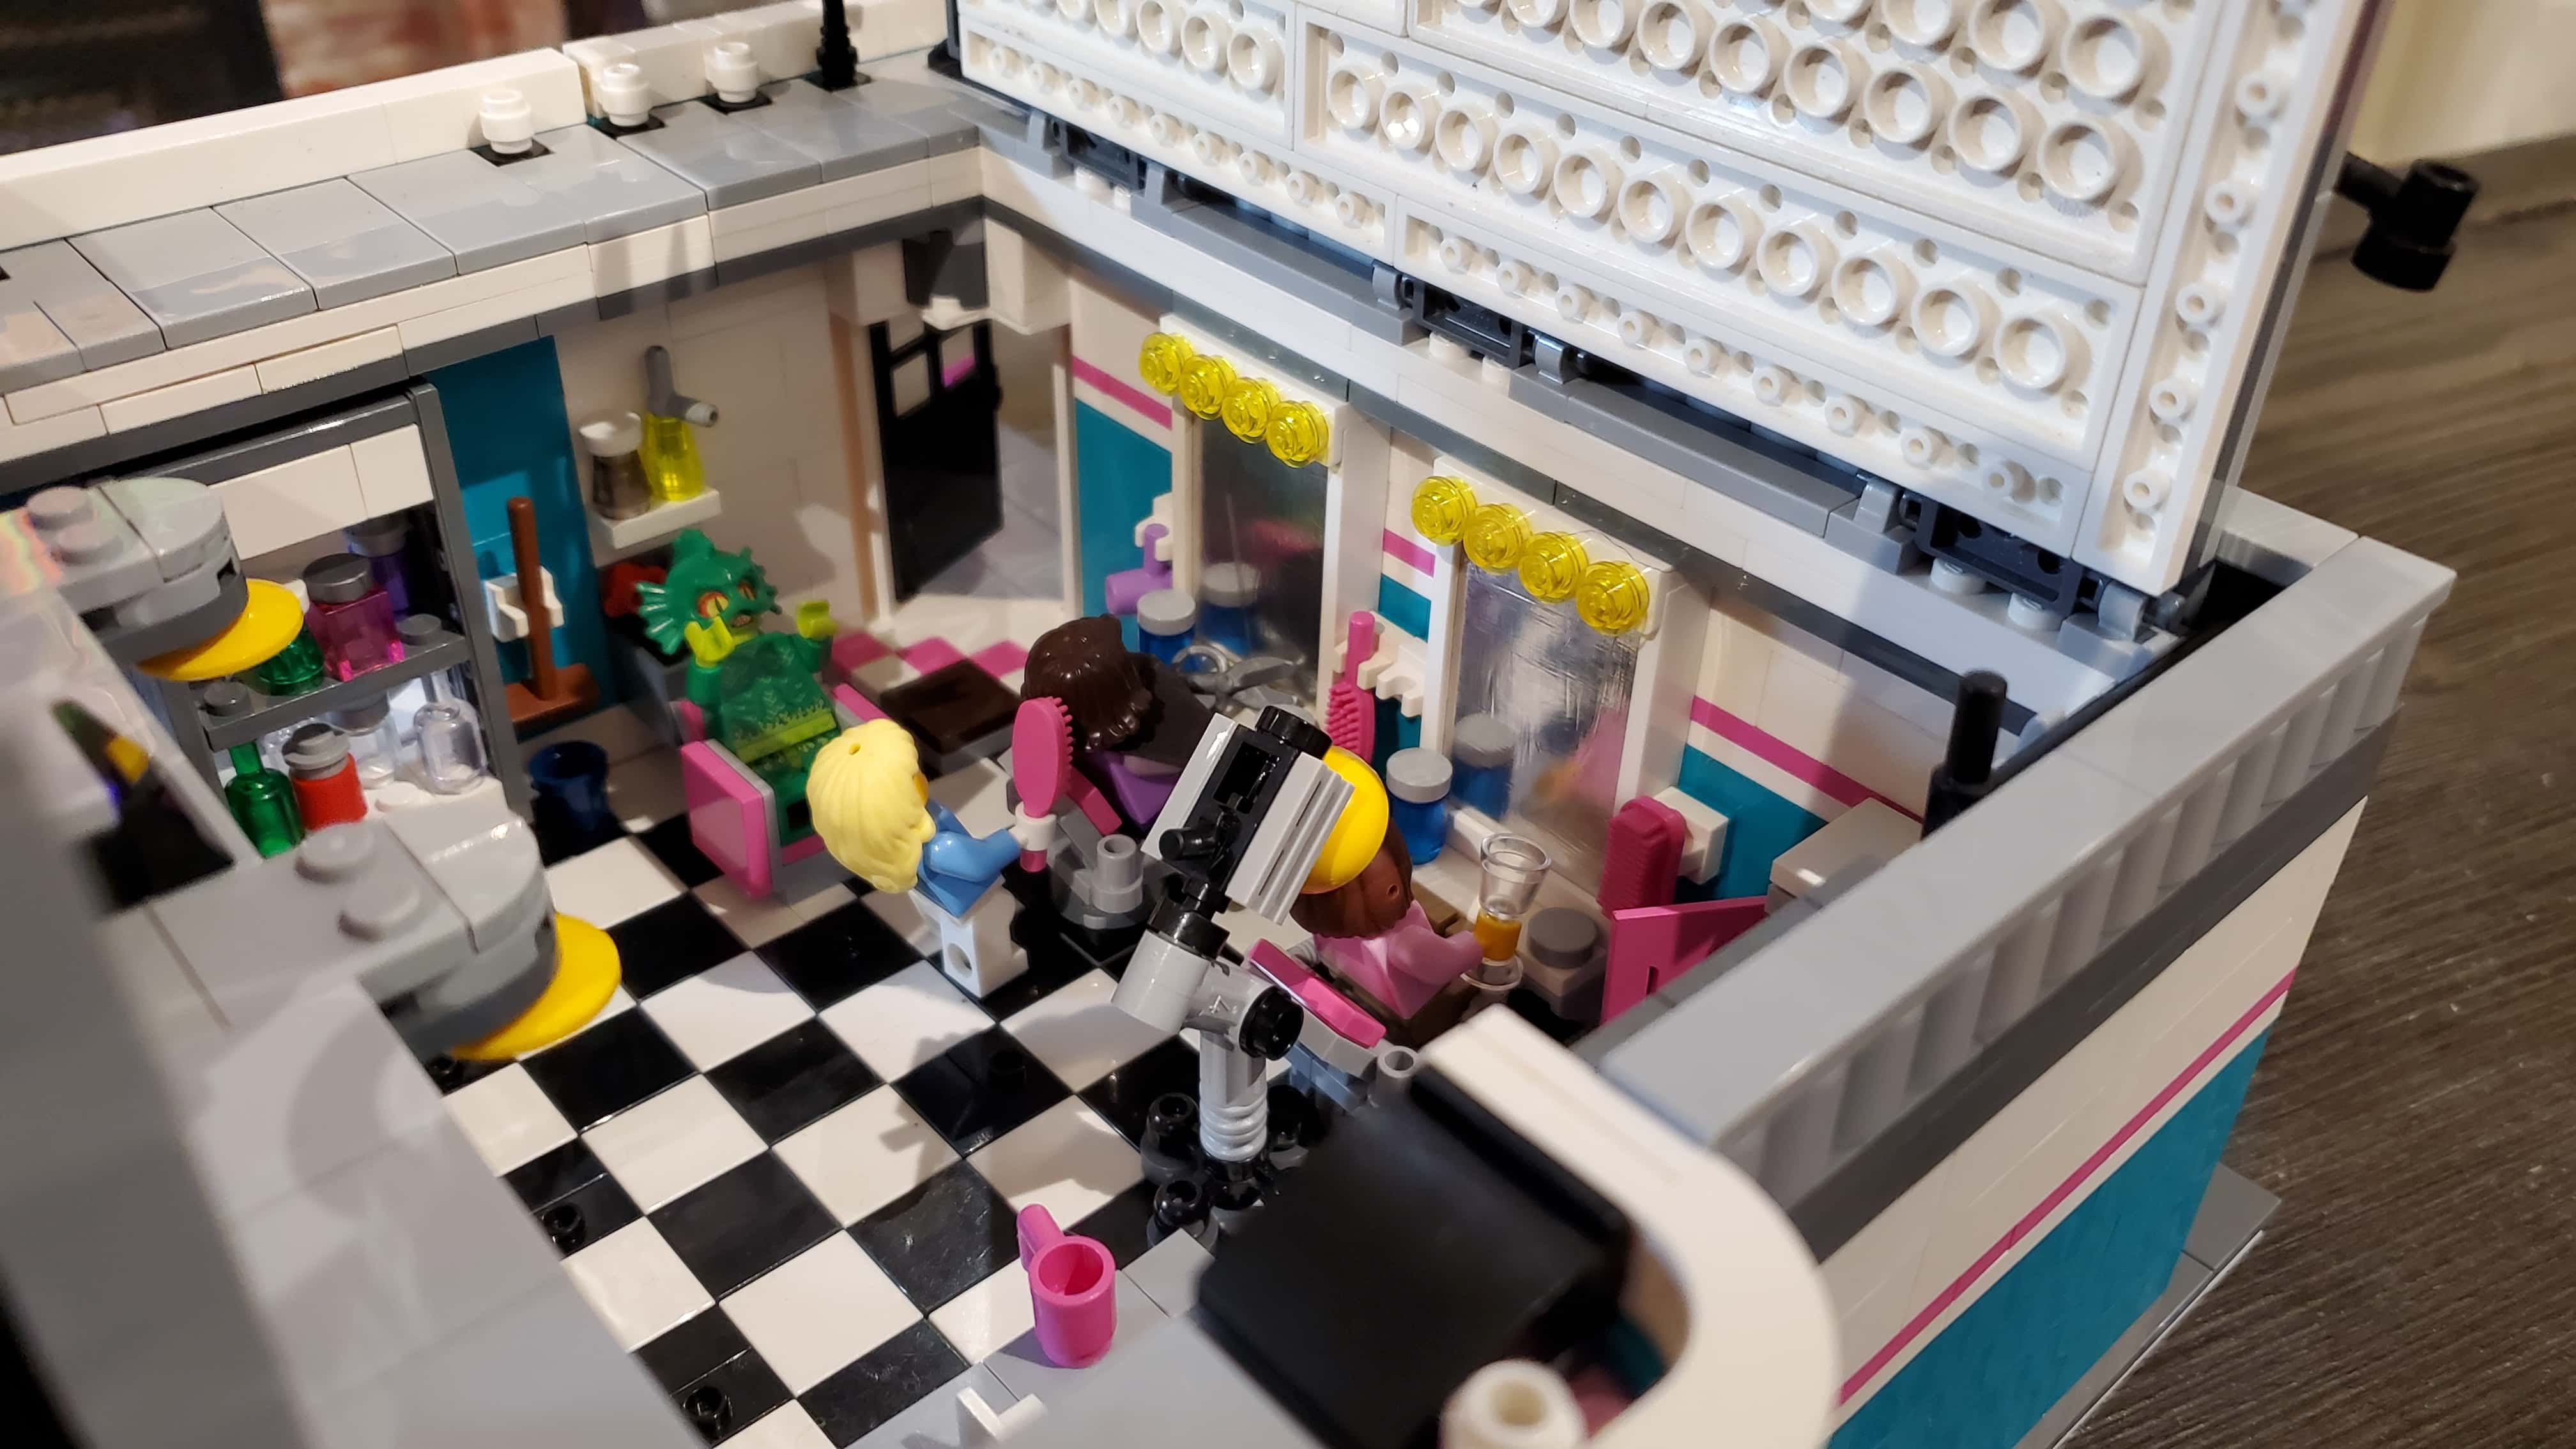
I decided pretty early on that I wanted to make it so that the building could open up fully. I was hoping that’d make it a bit more fun to pose the interior stuff, as well as play with. I built a wall section with a number of 1×4 Swivel Hinge Bricks so that the entire back of the building could pivot open. I also covered the back of the base tile with smooth plates so that the outer wall could move easily over them when opening. I also added a hinged top ‘roof’ that could swing upwards and would double as a way of latching the building in the ‘shut’ position when fully pushed down.
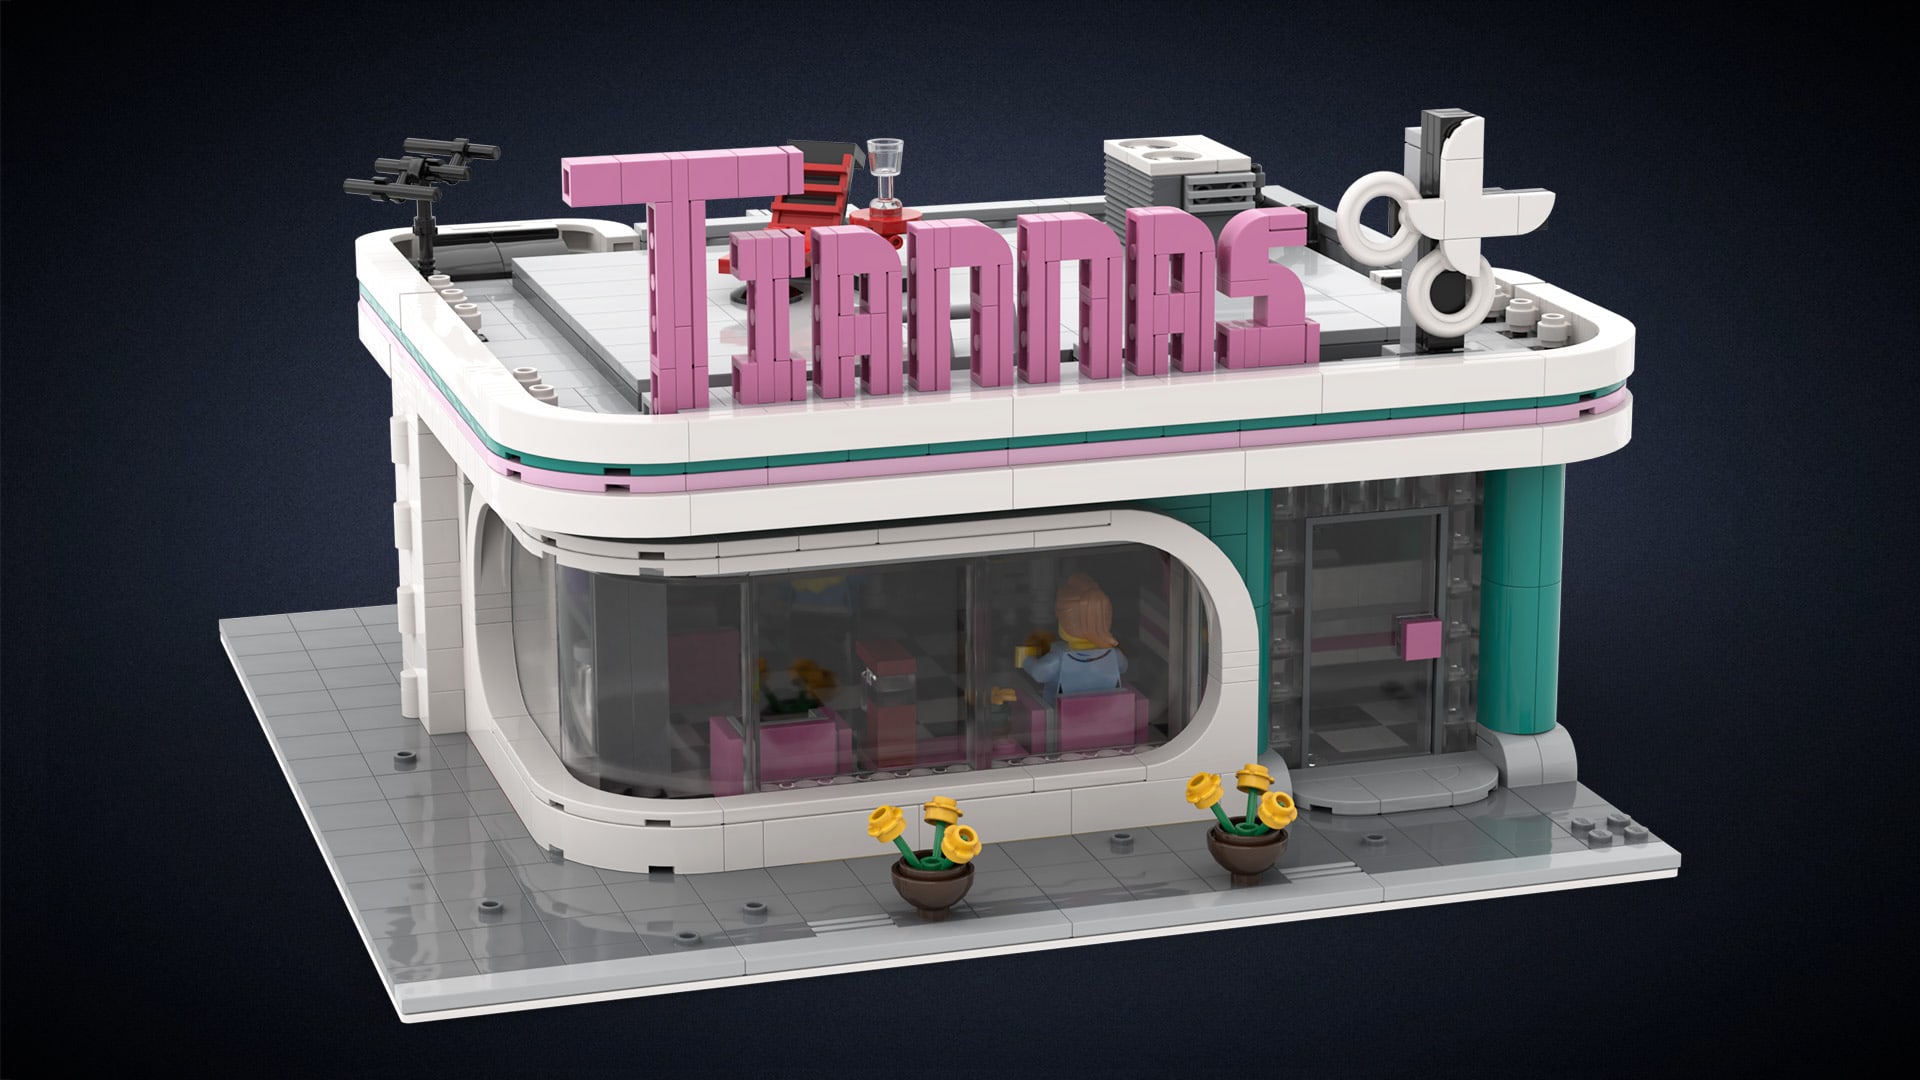
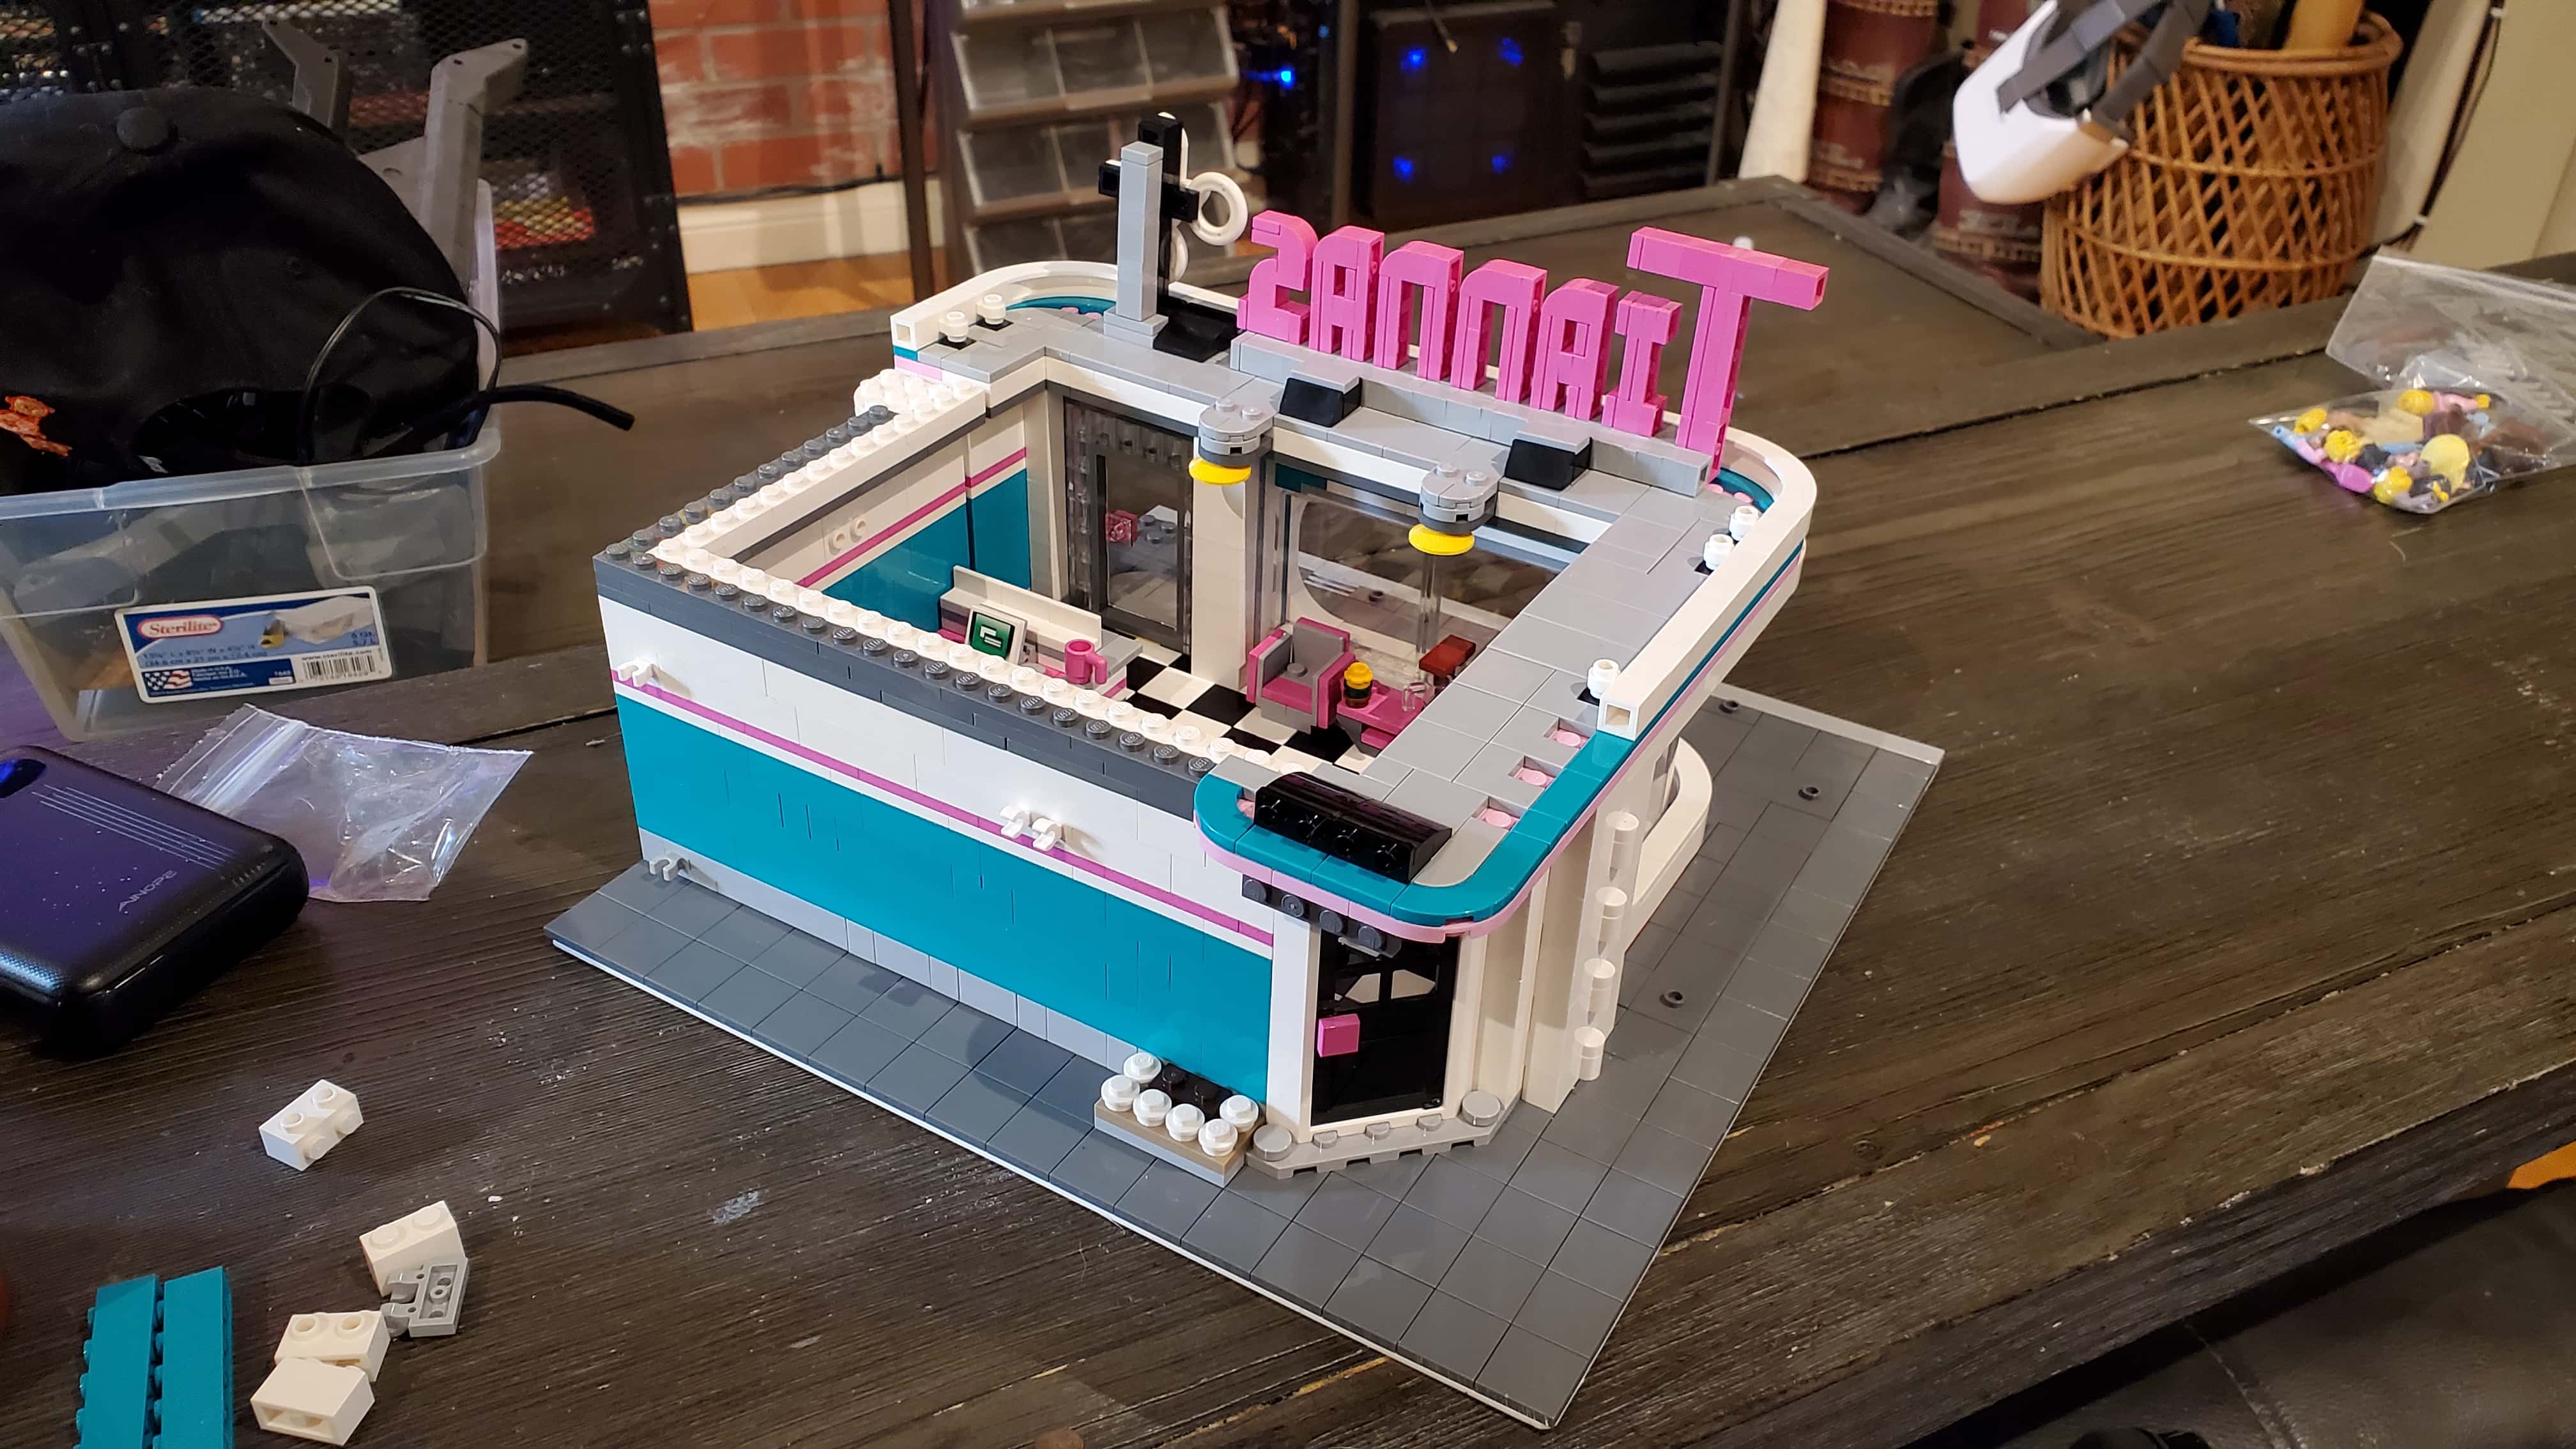
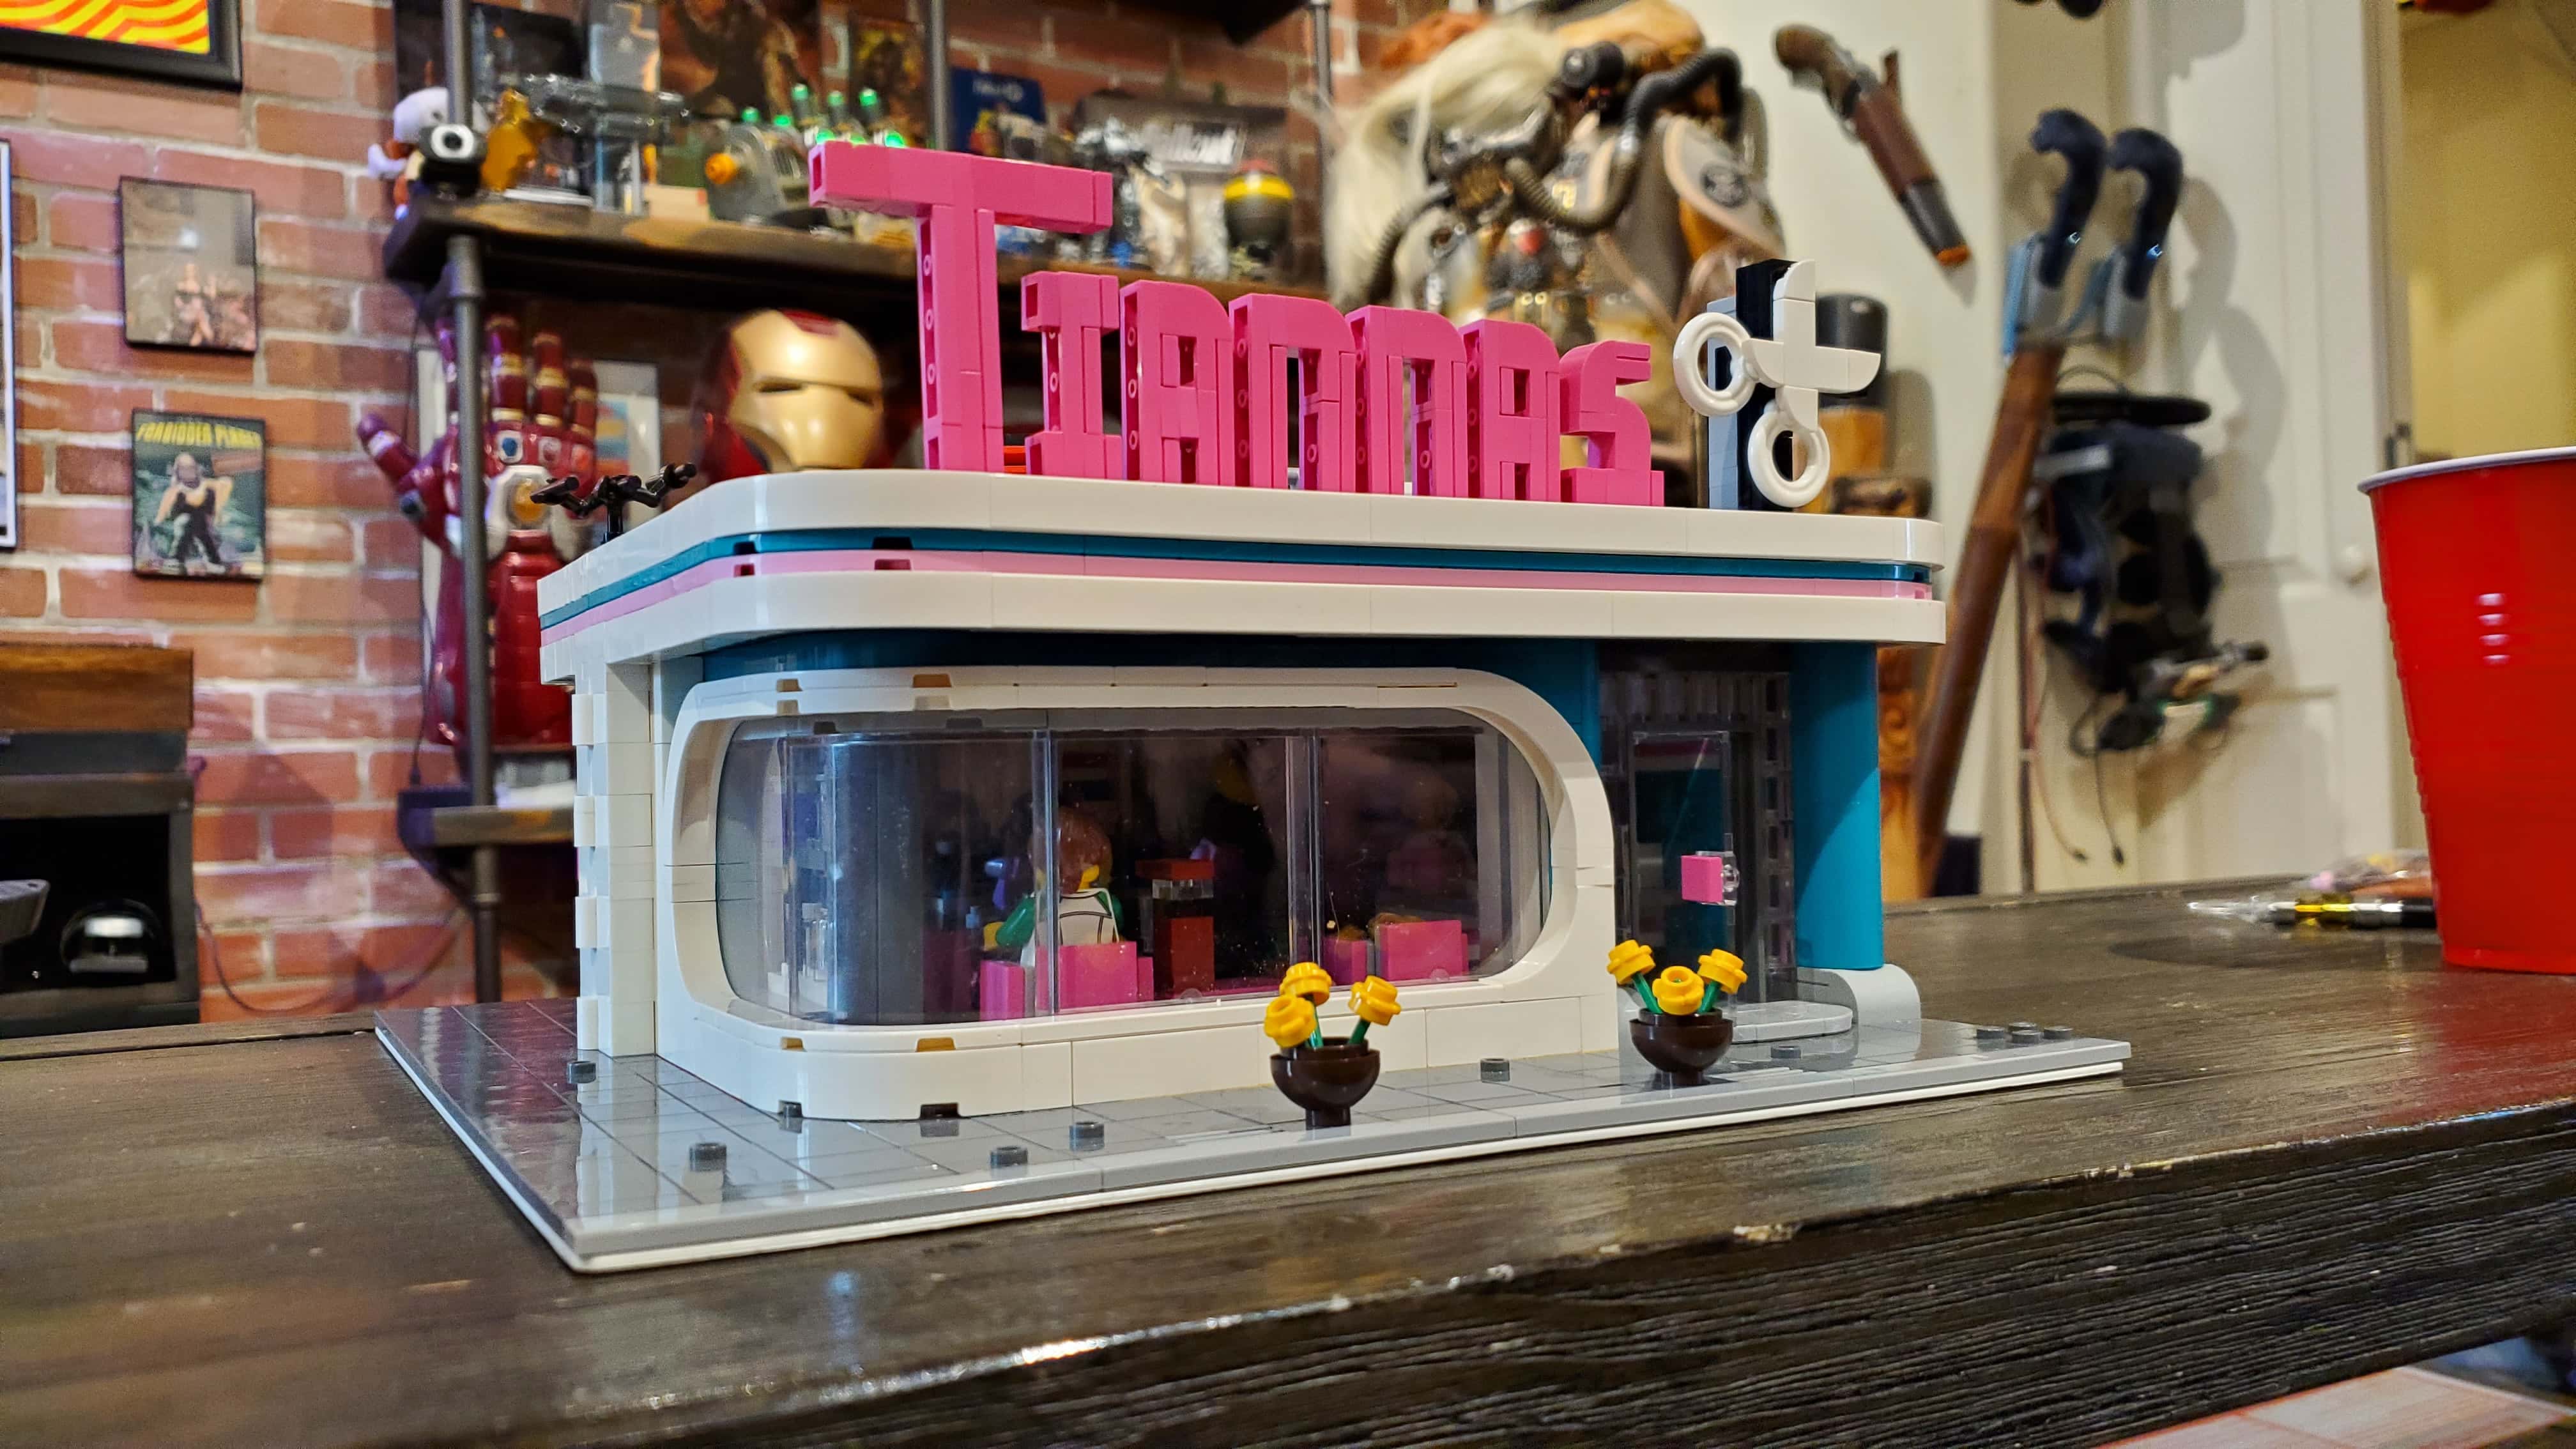
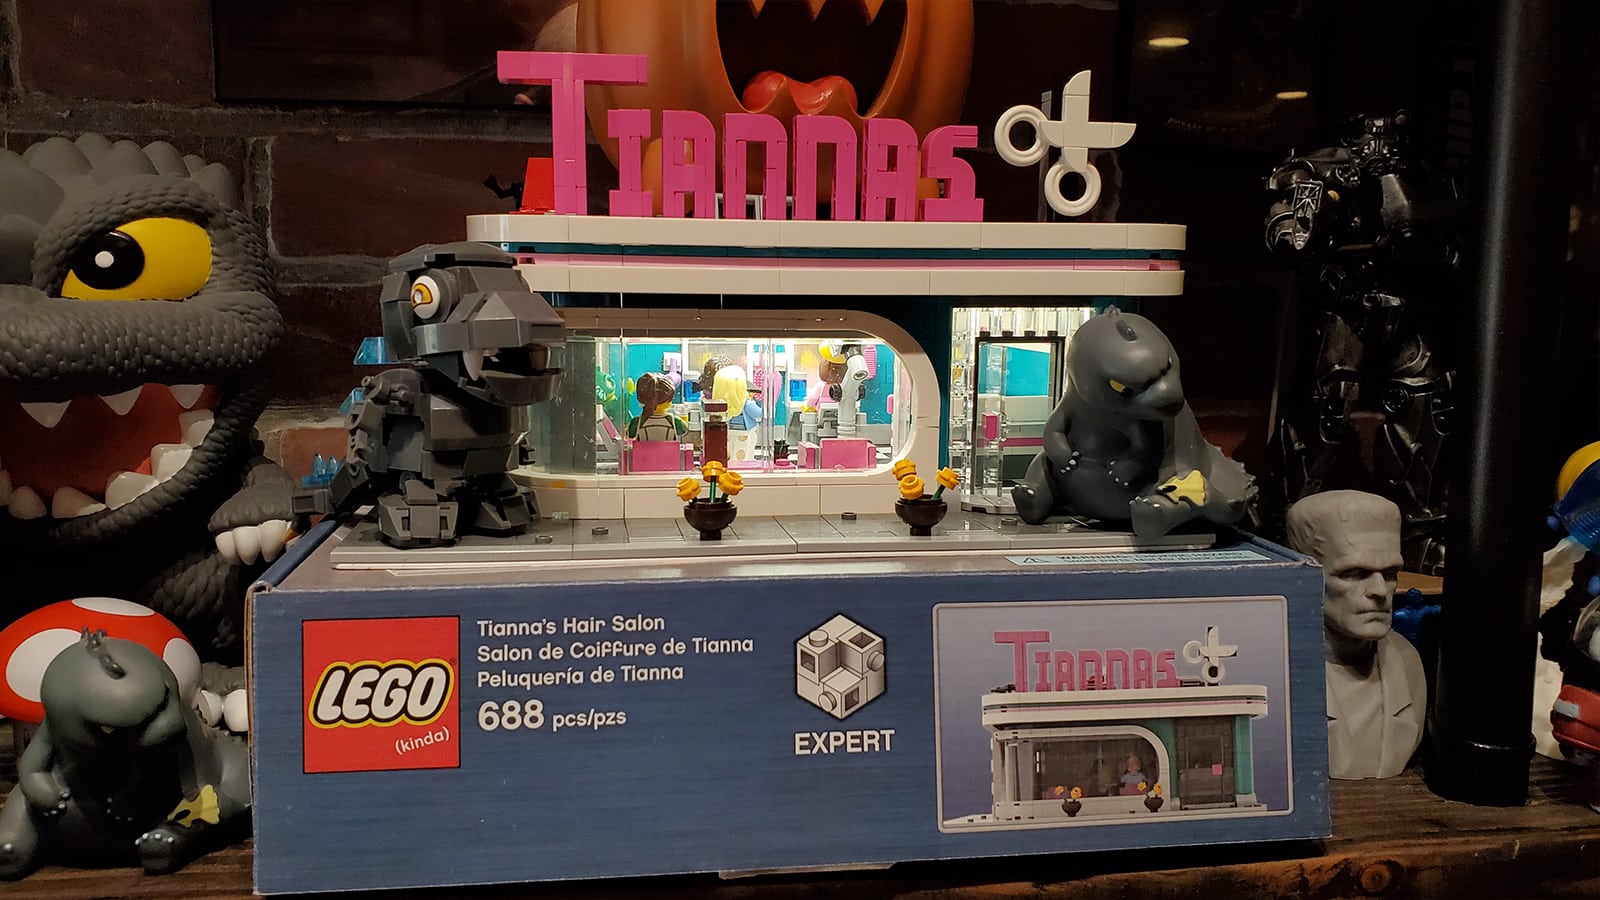
I tried to emulate the style of the ‘DINER’ sign text and re-made it into Tianna’s name with a bit of fiddling. The S shape was the hardest part to figure out, since I was constrained by the availability of pieces that matched the colors I was going with, but I think I managed to figure it out well enough. The scissors part of the sign was a little bit easier by comparison.
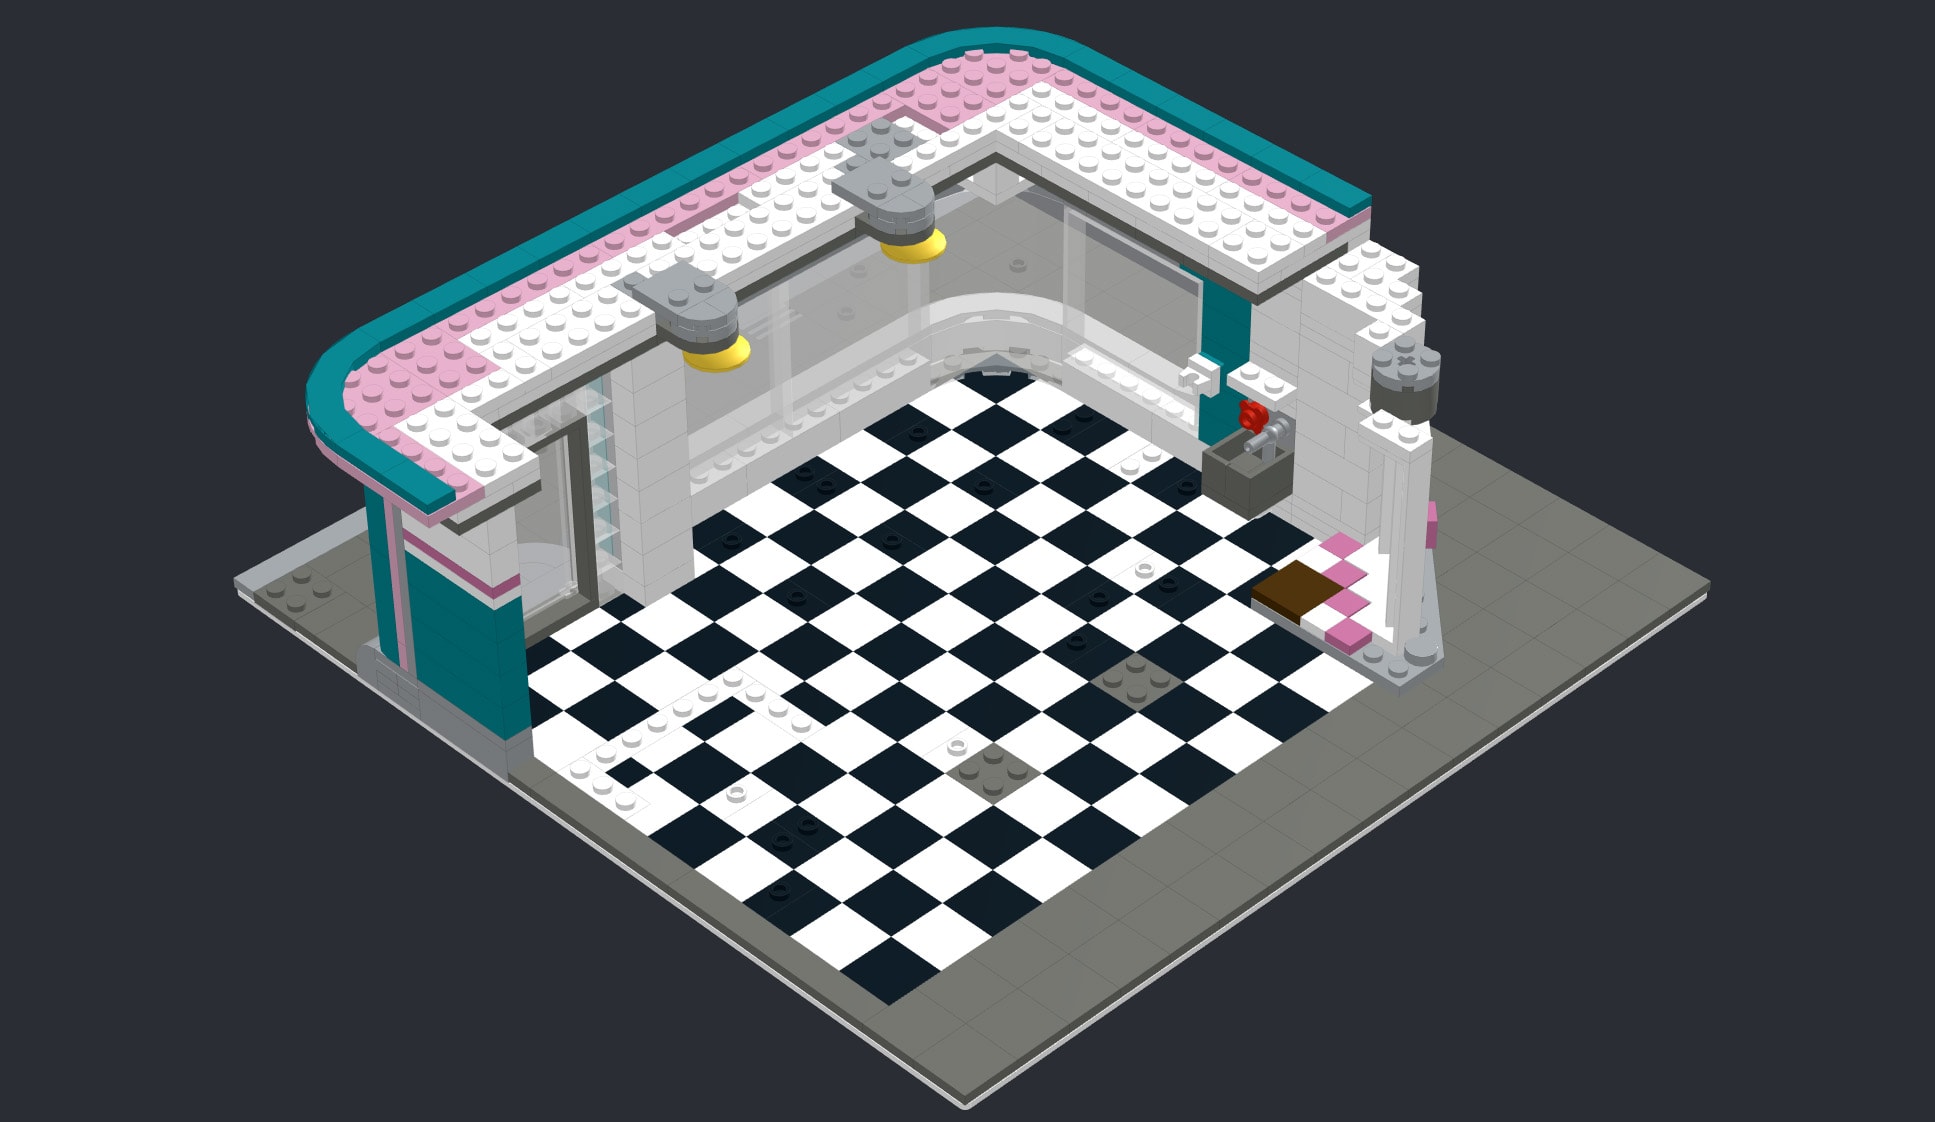
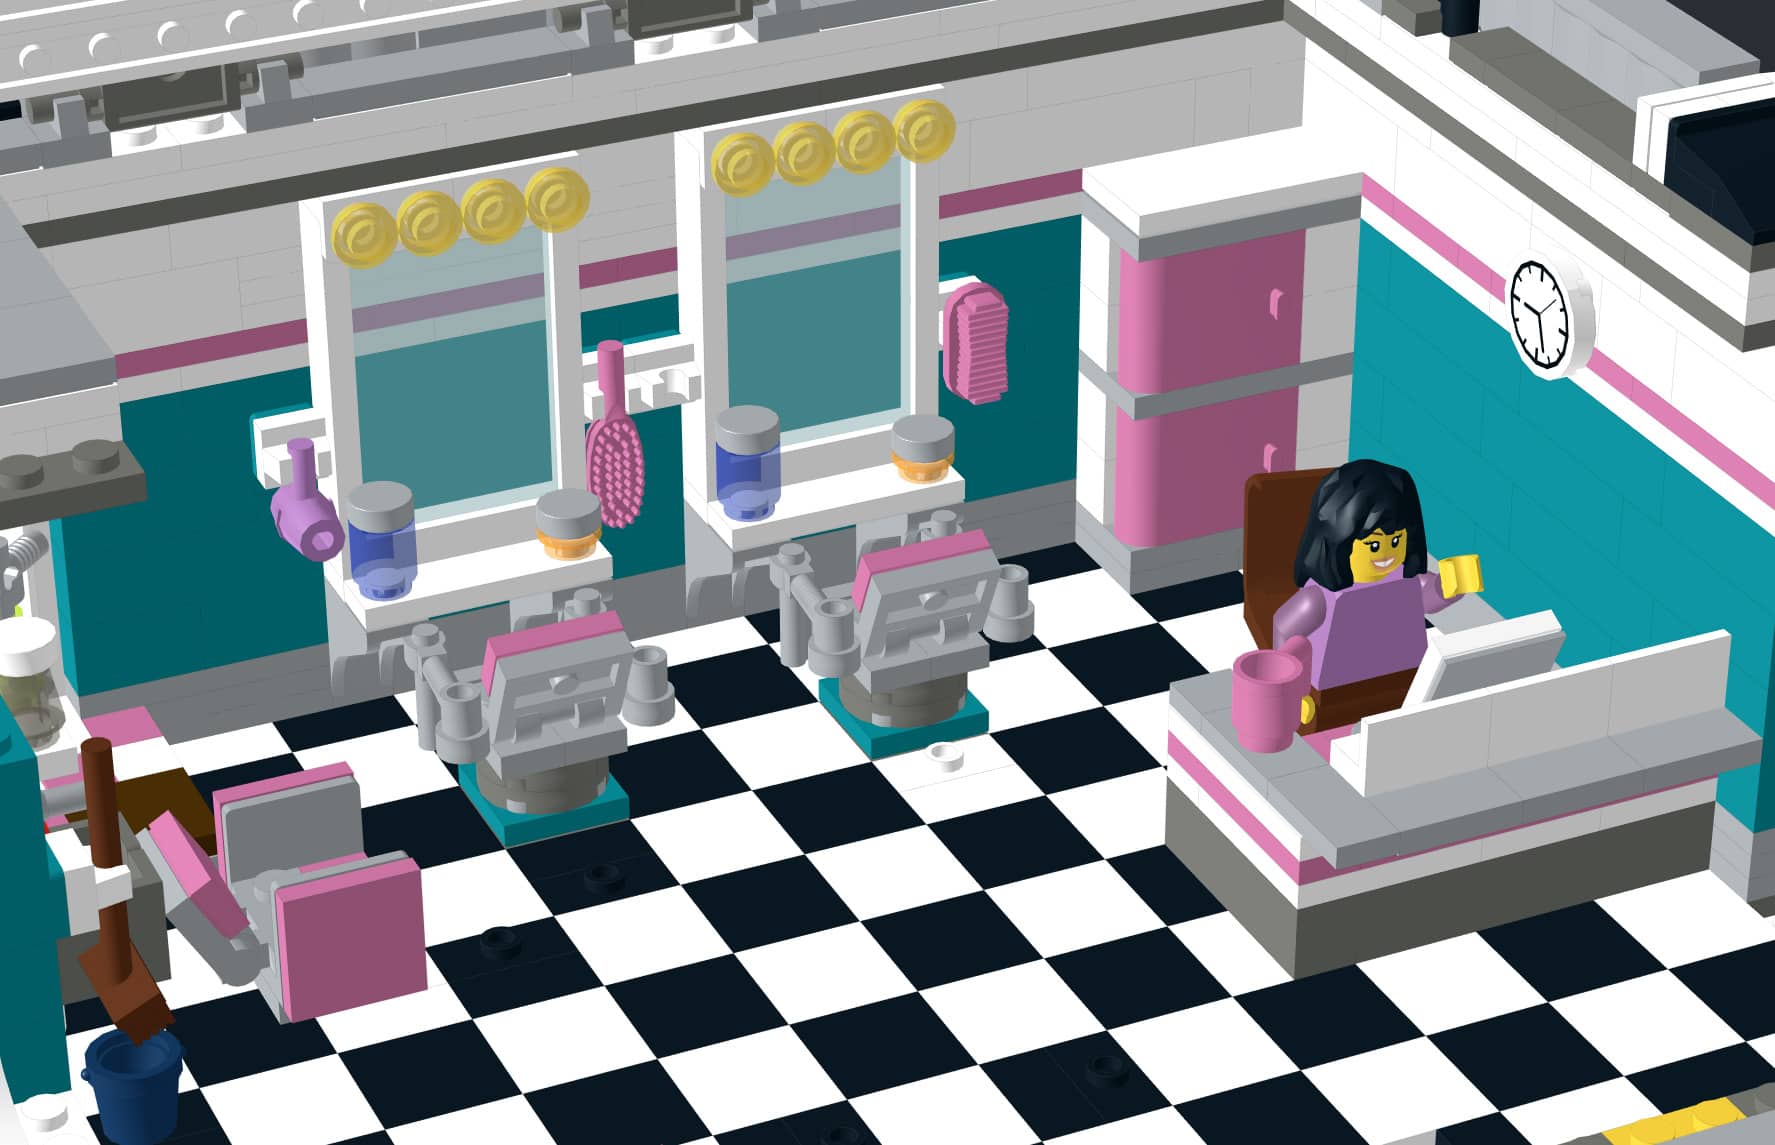
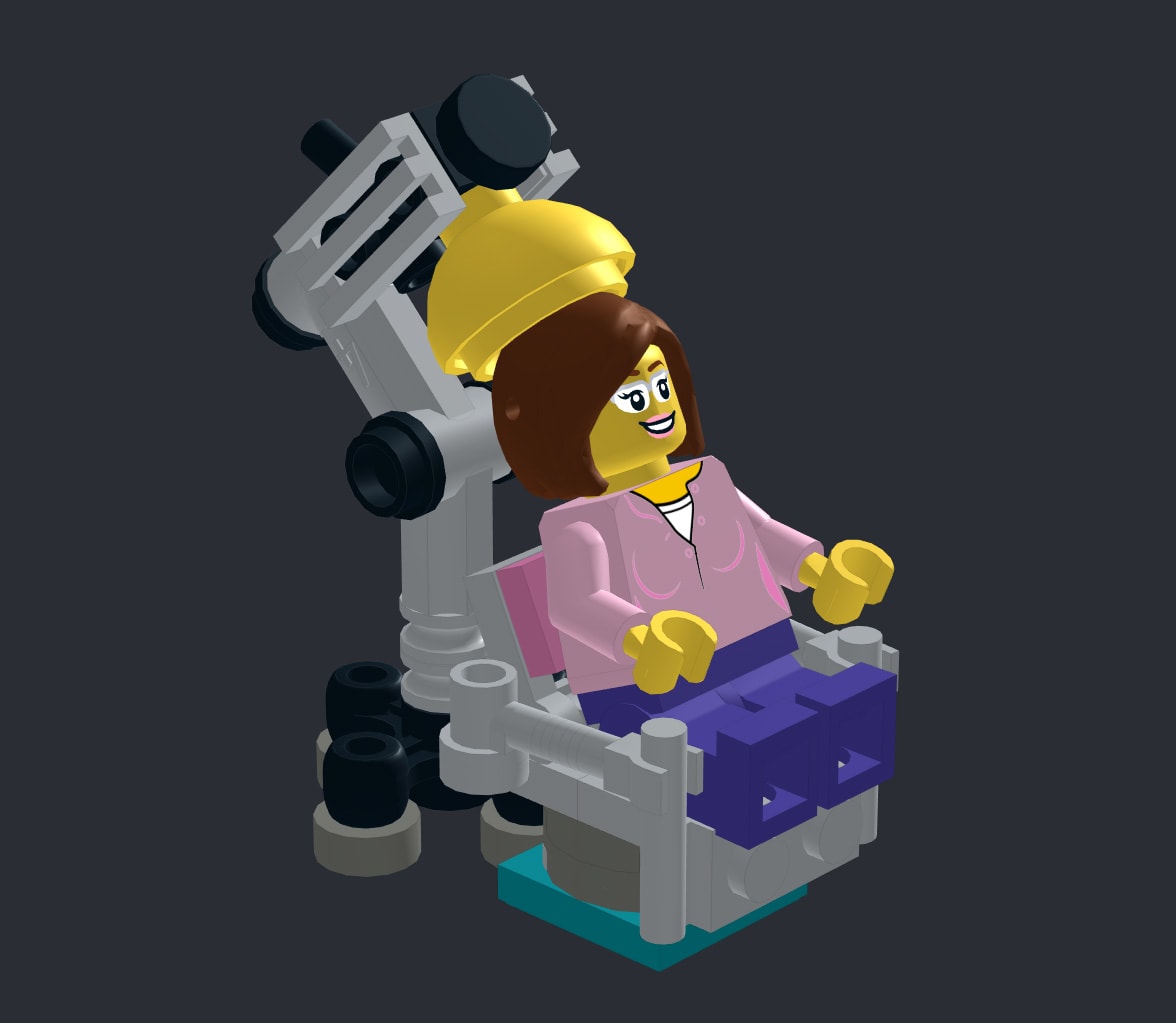
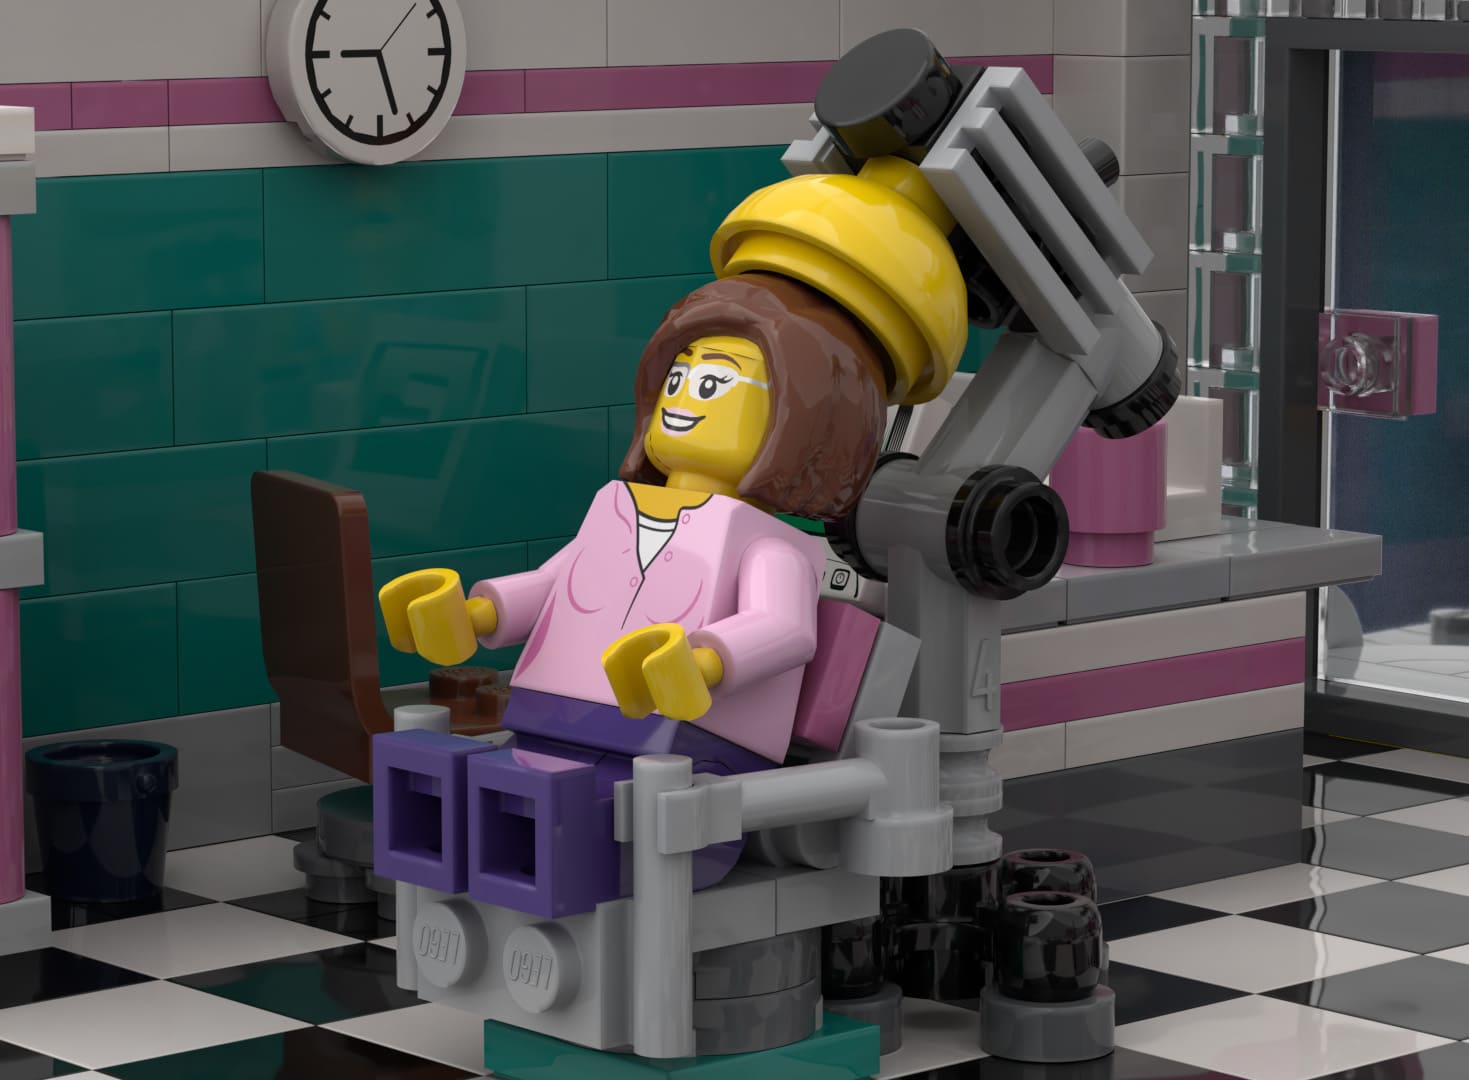
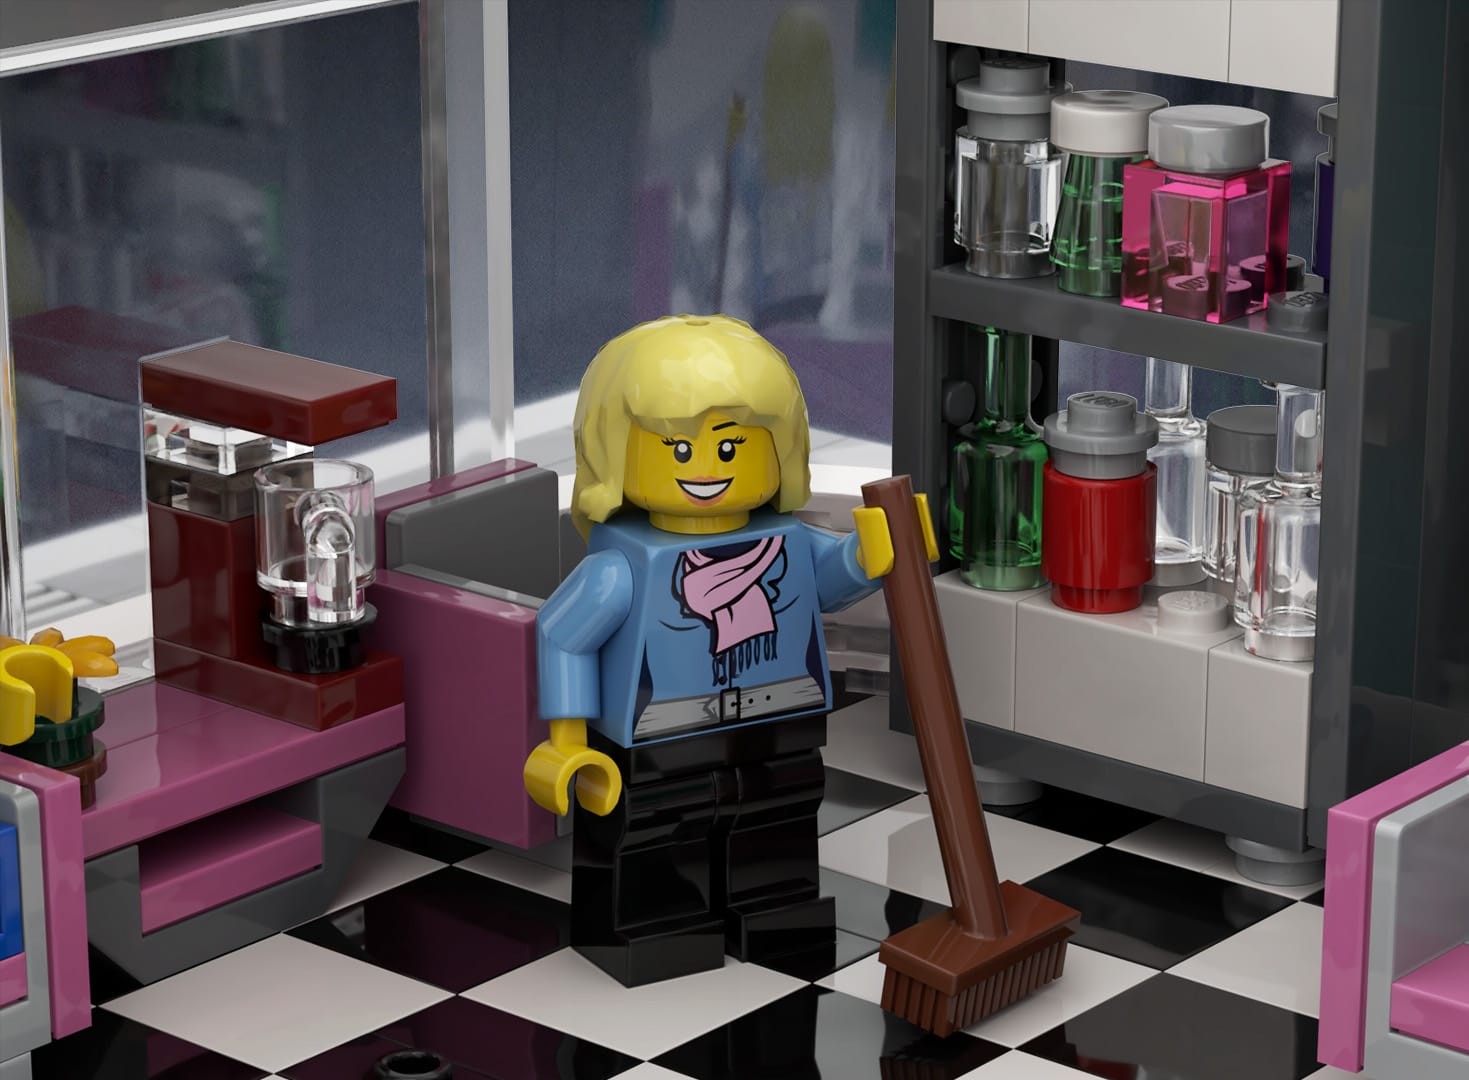
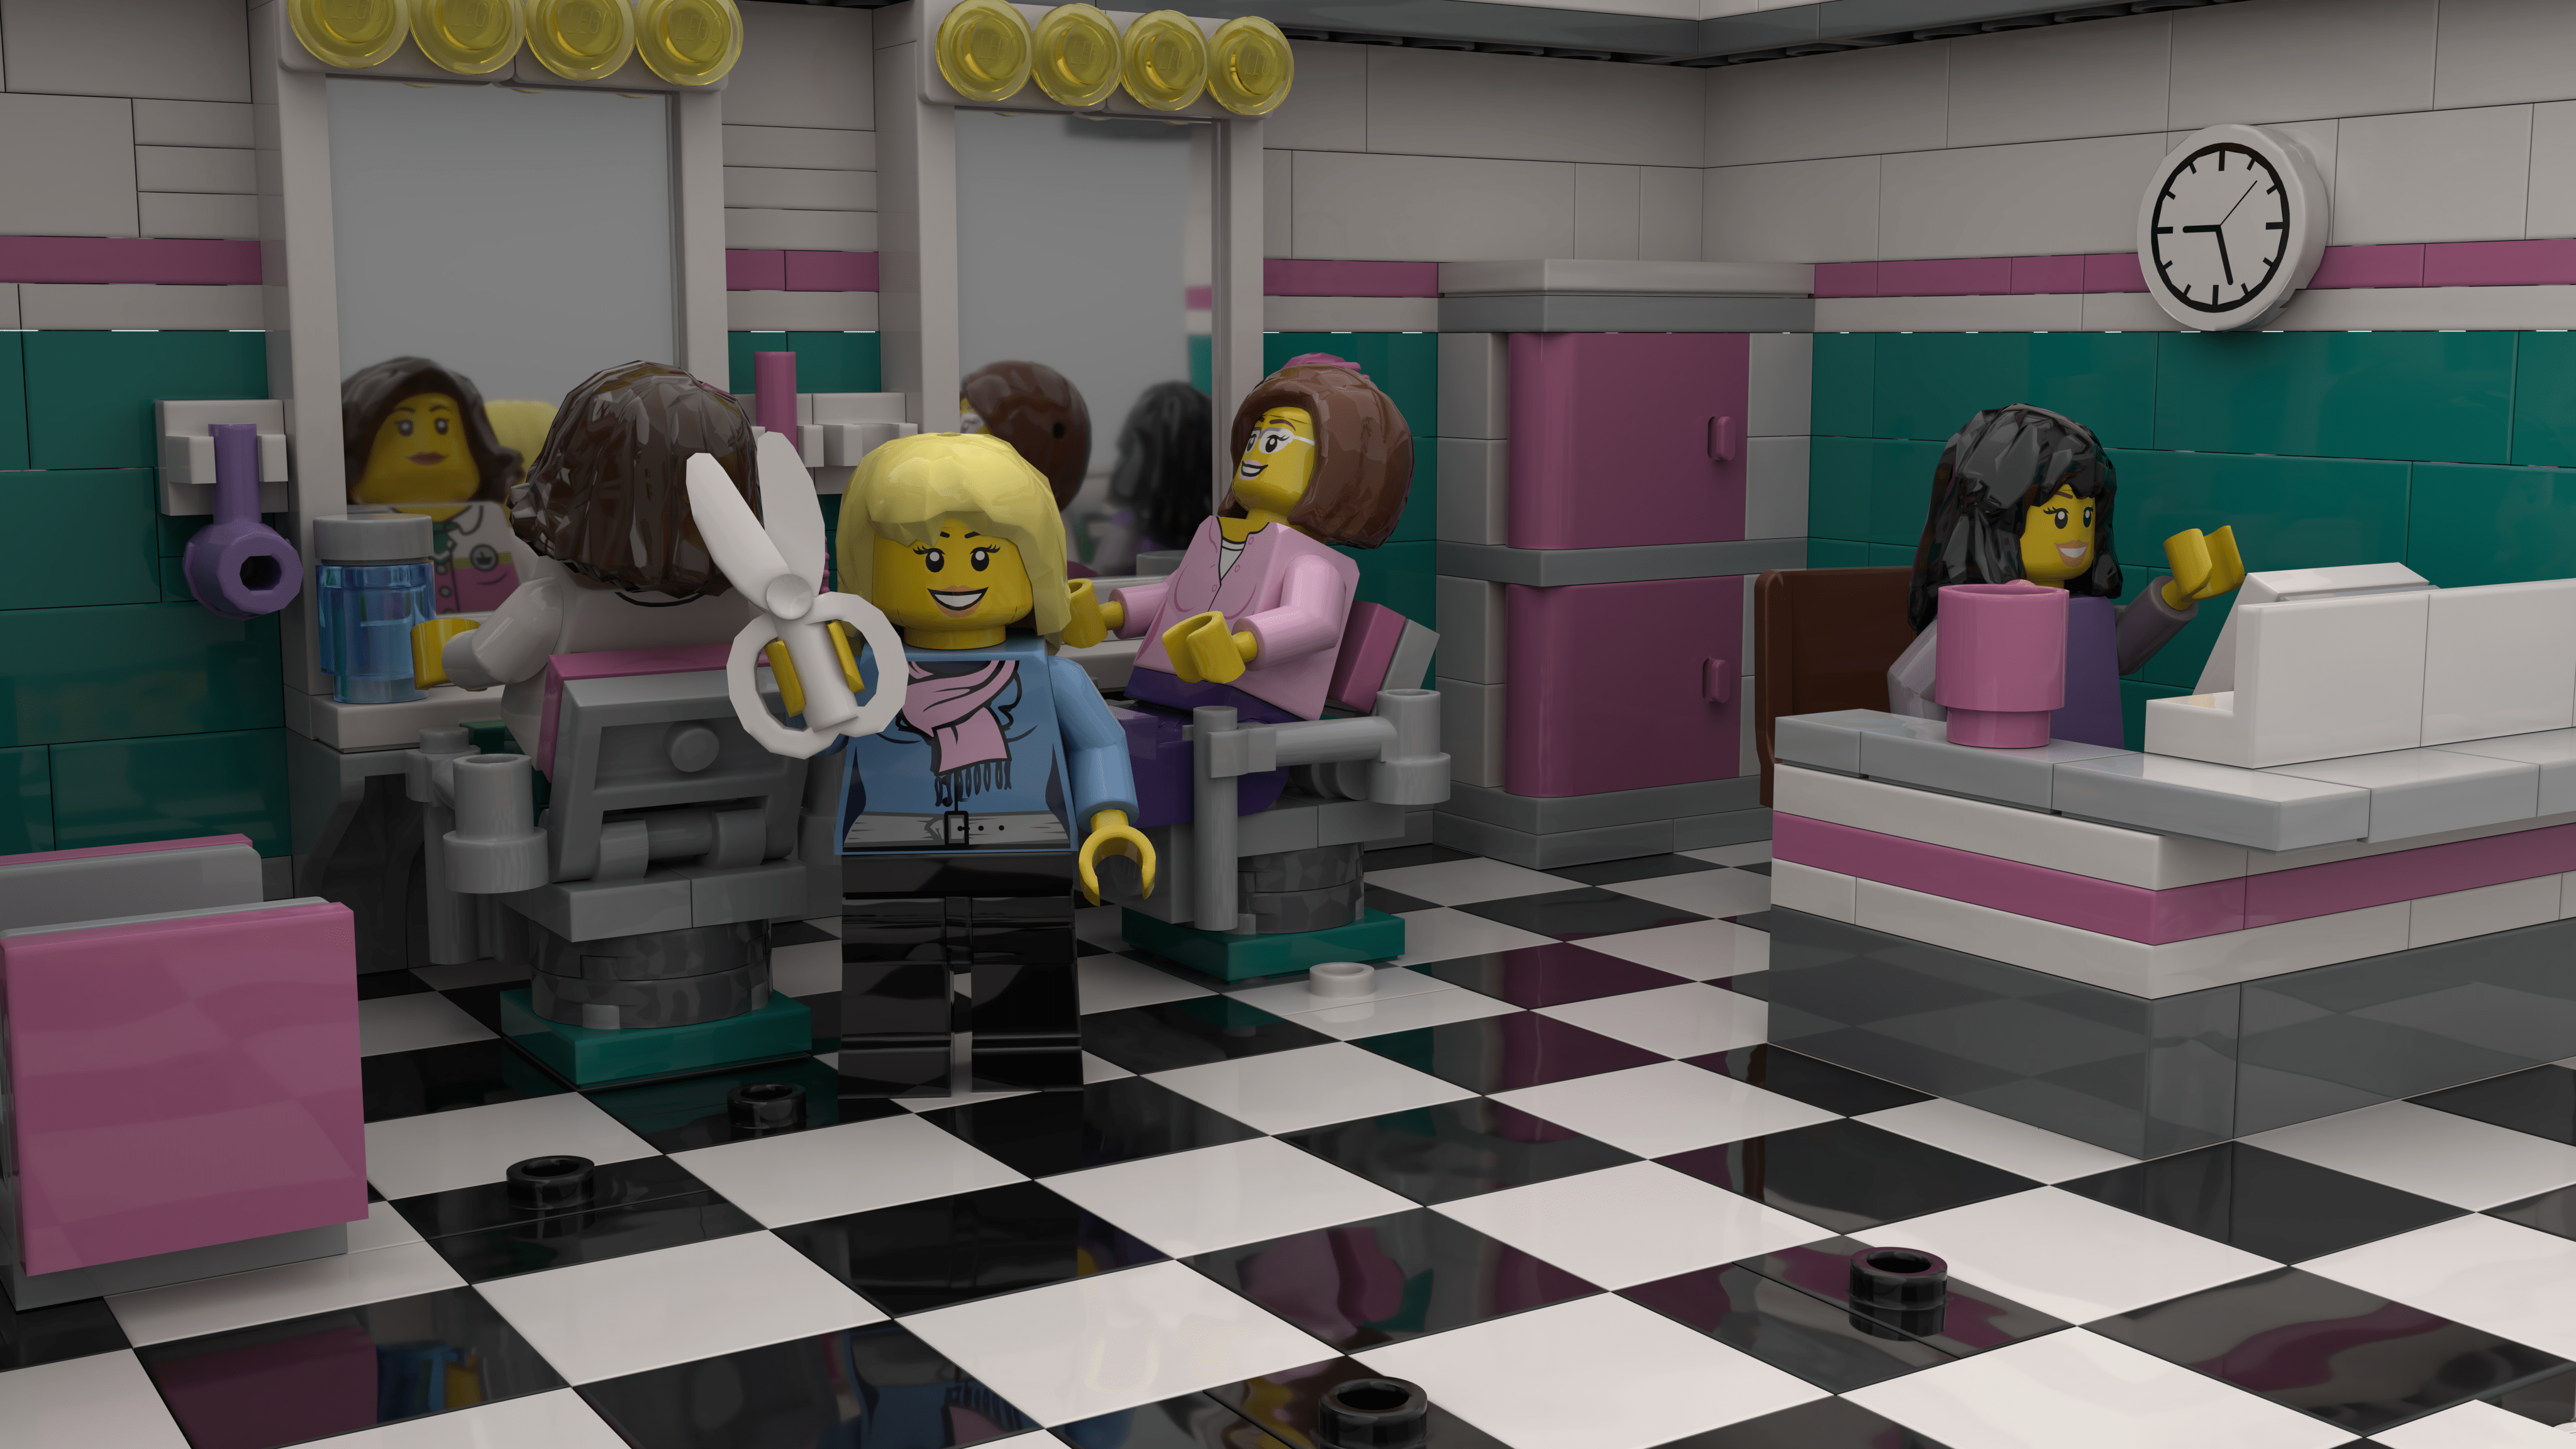
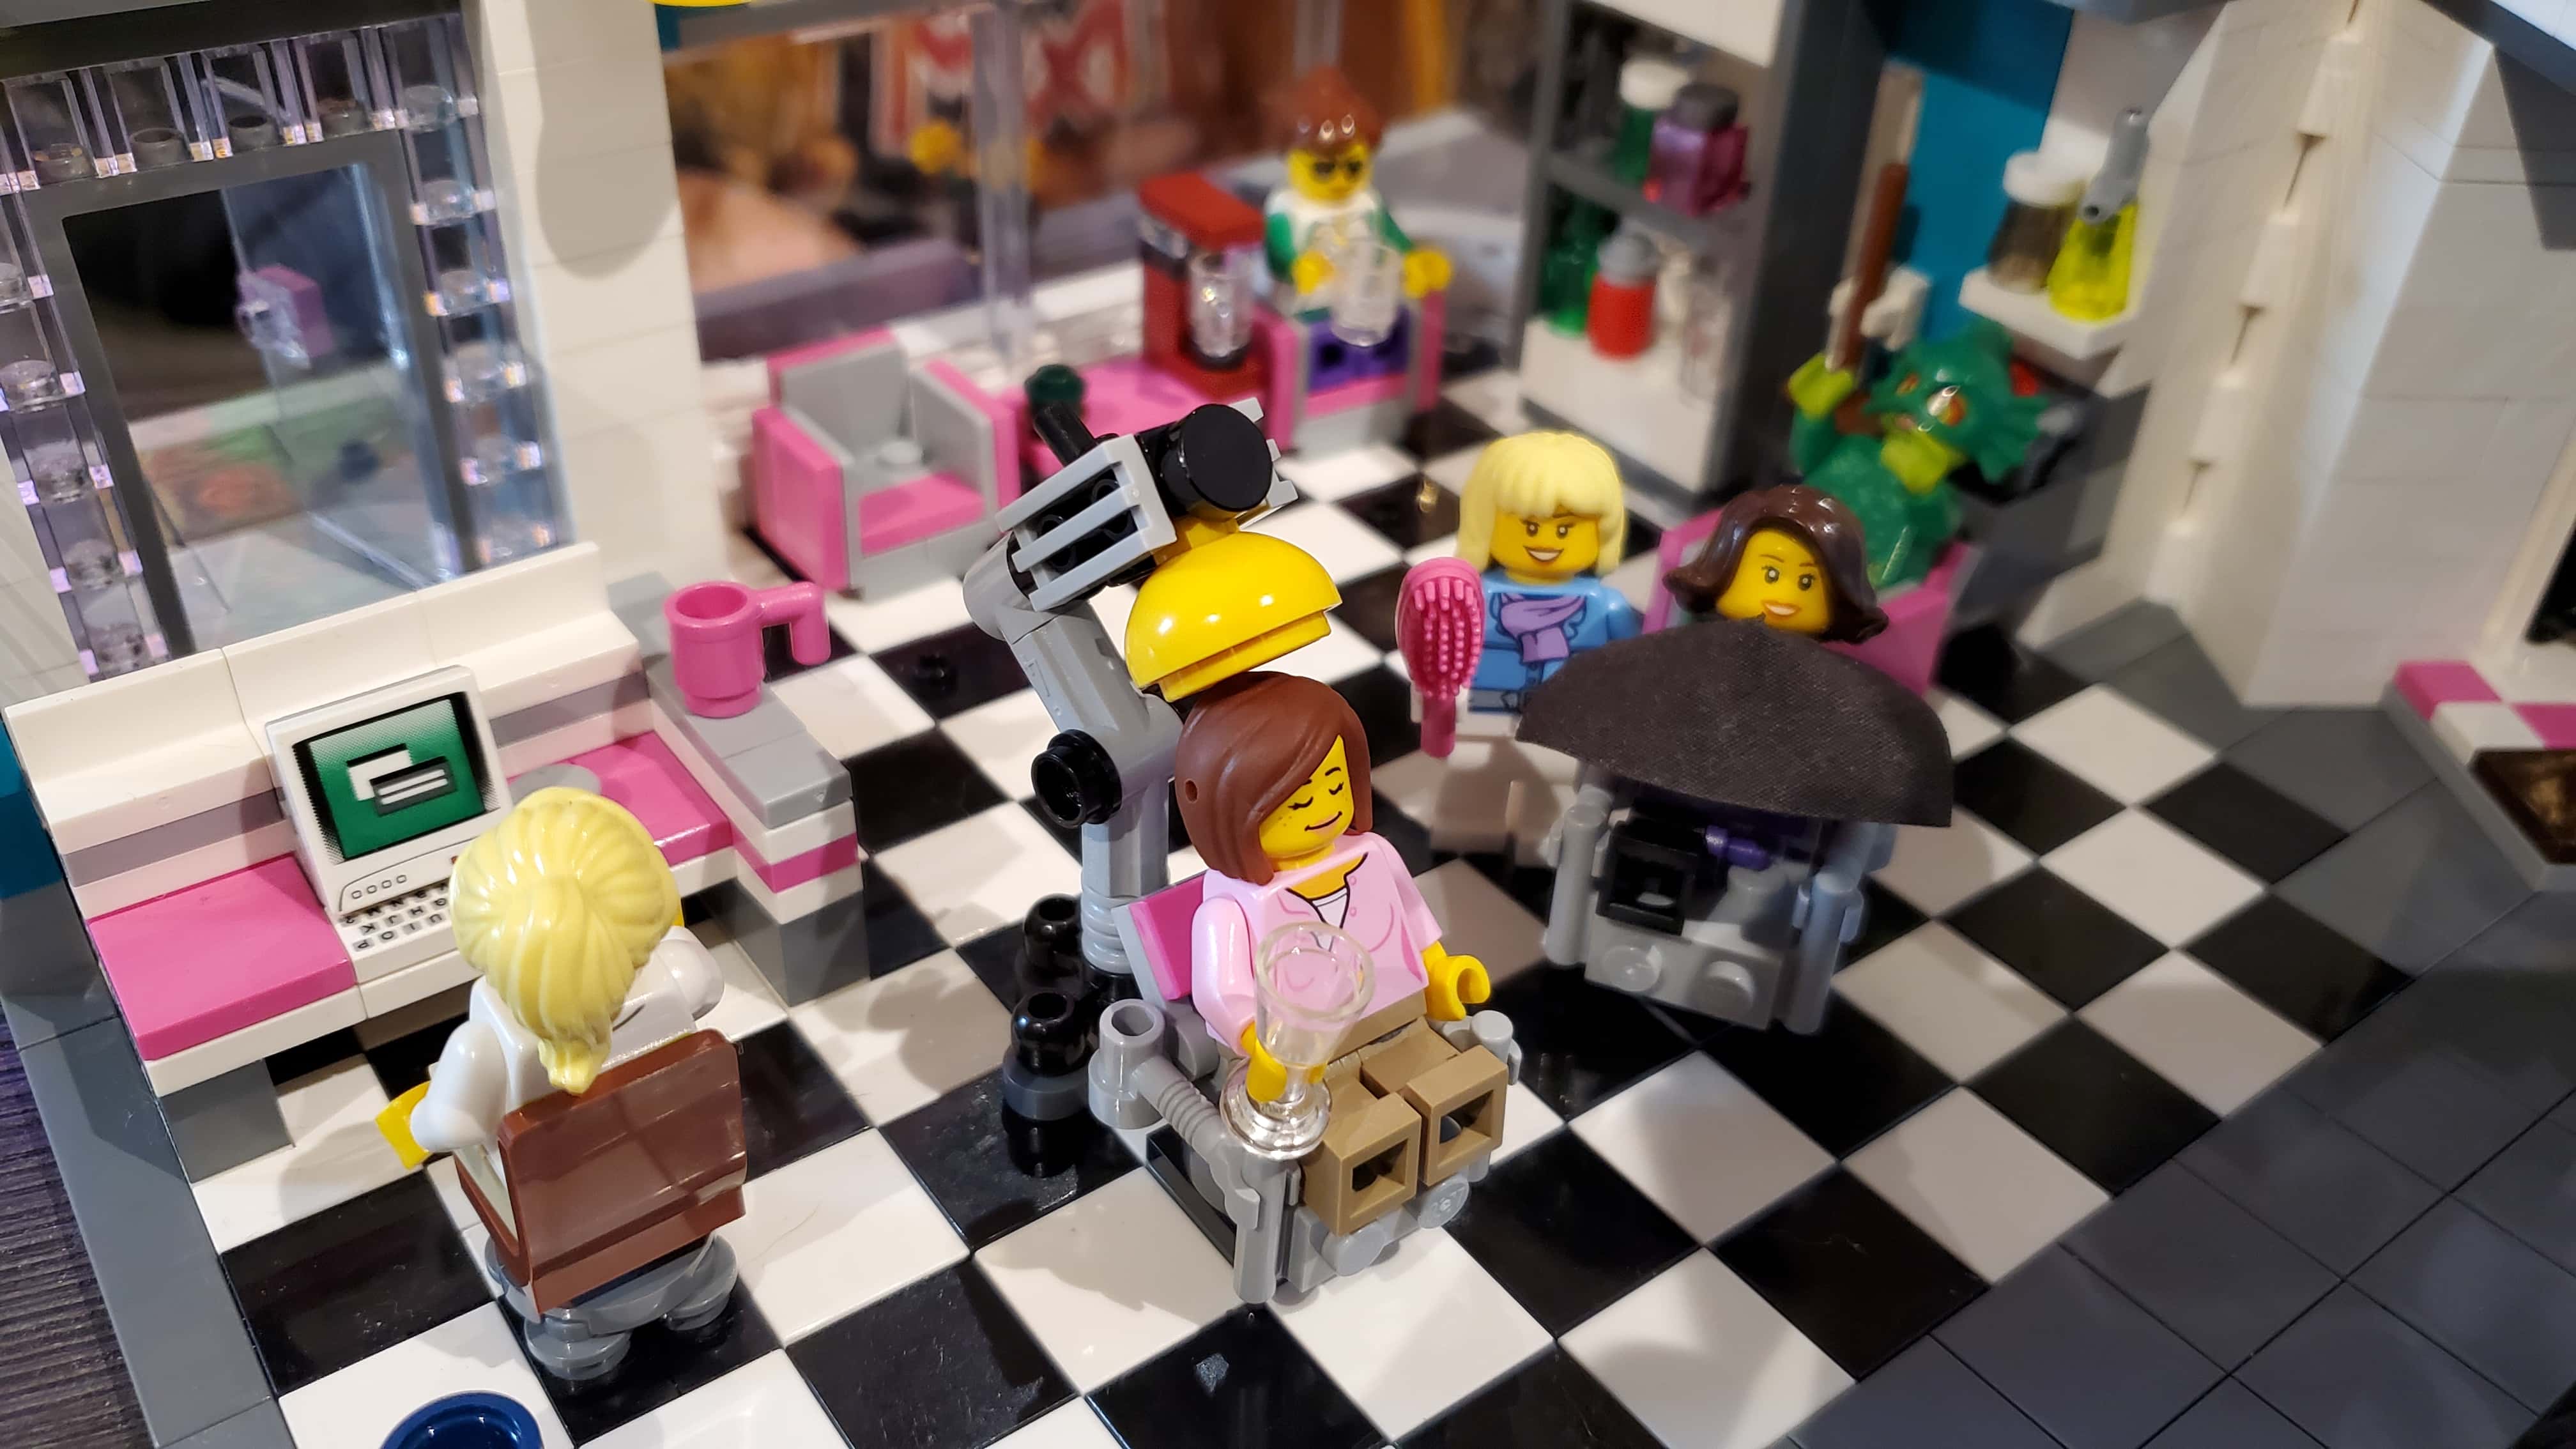
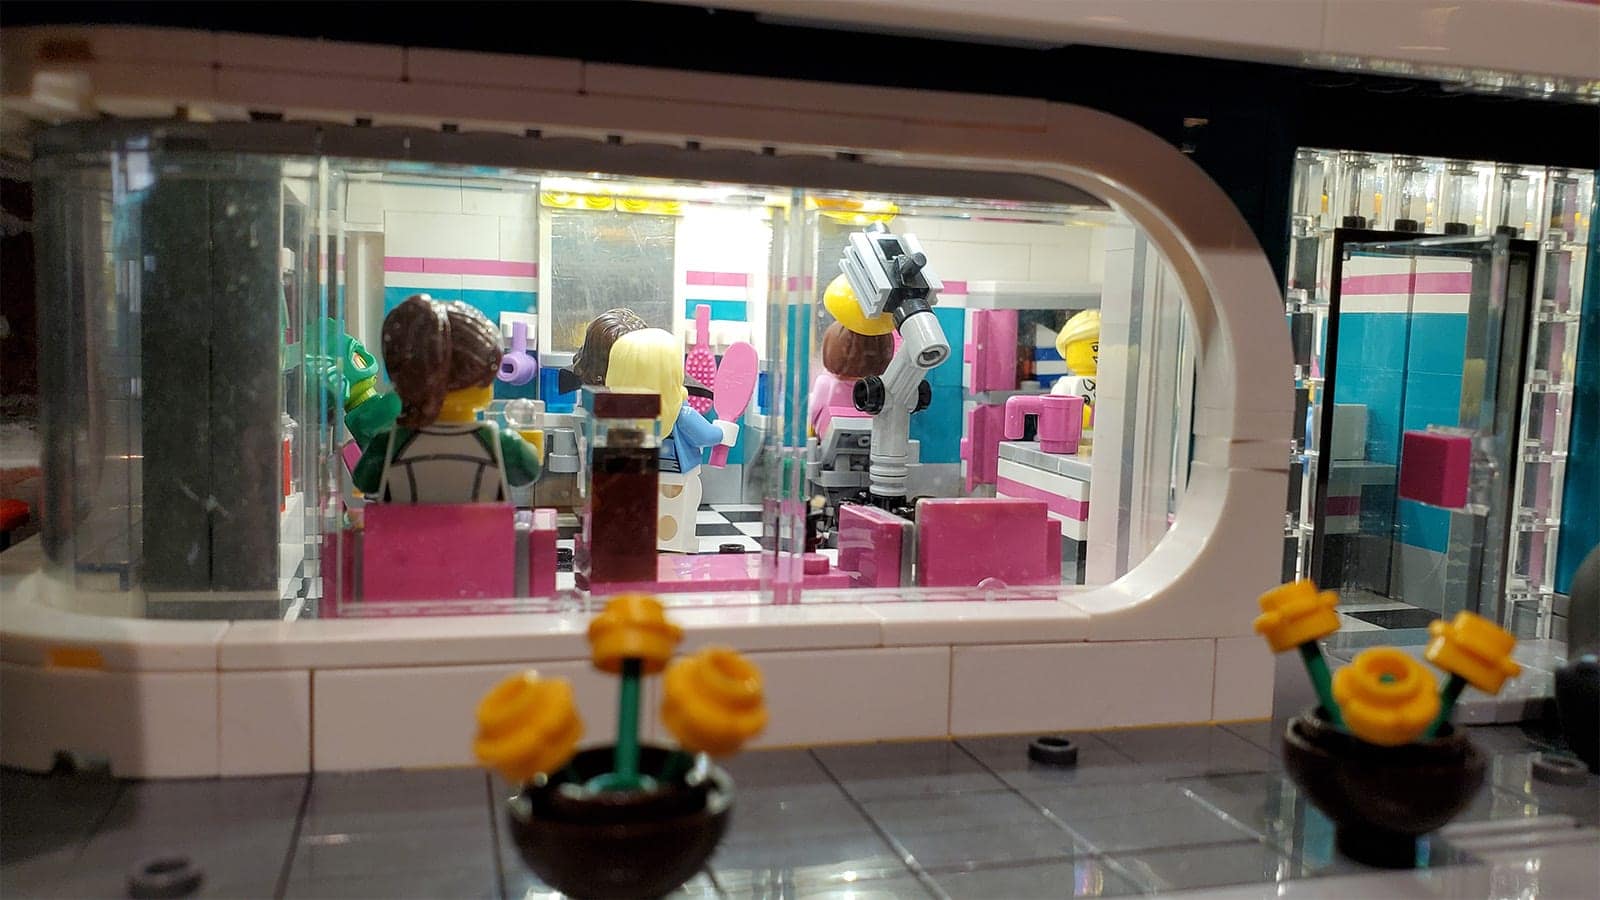
The most fun part of this for me was probably decorating the interior. I made a reclining chair and sink for a hair-washing station, some waiting room furniture, a coffee maker, and shelving with ‘product’ on it. On the opposite side, I added a receptionist area, spinning chairs, and some wall-mounted mirrors and styling stations.
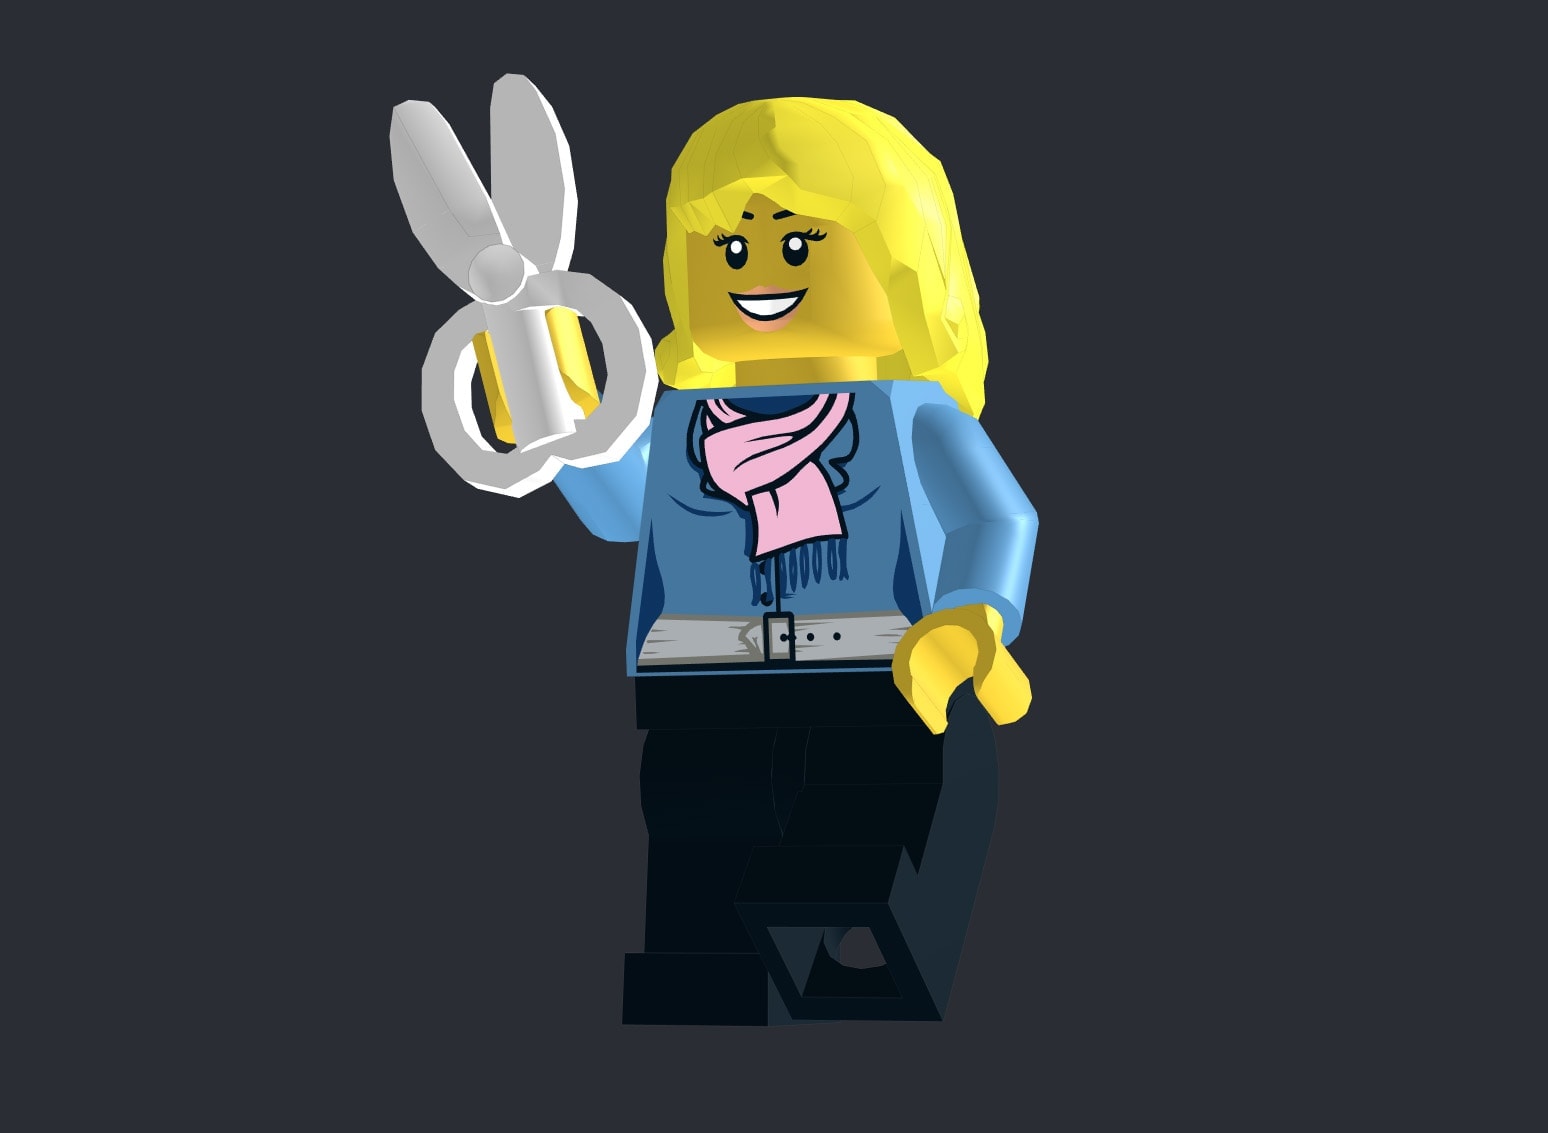
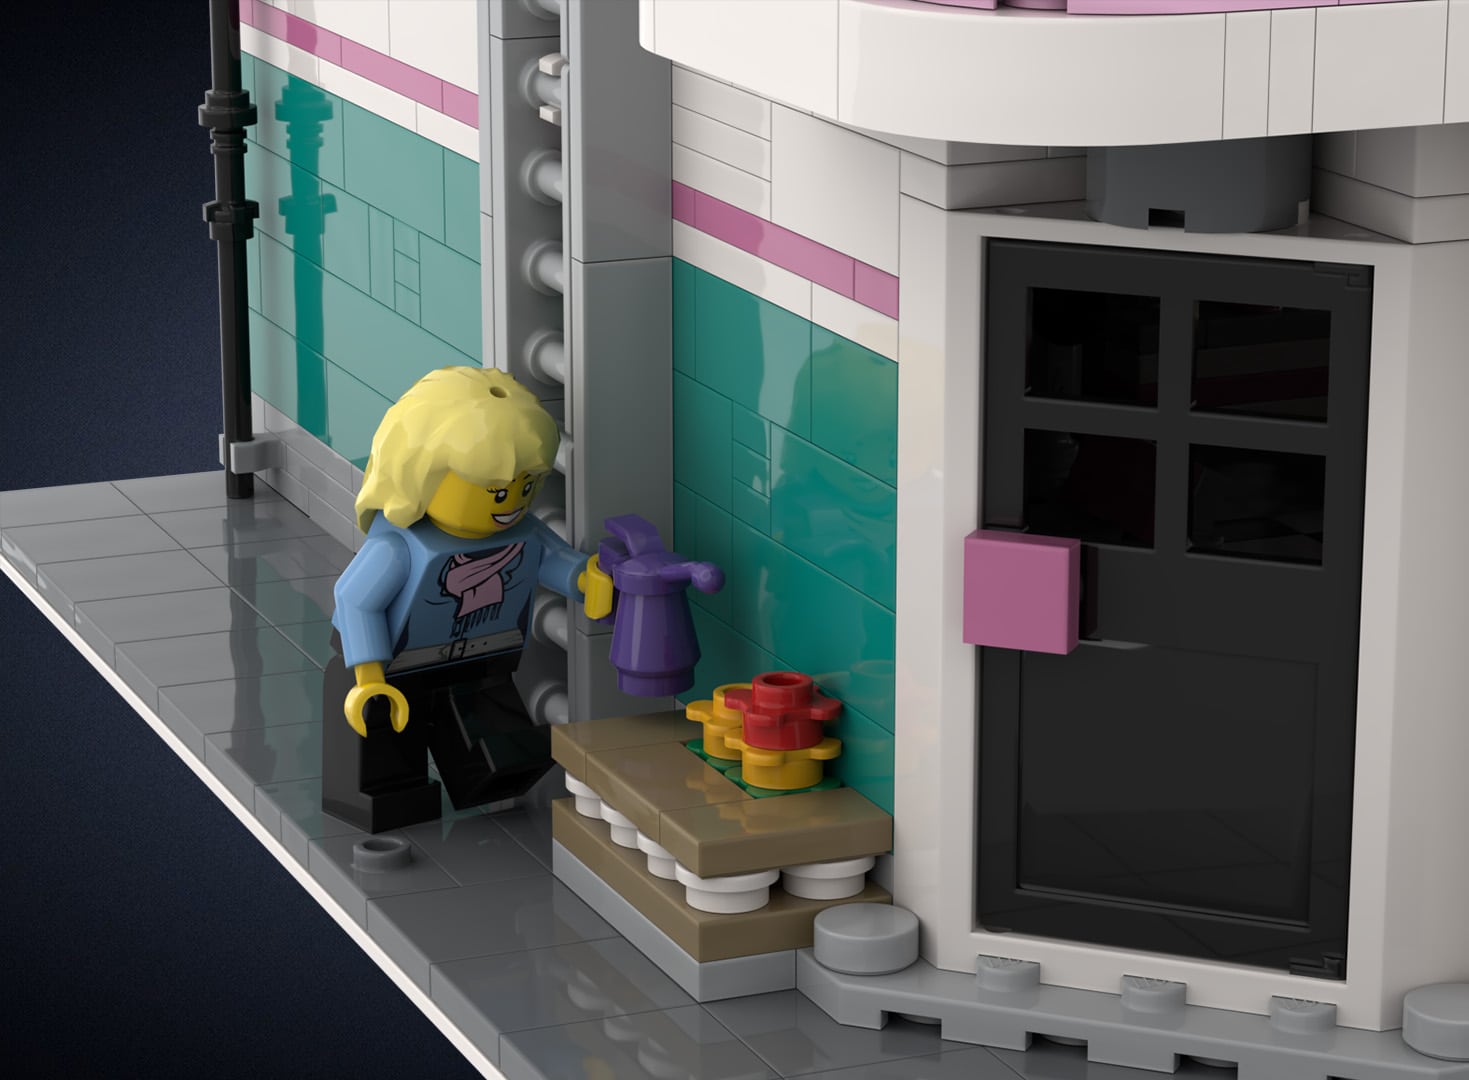
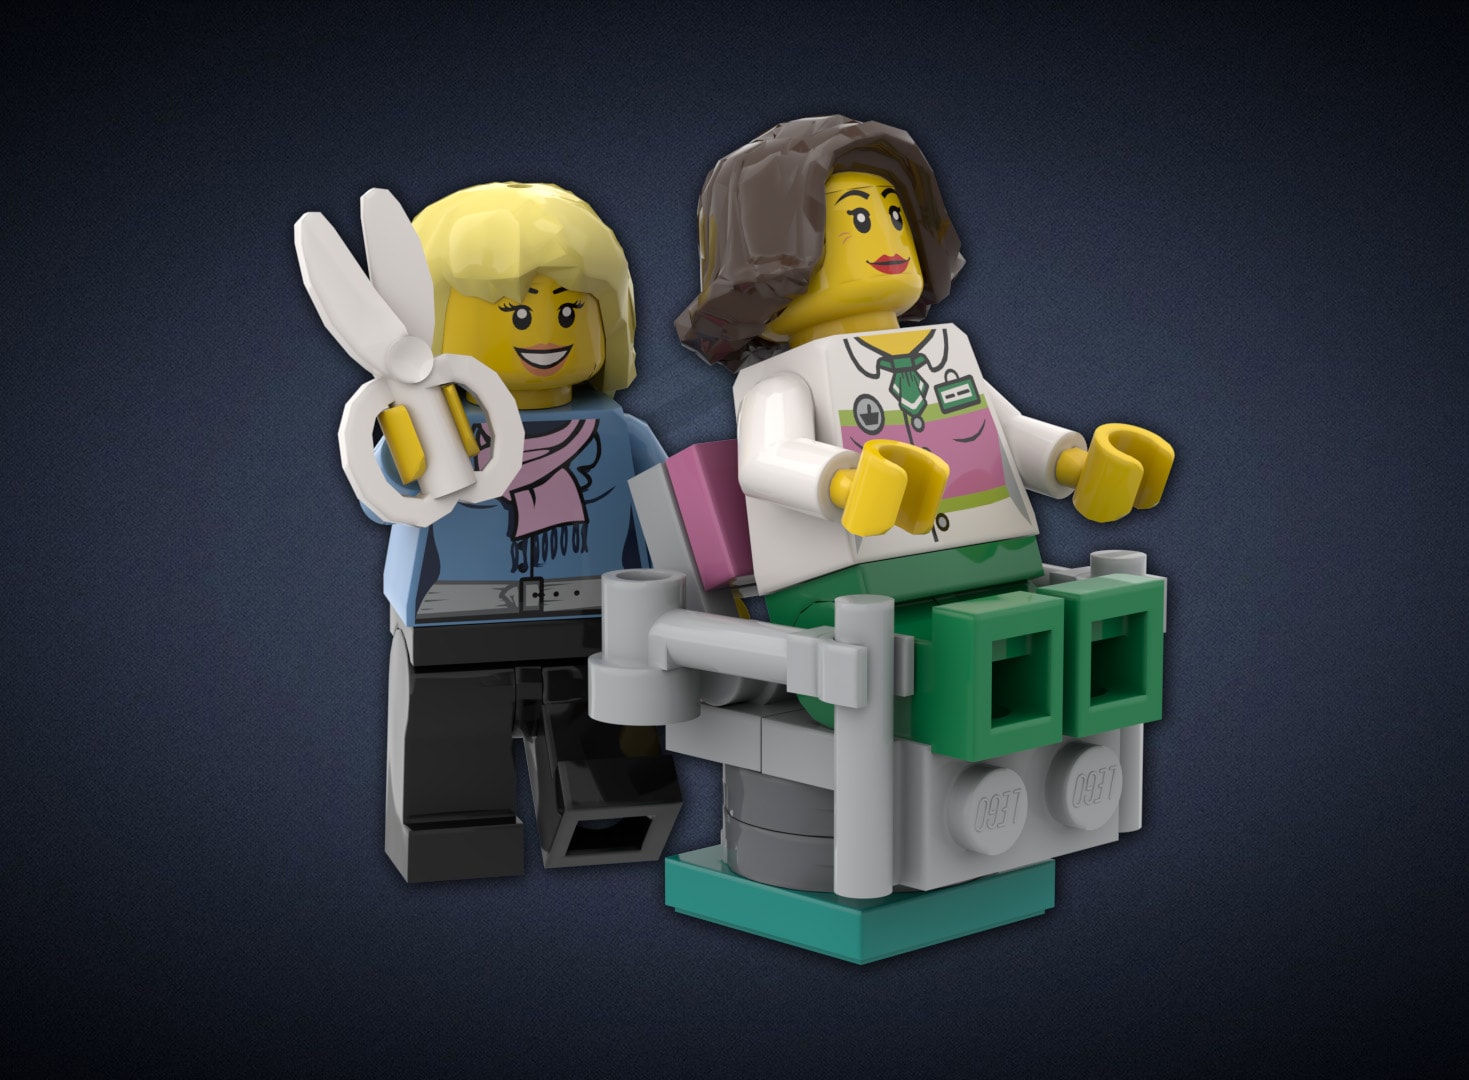
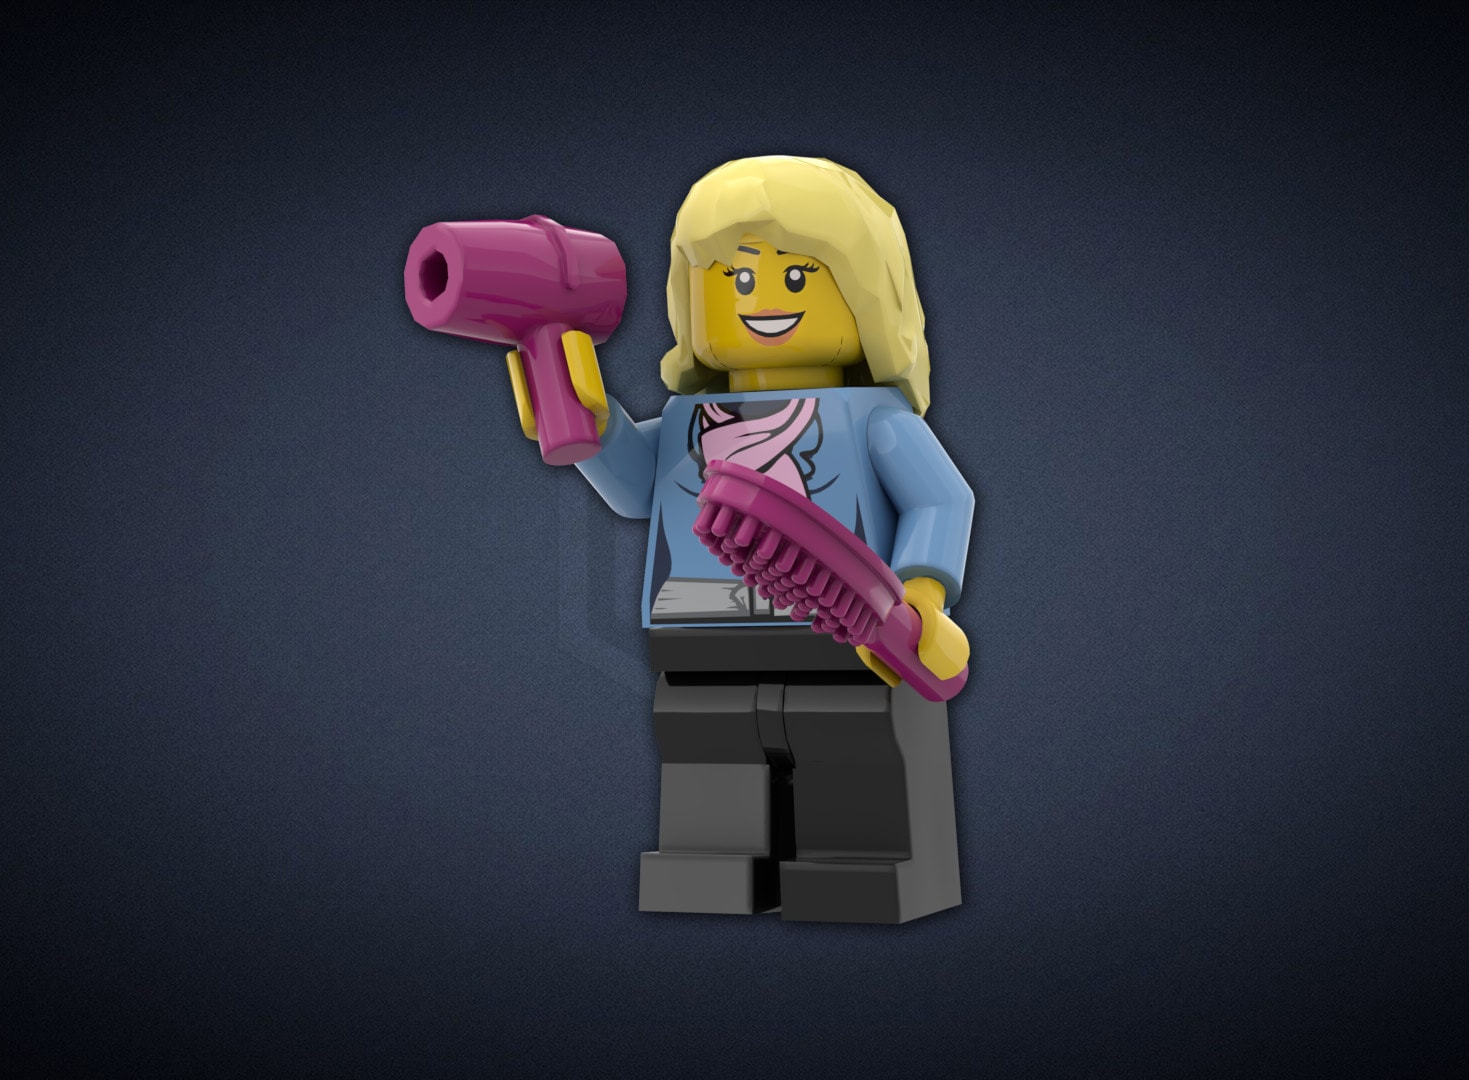
I also added a few exterior details – a small flowerbox and ladder in the back of the salon, an air conditioner and antenna on the roof, and a little lounge chair for mini-Tianna to sun in during her downtime. And of course, I had to make said minifig for Tianna herself. I think I captured a reasonable likeness!
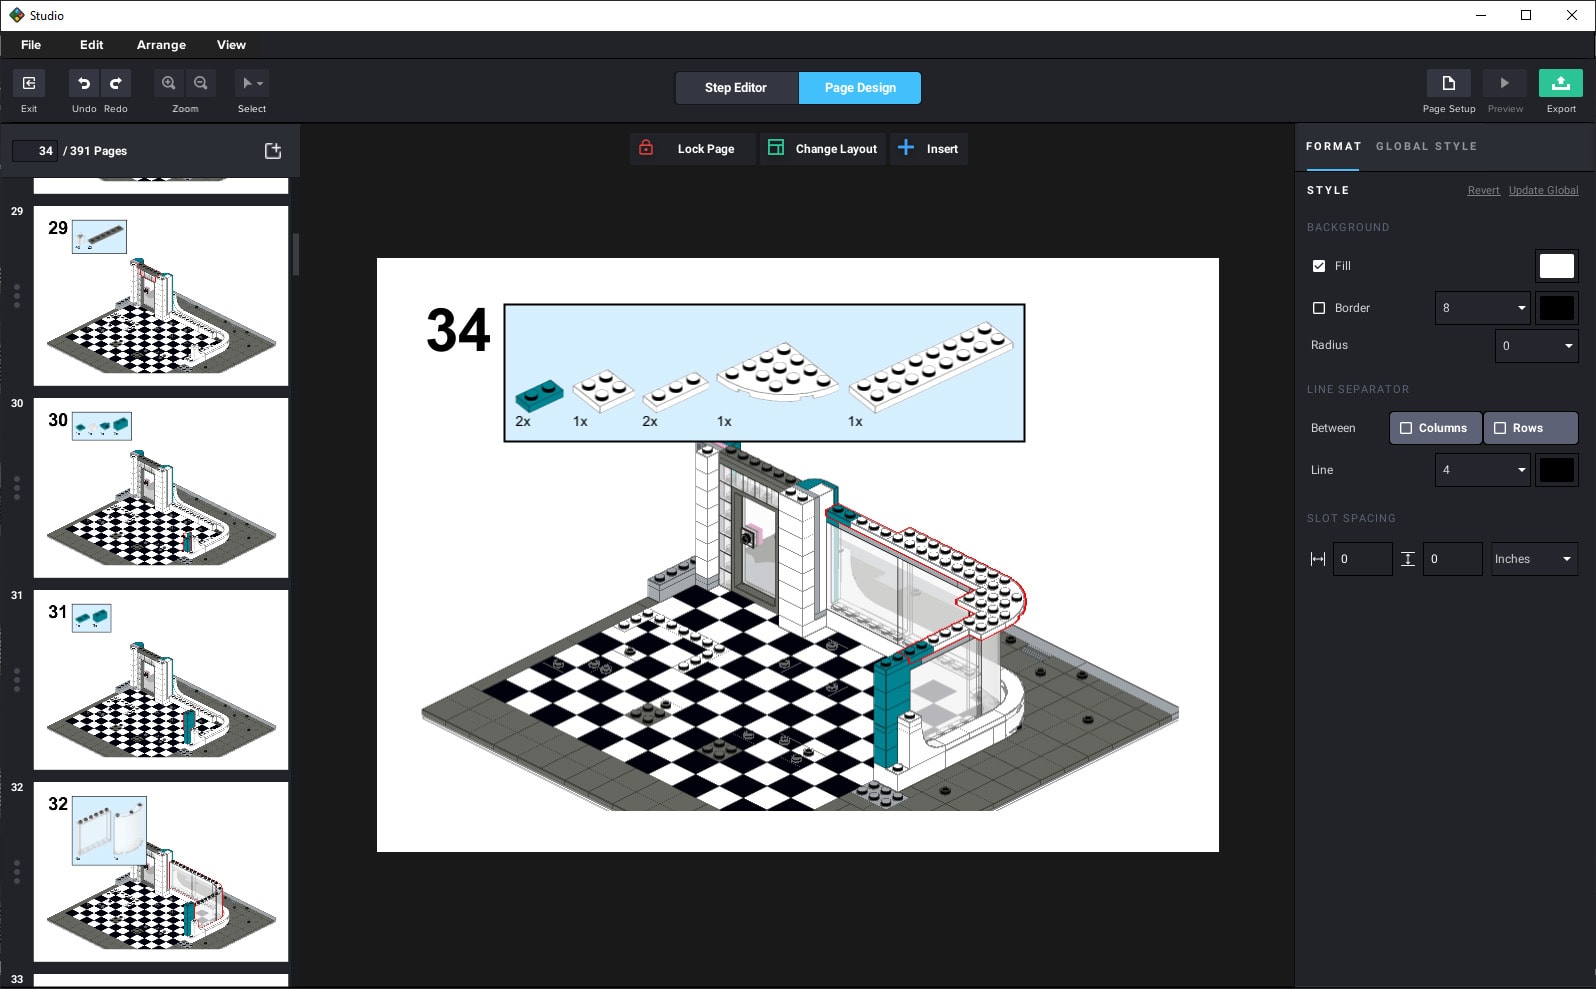
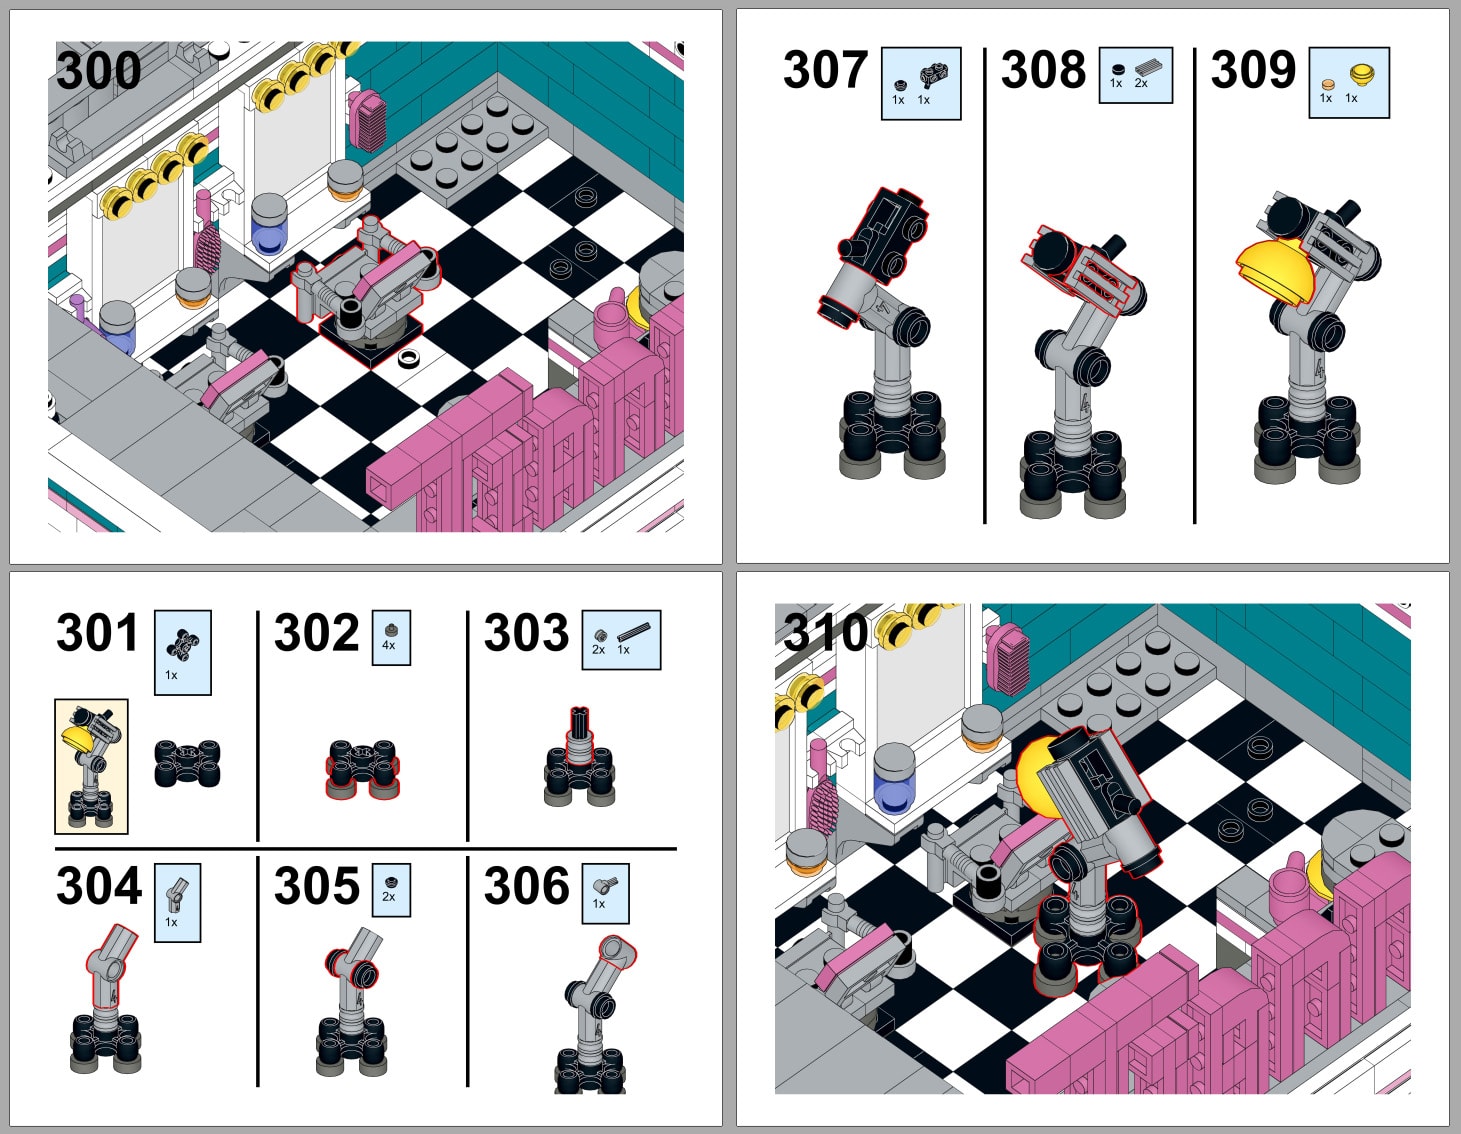
SOLVING THE STEP-BY-STEP
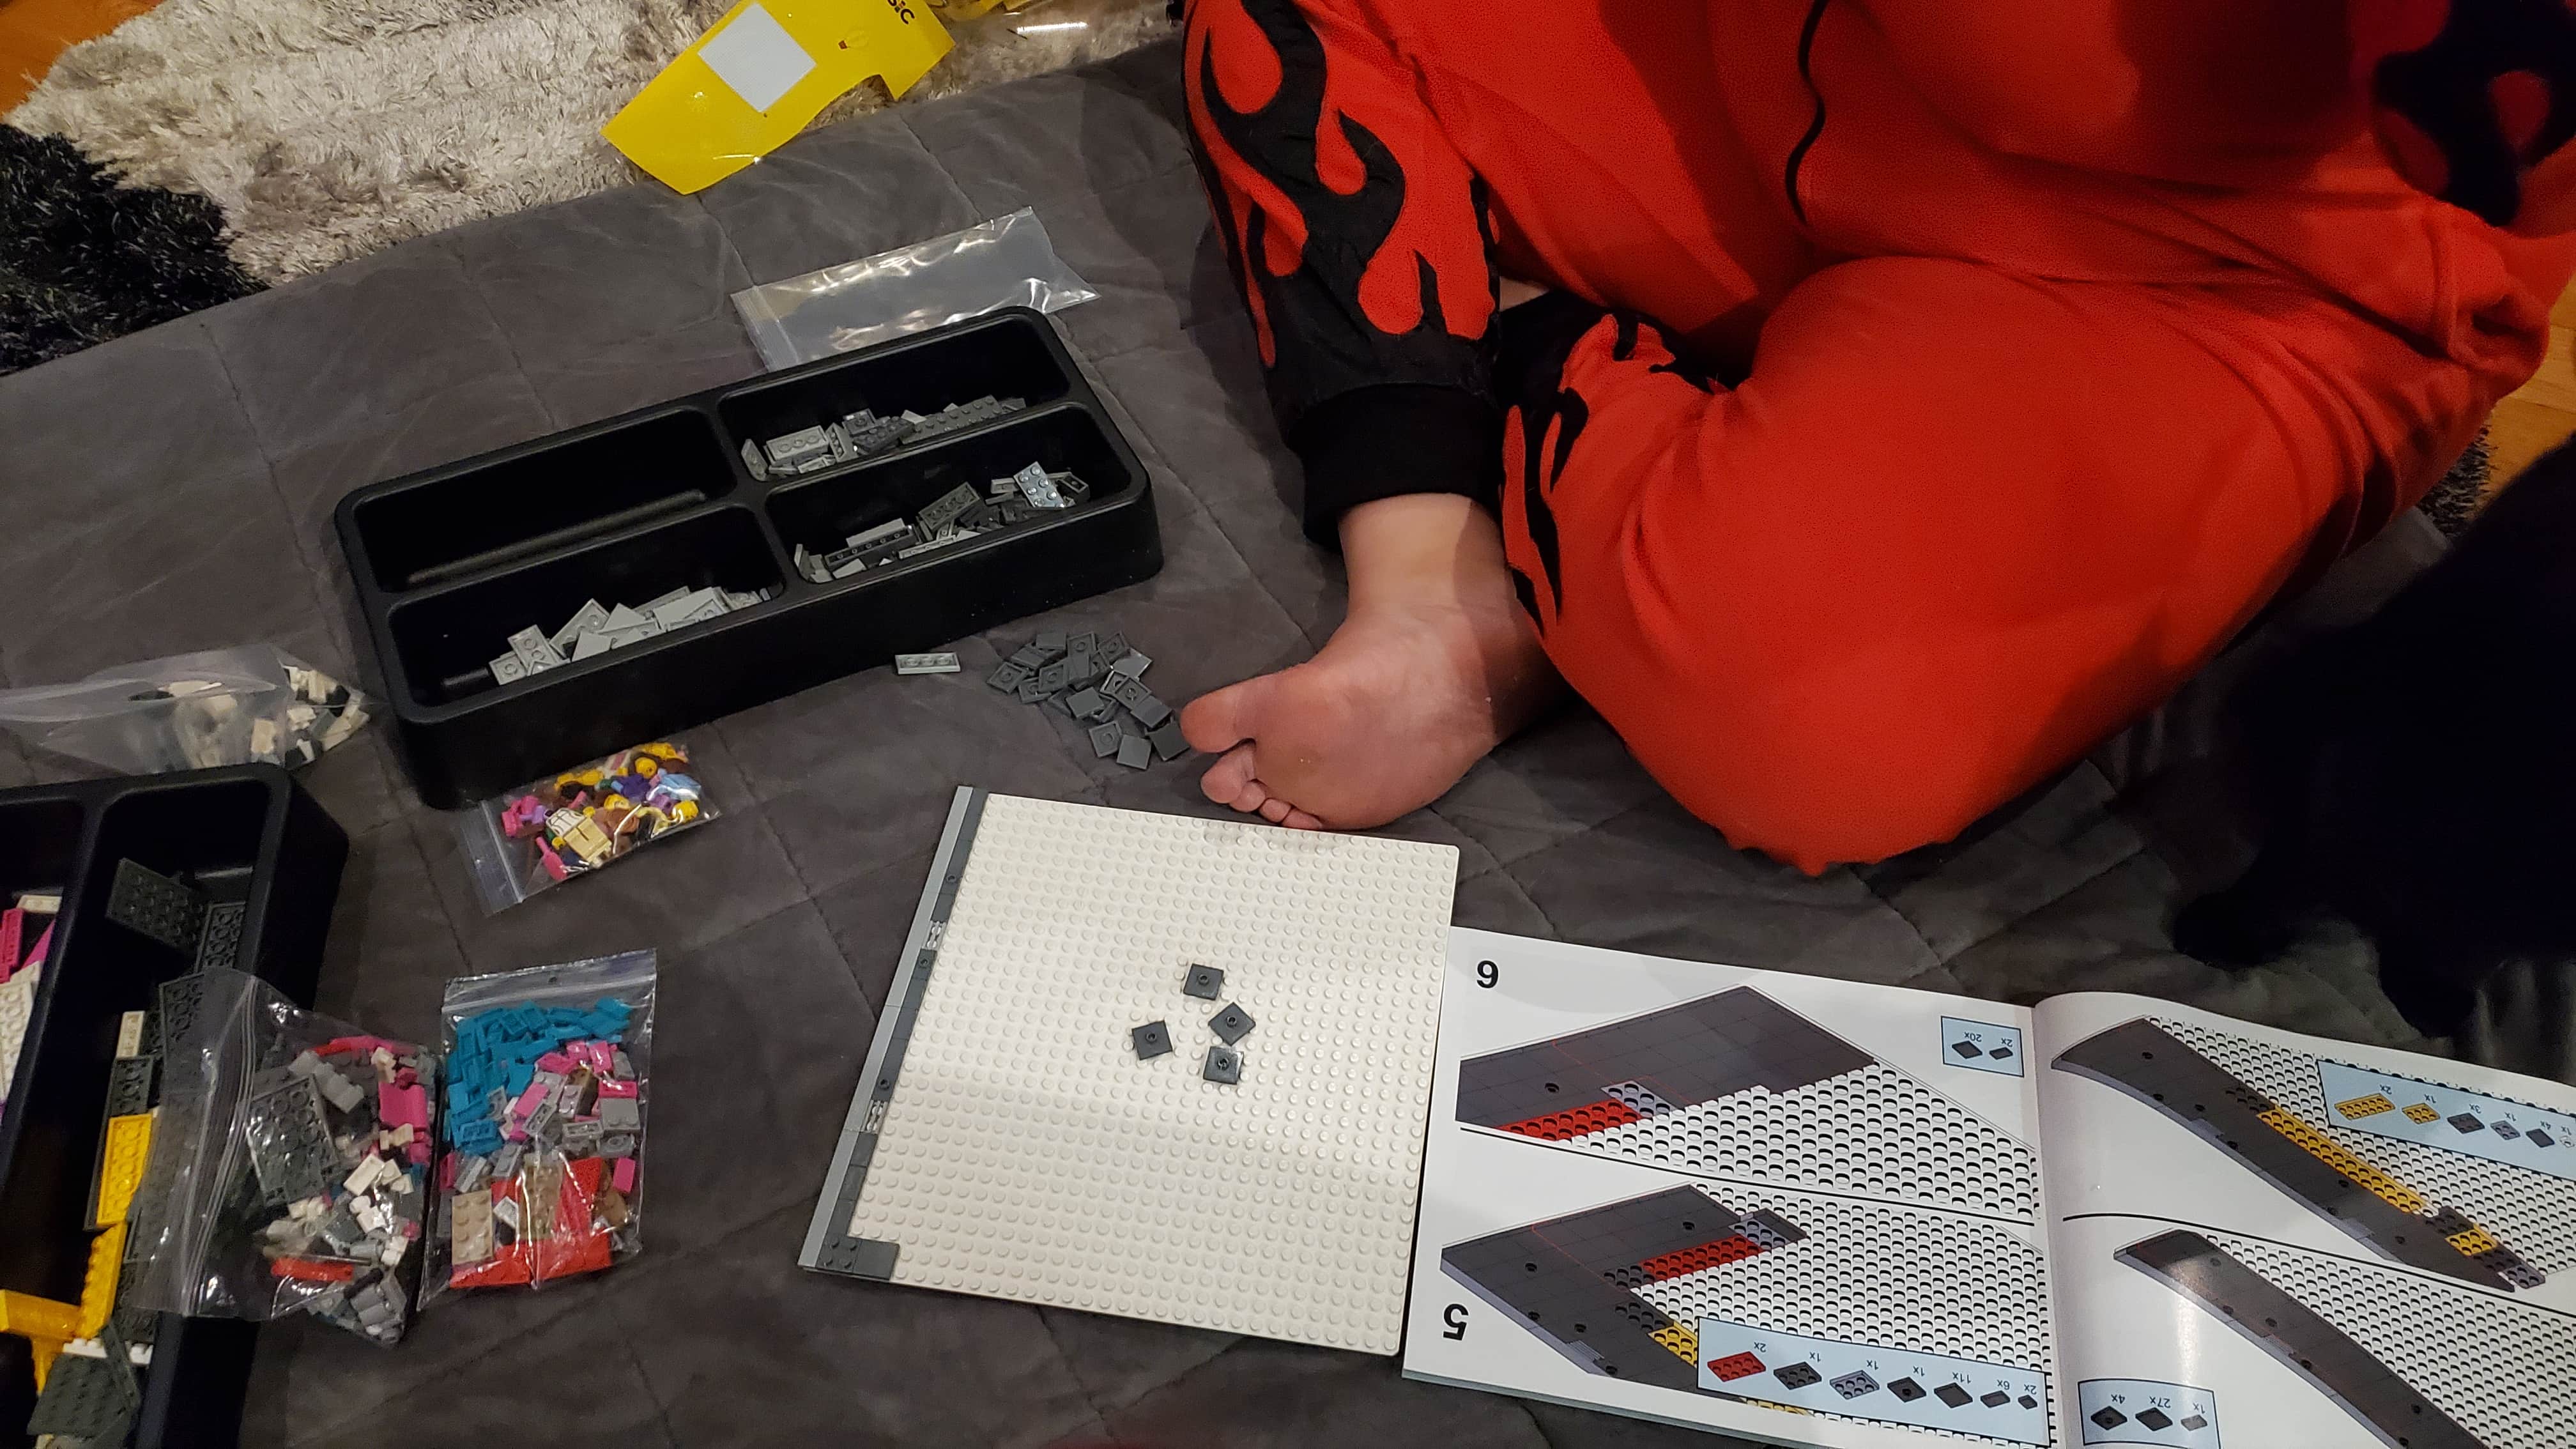
Stud.io makes it possible to separate your brick model into multiple steps for building, which is a godsend. It involves a fair bit of back-and-forth, especially when you’re trying to figure out how many parts you can clearly indicate the addition of in each step. Too many parts at once and the directions become very confusing; too few, and you’ve got an 8,000-page instruction manual.
This is actually one of those parts I’m low-key very proud of. It took me a few evenings of work and the final instruction manual ended up being just shy of 400 pages, but I think I managed to strike a good balance between complexity and clarity.
TIME FOR GLAMOUR SHOTS
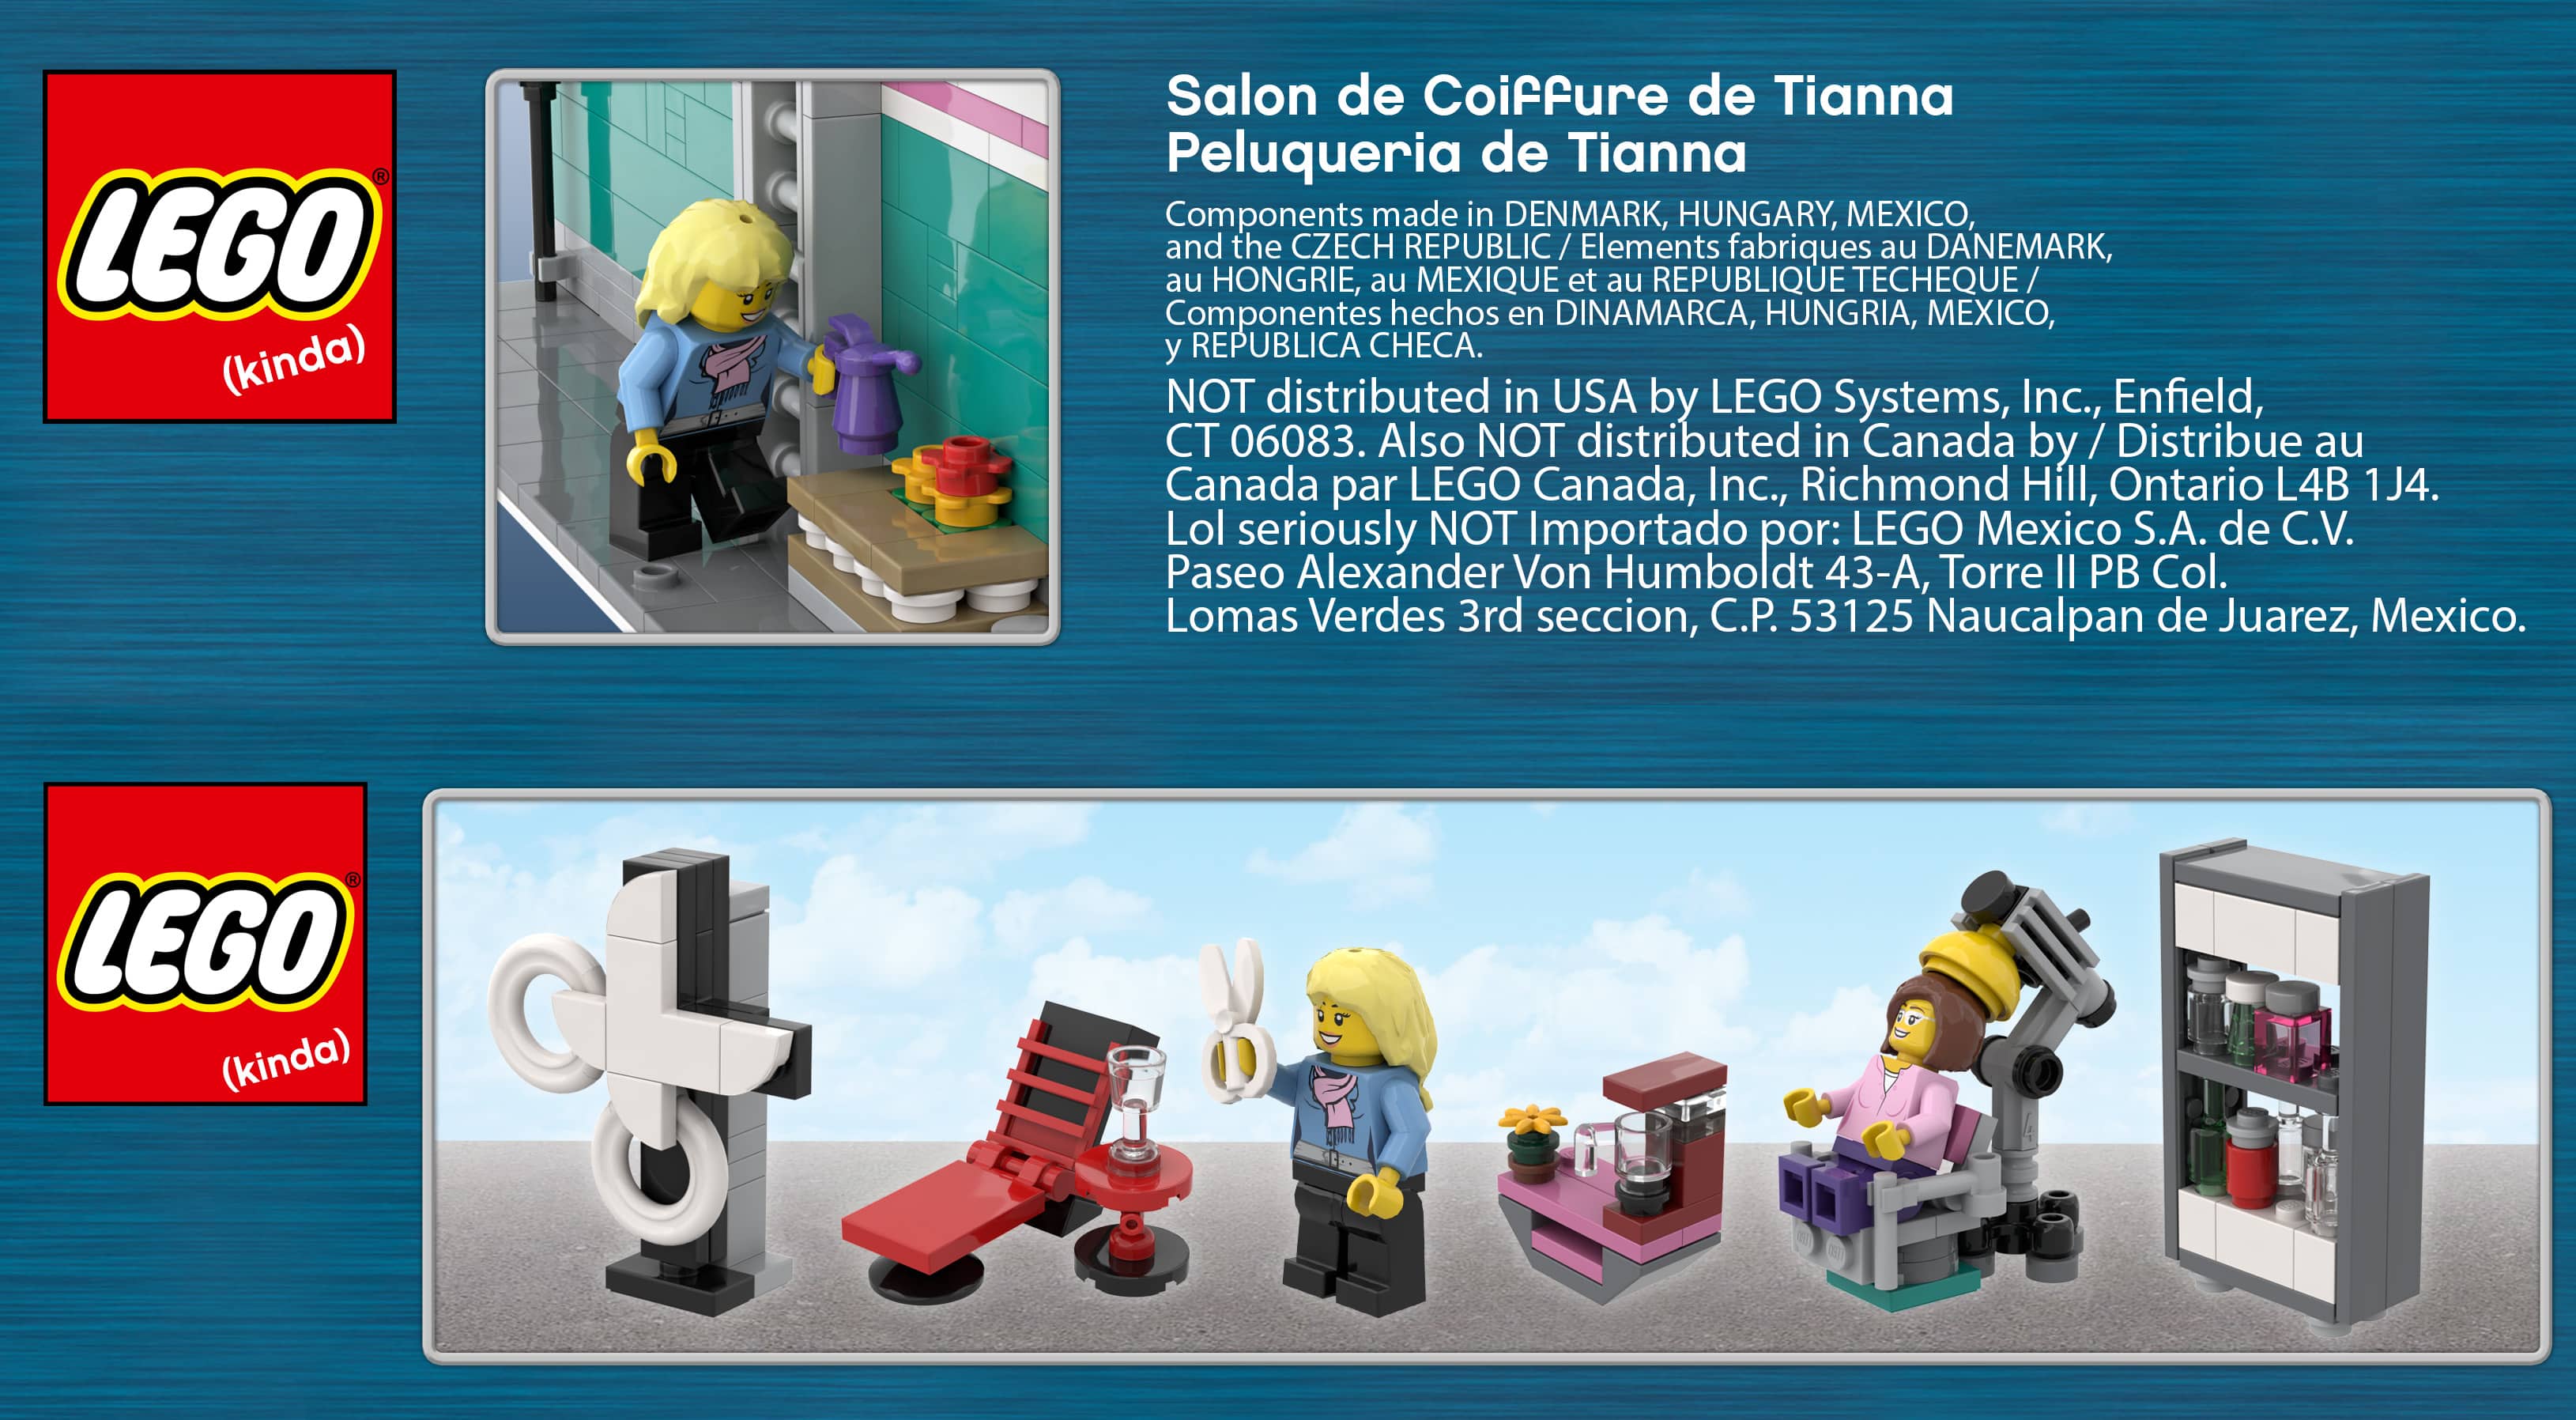
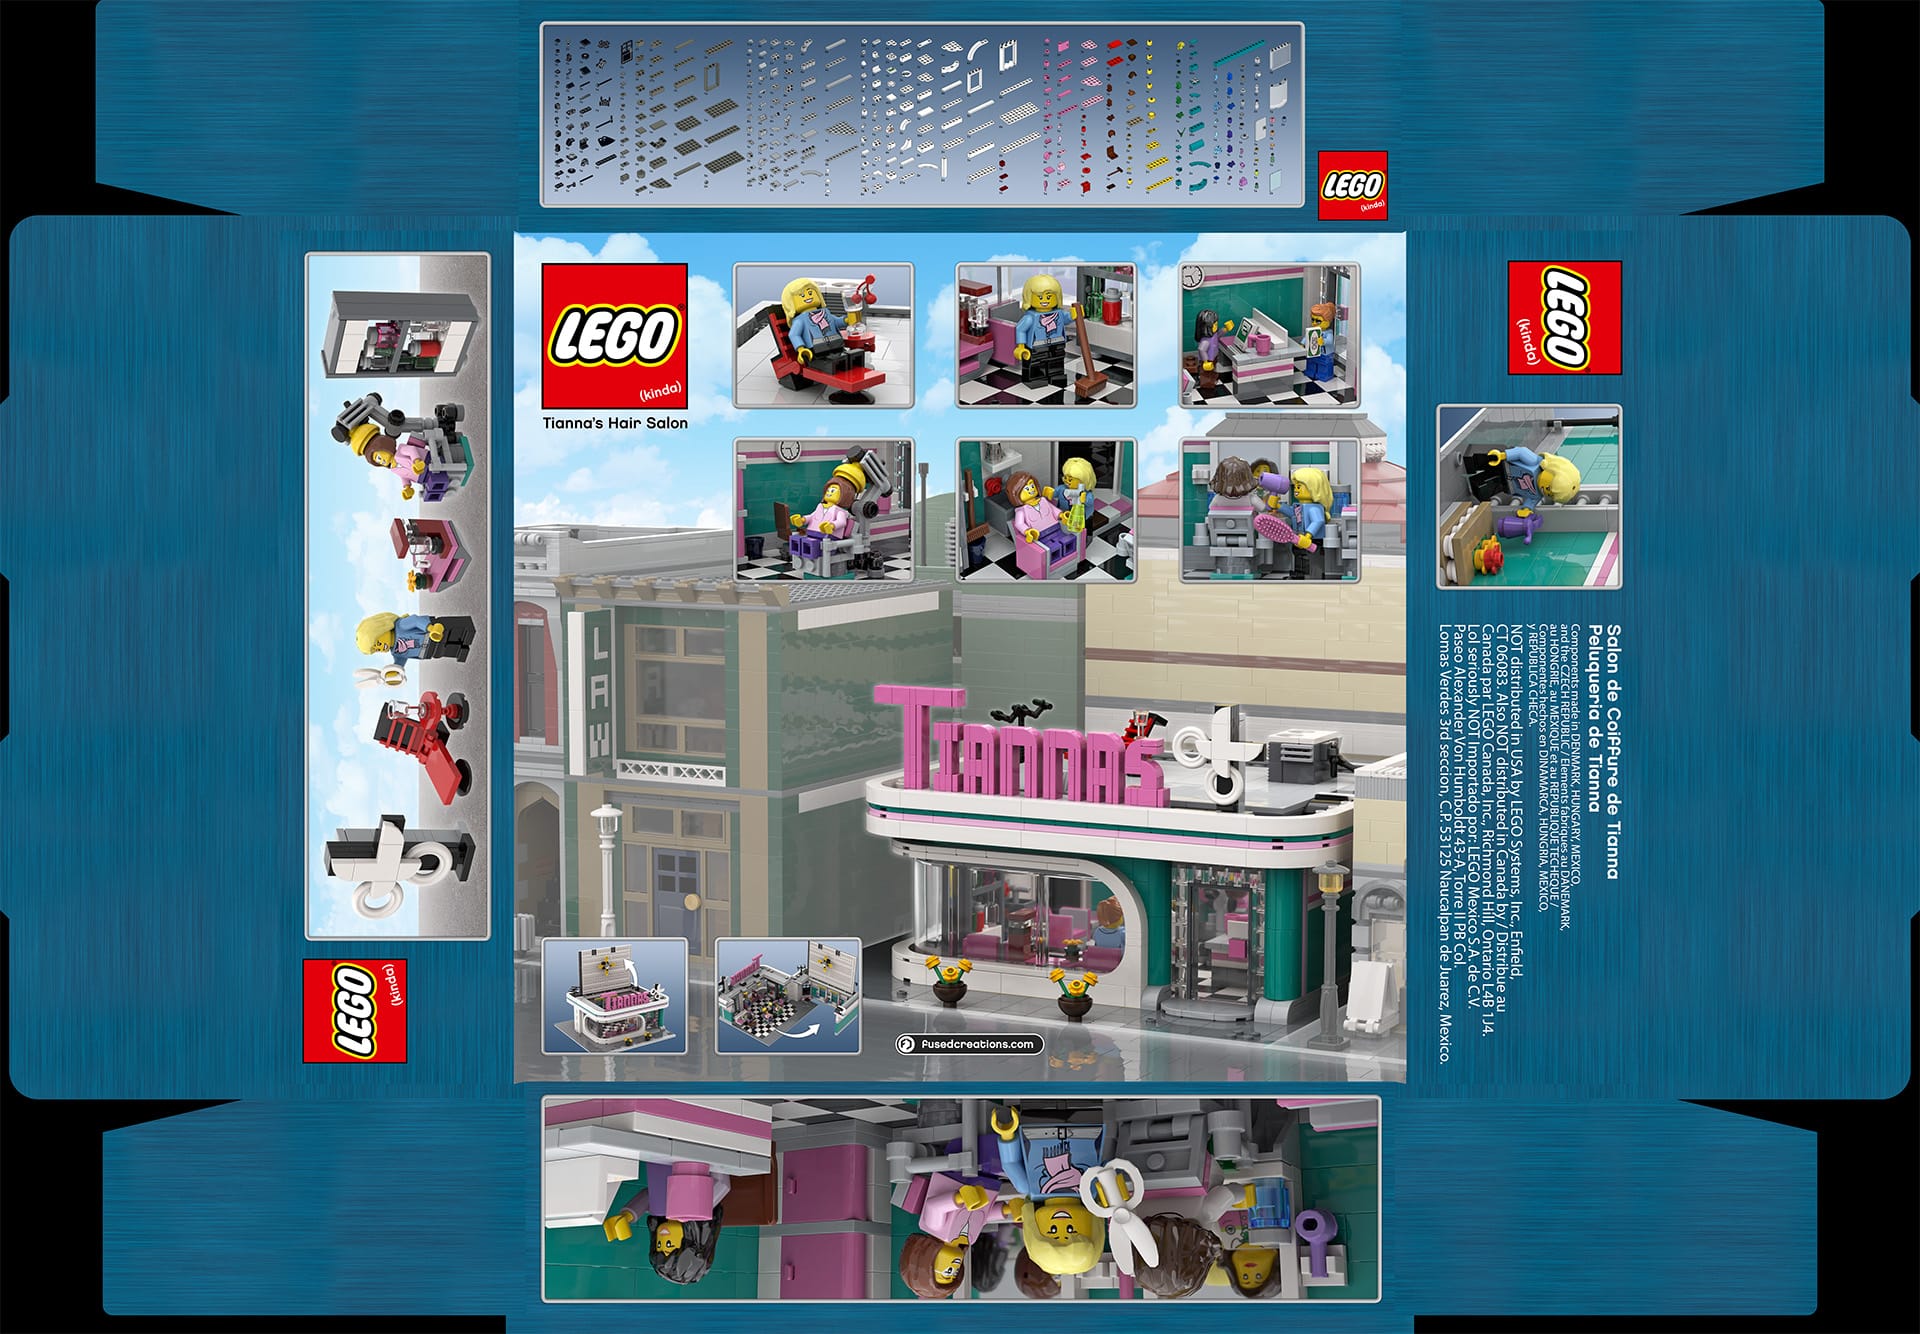
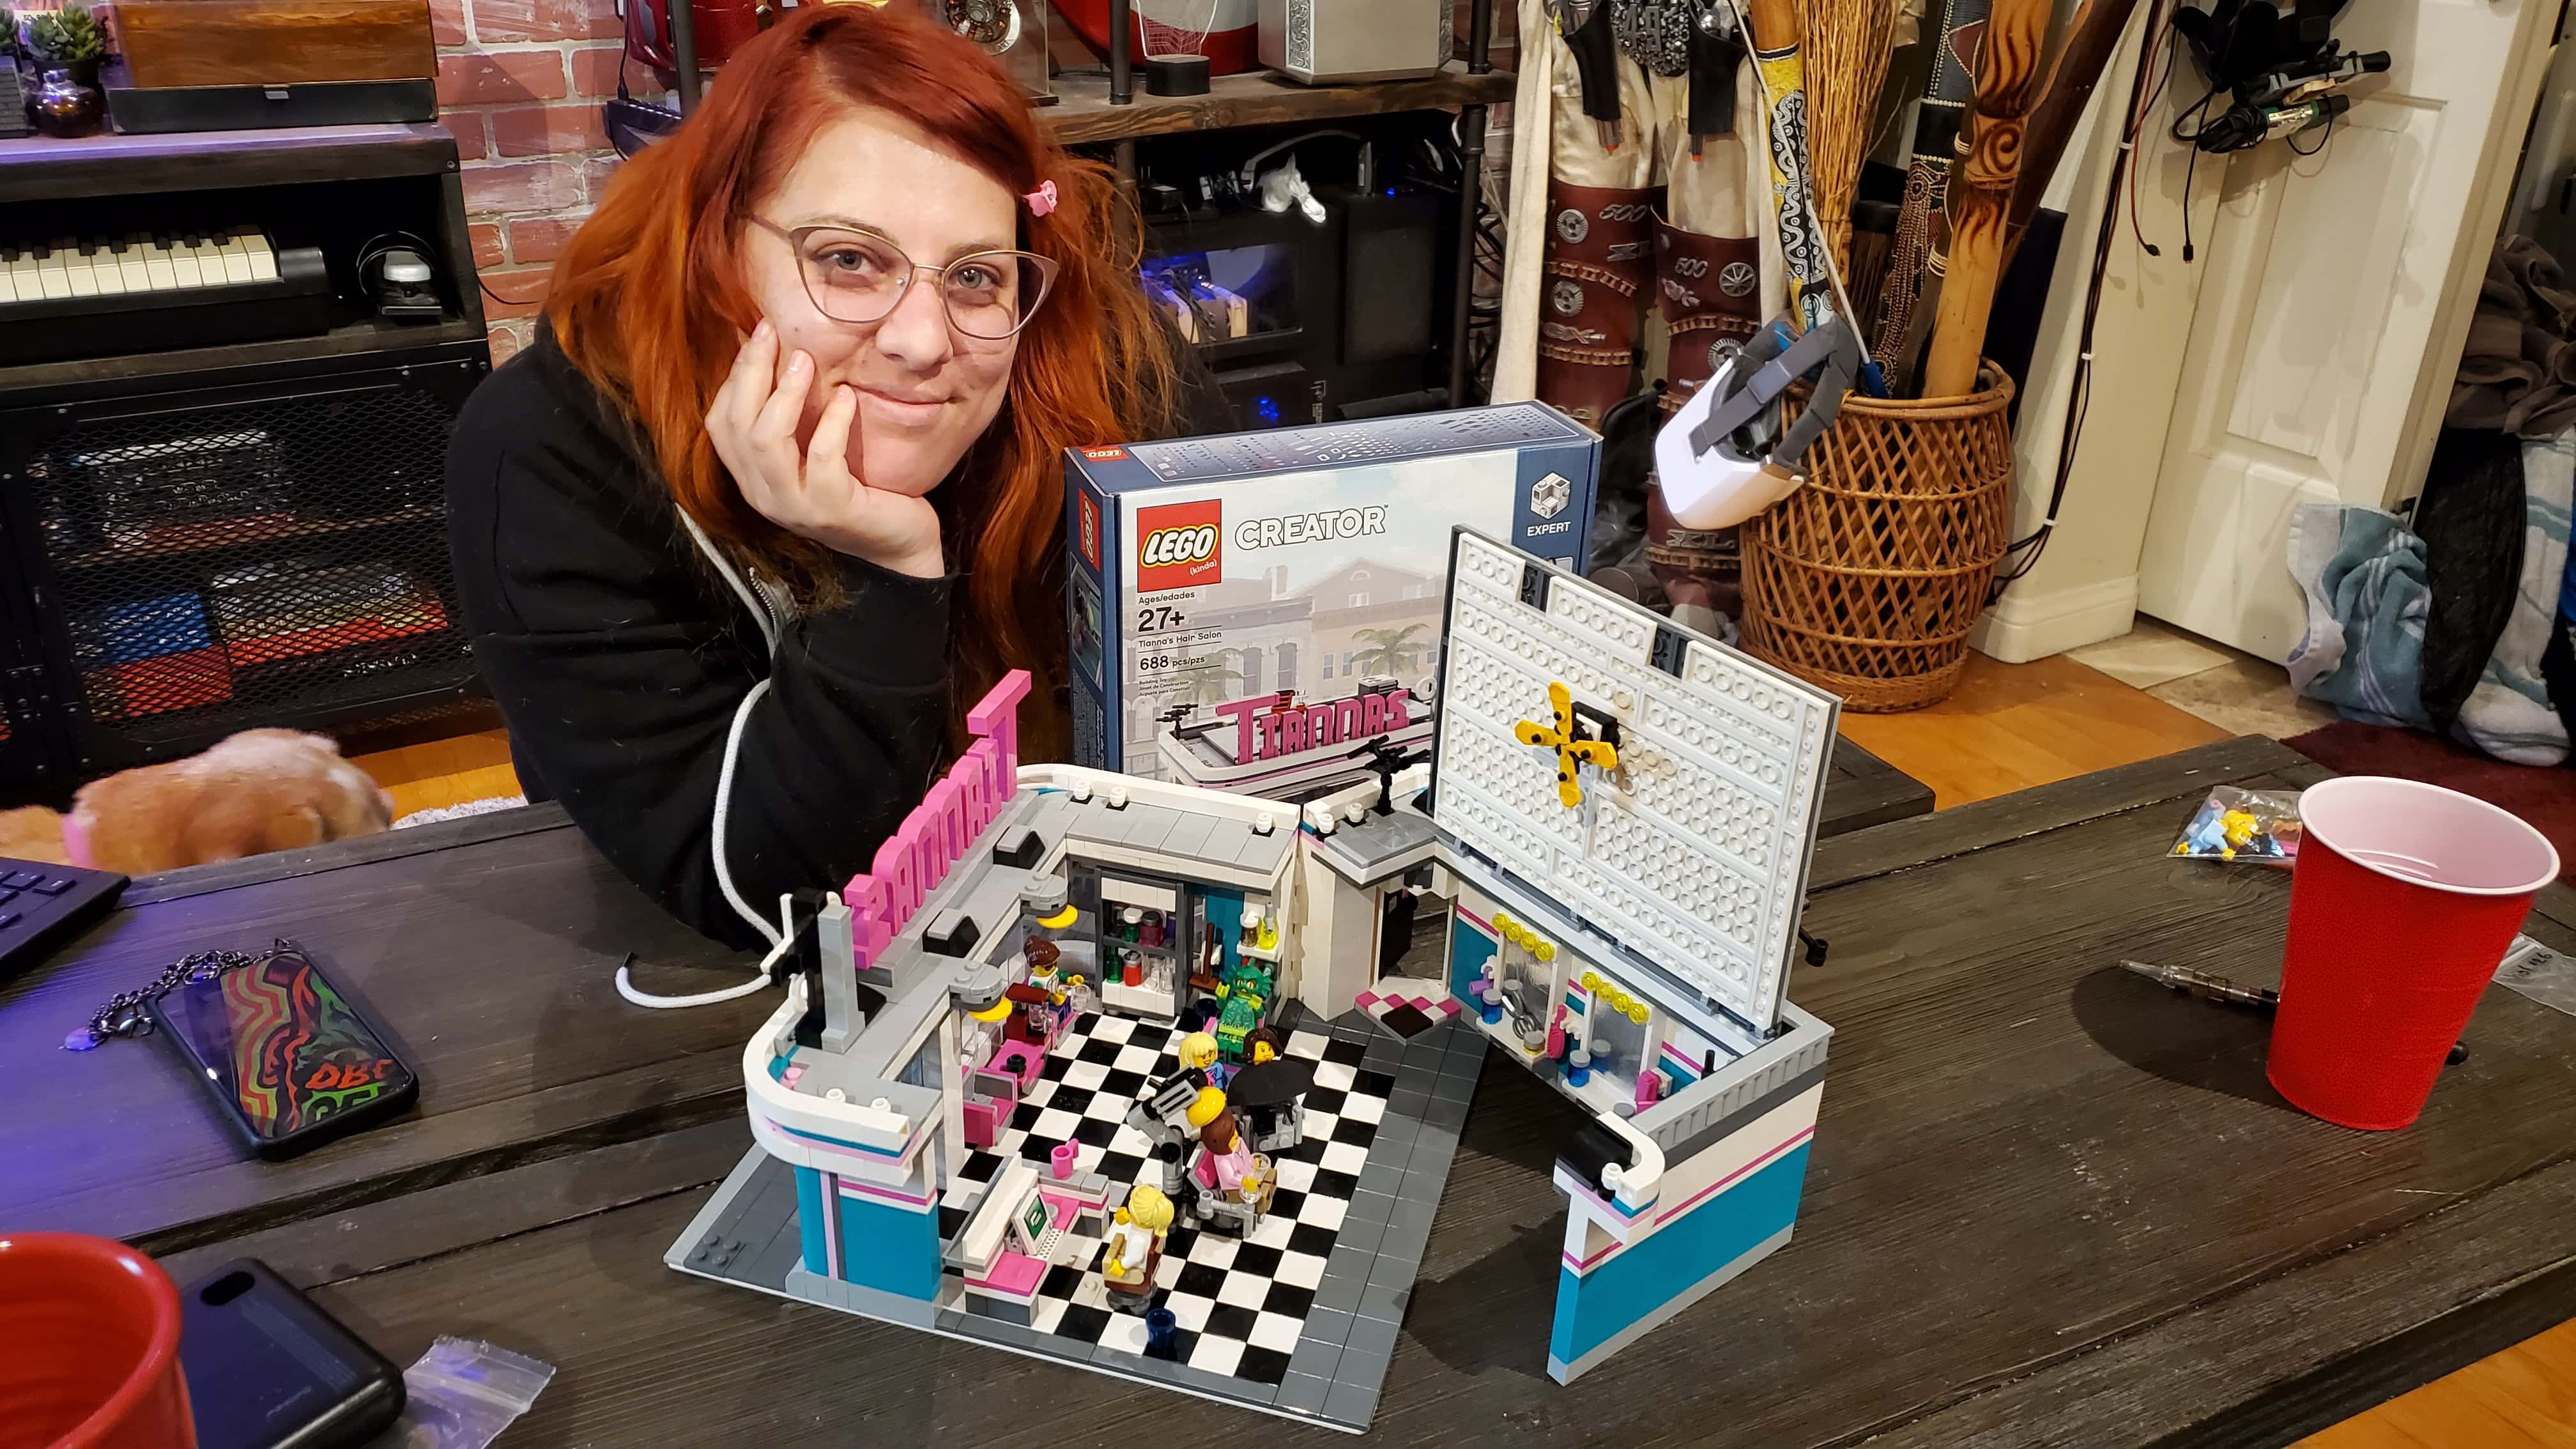
I knew from the outset that I wanted to get an instruction manual physically printed as part of this gift. I also wanted to design a Lego-lookalike box to package the manual and parts together in, to really make things look official. Since both of these things would need artwork, I started making some renders of the building I had designed. I also rendered some little vignettes to use on the sides of the box.
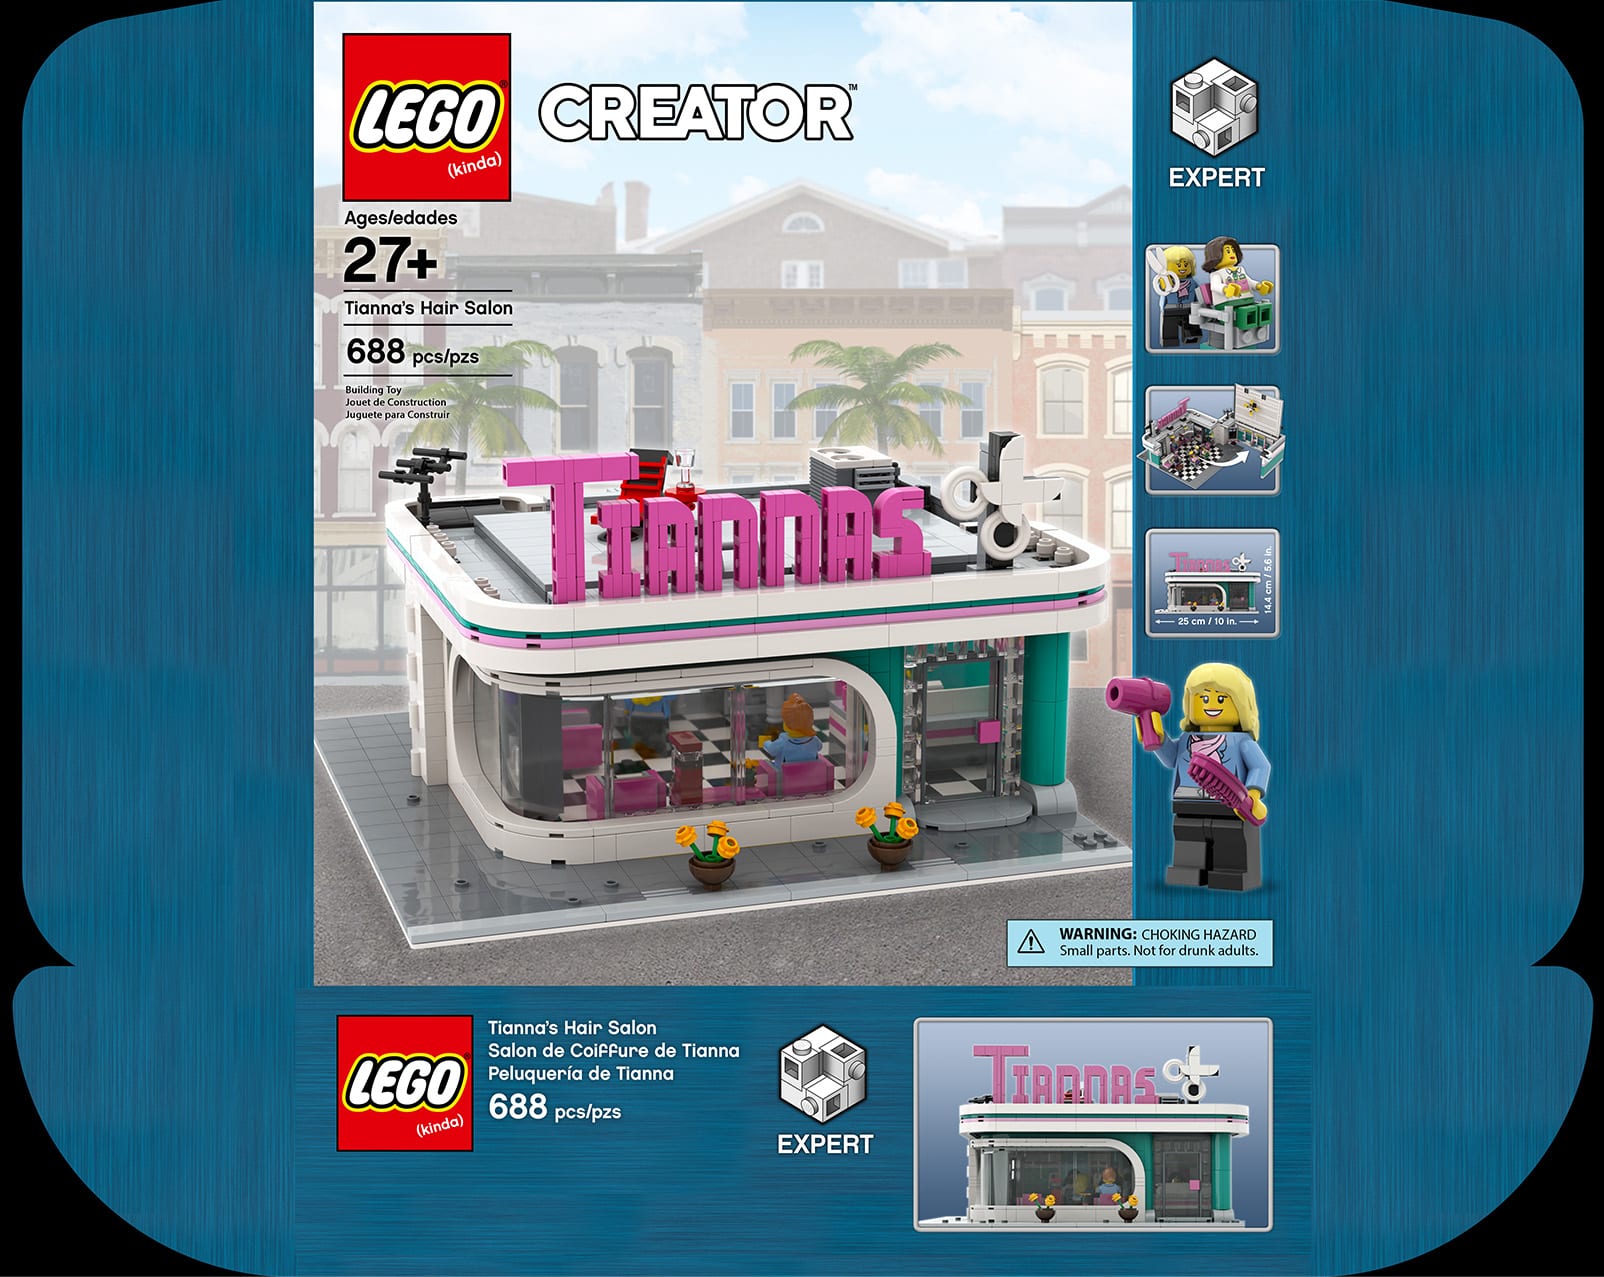
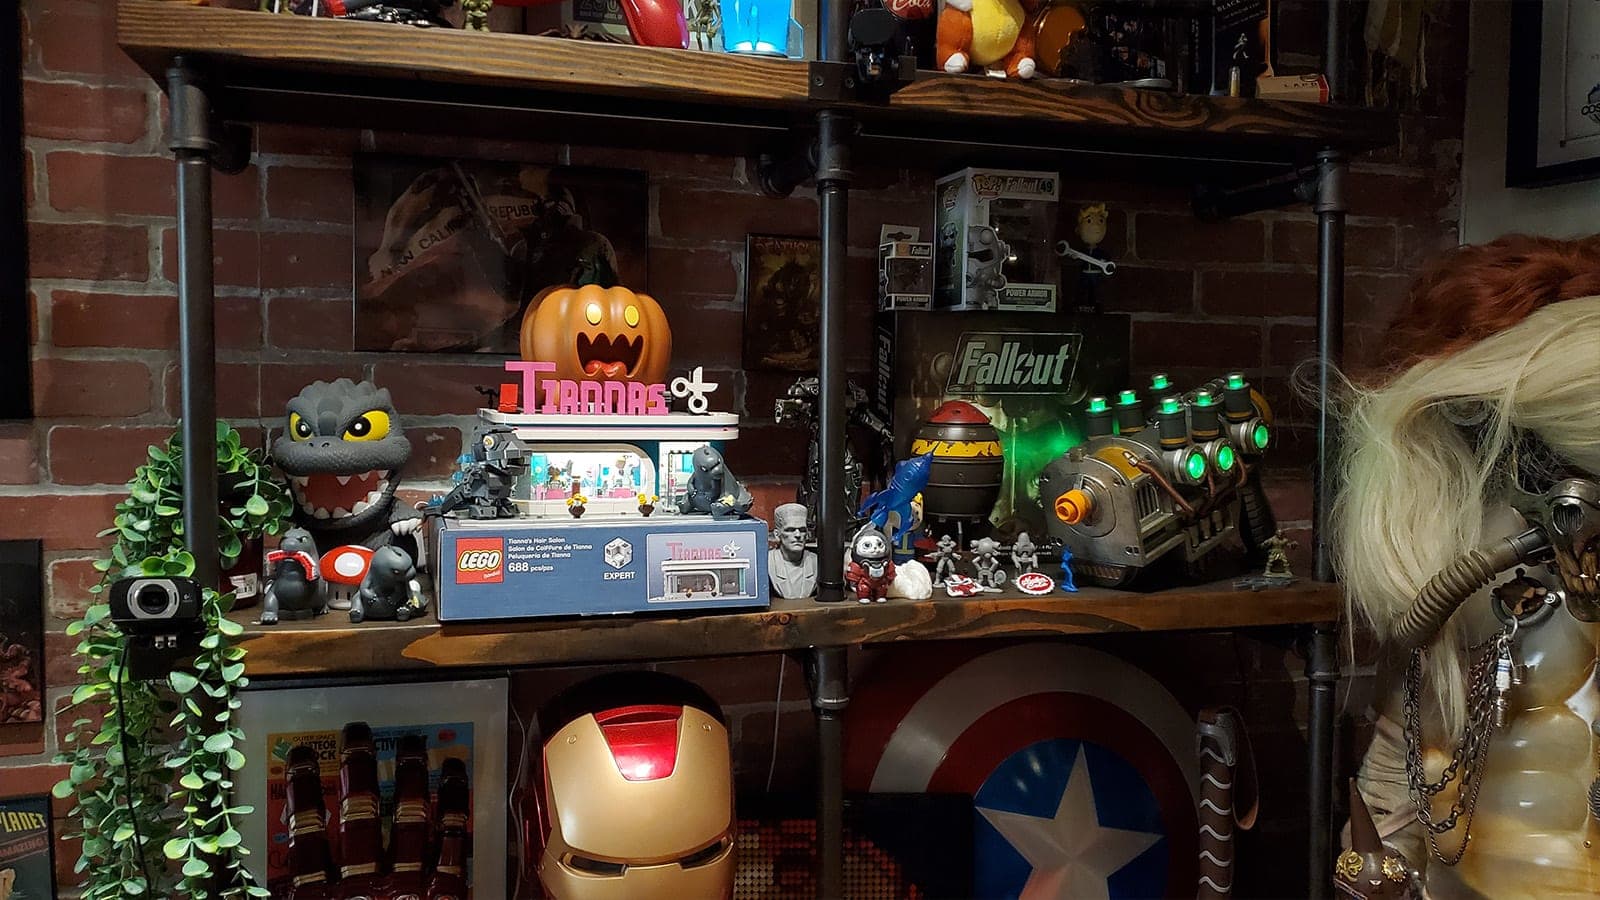
I got a dieline template from Packola for an 11″ x 11″ x 3″ box, which I reckoned would be just big enough to fit the base plate, parts, and manual, and started a 300 DPI draft of the box art. I copied the layout of the elements on the Downtown Diner set pretty directly, starting by making a replica of the box’s brushed blue metal texture. I reproduced the Lego logo, ‘EXPERT’ markings, and other details so that at a glance you might not realize this wasn’t an official Lego set.
With a careful bit of photoshopping, I created a Lego-Cities-esque skyline that I could insert my renders of the building against. Again, I was trying my best to match the stylistic elements of an official Lego box.
I used some of the same art for the front and back cover of the instruction manual. I sent a high-resolution PDF off to Printivity to get the instructions printed out in full color. They sent a follow-up email to me asking if this was just a sample for a larger-volume order in future, which I found somewhat gratifying – I guess it looked real enough to warrant the question? Or maybe they ask everybody. Who knows!
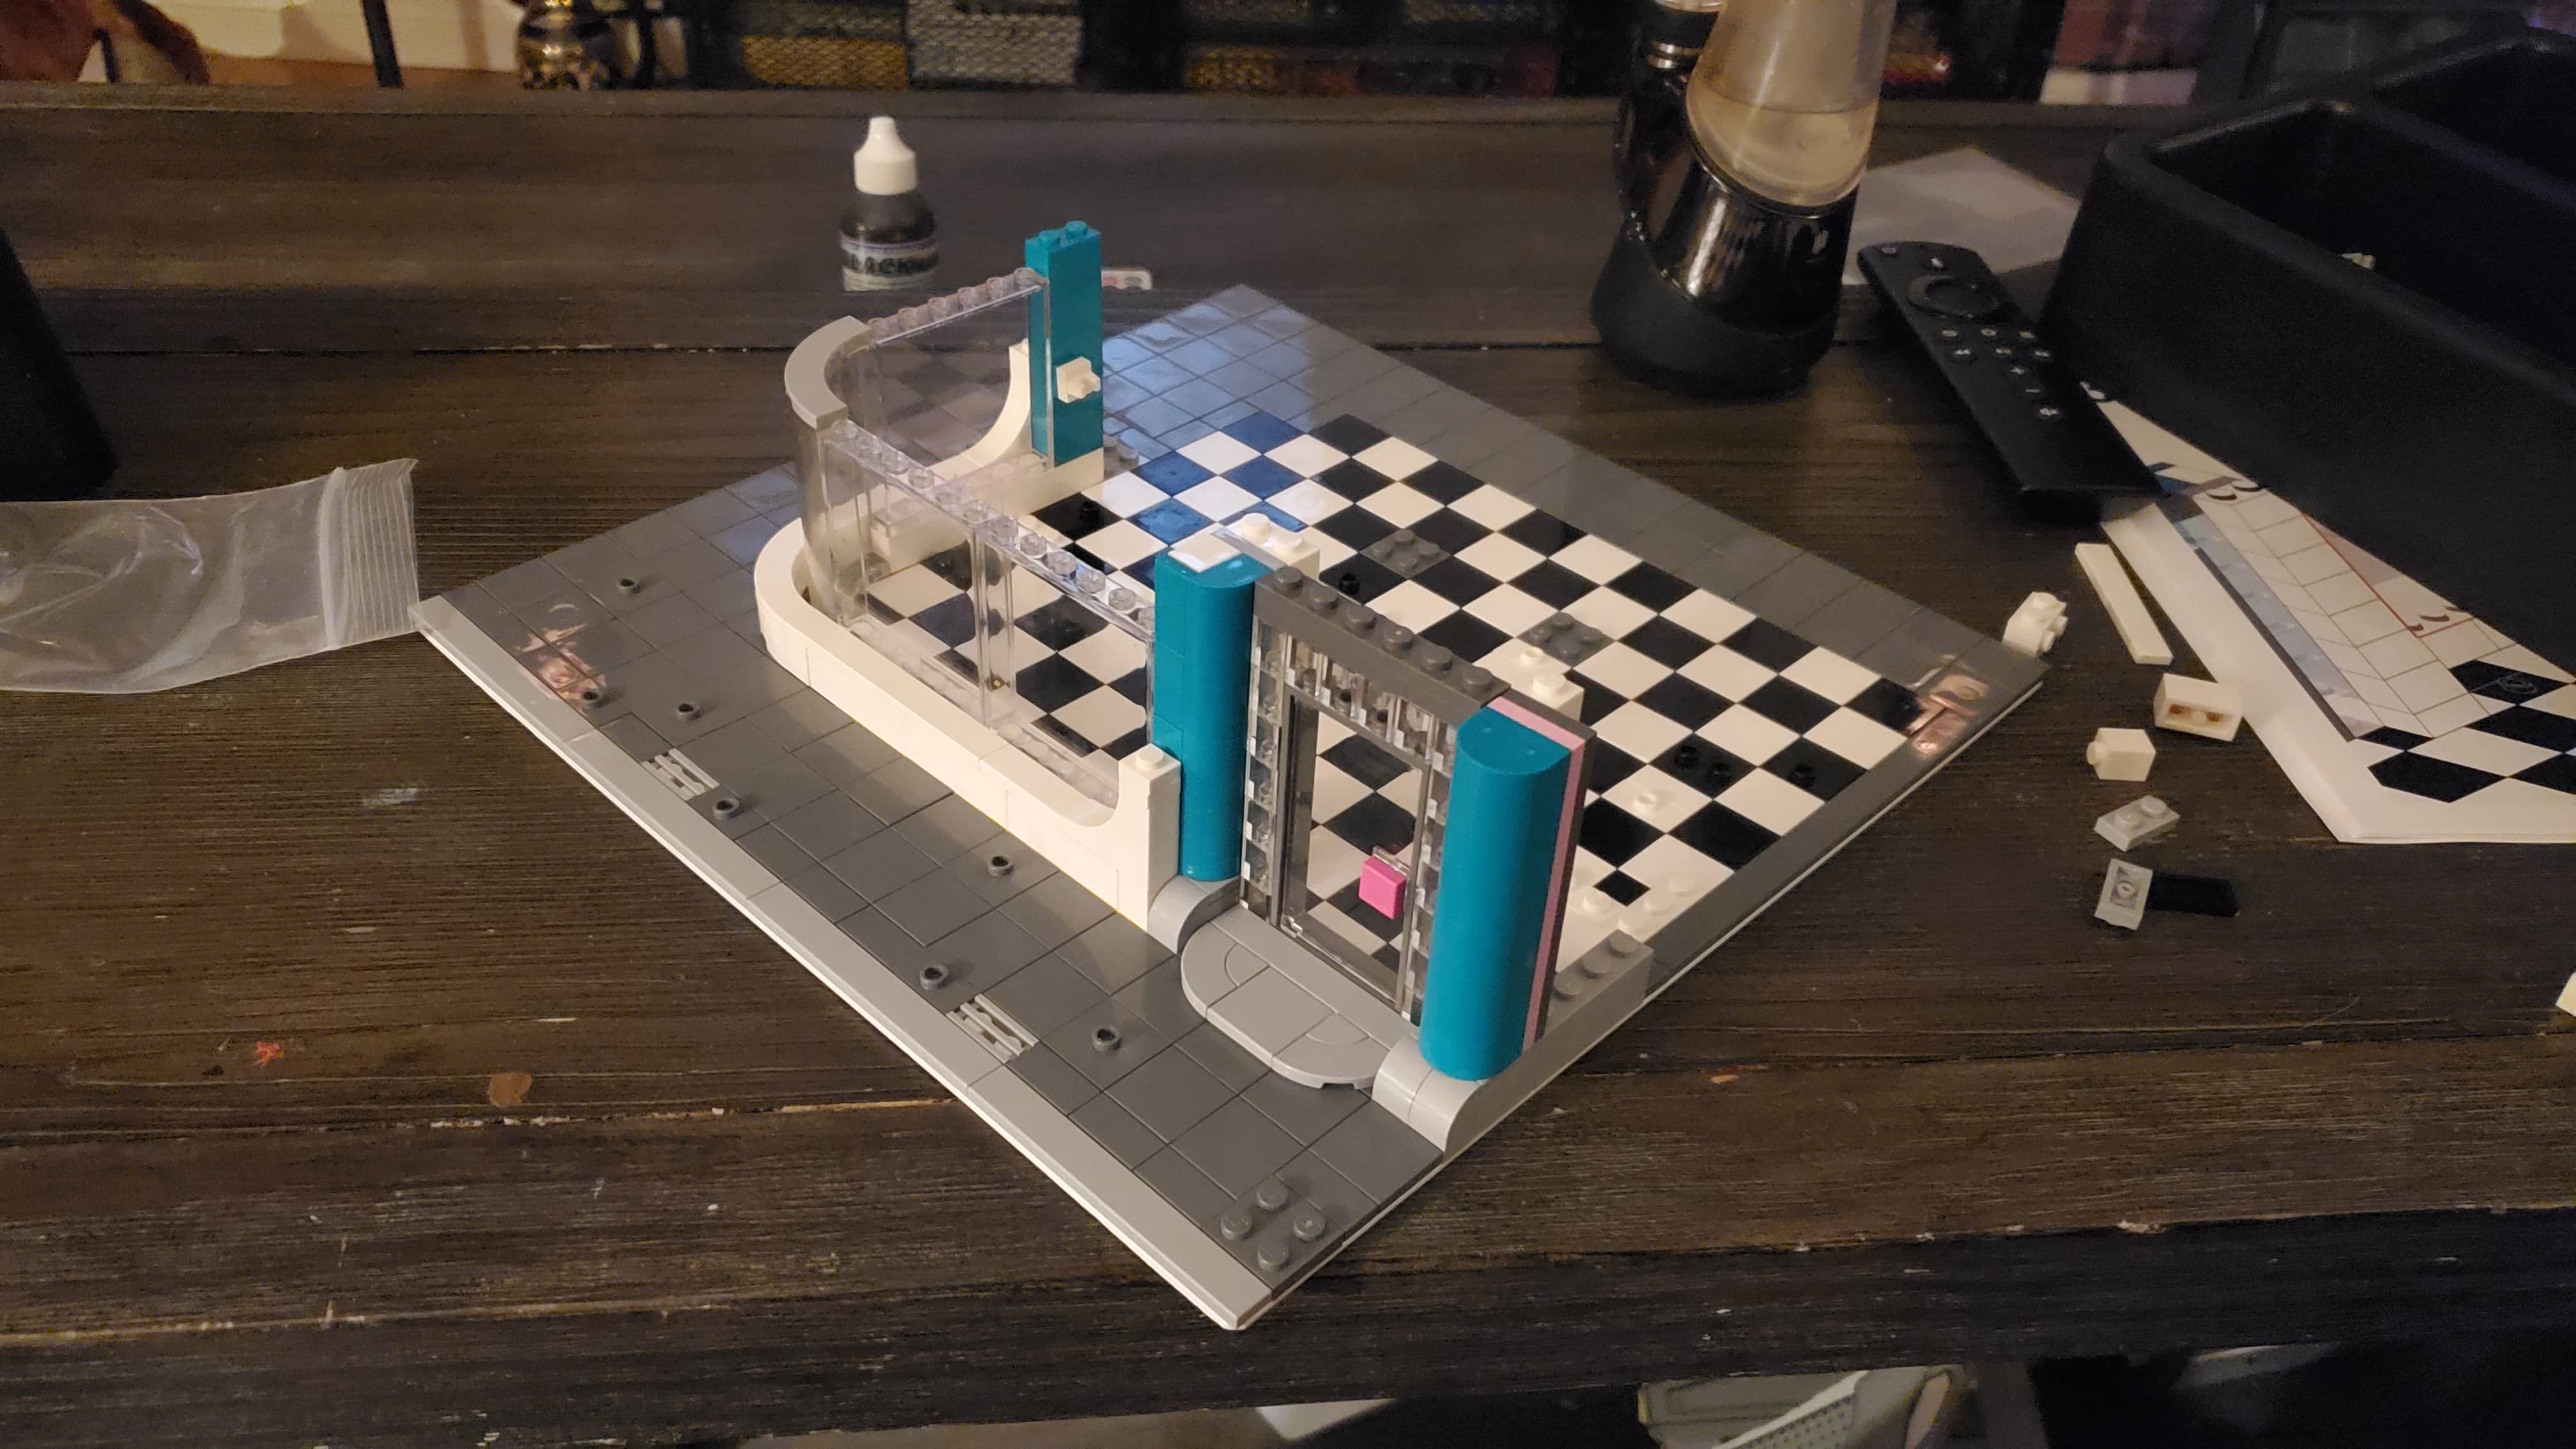
TIME TO MAKE IT REAL
Using the model I had created in Stud.io and the parts list on Bricklink, I was able to source nearly all the parts I needed from about 15 different stores, most of which were in the U.S. It ended up being a few hundred bucks to get all of the bricks and have them shipped to me, but by this point I was invested too deep to really notice the cost. I think it compares pretty reasonably to a lot of other Lego builds I’ve seen, and I know I used a few rarer colors in areas which drove the price up a little bit. I couldn’t find a good ‘mirror’ part for the Salon interior, so I ended up using a window frame and got some clear plastic window inserts for it. I took aluminum tape, laid the windows down on them, smoothed the tape out and buffed it a bit, then used a sharp knife to cut the excess tape from around the edges.
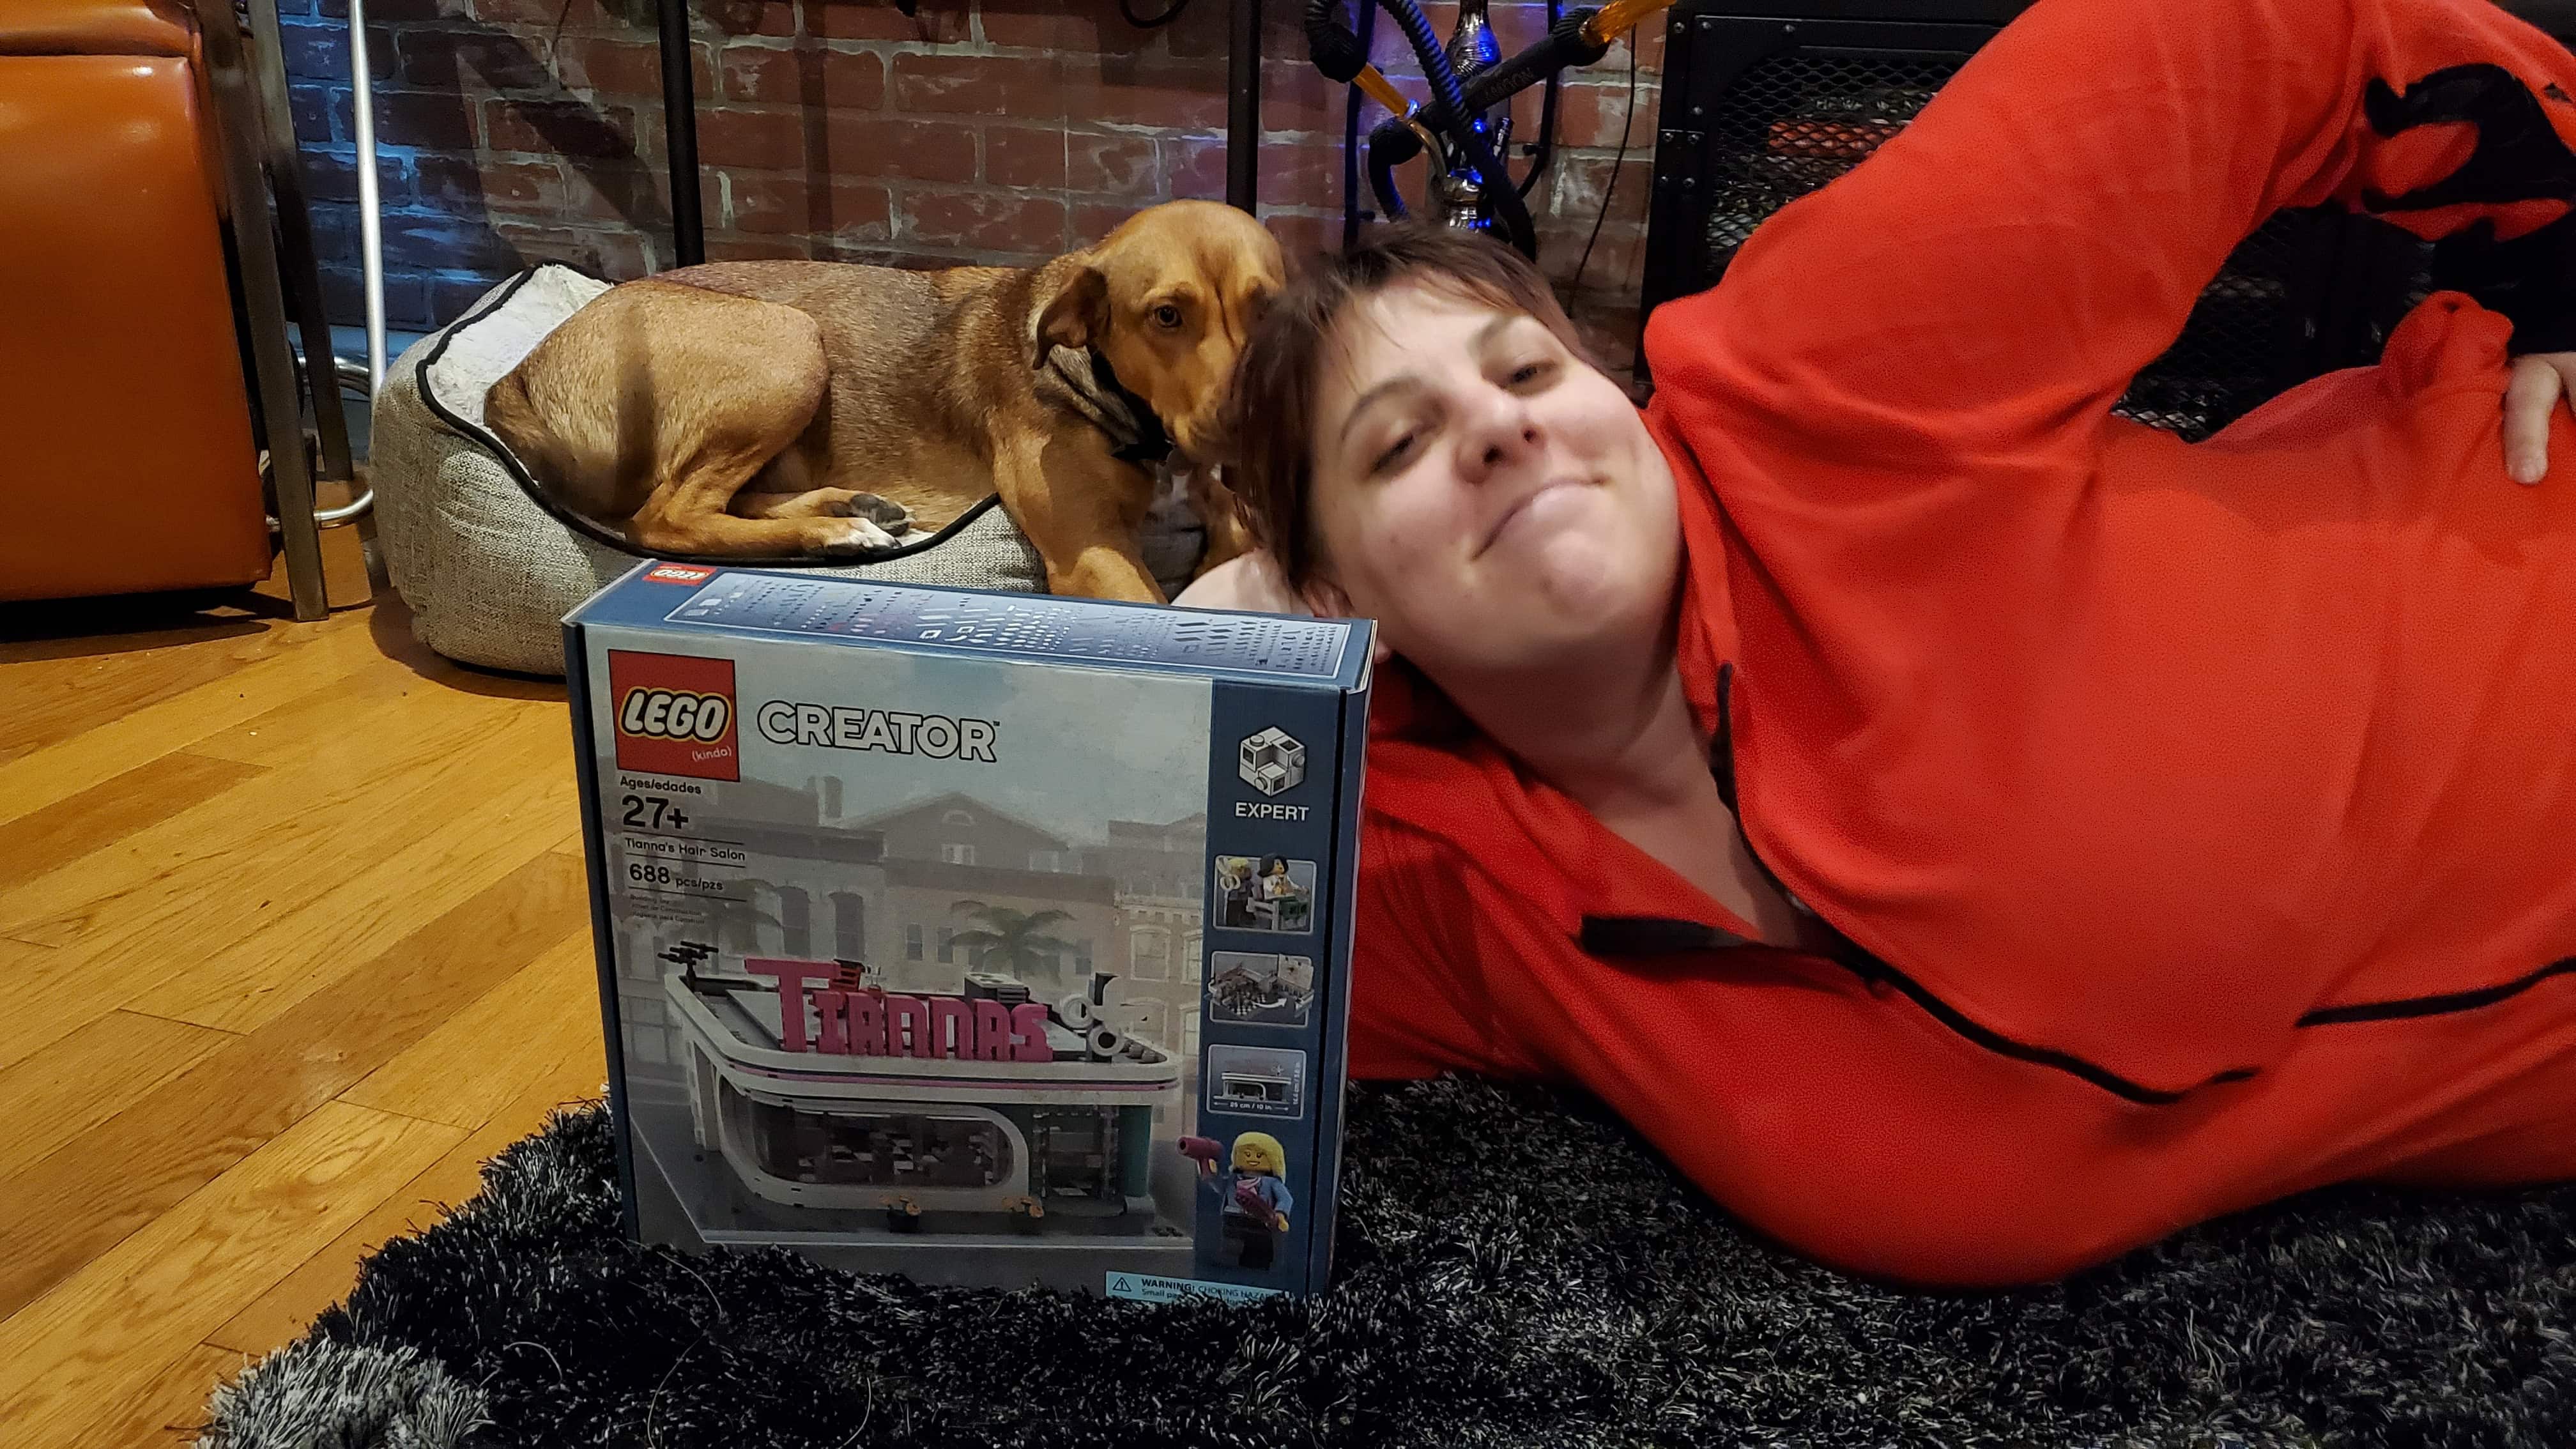
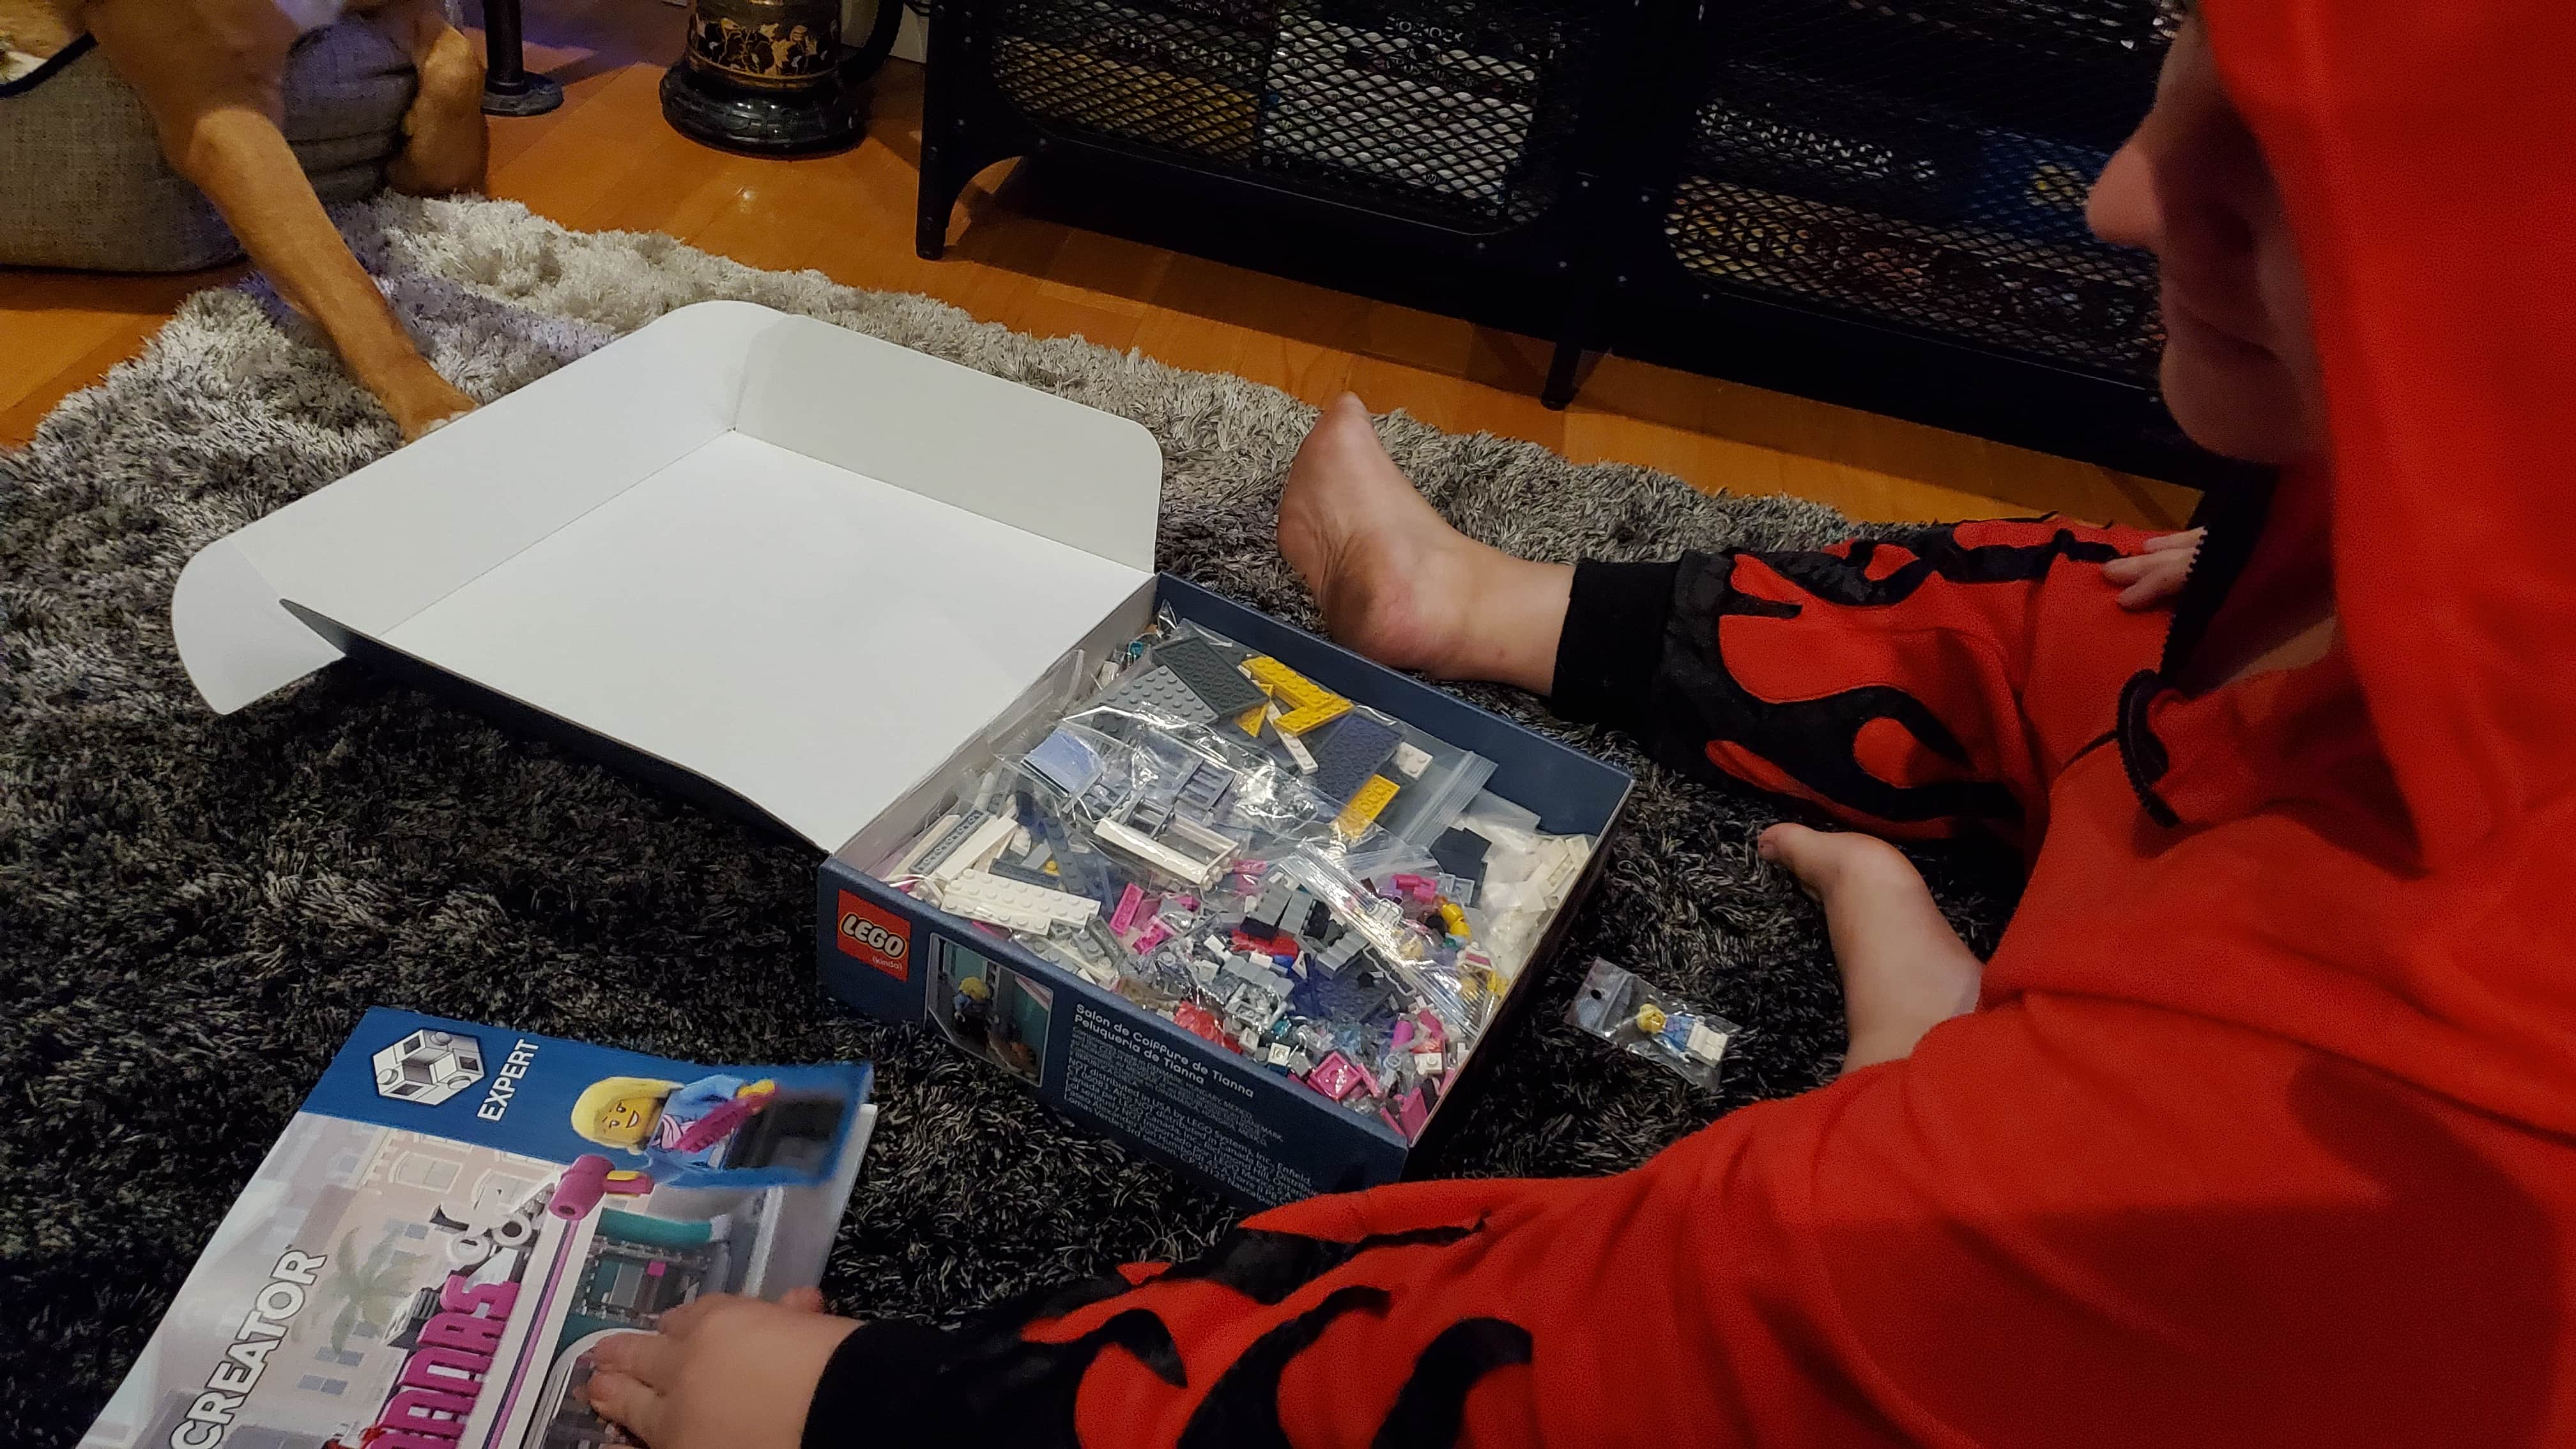
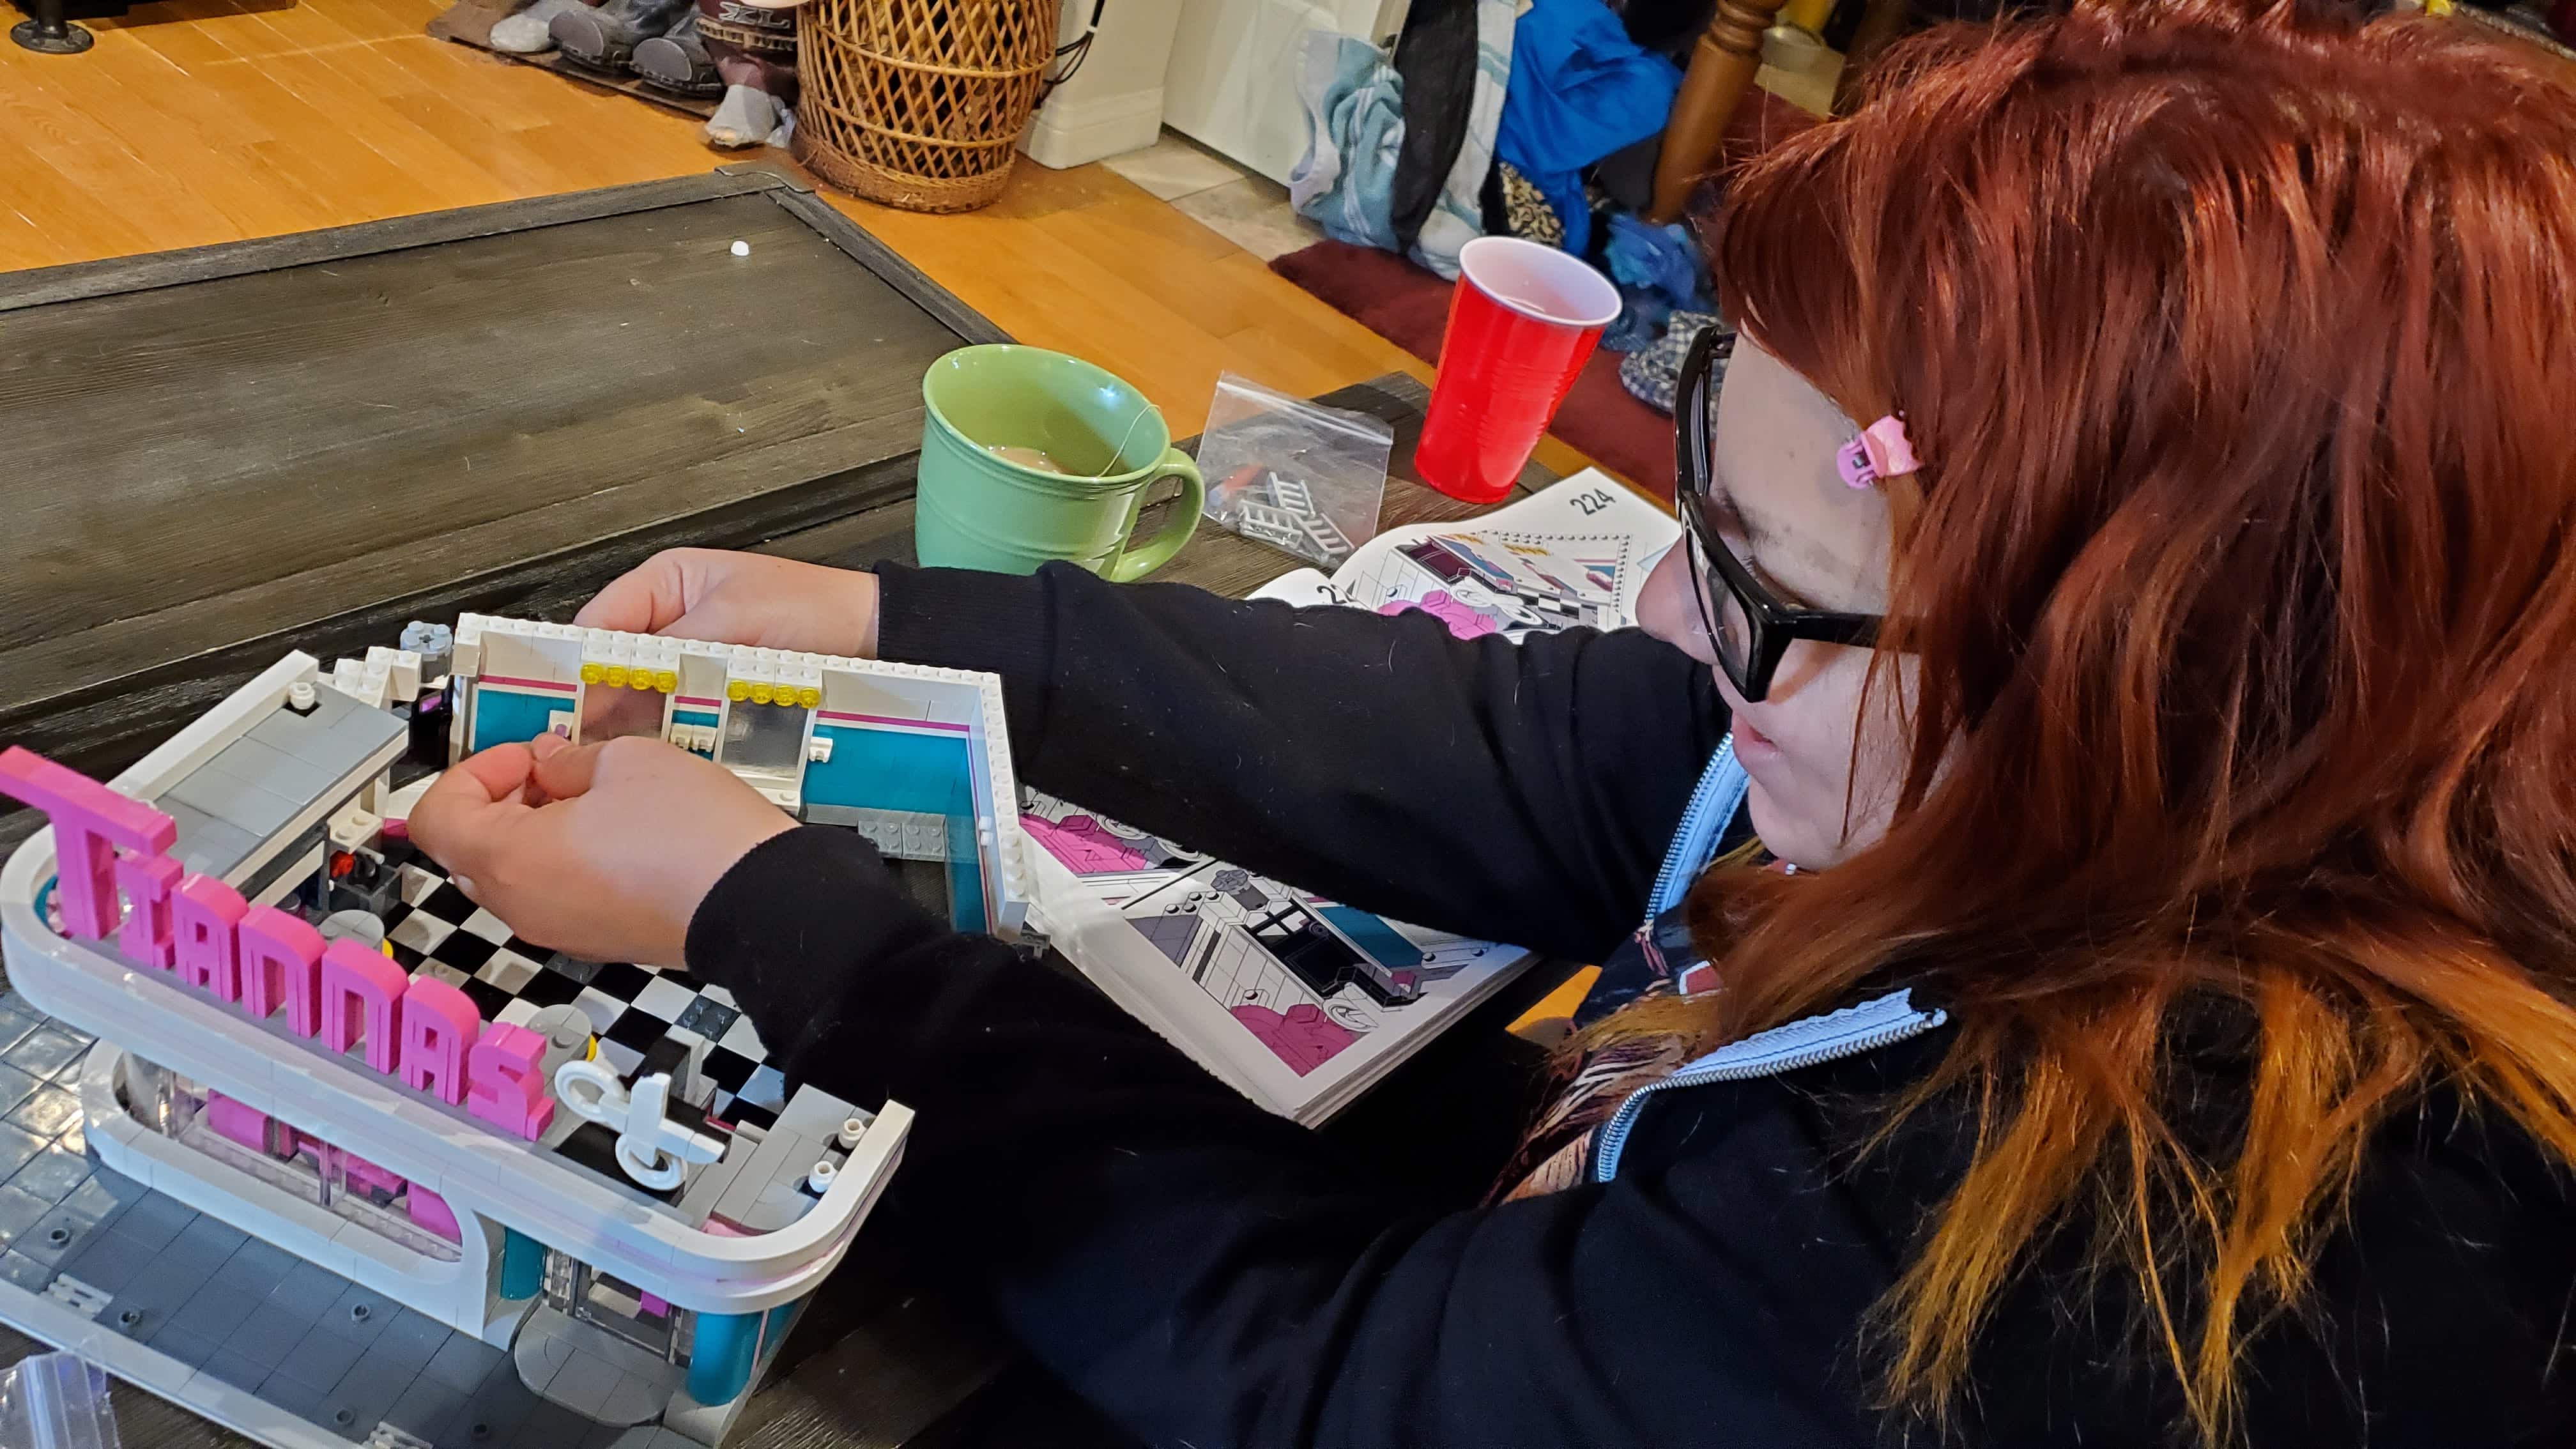
When Tianna’s birthday rolled around, it was time to deliver! I was honestly pretty happy with how the final product (and product design) turned out. The manual printed great, everything fit inside the box (just!), and it looked official.
If I could change one thing, it would have been to opt for a glossy finish on the box instead of the regular one I got, as I think it would have made the colors on the box art really pop. Still, it went over well! More importantly, when time came to build the set, it actually went together fairly smoothly. The instructions I made worked out, and all of my double- and triple-checking meant that we had all of the pieces needed to put the building together.
All TOGETHER NOW!
The open-up functionality of the Salon ended up being a success, and I think a lot of the little details came together. It got a late addition of a Creature from the Black Lagoon enjoying the washbasin since that’s one of Tianna’s favorite horror series.
As a last little touch, I added some LED strip lighting to the inside of the roof so that the Salon would enjoy a more vibrant and visible position on our shelves. Ta-da!